Ignorance is Bliss

I completely understand this sentiment!

Prodigy Marine started on the hull repairs and as exciting it is, it is also terrifying! As long as we have had Akupara I knew there were some bumps, I mean she is 40 years old, we all have bumps at 40, but it is only once you start investigating that you truly know what lies beneath!

So far by the look of the work that they have completed, I am not surprised. We knew about these spots and as bad as it looks, it is just fiberglass, and as long as I am not the one doing it, it is not even a big job yet. It is well over my comfort level, but nothing for the Pro’s!

The fear is in what lies beneath. What are we going to find as they continue investigating the area’s outlined in marker? I am praying to the gods of the sea and sailing that we do not encounter anything too bad! 

Next on the list…

So what’s next?

Where are we in the overall work list?

Are we ever going to launch?

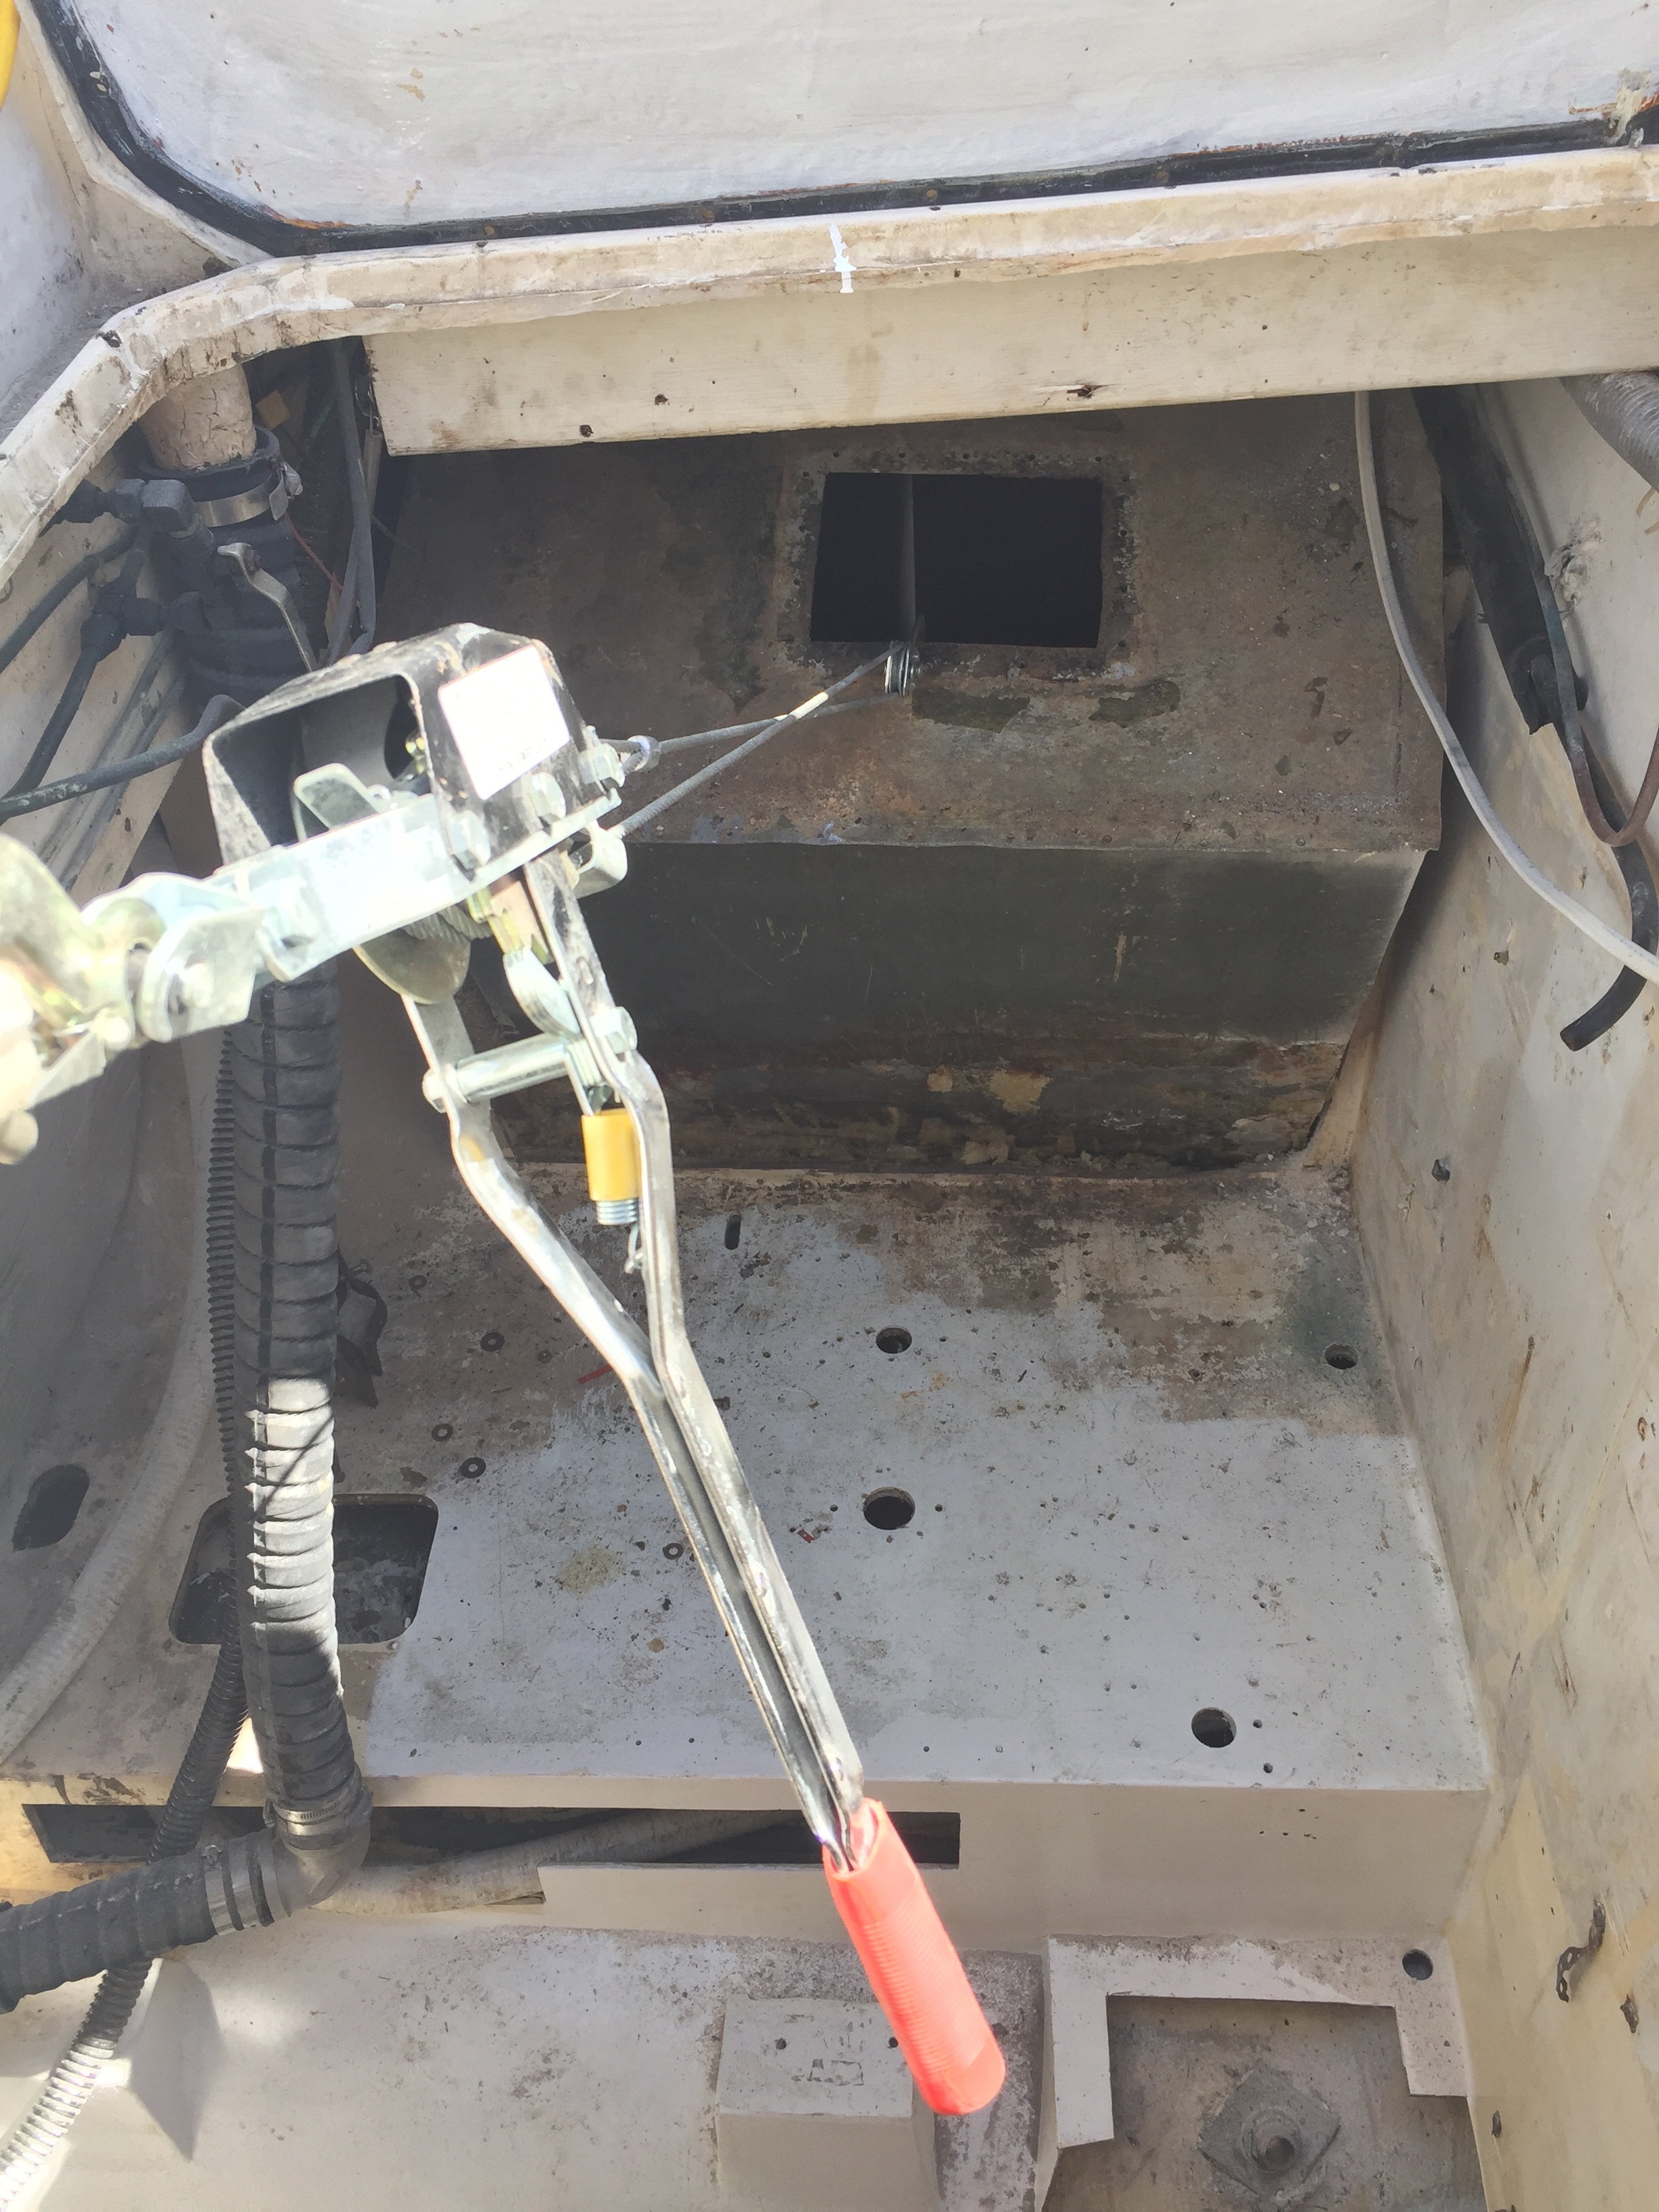
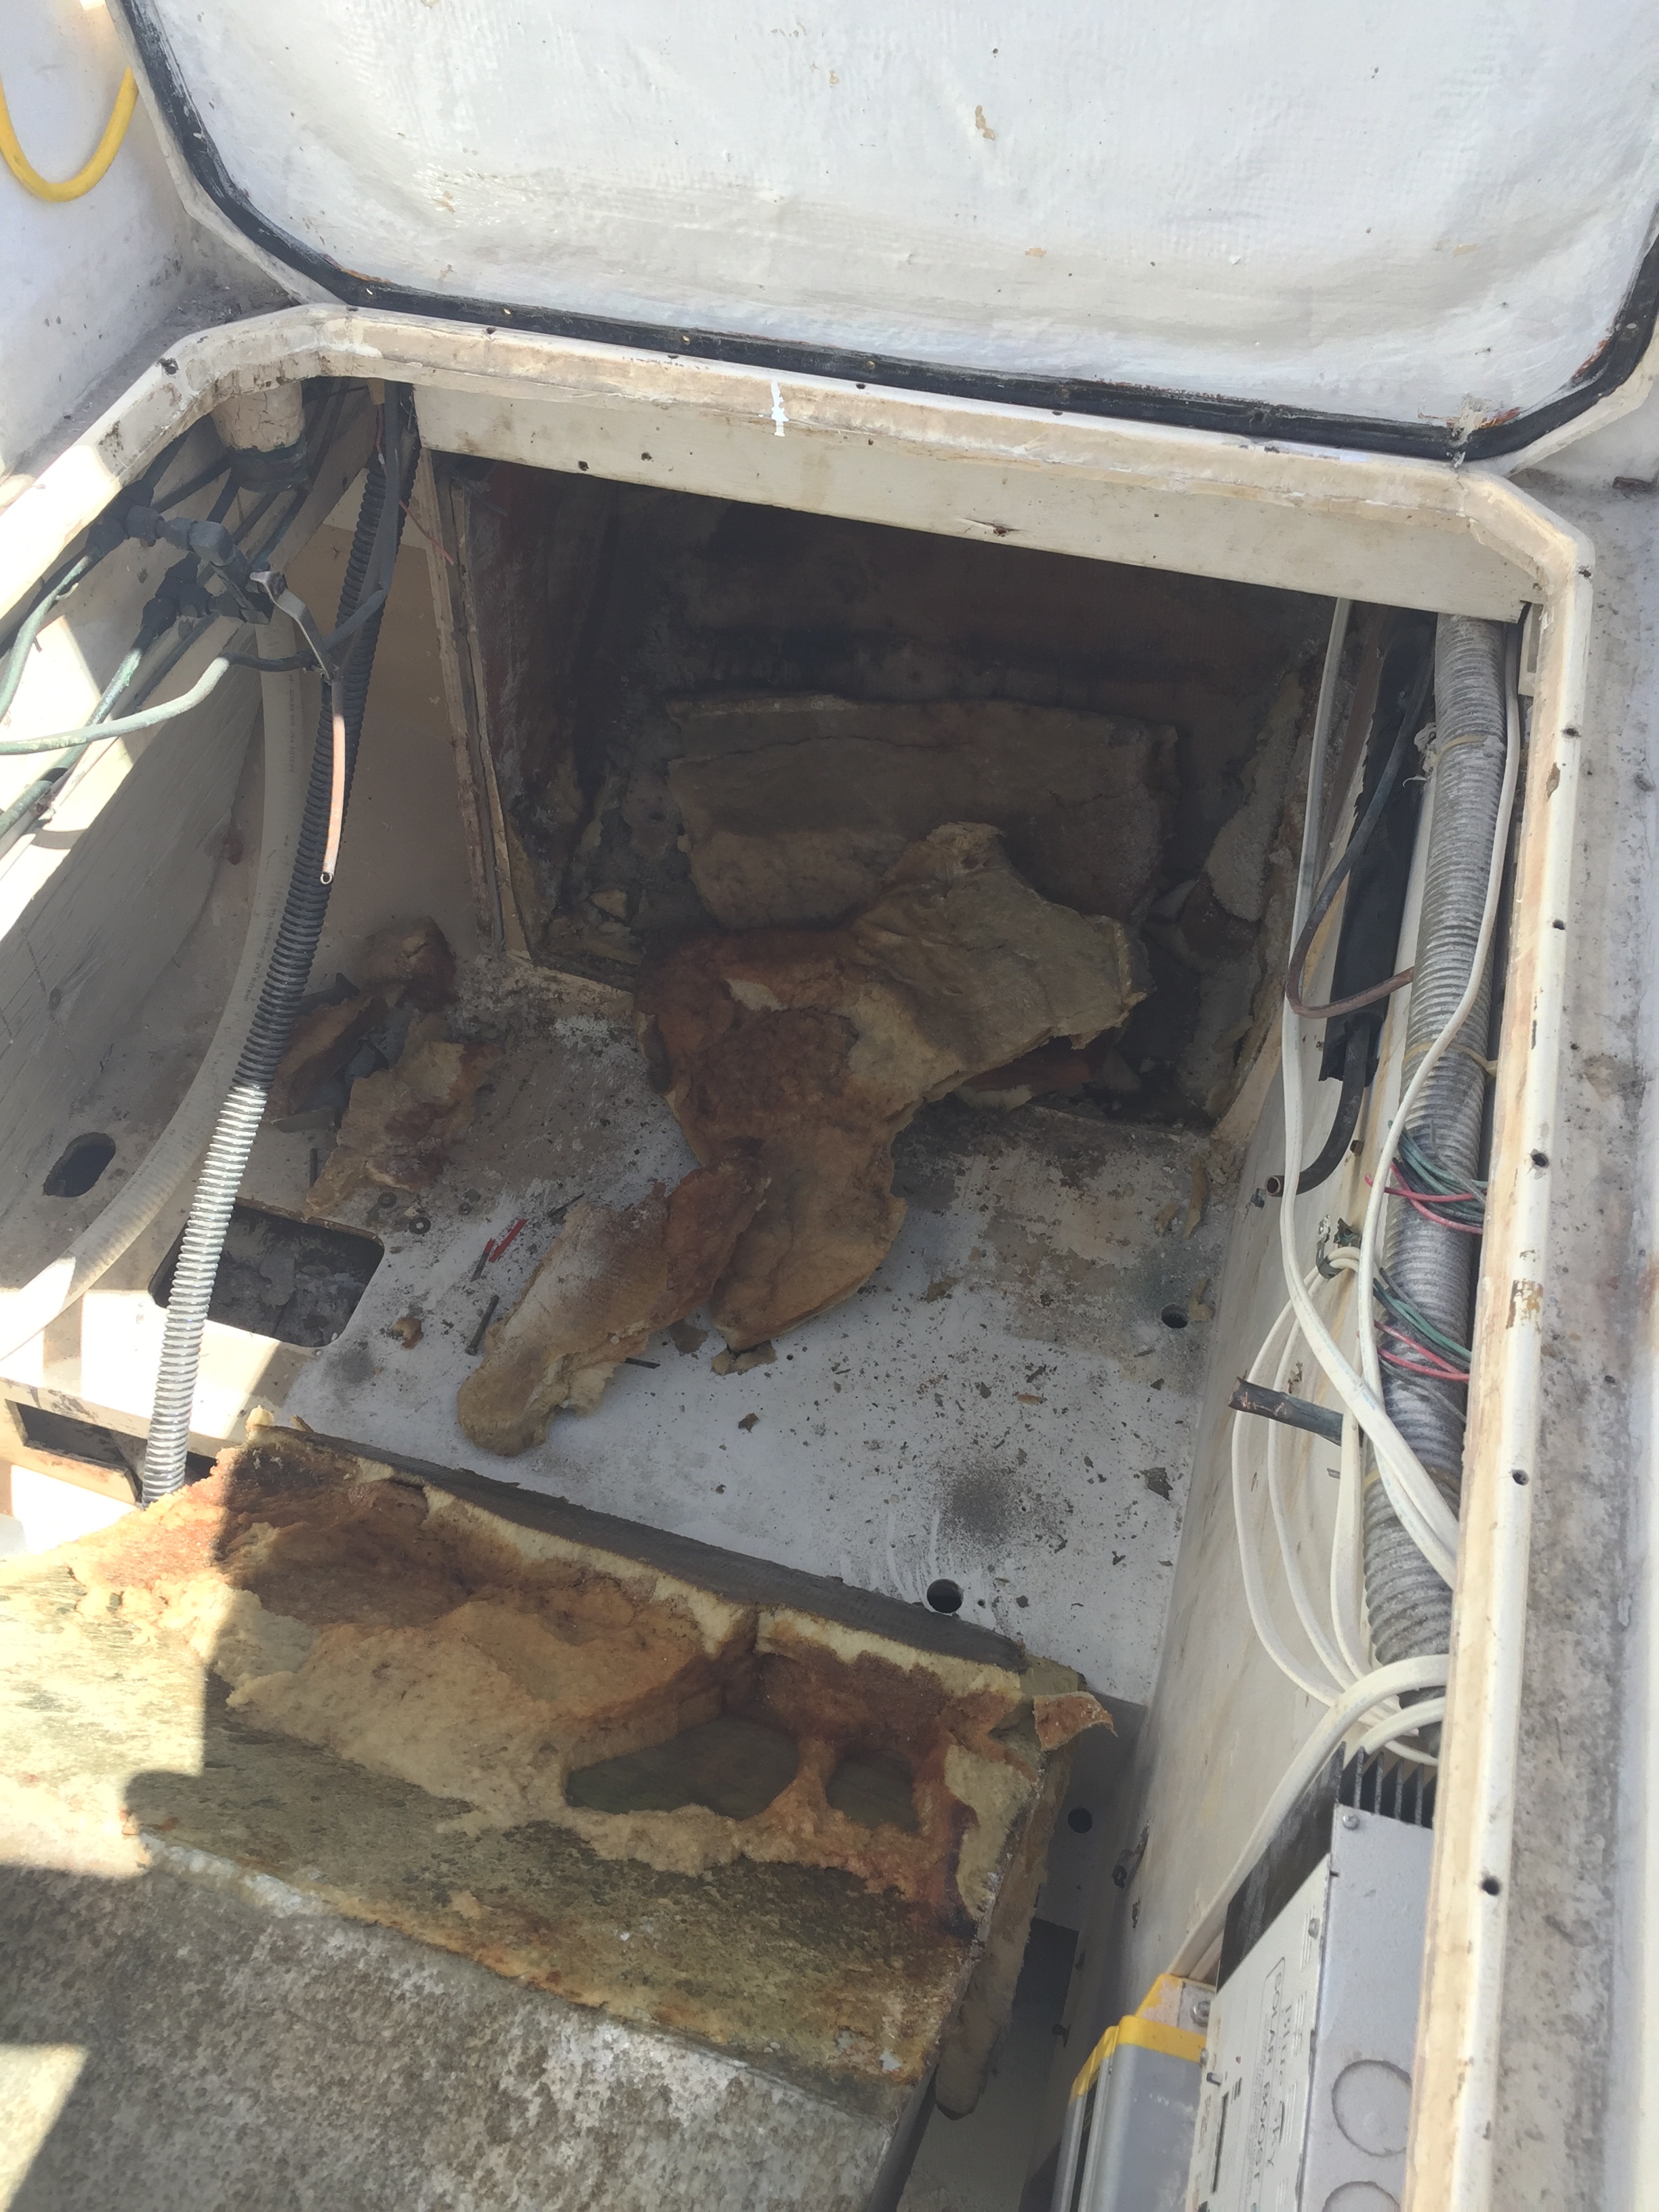
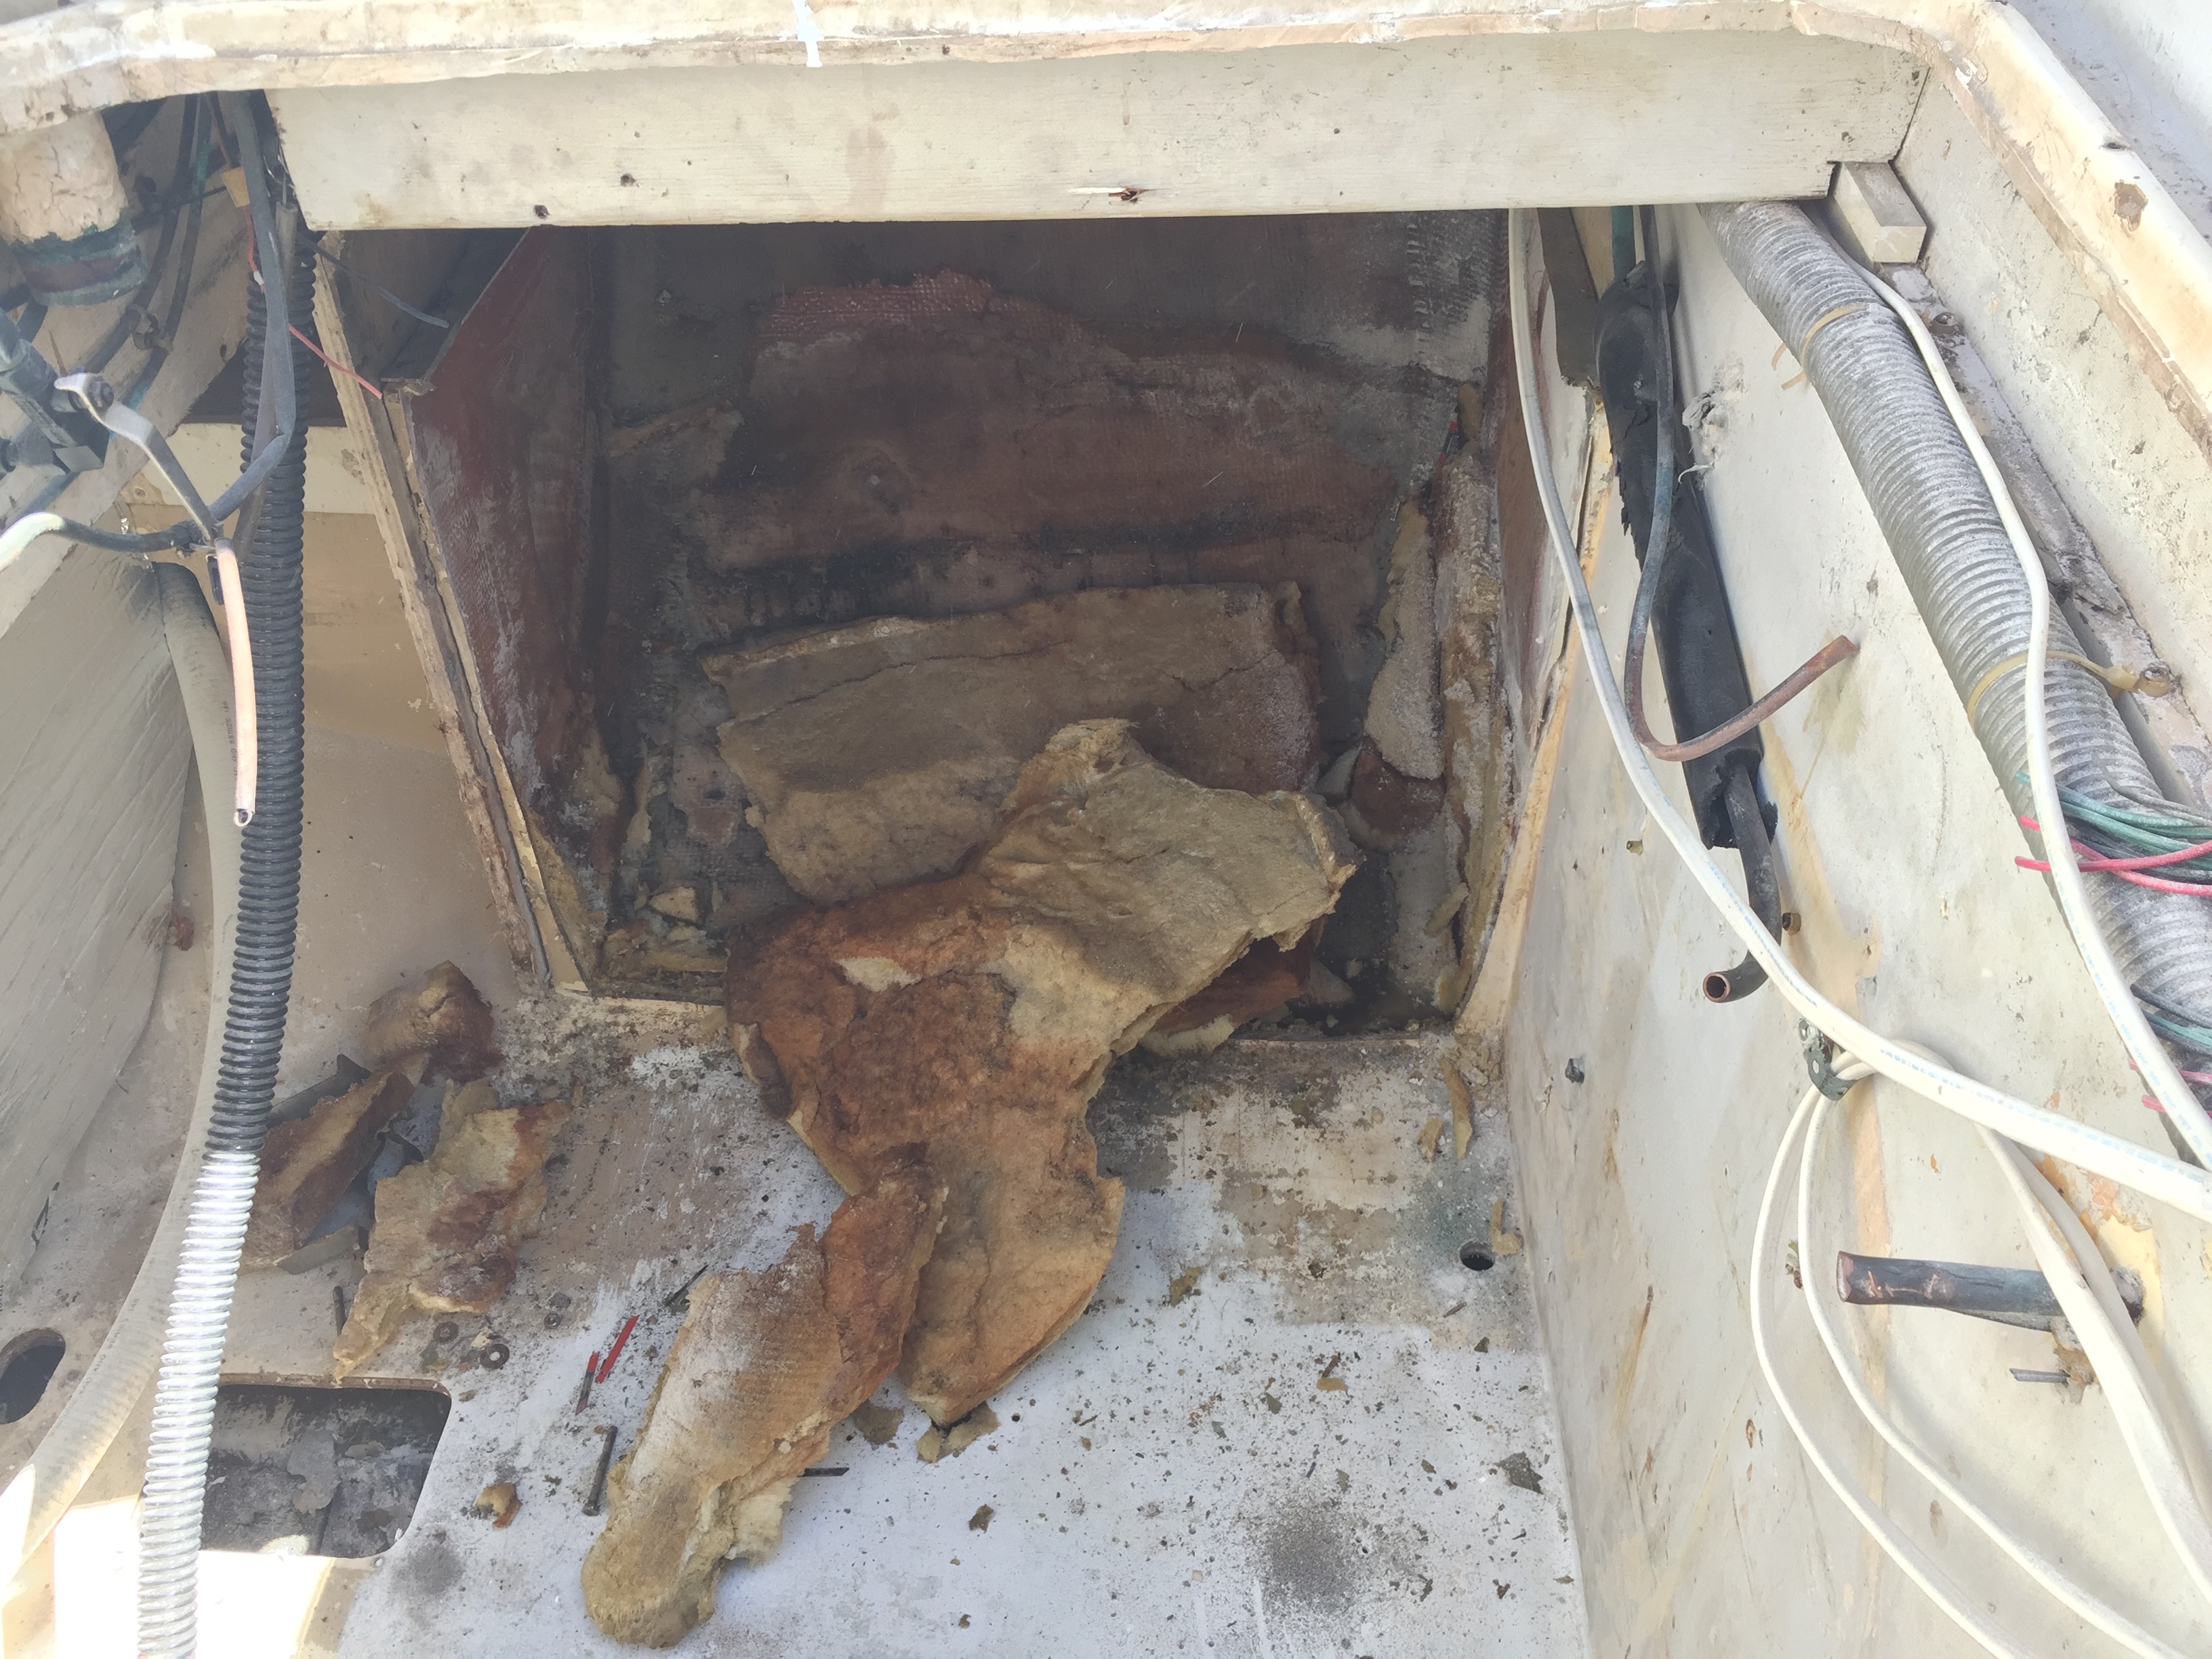
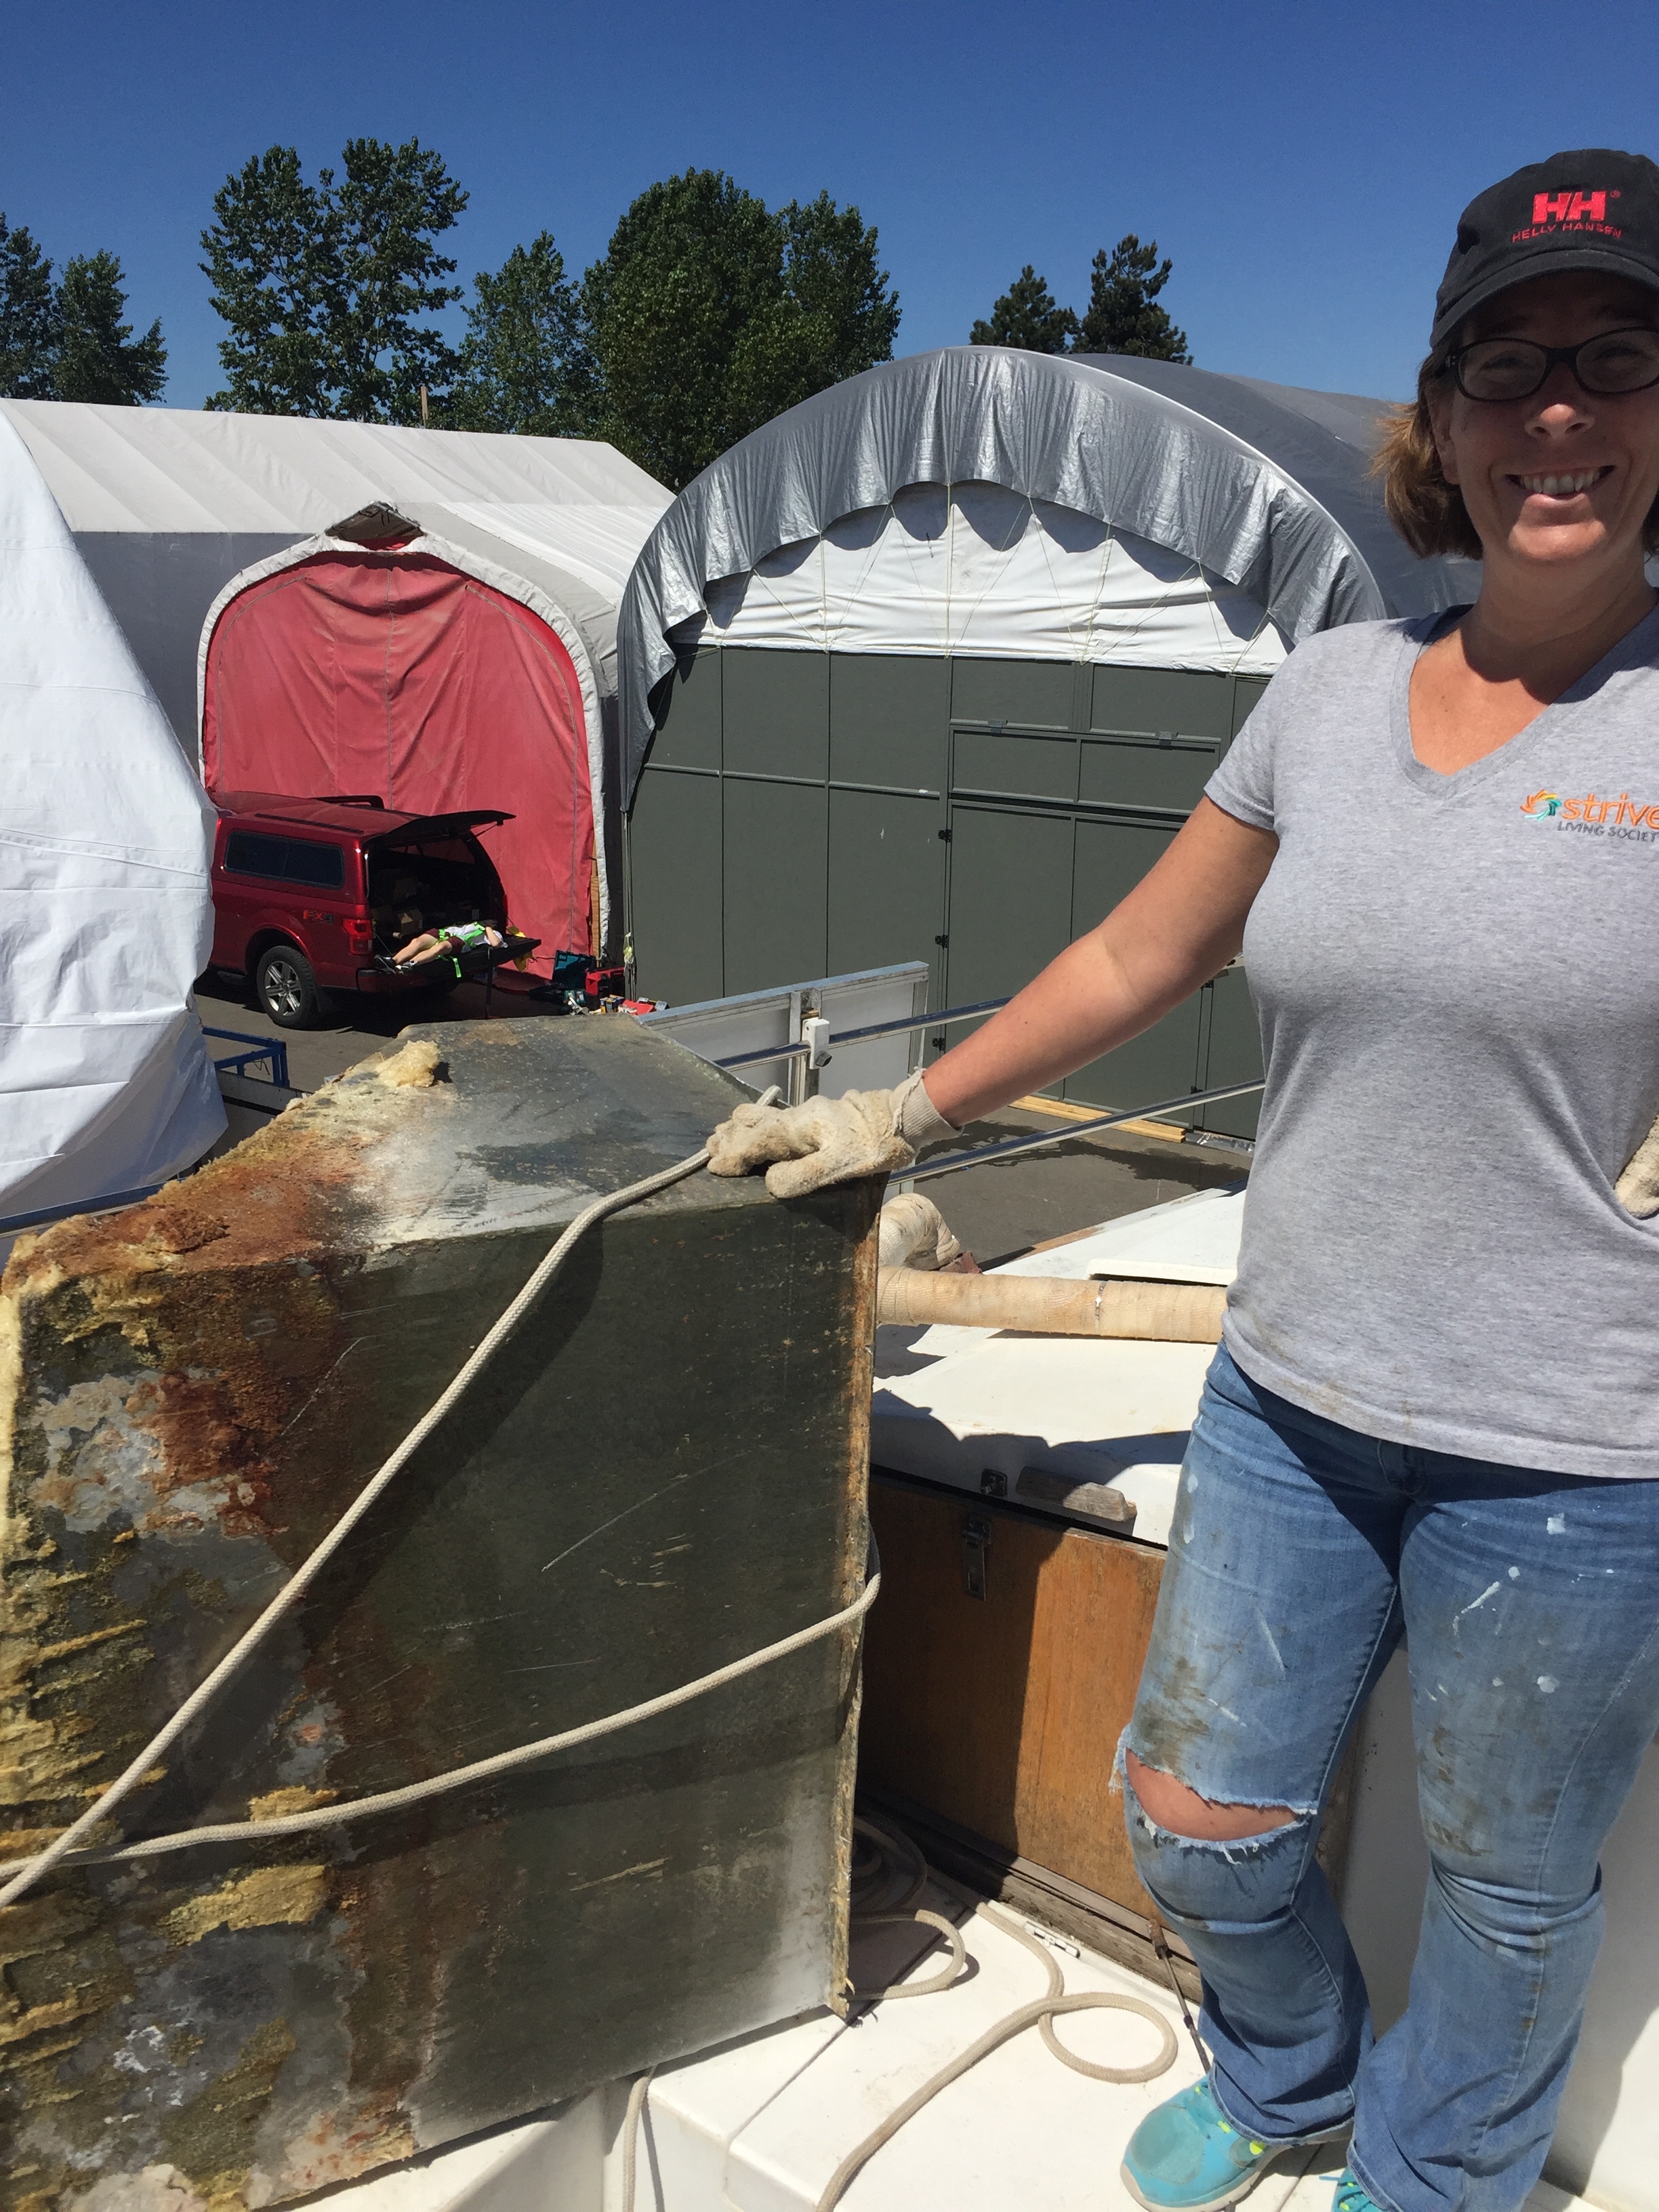
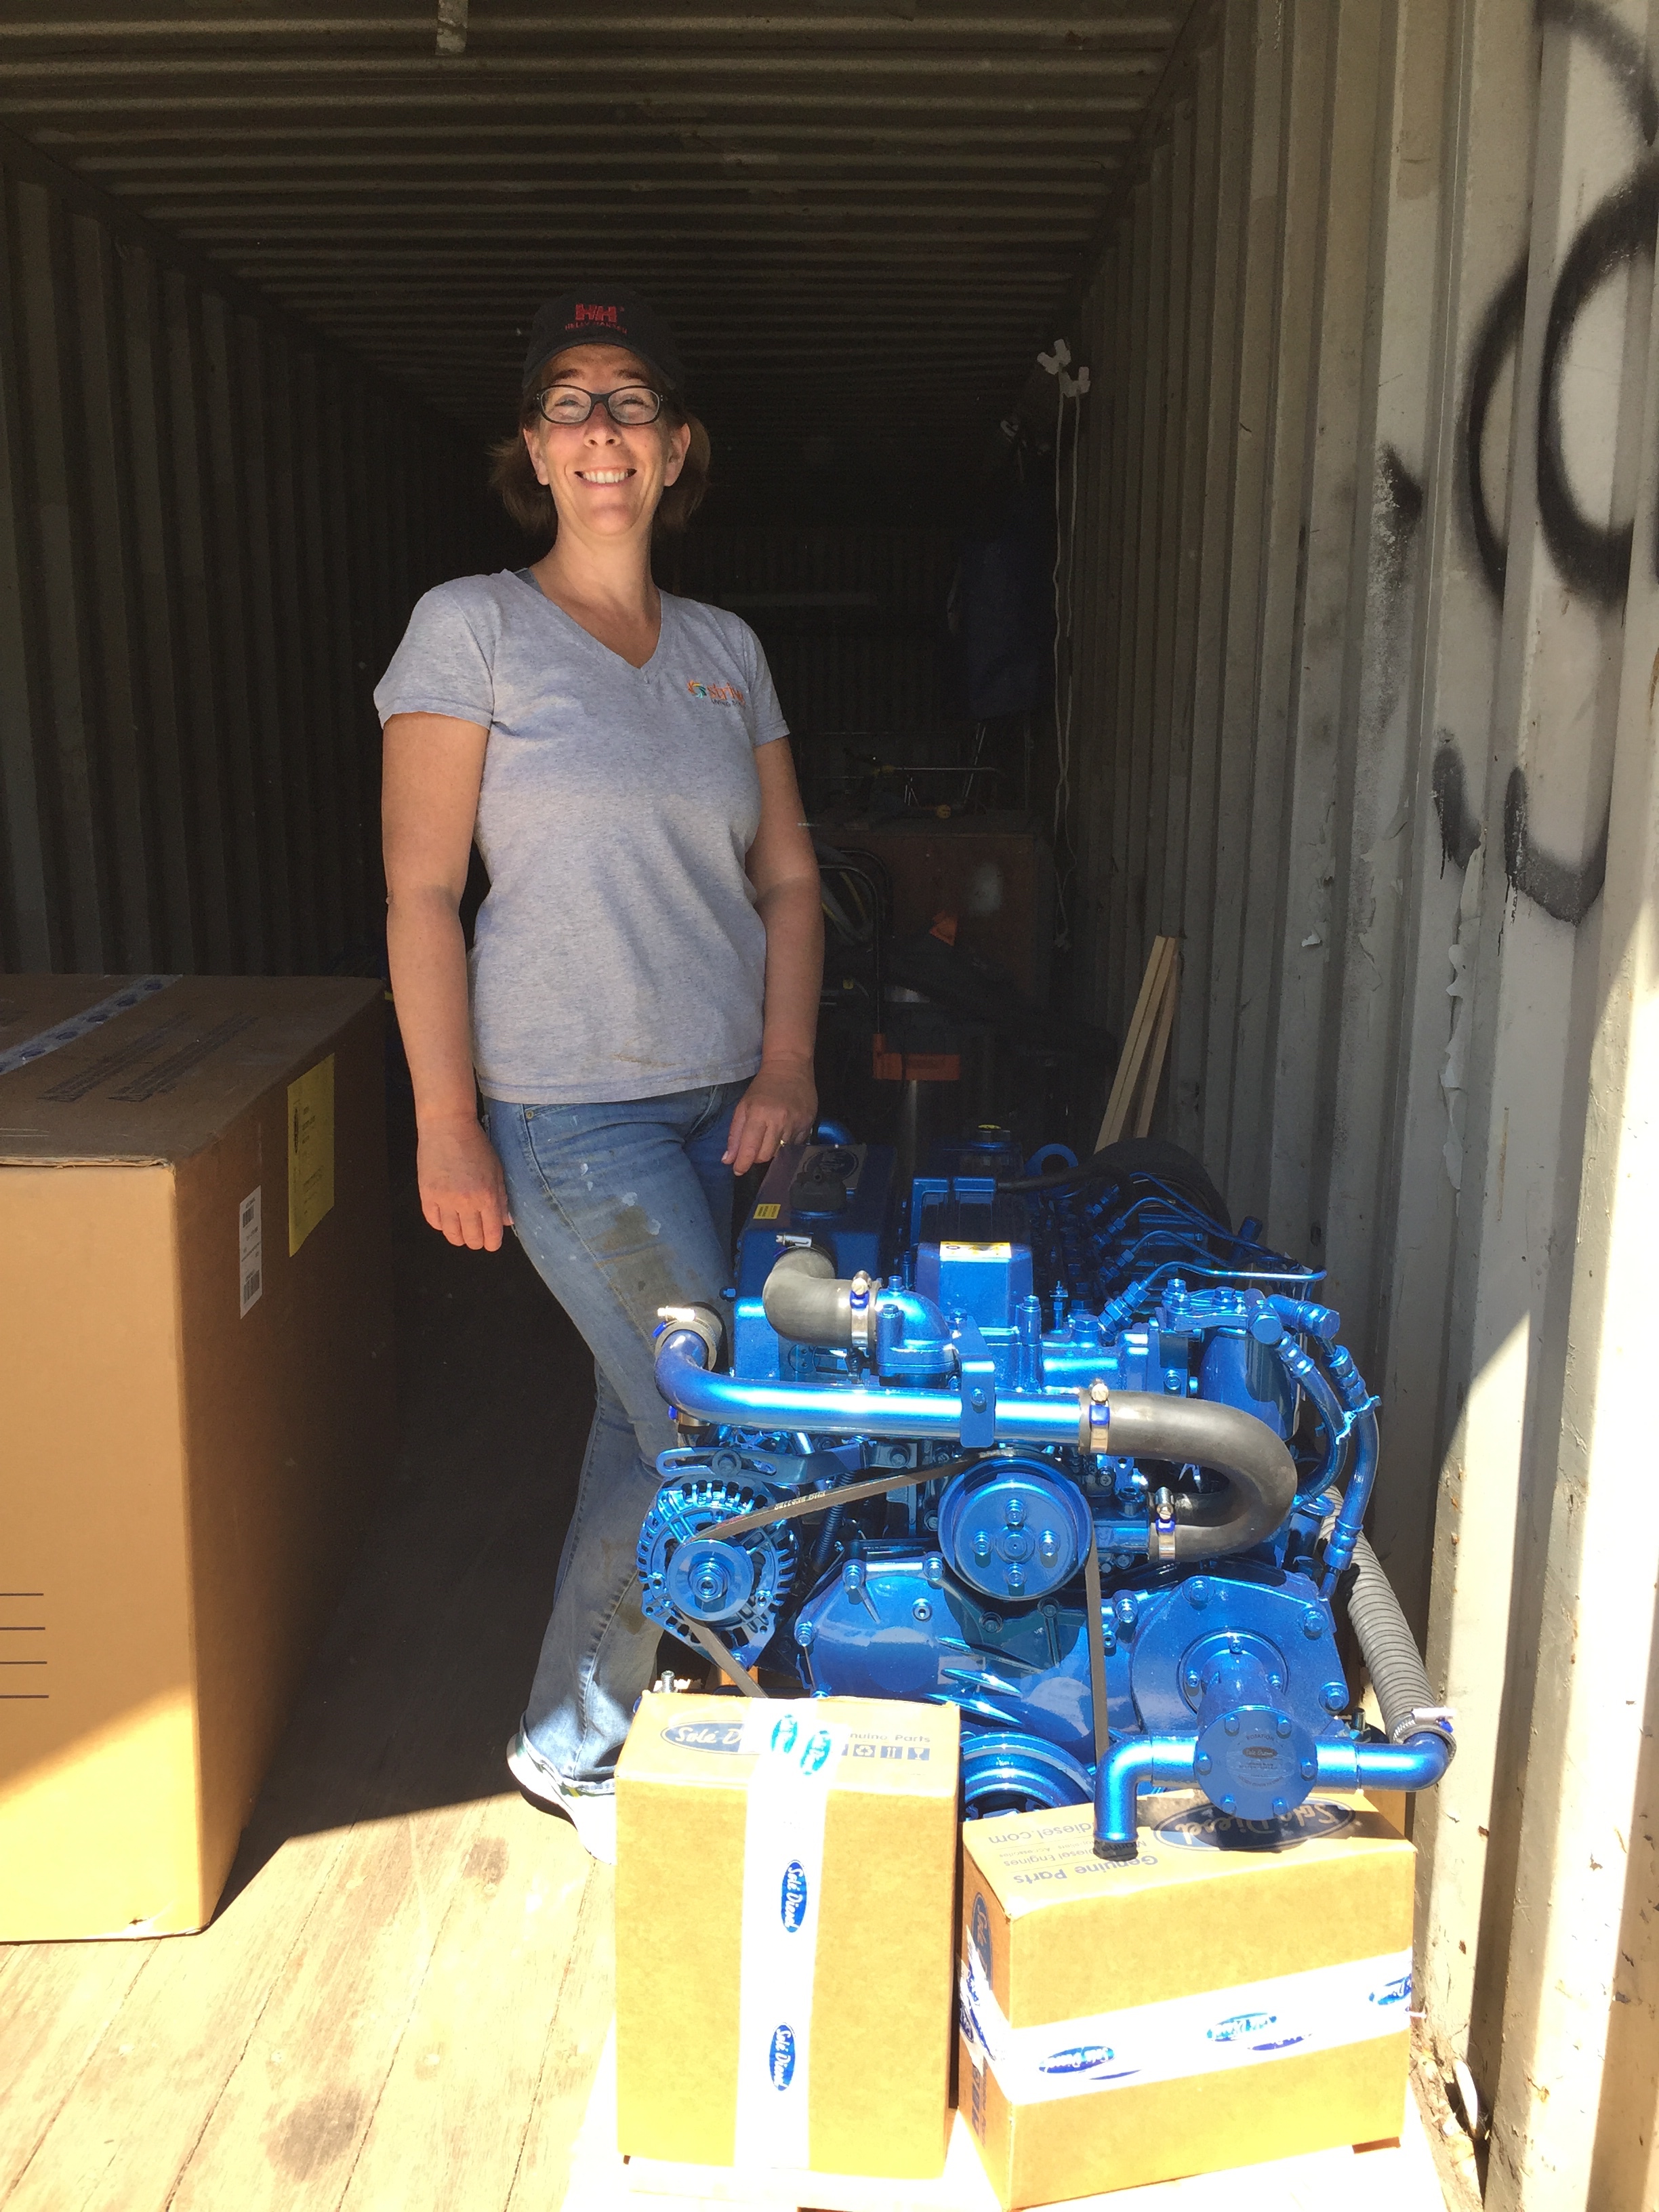
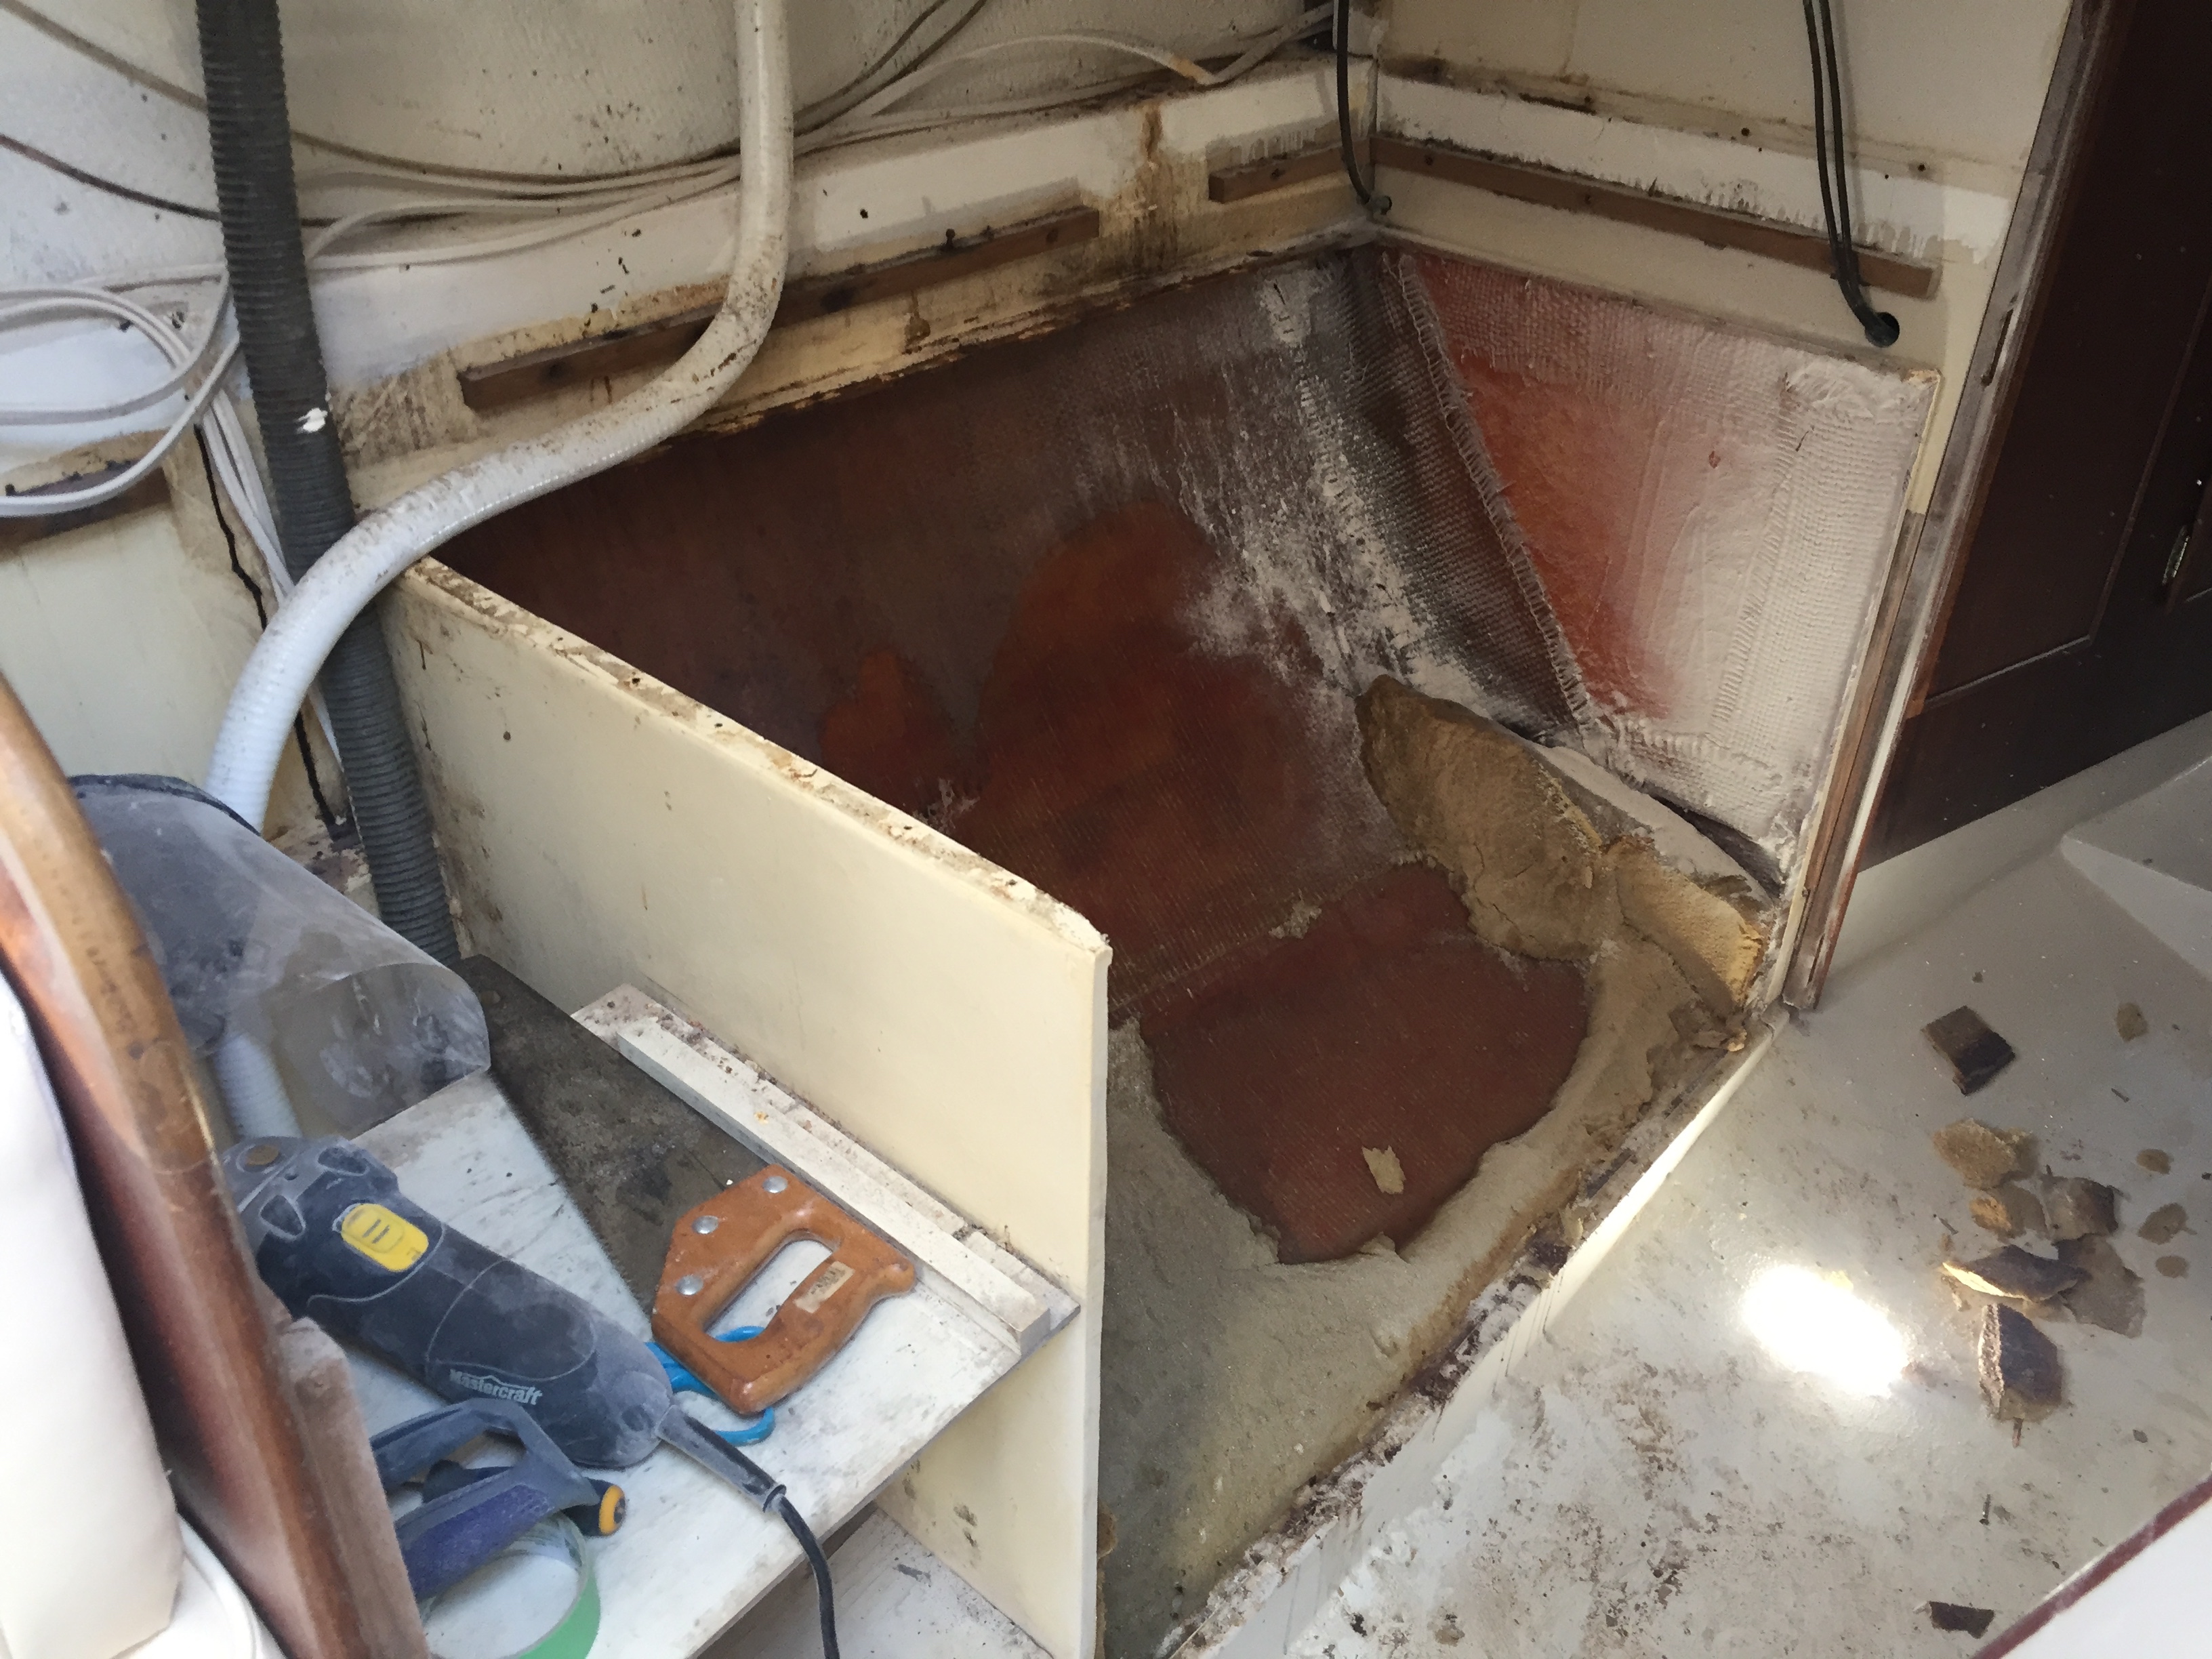
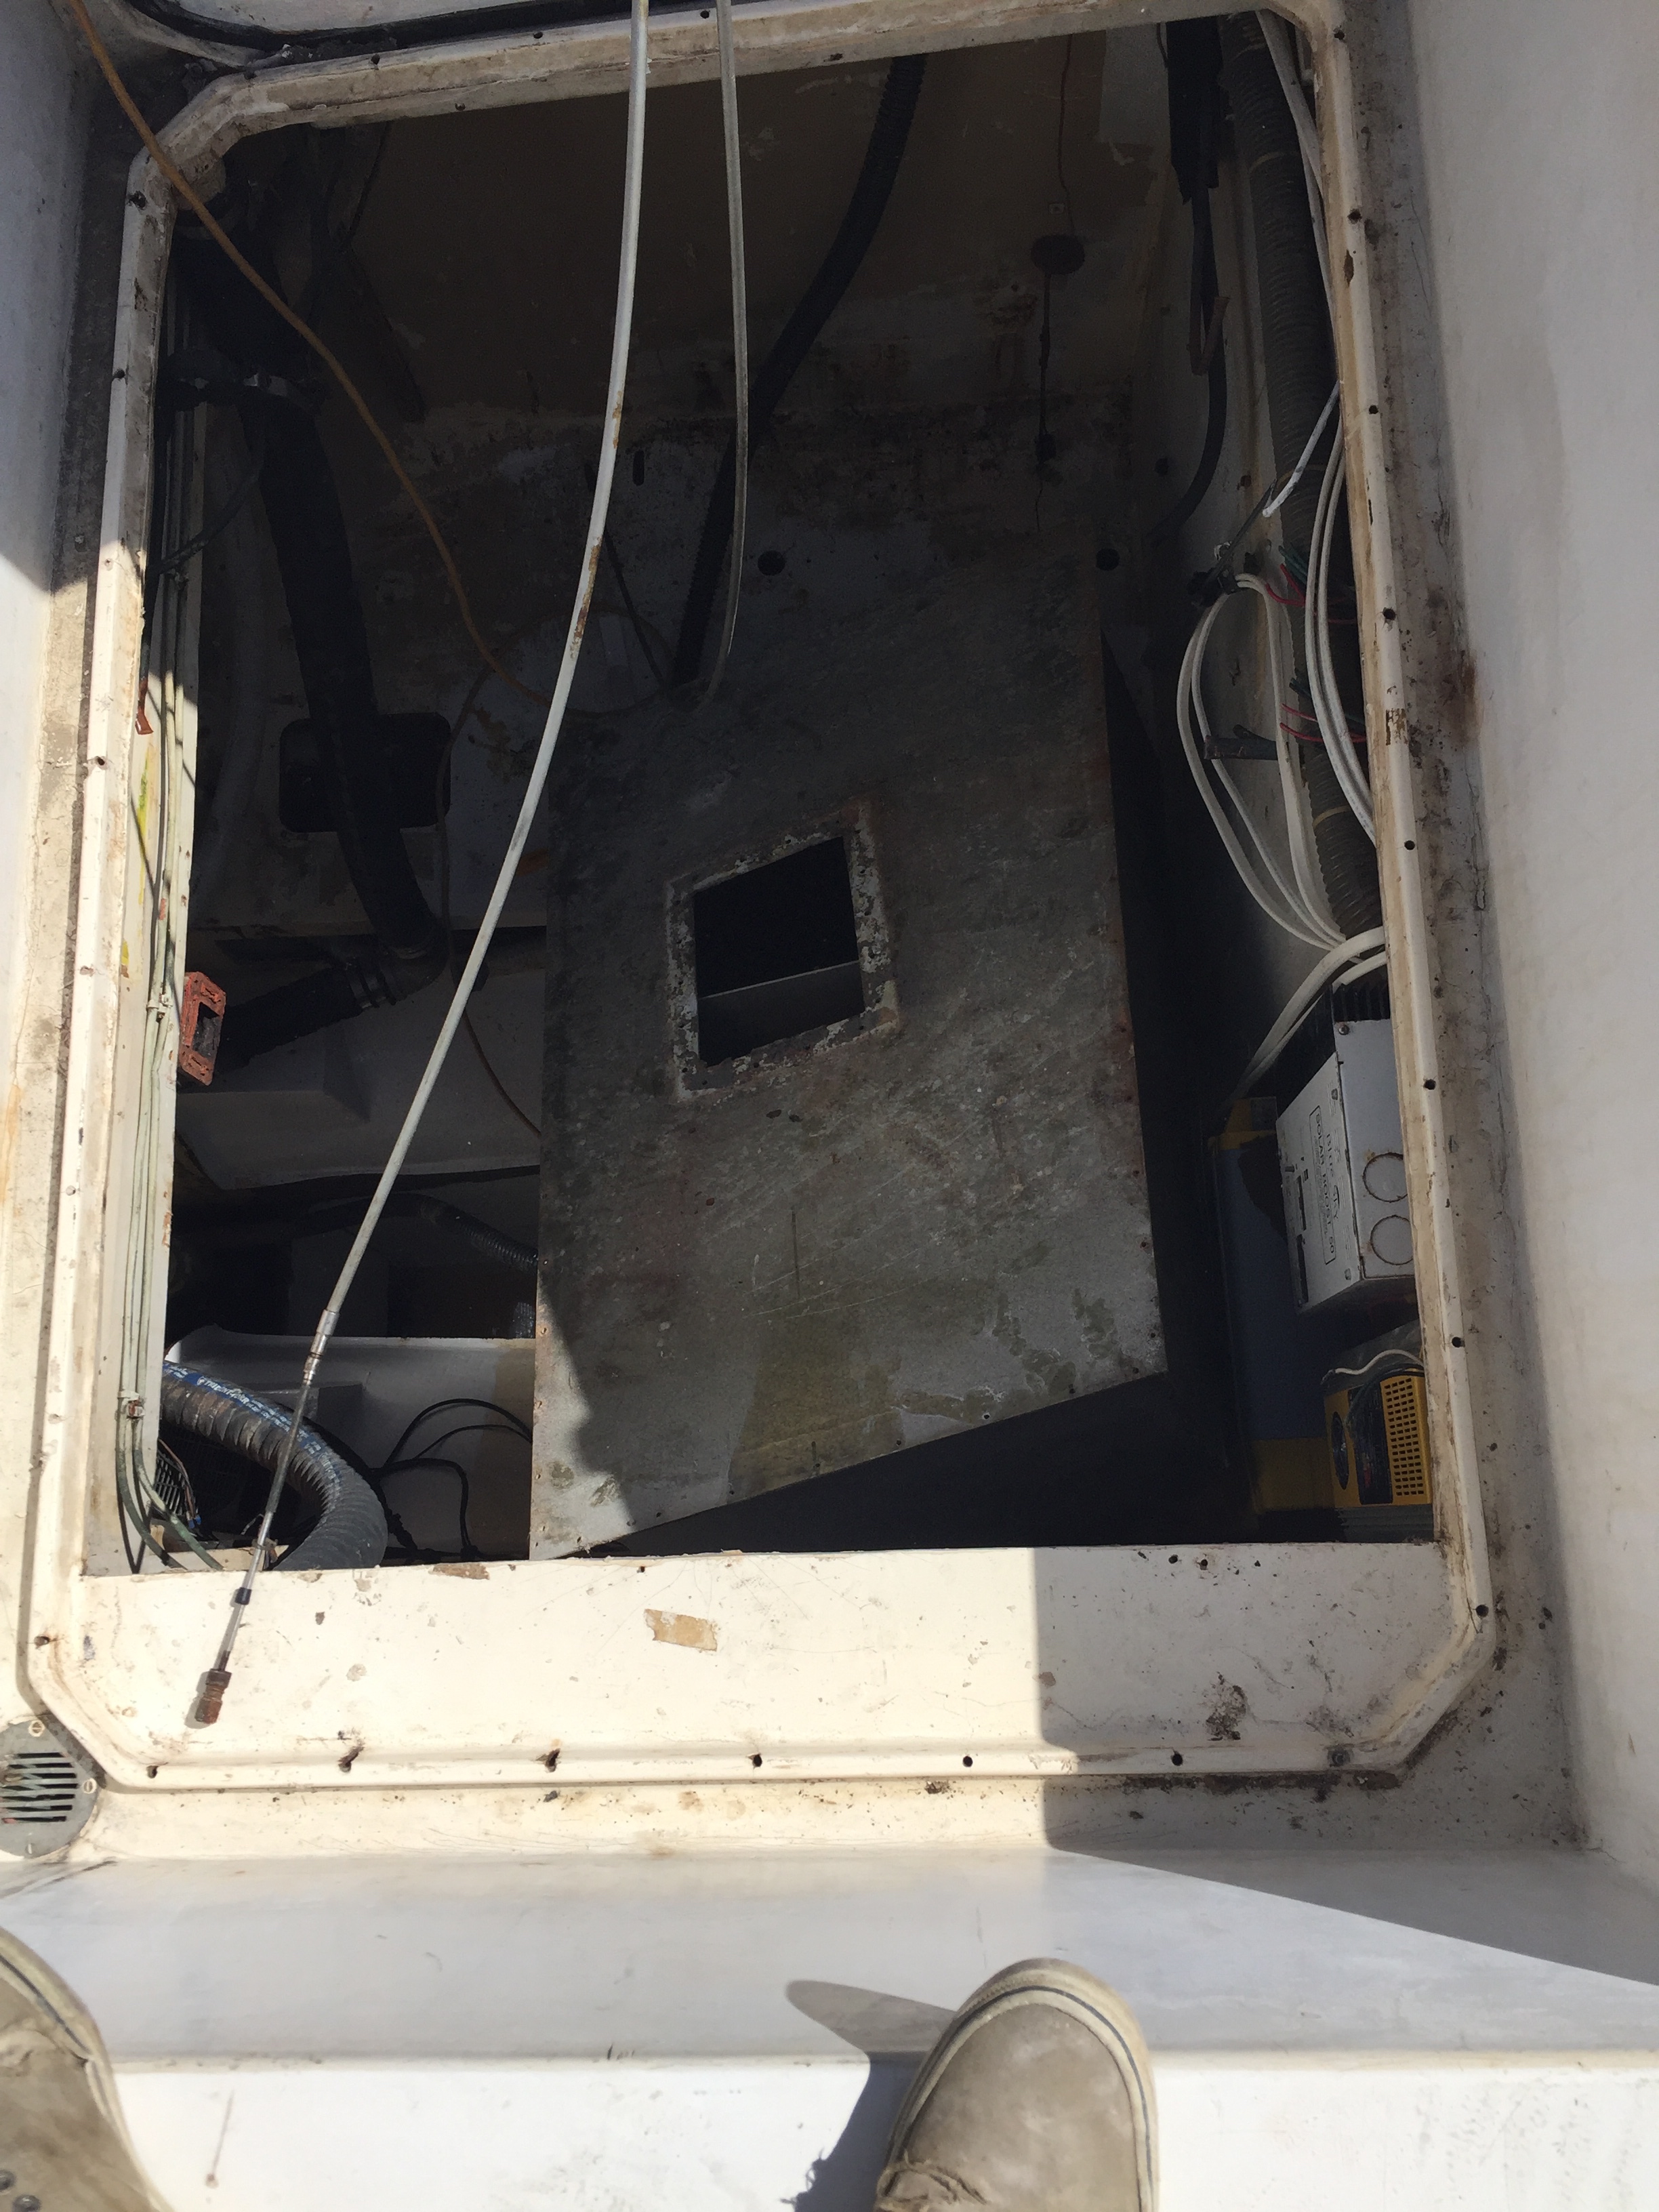
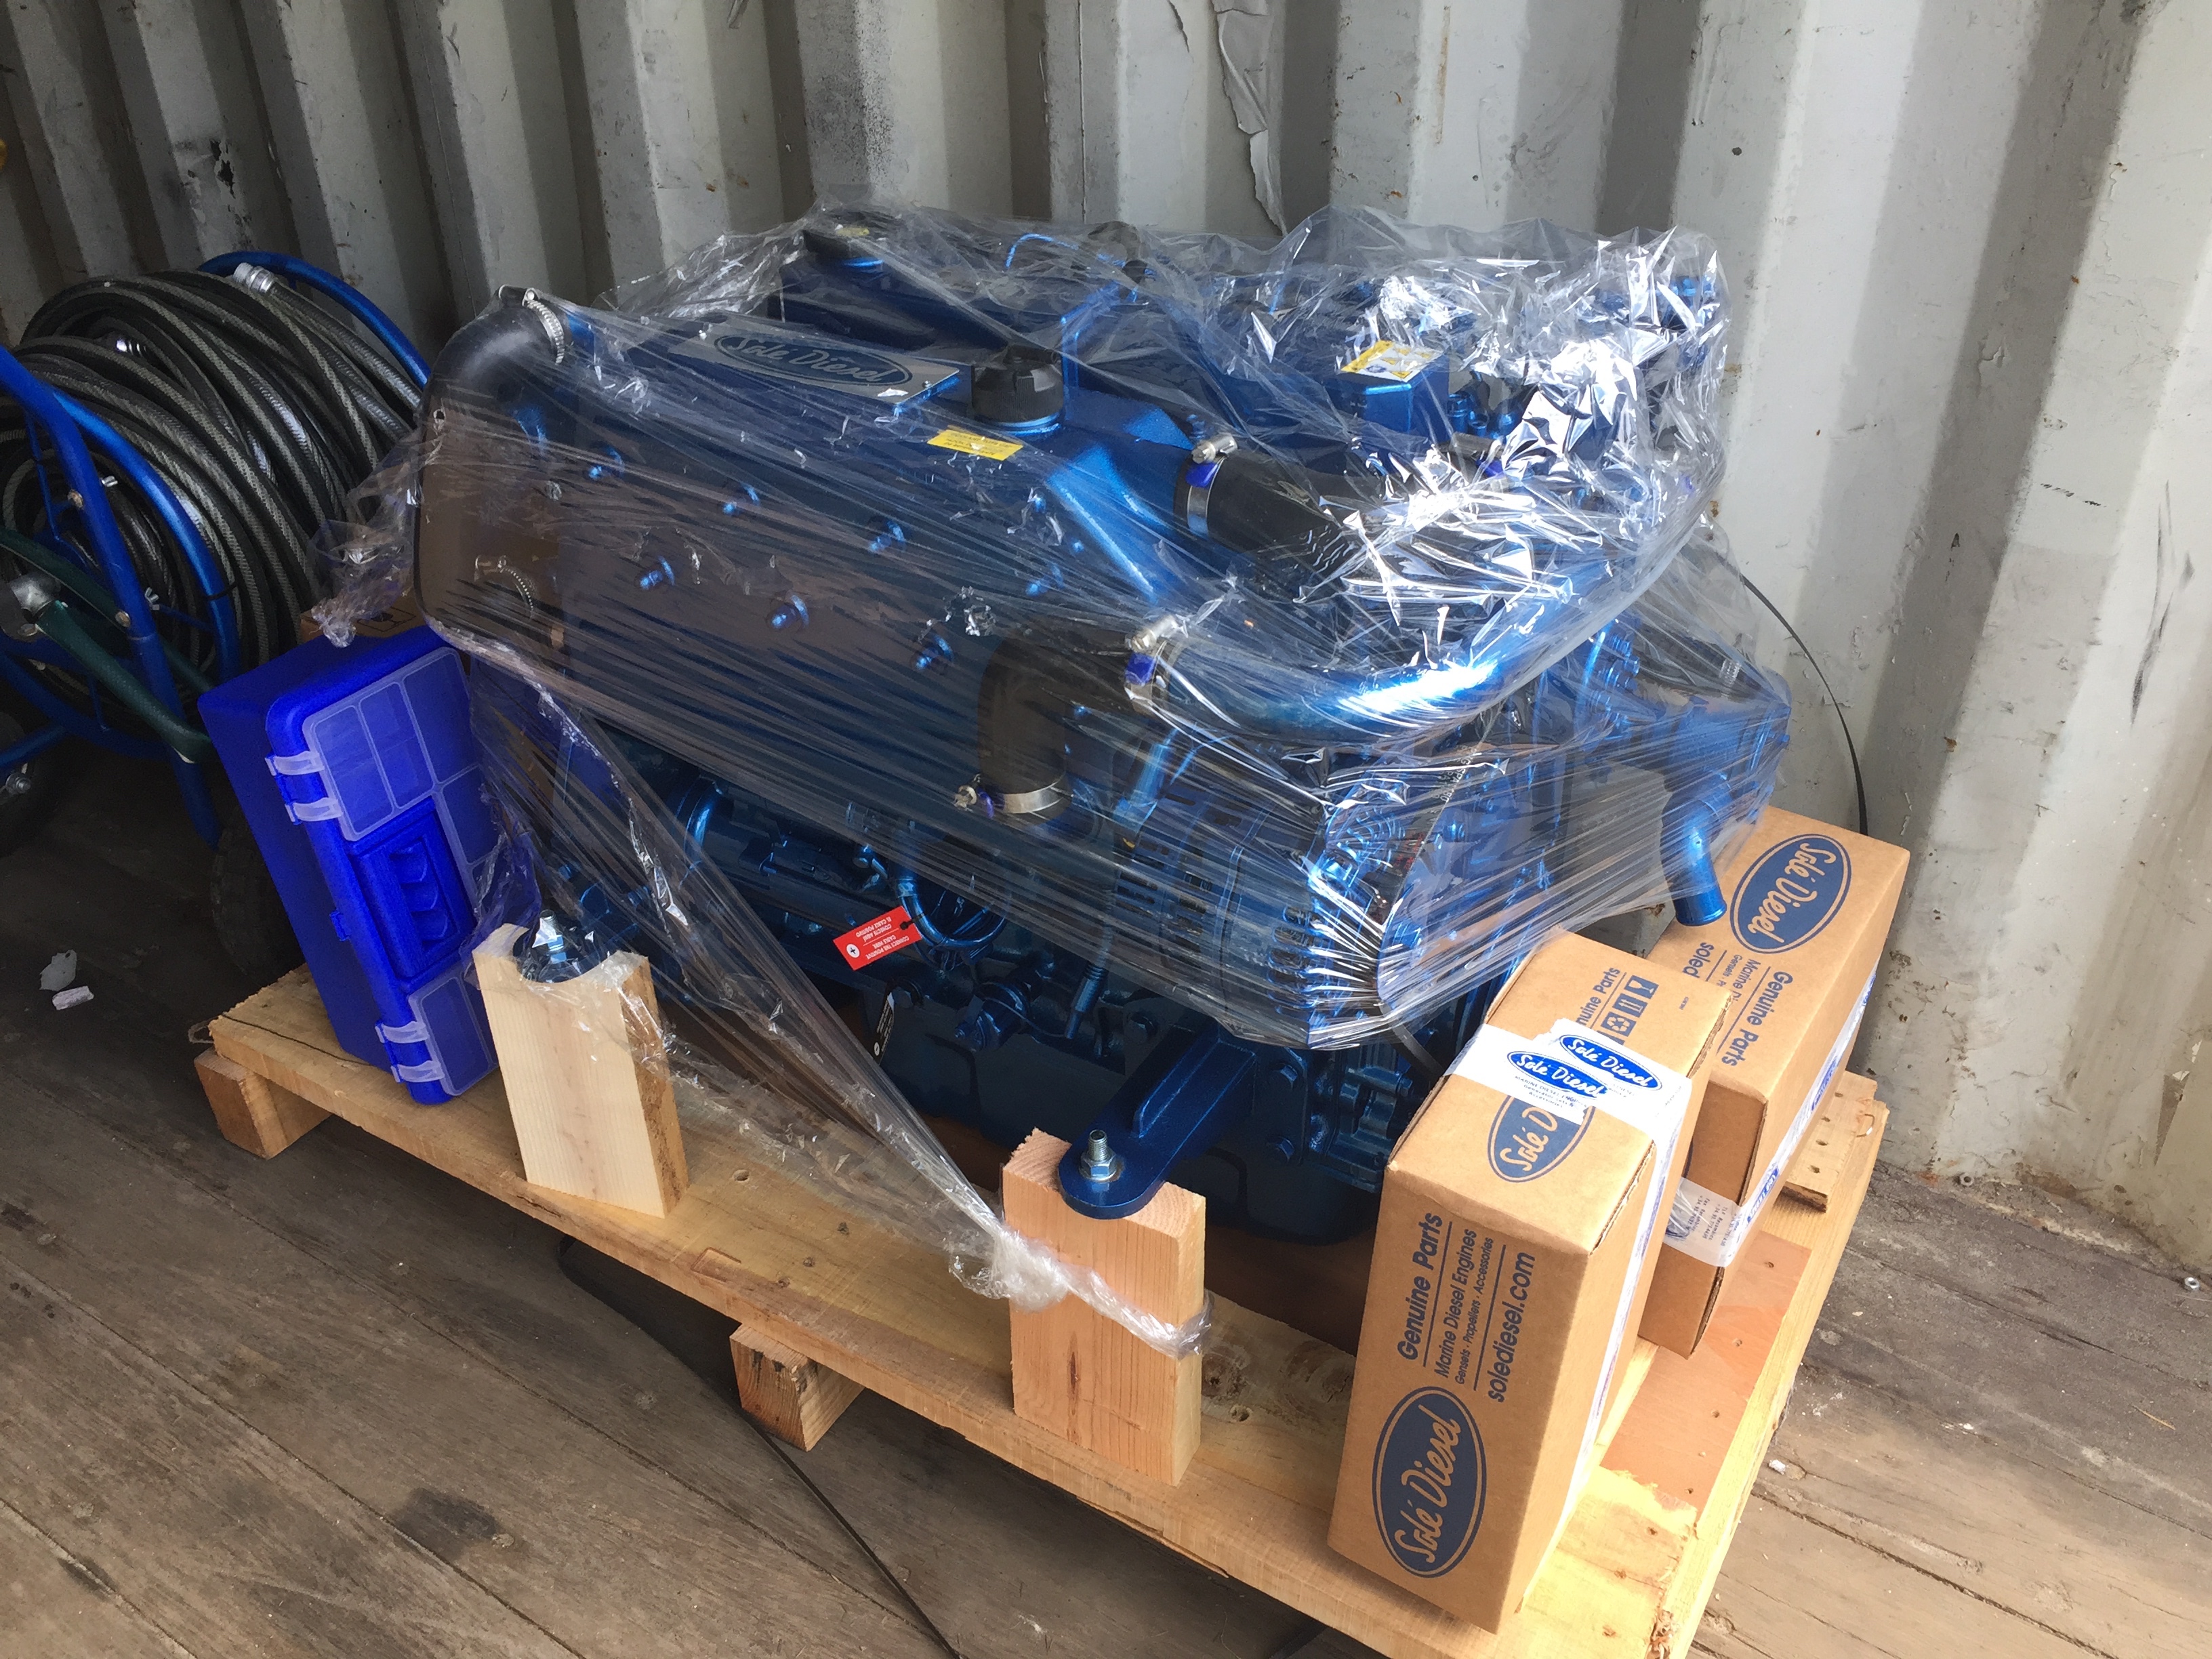
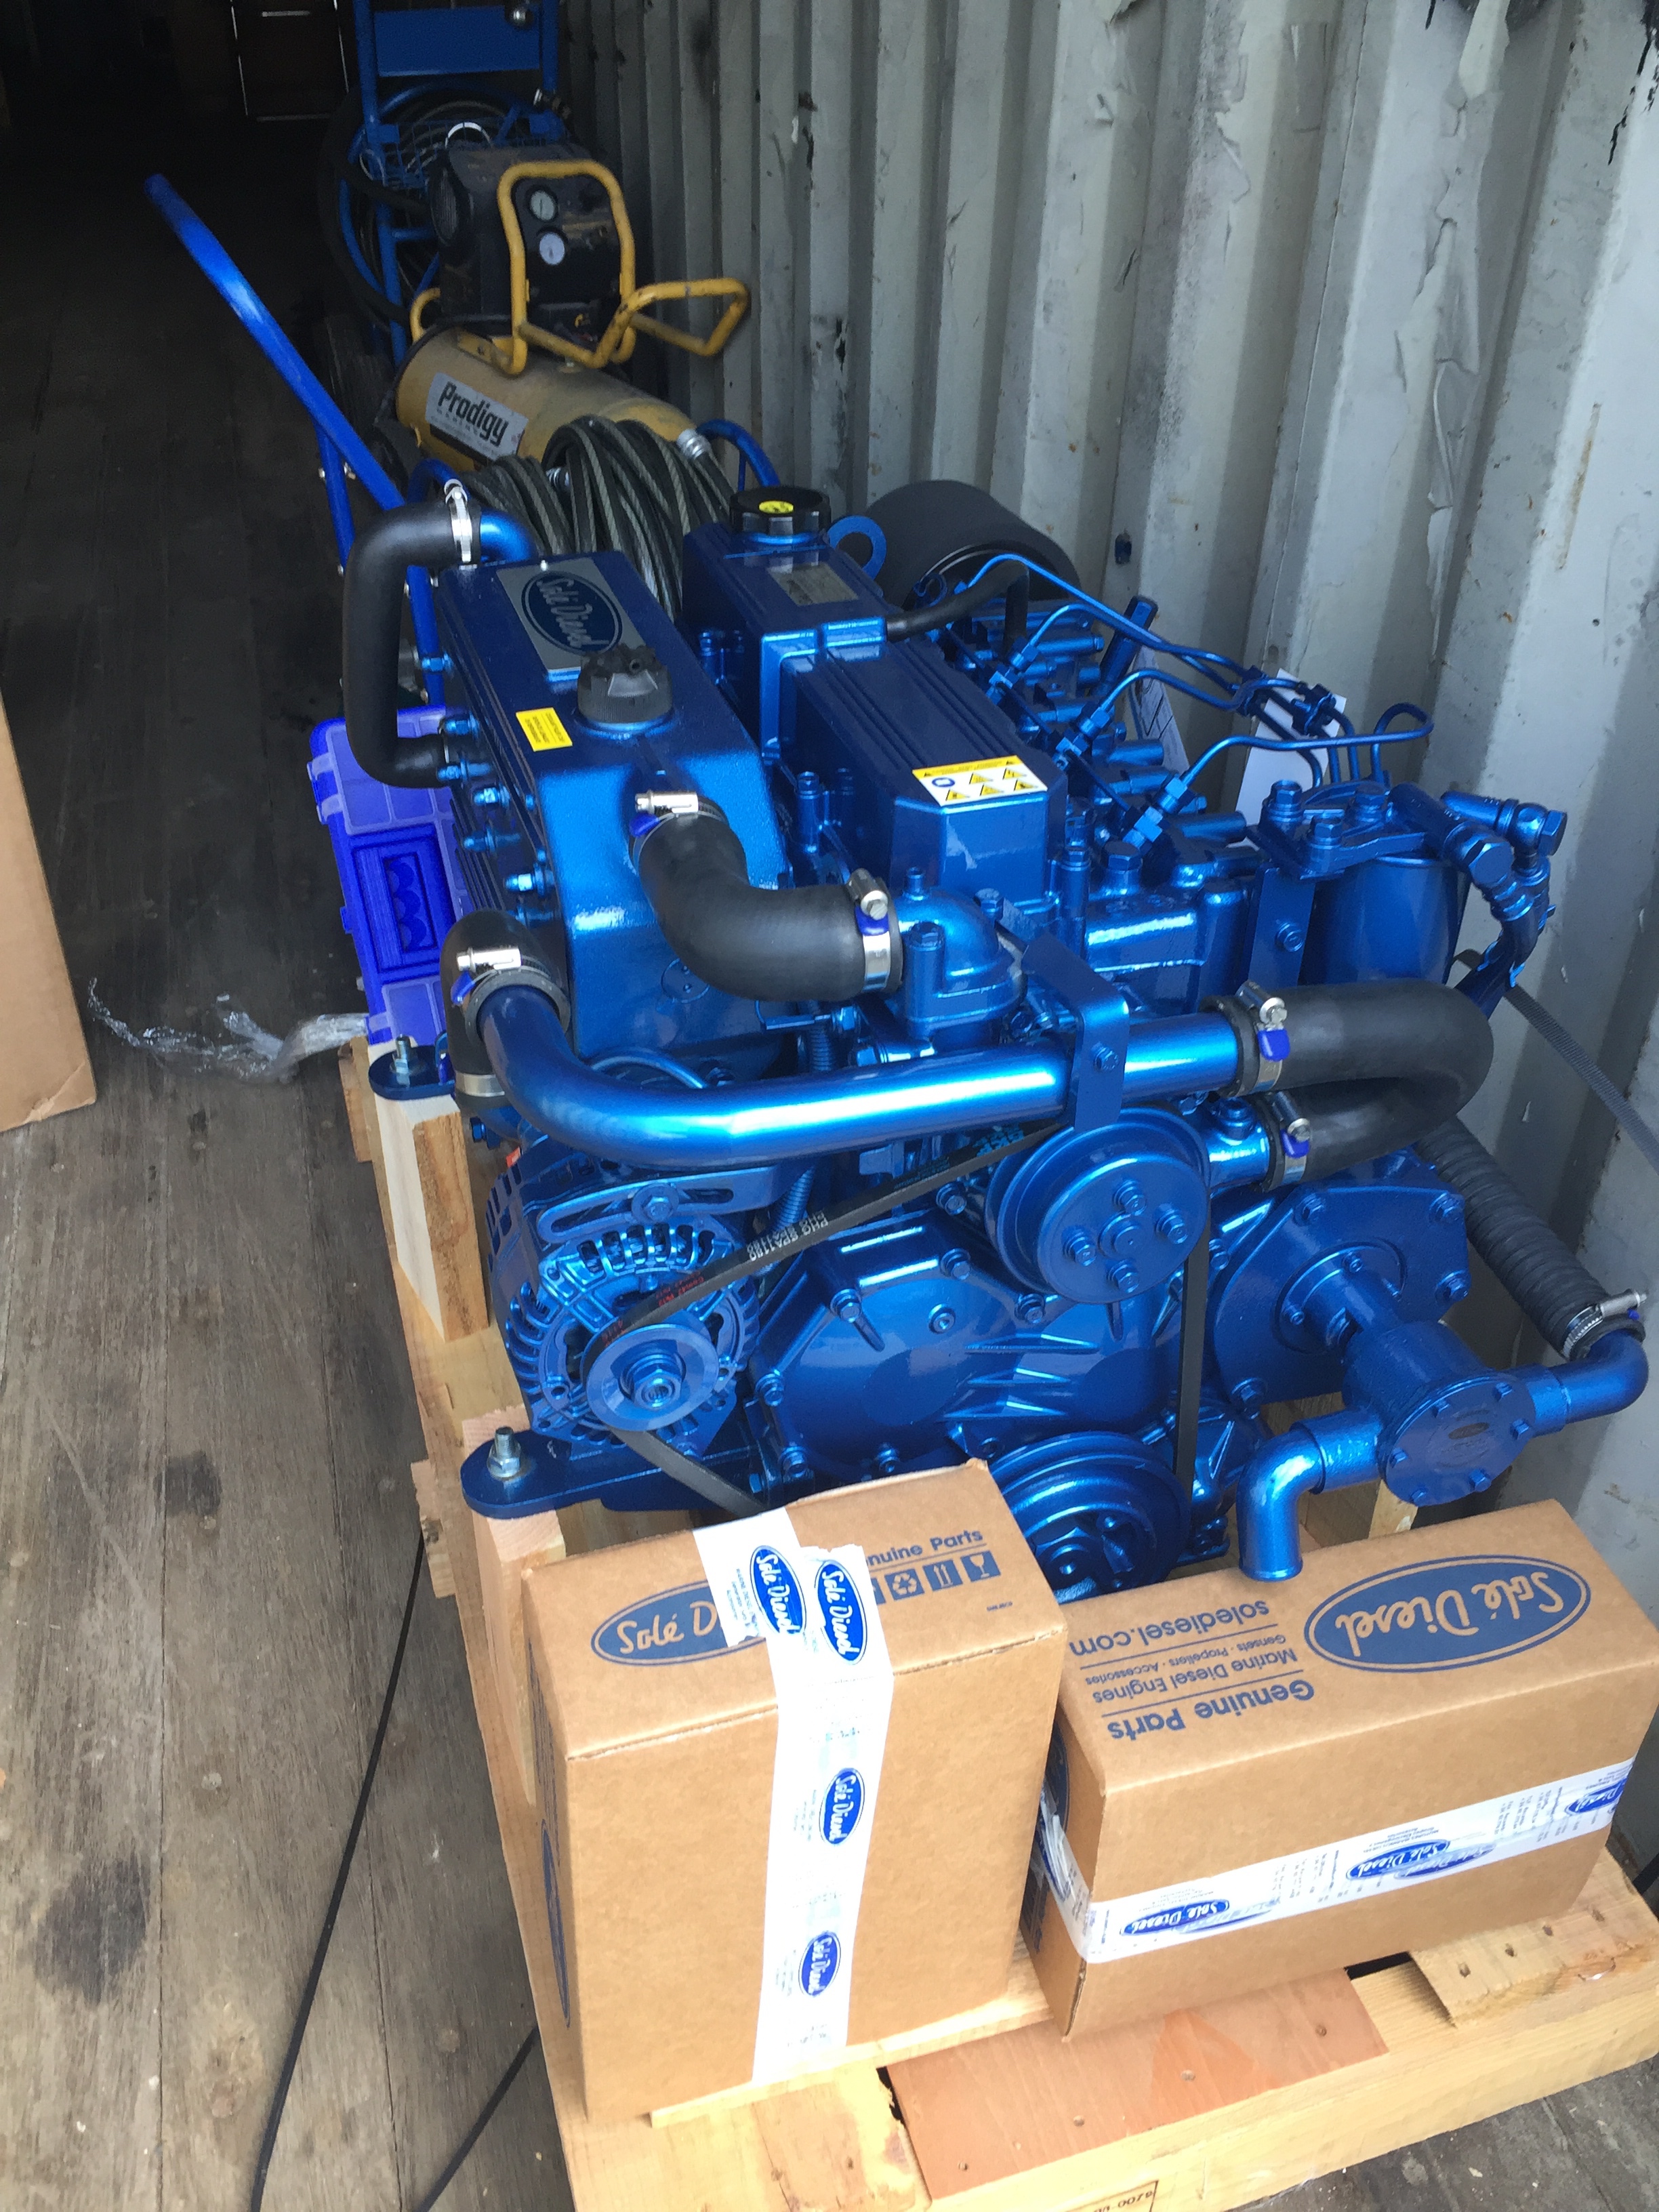
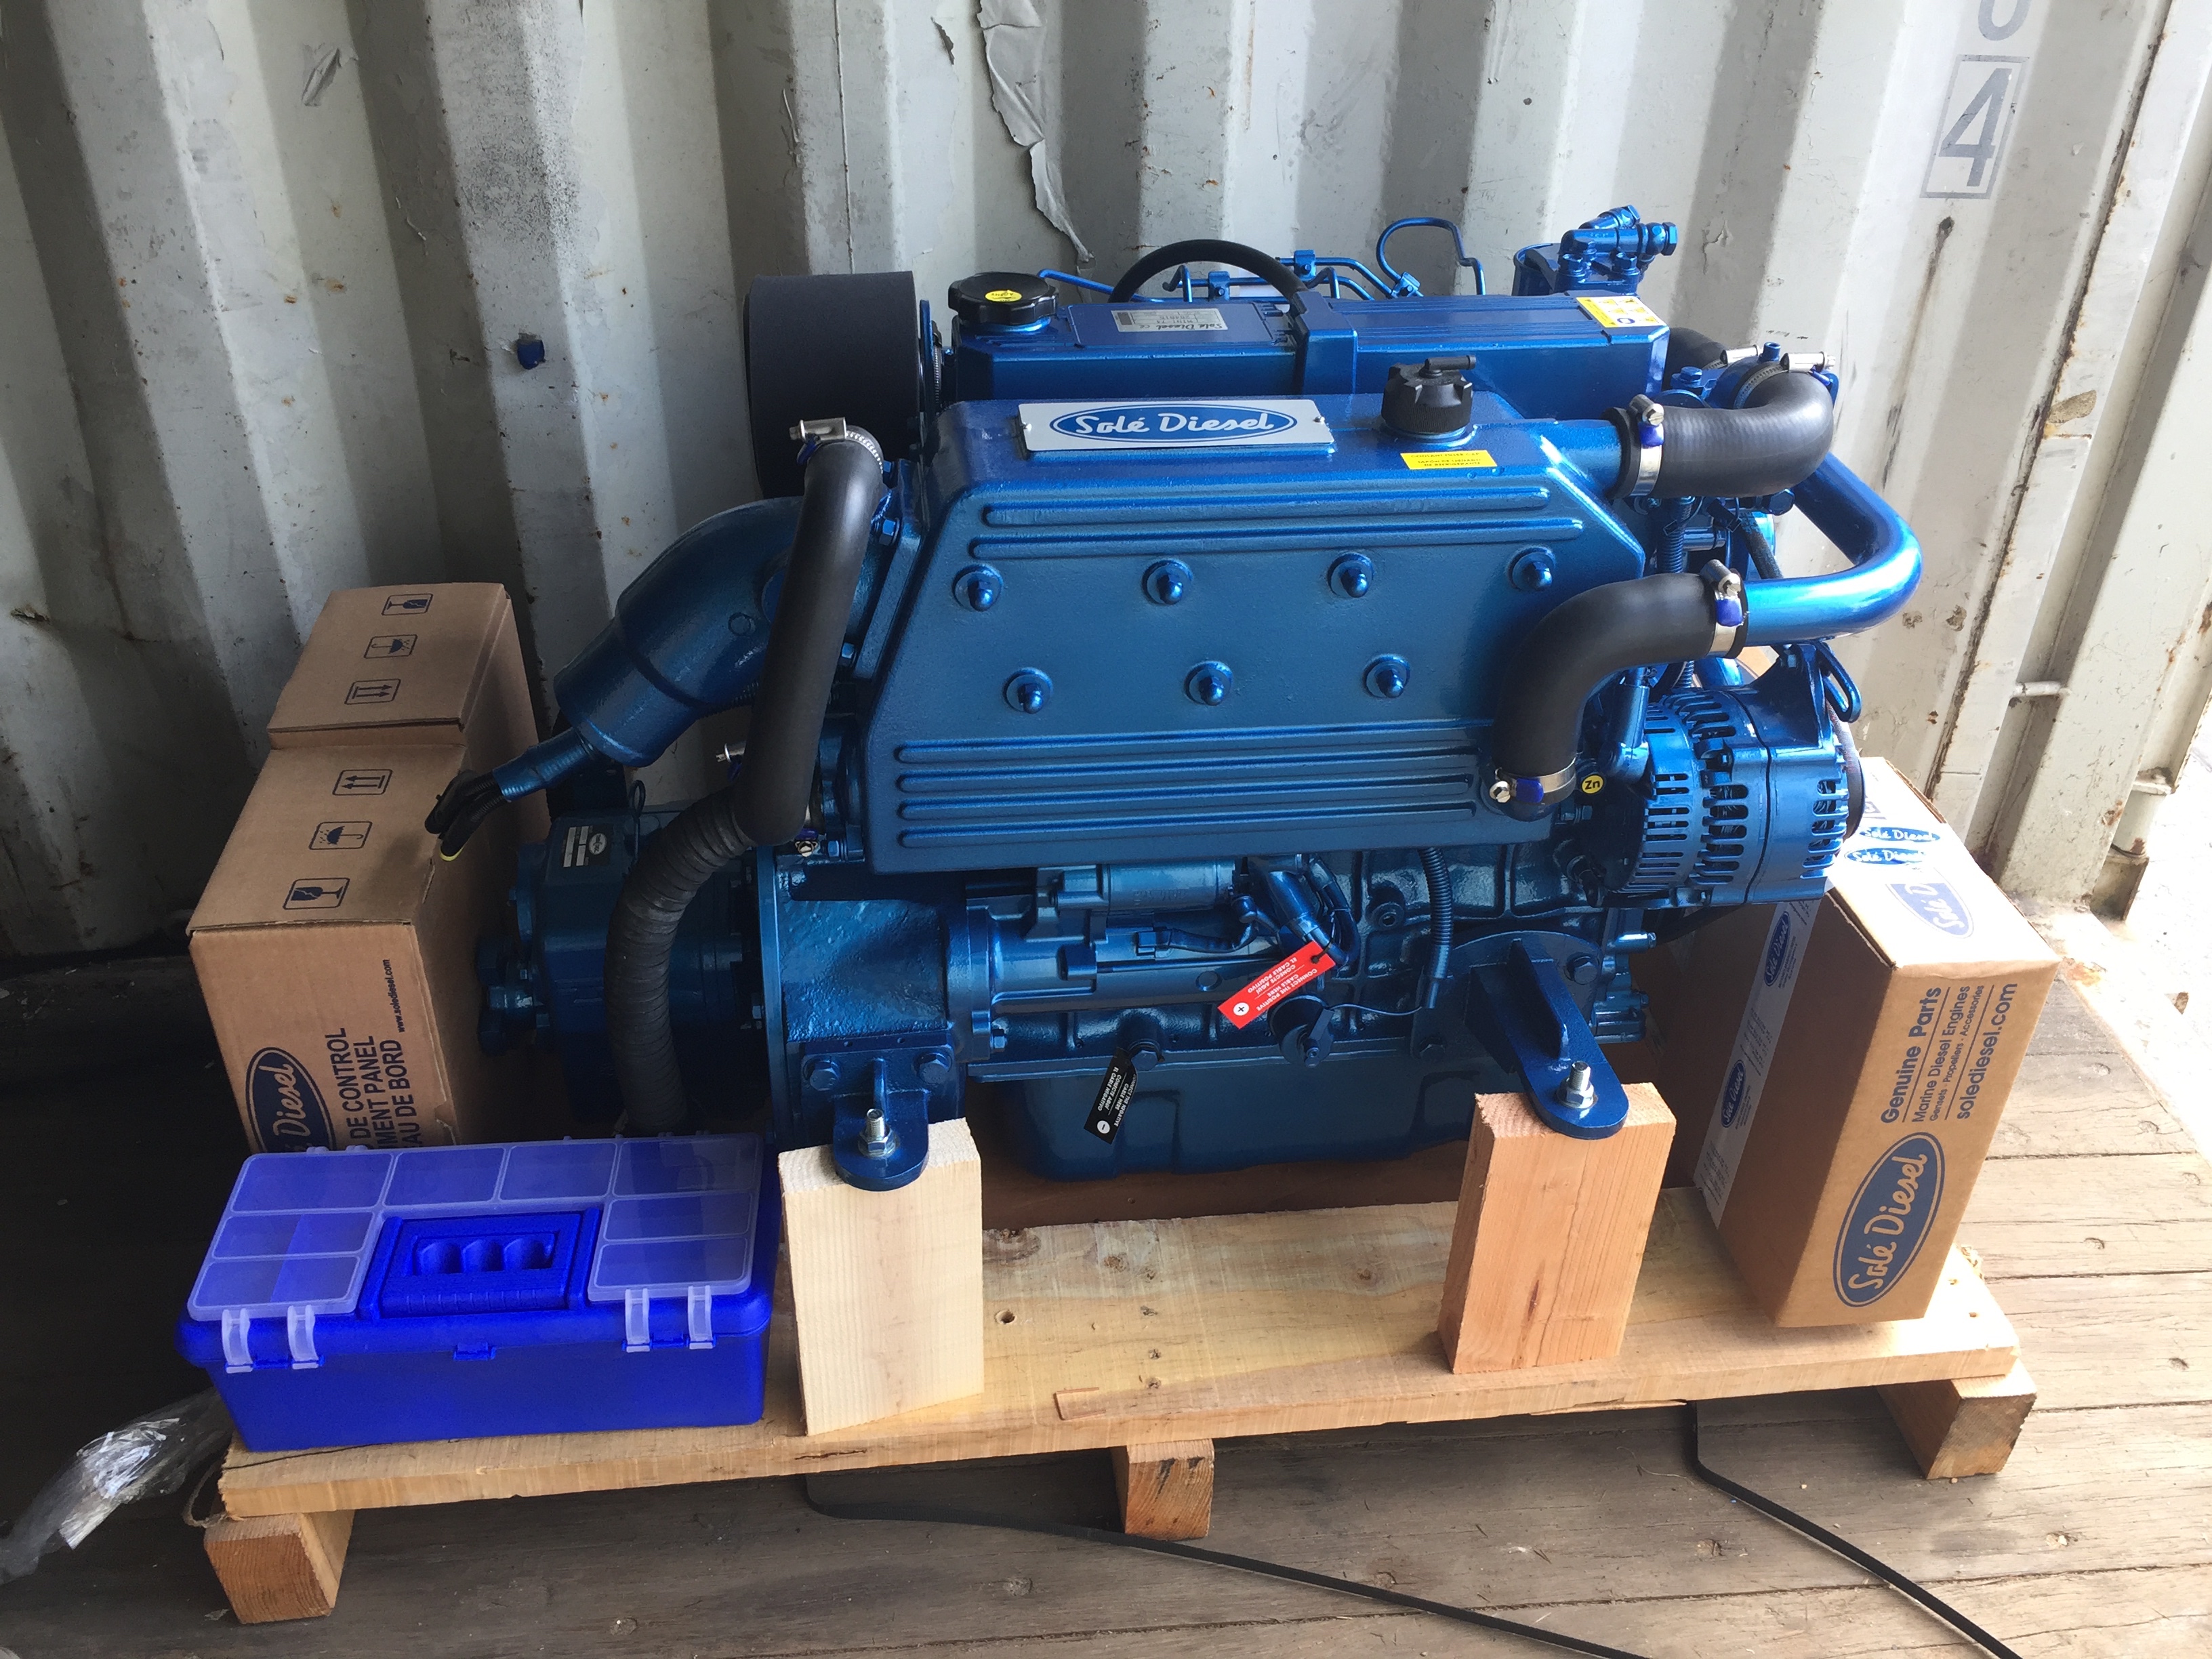
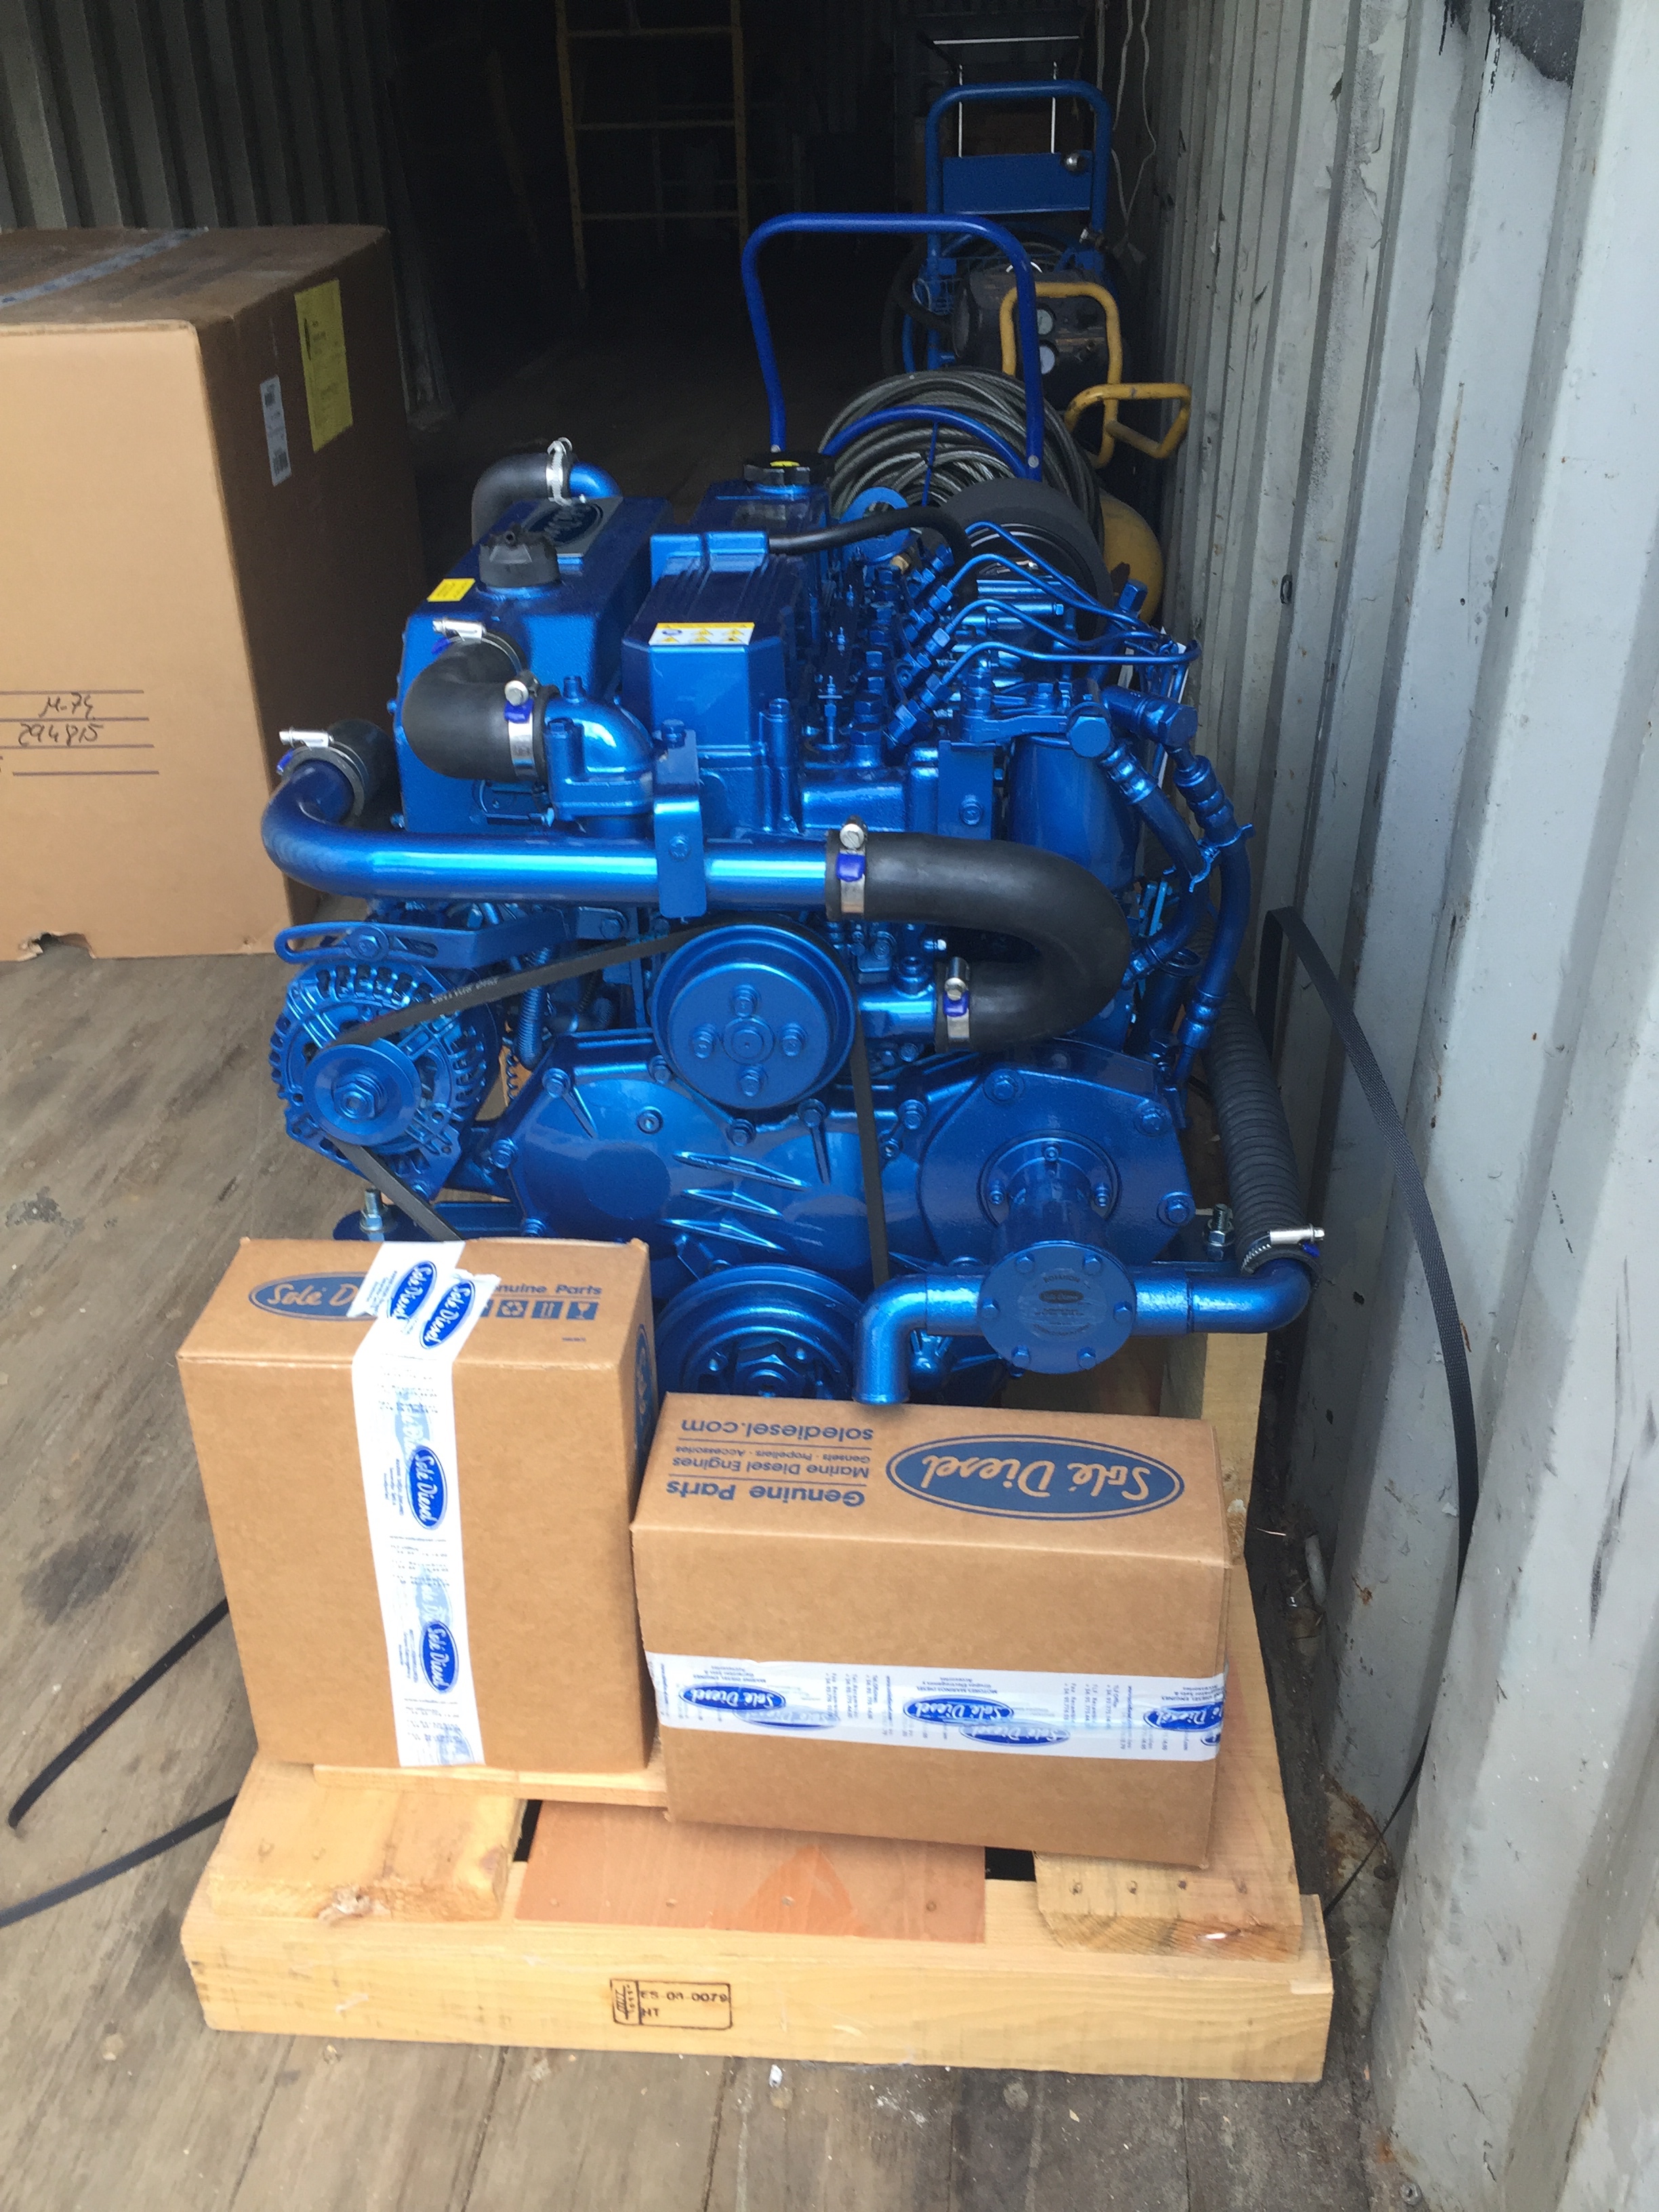
Once we have the engine room sorted and the new tanks are in, Prodigy Marine will do the engine install. Somewhere between there and now, they will also sand the entire hull from waterline to caprail, prime and paint the hull. We will finish the sanding on deck, and either have Prodigy paint it at the same time, or do it ourselves.

There are a thousand little jobs still to complete inside Akupara like electrical, plumbing, refrigeration, heat, water tank replacement (or water tank bladders) chain locker doors, new companionway doors etc etc  but there is one other job I have been putting off as well.

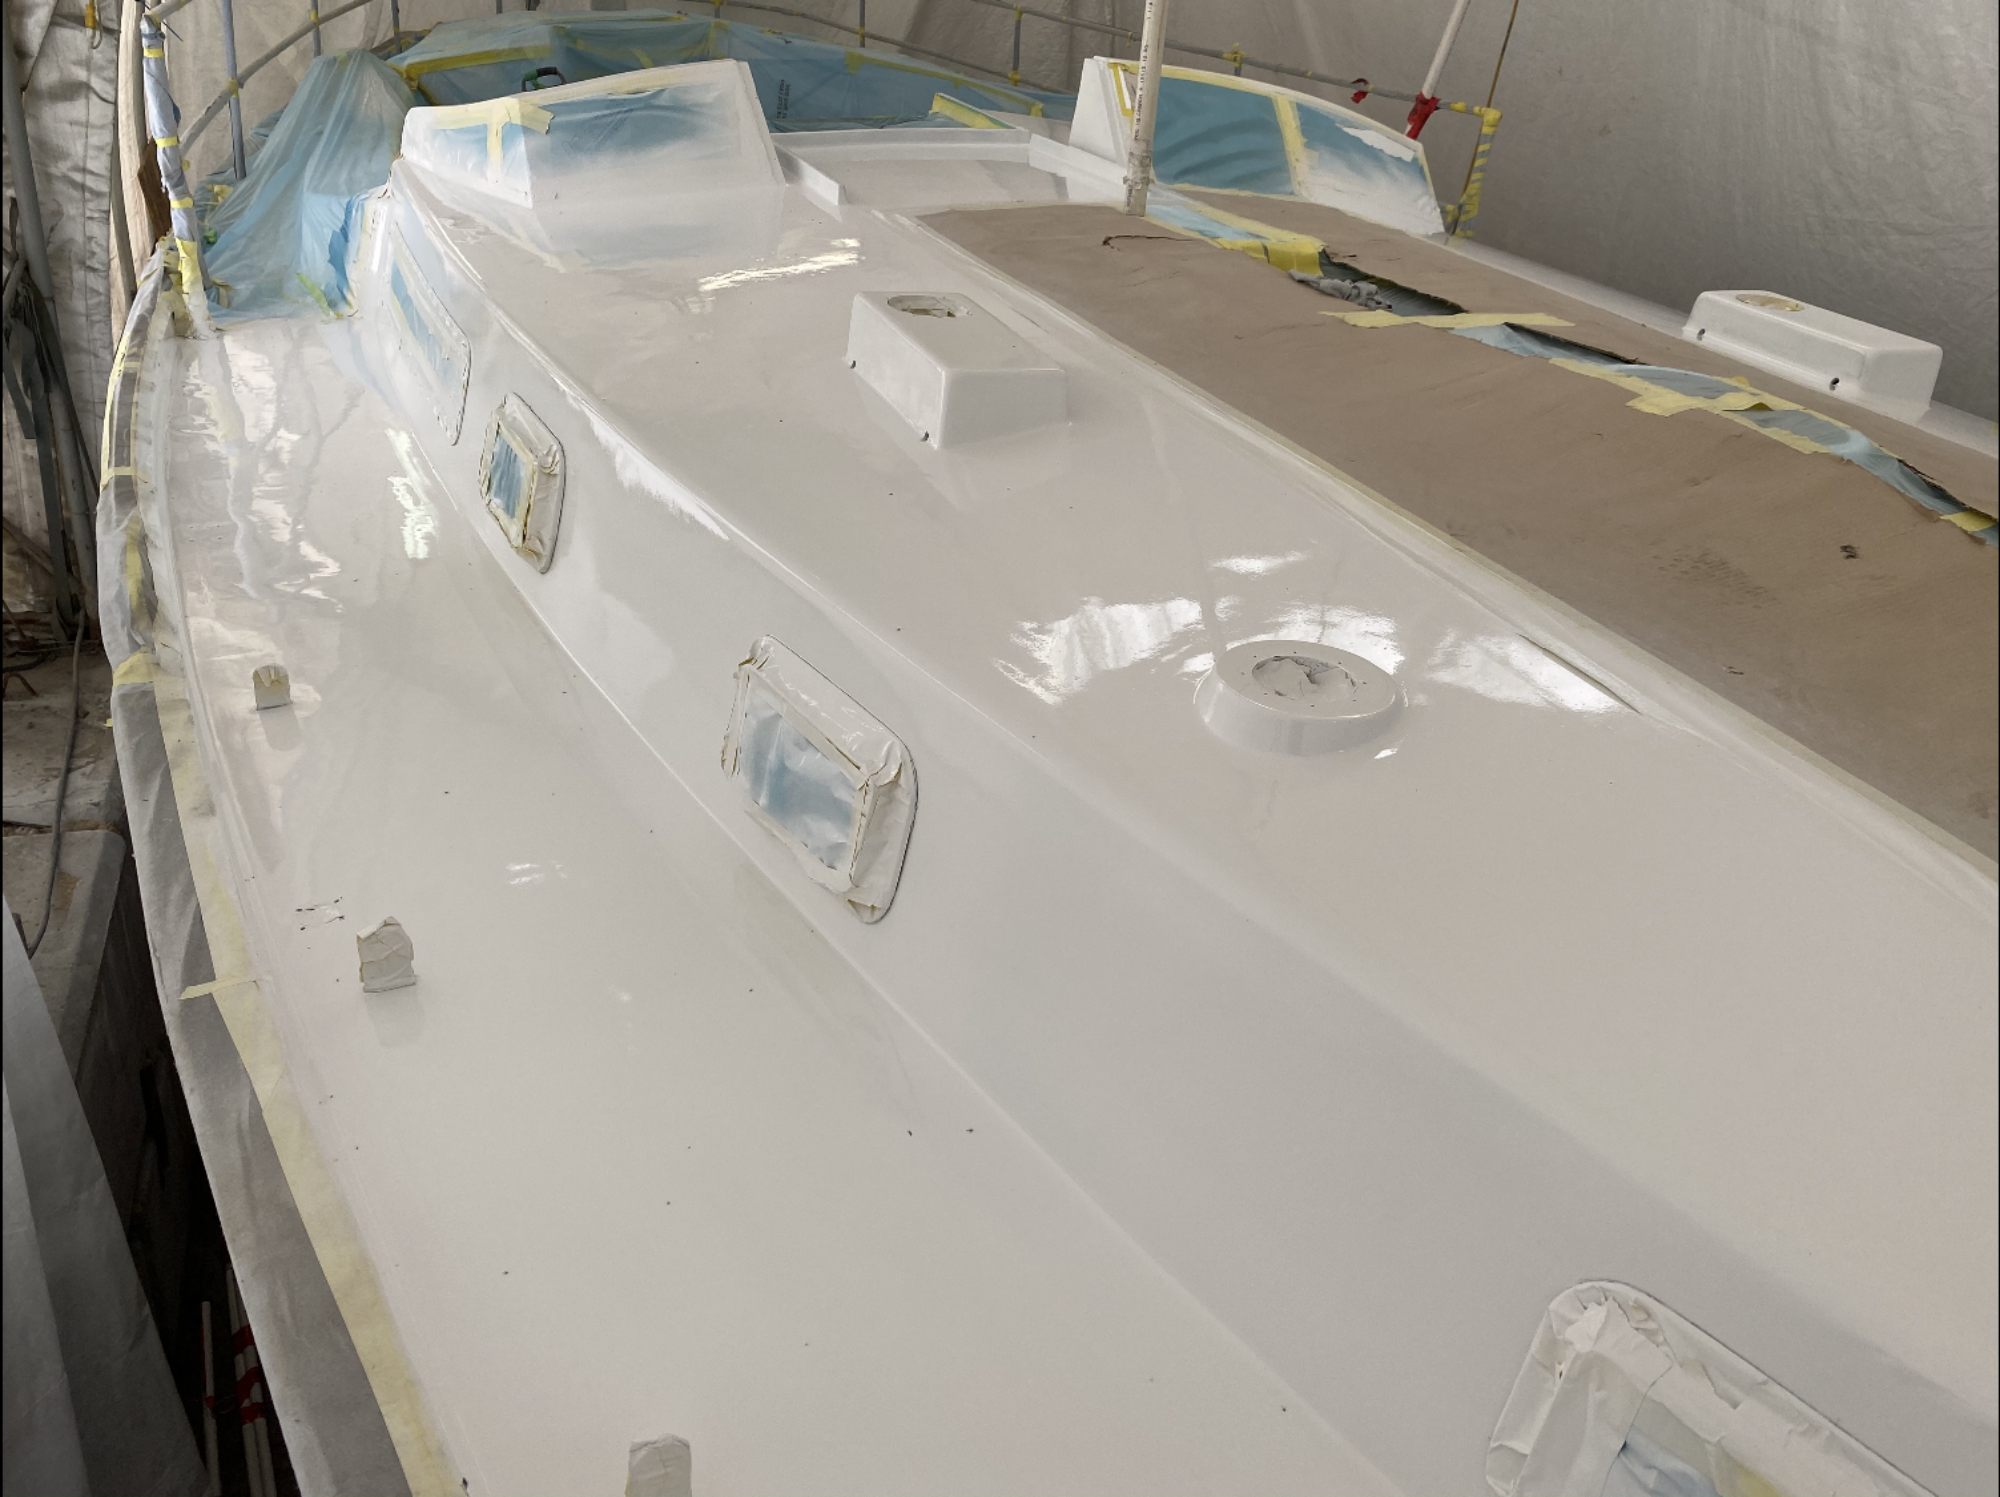
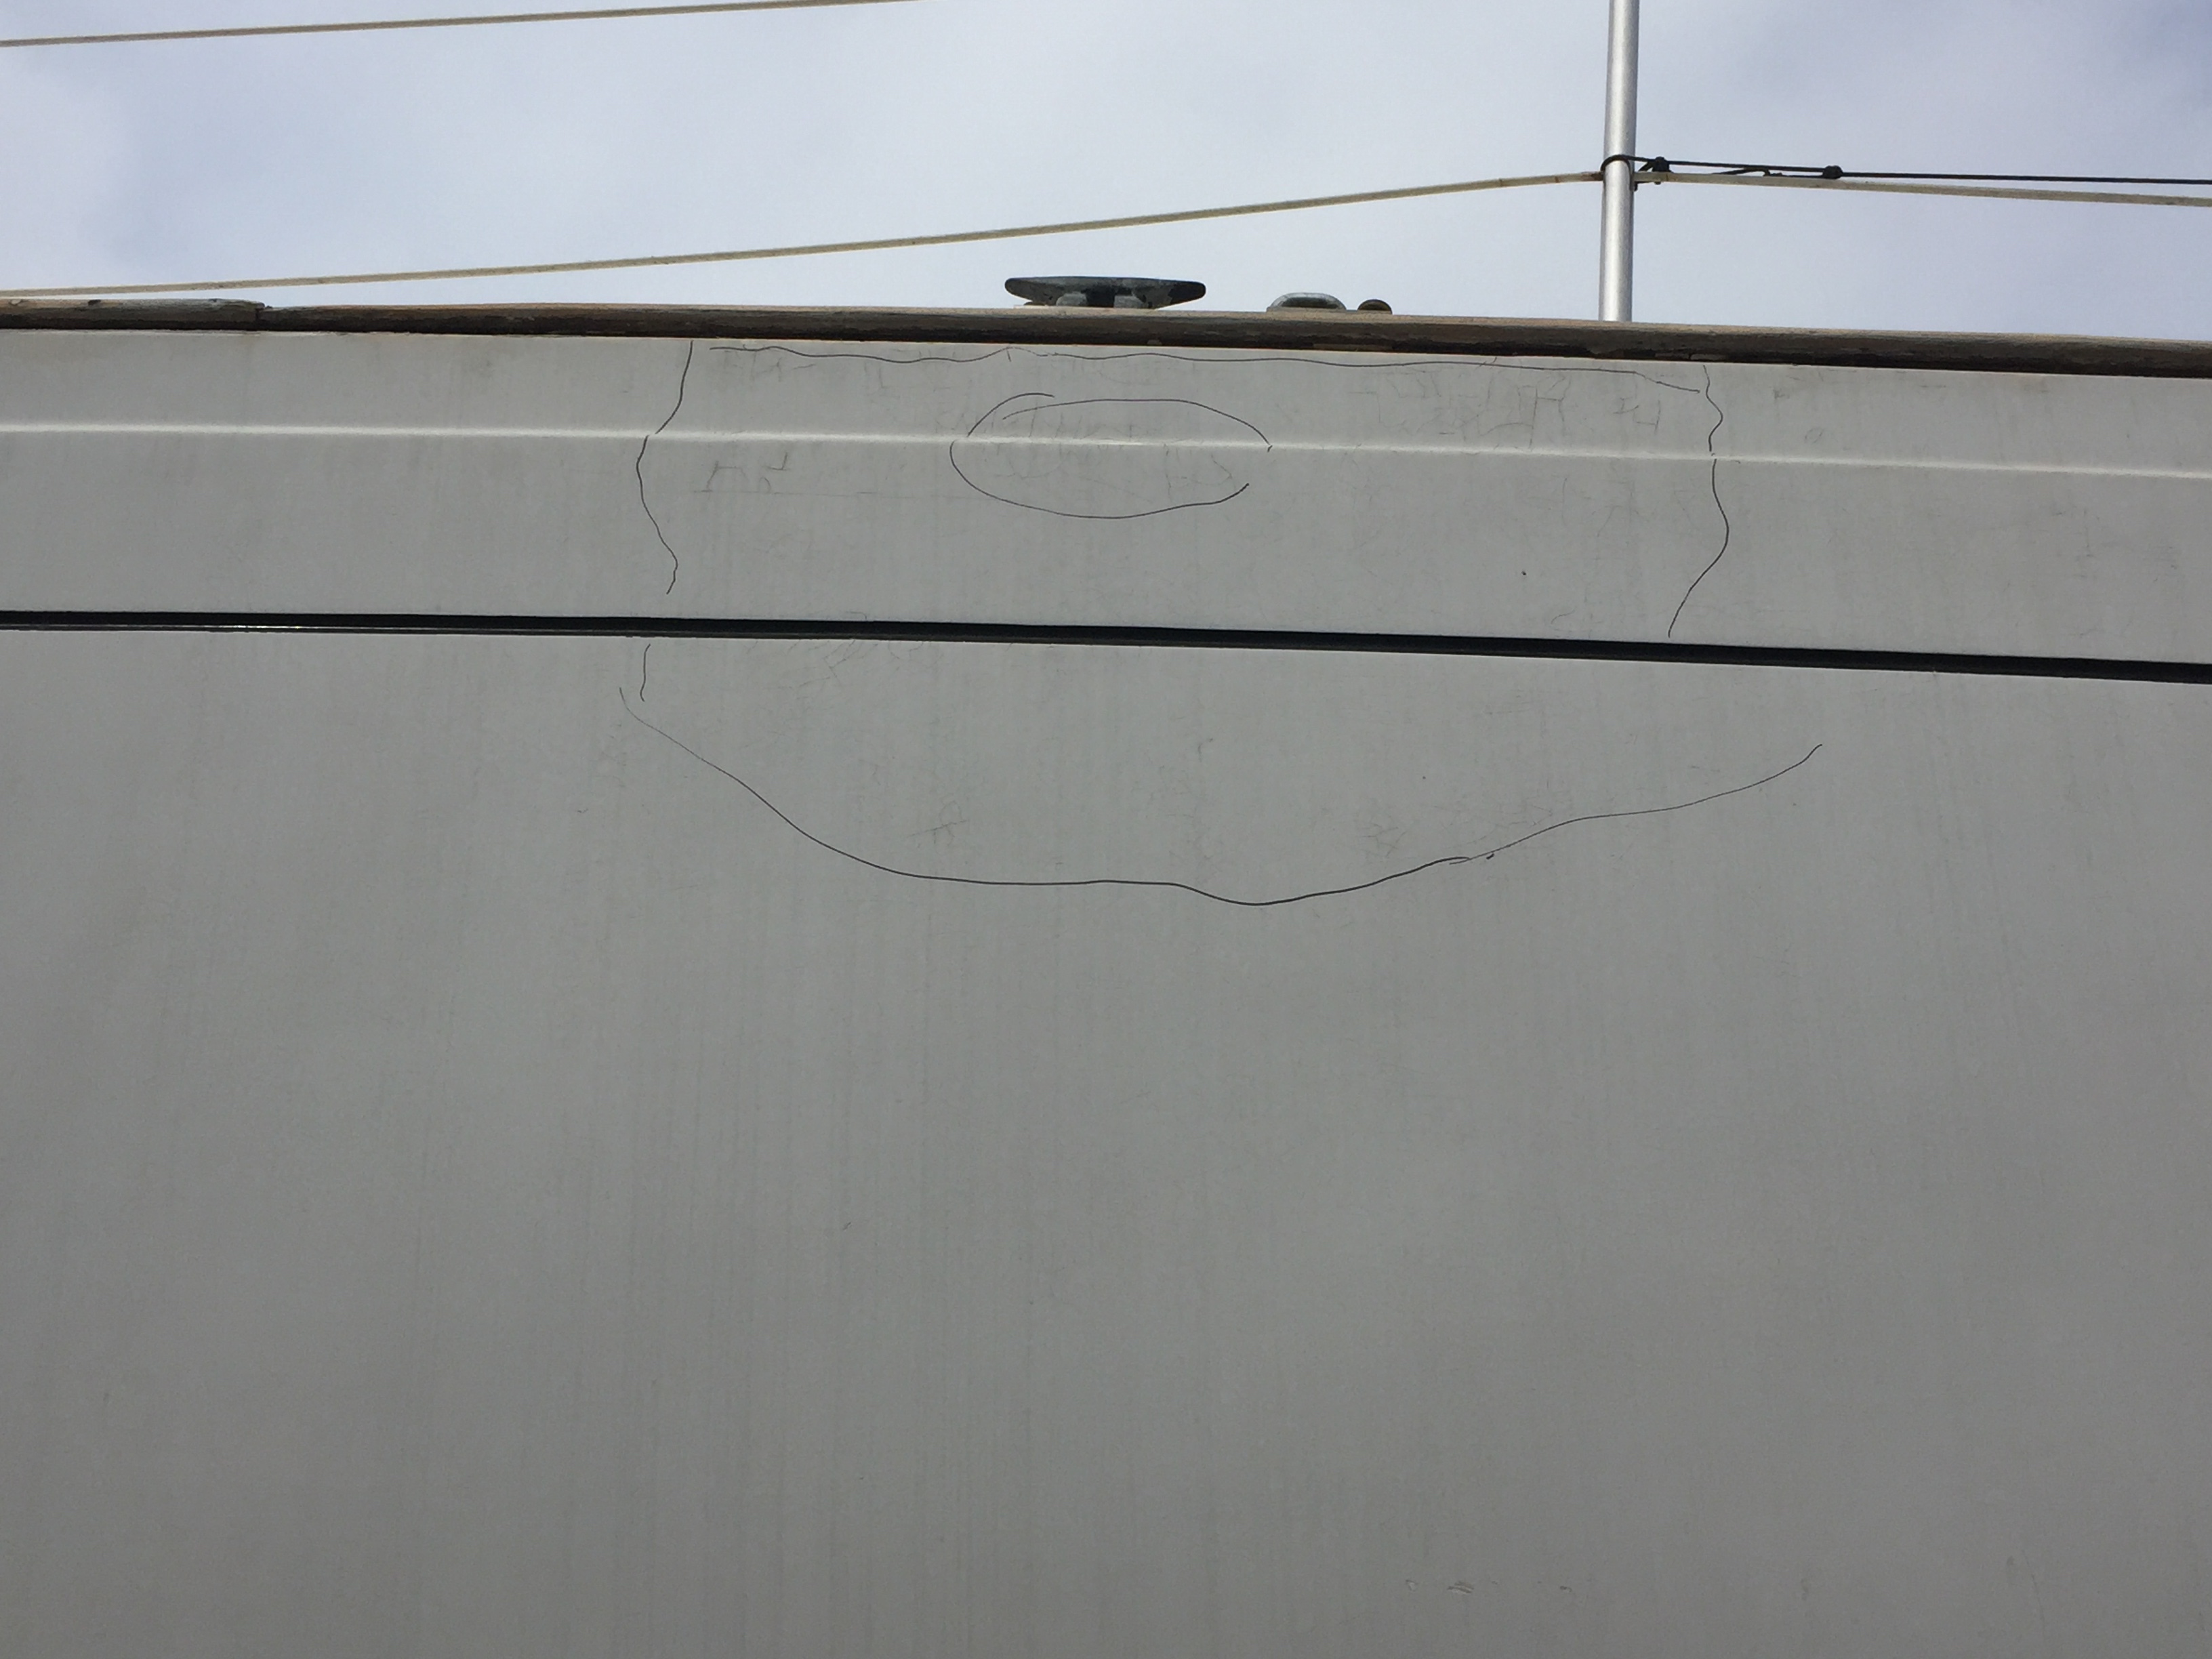
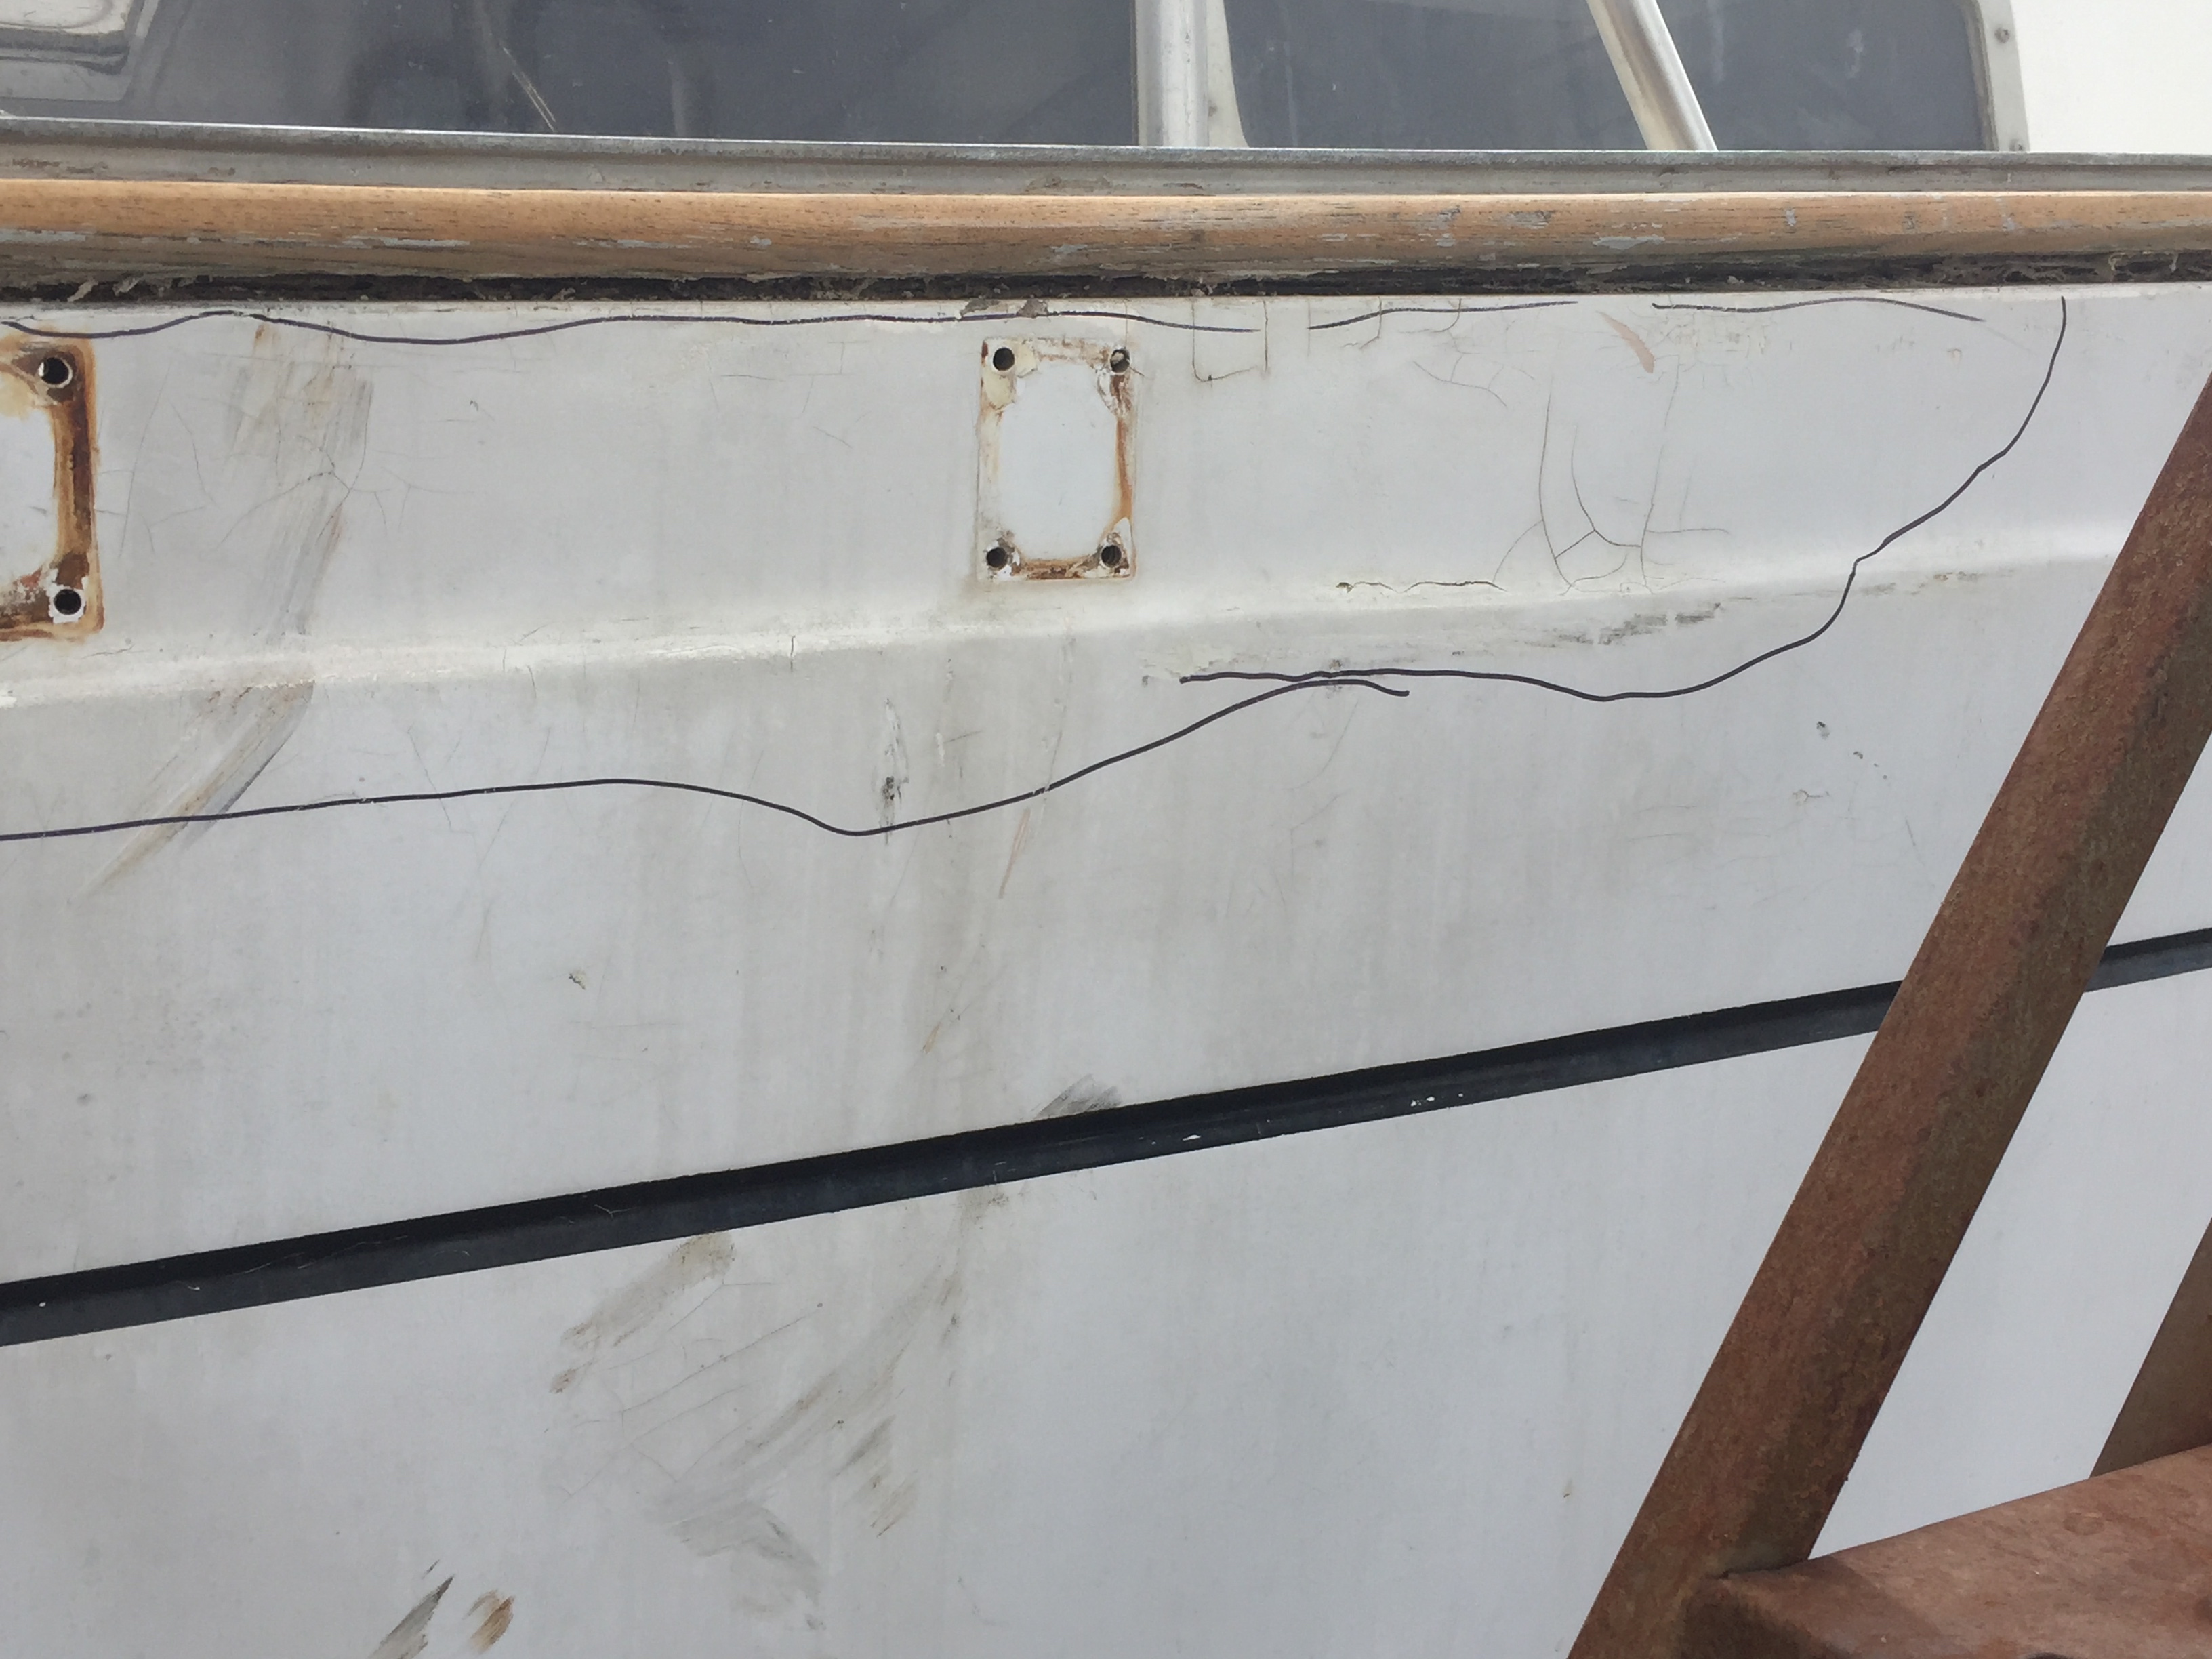
The dreaded foredeck re-coring.

:insert dark them song music here:

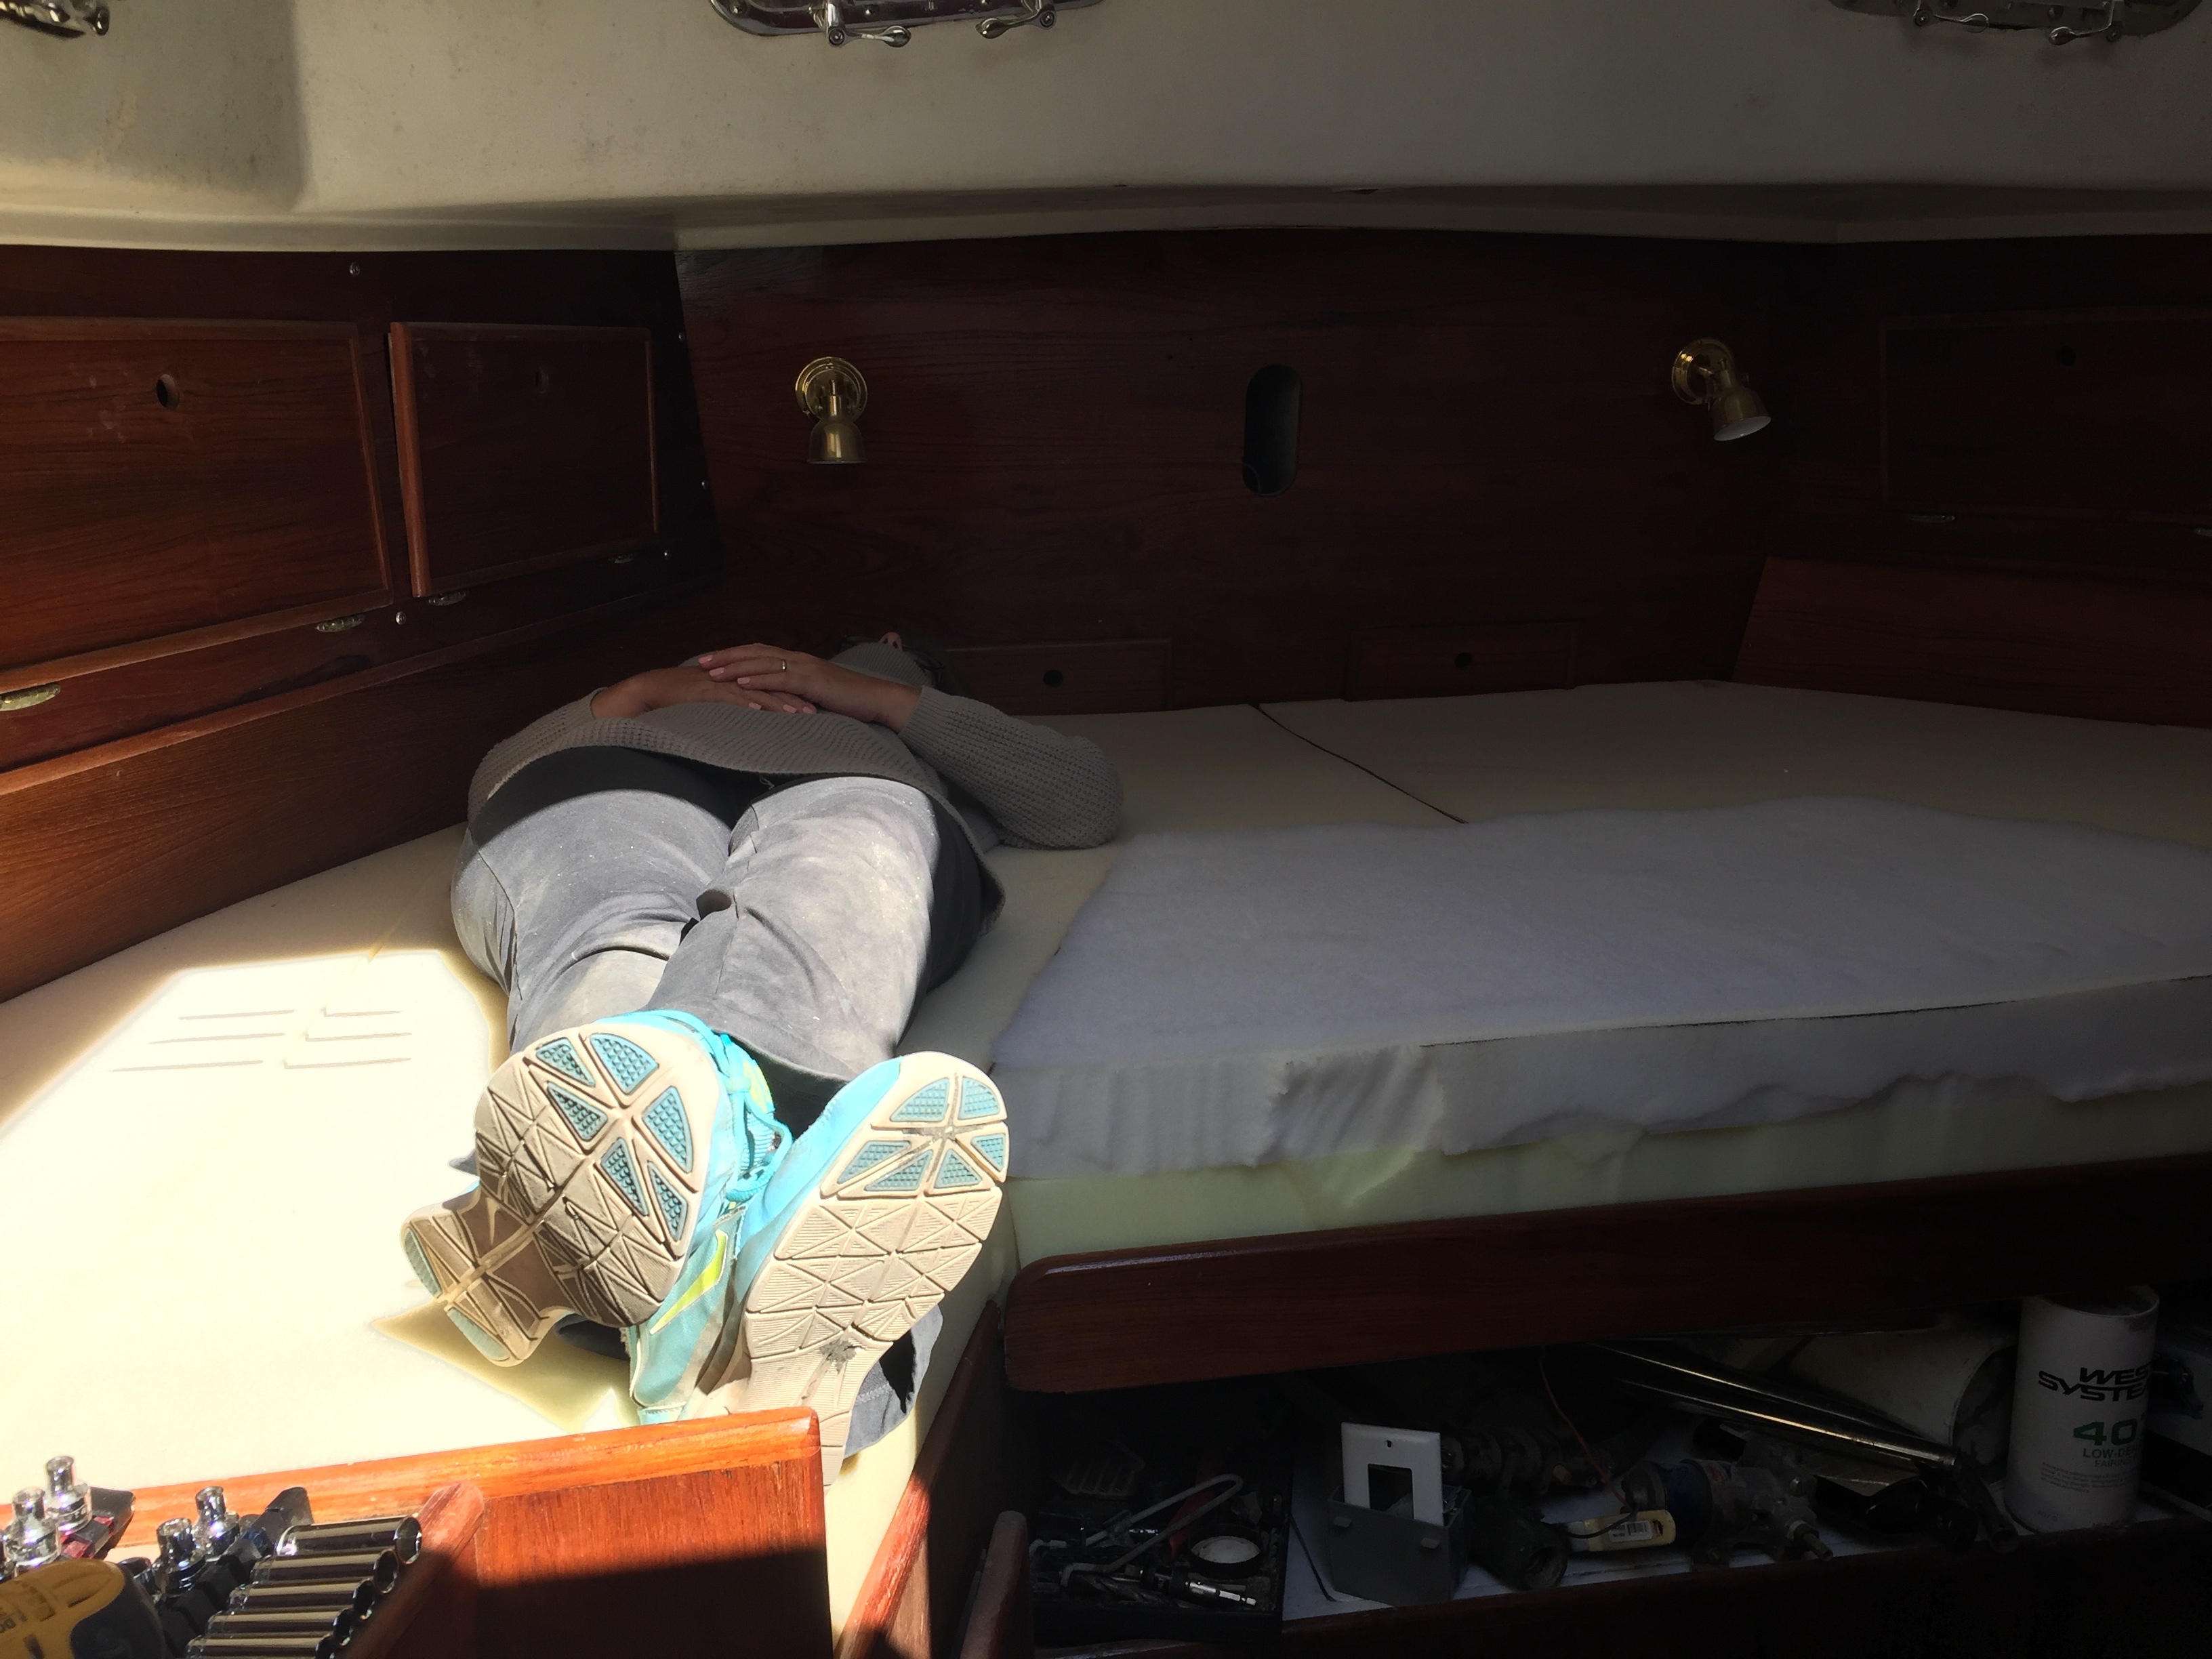
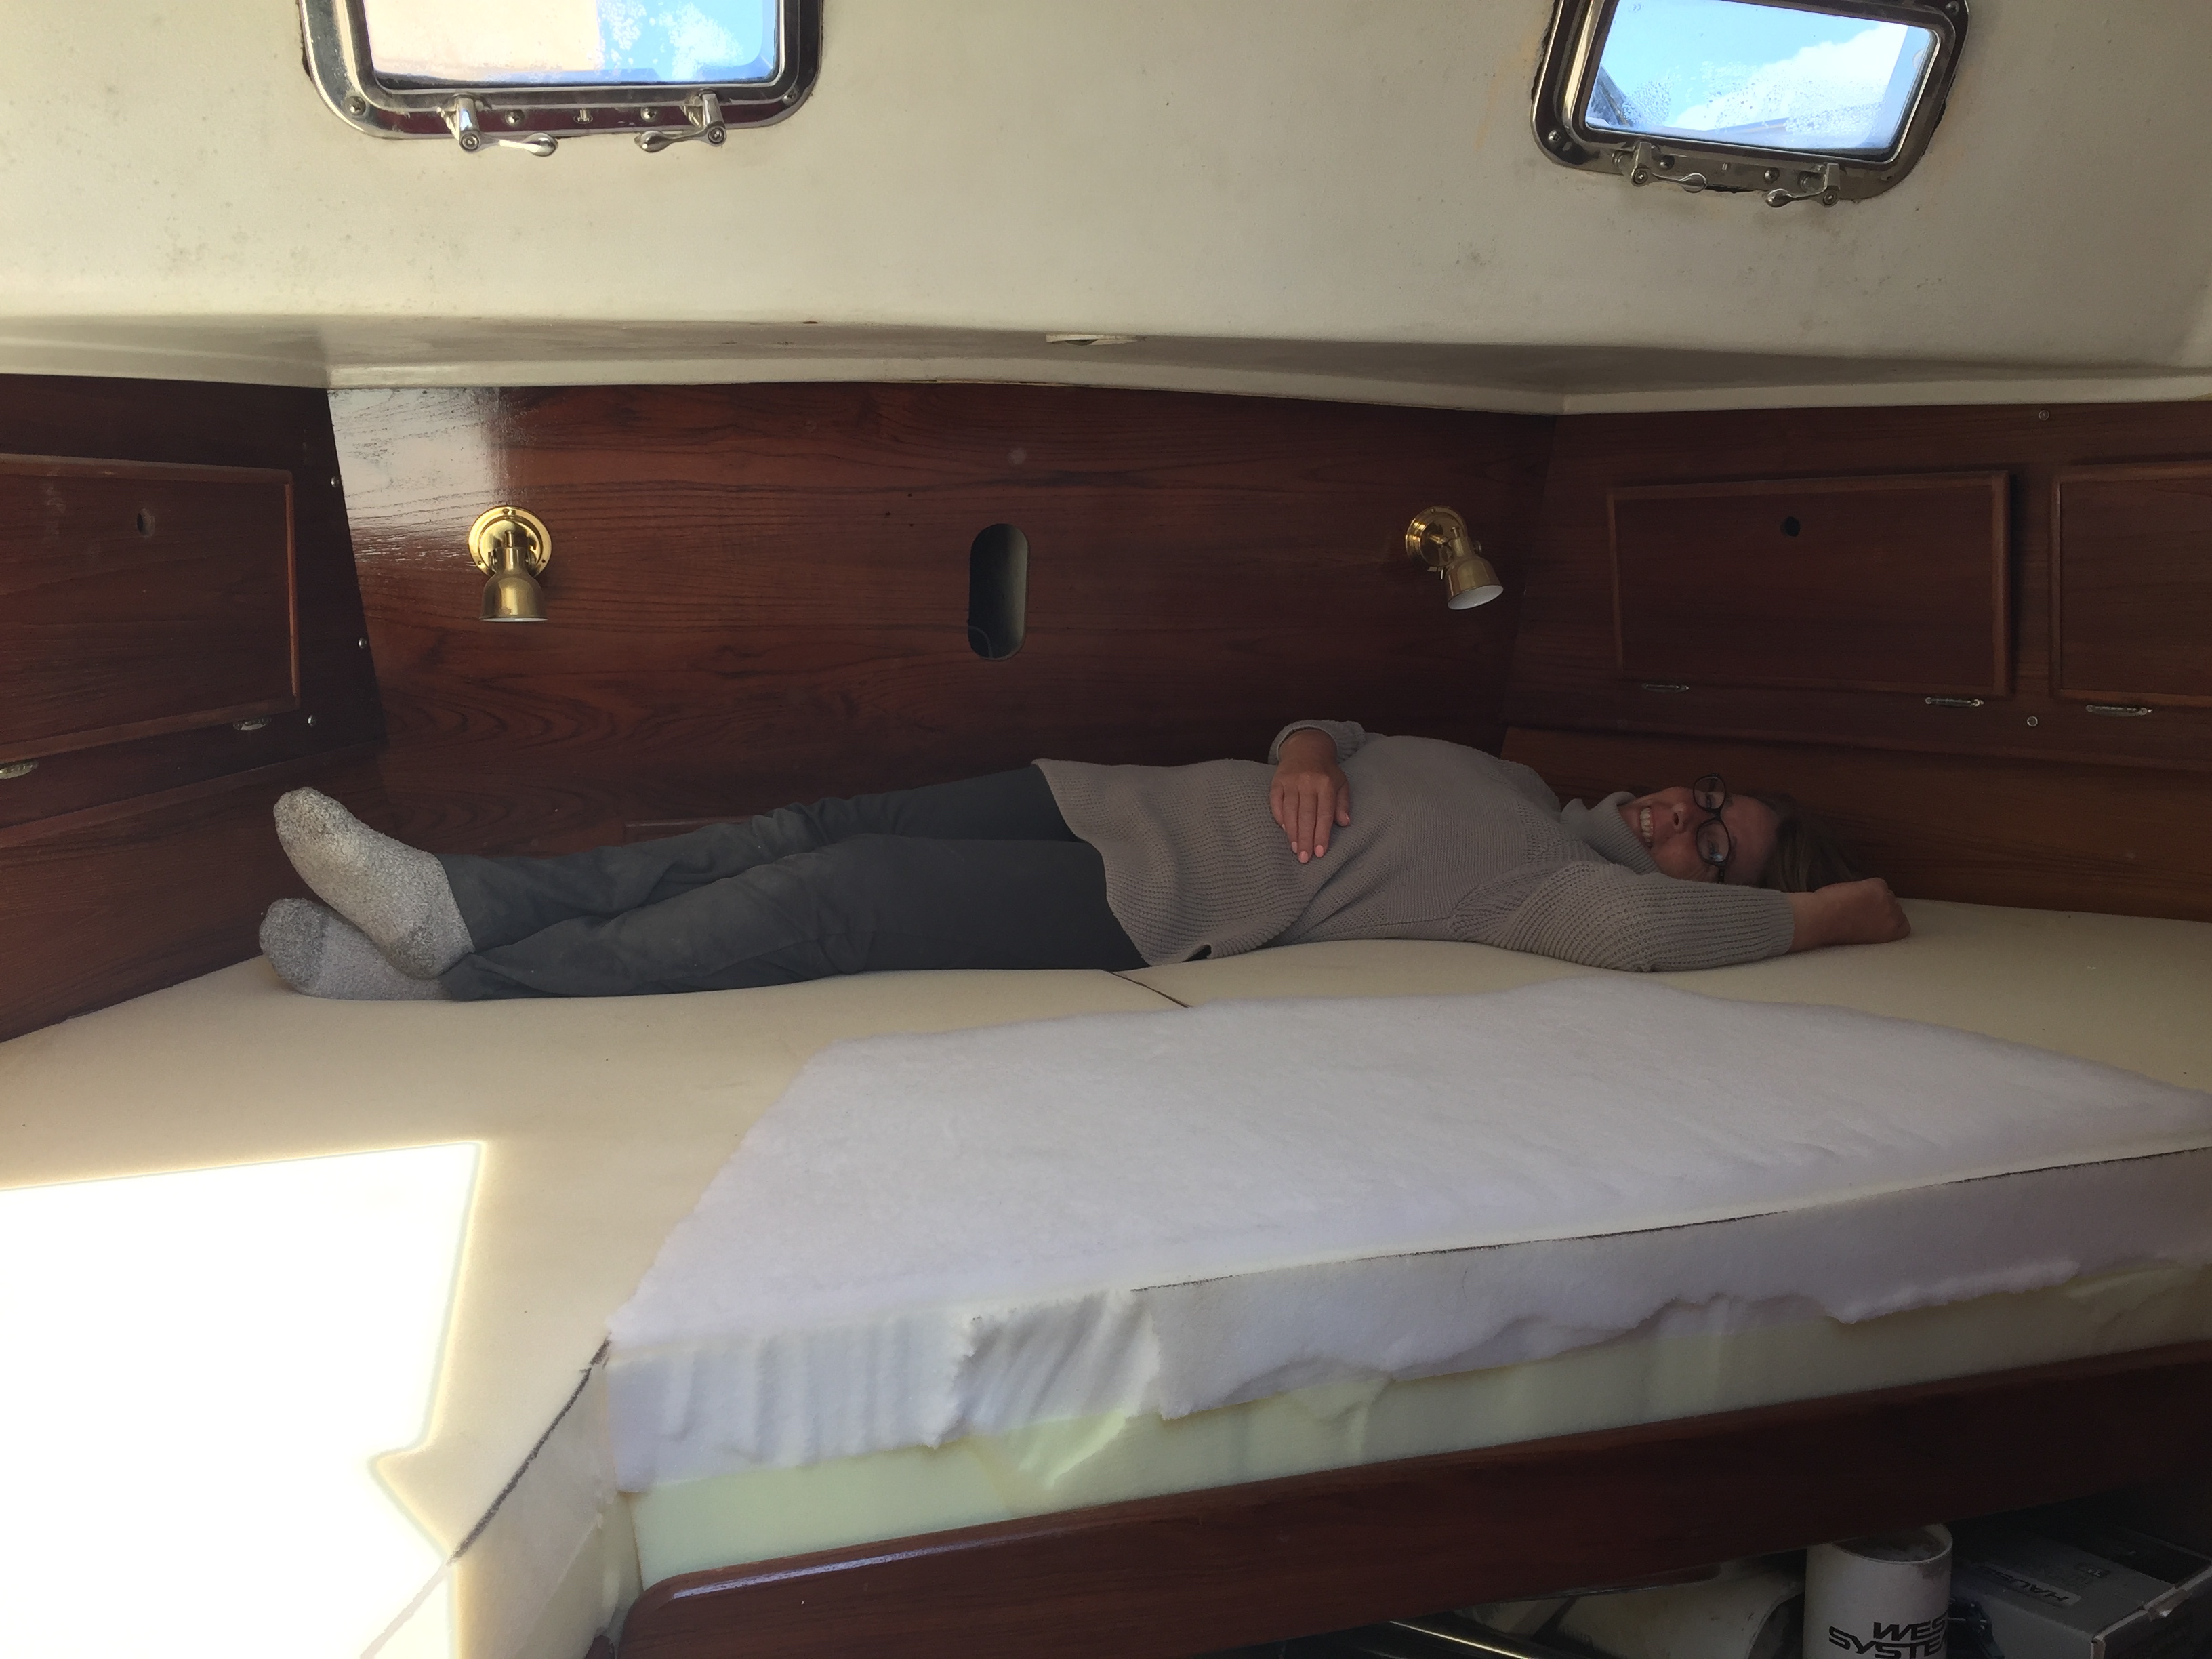
Ok it isn’t dreaded at all, after everything else we have done, this will have it’s own challenges of course, but it is all on deck in the sun! I will not be hunched over like some kind of monster, contorted into strange positions all the while working with tools that can cut your arm off!
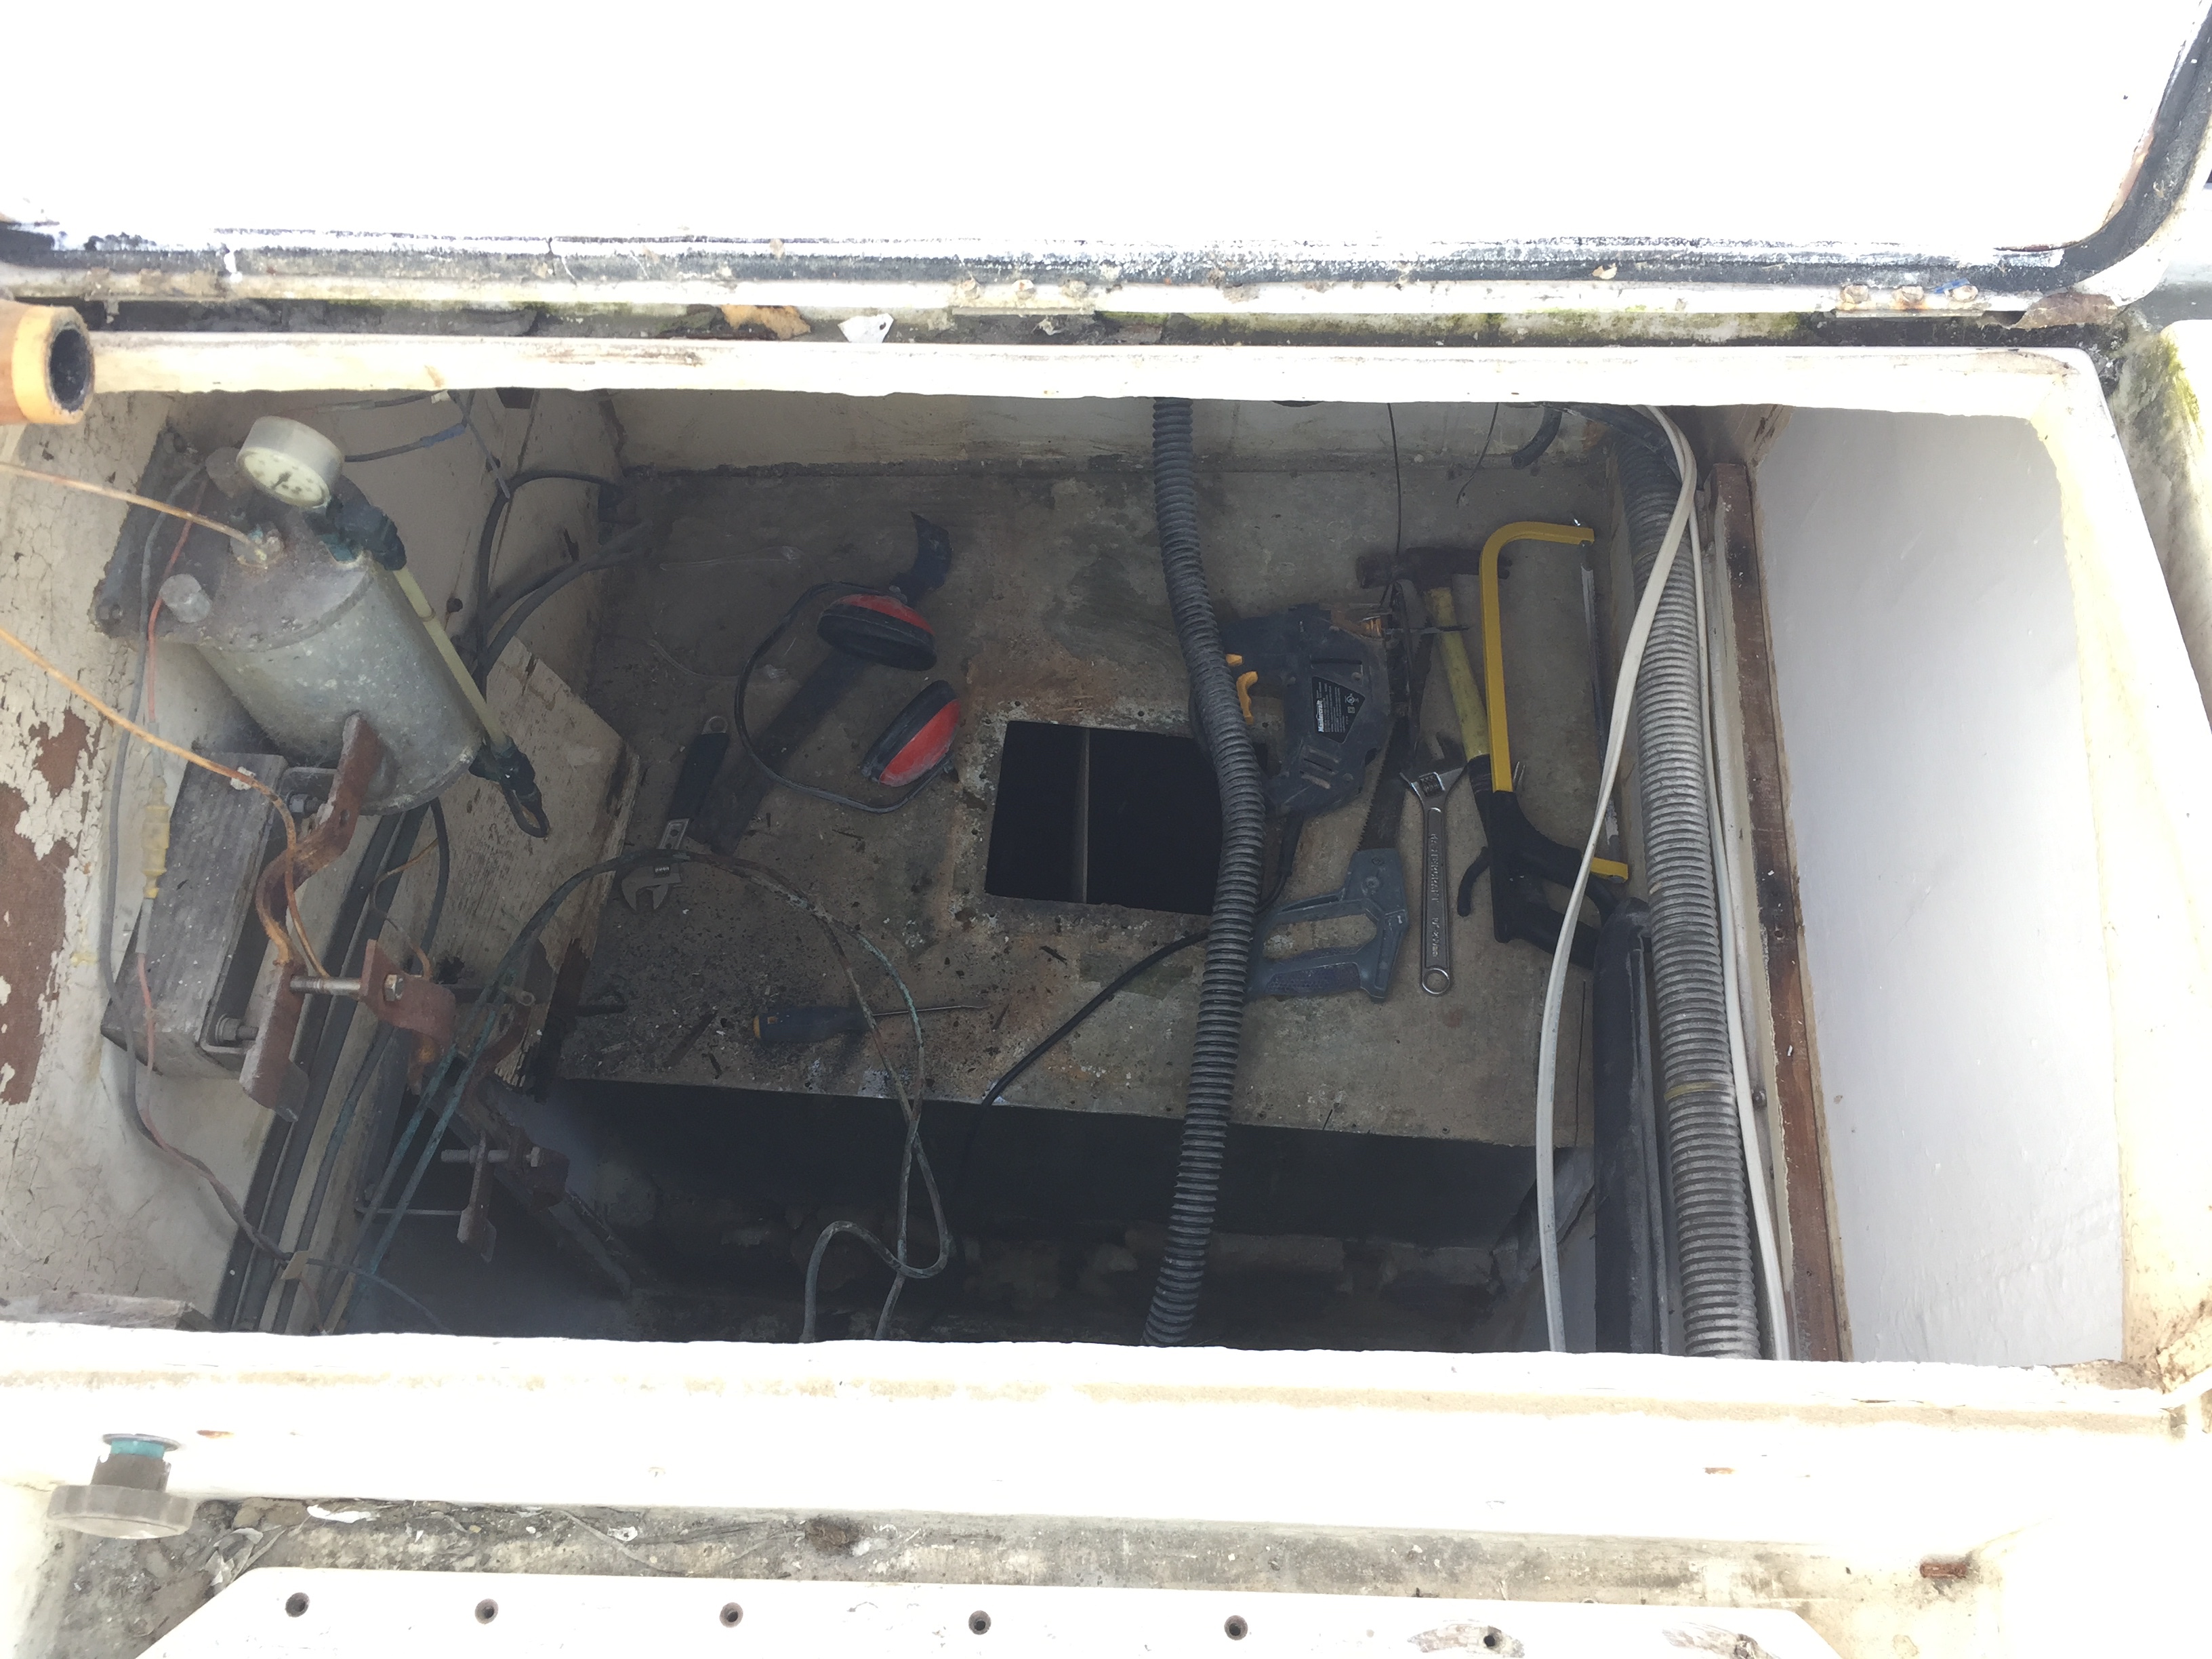
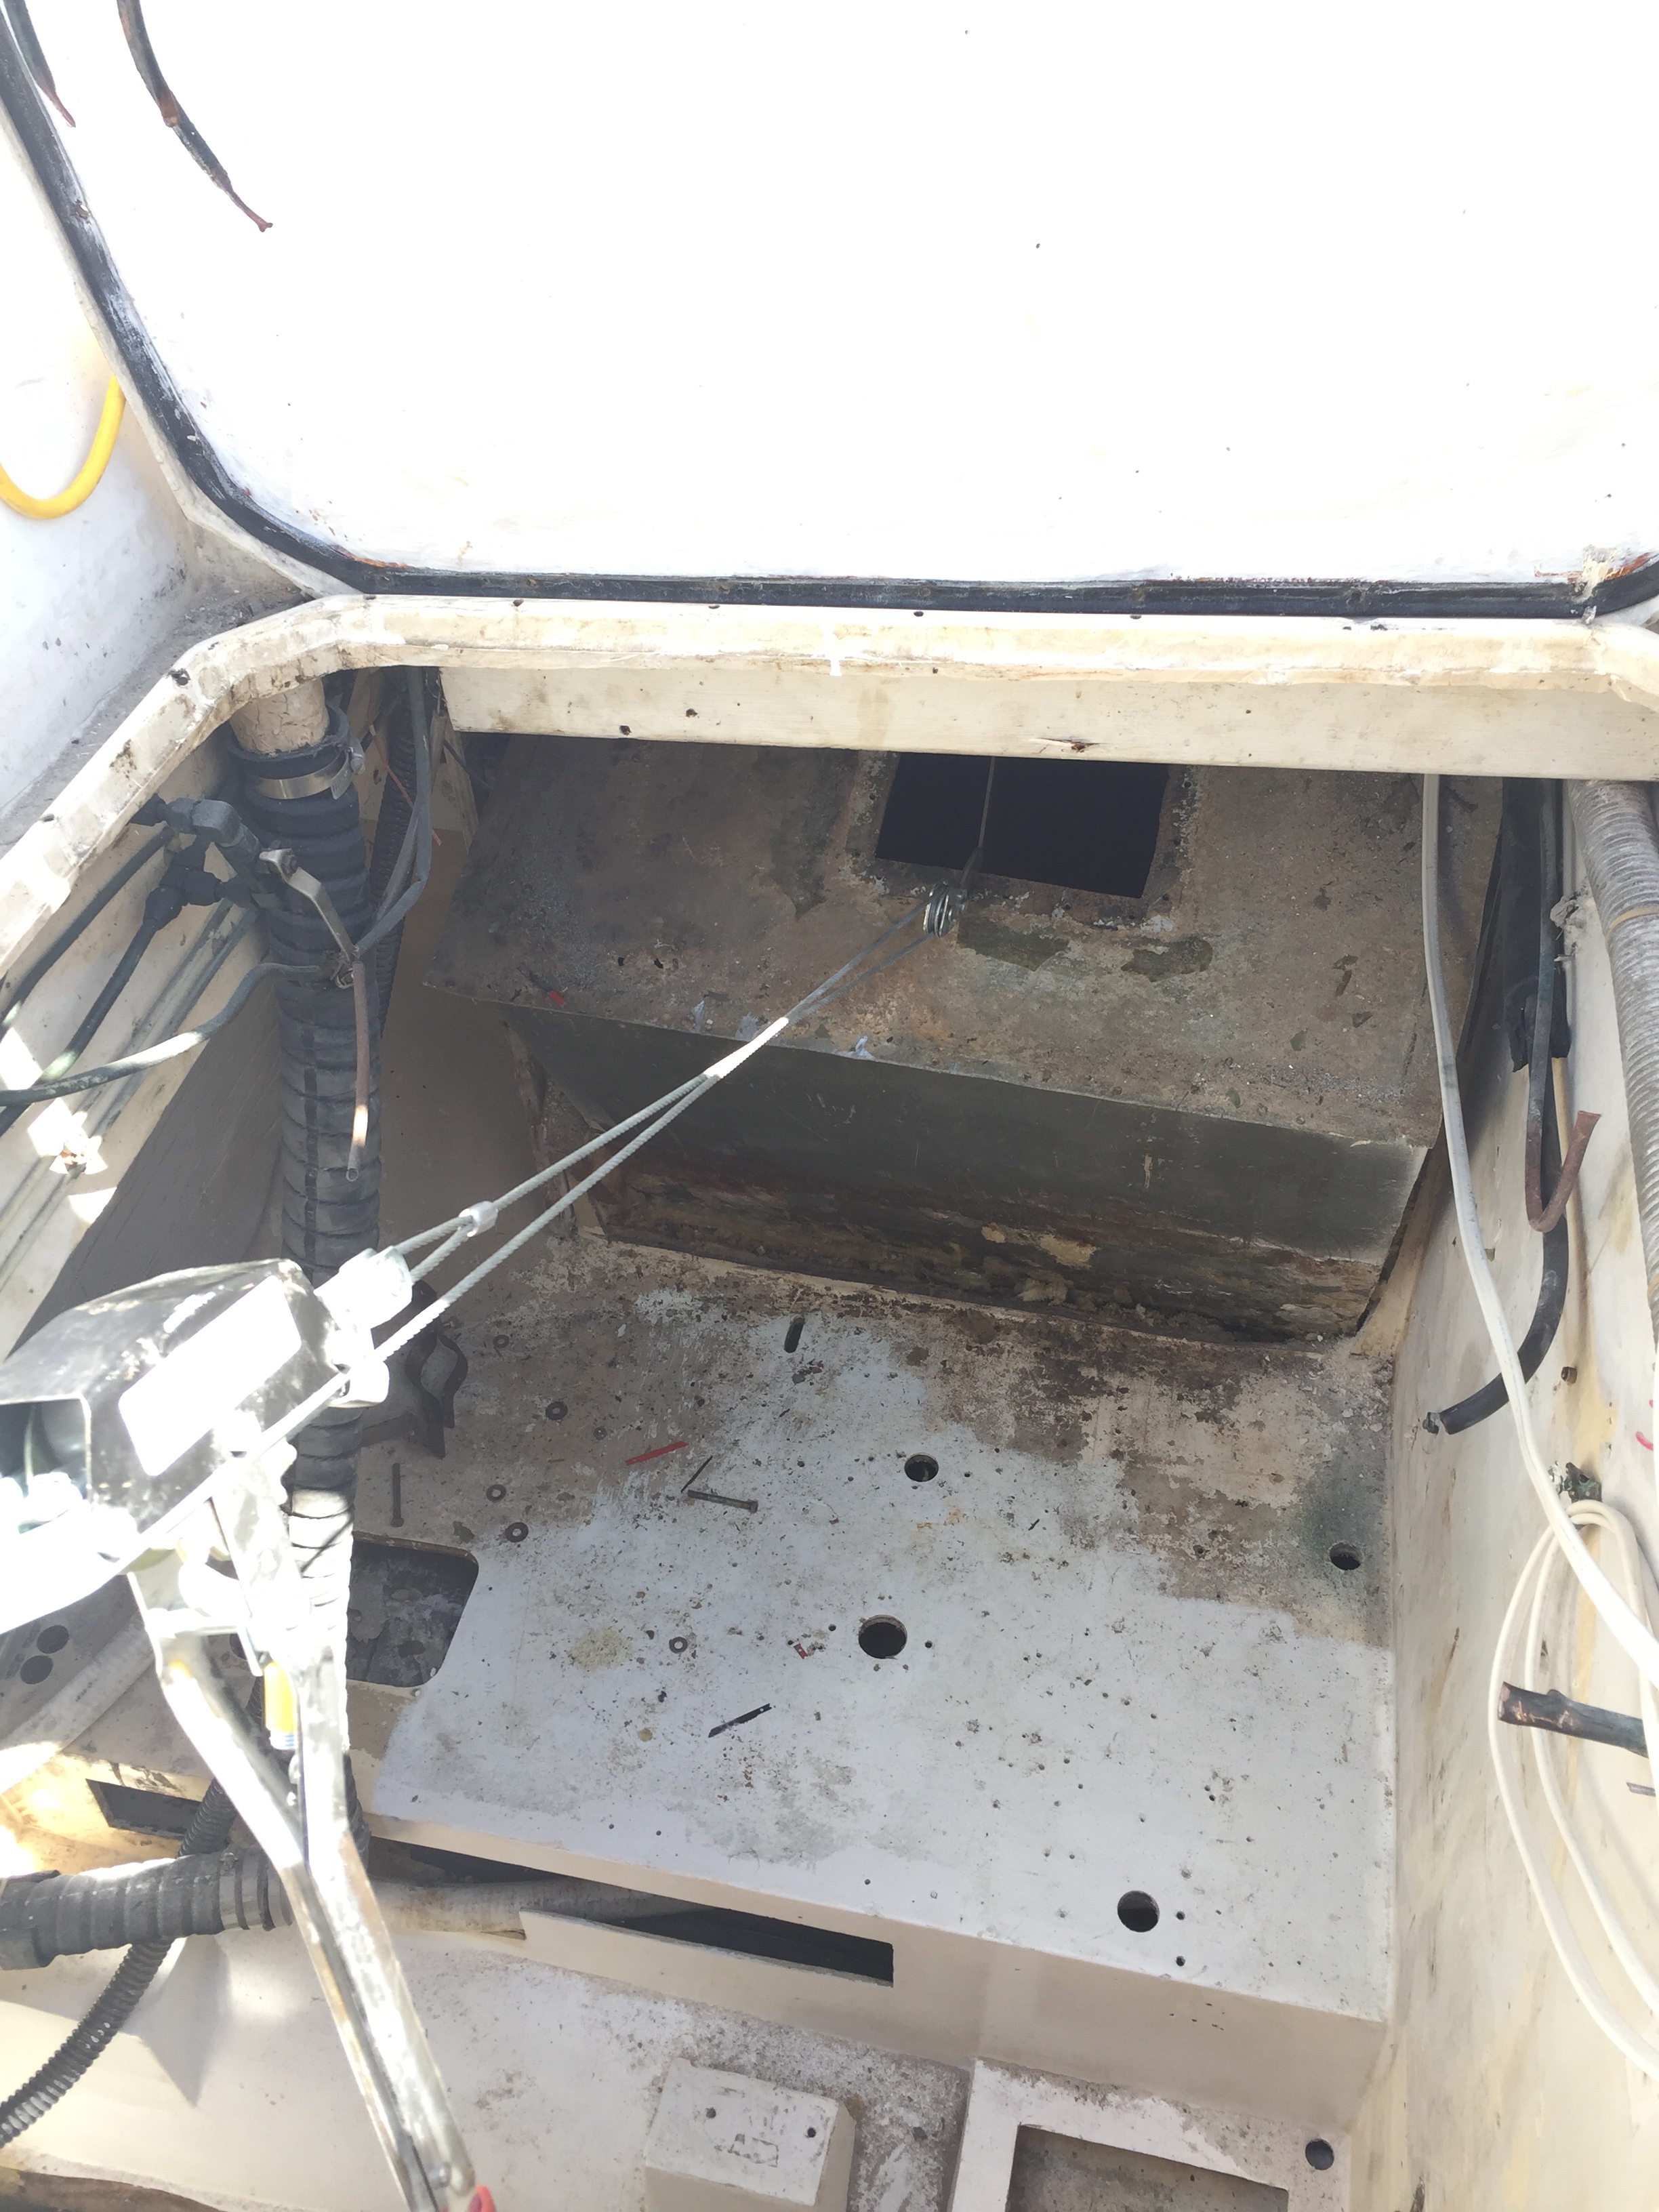
This one I am hoping will go fairly smoothly. I estimate a day to cut the top skin and clean out the wet core, a day to cut the new coring and piece it into place, a day to glass it all in, and a day to do the final finish sanding and fairing.
Ok so in boat terms, 4 days will probably be 2 weeks of swearing, but you need to stay positive! 🙂

Our plan is to launch this summer. We were hoping for July 1st. There is still a possibility of that date, but considering in January we thought another year at least, I think we have stepped it up pretty well even if we miss July 1st.
There is a saying that a job will always take as much time as you have. If you plan 6 months, it will go right up to the last hour. If you plan a year, same thing. If you don’t have a timeline, forget it, it will never be completed! We want Akupara launched this year!

Wish us well!


Out of darkness and into the light!

We have officially moved from demolition to renovation in the engine room! There is a lot of cleanup left, still need to remove a few old fuel lines, some sanding, some painting, install some insulation, have the new tanks made, install them, and then Prodigy Marine will do the new engine install, but we have officially moved out of the darkness and into the light.
Akupara looks like a bomb went off inside of her with fiberglass dust everywhere and panels from around the tanks and all kinds of stuff, but is it ever nice to be done this job! I don’t mind the new work, it is much easier of course!

And the Admiral got to see the new engine yesterday! She said it sparkles! I guess that means it’s ok! 🙂

Mattresses

All of the mattresses were made from detailed patterns. Learn how to do it on sailrite.com if you do not know how already. We brought them down for a test fitting as I wanted to make sure before I finished covering them that I had actually made them correctly. Turns out the only adjustment I had to make was the aft cabin keystone cushion. I will clean up the hack job when I get it home and before I finish the covers.

More fuel tanks…

So for anyone thinking about removing the wing tanks, it really isn’t that hard. Ok the Starboard side isn’t really that hard. Remove all of the panelling, remove about 100 screws around the top of the tank. They hold it down to the fiberglass box that it is fit into. Cut the front of the box away. Use a come-along from the cockpit, hooked into the top of the inspection plate on the tank and pull. It will slowly release itself from the foam it is bedded in and then you can pull it out through the cockpit sole. The port tank however will require a bit more work as you need to remove the exhaust, a bunch of other fittings and hoses and crap and then repeat the same process. I will let you know how it goes after I have it out.

It Arrived!!!

Not much else to say, but it finally arrived by ship, all the way from Spain! Pretty freaking excited!