To say we lost interest in Akupara is partially honest and partially not true. Life has a way of getting in the way of a lot of things and unfortunately, Akupara was one of those things.
So many changes have occurred from employment to unemployment to being employed again to purchasing a house 6.5 hours away, which put Akupara at 7.5 hours. These last 2 years have been a whirlwind.
We seriously considered ending our mission to complete Akupara and get her back to Mexico however I think in the end we just couldn’t do it!
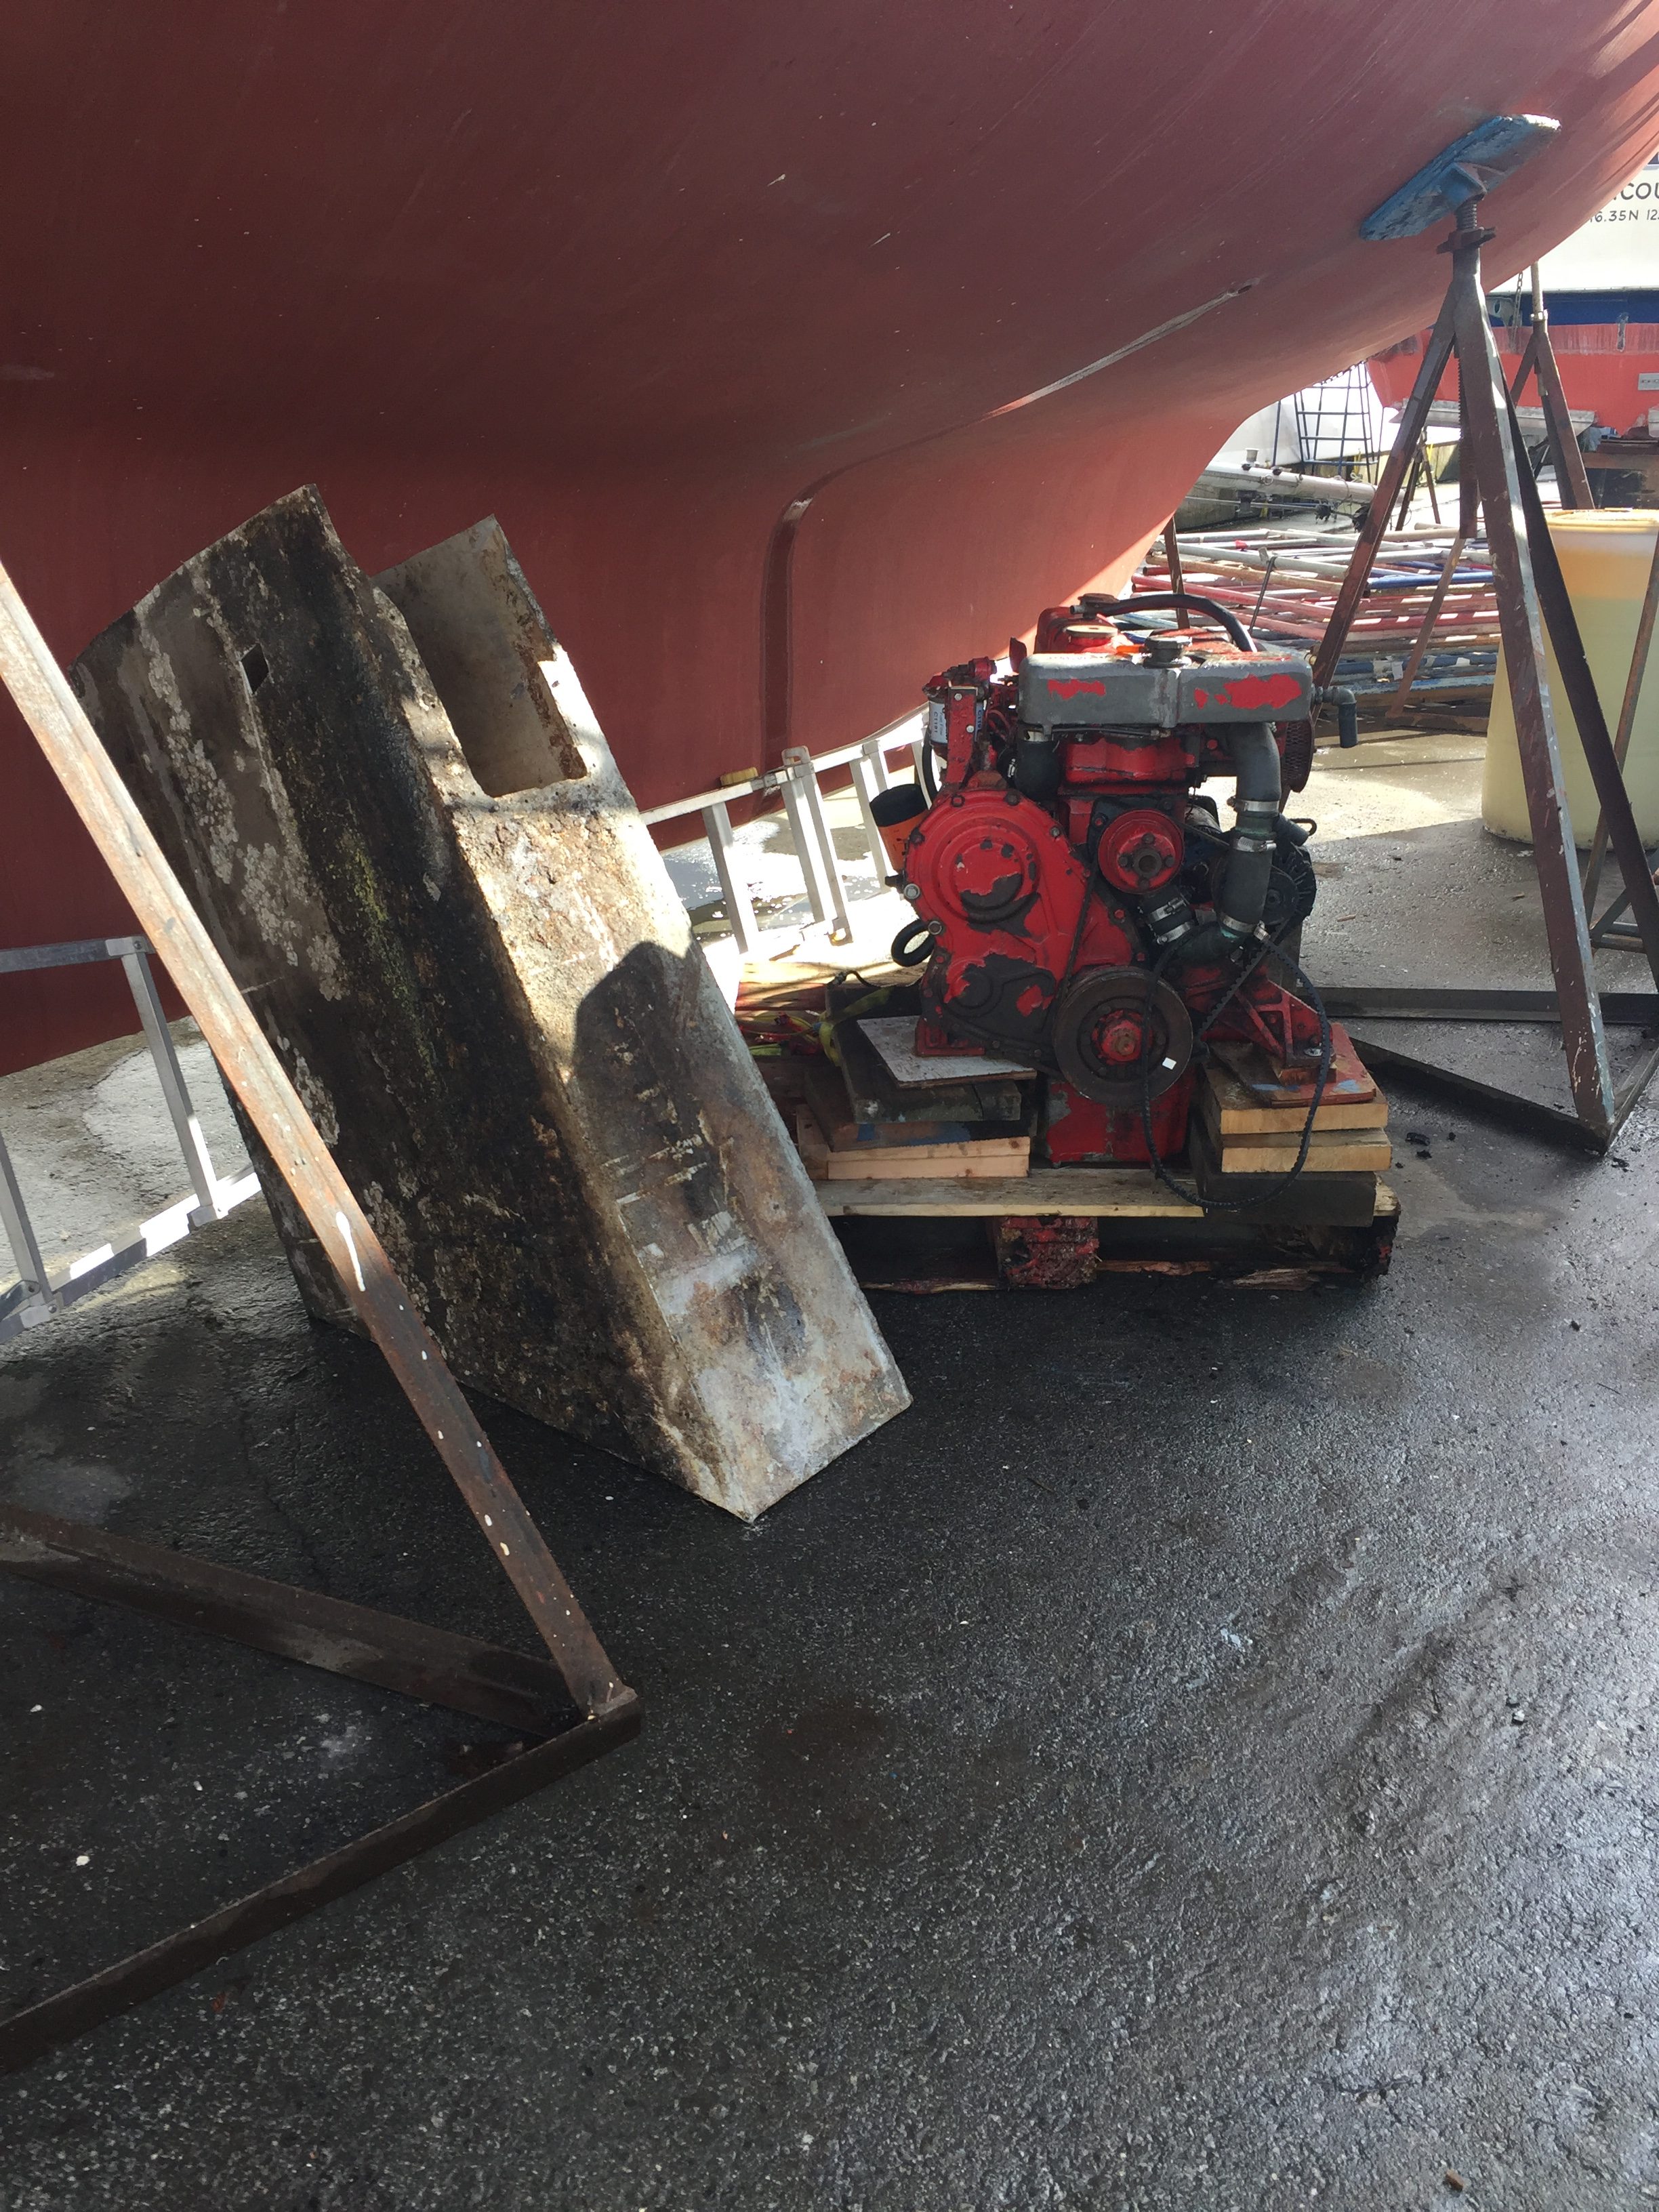
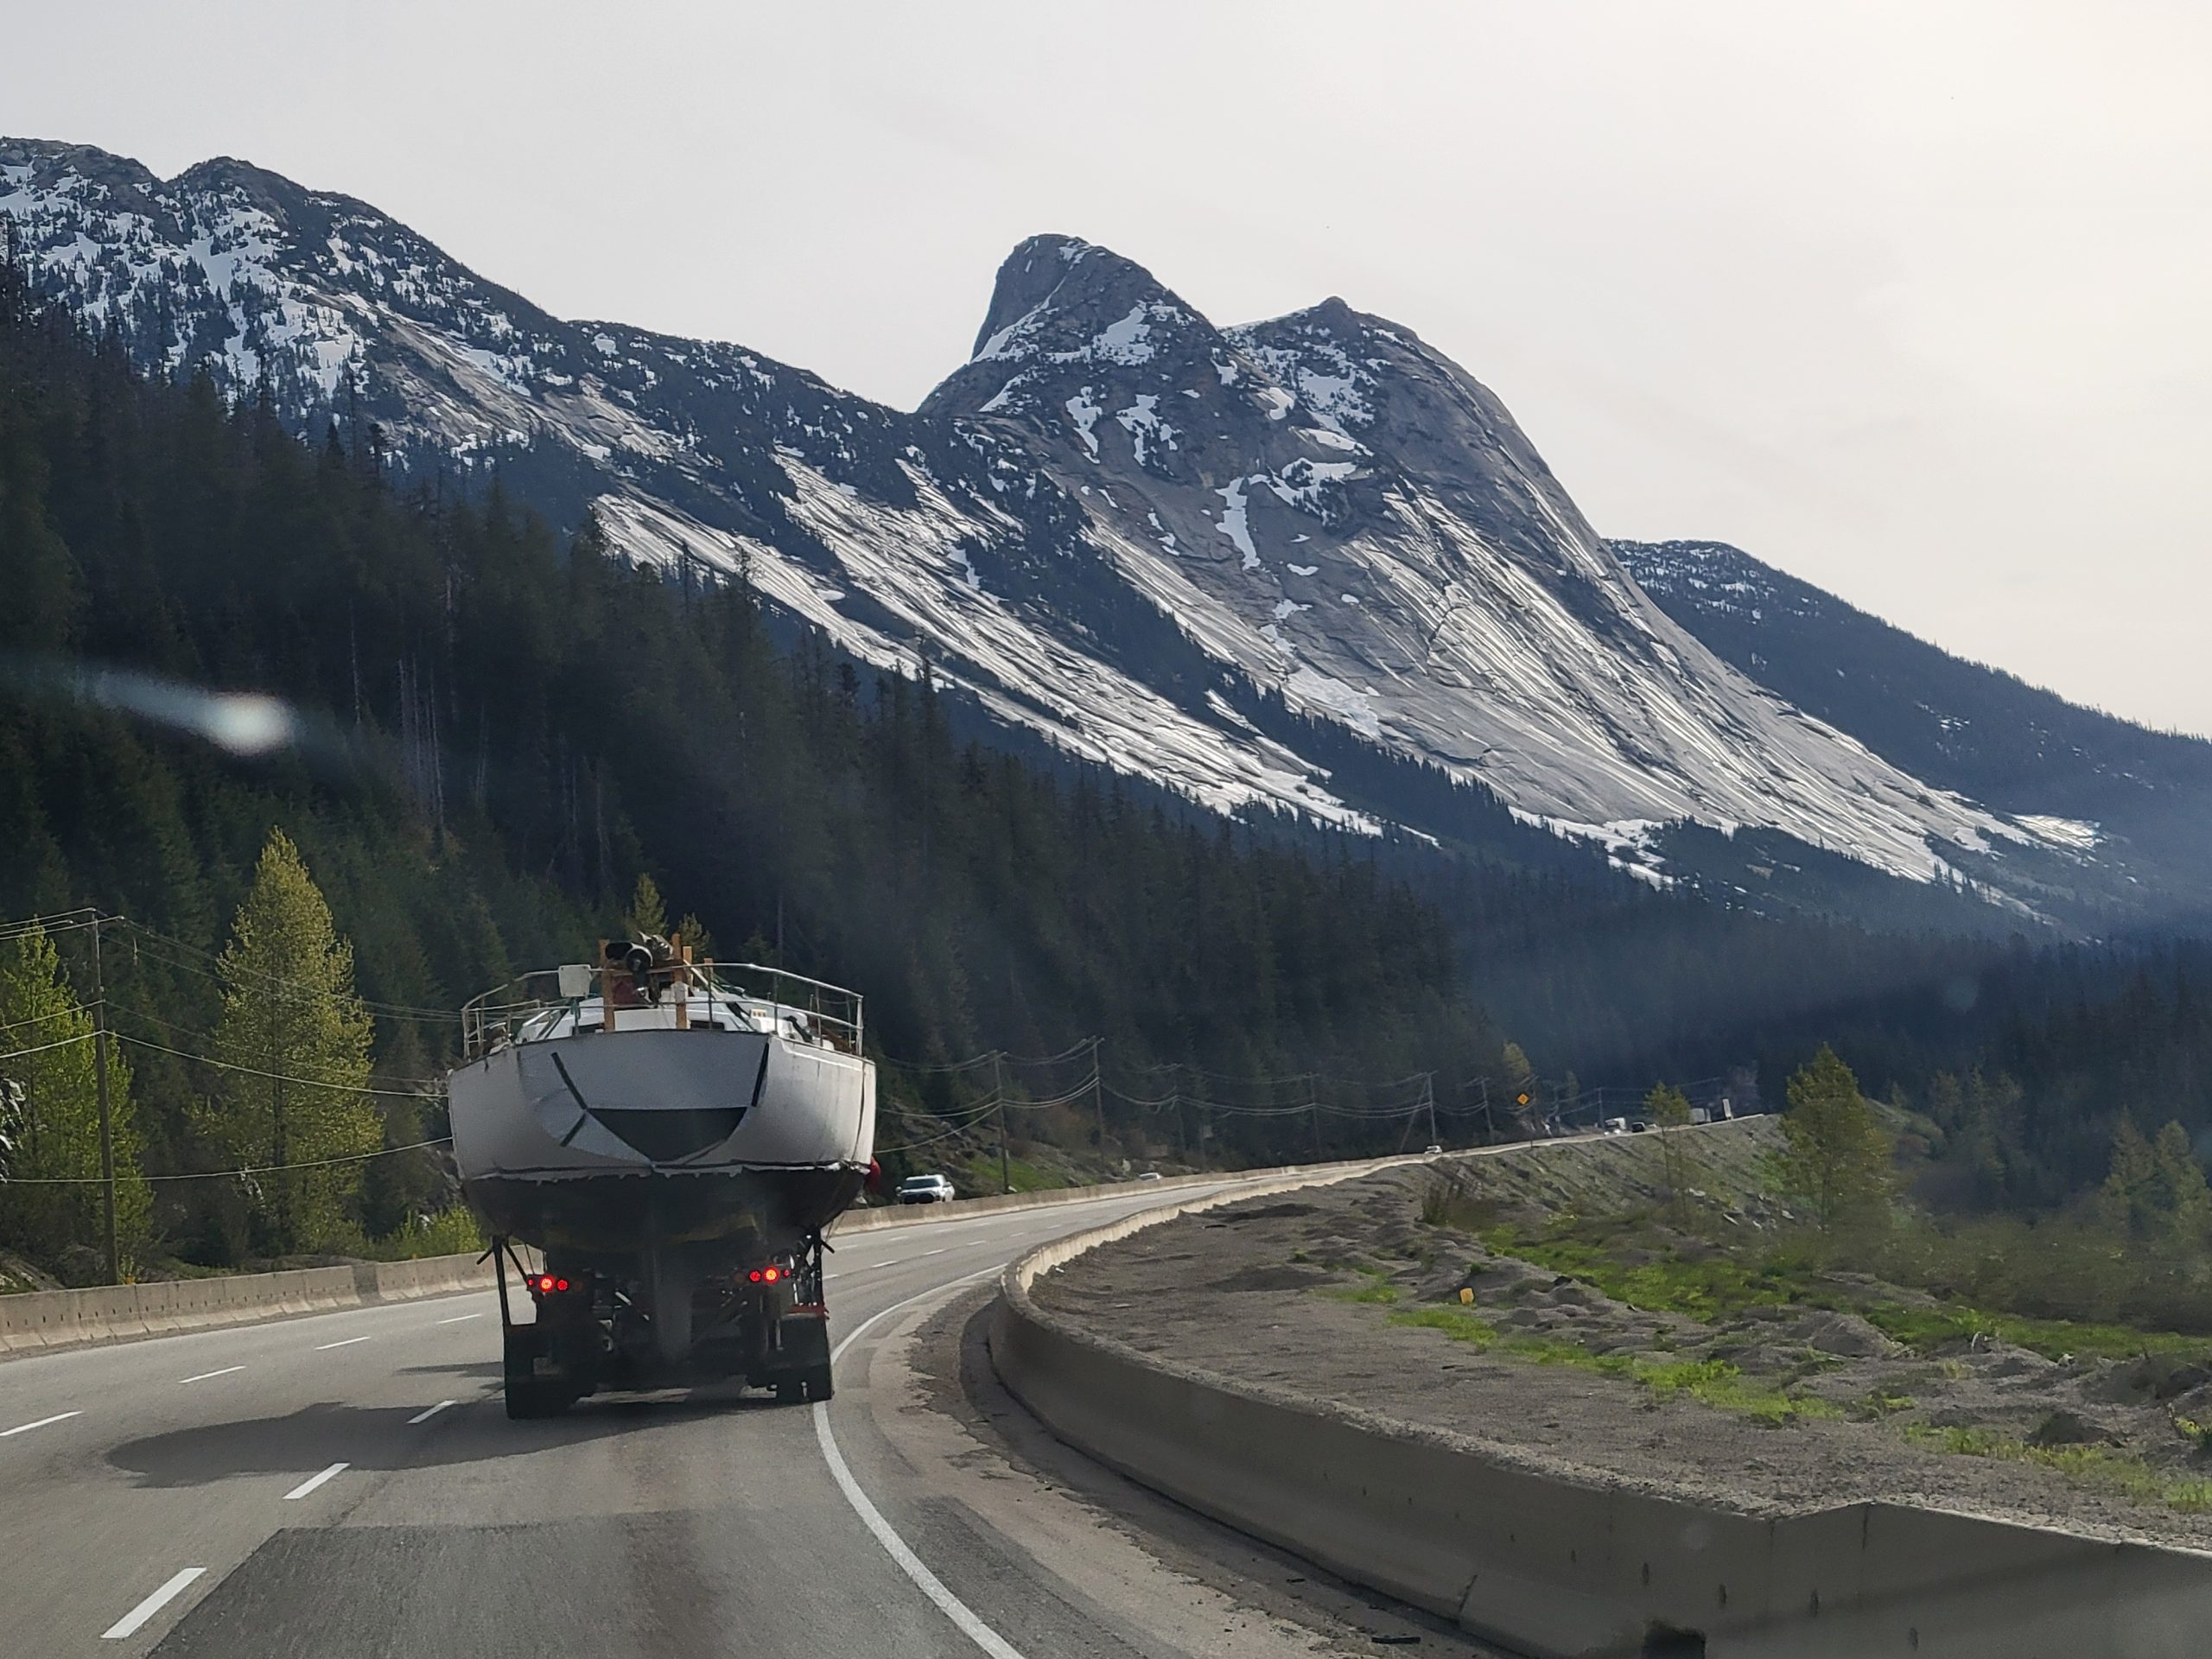
So we hired professional boat movers and put here on a truck for a romp through the mountains of Britich Columbia to our new home!
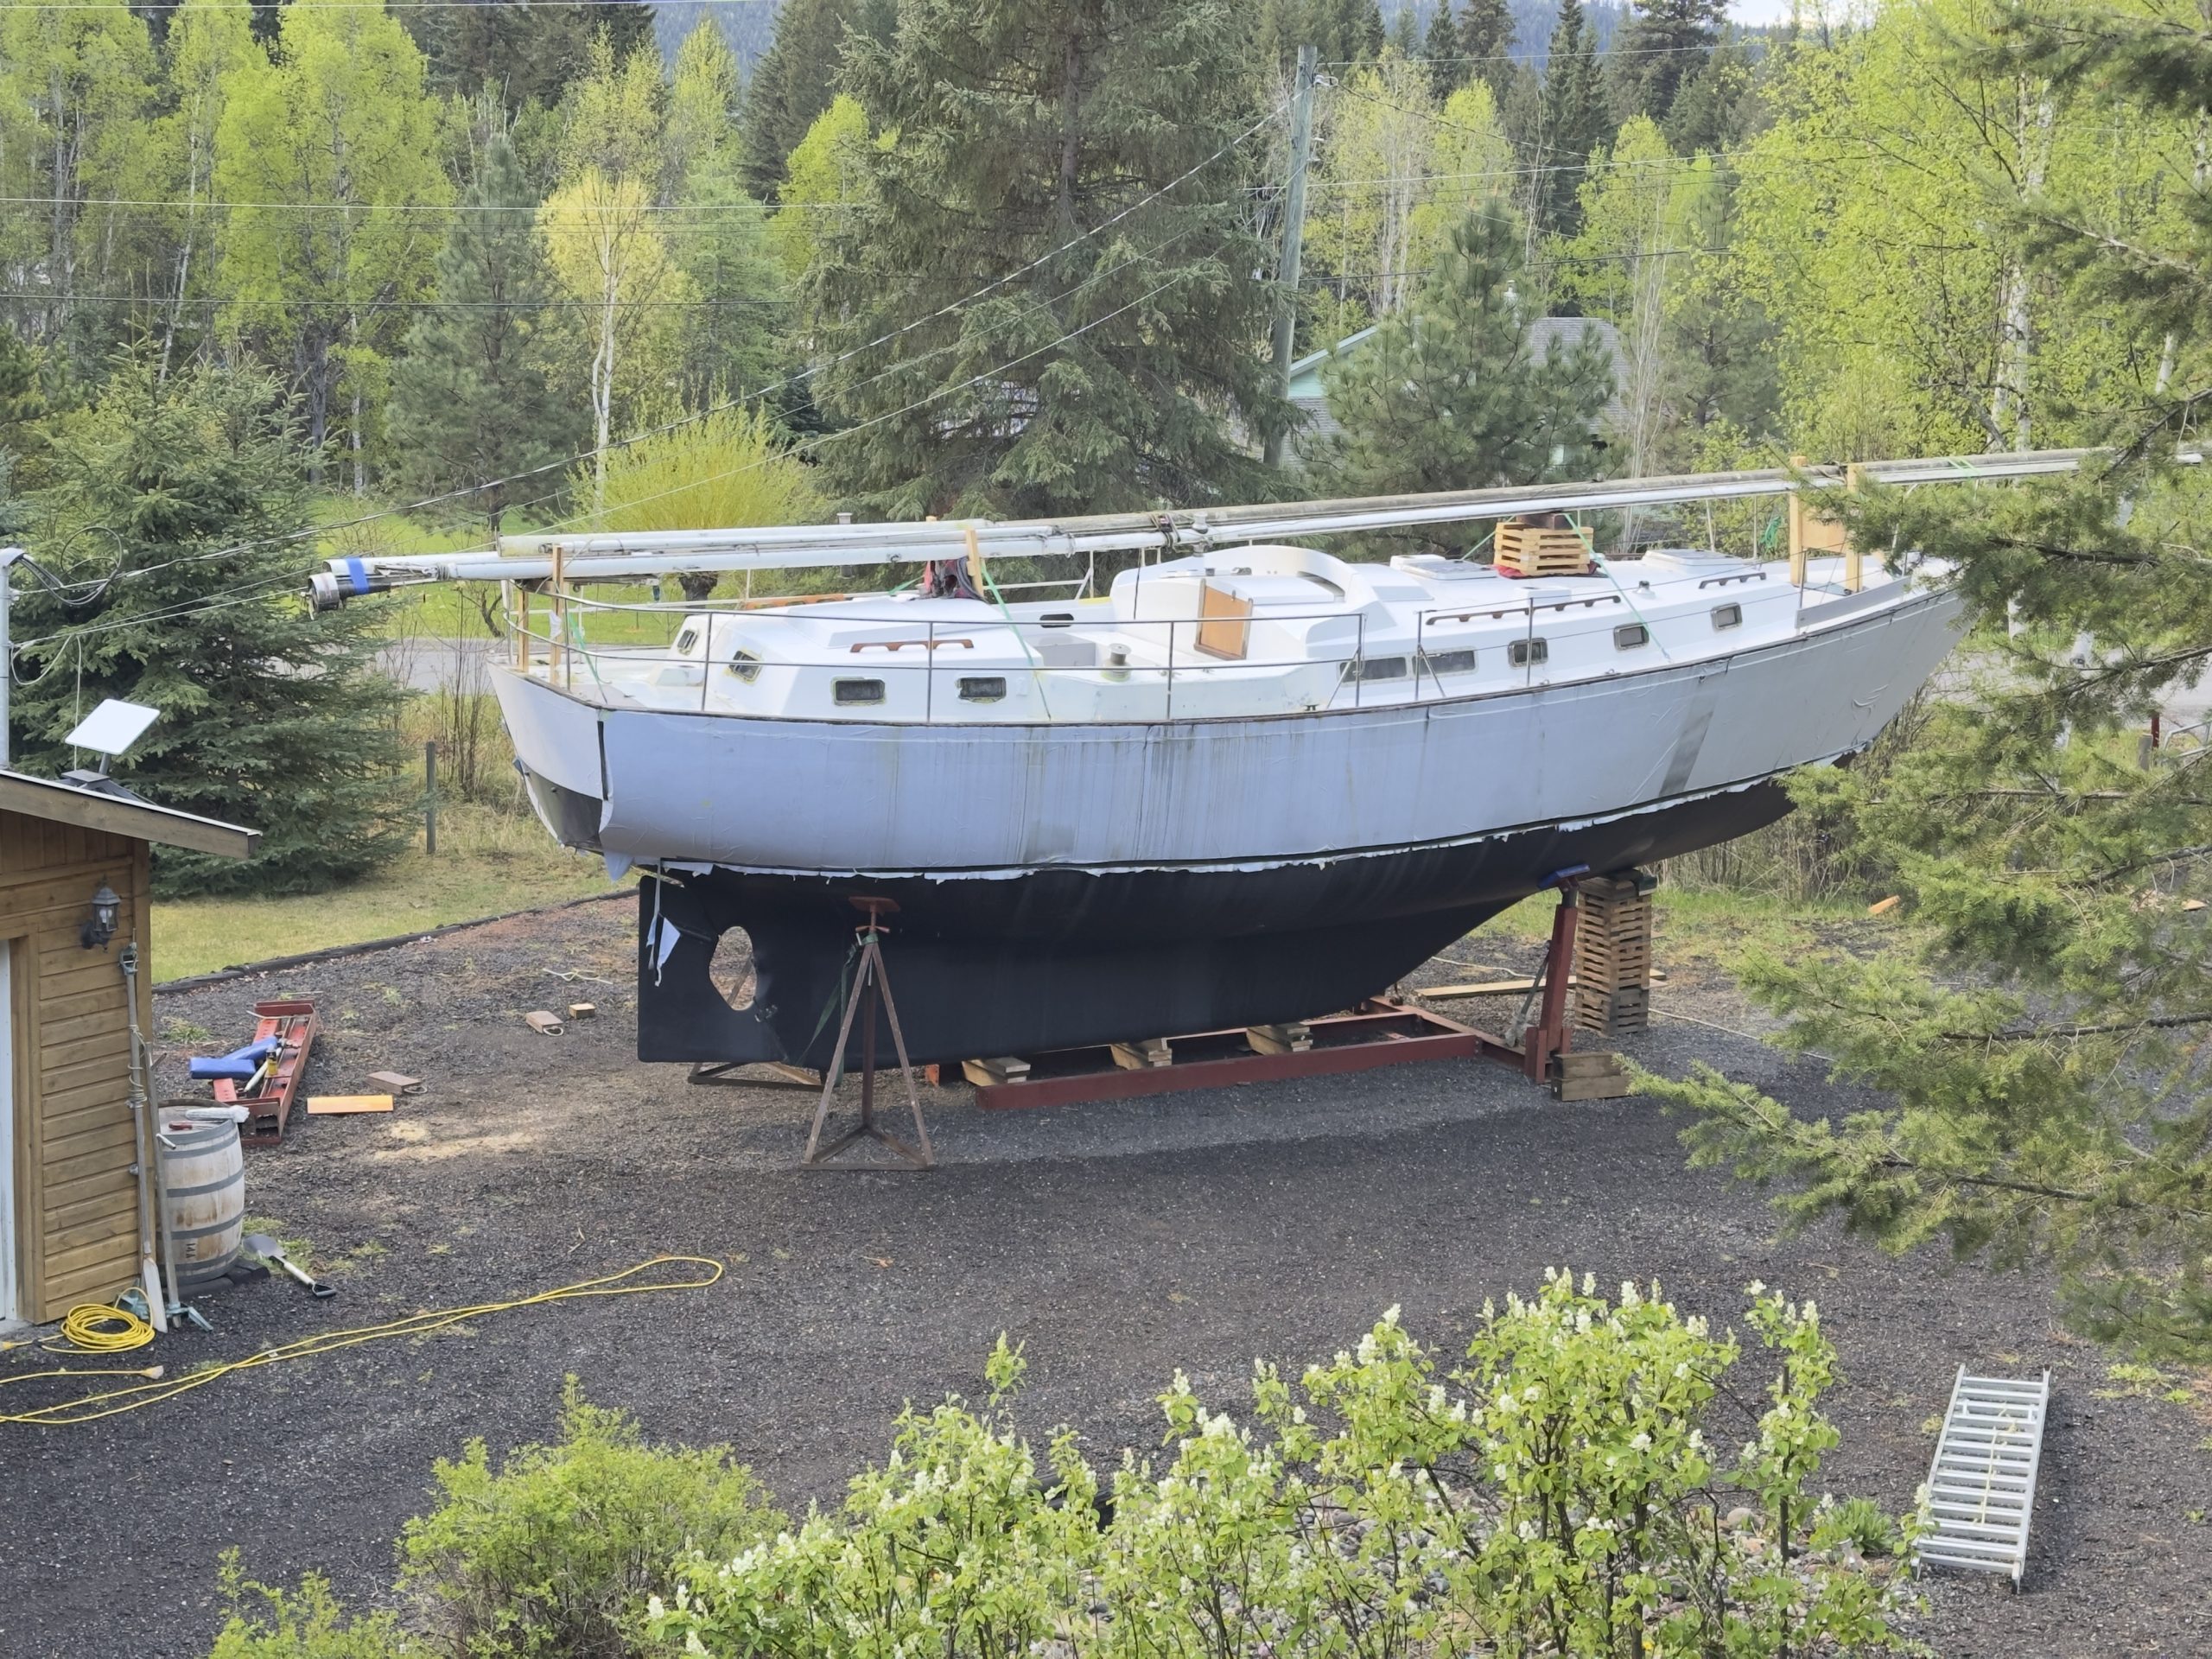
We have just over 2 acres of land so we have lots of room for her, but of course, because she is so big, she is right in our driveway where we absolutely can not forget about her!
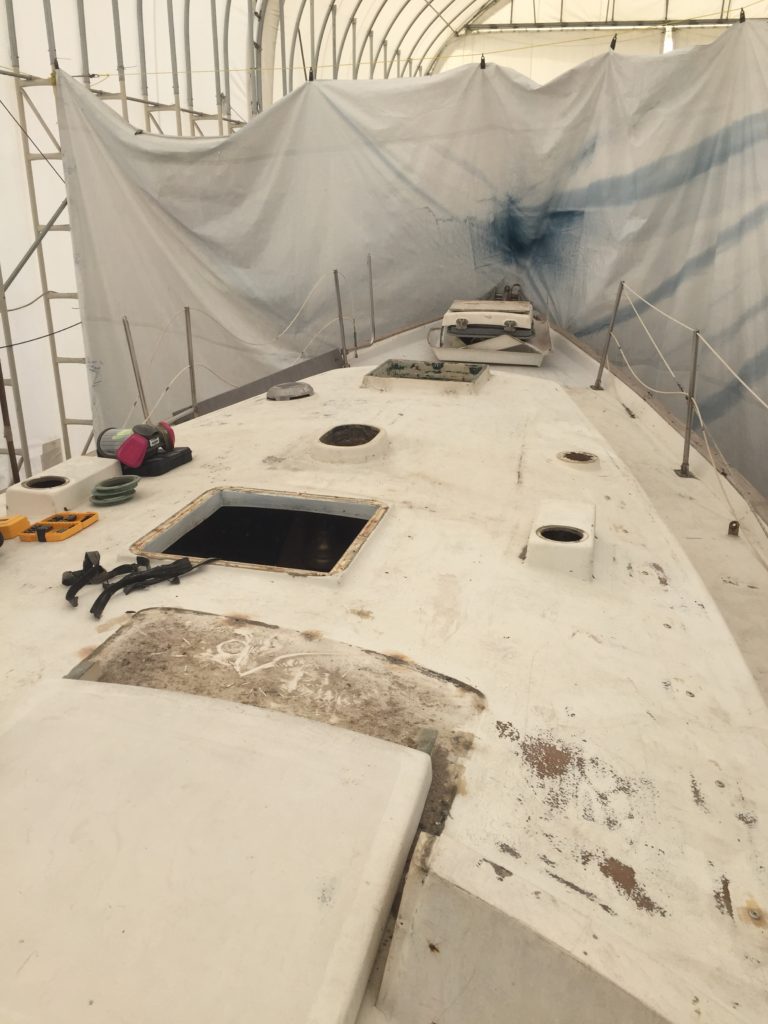
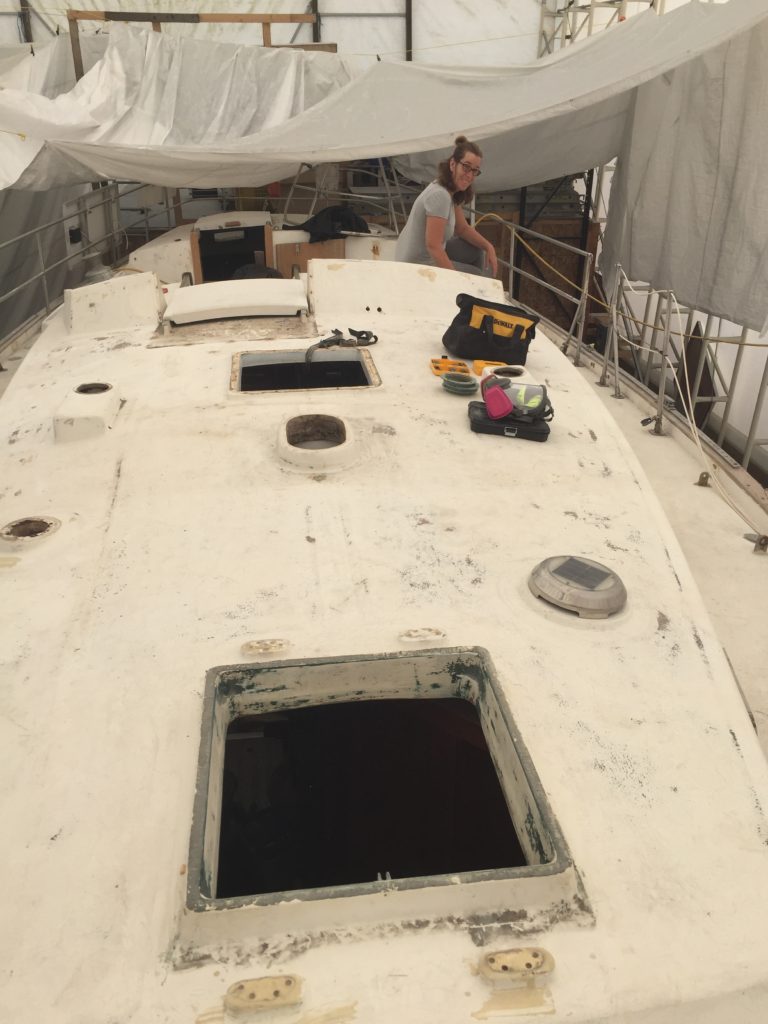
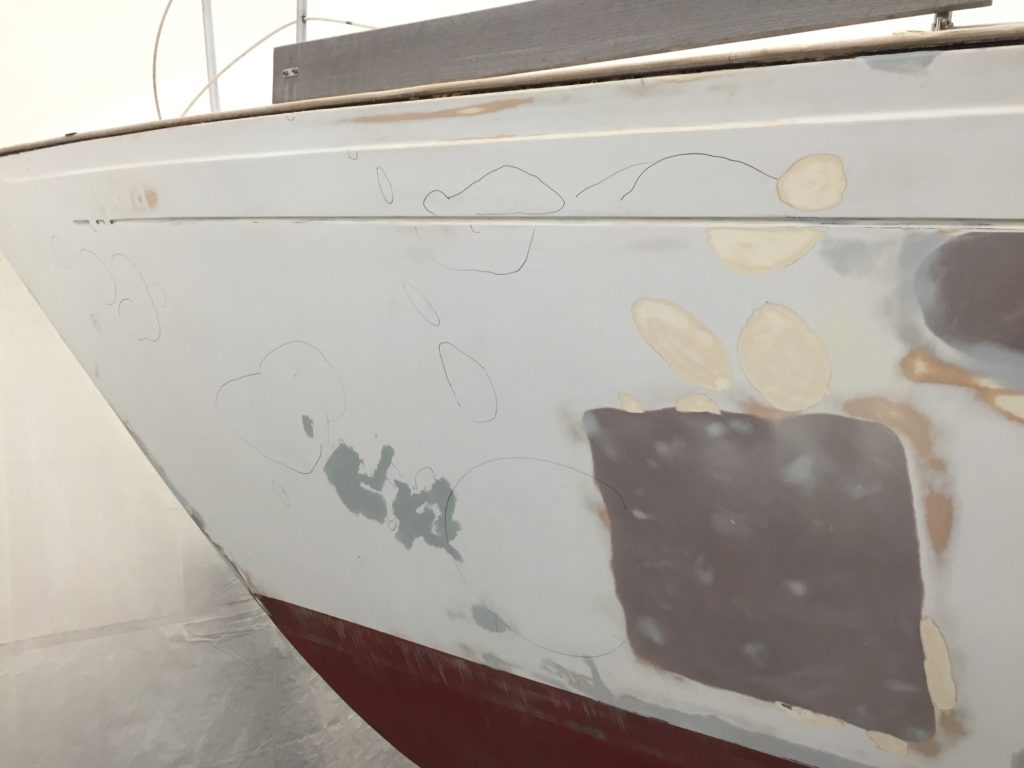
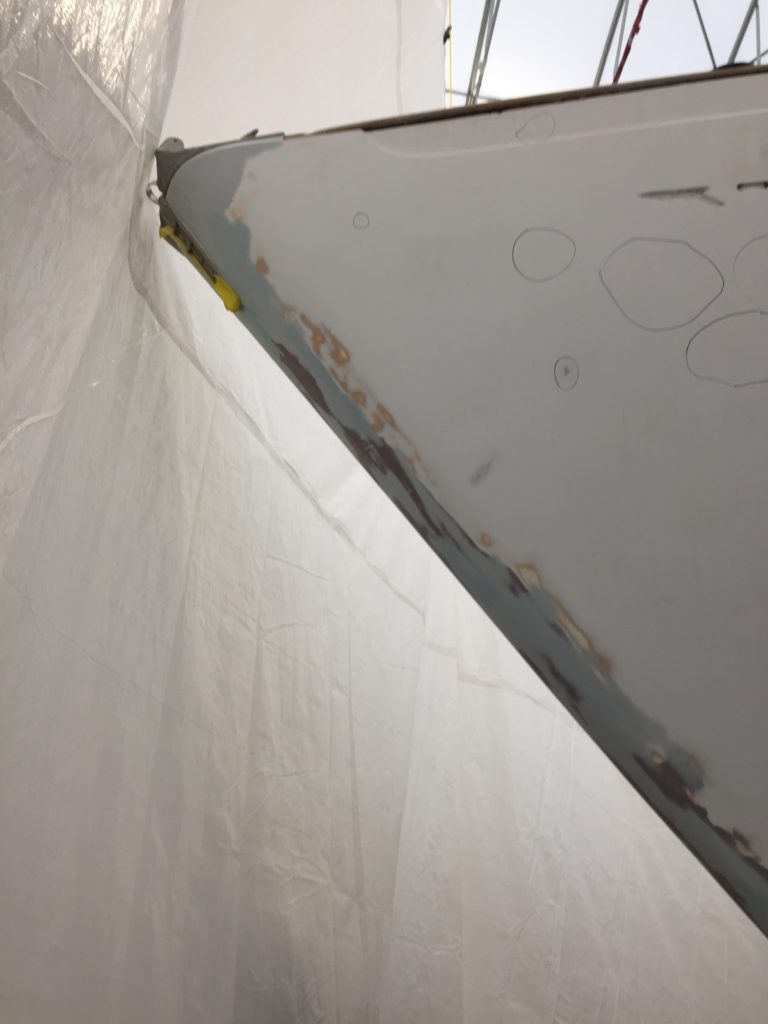
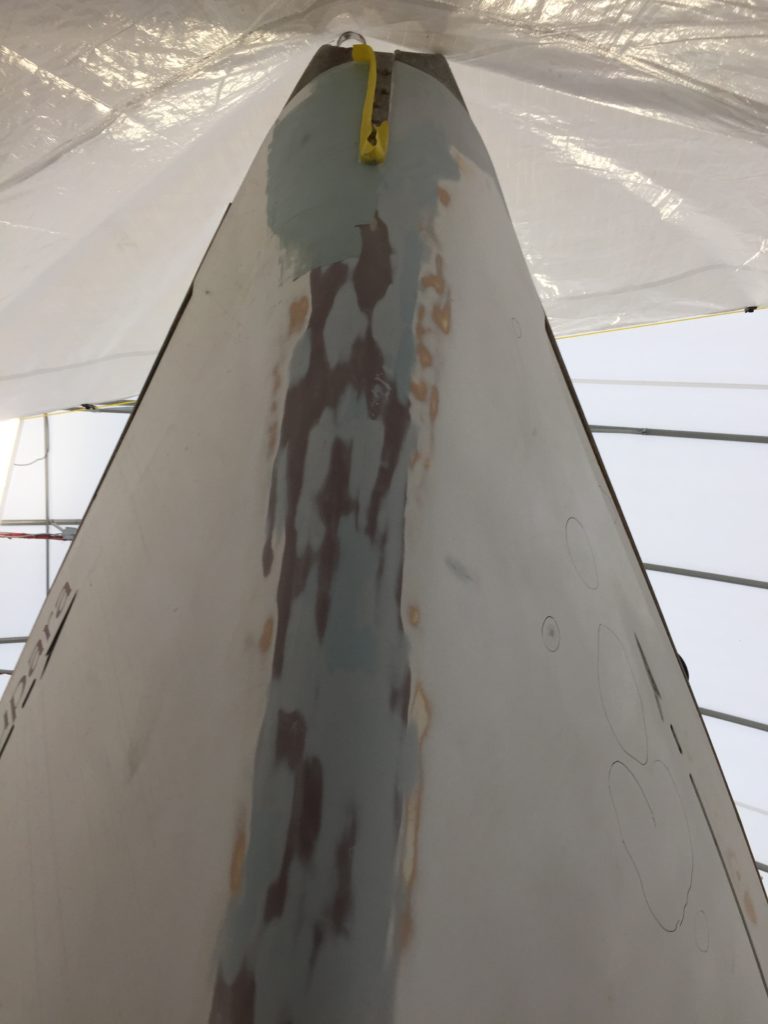
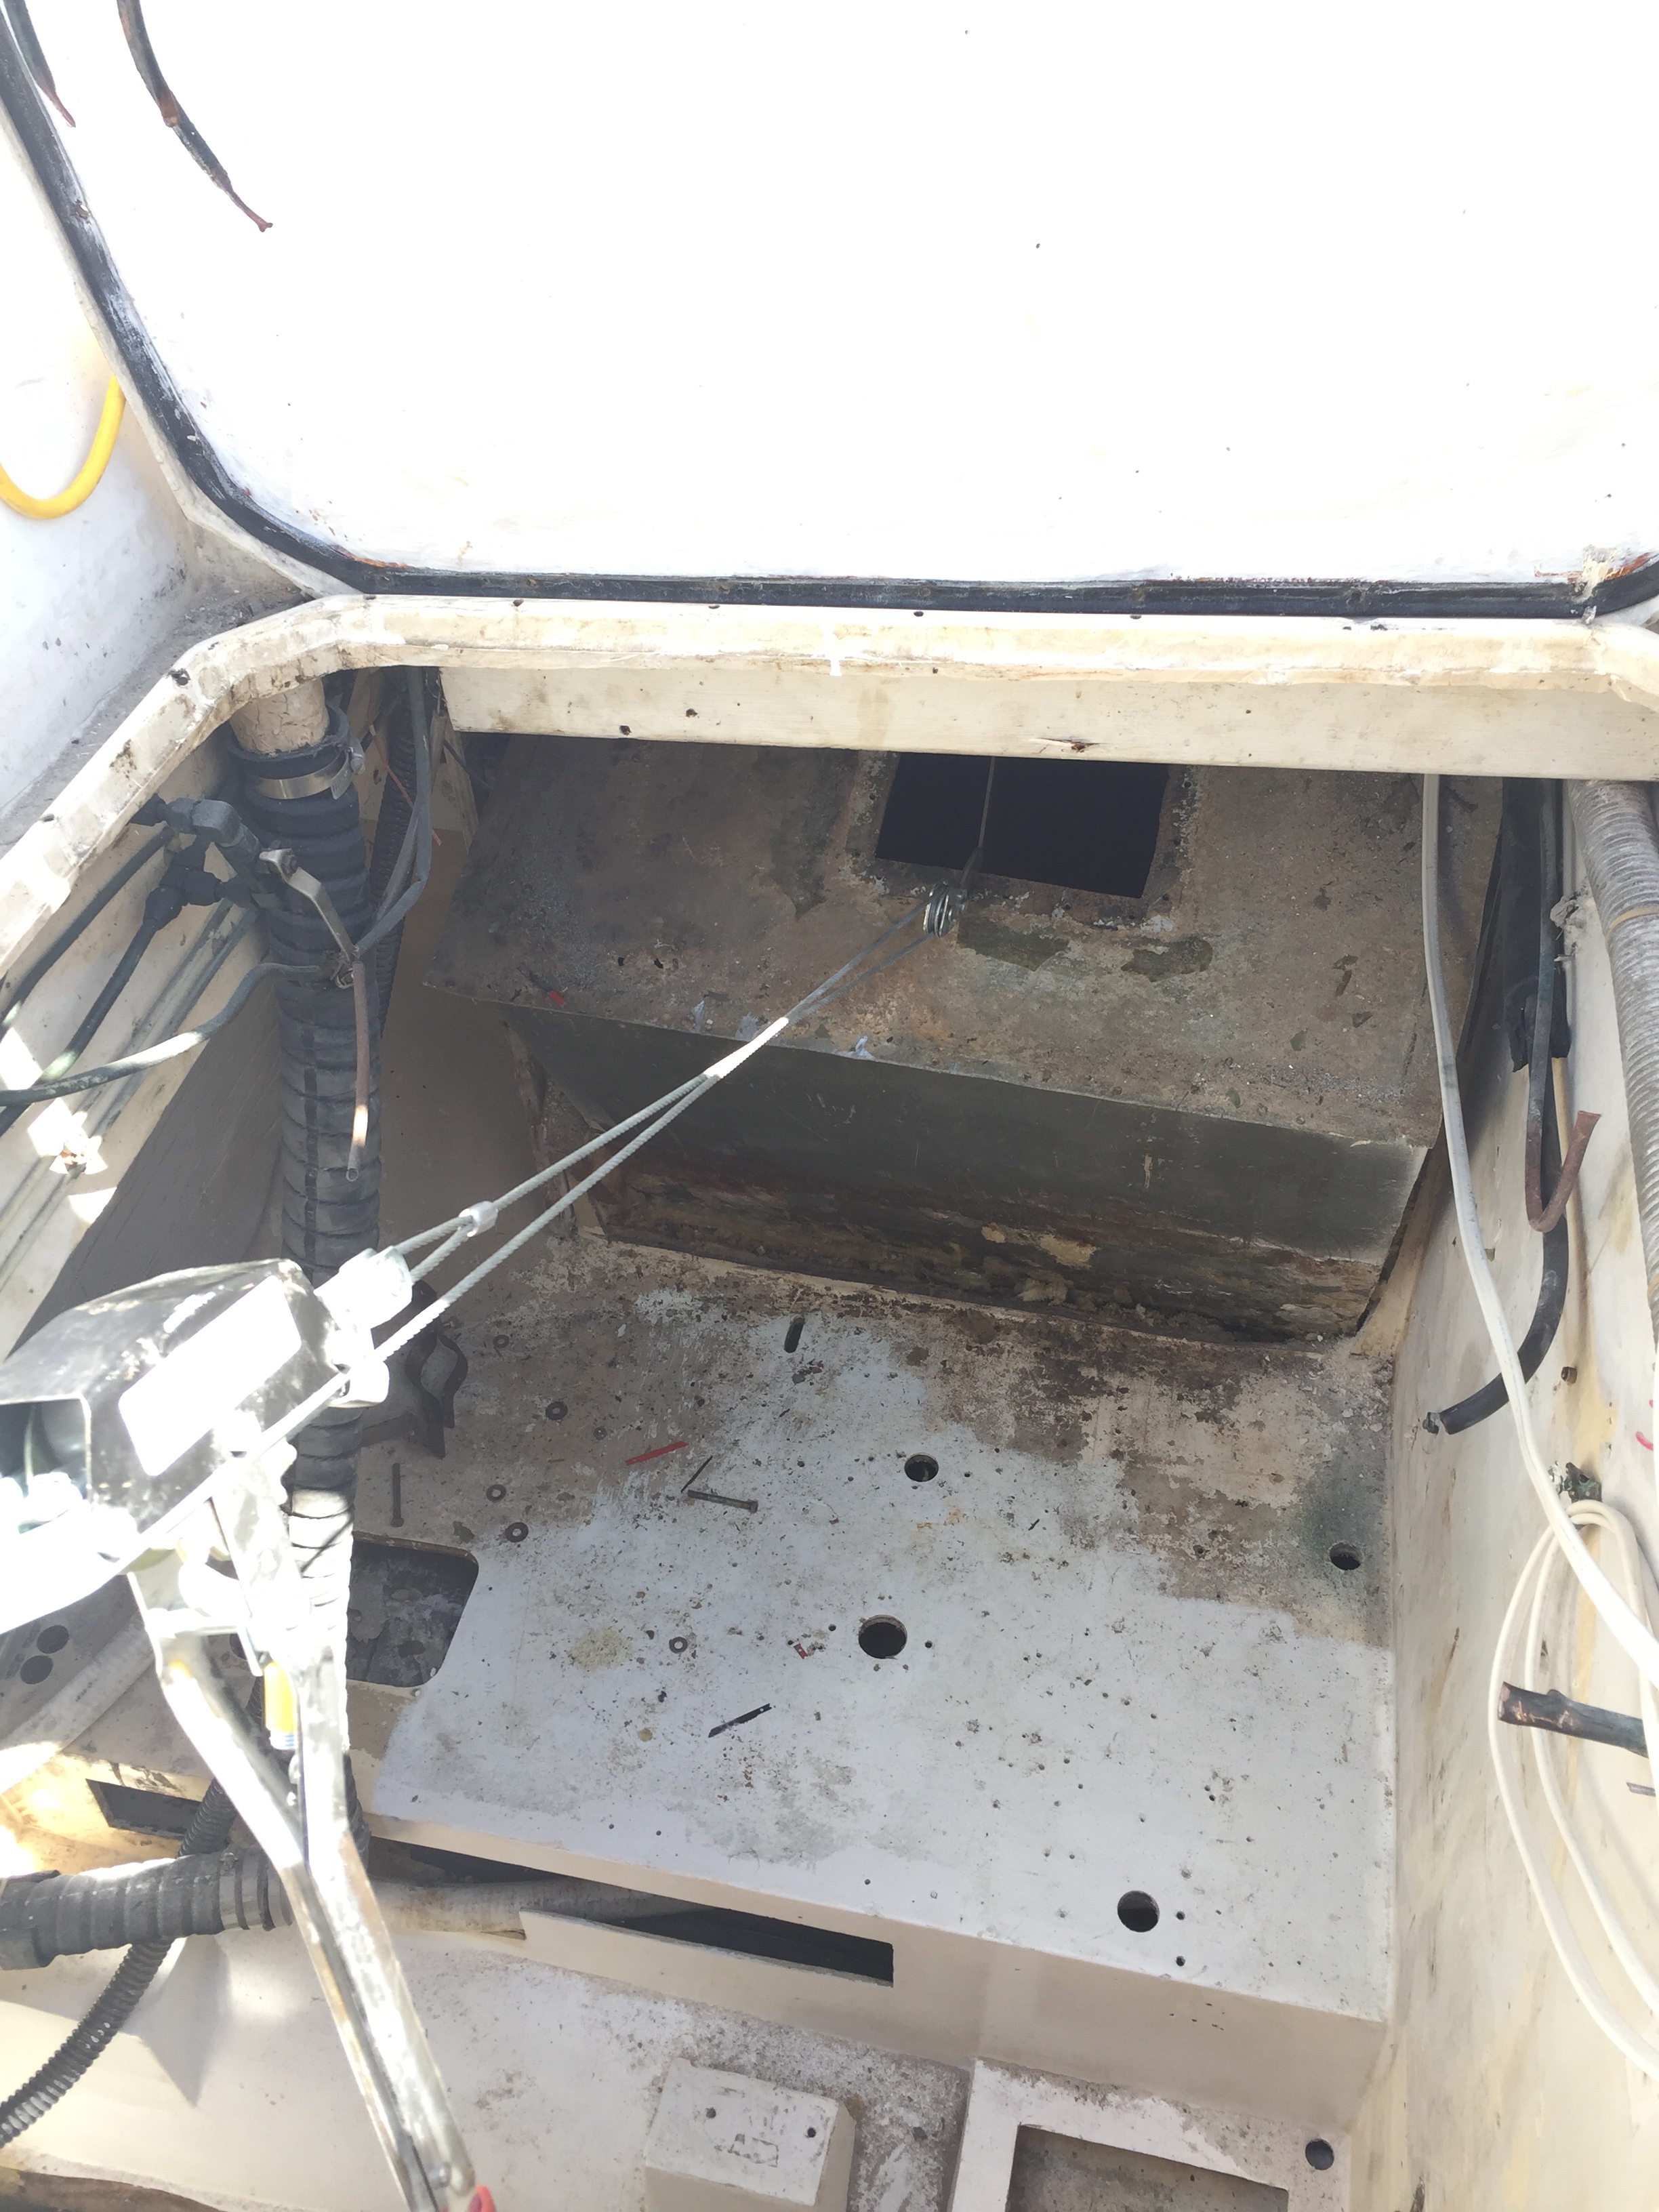
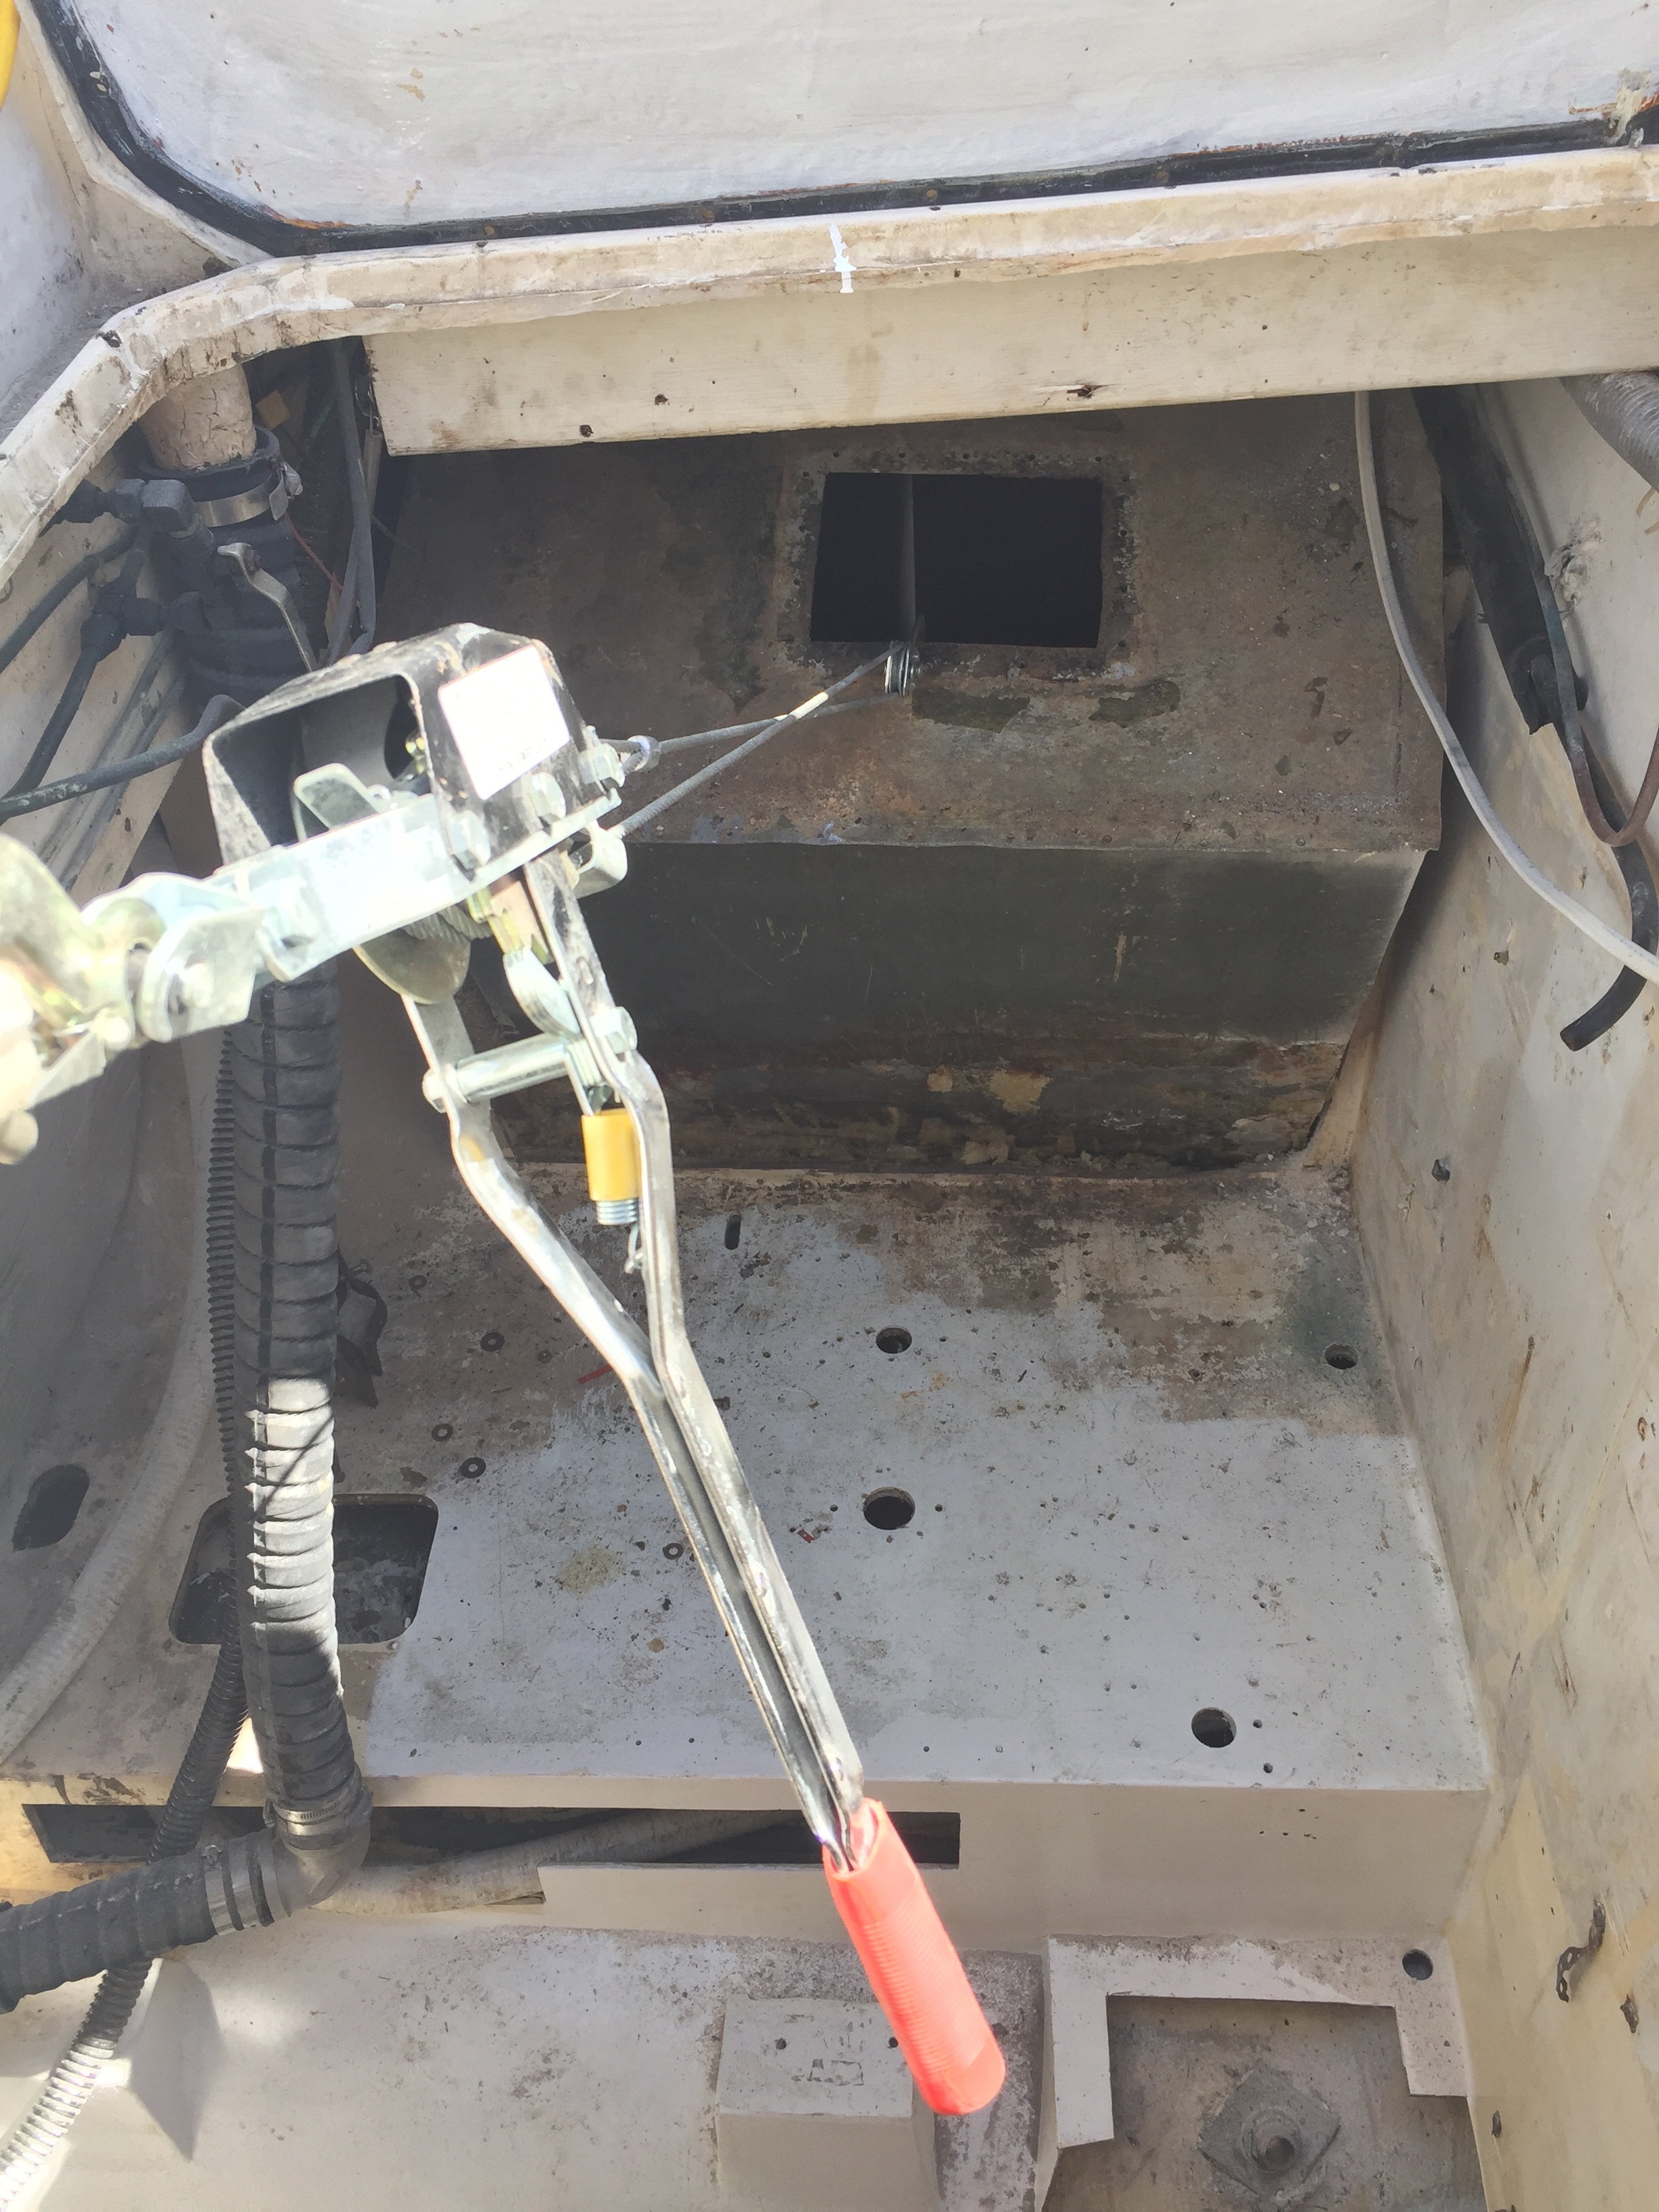
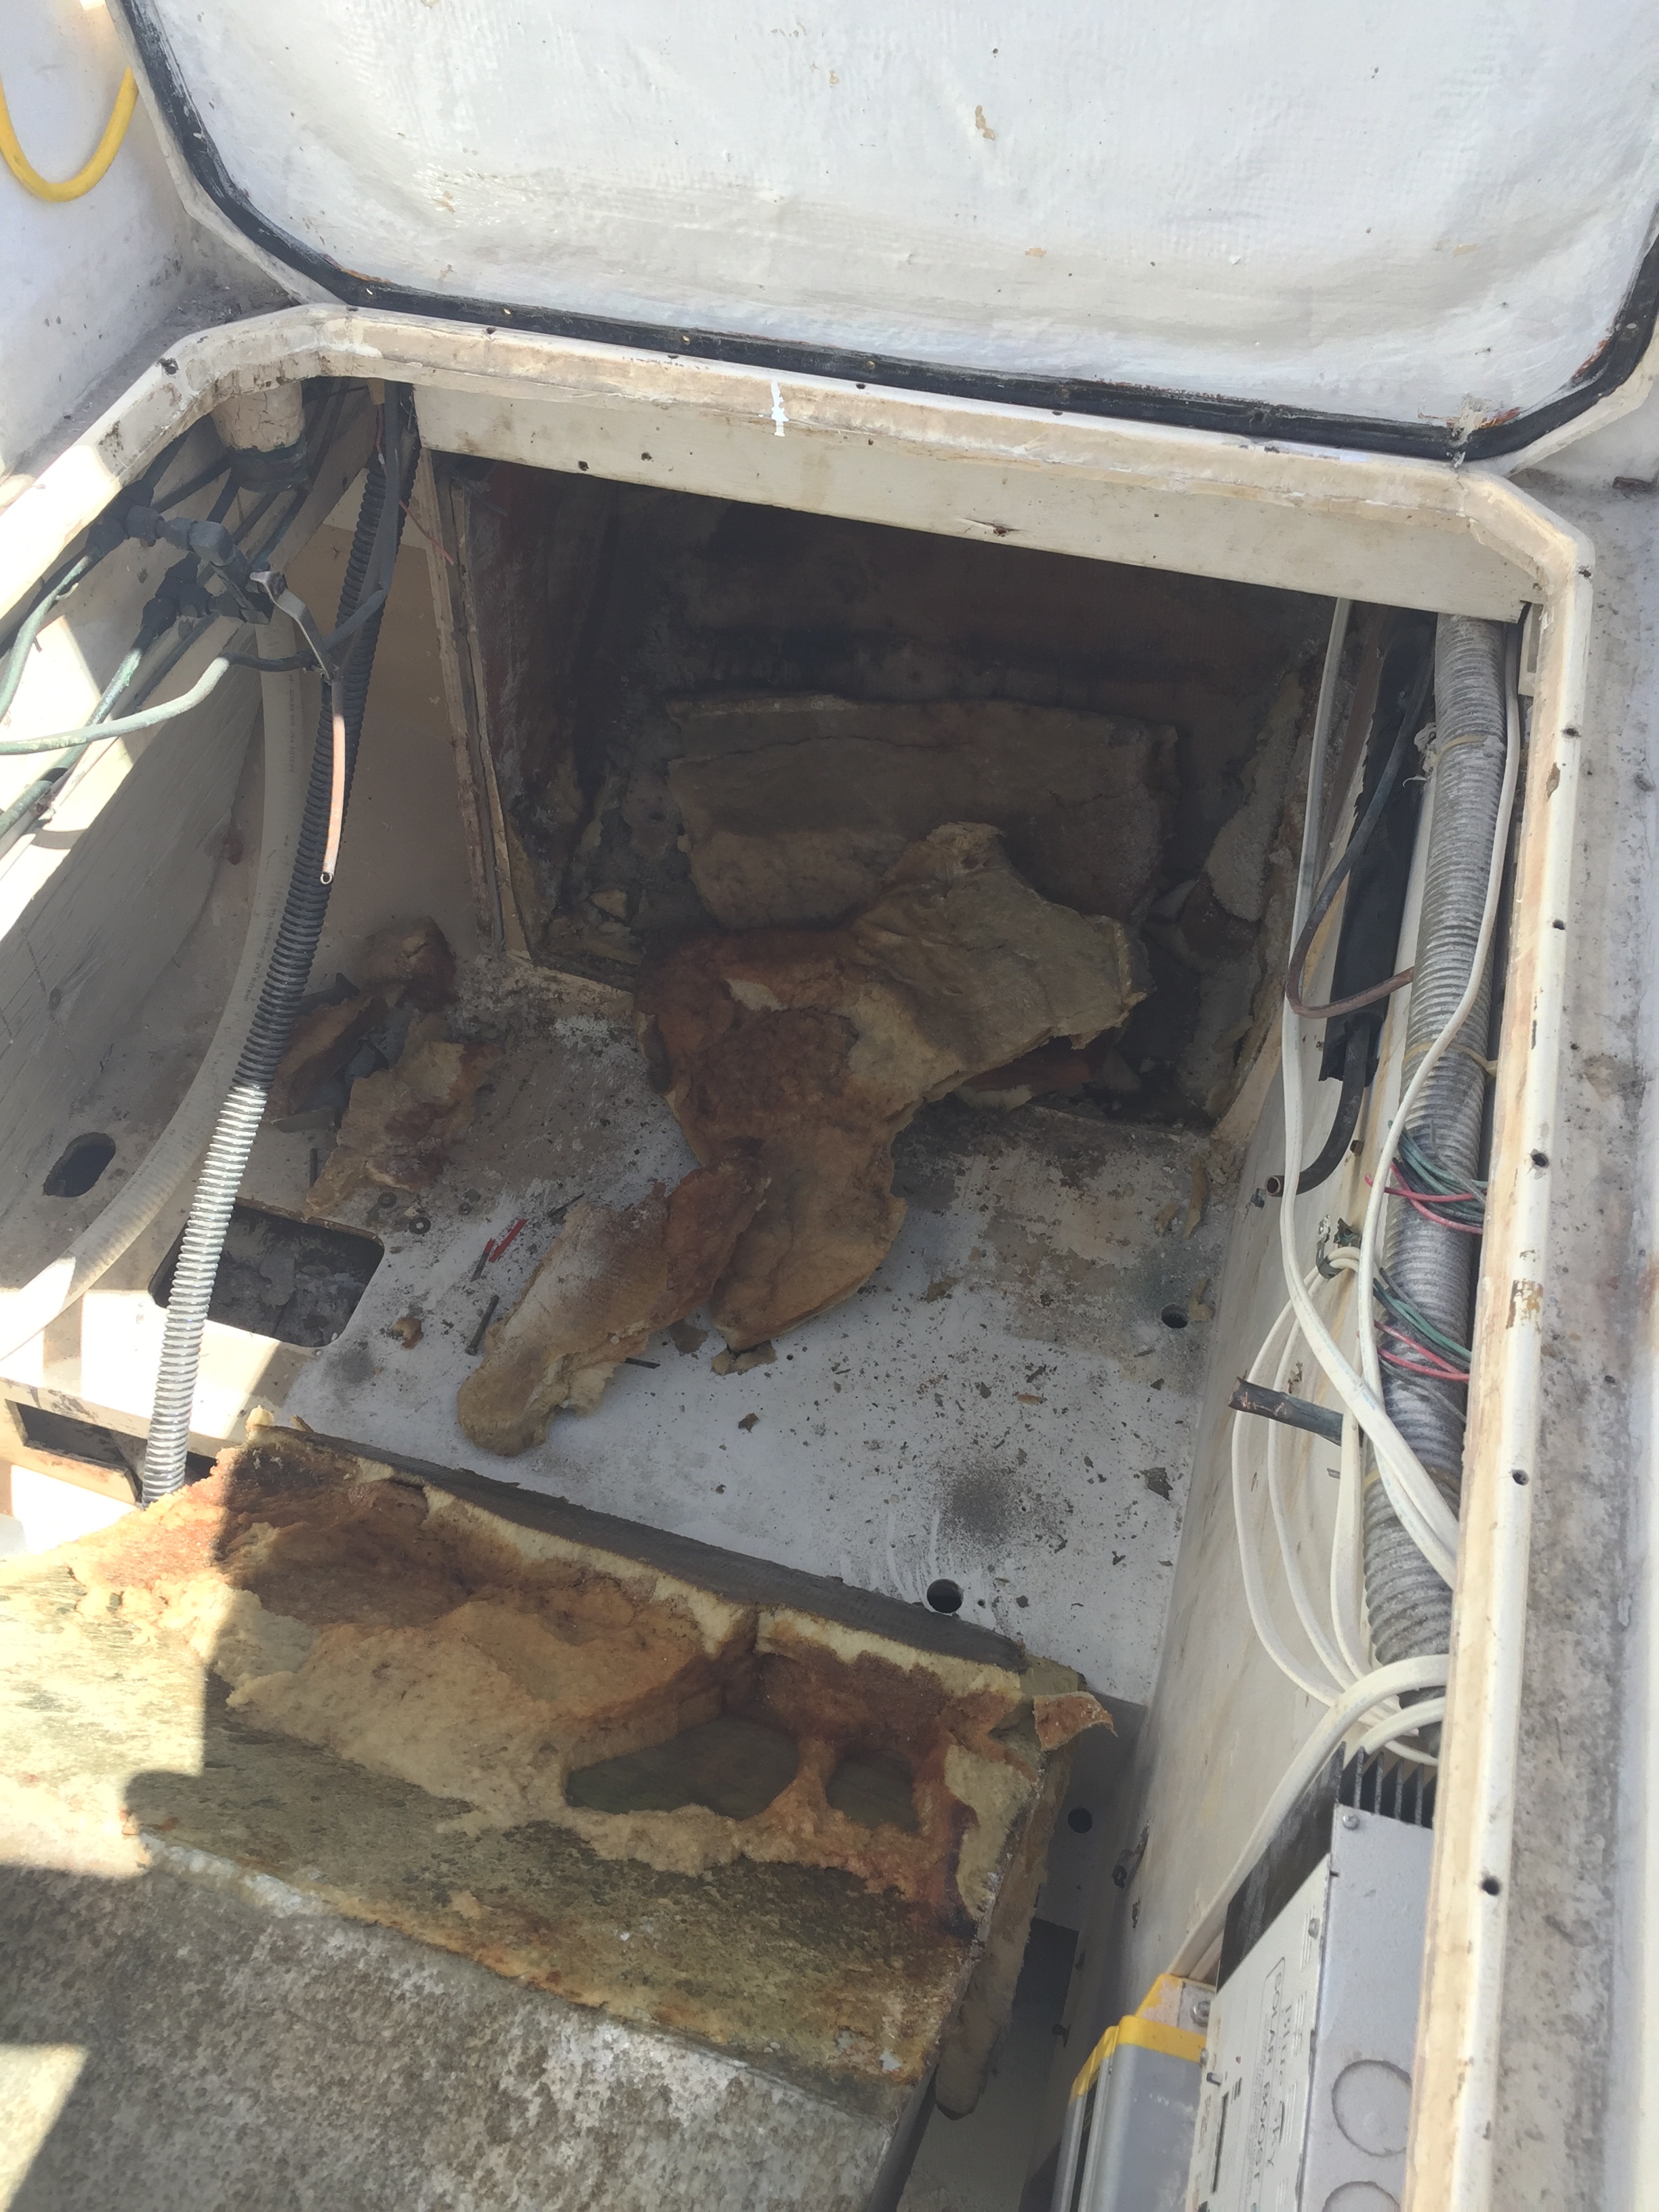
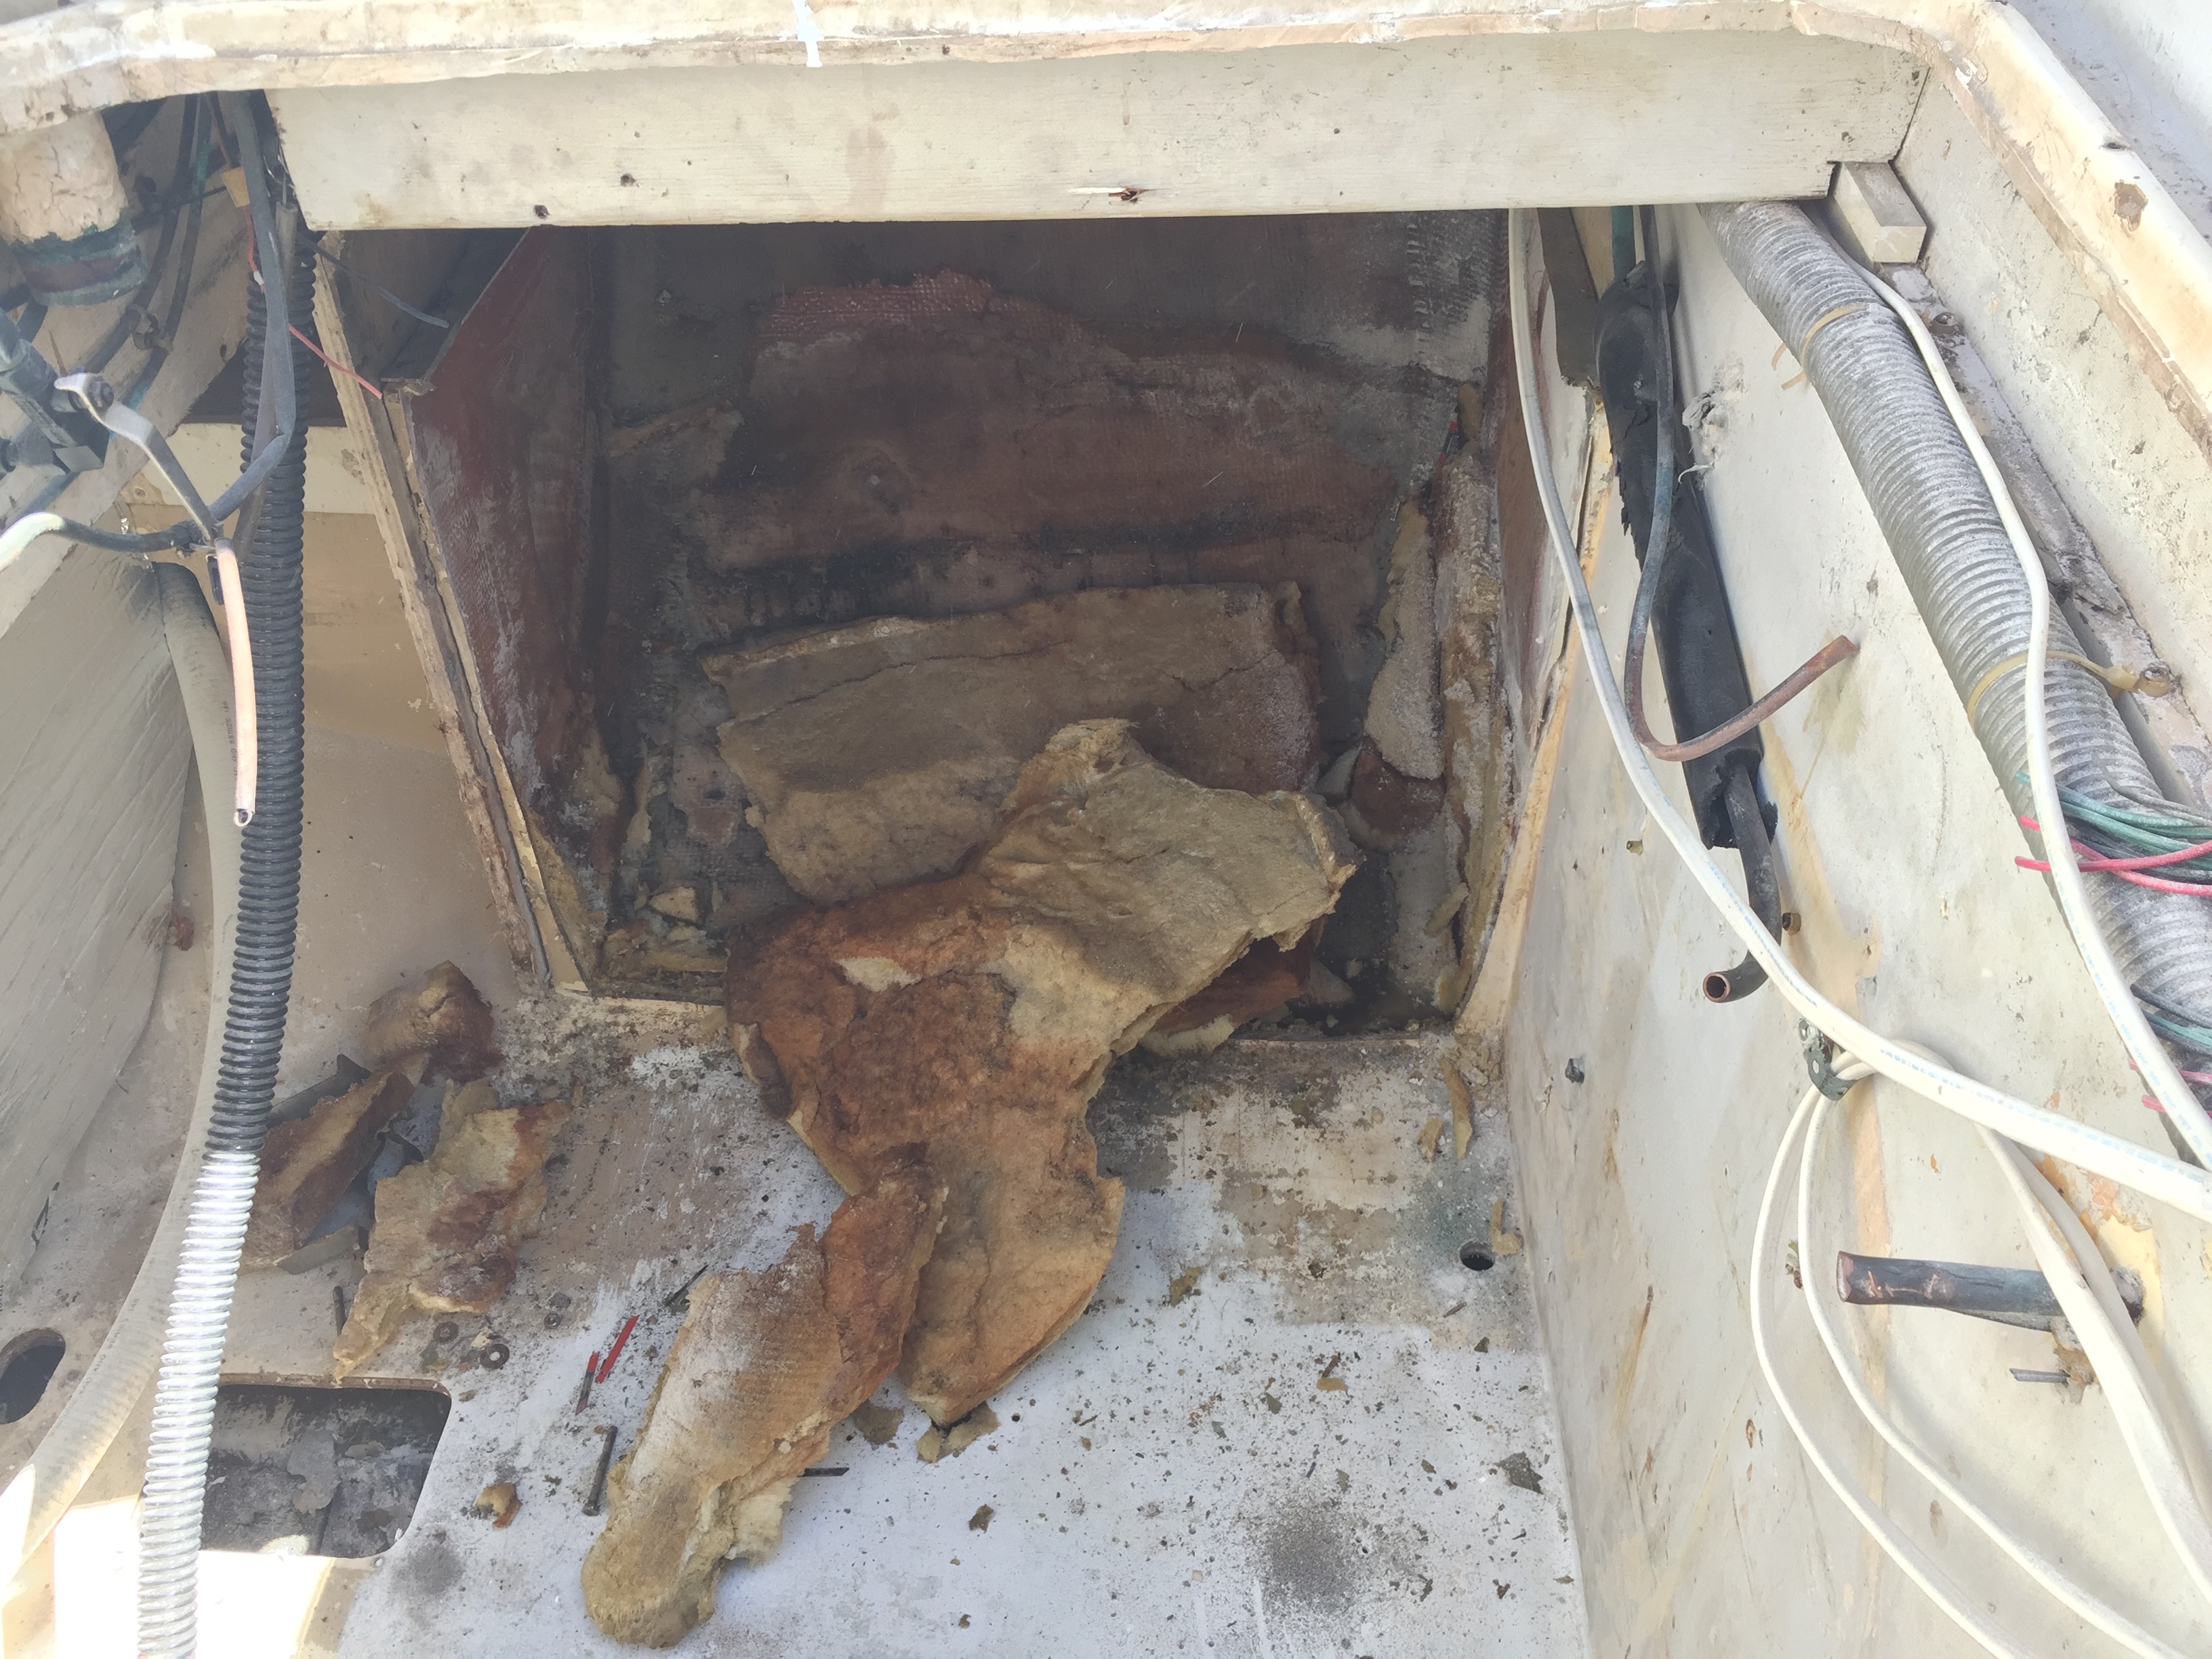
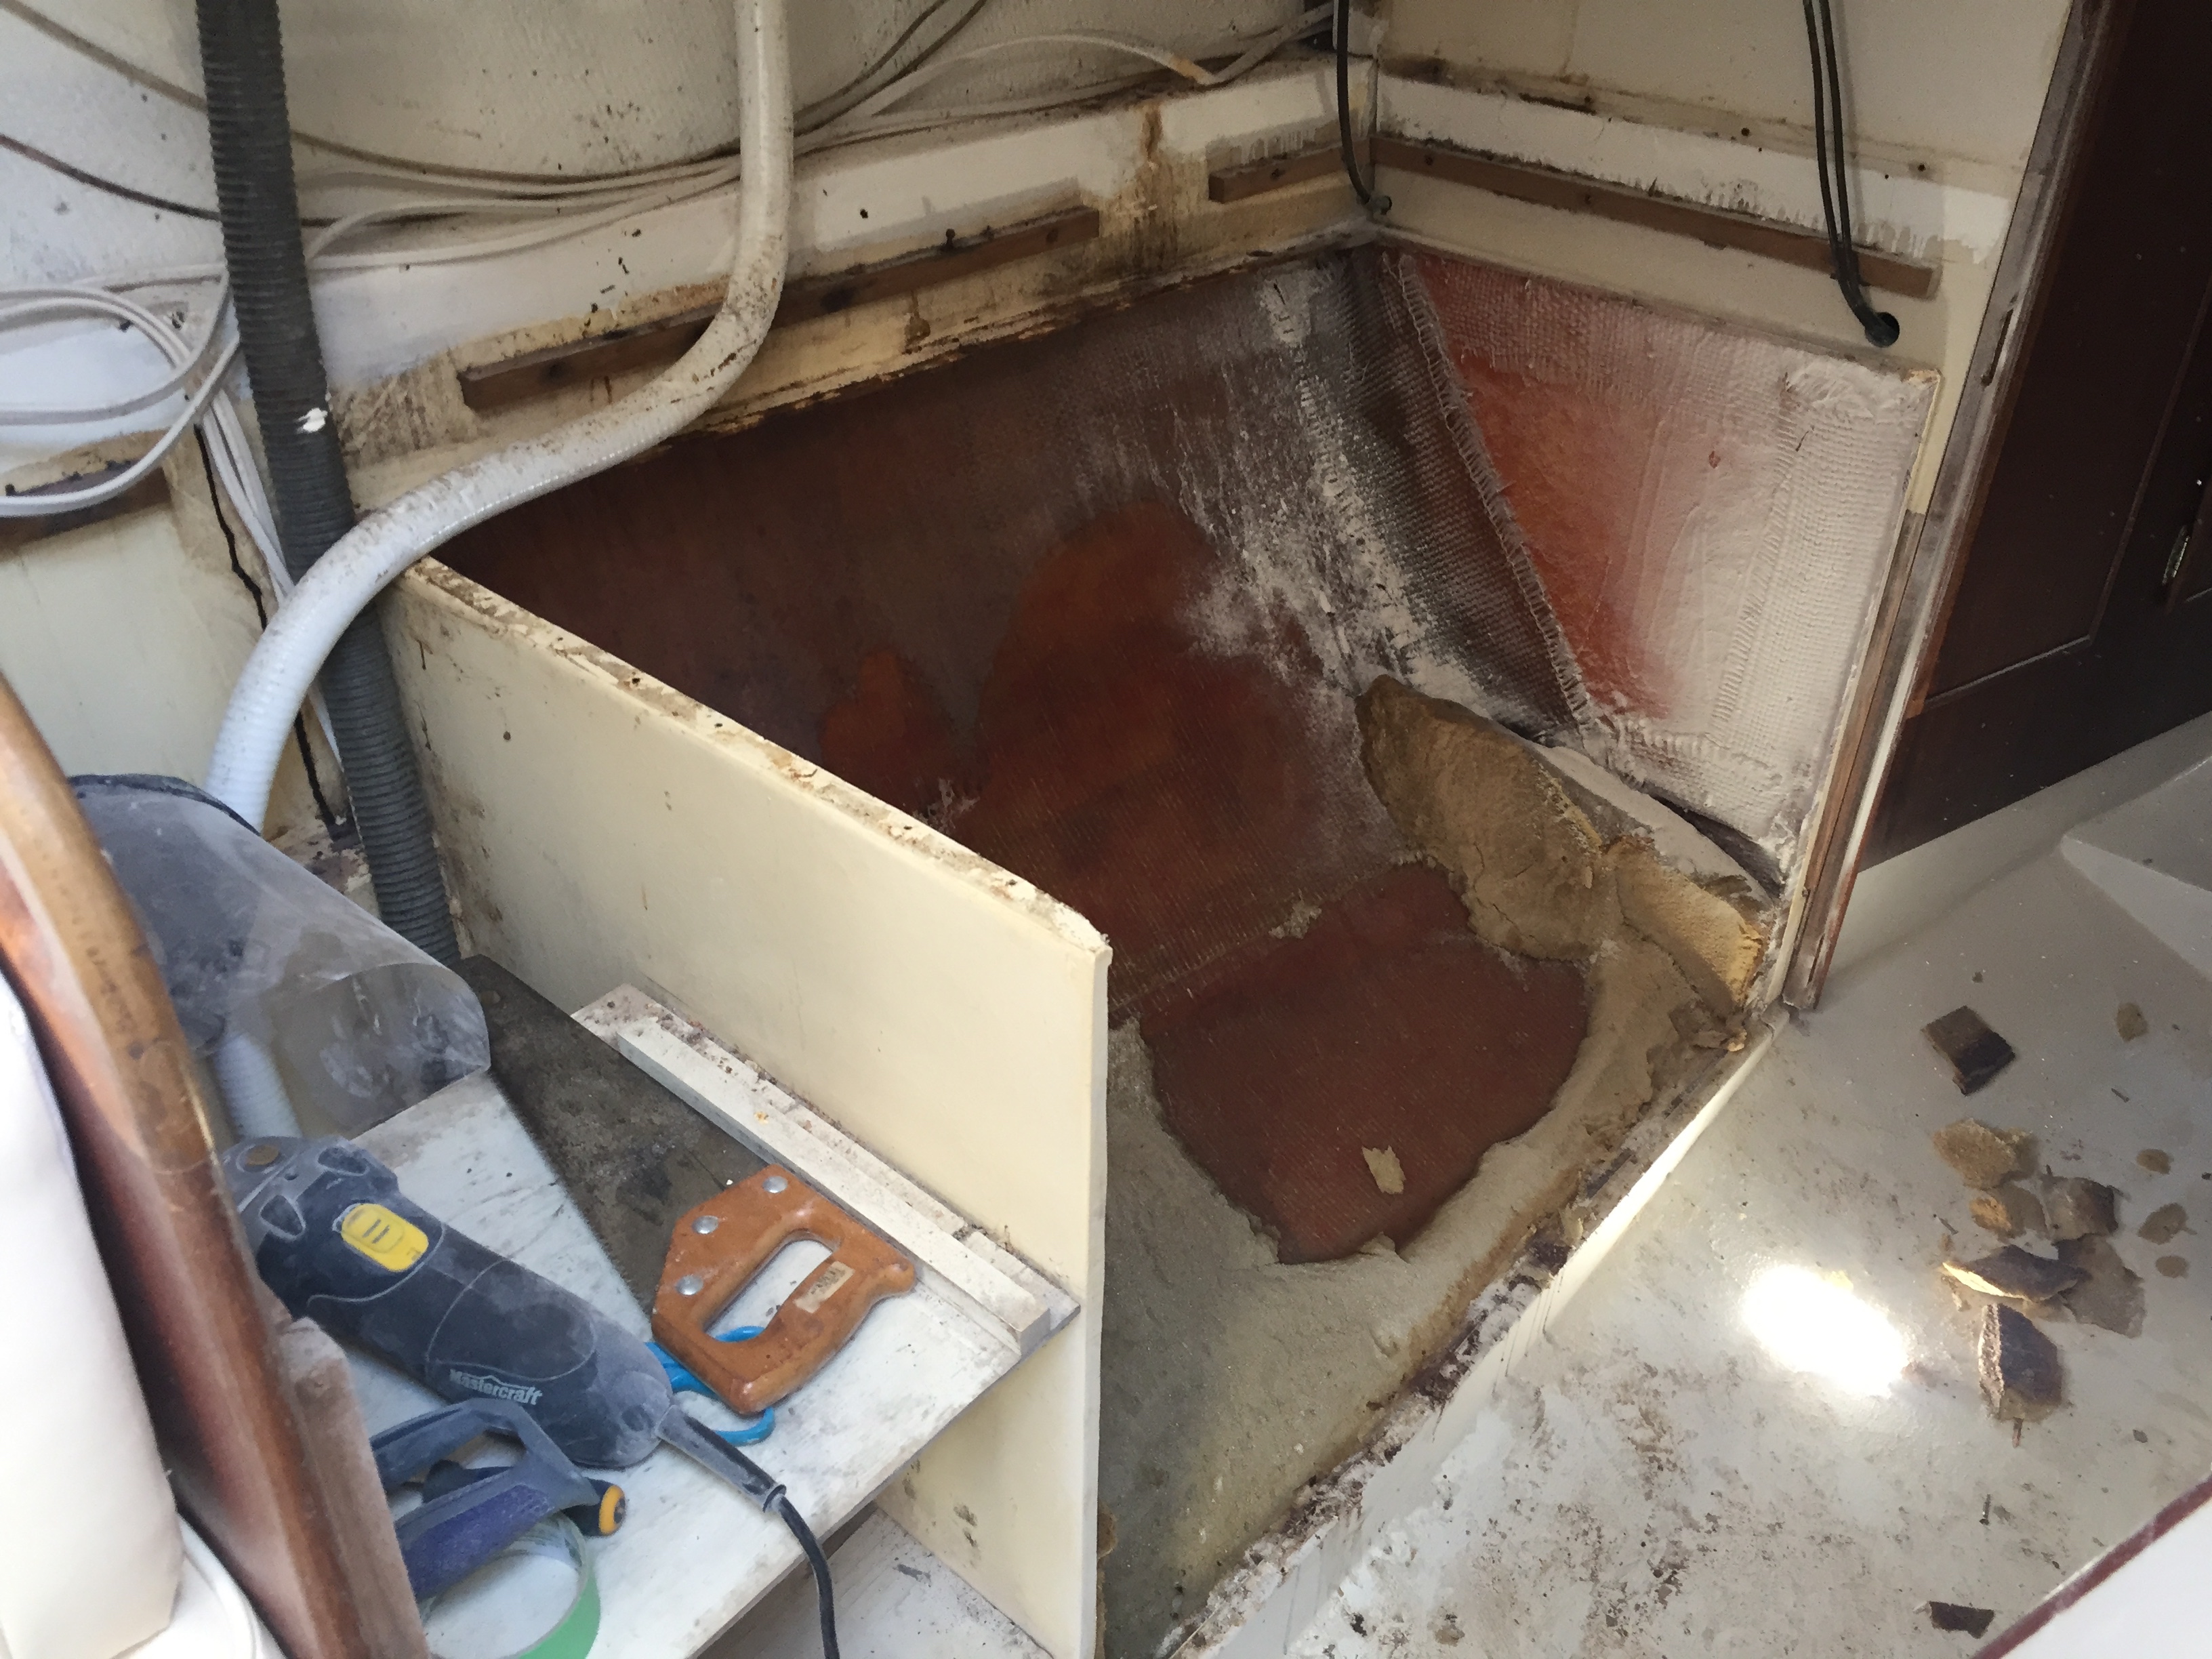
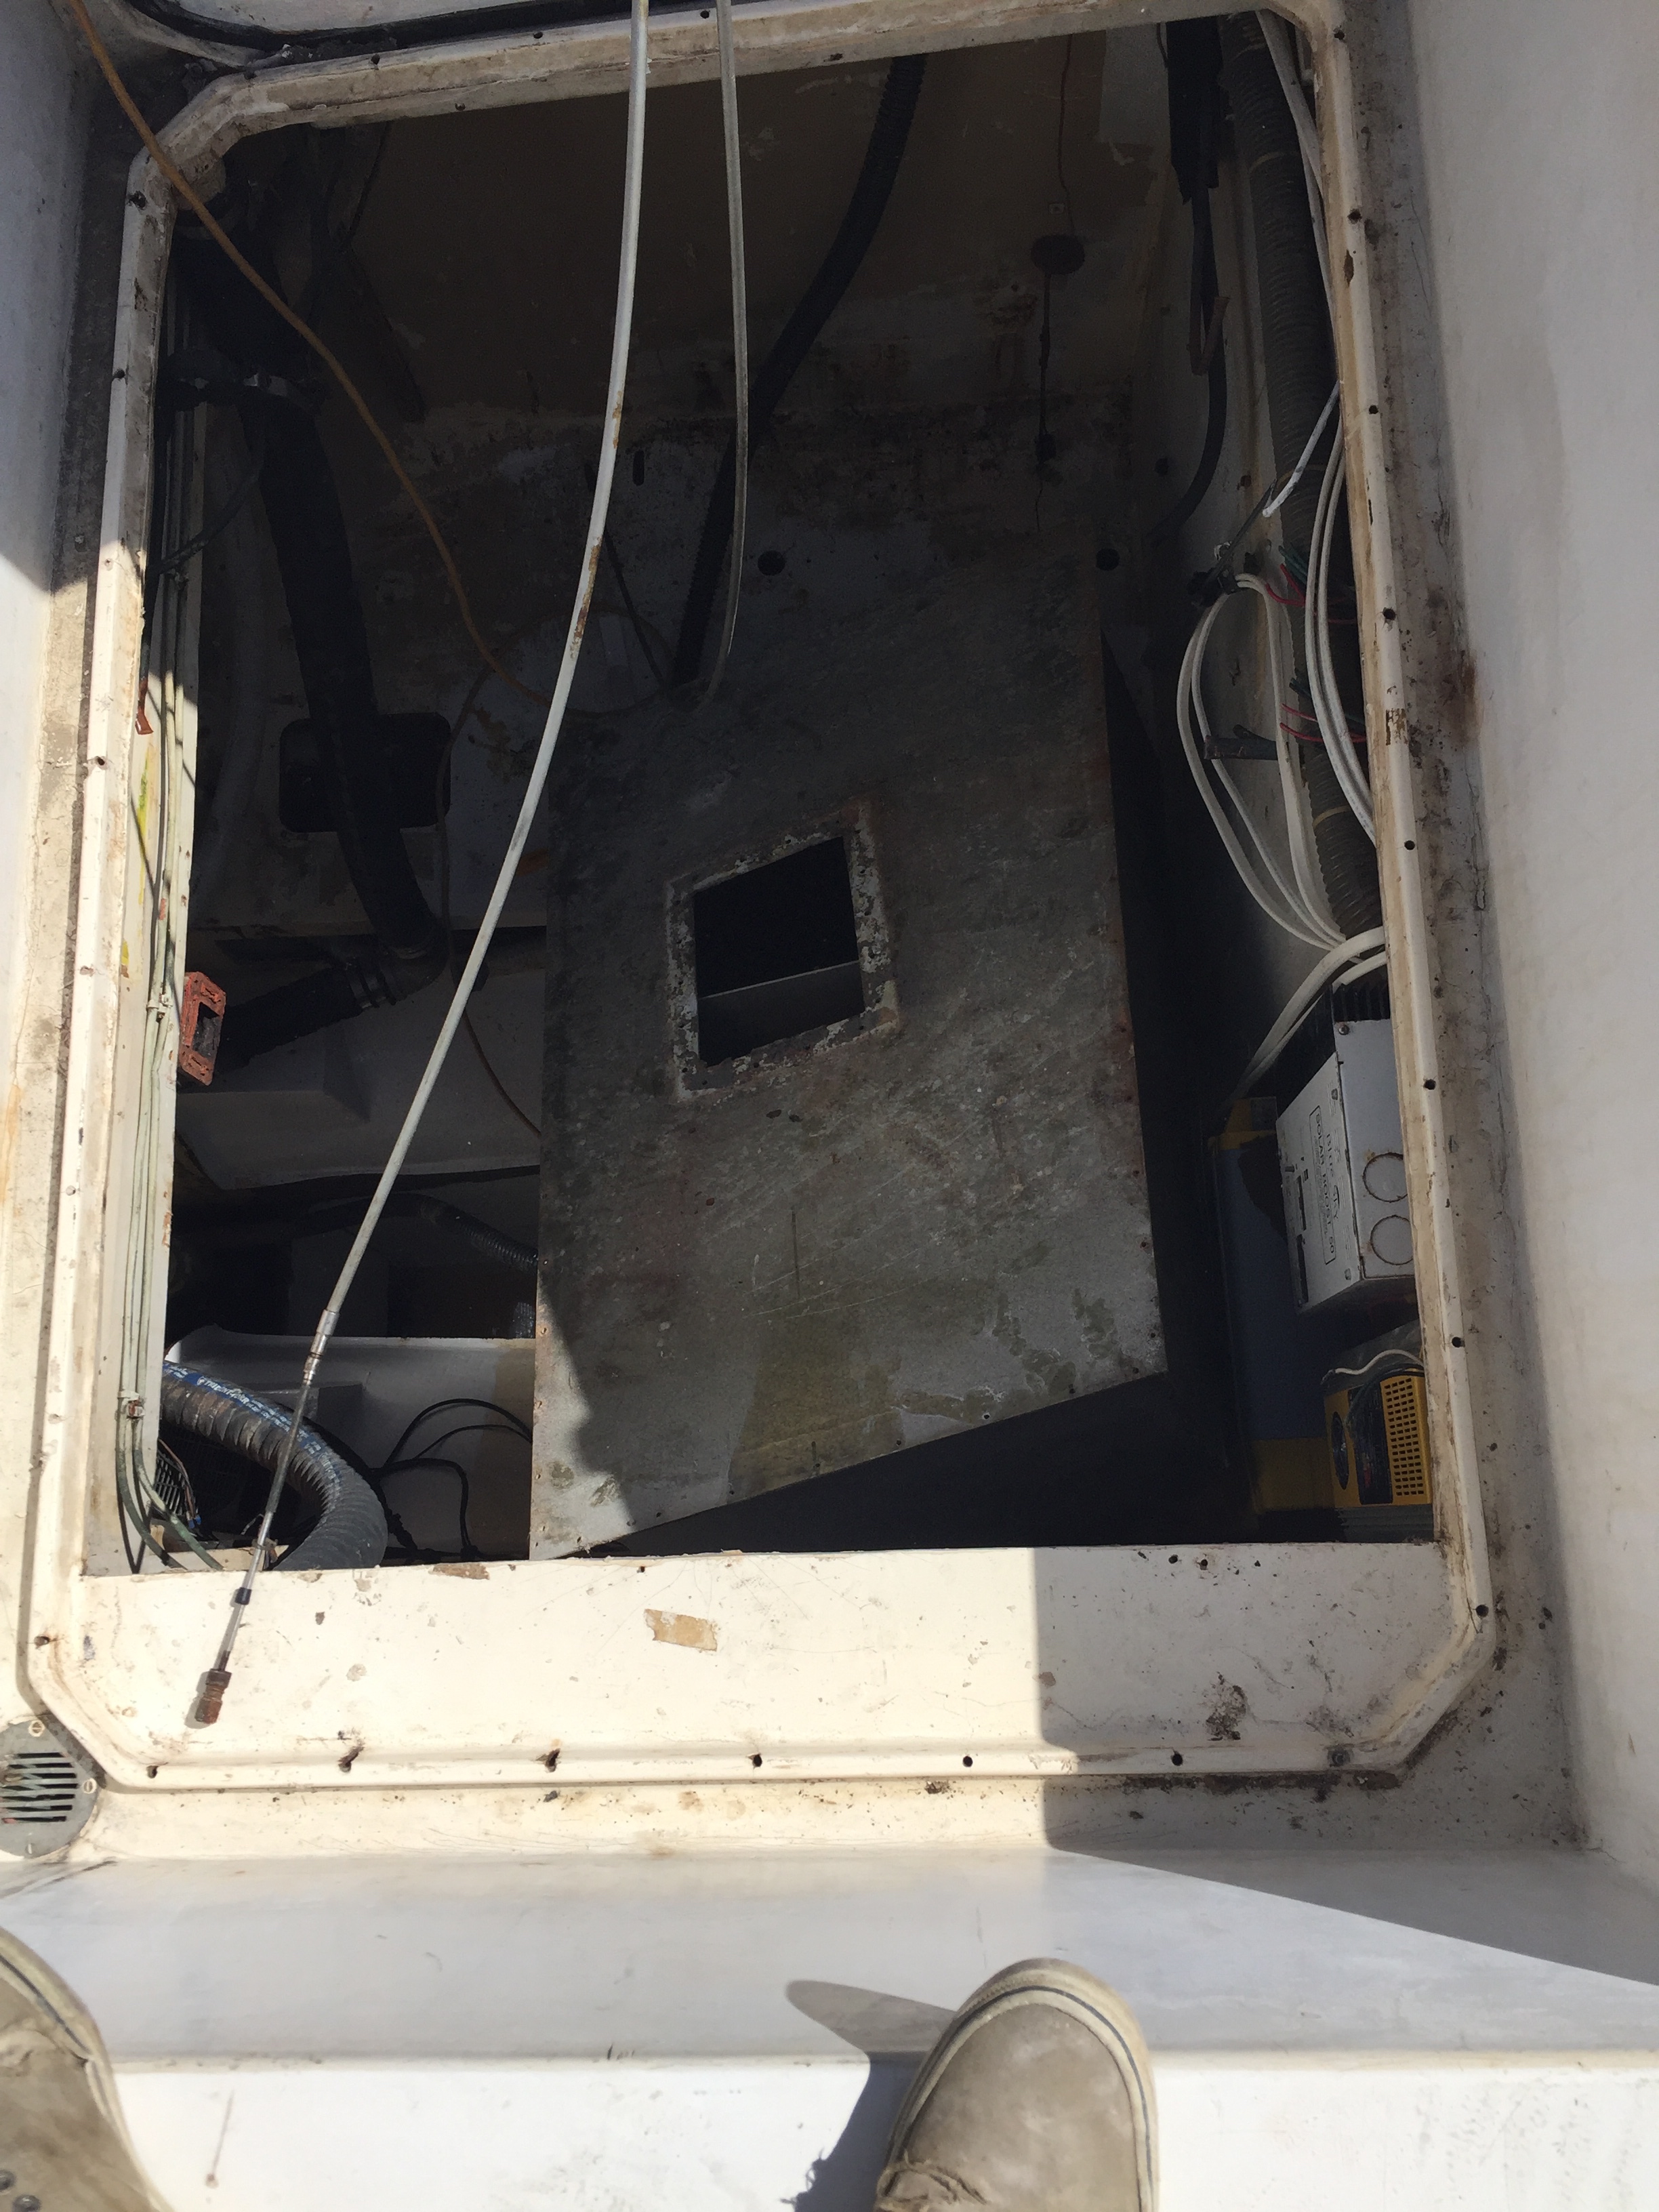
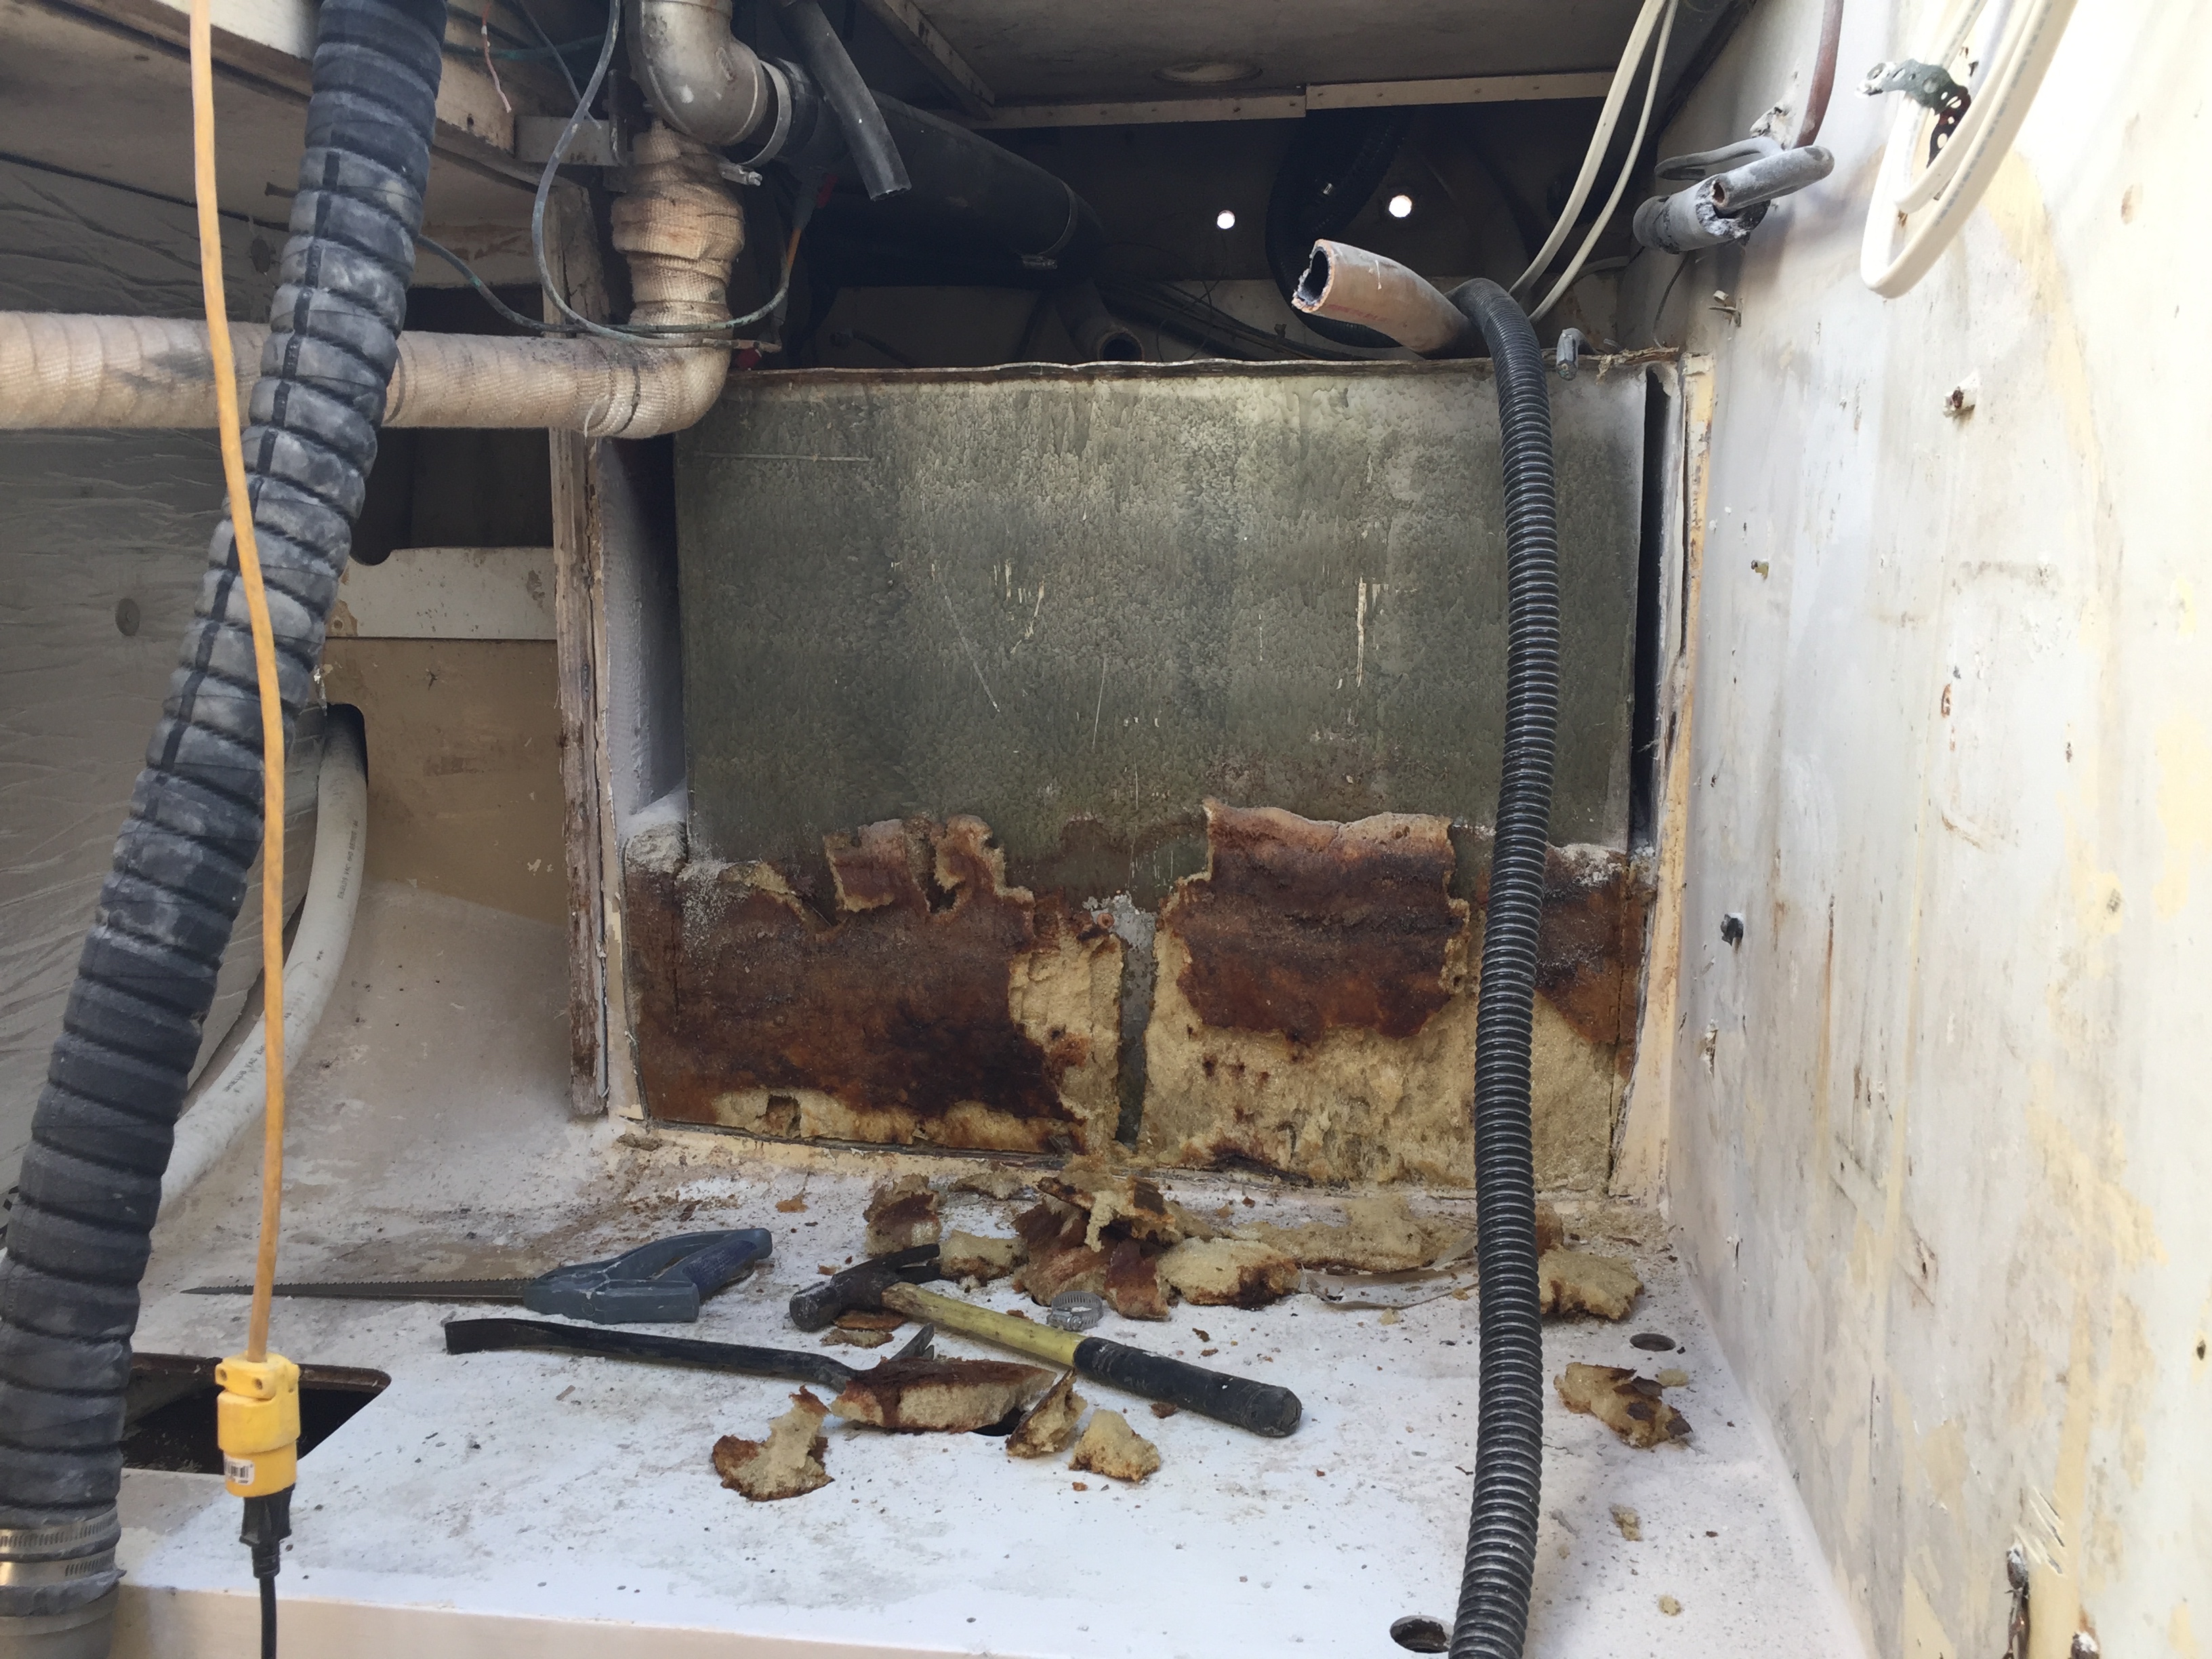
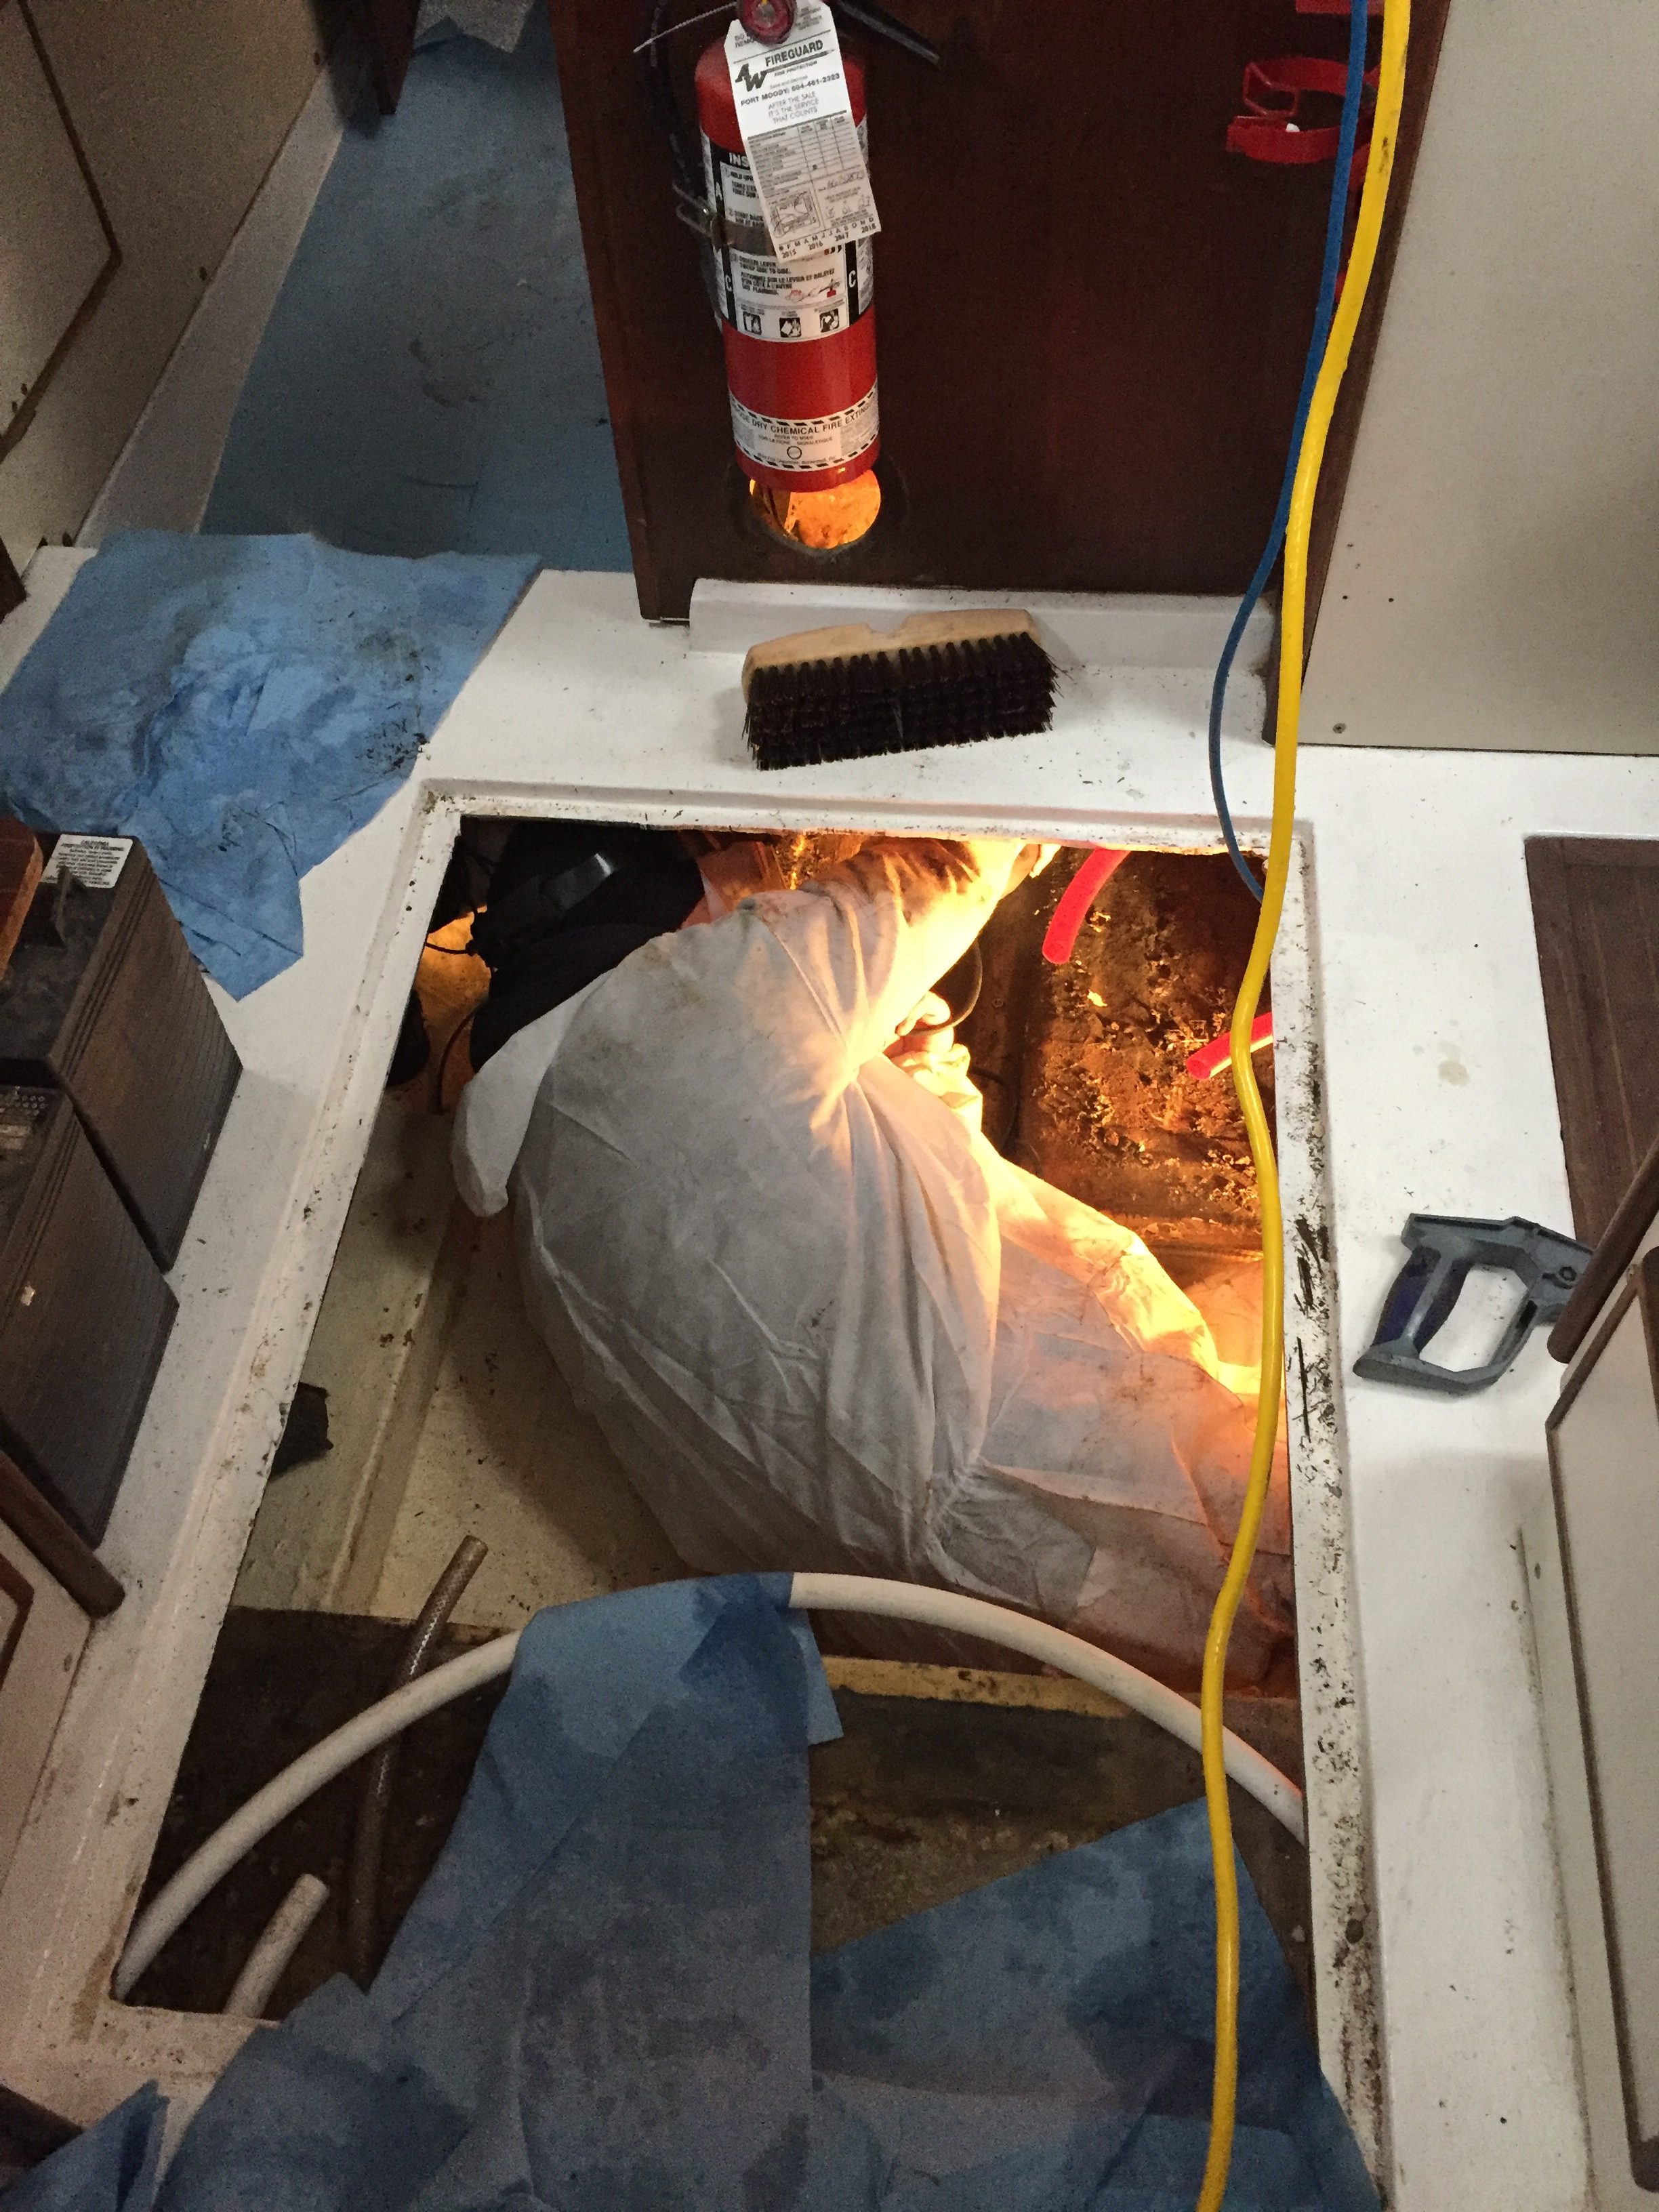
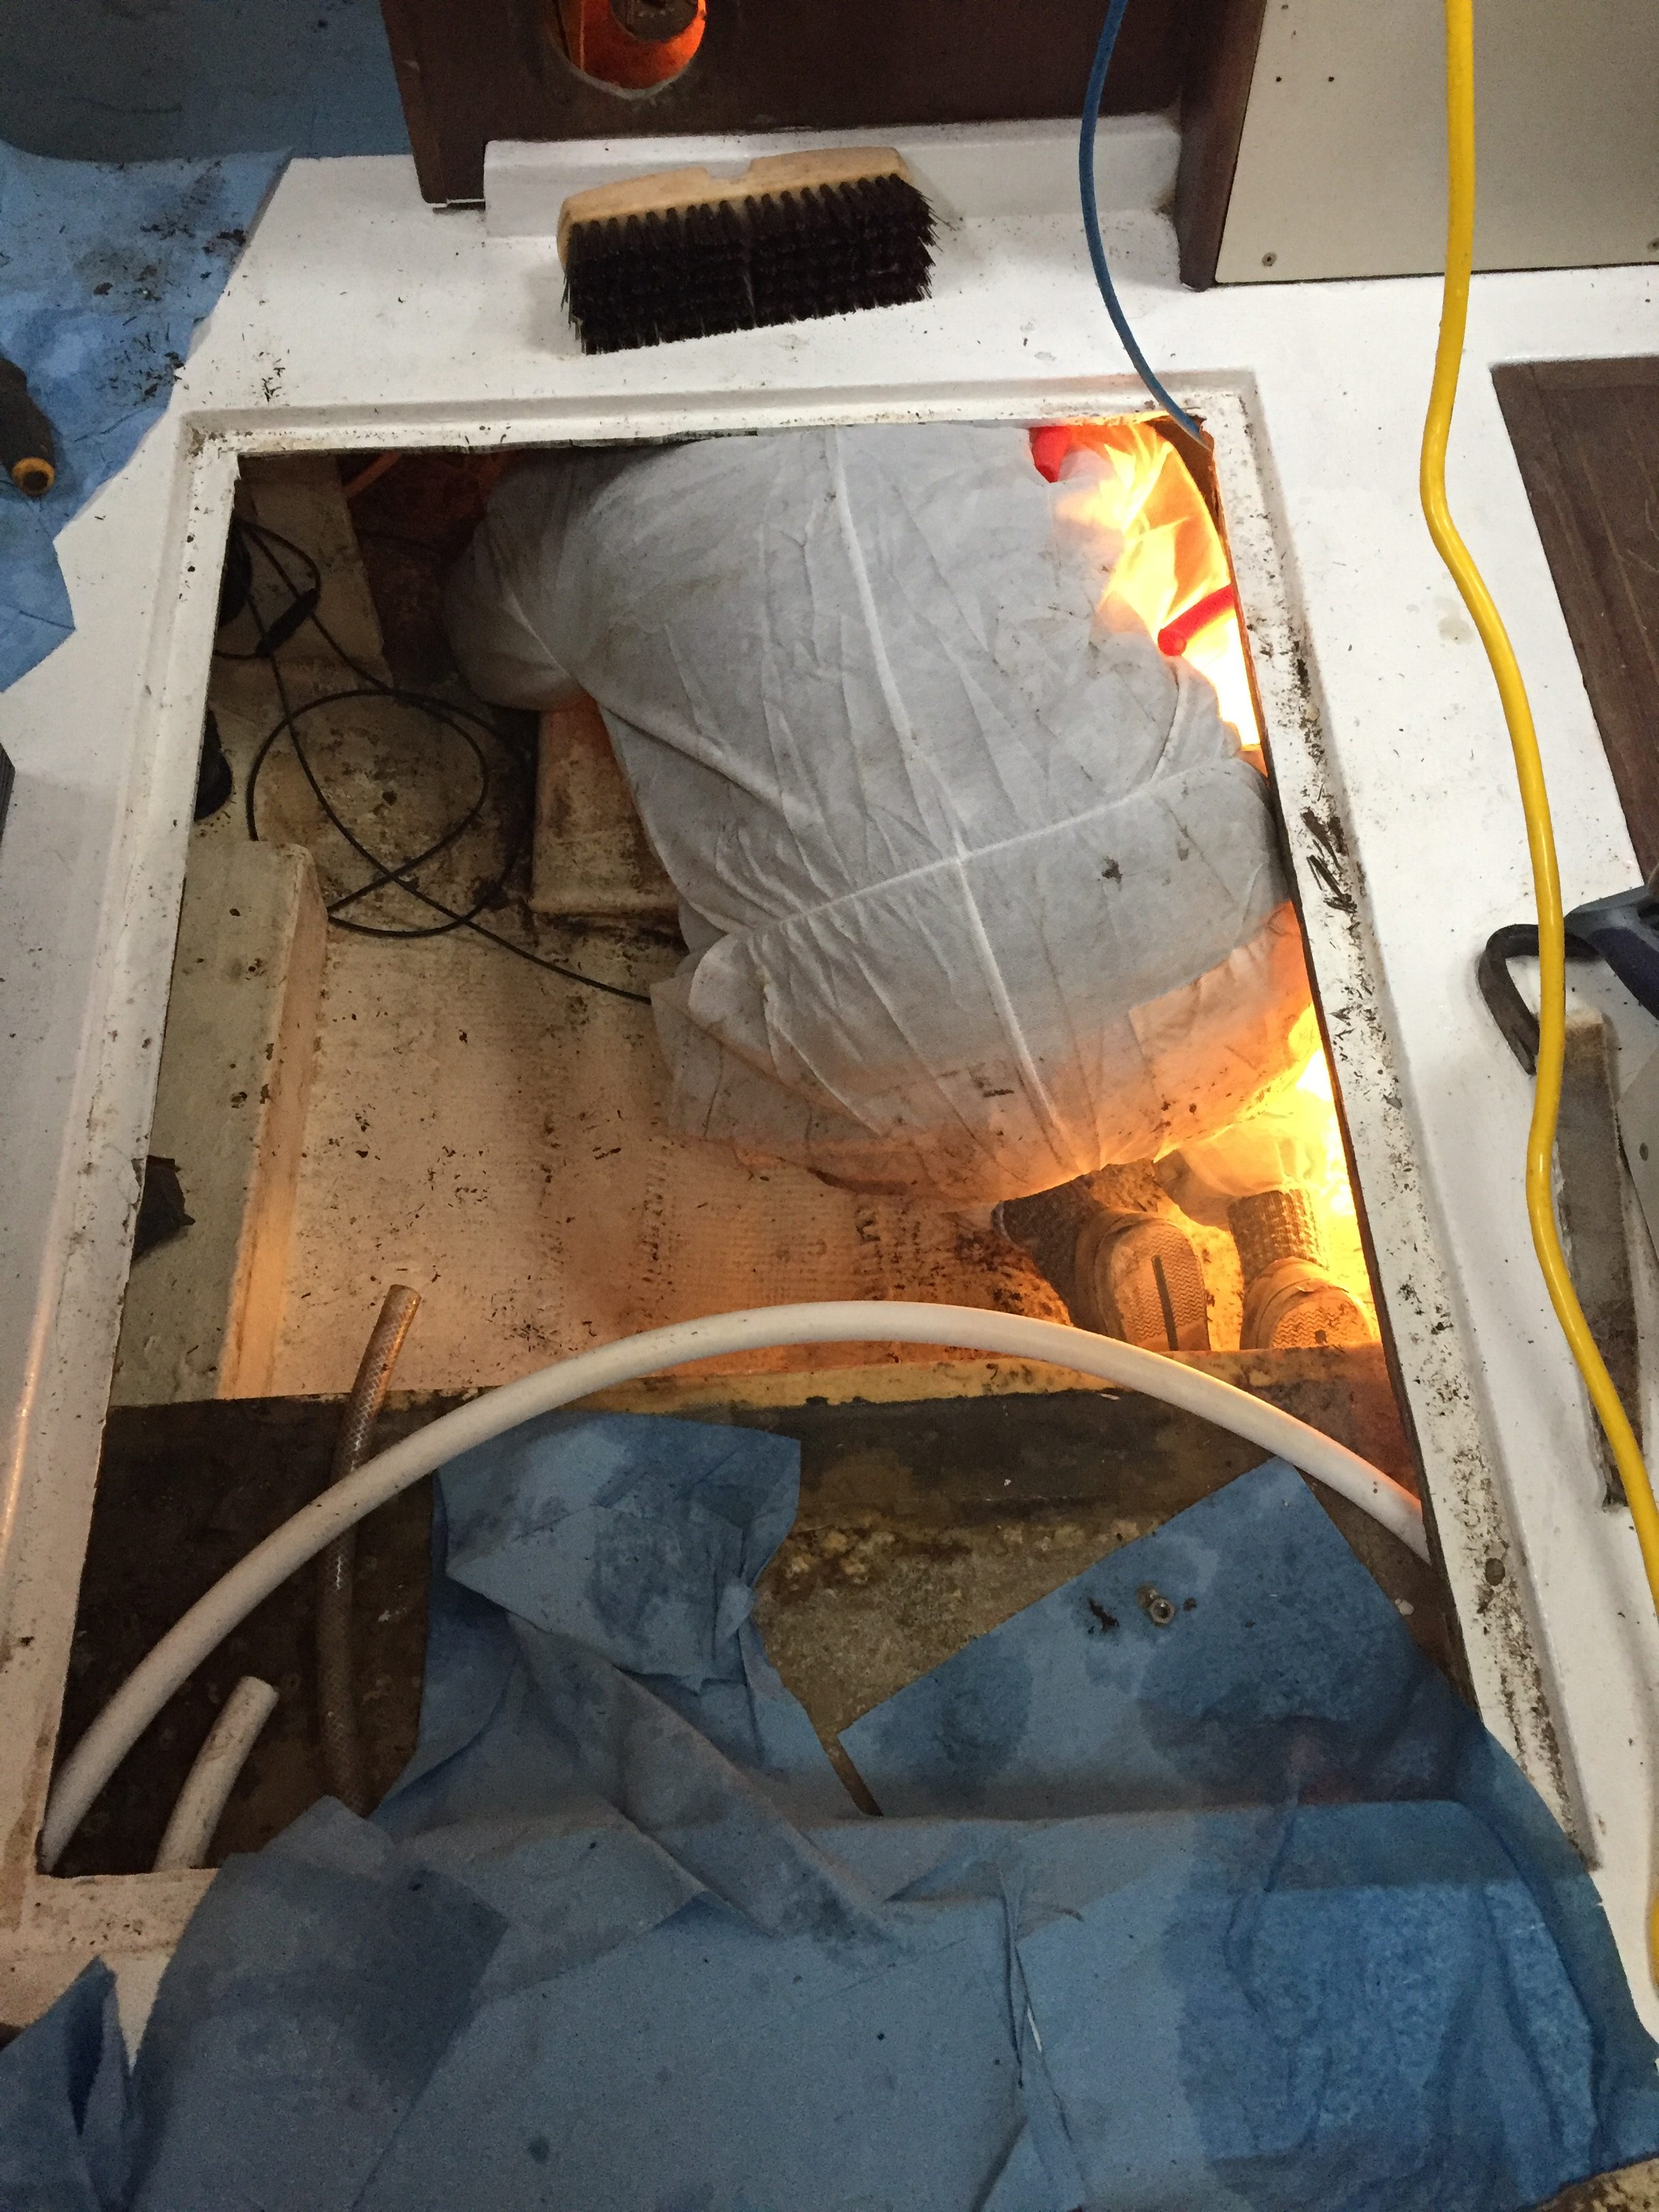
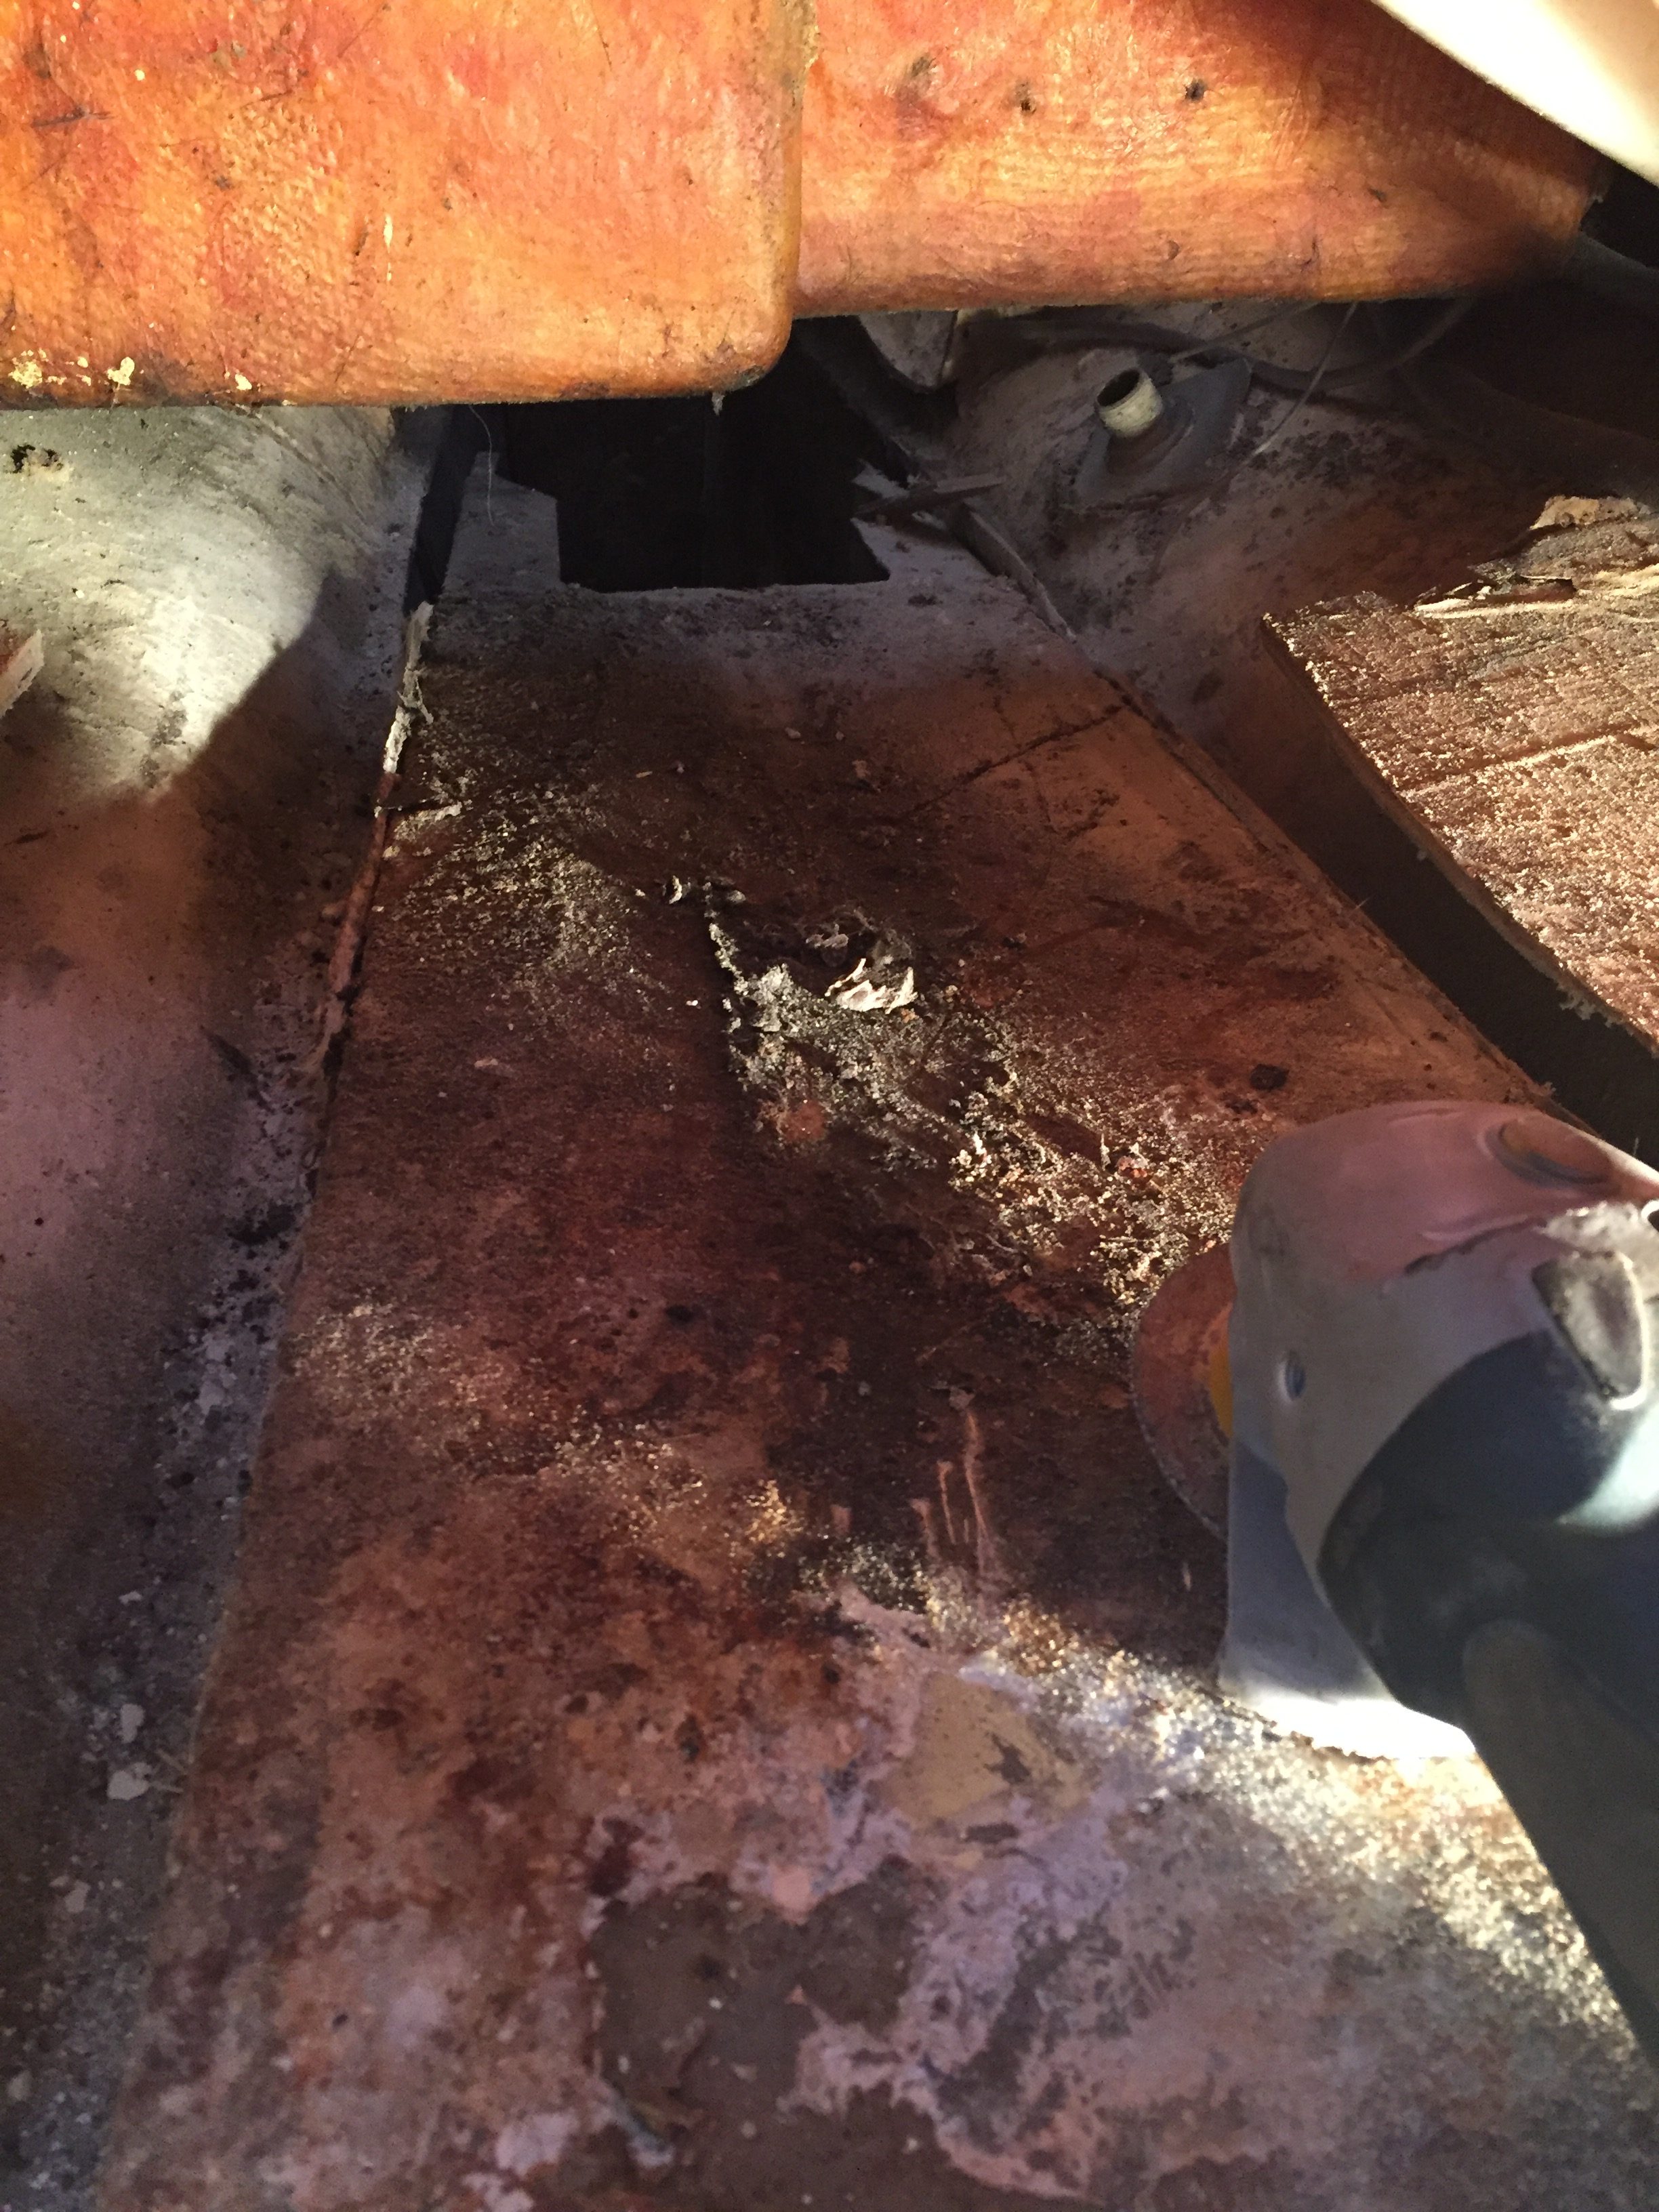
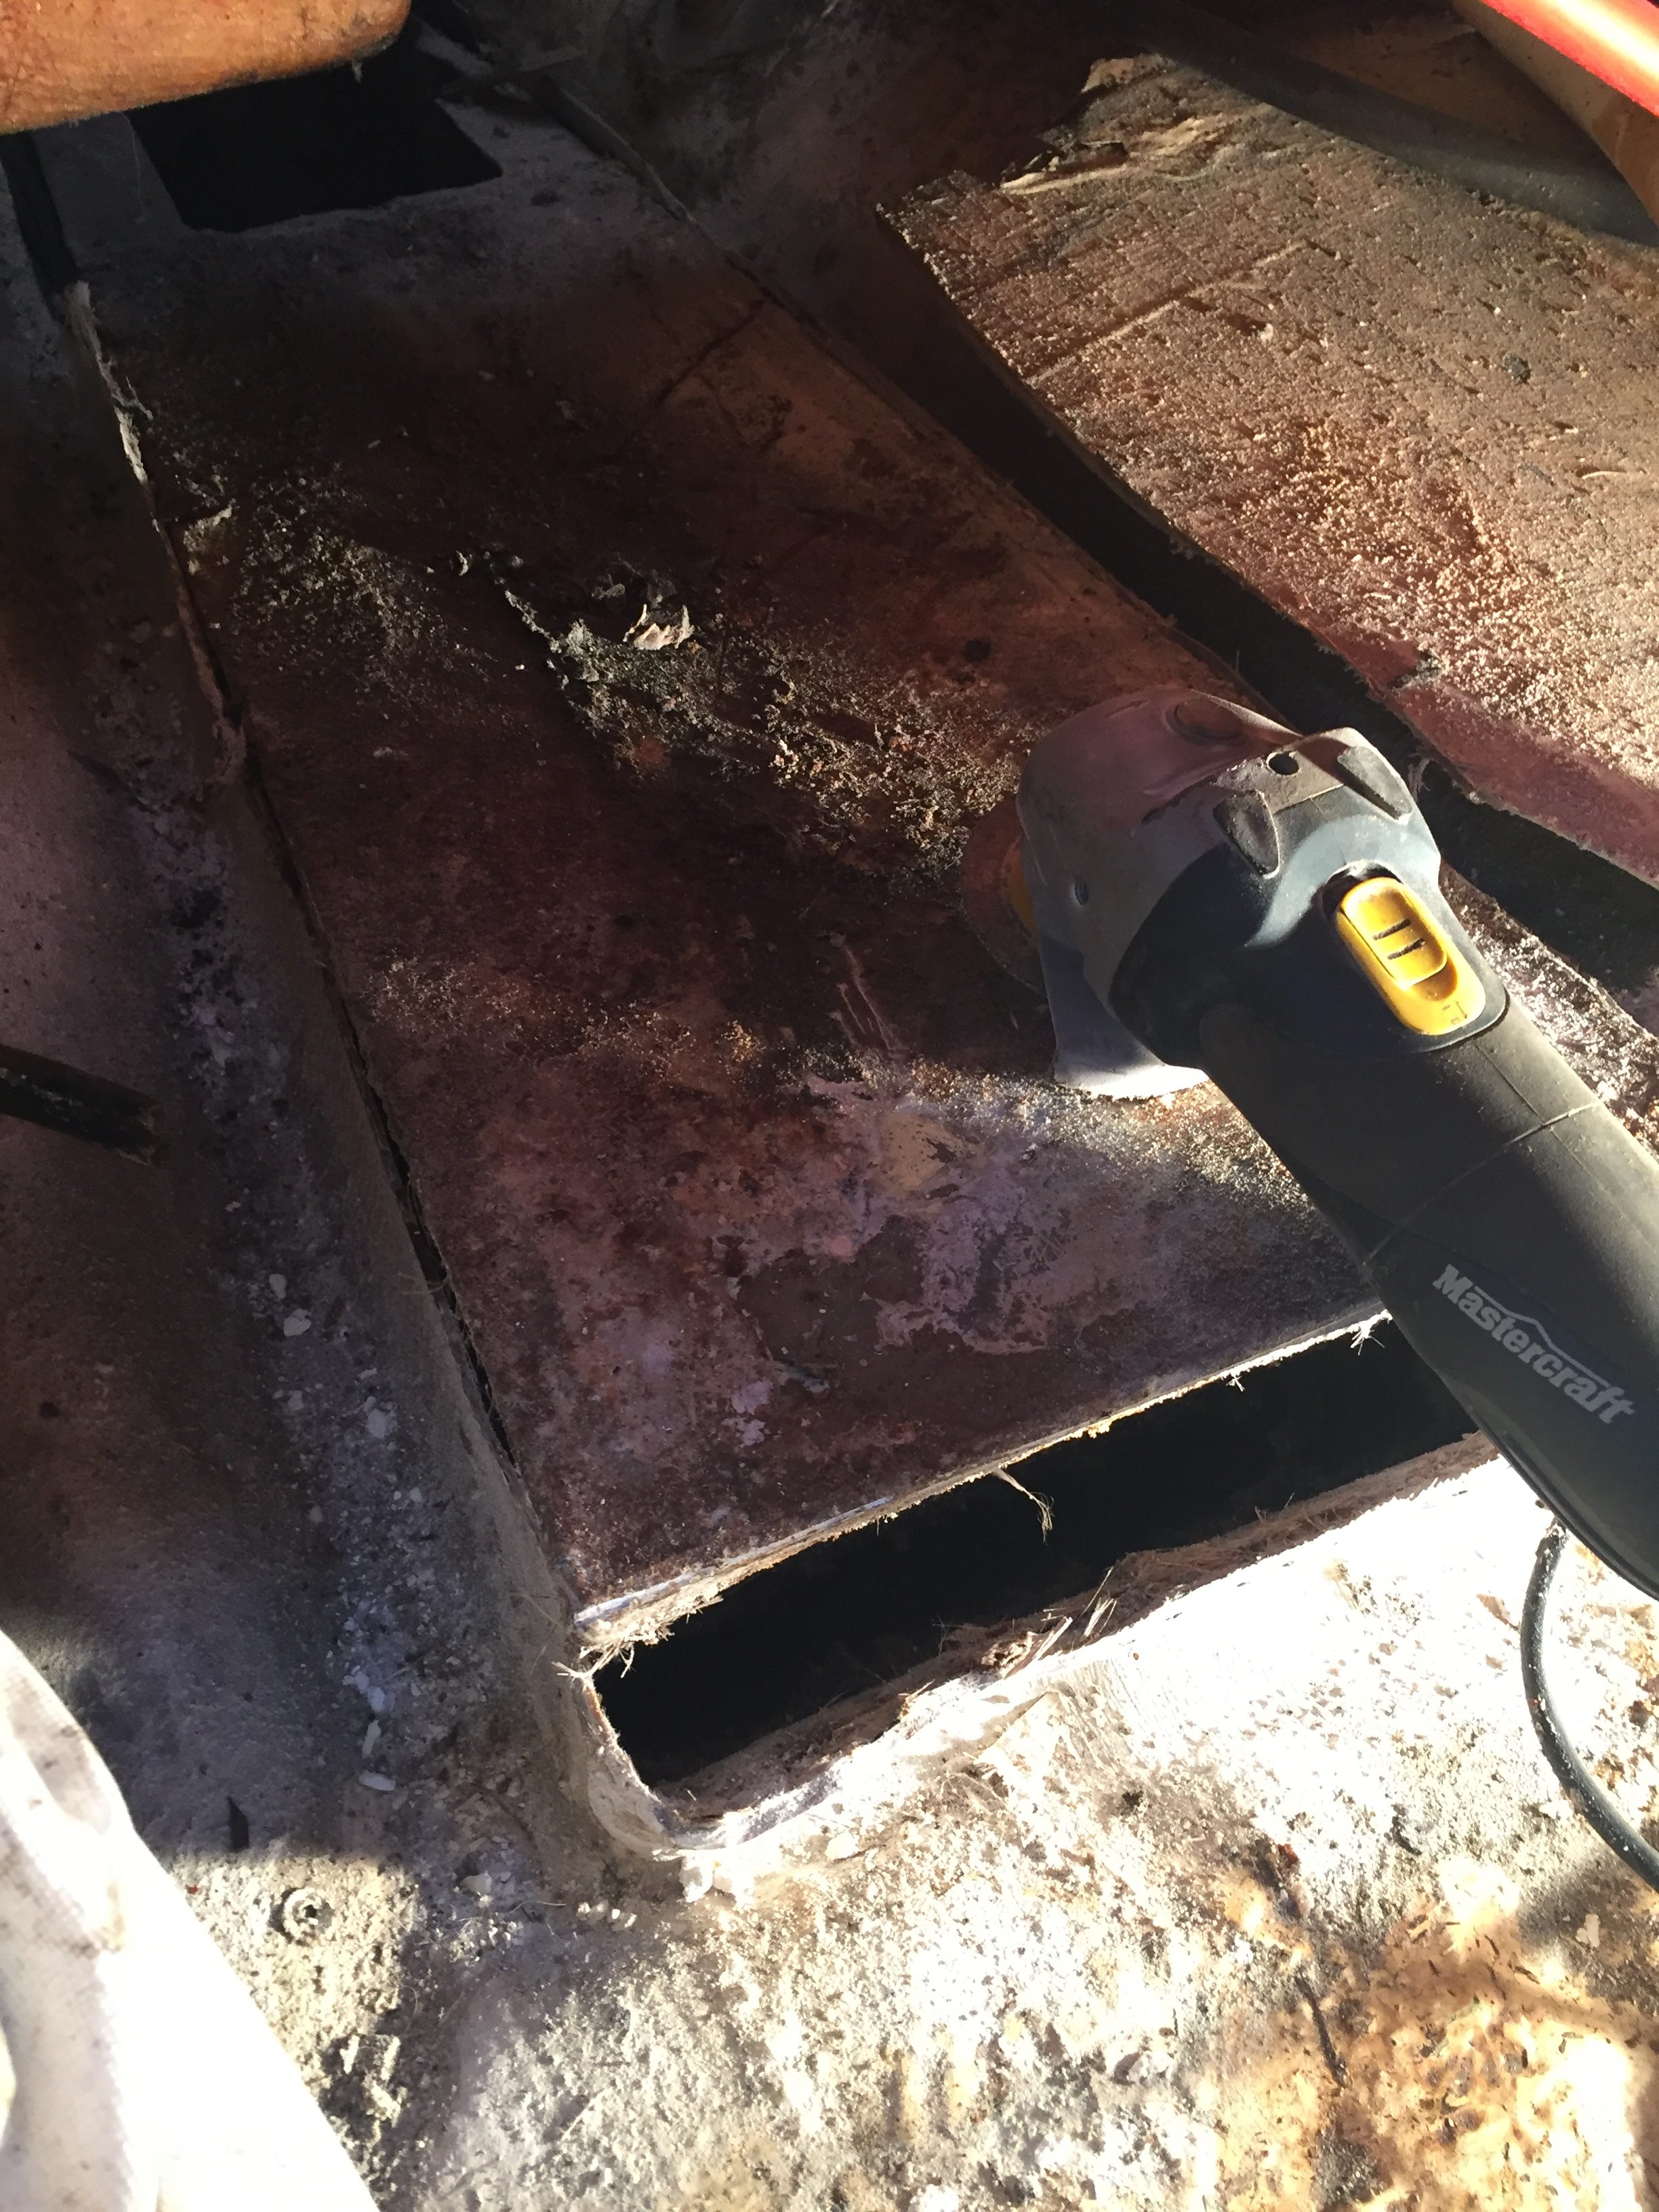
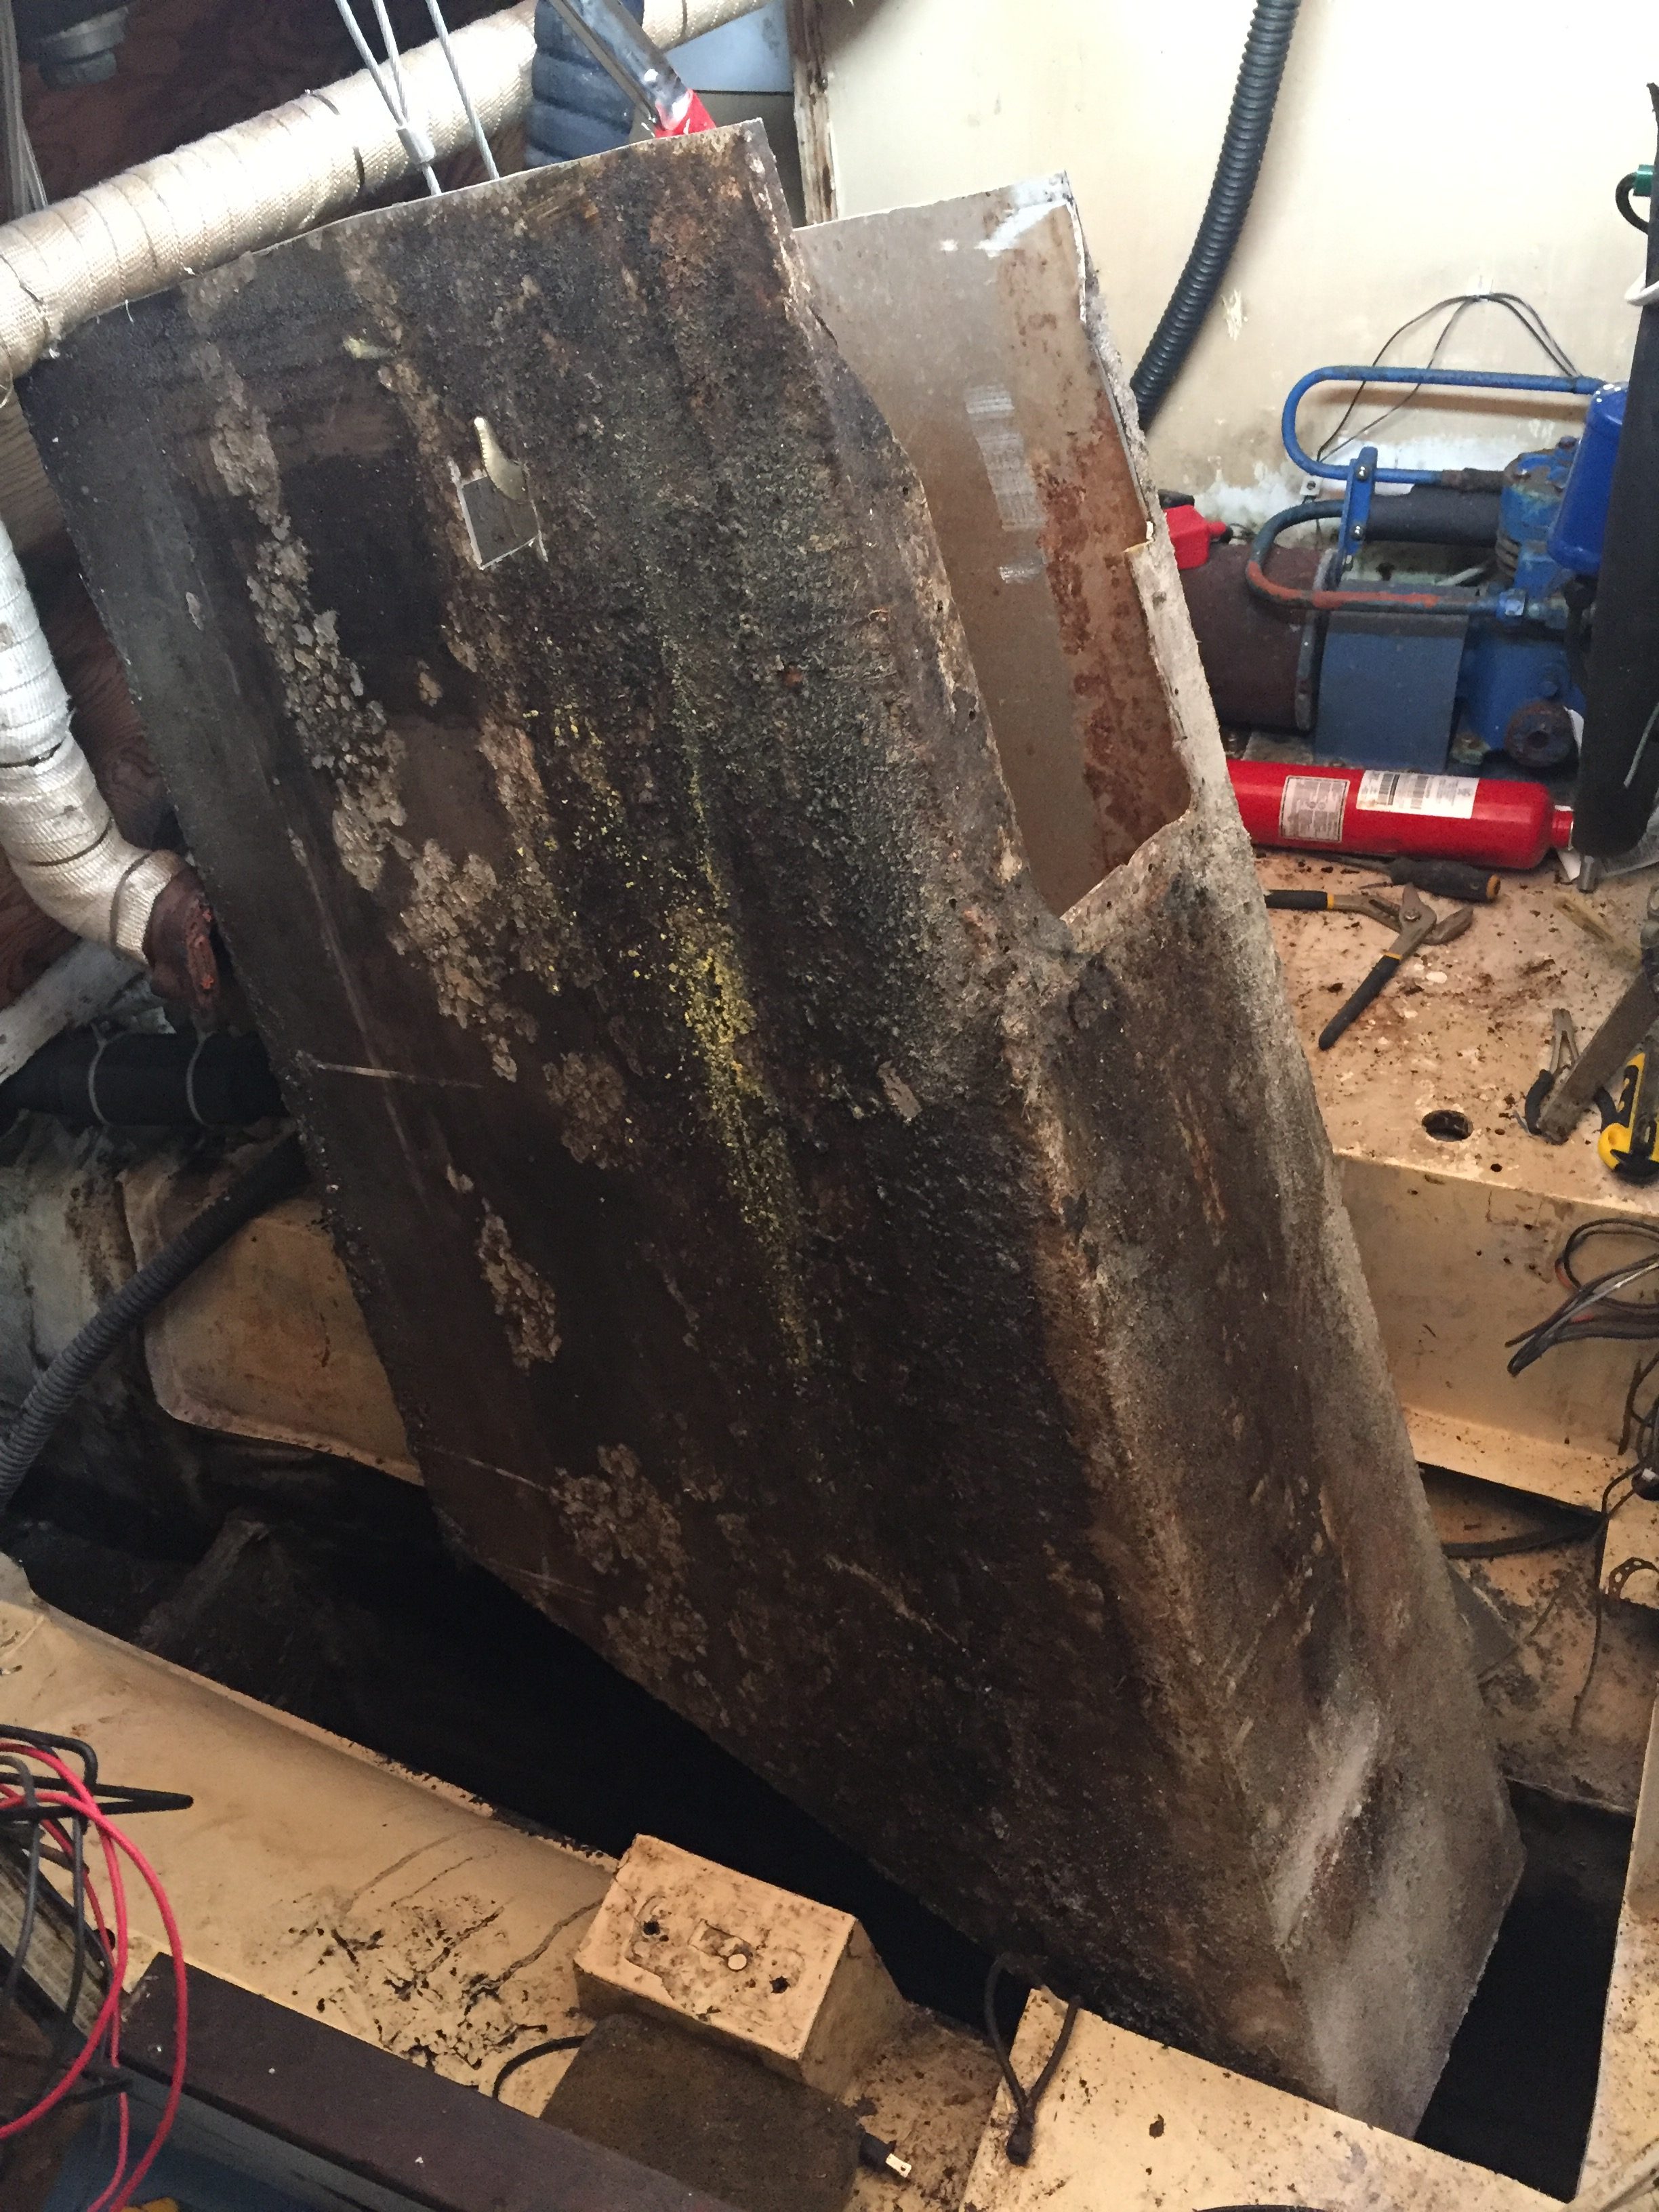
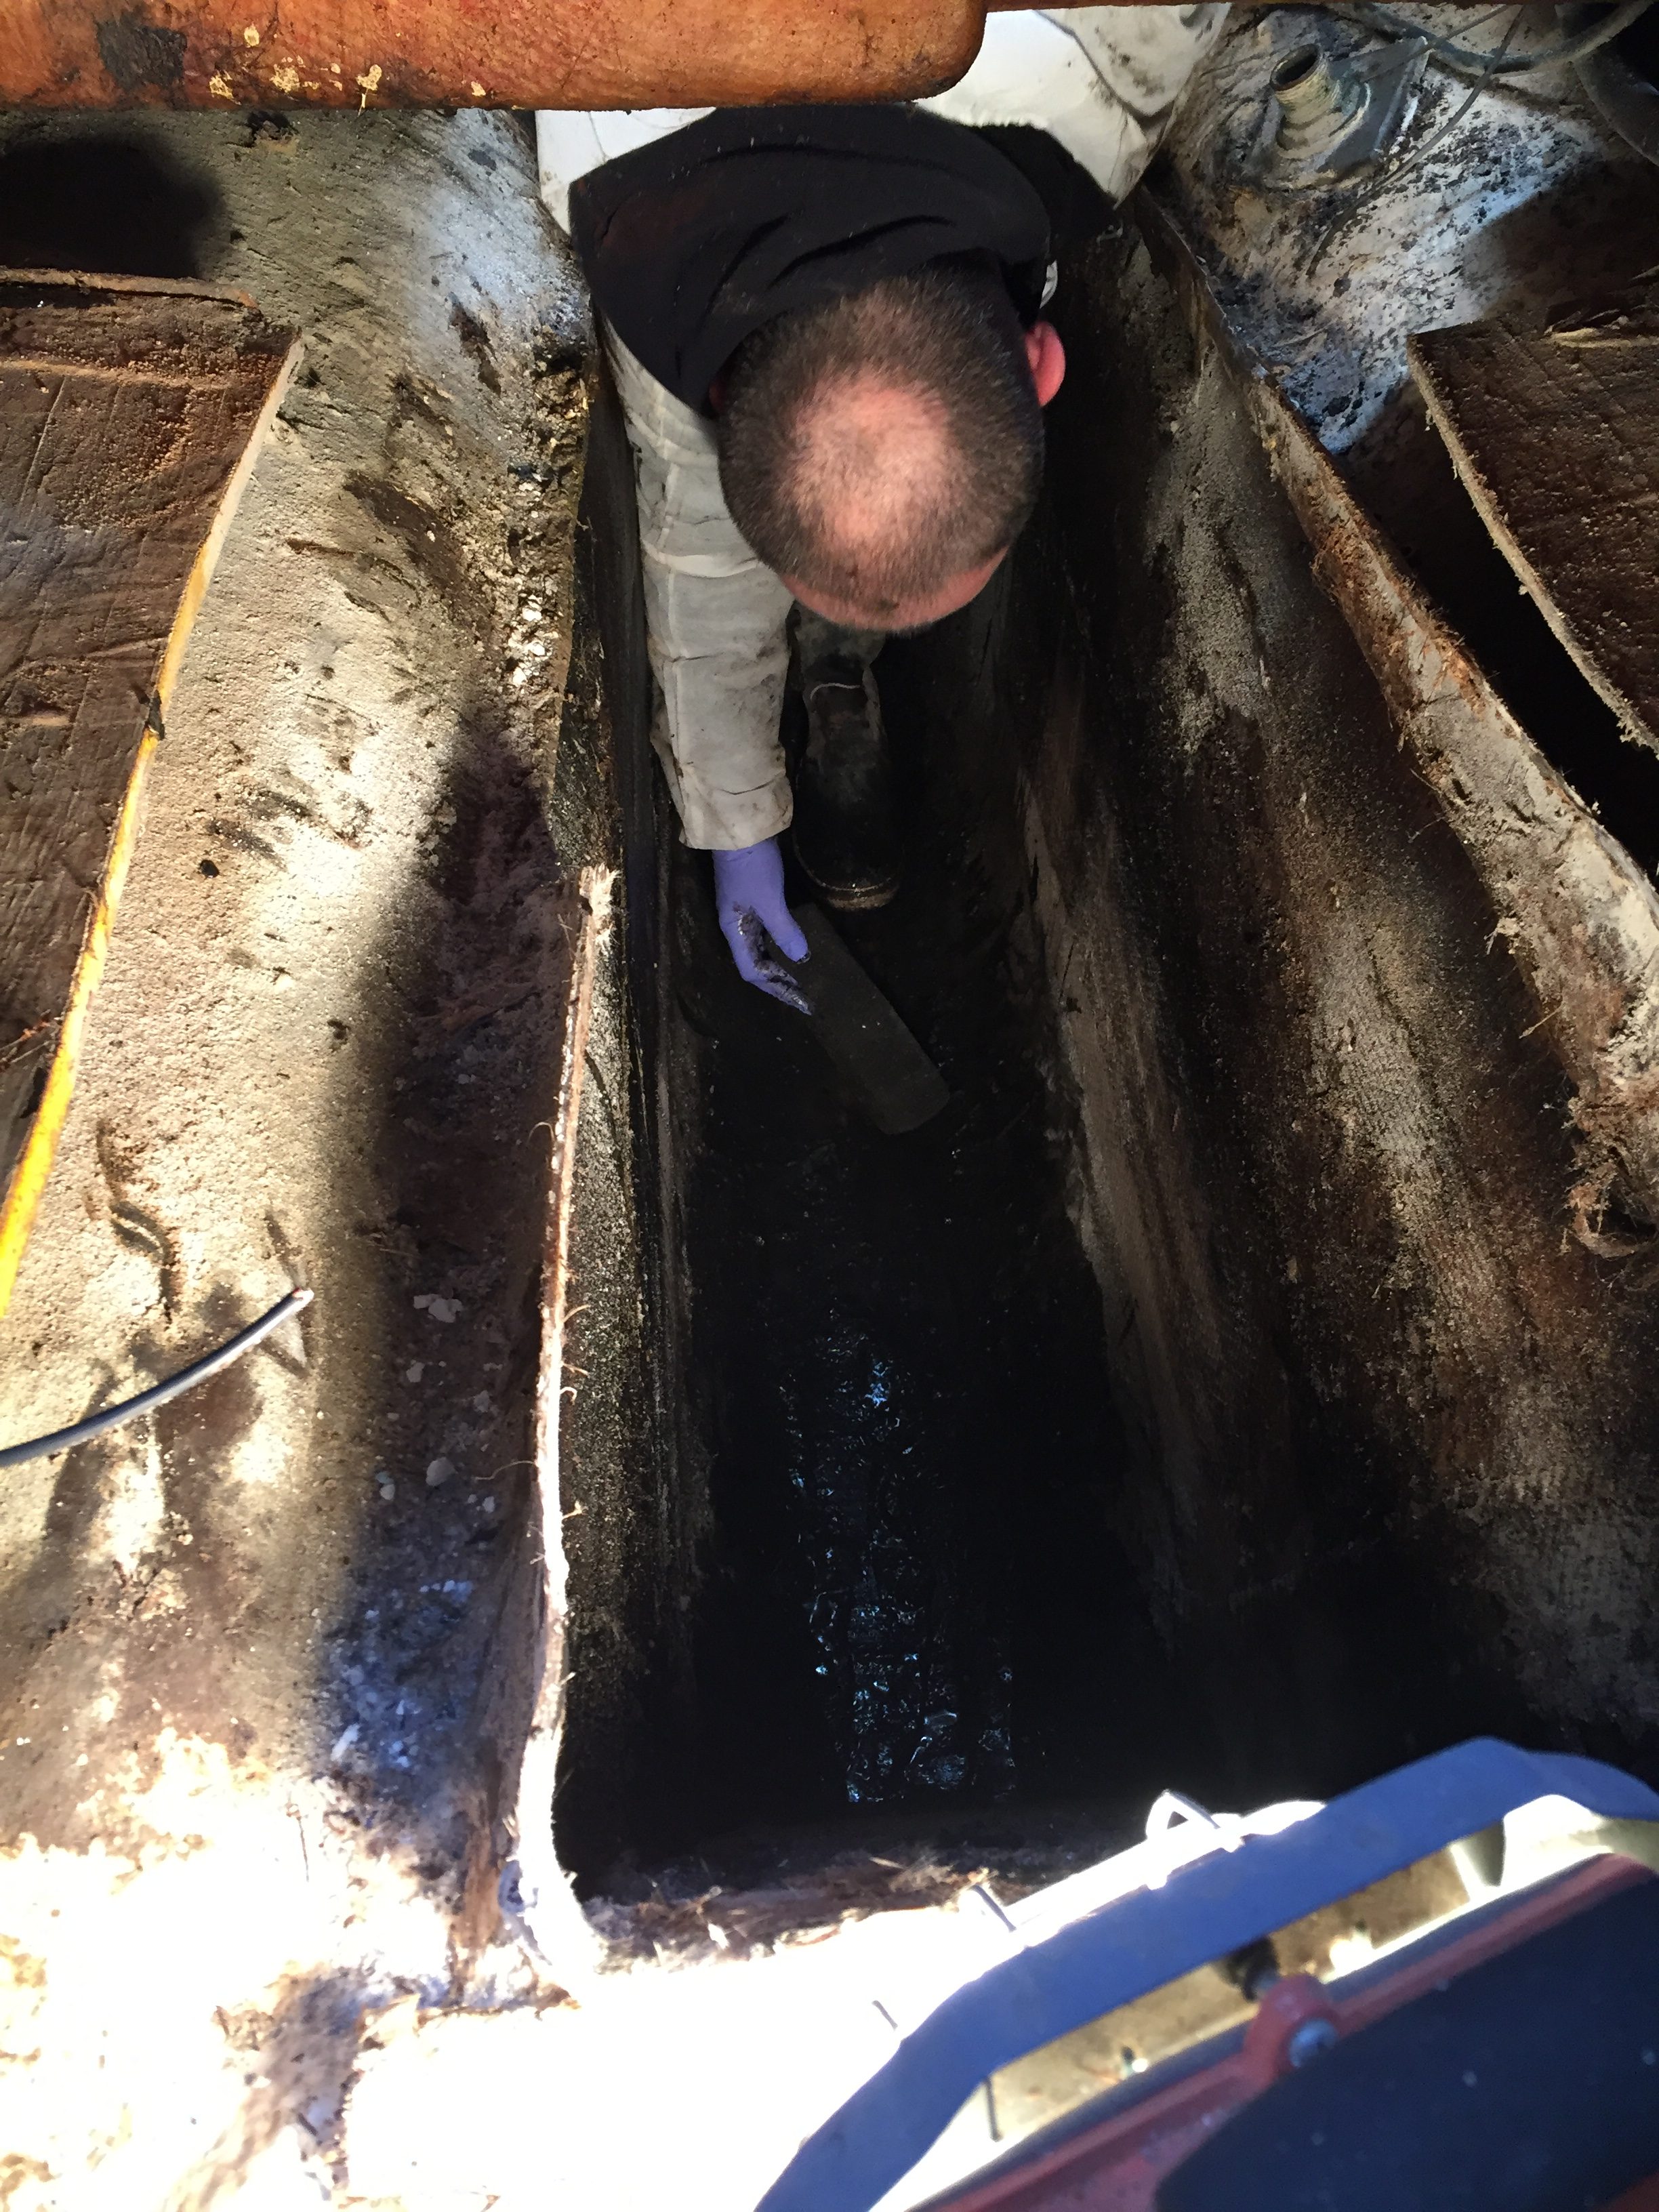
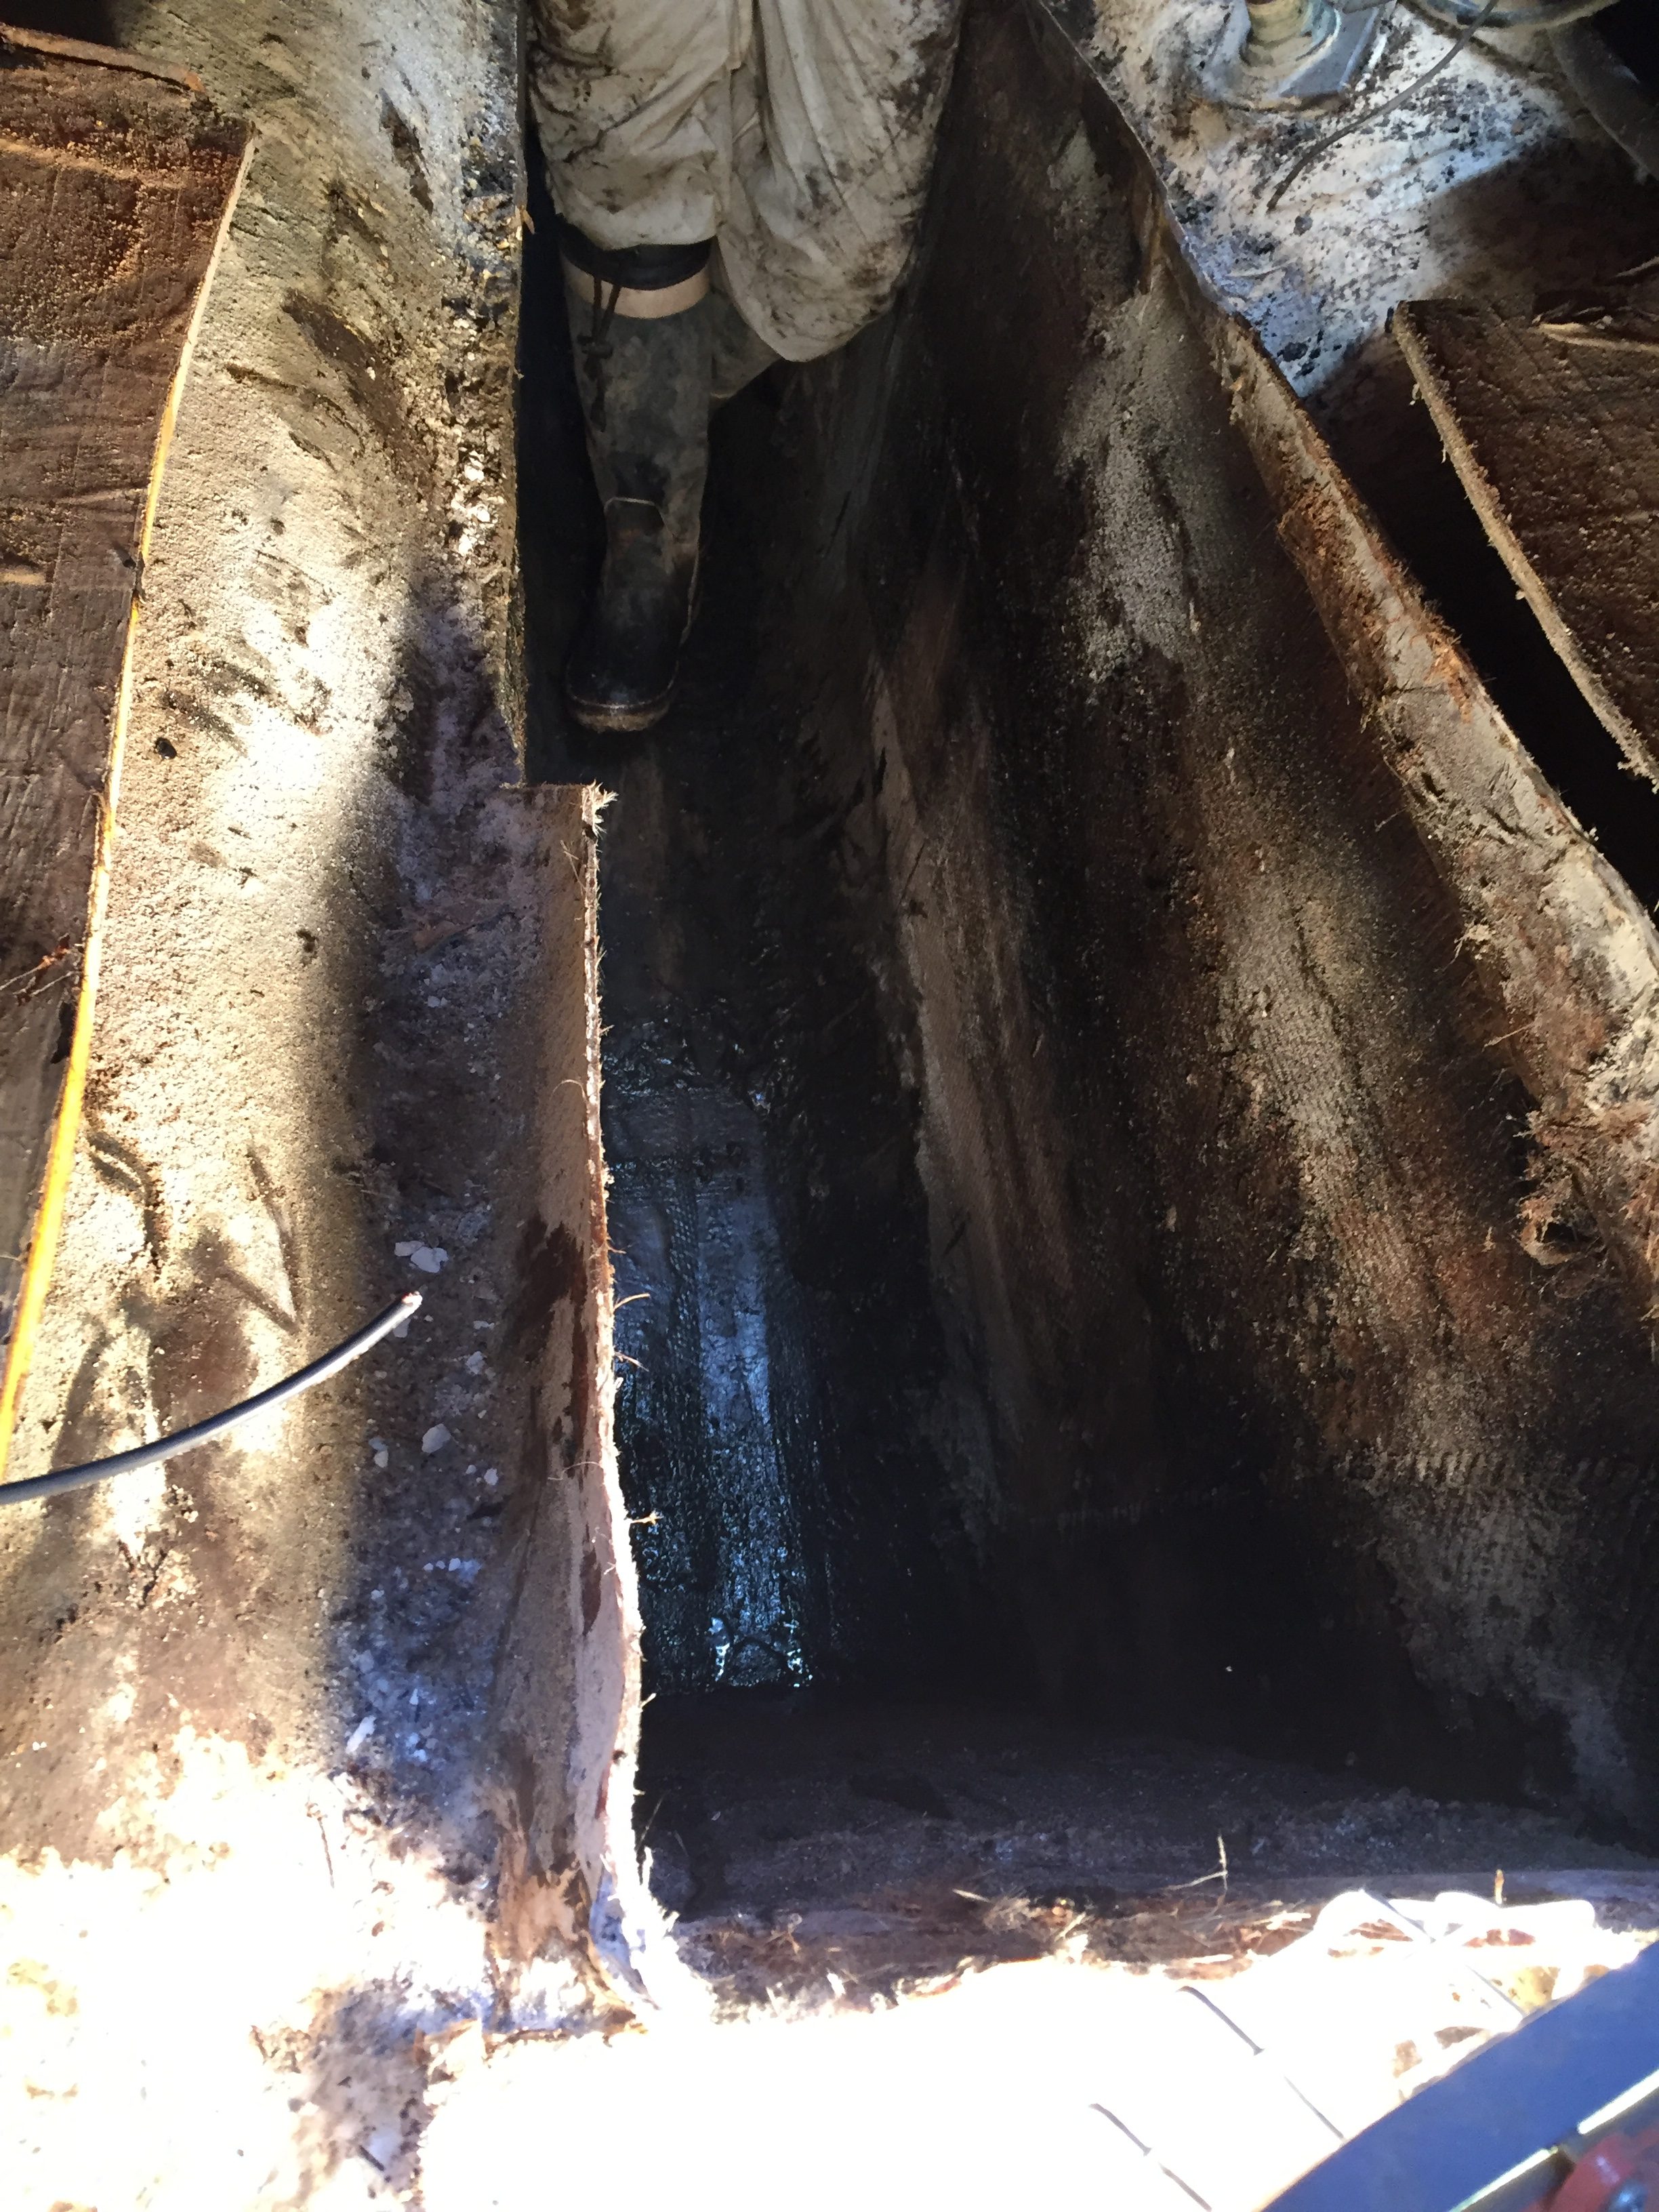
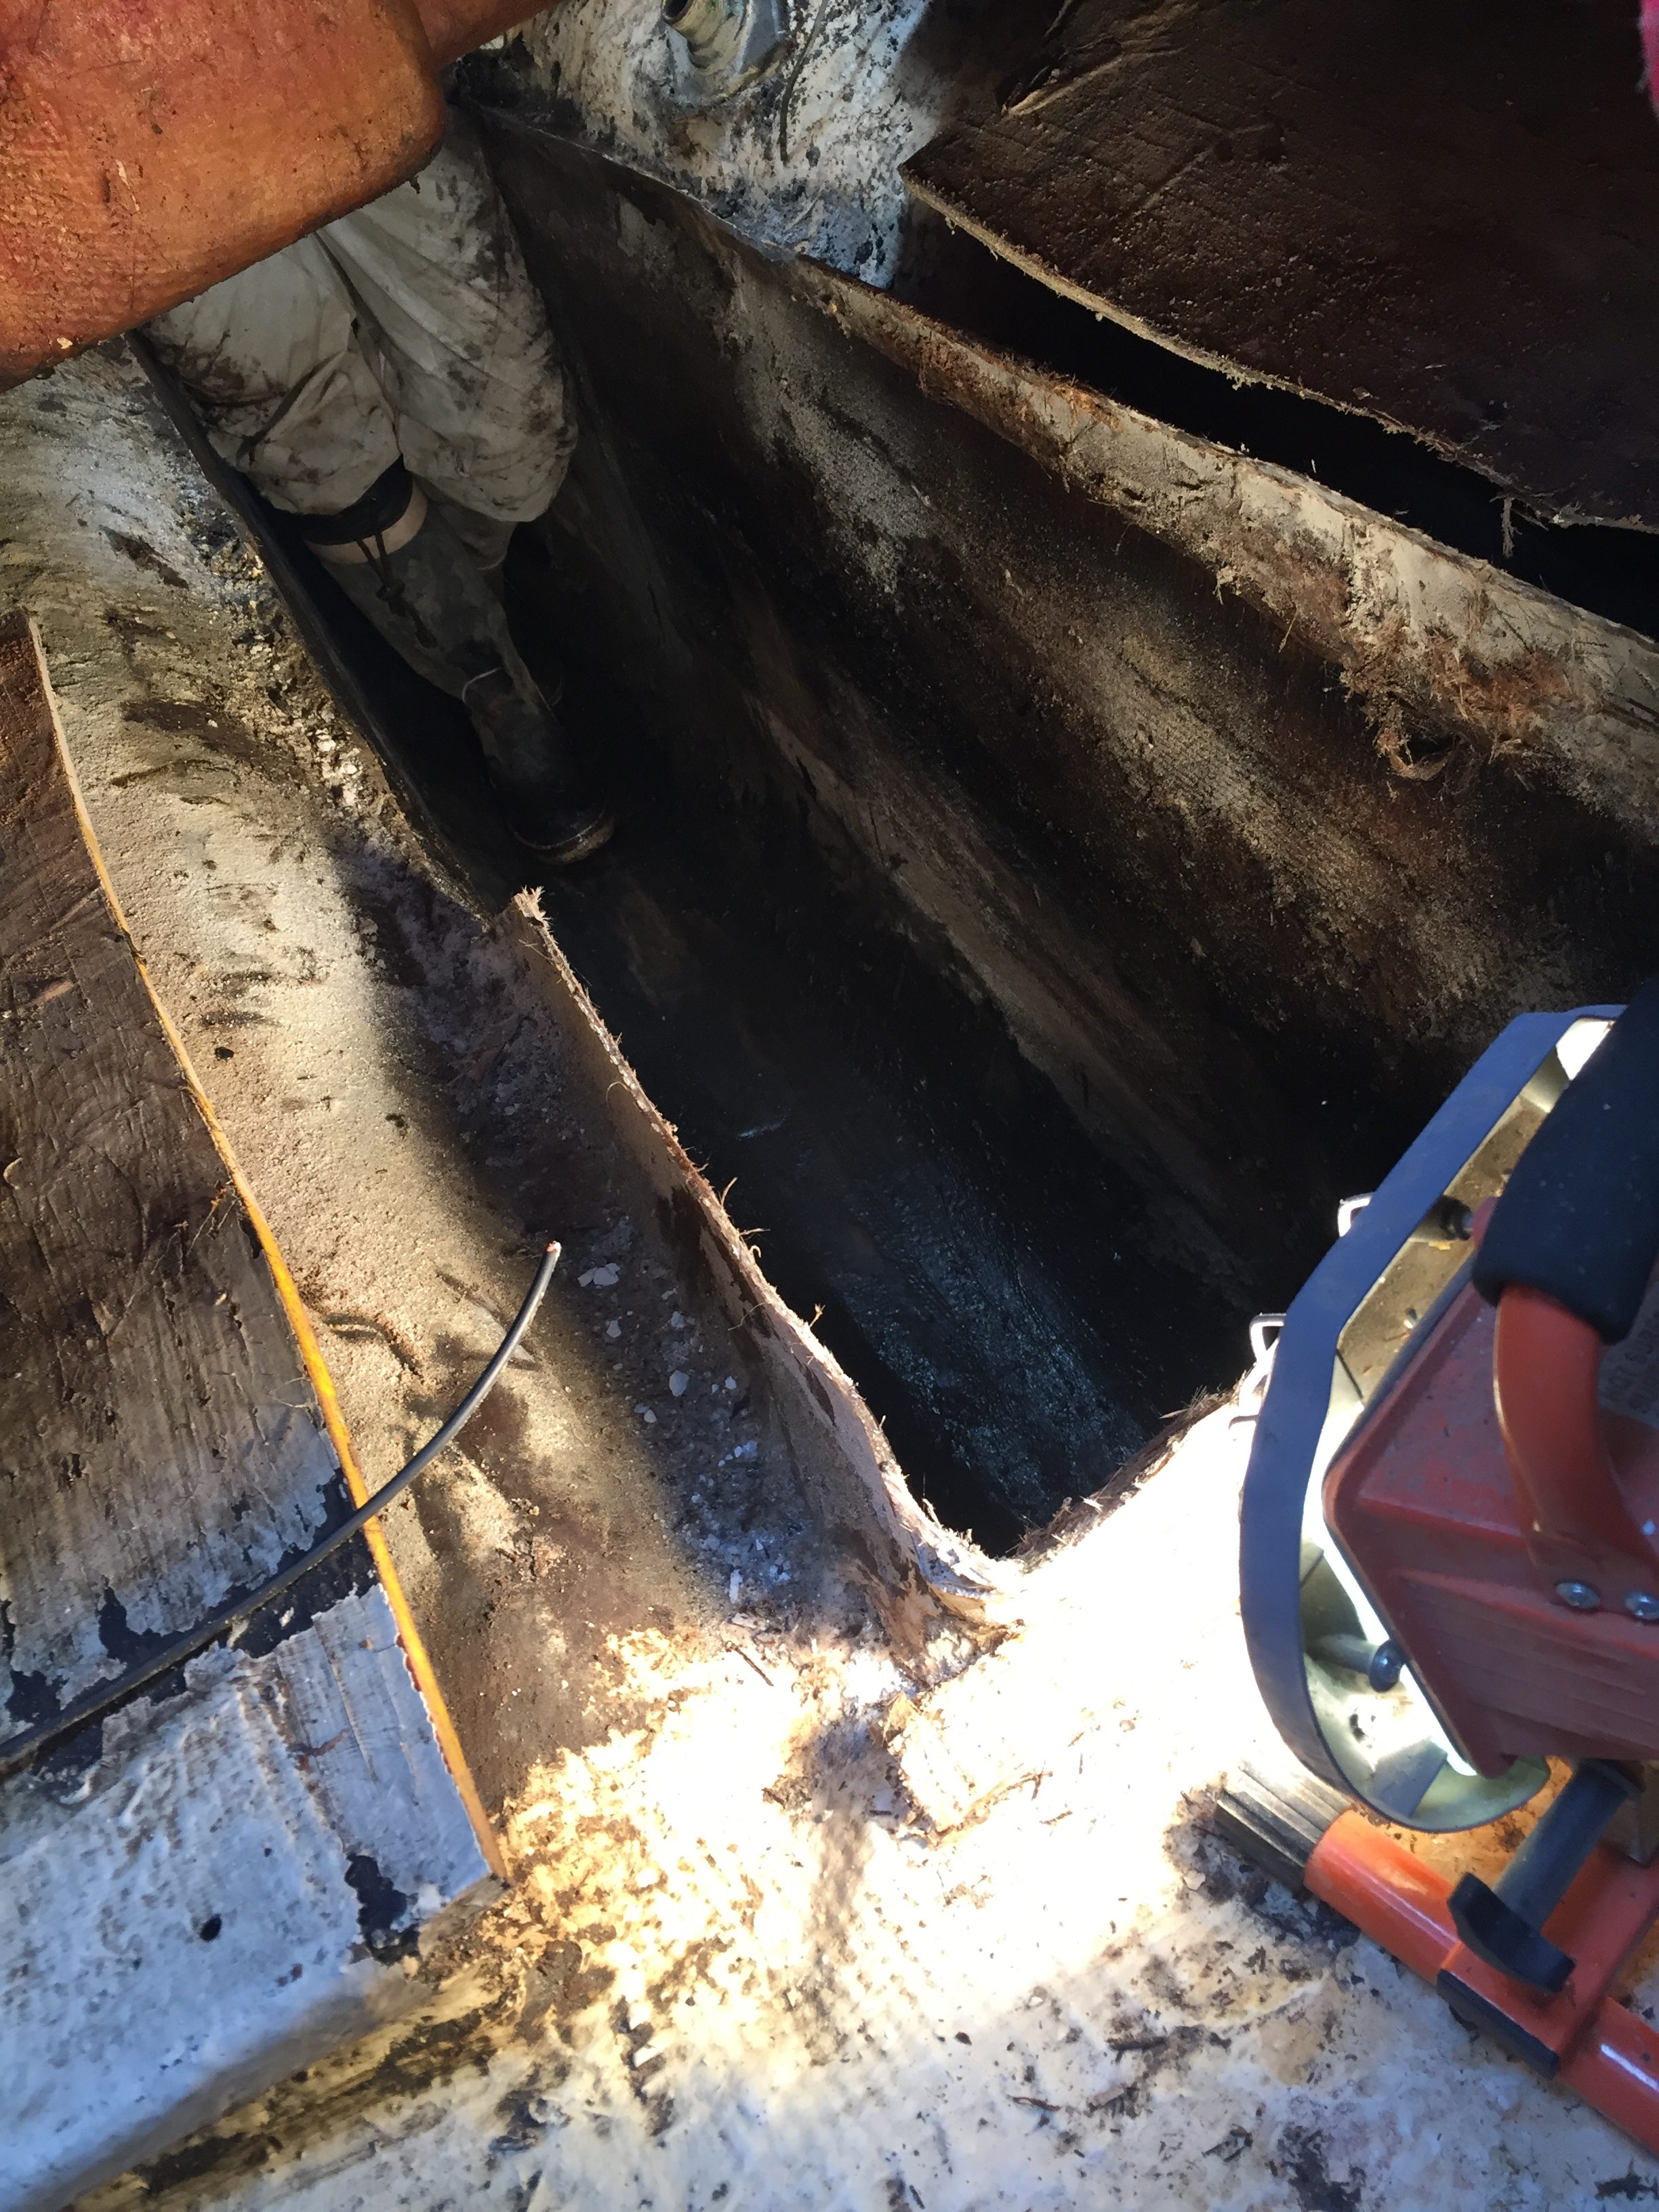
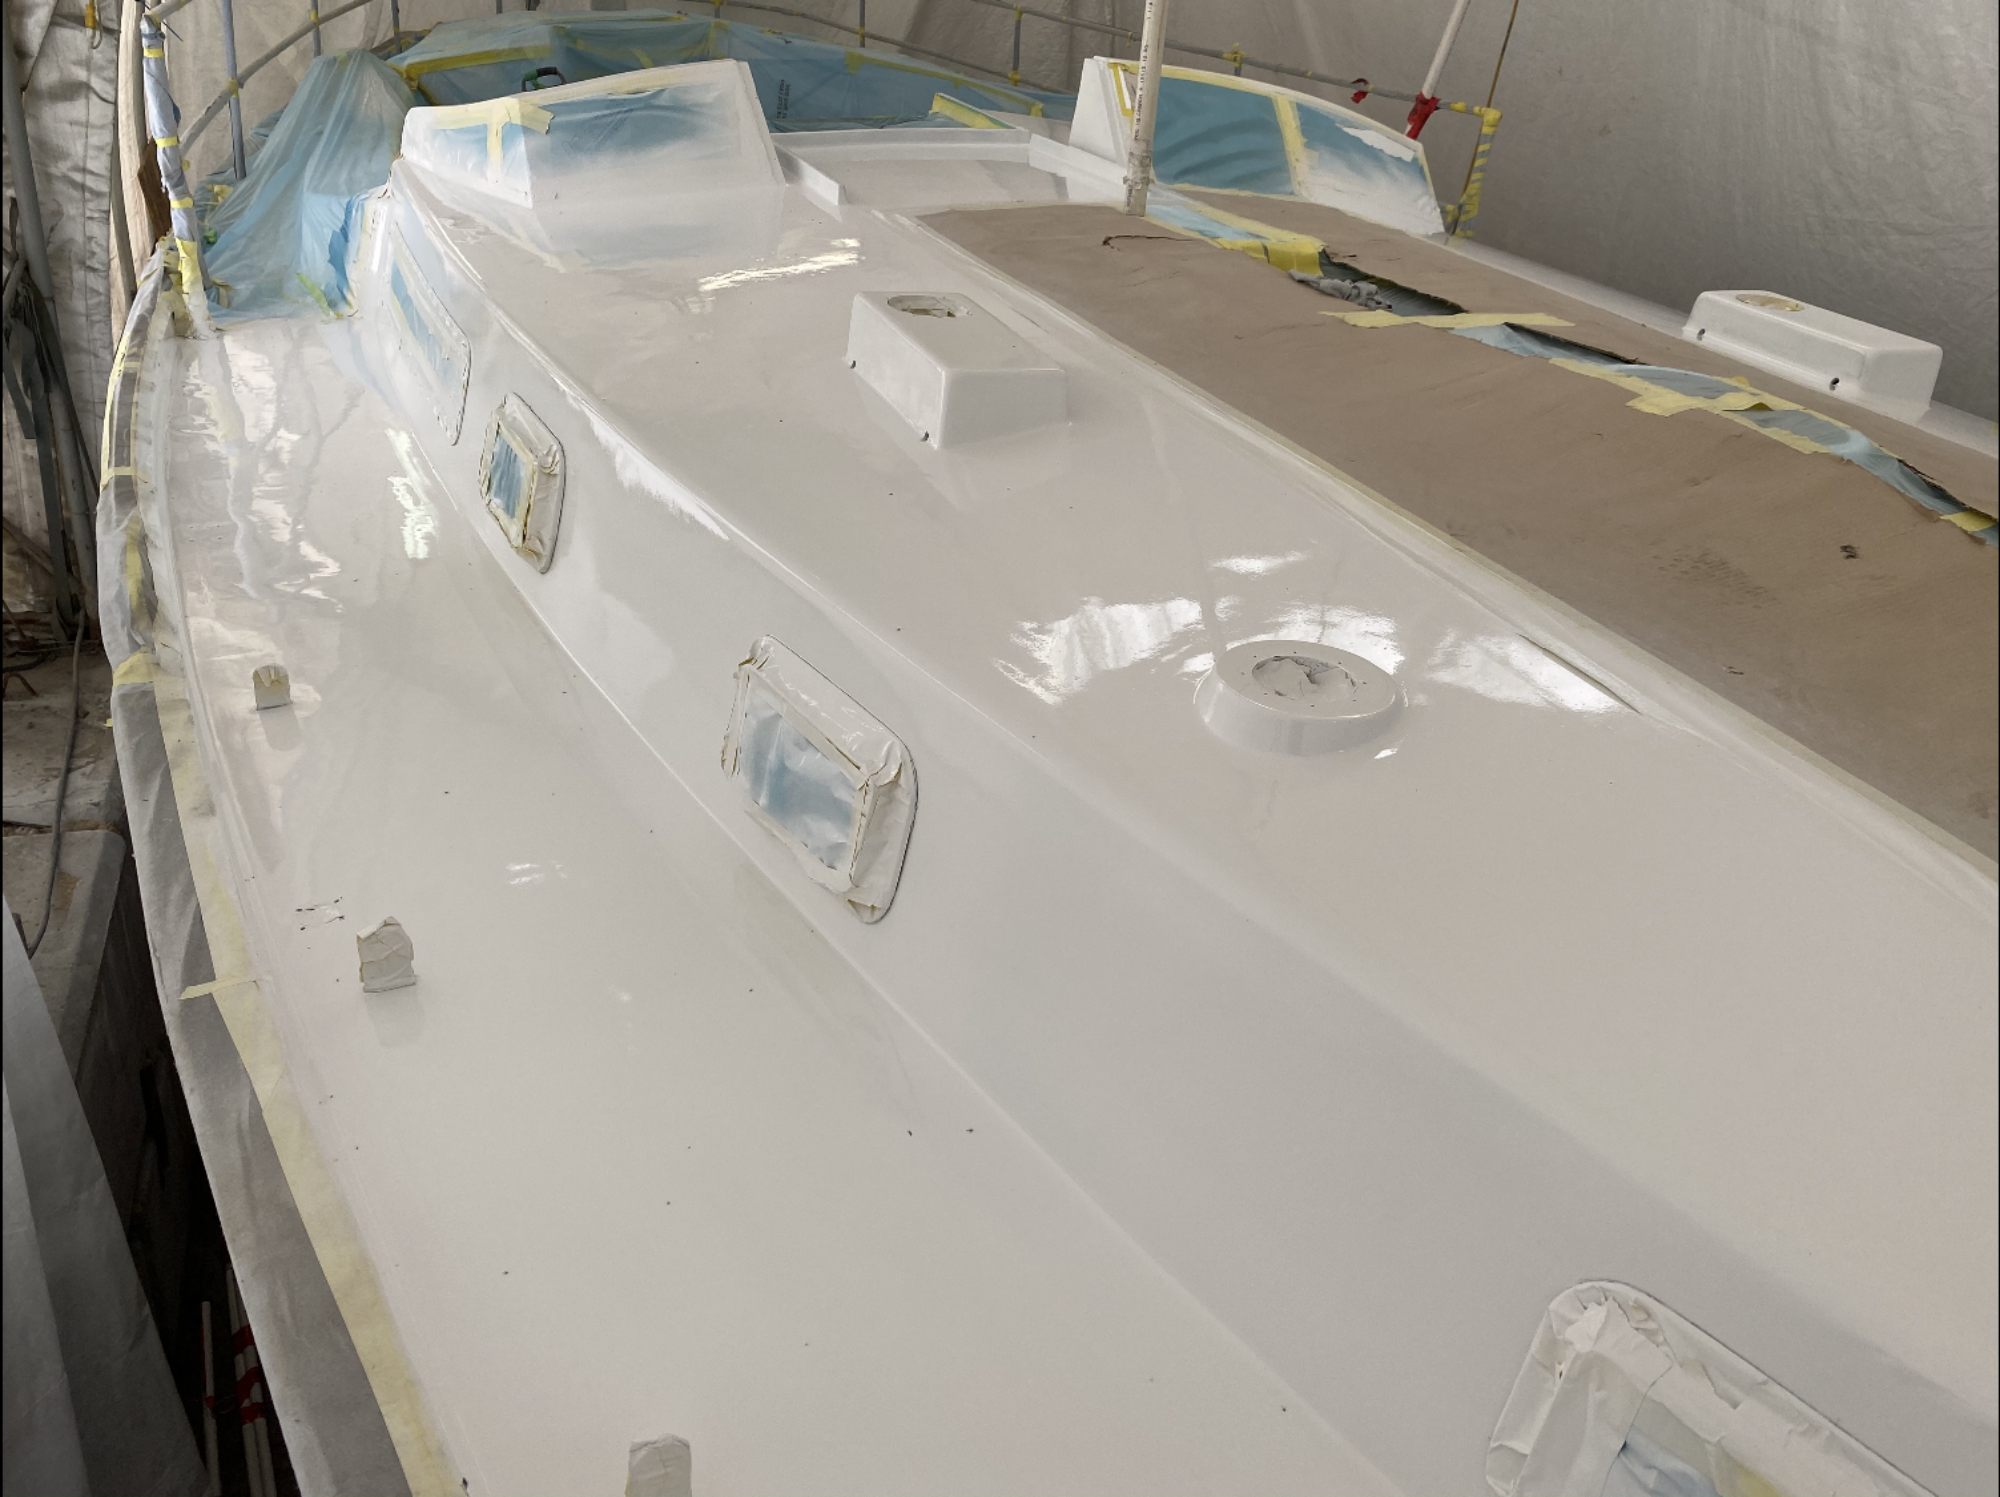
I am sad to say that we were unable to visit her for almost a full year and the dampness of Vancouver certainly took hold, so we are back to having to do a complete clean inside to rid her of the mildew in some places and the overall musty smell. Thank fully it is all surface stuff and there does not appear to be any rot or anything like that.
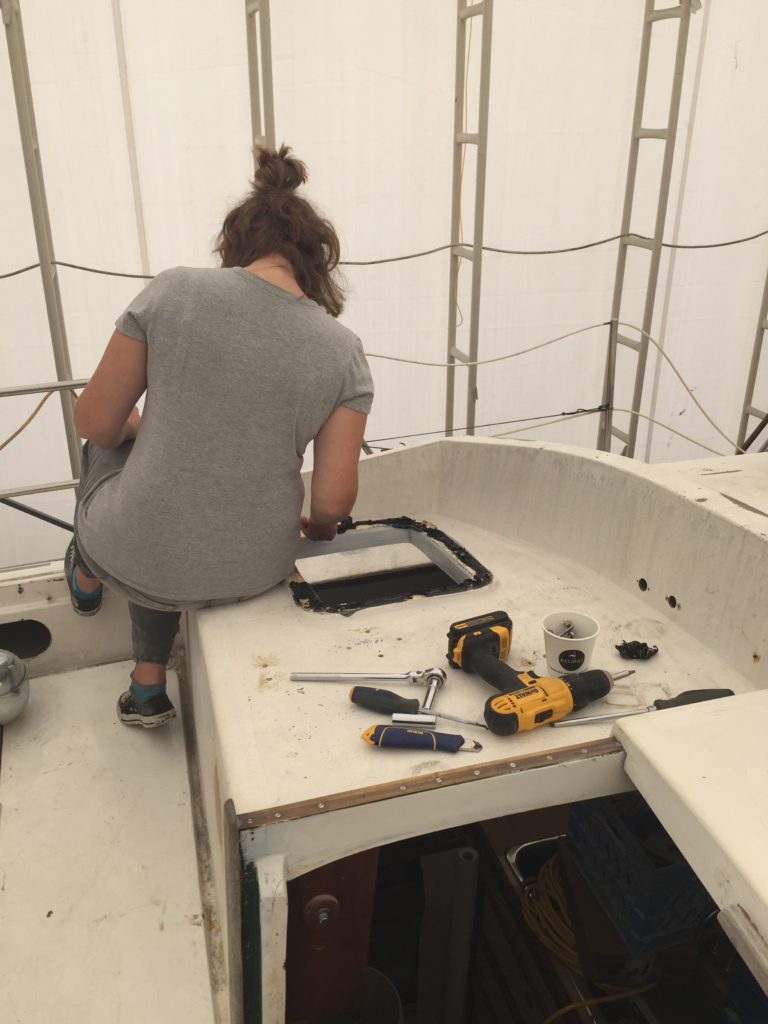
So now I have visited Akupara everyday since she arrived on Saturday.
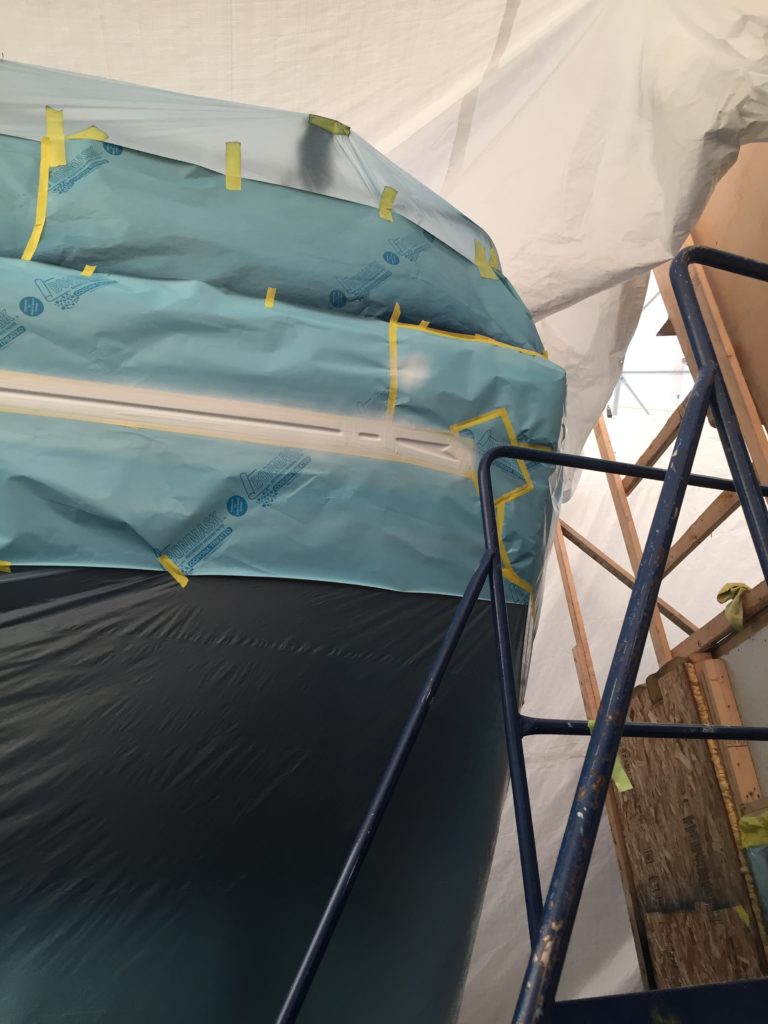
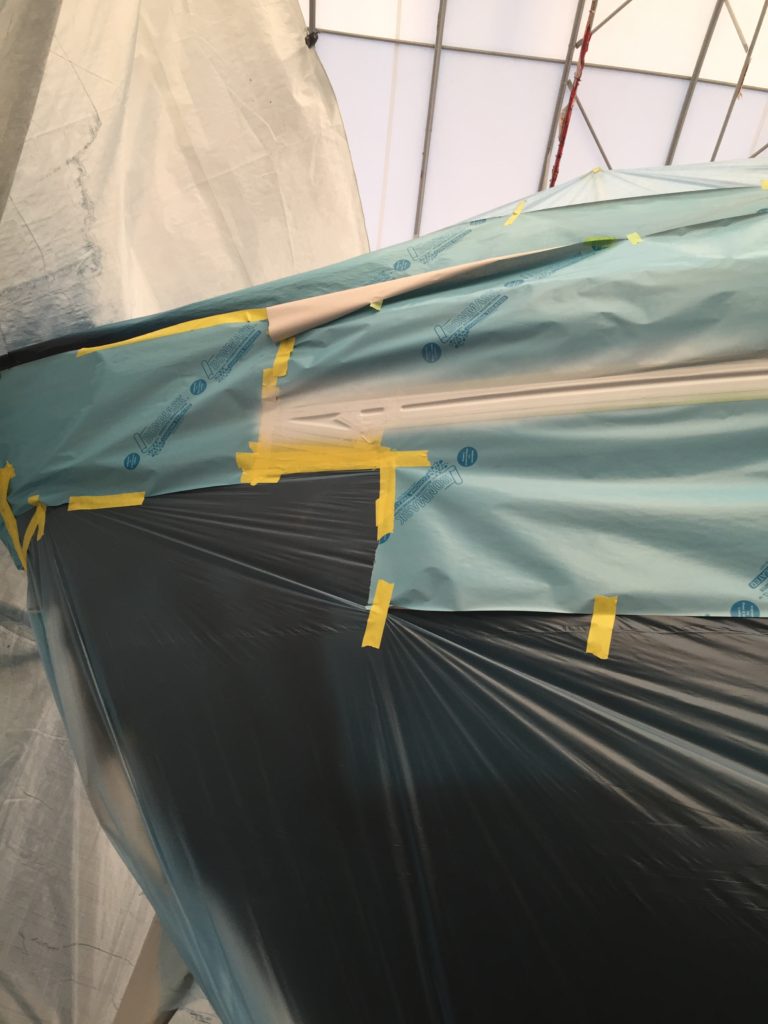
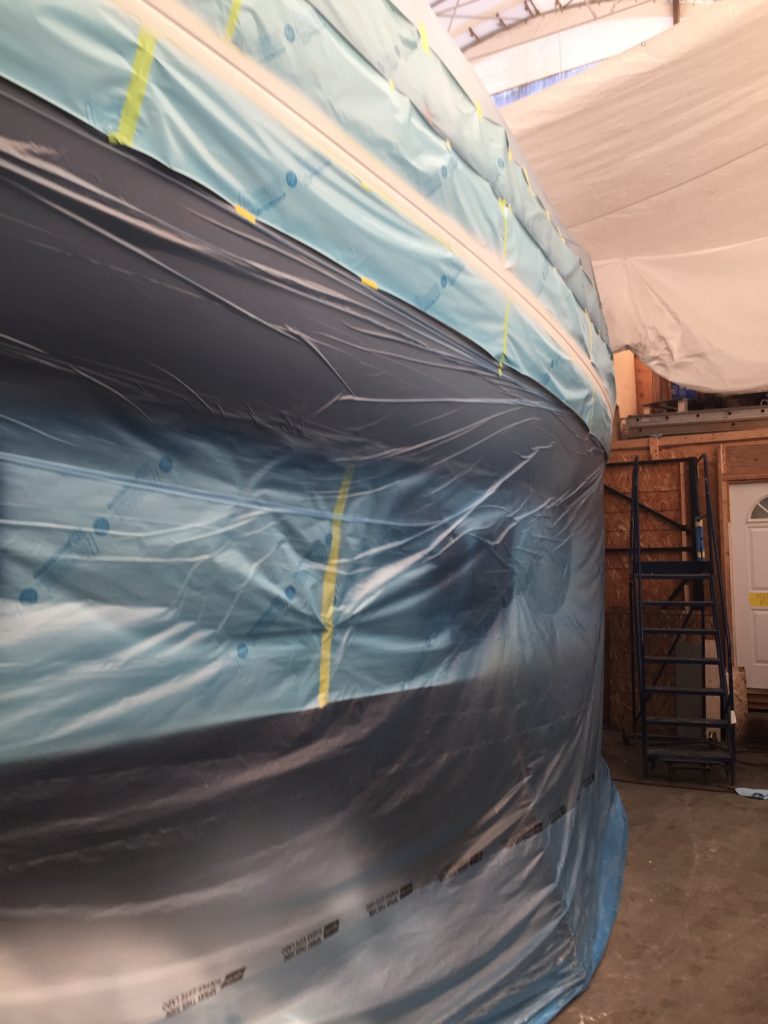
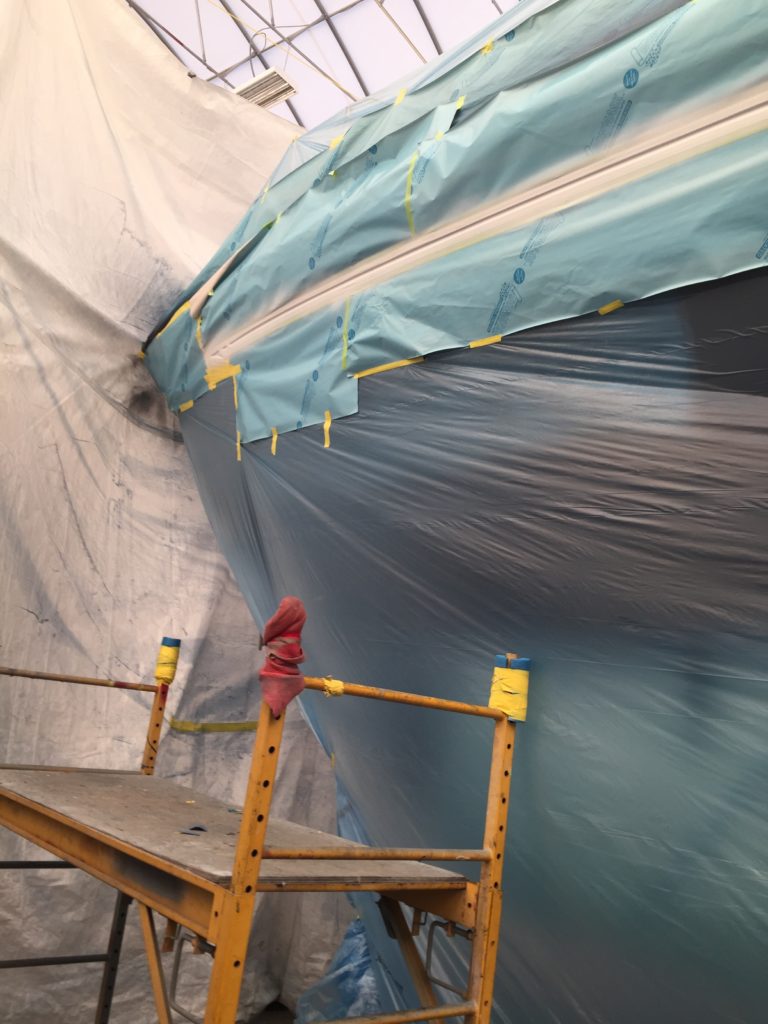
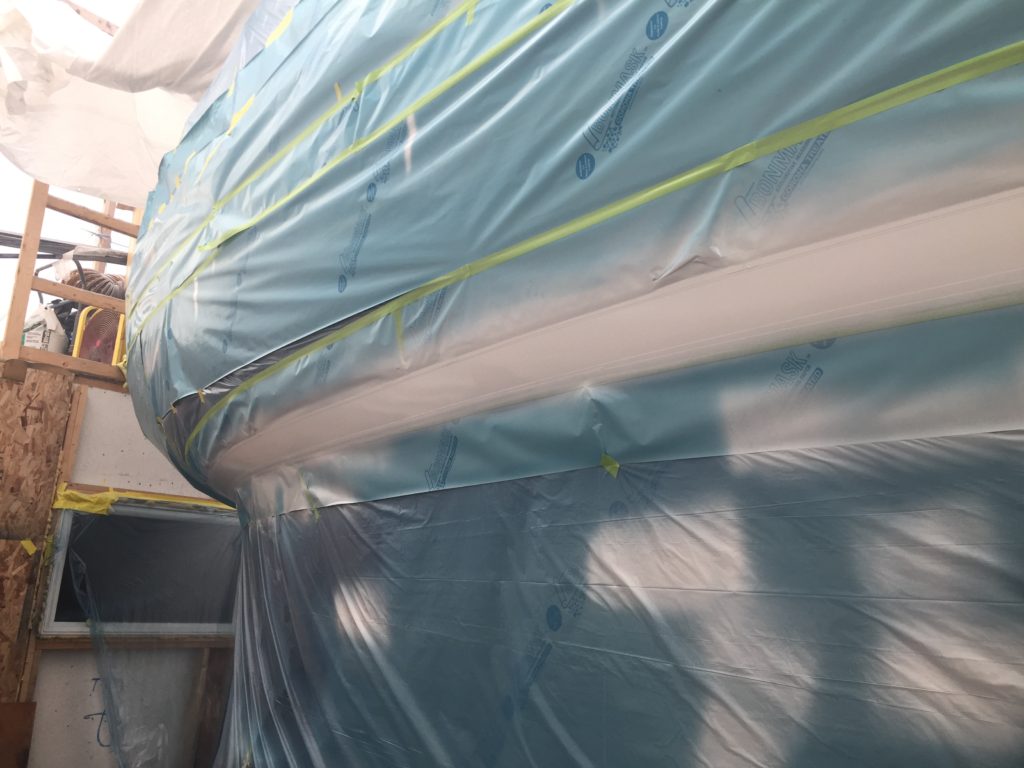
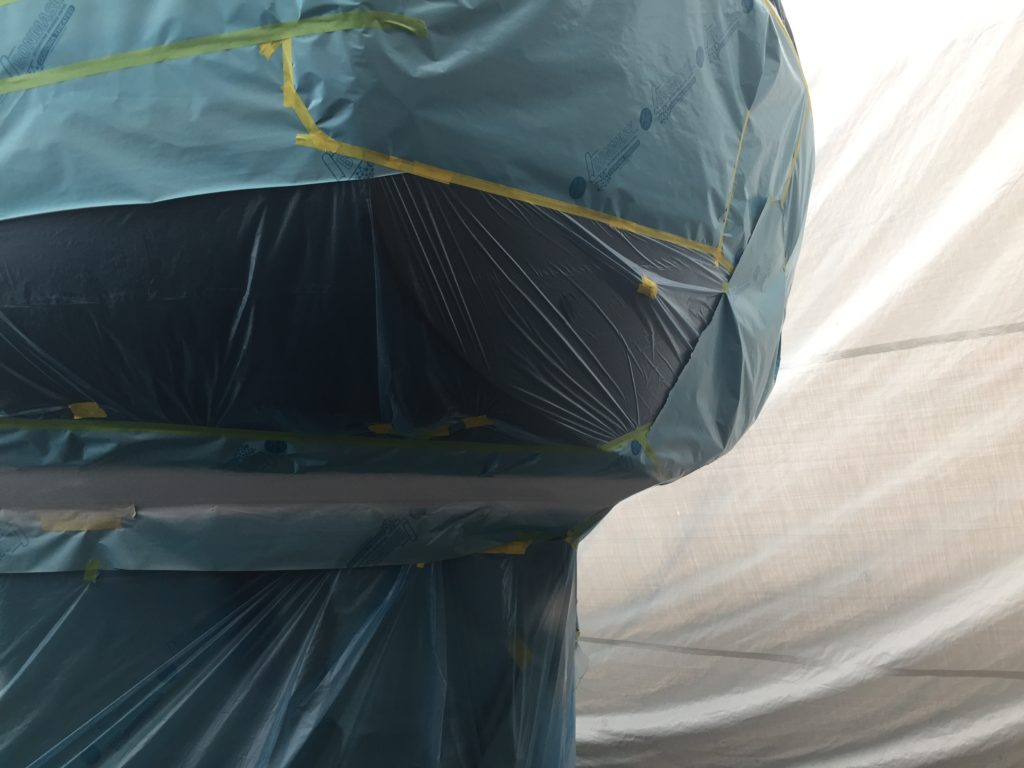
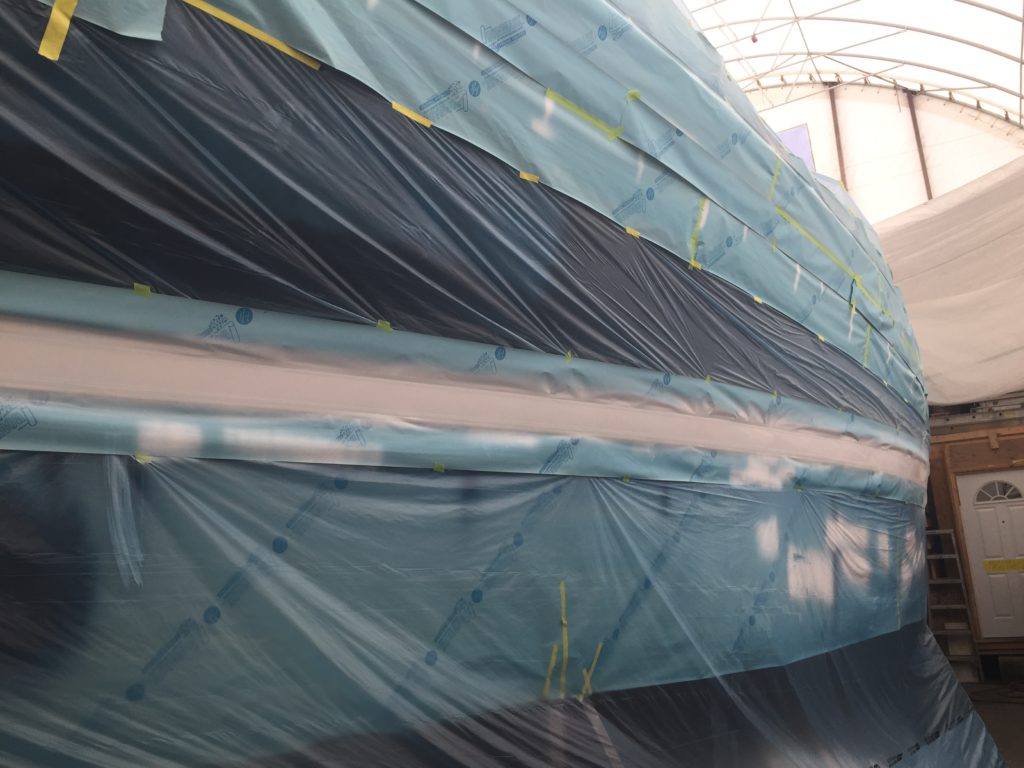
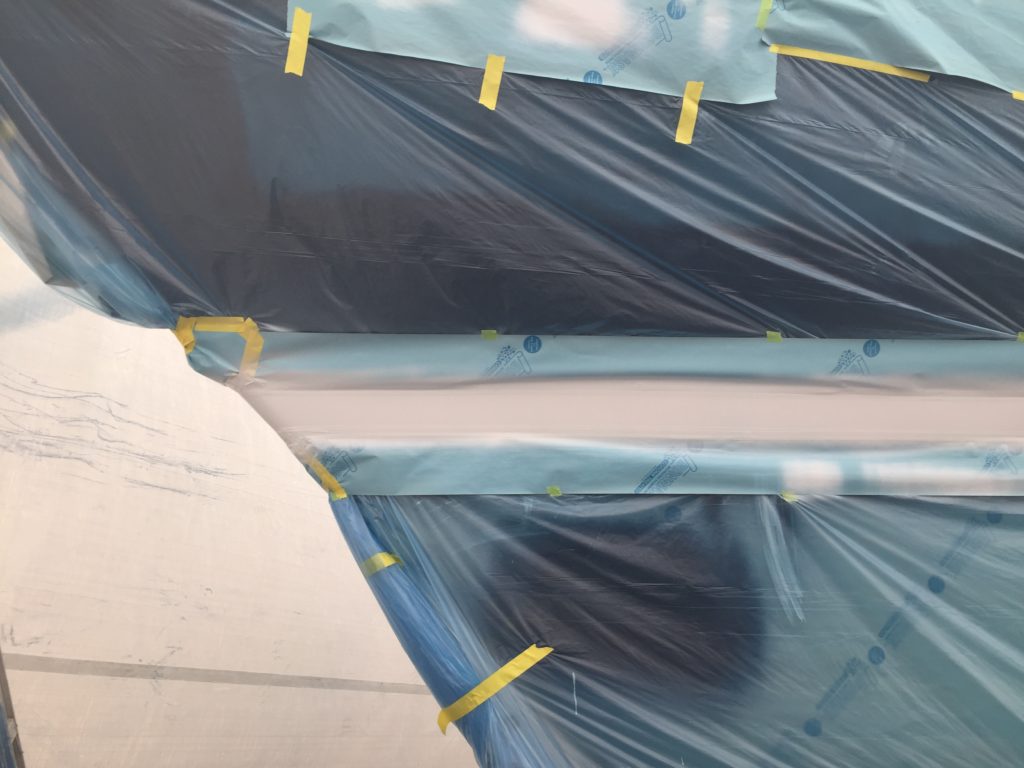
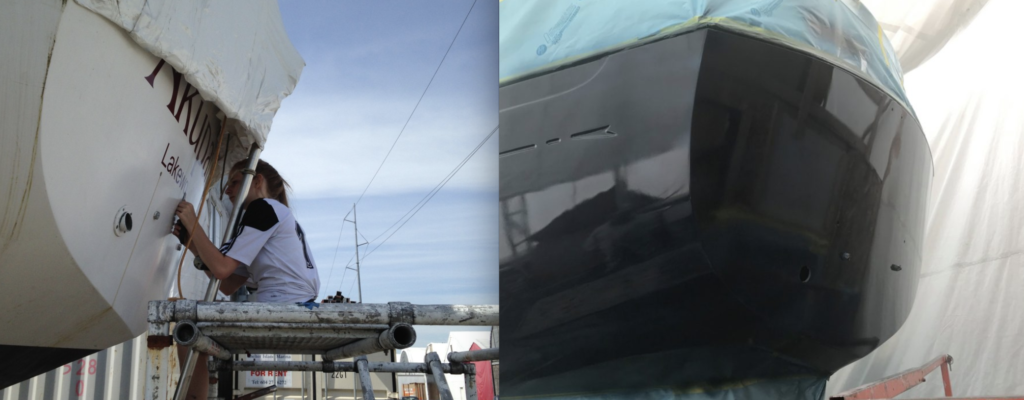
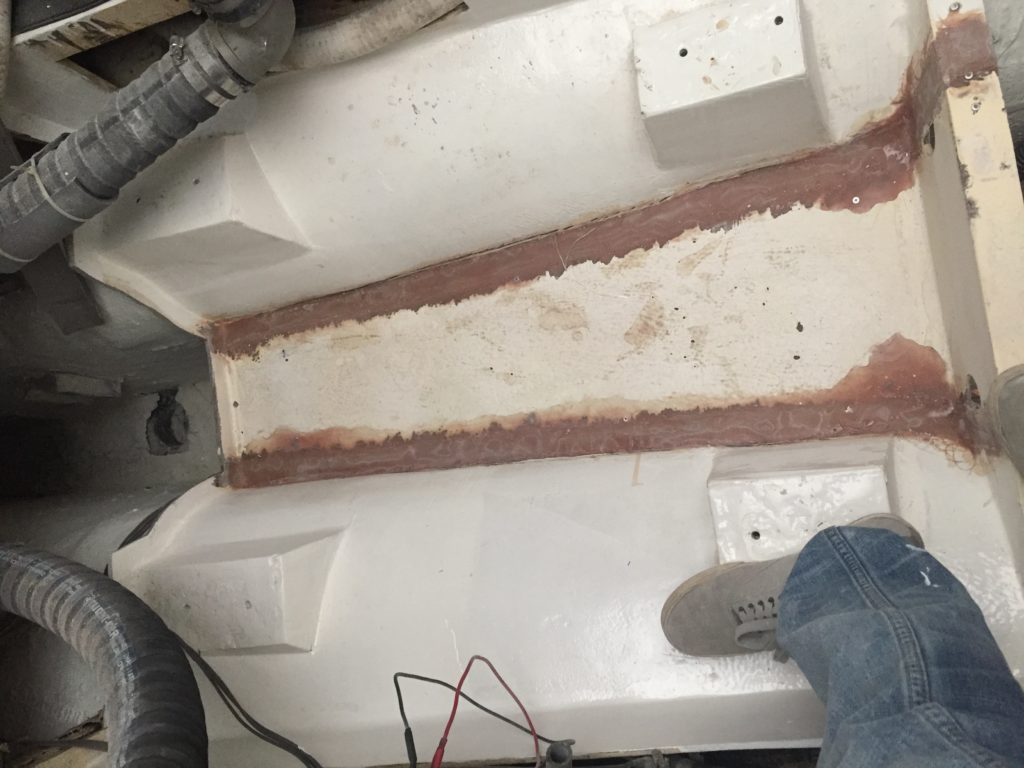
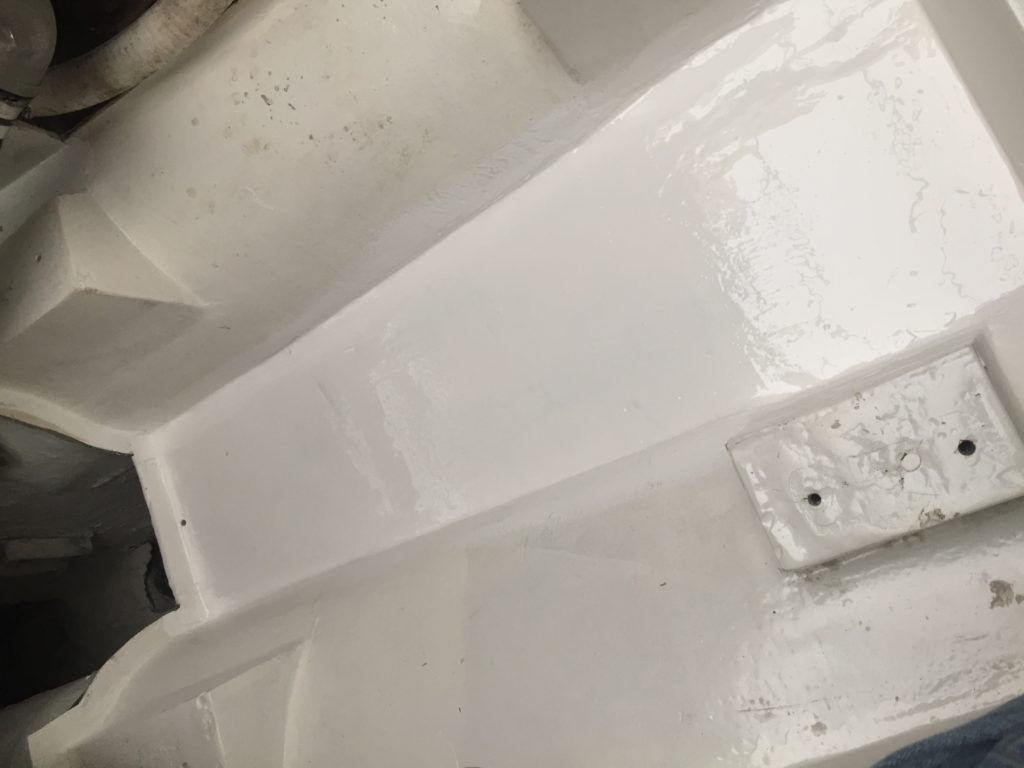
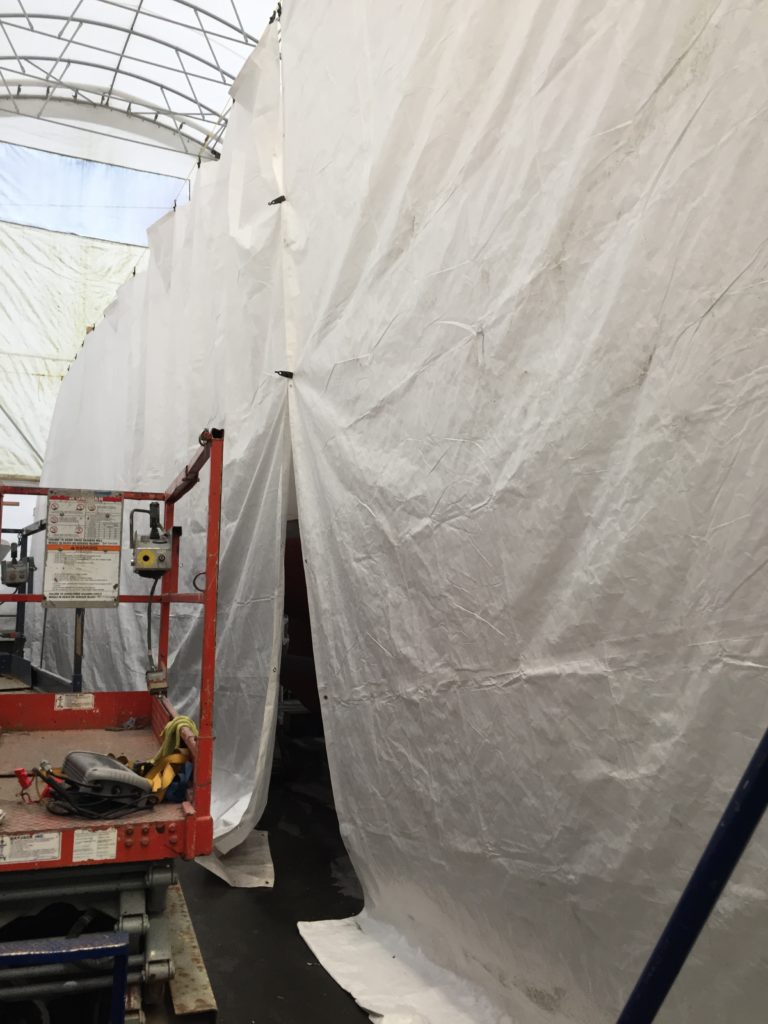
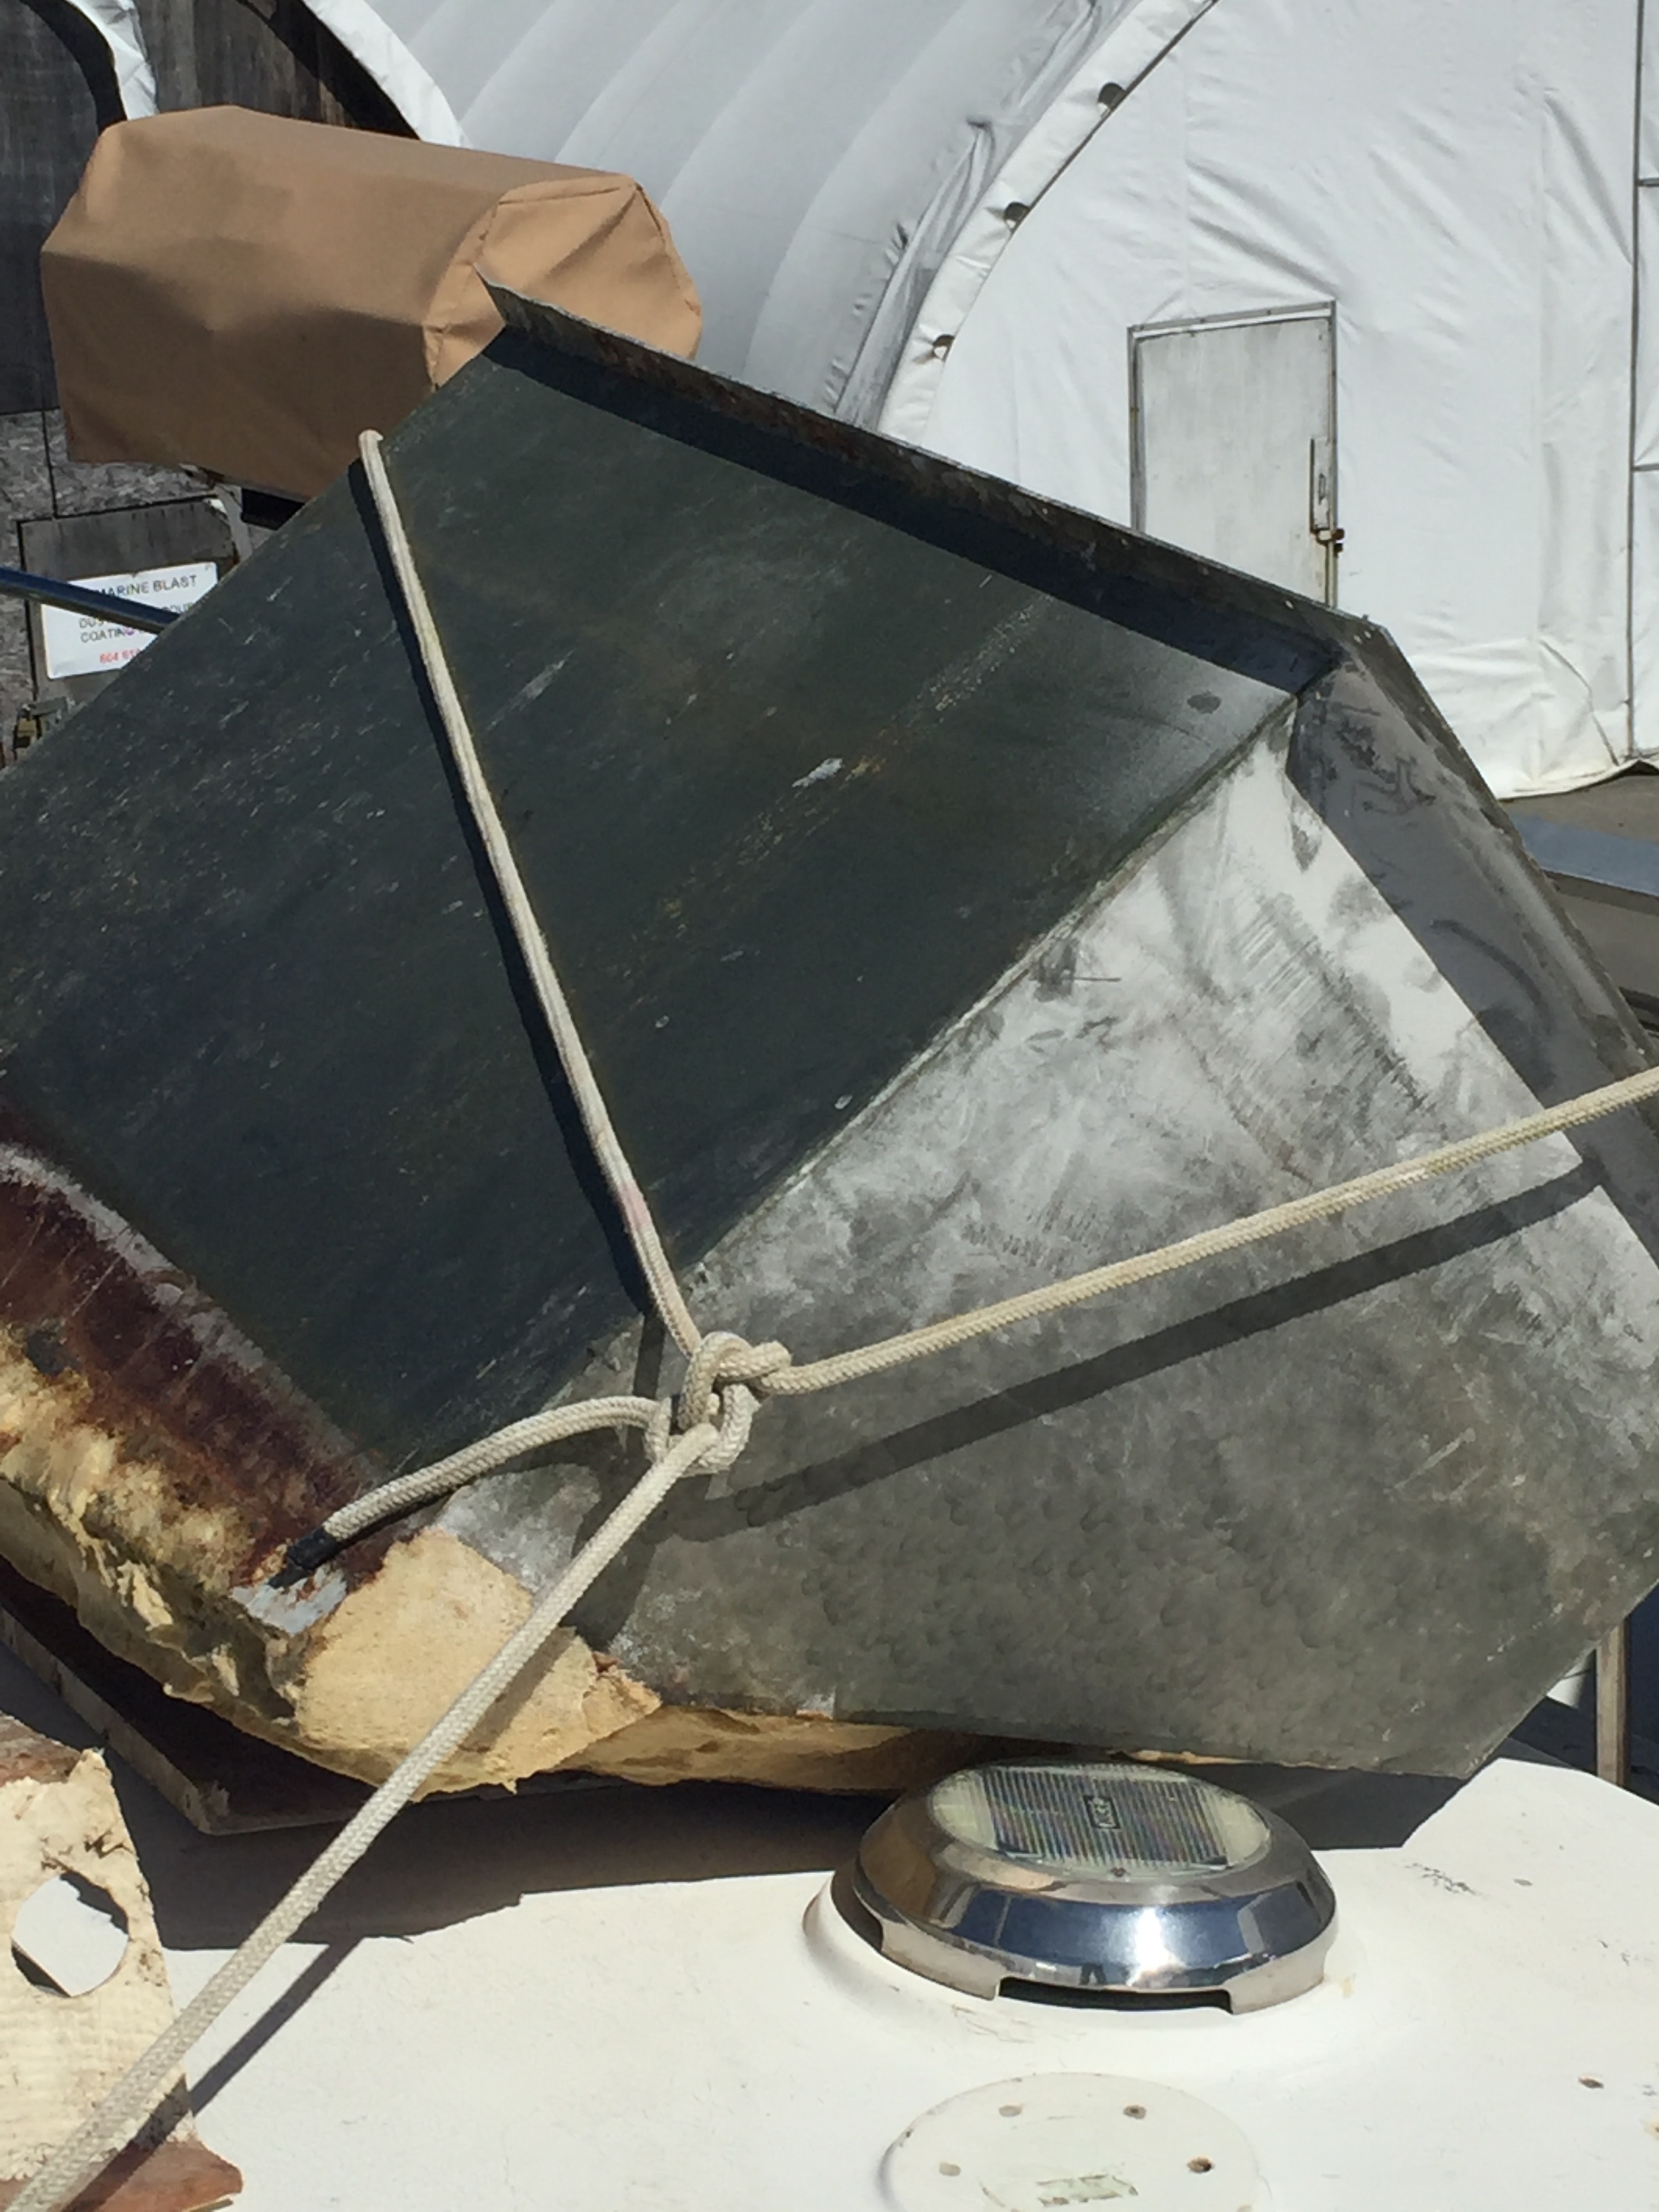
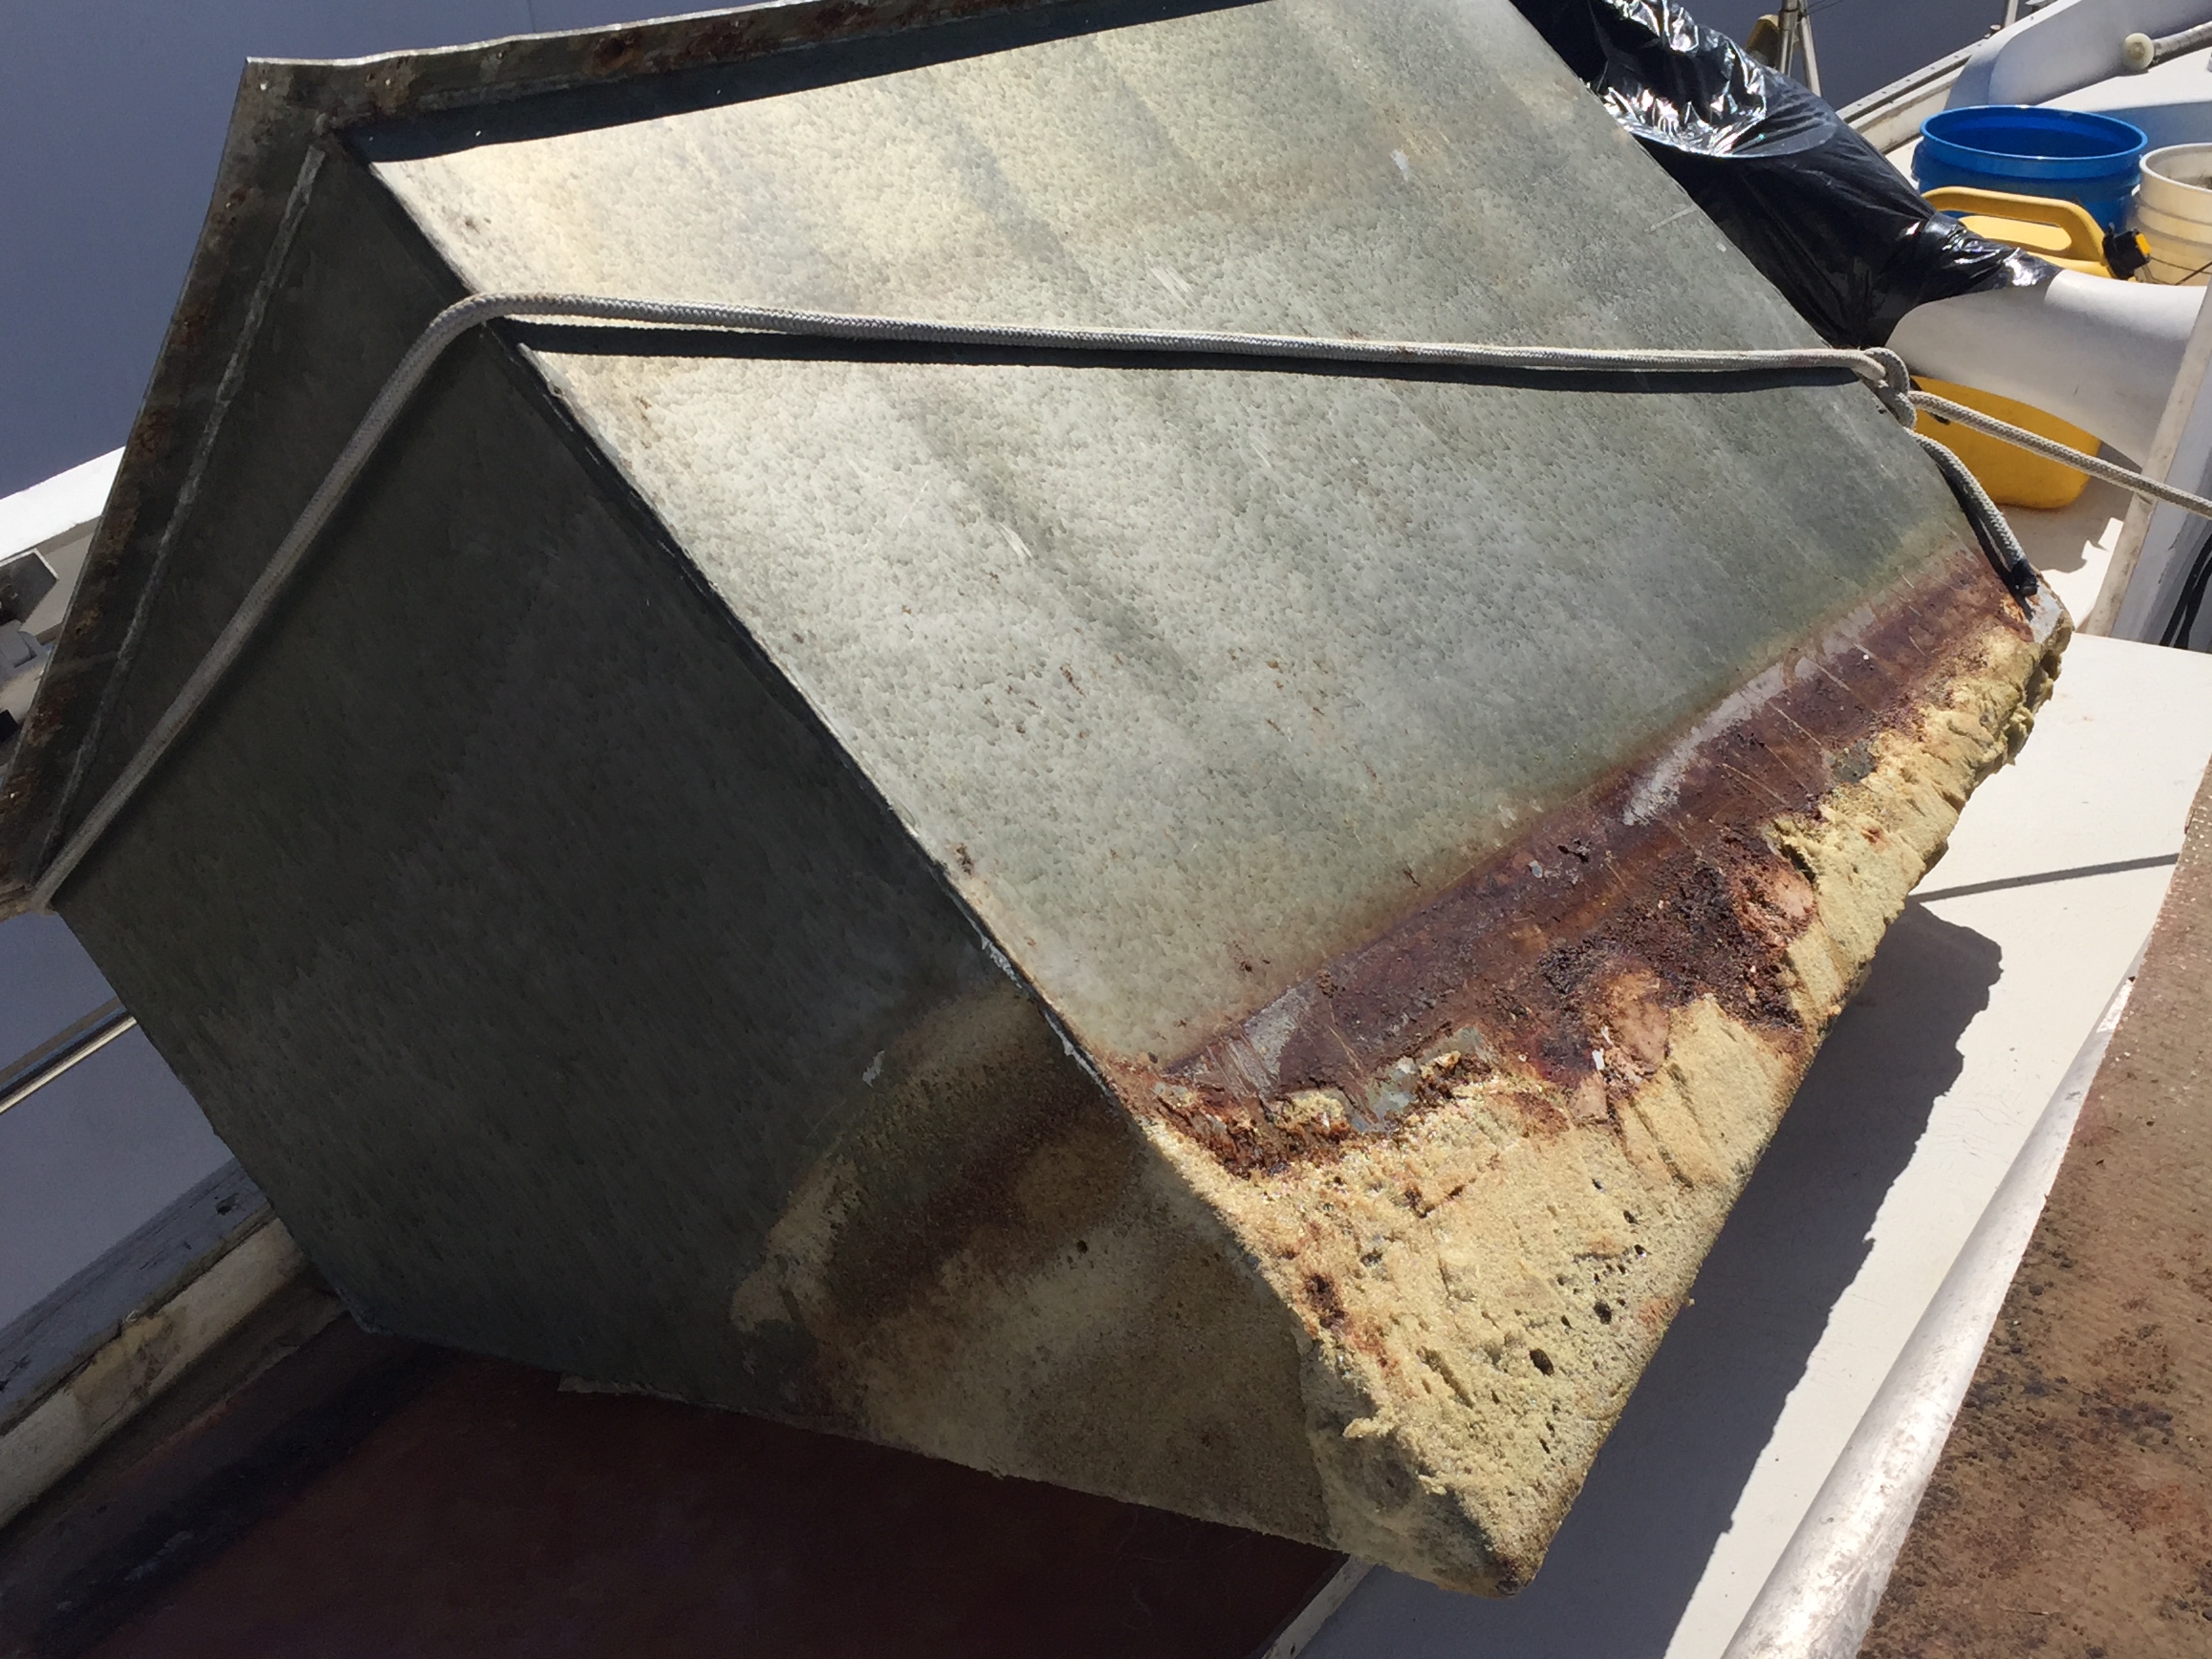
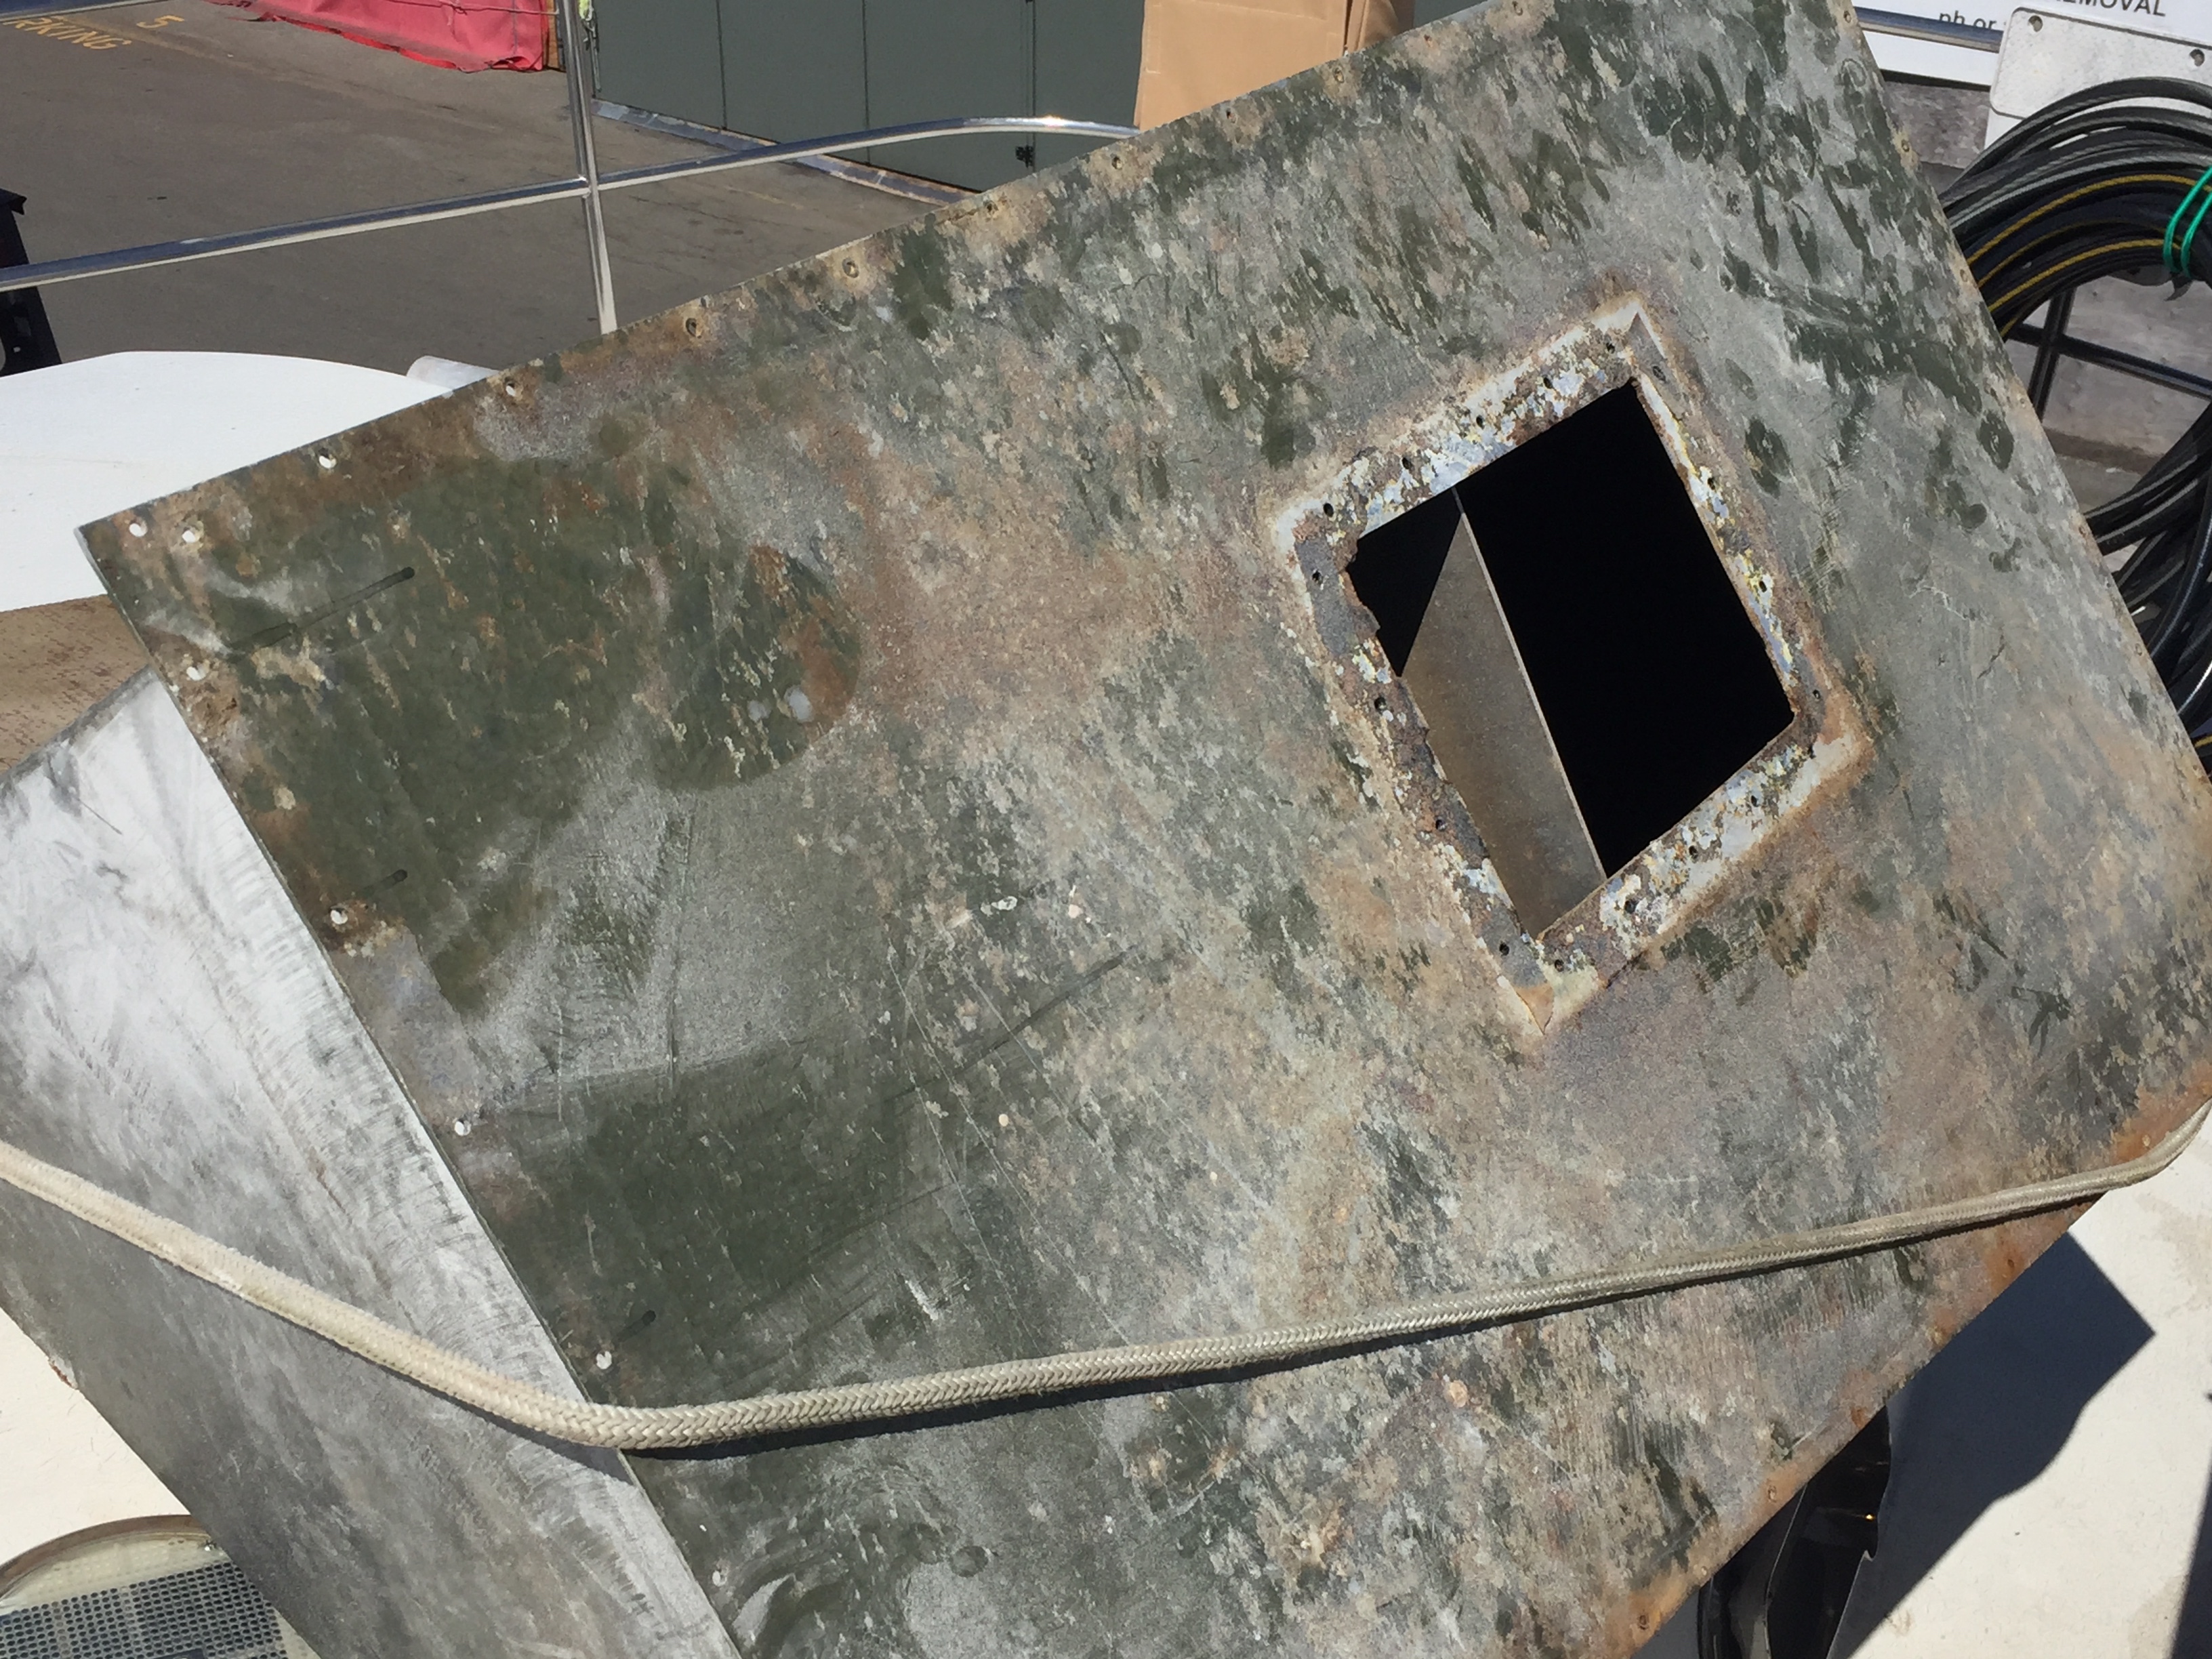
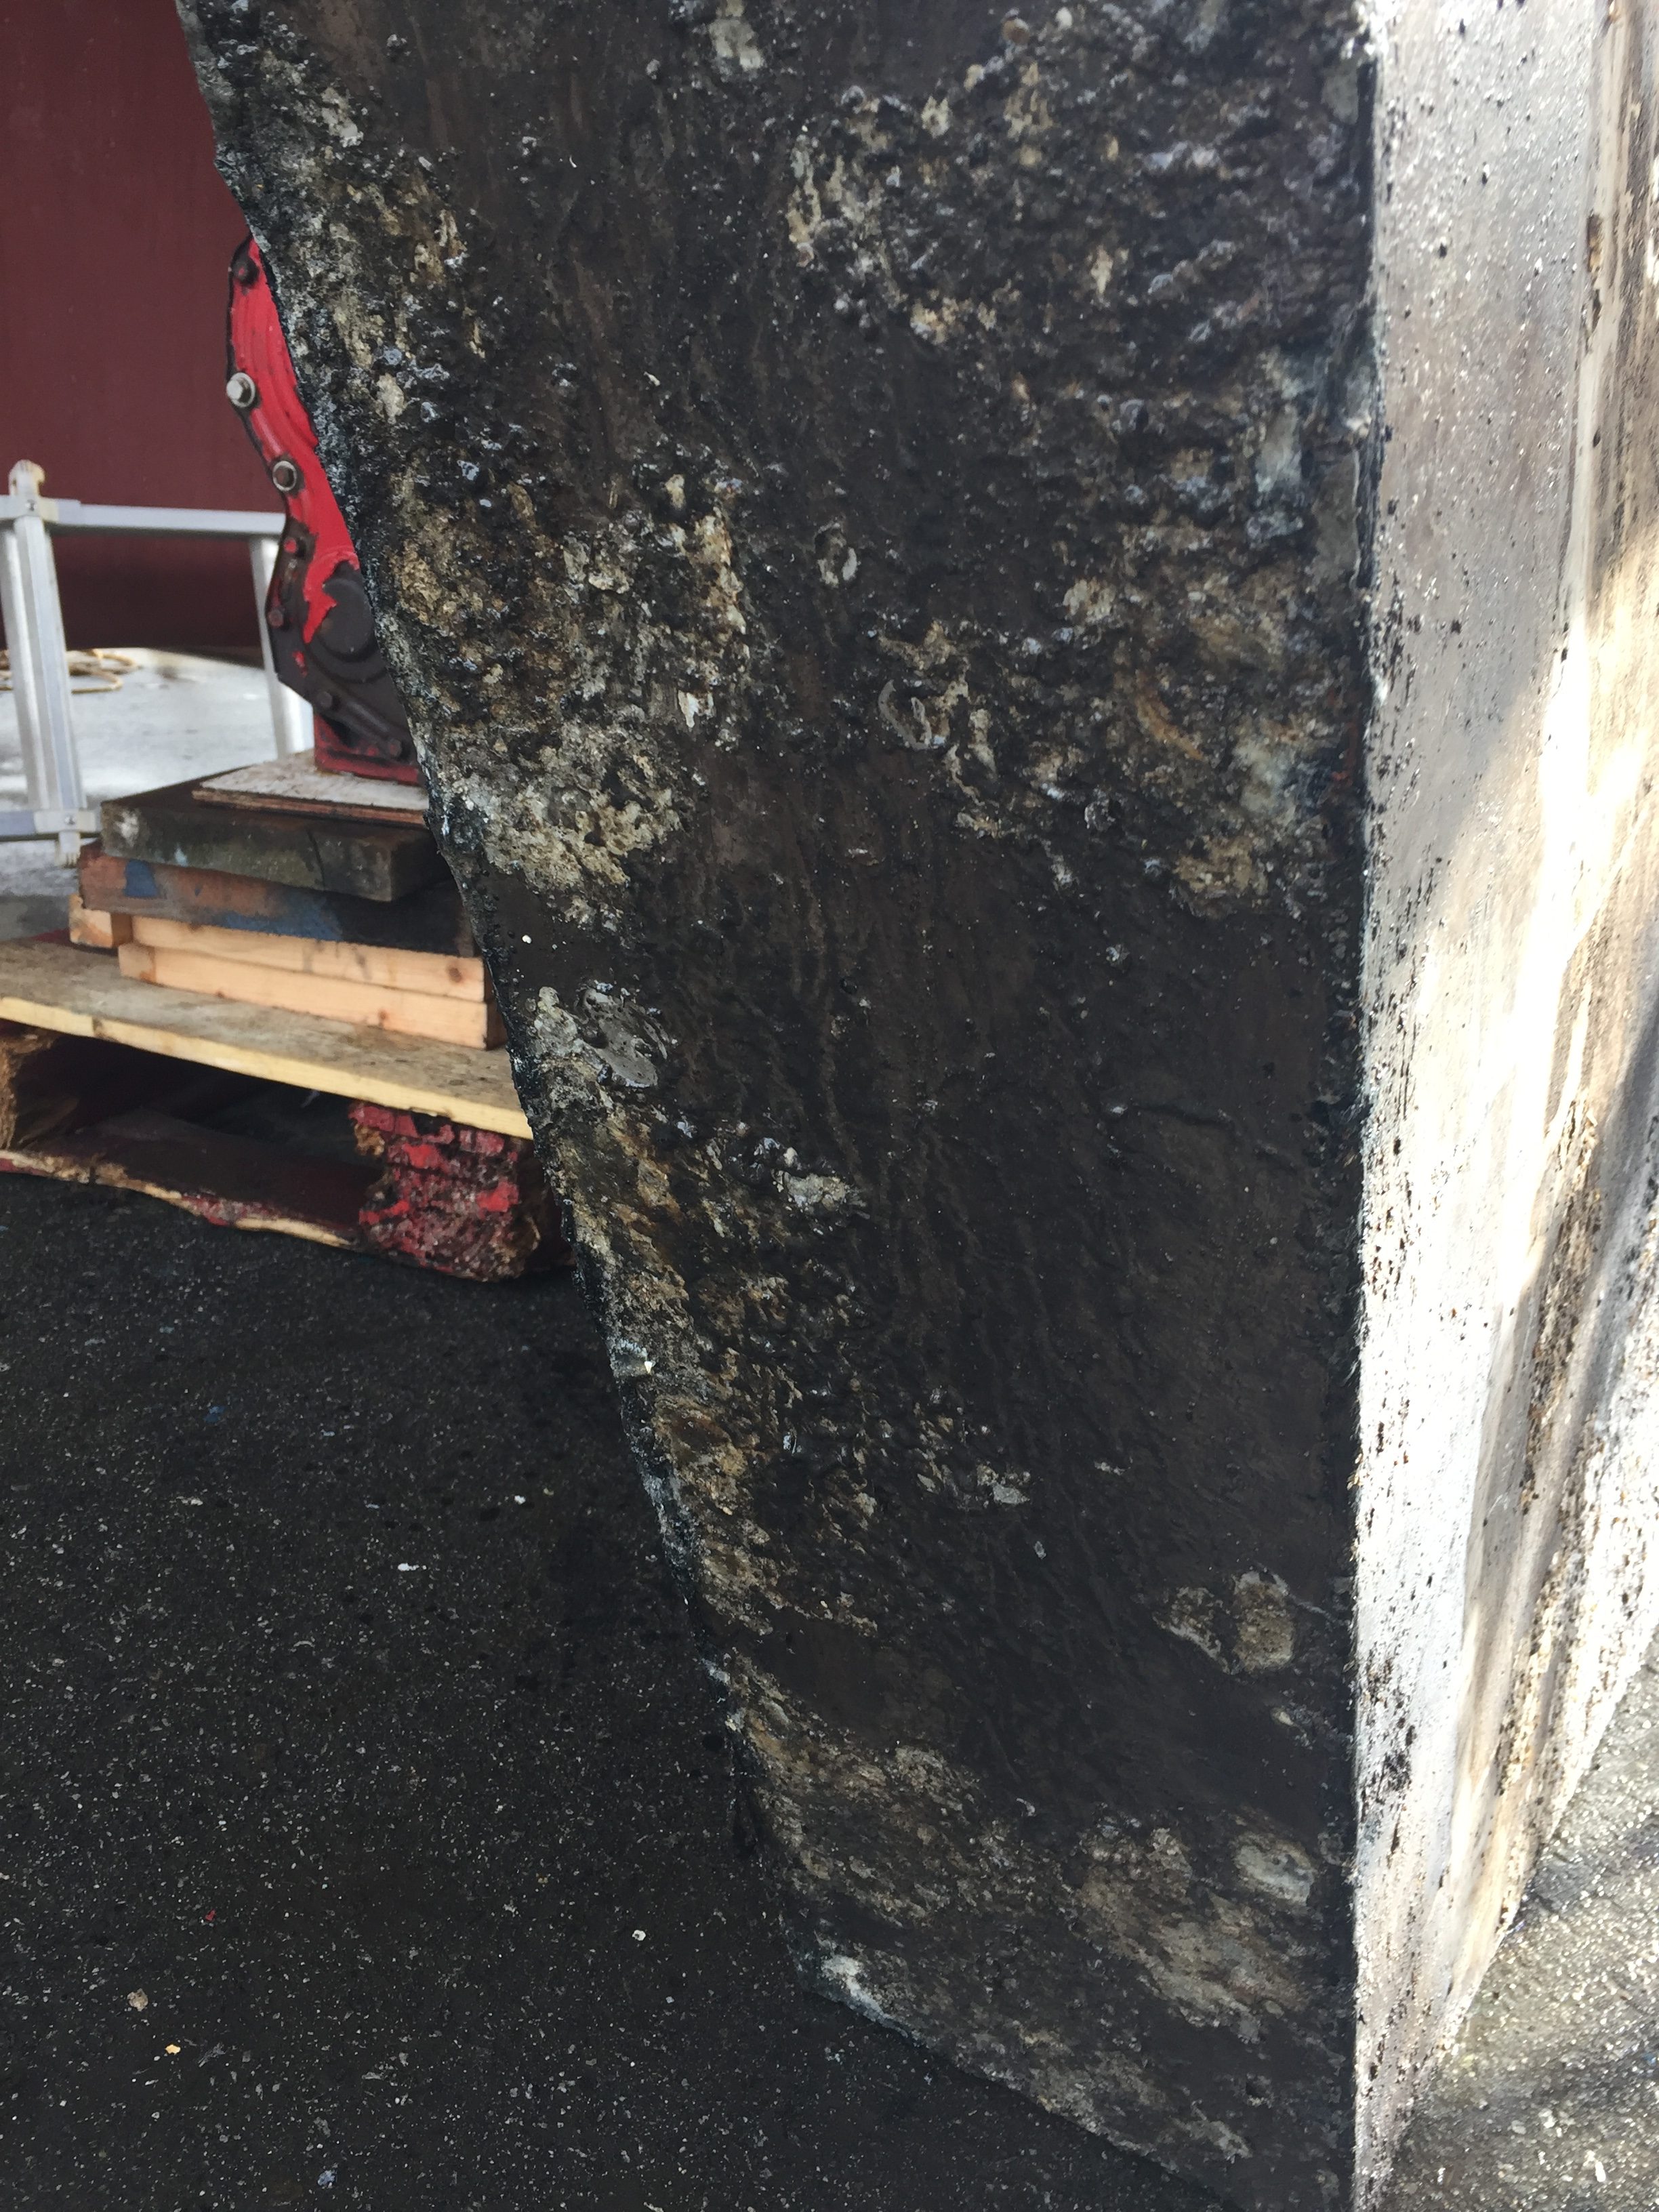
The diaper (as we like to call it) is proving to be a bit of a nightmare to remove but we will succeed.

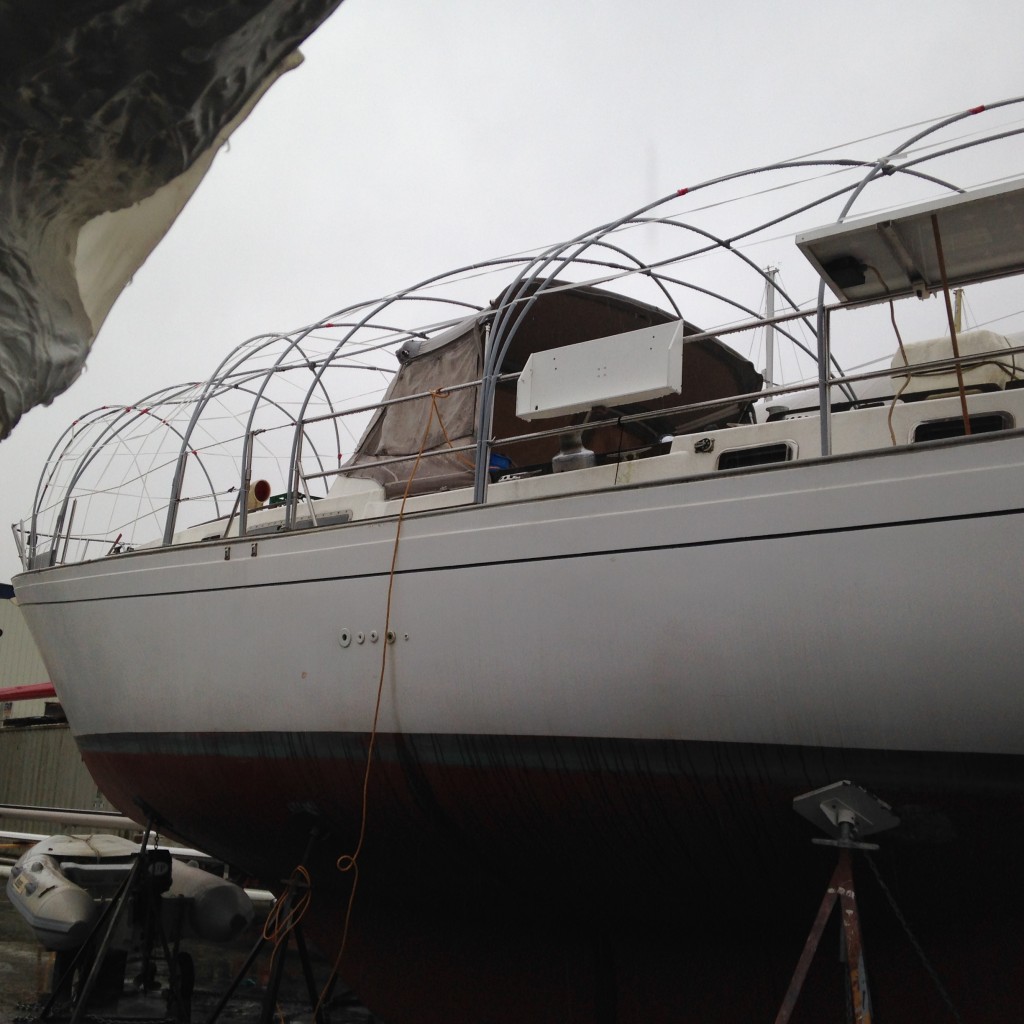
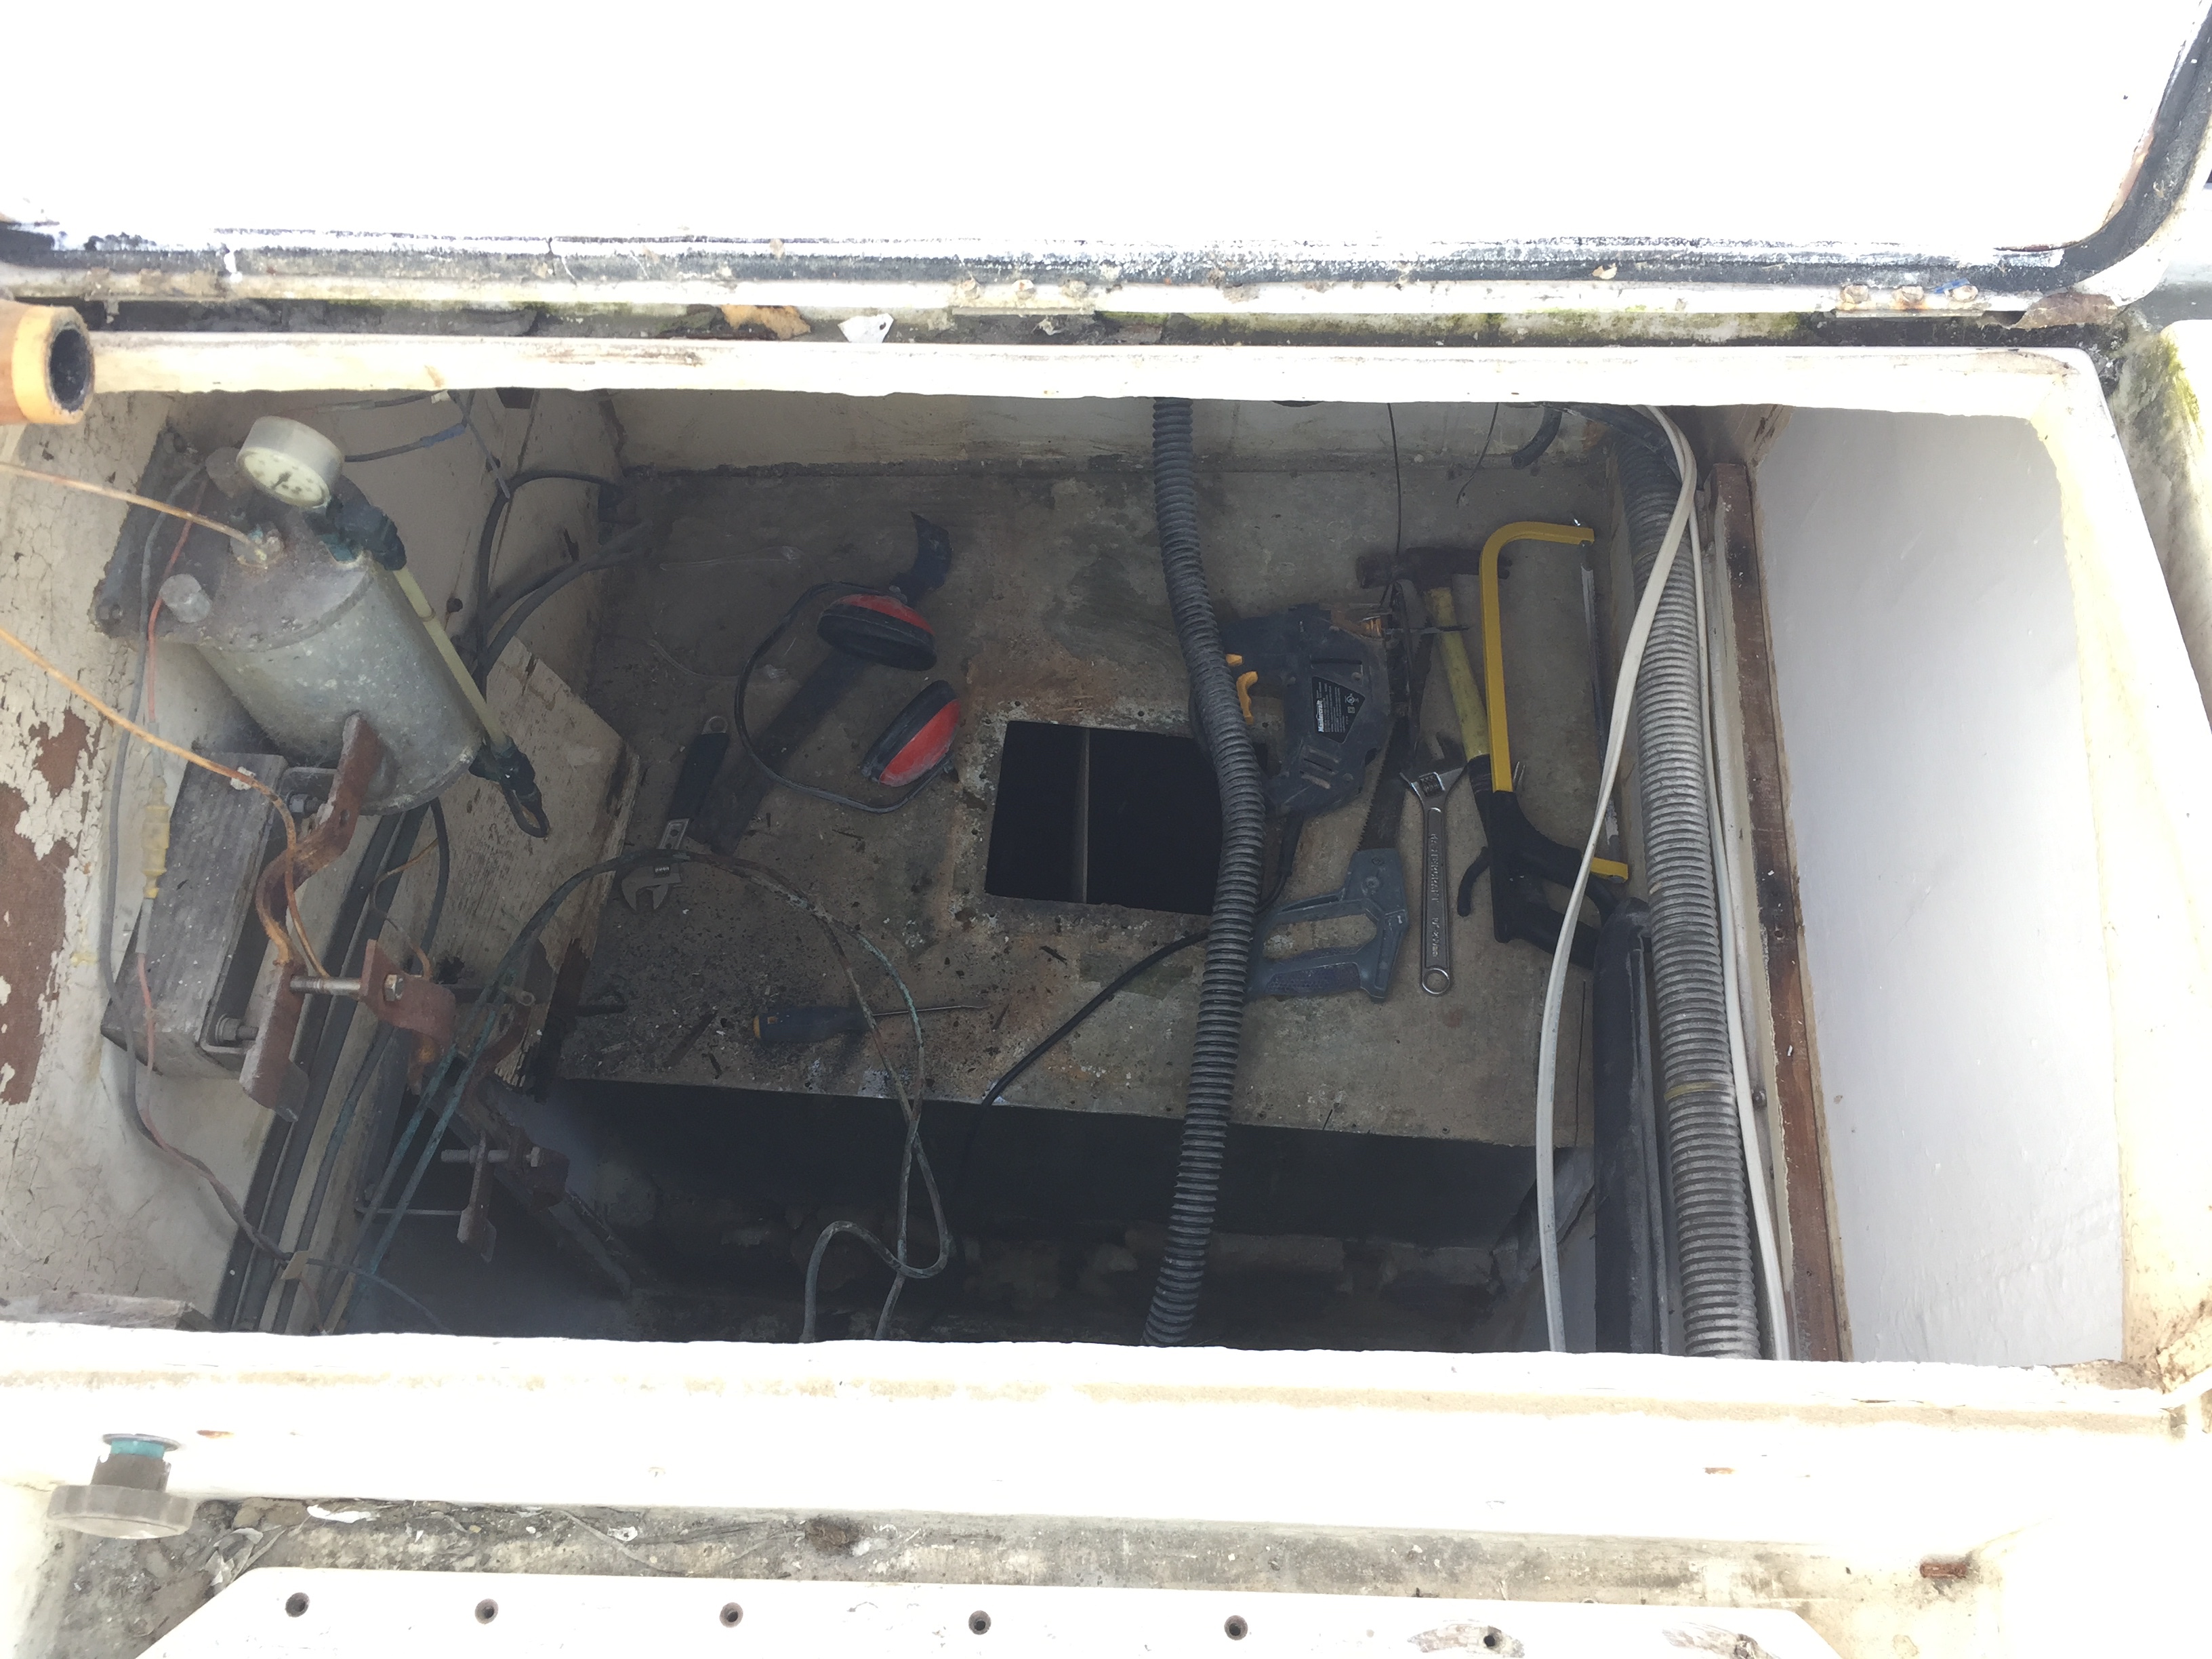
I have begun taking everything out of her, solar panels, BBQ, LifeSling, fenders, anchors, rodes etc etc to give her a good chance to dry out. Thankfully where we live now it is very dry both Summer and Winter so I do not anticipate the same issues going forward.
We are both actually pretty excited to have her here and get back to finishing our dream!