Recycling Aboard

I am going to stand on my soapbox for a minute. As opposed to all of the other times I have as well. We live in a disposable society. We buy things and when we get tired of them we throw them away and our landfills are overflowing. I have heard it said that there is not a beach left in the world that does not have traces of human garbage washed ashore. We are all responsible for this. We say that our generation is leading the way in recycling but we are fooling ourselves. Our grandparents were the ones who recycled. My grandmother as an example used to wash out the plastic bags that milk came in and hang them over the sink on a little line to dry. She would then use them to freeze leftovers in. This was before the days of ziplock baggies. Food was preserved in glass jars and stowed away in a cold cellar that did not require any electricity. The farther back in history you go, the more recycling you discover. Things were simply to expensive to throw them out. We have this all wrong. If we want to make a positive impact, stop buying new things. Find creative ways to use the stuff you already have, and when it isn’t as shiny and new as it was when you bought it, find another use for it. If it is a little worn, turn it into something else, and when that wears away, use the leftovers again.

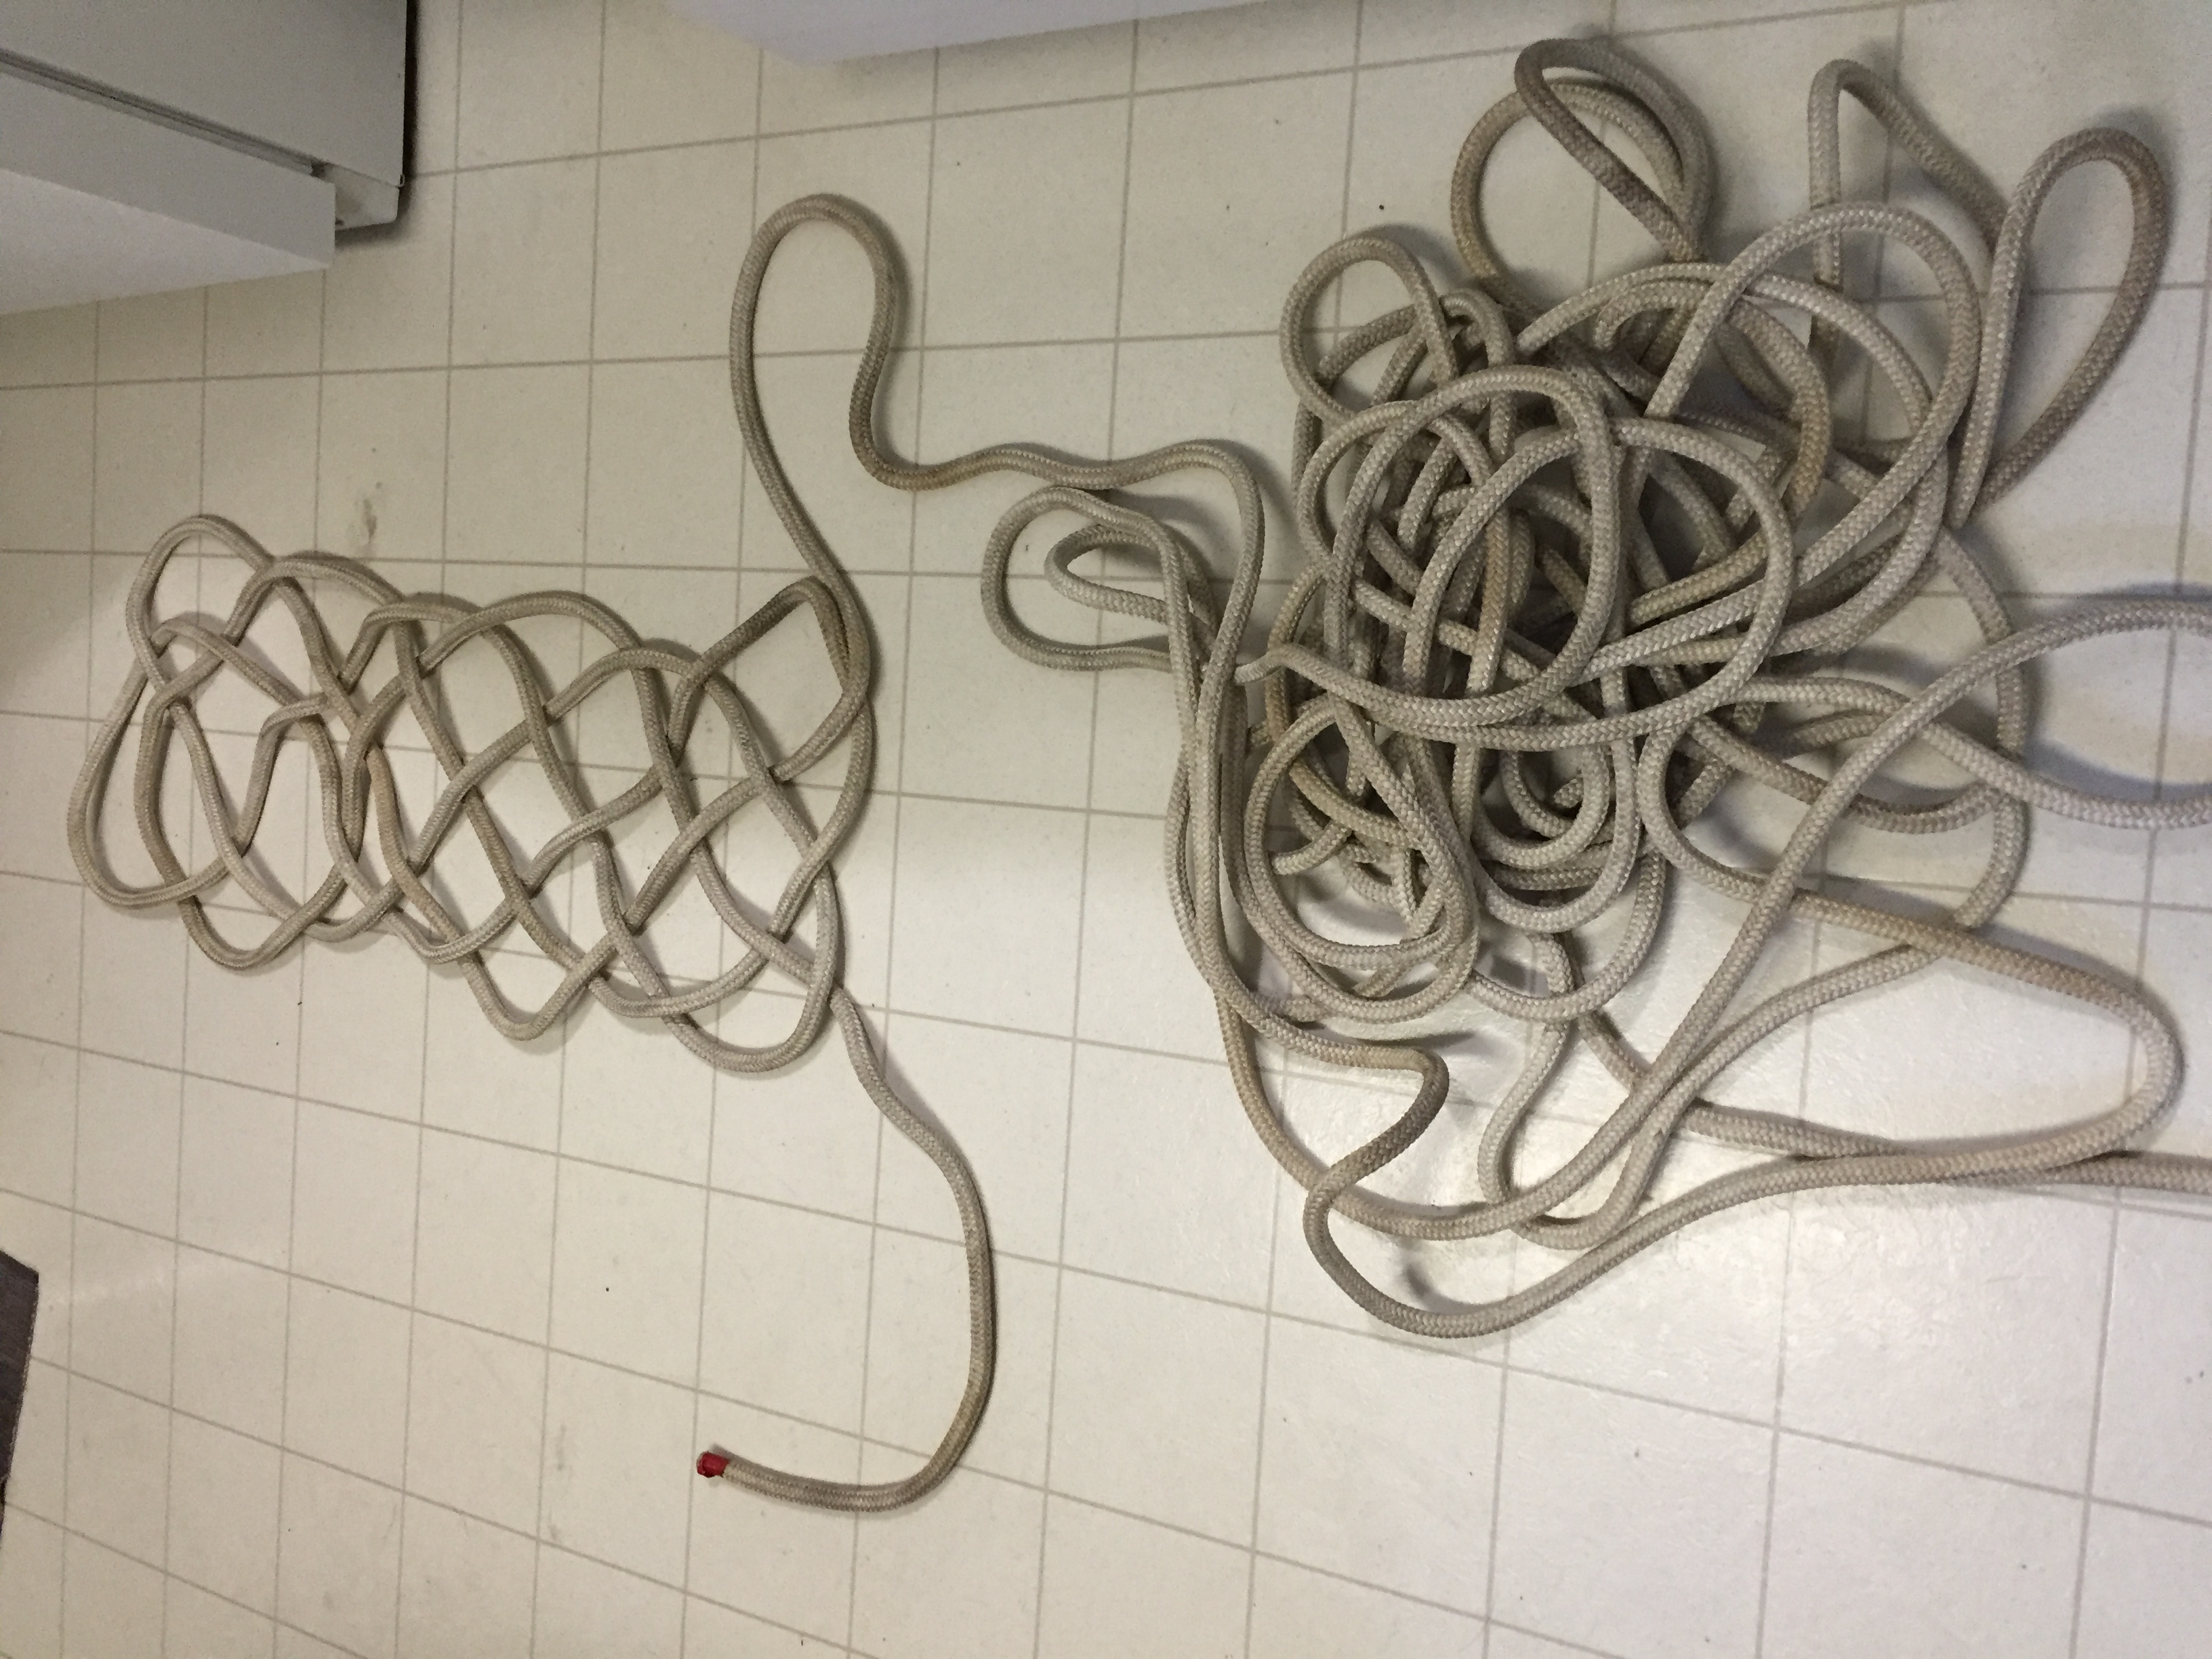
Okay, enough preaching. We have about 16 miles of used rope that came with Akupara. Of course all of it needs to be replaced as it is sun beaten, dirty, frayed and in some cases down right dangerous. And yet we dragged all 16 miles of it home and piled it up in the basement. Why? Because I have another use for it that’s why!

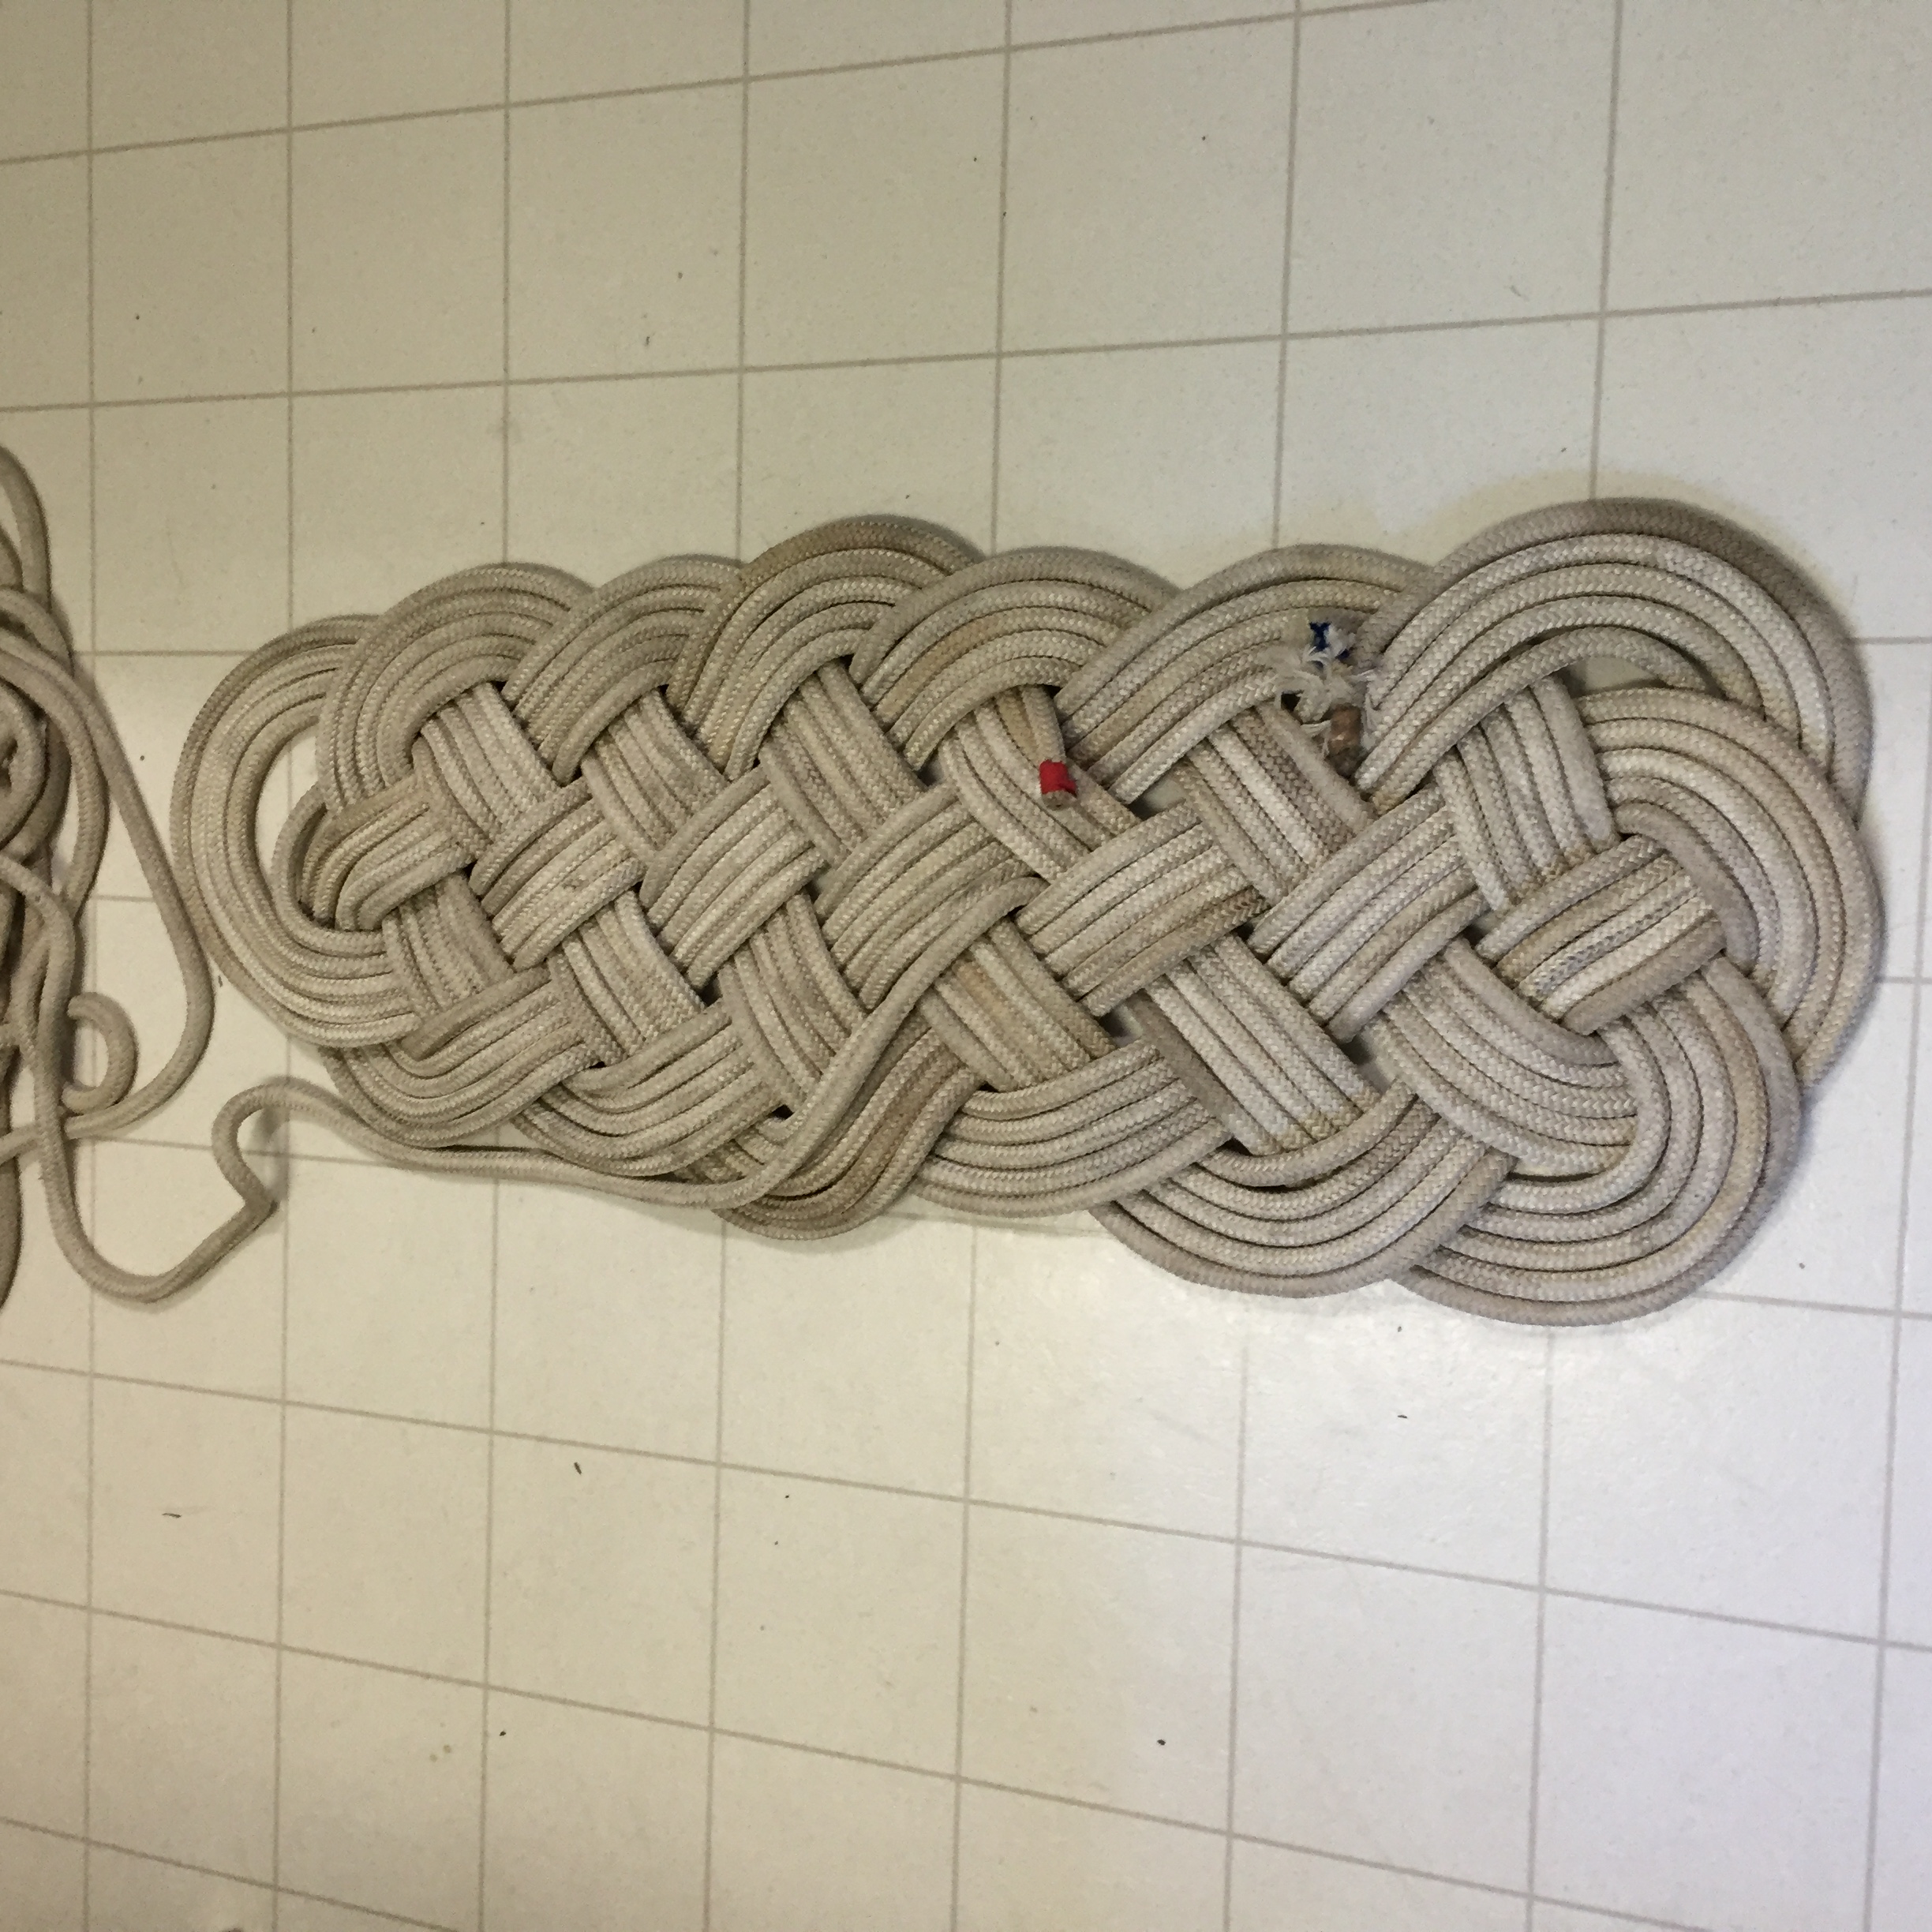
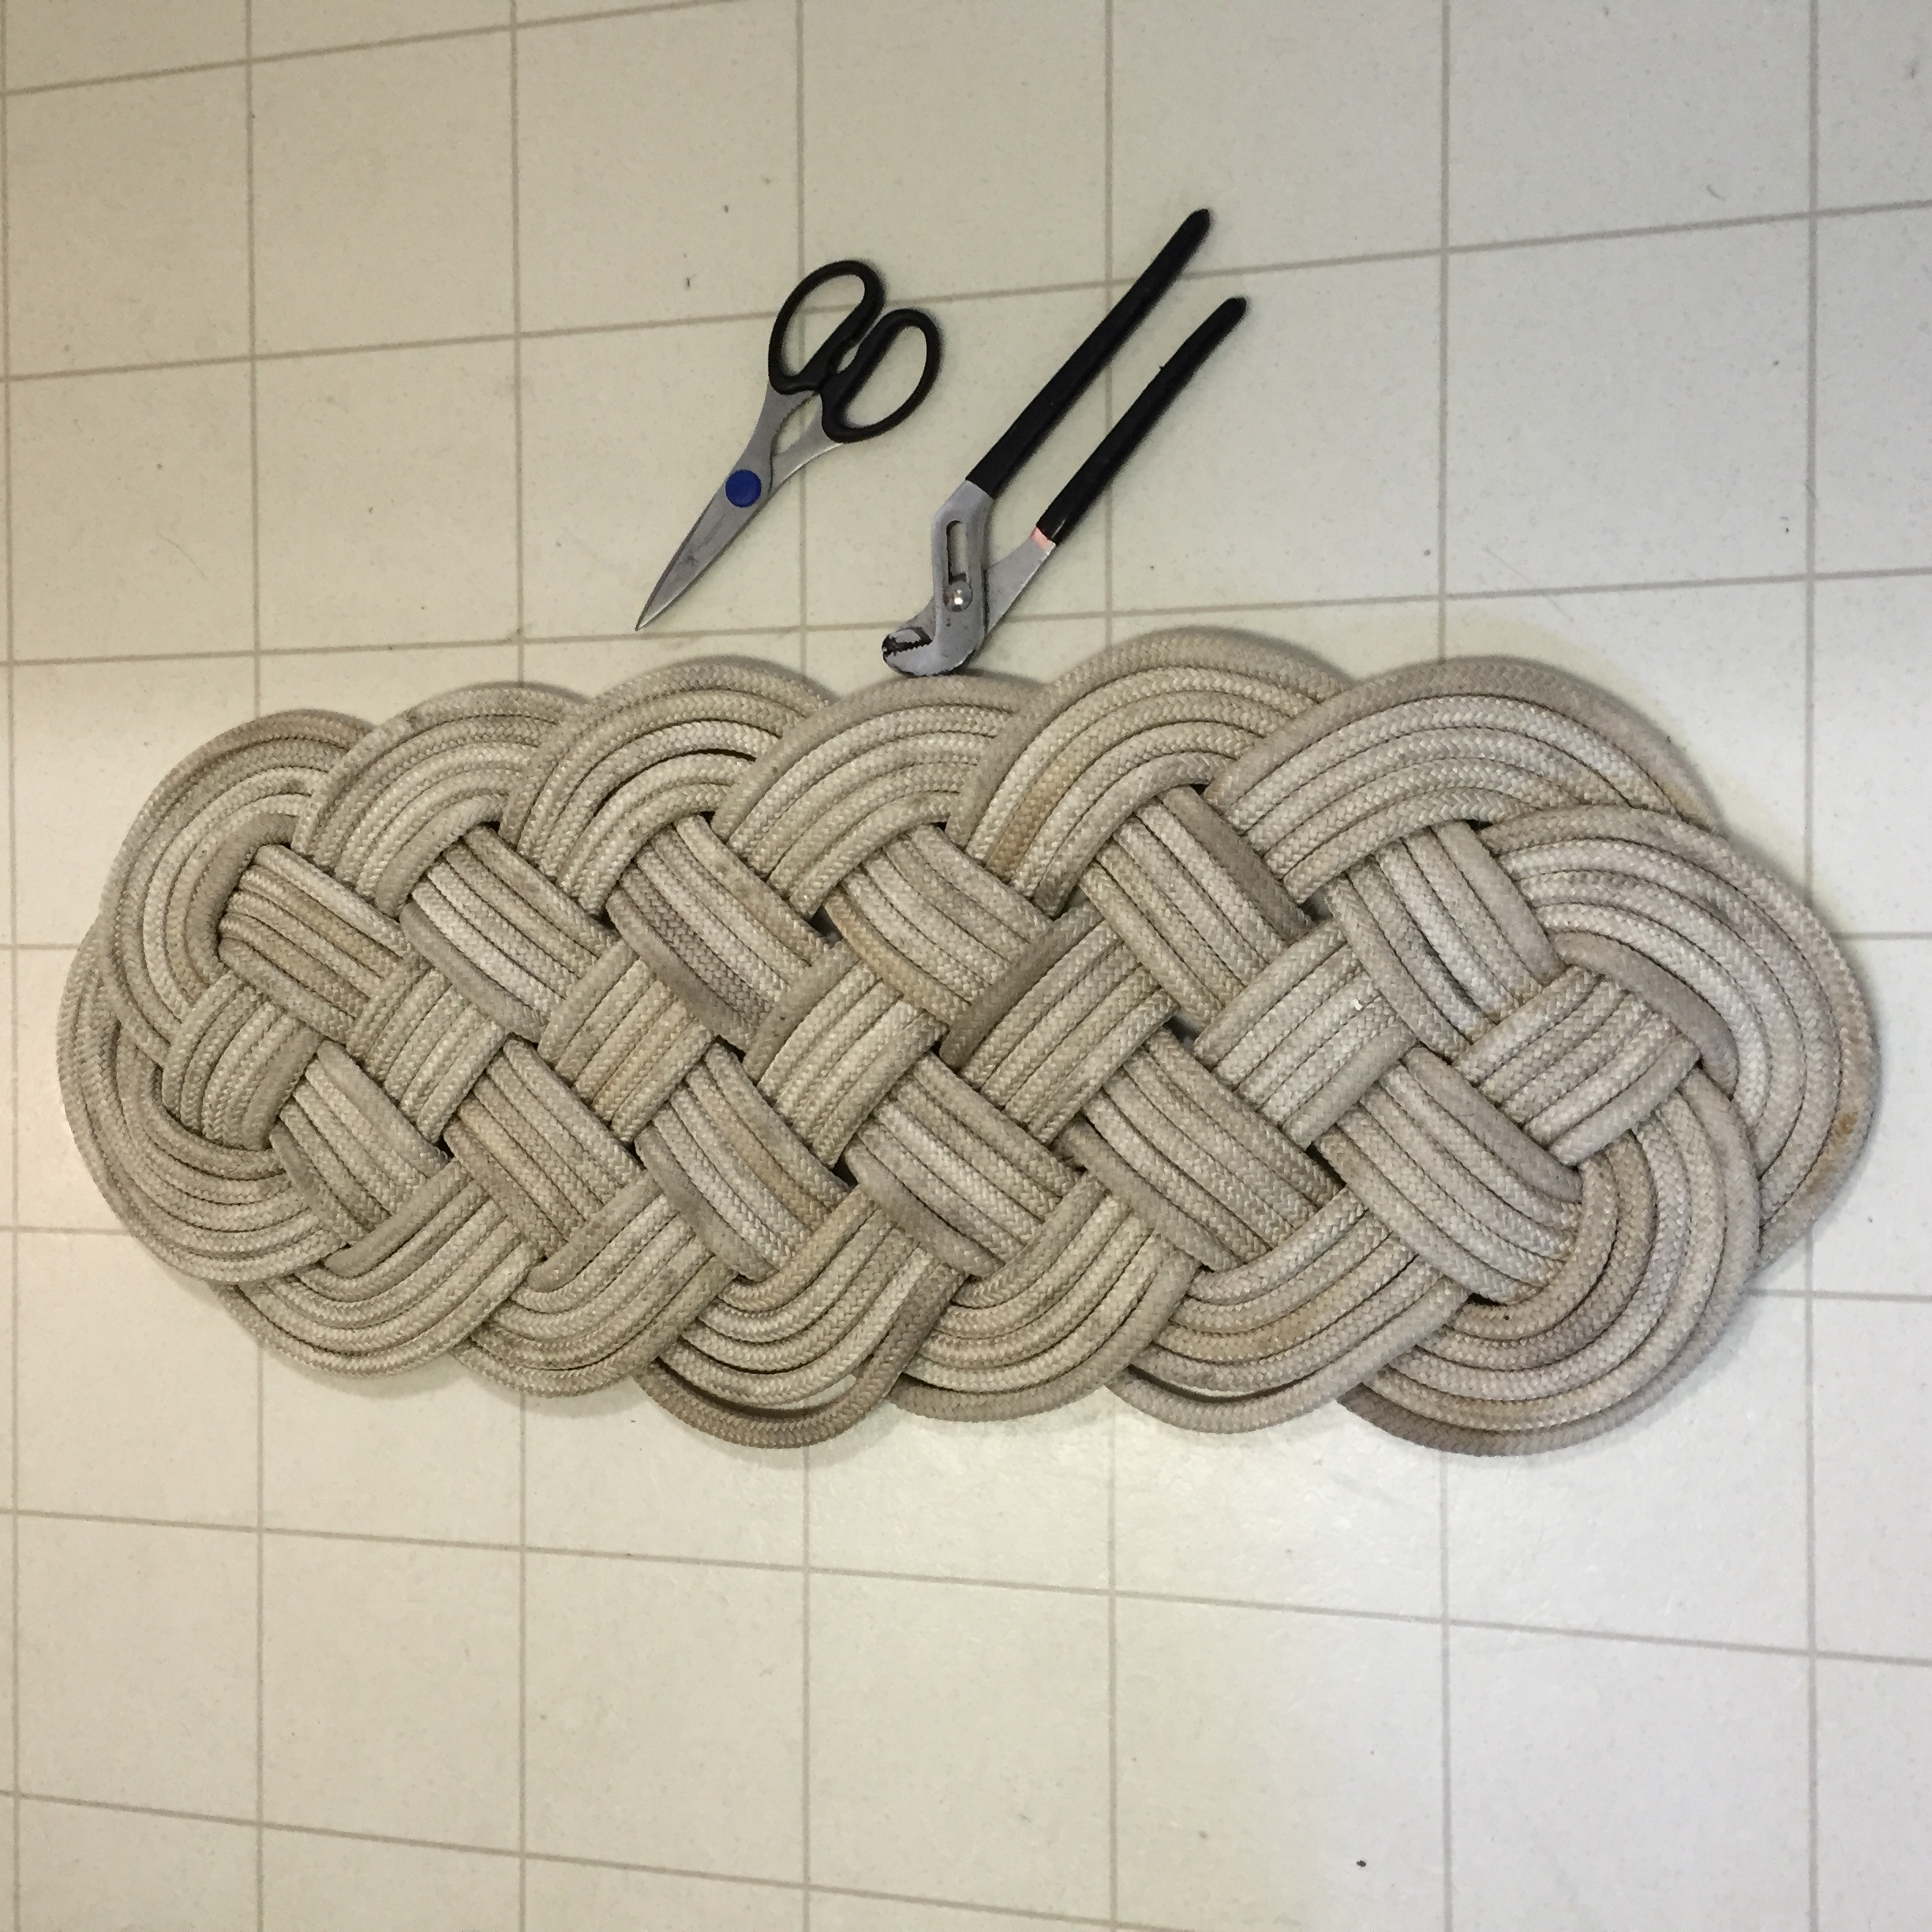
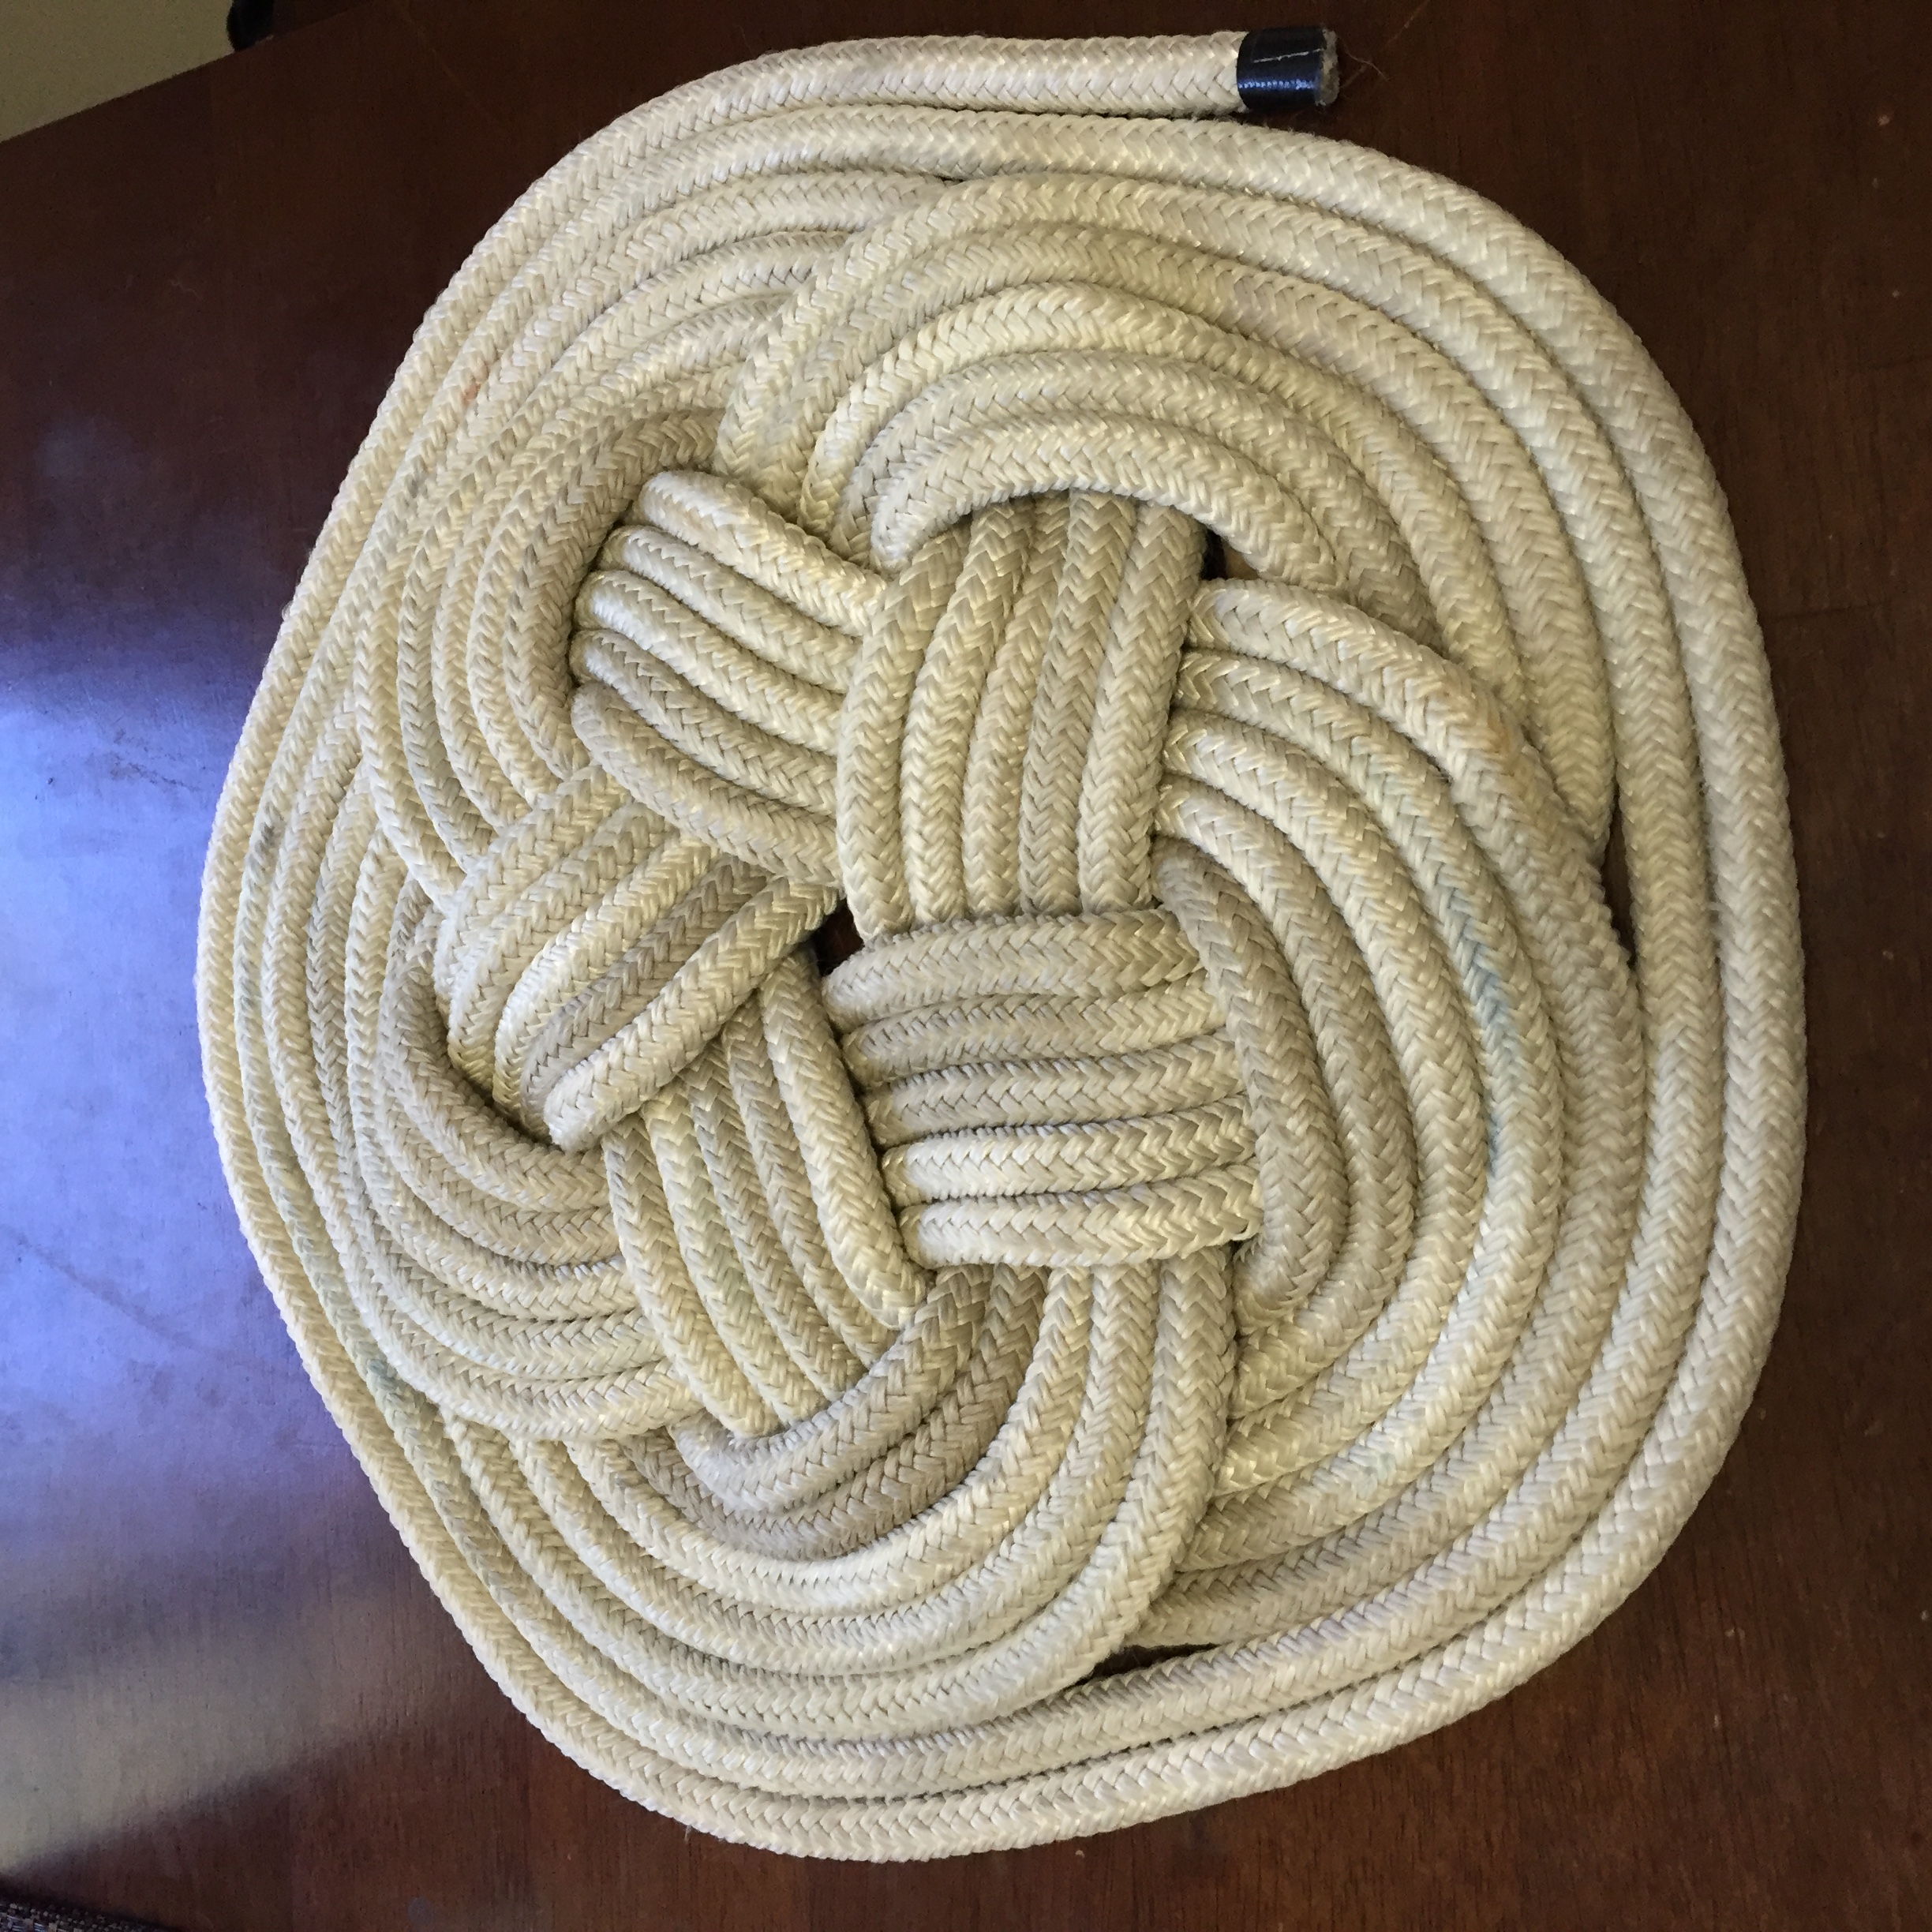
I spent 3 hours today on the kitchen floor, repurposing that old rope, and now we have 2 nice mats for Akupara. Not only do we have mats, but I also contributed to saving the planet a little bit by not going out and buying a fancy dancy Welcome mat from the nearest nautical jewellery store made most likely out of plastic. Ya they may not be perfectly white, and they may take a little while to soften out but, they make great mats! I mean come on, you wipe your shoes on them anyway!

So, my advice. Take 3 hours of your day and use those old sheets that were destined for the back of the rope locker only to be eventually thrown away and make something nice with them. You will be practicing skills that sailors have used for hundreds of years, you will gain a sense of accomplishment, you will end up with something useable, and you will save a little bit of room in the landfill.

Mats from Old sheets
Ropework
Ropework
Tightening the mat
Tightening the mat
4' mat for the hallway
4′ mat for the hallway
And from the leftover rope from the big mat, I made a 16' flat turk's head mat
And from the leftover rope from the big mat, I made a 16′ flat turk’s head mat

Or if you really don’t want to be bothered, but you like the idea, send me your old sheets and I will make them for you, for a small fee of course. That way you will feel better because you spent some money. 😉

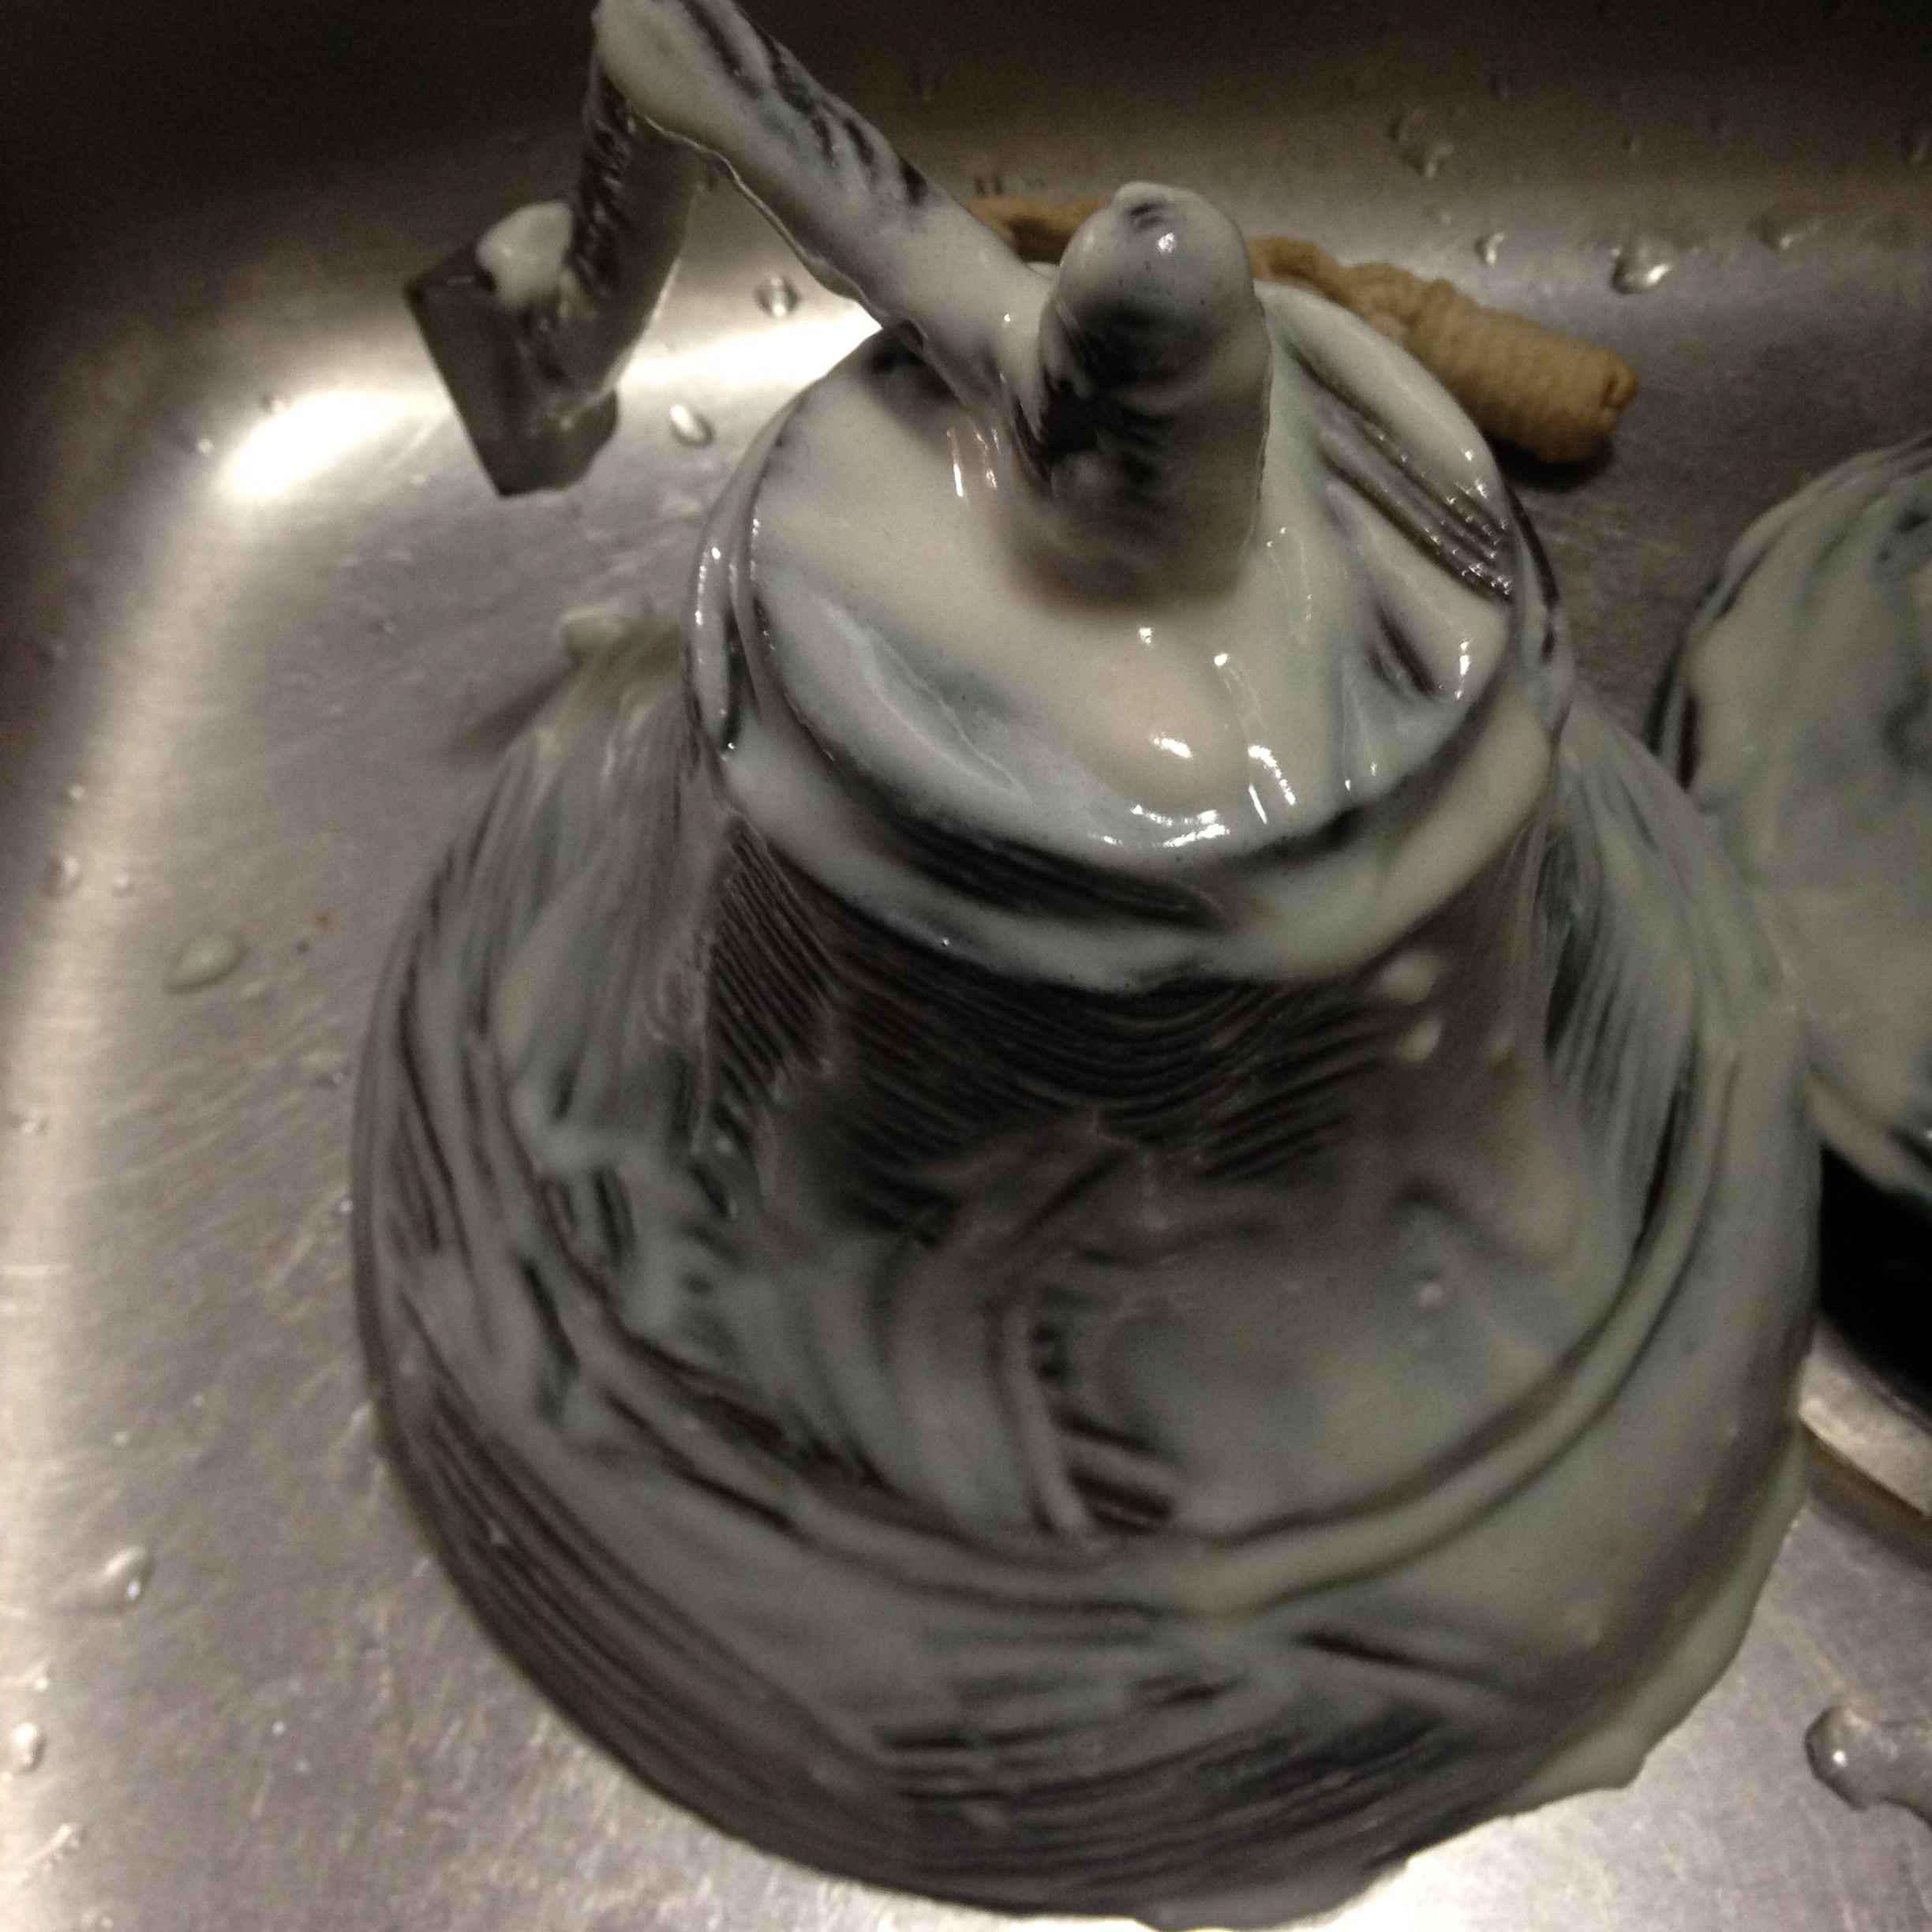
After taking these pictures I put both mats in the bathtub and they are soaking in dishsoap and javex to give them a good cleaning.


Cork cover-up

For some time now I have been trying to find a solution to the nav station forward bulkhead. Over the last 40 years people have drilled holes and cut holes and screwed into it and generally made a huge mess of one of the first things you see as you enter Akupara. I have had this particular solution in my mind and finally decided to bite the bullet and give it a try.

Holy
Holy

Of course something that should be fairly simple turned into another 5 hour job but hey, it’s a boat, that’s what happens!

Off to the local Lowe’s store to buy the needed supplies. Now this is not the first time I have looked at the availability of cork in the lower mainland, and I knew what I was getting before I got there and knew what had to be done in order to make my idea work.

Let’s step back for a minute. I do not actually have a pushpin handy and I have not purchased any to actually measure, but all of my mind is telling me that the actual pin part of a pushpin is longer than 4mm and the only available thickness of cork material is, yup you guessed it 4mm. Considering the area has arborite on it, the odds of pushing a pin in far enough to hold something well in my mind, are very low.

This meant that I needed to cut two pieces the same size and glue them together before gluing it to the bulkhead.

Whitby 42 CorkboardAmazing how little space there is to work inside, but I got it done, barely. And I only have a few spots of contact cement that need to be removed from all of the surrounding areas.

It is a fairly basic plan. Cut two pieces of rolled cork to fit the space exactly. Glue them together with Contact Cement. Sand the area that is going to be applied to. Glue the piece in place and voila, you have a newly refinished bulkhead, and a corkboard.

Nav Station Corkboard

And it was a simple plan, I just did not include the number of times I would need to move it back to the floor in order to cut it. Okay to make a long story short, I was very careful to get as exact of a fit as possible and possibly could have taken it a little bit too far, but the end result is pretty cool.

Fitting the corkboard
Fitting the corkboard 2
clamping the edges
clamping the edges

Now while I was going through all of this I also decided that I was going to add one layer to the dressing table in the aft cabin as cork is also a non skid and as you know, it also is covered in that arborite/formica stuff.

Cork top for dressing table

This cover in the aft cabin has yet to be glued down but I think it looks great!

And the final product in the nav station….

Corkboard in Nav Station

I have lots of little pieces left over that I am sure I will find uses for, but I also want to try different stains on them as I may want to give the cork a bit of a different colour, but I think it is an inexpensive, relatively small job, that anyone can do in an afternoon to give new life to a tired old surface. Damn, starting to sound like one of those home fixer upper dudes….

A few things you may not have known about cork:

It is a wood product and will accept stains and paints.

It can be cut with scissors or a sharp blade.

It is sandable. I sanded all of the edges by hand to give them a nice 1/4 round edge.

It works great with contact cement.

It is a sound insulation.

You can stick things to it with little pins. 😉

Now, what else can I glue cork to?


The rabbit hole…

Have you ever started searching a particular thing, I don’t know, like Arborite as an example, and after a significant amount of time has passed you come out of your daze and realize that you have been watching videos of cats and cucumbers or something stupid. There is no science that can explain the rabbit hole phenomena, it is beyond the comprehension of mere mortals and nevertheless, even though we are fully aware of the possibility of getting sucked into the vortex every time we open our computer, we still end up getting trapped.

Well occasionally the rabbit hole leads you to mysterious places that are actually useful as opposed to just silly. Case in point, I actually did start googling arborite and ended up watching homemade youtube videos on magic ways to clean brass. I spoke the following words out right. “Bullshit.” The Admiral knew full well where I had been for the last 2 hours, wow had it really bee n 2 hours? Anyway, I decided to try one of these homemade BS solutions to cleaning brass. I diligently went down into the dark recesses of the basement and found the worst piece of brass I have. The ships bell from Akupara. It is old, pitted, tarnished and generally in really poor condition. I of course hung on to it when we were gutting Akupara as it actually has a beautiful tone and I thought someday I might be able to clean it.

I proceeded into the kitchen, where all dirty jobs truly belong, I gathered all of the ingredients as per the instructions and laid it all out on the counter.

The ships bell
The ships bell

I mixed the ingredients as per the video into a white paste like consistency and painted it all over the bell.

The goop applied to the bell

I let it sit for about 10 minutes and then proceeded to wash it all off with a dishrag, give it a quick dry and put it back into the same position for the Results picture.

Ships bell after one round of cleaning

Wow, I was very surprised to say the least. This might actually be working. As you can see in the picture, there are still some bad spots so I thinks to meself, put another coat on it and see what happens. So that is exactly what I did. I was also so surprised by the initial test that I grabbed another ships bell and tried it on that as well.

2 ships bells. The left has not been treated, the right has had one treatment

And another batch of mush was mixed up and this time both were painted. I did not take a picture of both as they were undergoing the magic, but the results are below.

Ships Bells
Ships Bells

So why 2 bells you ask? Well, it is a long story but I will tell it to you. Many moons ag, the Admiral and the crew pitched together and purchased me the ships bell on the left in the picture. This ships bell has been on several of our boats now, it is not engraved so I don’t think I am breaking any major voodoo rules. When we sold Kismet, I mounted the bell outside of our front door. My uncle always had a big brass ships bell on the door to his house as well. I bet it is still hanging there. Anyway, the part of the story that I skipped is that there really is not a lot of room on small boats to have these types of luxuries so on Mara our Alberg 30, the ships bell was actually mounted in the head and so the tradition started that, the ships bell is rung every time there is a deposit made, if you get my drift. I know it’s gross, but hey, you have to laugh. So, coming back to Akupara, since we have 2 heads, it is only fitting that we have 2 ships bells. That way, all aboard will be notified regardless of which head is used.

The final pictures I am posting are totally misleading. I am not sure what I did to my camera, or if I changed the lighting conditions or what, but believe me when I tell you, the ships bell is not silver as it appears in the picture, it is still brass in colour.

After the final magic session of goop, and the picture above, I gave the bell about a 20 minute polish with a little bit of Brasso just to see if I could get the shine to come up. It came up a lot but of course would be a lot better if I had a mechanical polisher to do the job for me.

The polished ships bell

So, the magic formula is flour, salt and vinegar. I took 3 handfuls of flour, free poured the salt, and mixed in vinegar until I thought it was the right consistency to paint on.

The 2nd batch I mixed up, I think I could have used a bit more vinegar but it worked either way.

So, in the end, sometimes the rabbit hole can lead to good places, now, where was that cat video again?


For those of you out there who are going to tell me that I am ruining the finish, or changing the electro static variables of the molecular structure or….I don’t care, it’s shiny! 😉


Little by little…

Little by little we are reassembling Akupara’s interior and at the same time emptying out our basement. We are down to one more load of wood to bring back and it is all fiddly bits. There is still a plethora of drawers and things to sand on Akupara but the Admiral is getting a lot closer to having it all completed.

We have one more wooden area inside Akupara to sand and refinish and that is underneath the main salon companionway ladder, the back of the nav station and the little bit of wood in the hallway.

We are almost at the point of masking and taping it all off with dropsheets and giving the interior liner a rough sand before priming and painting it. Once that is complete we can complete all of the interior trim.

We have cut the insulation for behind the watermaker, made a new top and hatches out of 3/4 marine ply and dry fit everything.

The new home for the watermaker

We have also sanded and hung the dishrack/bookshelf in the main salon. Currently it is held on with little wee angle brackets which was how we originally found it. I will definitely be beefing this up for sure. I do not want a cabinet full of fine china to come crashing down 😉

The dishrack
The dishrack

We have also temporarily reinstalled the last big panel. I had to do a little bit of epoxy repair work where the fold down bar hinge attaches so the admiral will have a little more sanding before we can permanently install it. As well, I need to buy yet another sheet of teak plywood for the back of the cabinet and then build in the shelves again.

The bar will soon be open

I am still working on the exact layout of the watermaker and the grumblings around the house are indicating to me that I should probably hurry up a bit. Apparently having a watermaker on the coffee table is not a good thing. I don’t really understand this because it gives me great pleasure to have it there. I can rearrange, and tweak the placement, and visually plan out the routes for the hoses and all the while I am getting more and more familiar with each piece and how the entire magic little system works and I marvel at how ingenious it is and I think about how the sailors of old would drink stagnant water from old barrels for months on end and what they would have given to have one of these little miracles, okay I get it, I will hurry up.


Spectra Watermaker layout

I think very soon we will be starting work on the galley and the heads or another way to look at it, we are down to 4 rooms left to complete. Galley, 2 heads, and last but not least, the engine room. Of course I am skipping all of the little details like electrical and plumbing, and rigging, and ok are we ever going to be done? 😉

Akupara in days gone by…

We do not know a lot about Akupara’s history prior to us becoming her care taker, other than what we learned from the gentleman we purchased her from, and the story goes something like this.

At some point in Akupara’s history she sailed from Whitby Ontario to the Caribbean where she spent a considerable amount of time. This is evidenced by a lot of the well used ensigns we discovered in the bowels of Akupara from many different places. Eventually she must have either been sailed or perhaps trucked over to the Pacific side of Mexico where the gentleman we bought her from had bought her several years before. He spent a couple of years sailing and motoring around the Sea of Cortes and actually spent a fair amount of time at the Marina Riviera Nayarit at La Cruz, which is where we visited last month when we were in Mexico.

It is a weird feeling to know that our boat has actually lived some of the dreams that we now have for her. It is comforting to know that Akupara has been there and done that. Hopefully when our time comes, she will be able to remember her previous travels and guide us safely on our way.

From all of the research and documentation that I have completed thus far. This is Akupara’s 4th major refit which seems just about right on a 40 year old boat.

When the time comes for us to sell Akupara, I hope she will be in pristine condition so that the next owners will not have to be as extensive in their renovations.

For anyone who is interested, the previous owner to us maintained a blog from his time in Mexico the beginning of which can be found here http://www.sailblogs.com/member/akupara/?xjMsgID=78227


A mid week update.

Well after hitting the lumber store and buying 2 more sheets of marine ply, 1 – 1/2′ and 1 – 3/4″ we made our way down to Akupara. The Admiral spent the day sanding and I did a bit of reorganizing, cut the insulation for the starboard wall, began to reinstall the starboard cupboards and as the Admiral finished the last major panel, we went ahead and installed it temporarily. It needs to come back out in order to finish the shelving and the back panel but it was a feeling of accomplishment to at least get it in for now.

We have lined up our work for this weekend. The Admiral will continue to sand, for some strange reason she likes it, so I will not complain, and I will resume cutting the new shelving and installing everything. Hopefully we will be able to get a couple of coats of cetol on as well.

Starting to think about what I will tackle next as the Admiral continues to sand, I have lots to choose from of course but as I mentioned, I think it will be the installation of the watermaker. 🙂

Starboard main salon insulation
Starboard main salon cabinet

A Rat’s Nest of Wires and I Smell a Rat!

The electrical panel and all associated hidden wiring is now in a dumpster on its way to the 12v electrical graveyard. For some reason this area has taken me a while to get to. Could be the 2700 other priorities but who knows. Yesterday I decided I had put it off long enough after a bad start at sanding. I had gone down to Akupara with the intent of working on sanding and staining but it just wasn’t working out for me so I changed jobs. Since sanding was not an option, I chose to tackle the workshop/chartdesk/electrical panel area/hallway. I ripped out all of the old wood and discovered another mouldy wall. Hopefully we are getting to the point of not finding any more of these. Anyway, today I scrubbed all the mould off, painted the inside of the hull and the surrounding area and set about cutting a new backboard. I have been toying with the idea of what I am going to put back here as I want the electrical panel at the nav station. I have had 2 ideas. The first was to use the new found space as a storage area for all of my cases of spare parts but after measuring and planning and placing and trying it just would not go. So, on to plan 2 which was actually plan 1 but I had to go through at least the process of trying the spare parts cases. Plan 2, which was actually plan 1, is to use this area for the watermaker. The admiral will attest that I spent about a month with all of the little bits and pieces of the watermaker on the livingroom coffee table. It was the perfect place to lay it all out and move pieces around trying to make it fit into the allotted space. It was time well spent as the final layout is about the exact same size as the space I now have.

As I have mentioned previously, when we purchased Akupara, the watermaker was tucked into a non accessible spot in the back of the engine room. Any thought of changing filters or performing any kind of maintenance was quickly put to death.

With the new location, every piece will be accessible from a comfortable standing position which as we grow into old age, will be much appreciated. I don’t think a lot of people realize just how often the filters need to be changed until after it is too late.

For some reason I am really excited to get this are complete! We will not be using the watermaker any time soon, but to have it tucked away all neat and organized and CLEAN makes me very happy!

Other than that I accomplished a lot of little small jobs this weekend. Things that are just small and fiddly that take an exorbitant amount of time. I hung a few cupboards and closet doors and changed out a whole bunch of screws and added finishing washers. I cut a 3/4 piece of plywood to start filling in the hole from where the PO had the SSB. I organized all of the pieces of marine ply I had left. I organized all of the wood that still needs to be sanded and installed. I made about 4 trips to the garbage bin with little things I have been collecting as I come across them. There was a lot of tools left aboard and in our initial cleaning I did not want to throw them out. Now I am getting tired of moving them every time I need to do something so I am ridding myself of anything that is in less than pristine condition. Slowly of course, but a little is better than none.

So as an aside, yesterday the Admiral came with me as I left for Akupara. I had to stop at the store to buy sand paper and once we were on our way, the Admiral feigned illness. Out of nowhere she claimed to be nauseous and could not continue on our way. So being the gentle kind loving husband that I am, I turned the truck around and brought her home where she proceeded to spend the rest of the day on the couch watching Netflix.

Did I mention that we were basically having a monsoon with water running down the streets and sidewalks?

So yesterday, she did mention that she was going to come with me today, but somehow at 8am when I announced I was going to head out, there was no arguing or wait for me’s or hang on I’m coming or I will meet you there. Nope nothing.

Something tells me that she somehow had a miraculous recovery and perhaps a bit of guilt reared it’s ugly head as tonight when I returned home, I was greeted with a complete turkey dinner with all of the fixings.

Hmmmm, suspicious?

Here are some random pictures taken over this weekend.

Whitby 42 Hallway

Fresh Paint
Fresh Paint
New panel to mount water maker
Test fit to check clearance
Plugging cut outs in Nav station
One more cupboard door
2 more doors to stain
And you thought I was joking.


Shopping Lists

Well it has been a rather strange month again. We made it down to Akupara last weekend but did not get a lot accomplished other than to check on her and try to get our heads back in the game. We are so close to finishing all of the major interior wood that the last few pieces are getting to the point of being painful. Once they are completed we will need to make a decision as to what to attack next. We have many options of course but I think for the time being we will continue to complete the interior. We still have to sand the cabin ceiling to get rid of all of the old house paint, and there is still all of the electrical and plumbing. Of course we have not attacked the galley yet, but I think that will be the final interior job. Something about having construction dust in a new galley is just not appealing.

The Vancouver boat show is coming up in January and I would like to have the interior renovation complete so that we can move on to other things like what I mentioned above. Sometimes there can be some good deals at the boat show and other times it just seems to be the same old thing.

A few items from our shopping list are: new seacocks, 12v and 120v wire, electrical panel, 2 heads and associated plumbing, and perhaps a diesel heater. On Kismet, we installed a Planar Air Heater. They work on exactly the same principle as the other big name air heaters but cost 1/3 the cost. We absolutely loved it! We could go down to Kismet in the winter time after she had been left all week and in under an hour, the interior temperature would be close to 80. We have never had forced air heat aboard a boat before and let me tell you, once you have had it, you use it more than you can possibly imagine even in the summer. Typically I am the first one to wake in the mornings and I would get up, make my coffee and sit out in the cockpit to enjoy the sunrise. The admiral is the next up but if I timed it right. I would turn on the furnace about 15 minutes before she got out of bed and she loved it. Just enough to knock the damp early morning chill out of the boat. It extended our season and our comfort aboard in the off months was greatly increased. For 1/3 the cost of the big names I thought I would take a chance and I am very glad I did. I have heard of less issues with these units than the big names. Friends of ours also installed one, after fighting for years with an older big name brand and they love theirs as well. Even if you only got a year out of it and had to buy one 3 years in a row, you would still be farther ahead than the big names which from what I have heard, start acting up in under 3 years.

And the final icing on the cake. Here in Vancouver, the distributor actually delivers the entire unit and any extra parts that you may have purchased right to your front door!

If you have ever thought about having one, for about $1000 plus your installation time (I installed mine in 1 day), you can have the luxury of turning on the furnace as well. 🙂

check them out if you are in the Vancouver area. http://www.planarheaters.com/