Mattresses

All of the mattresses were made from detailed patterns. Learn how to do it on sailrite.com if you do not know how already. We brought them down for a test fitting as I wanted to make sure before I finished covering them that I had actually made them correctly. Turns out the only adjustment I had to make was the aft cabin keystone cushion. I will clean up the hack job when I get it home and before I finish the covers.

Main Salon Cushions

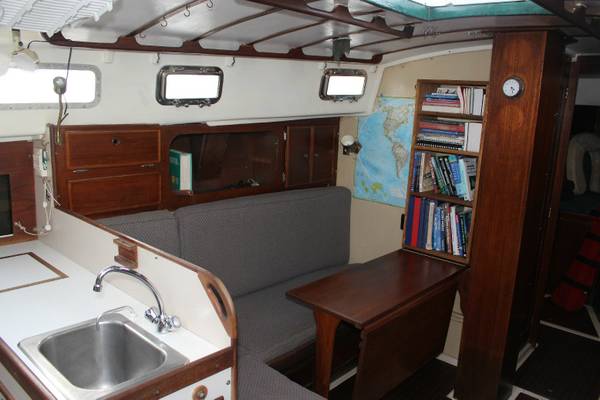
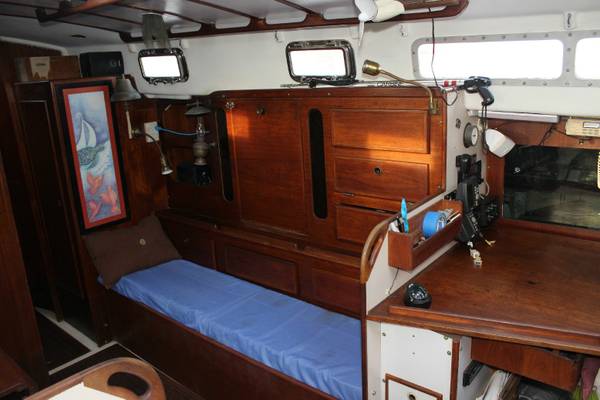
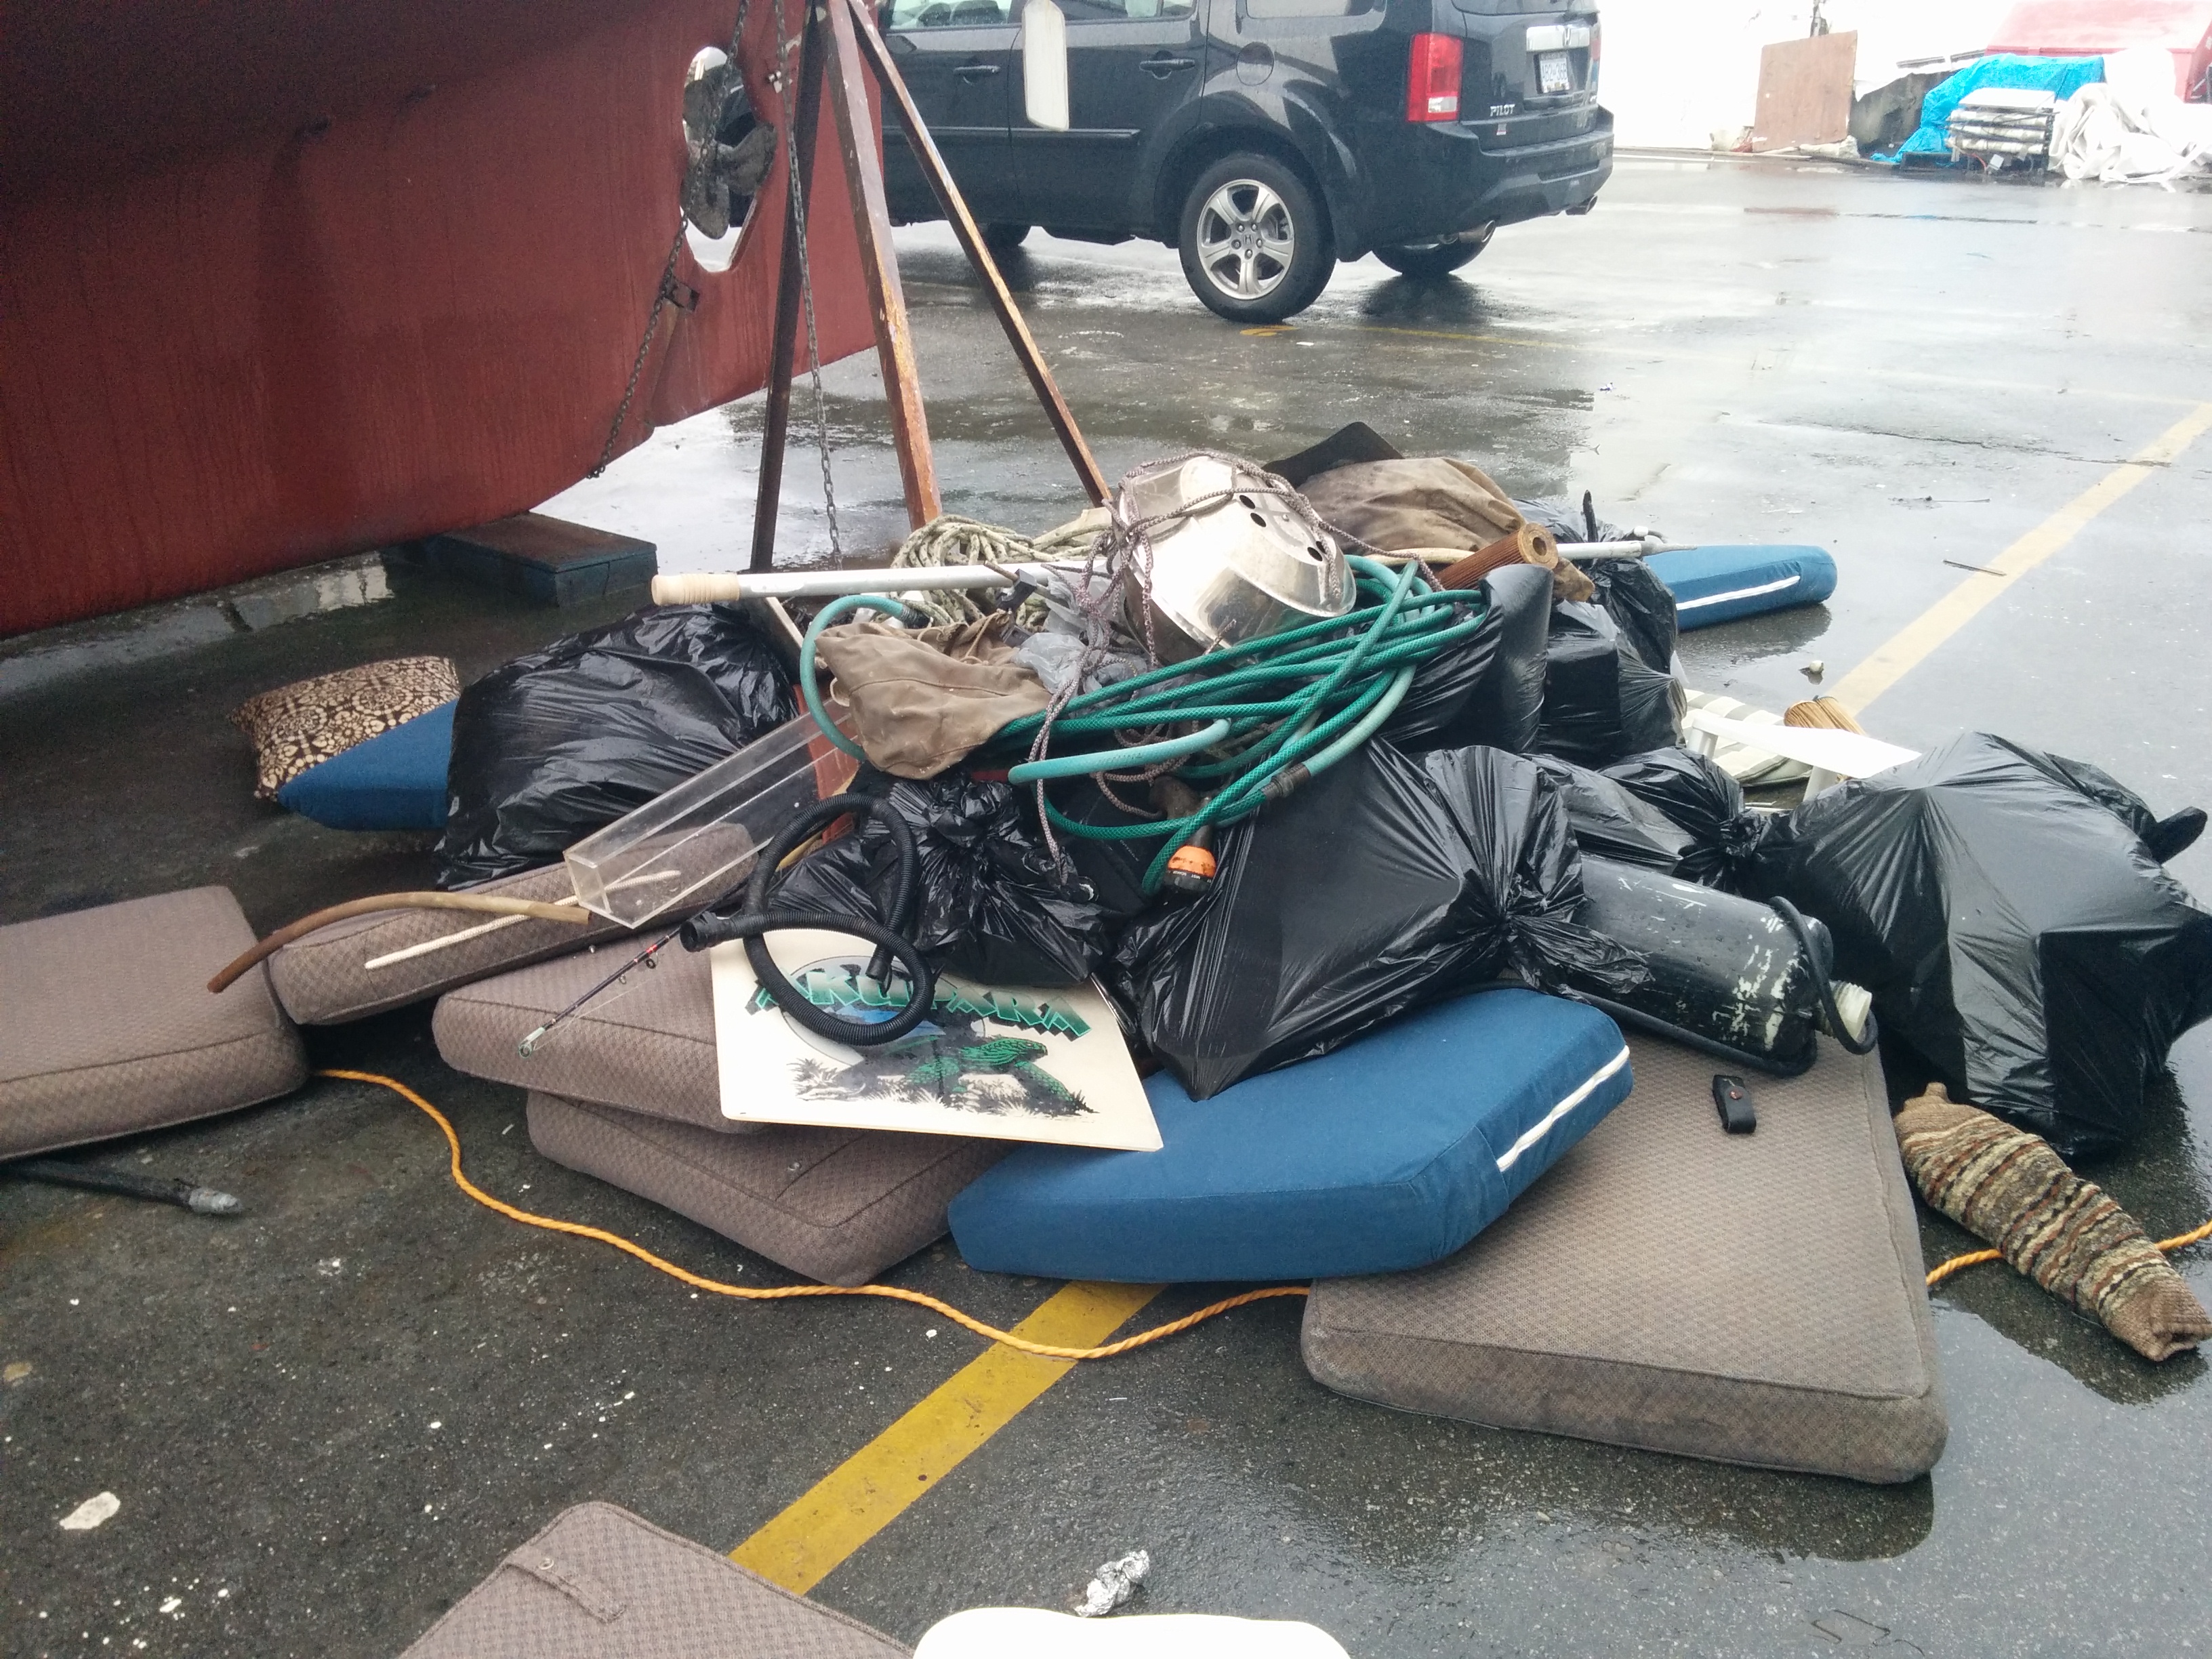
When we purchased Akupara, all of the interior cushions were mismatched and in really rough shape. We knew we were going to replace them all so one of the first things we did was throw them all out.

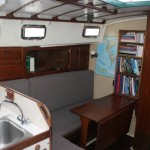
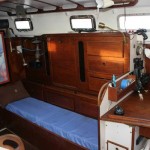
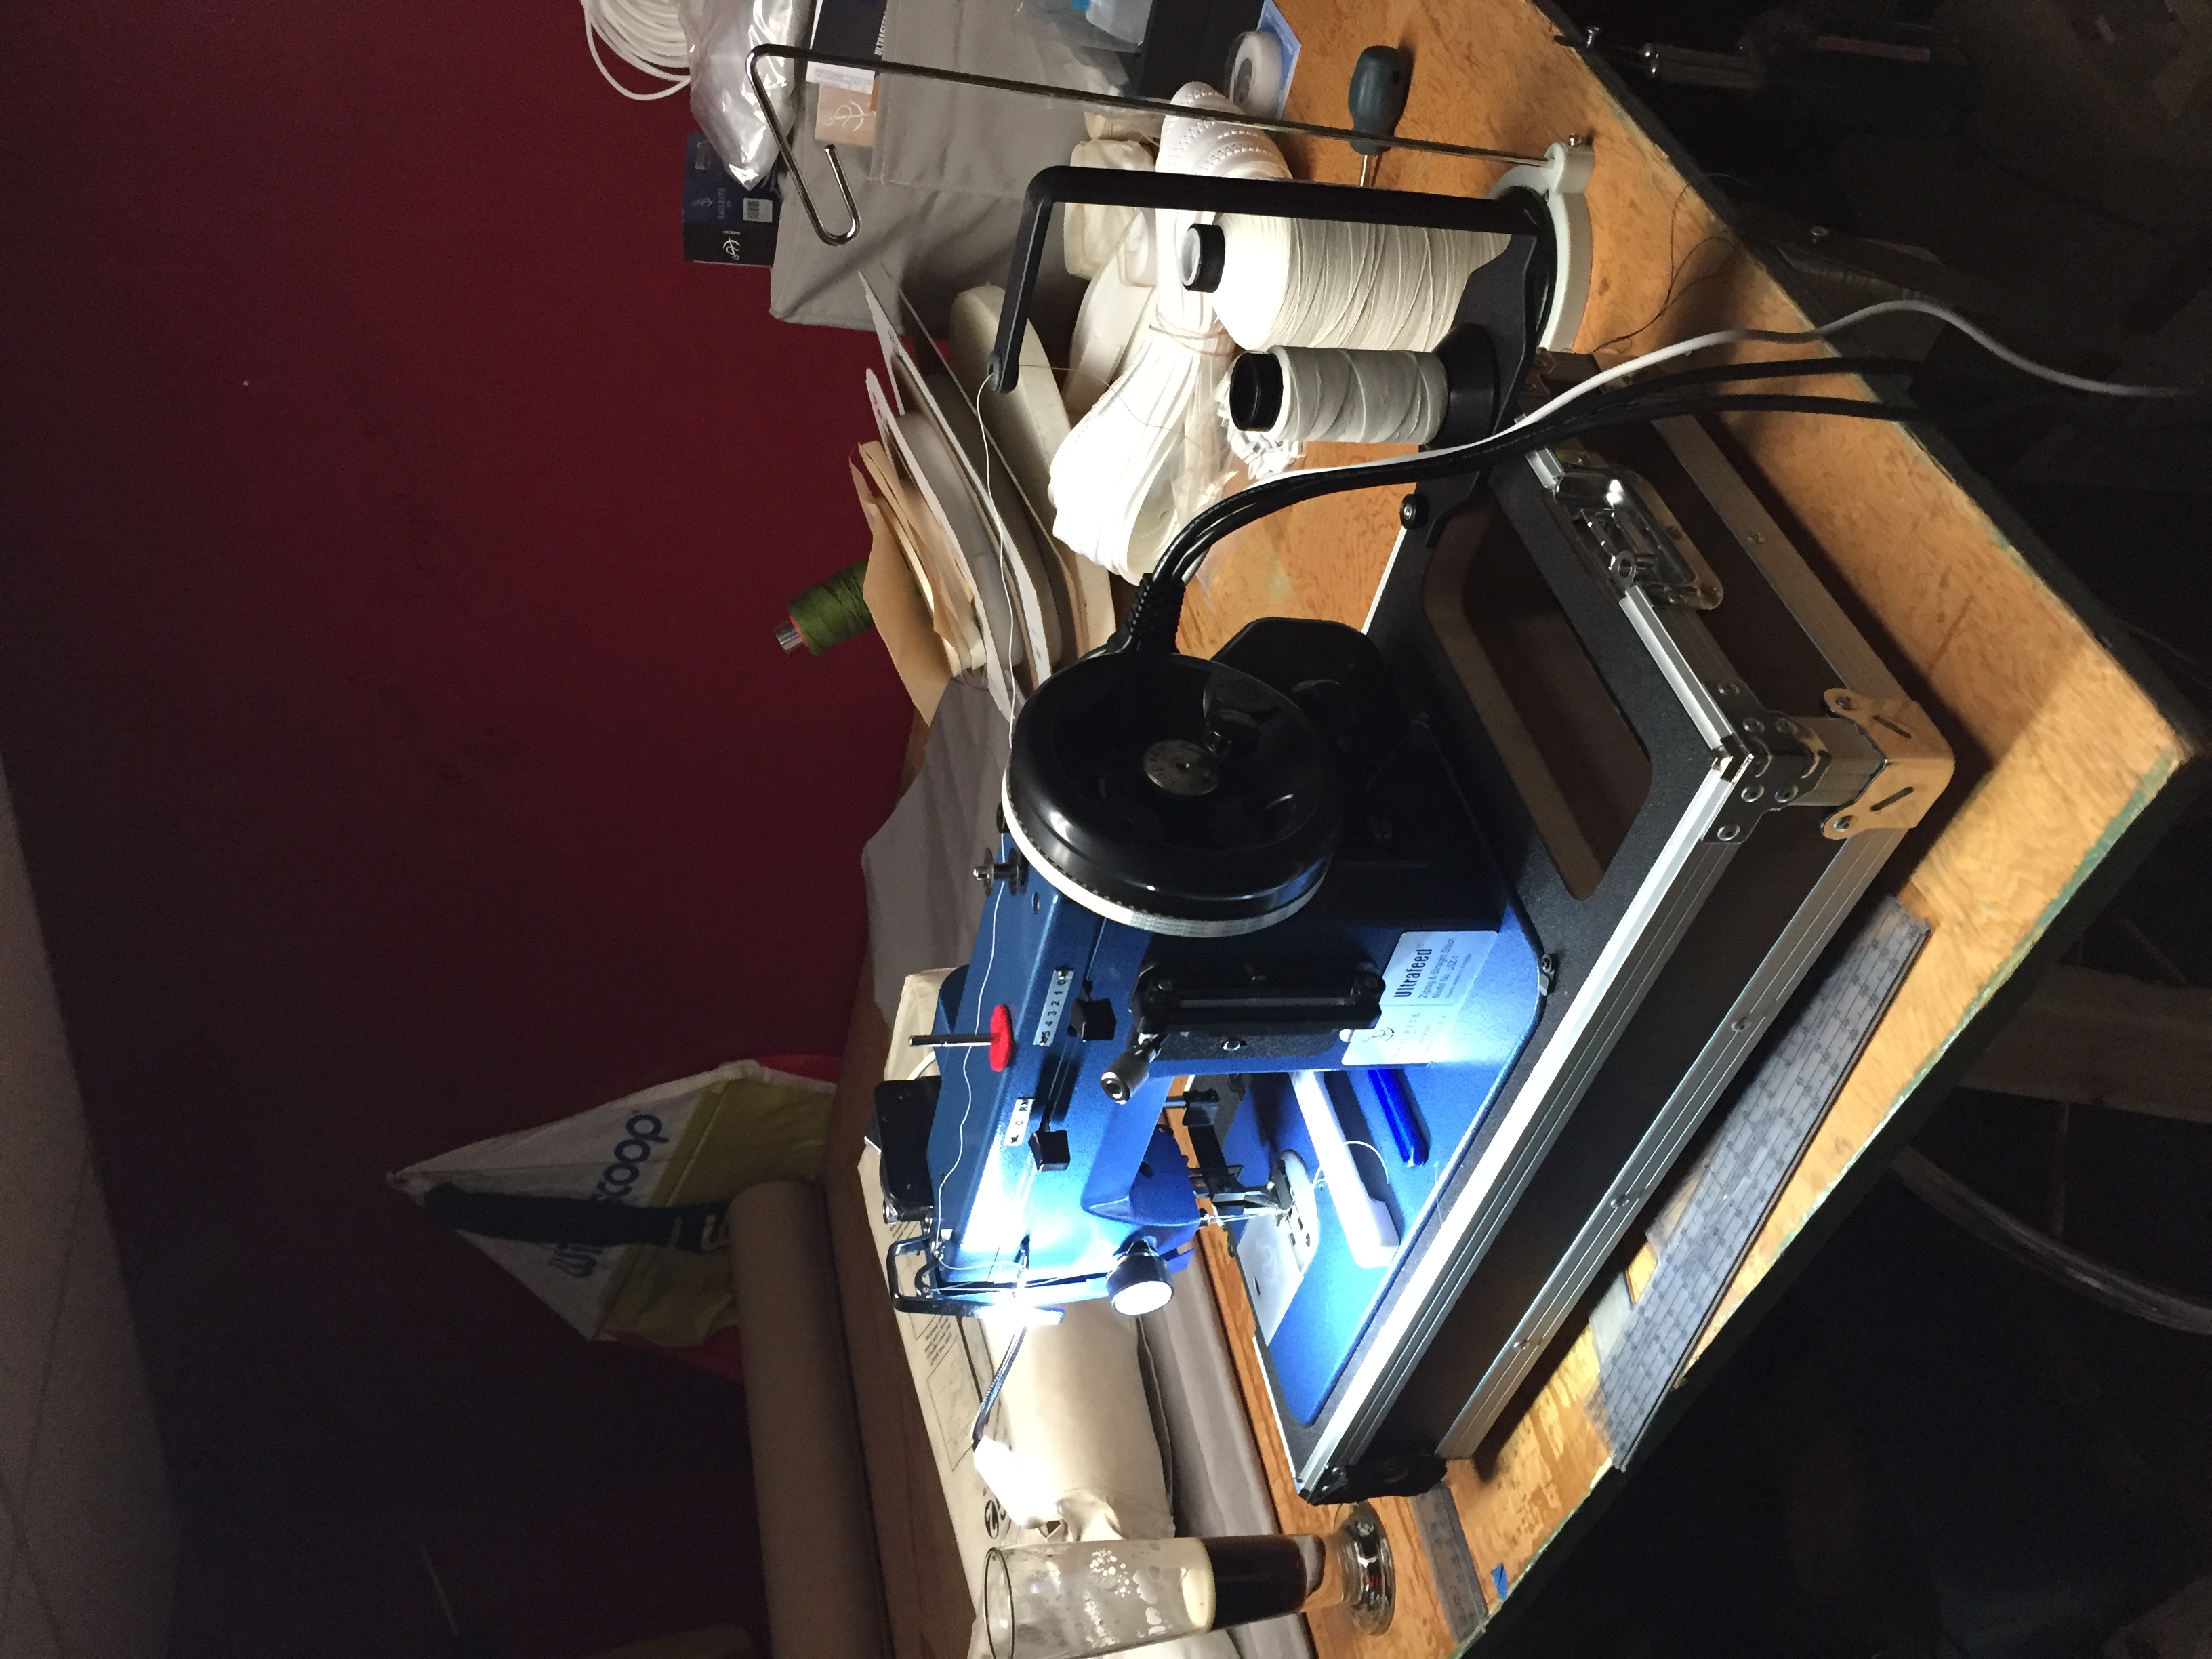
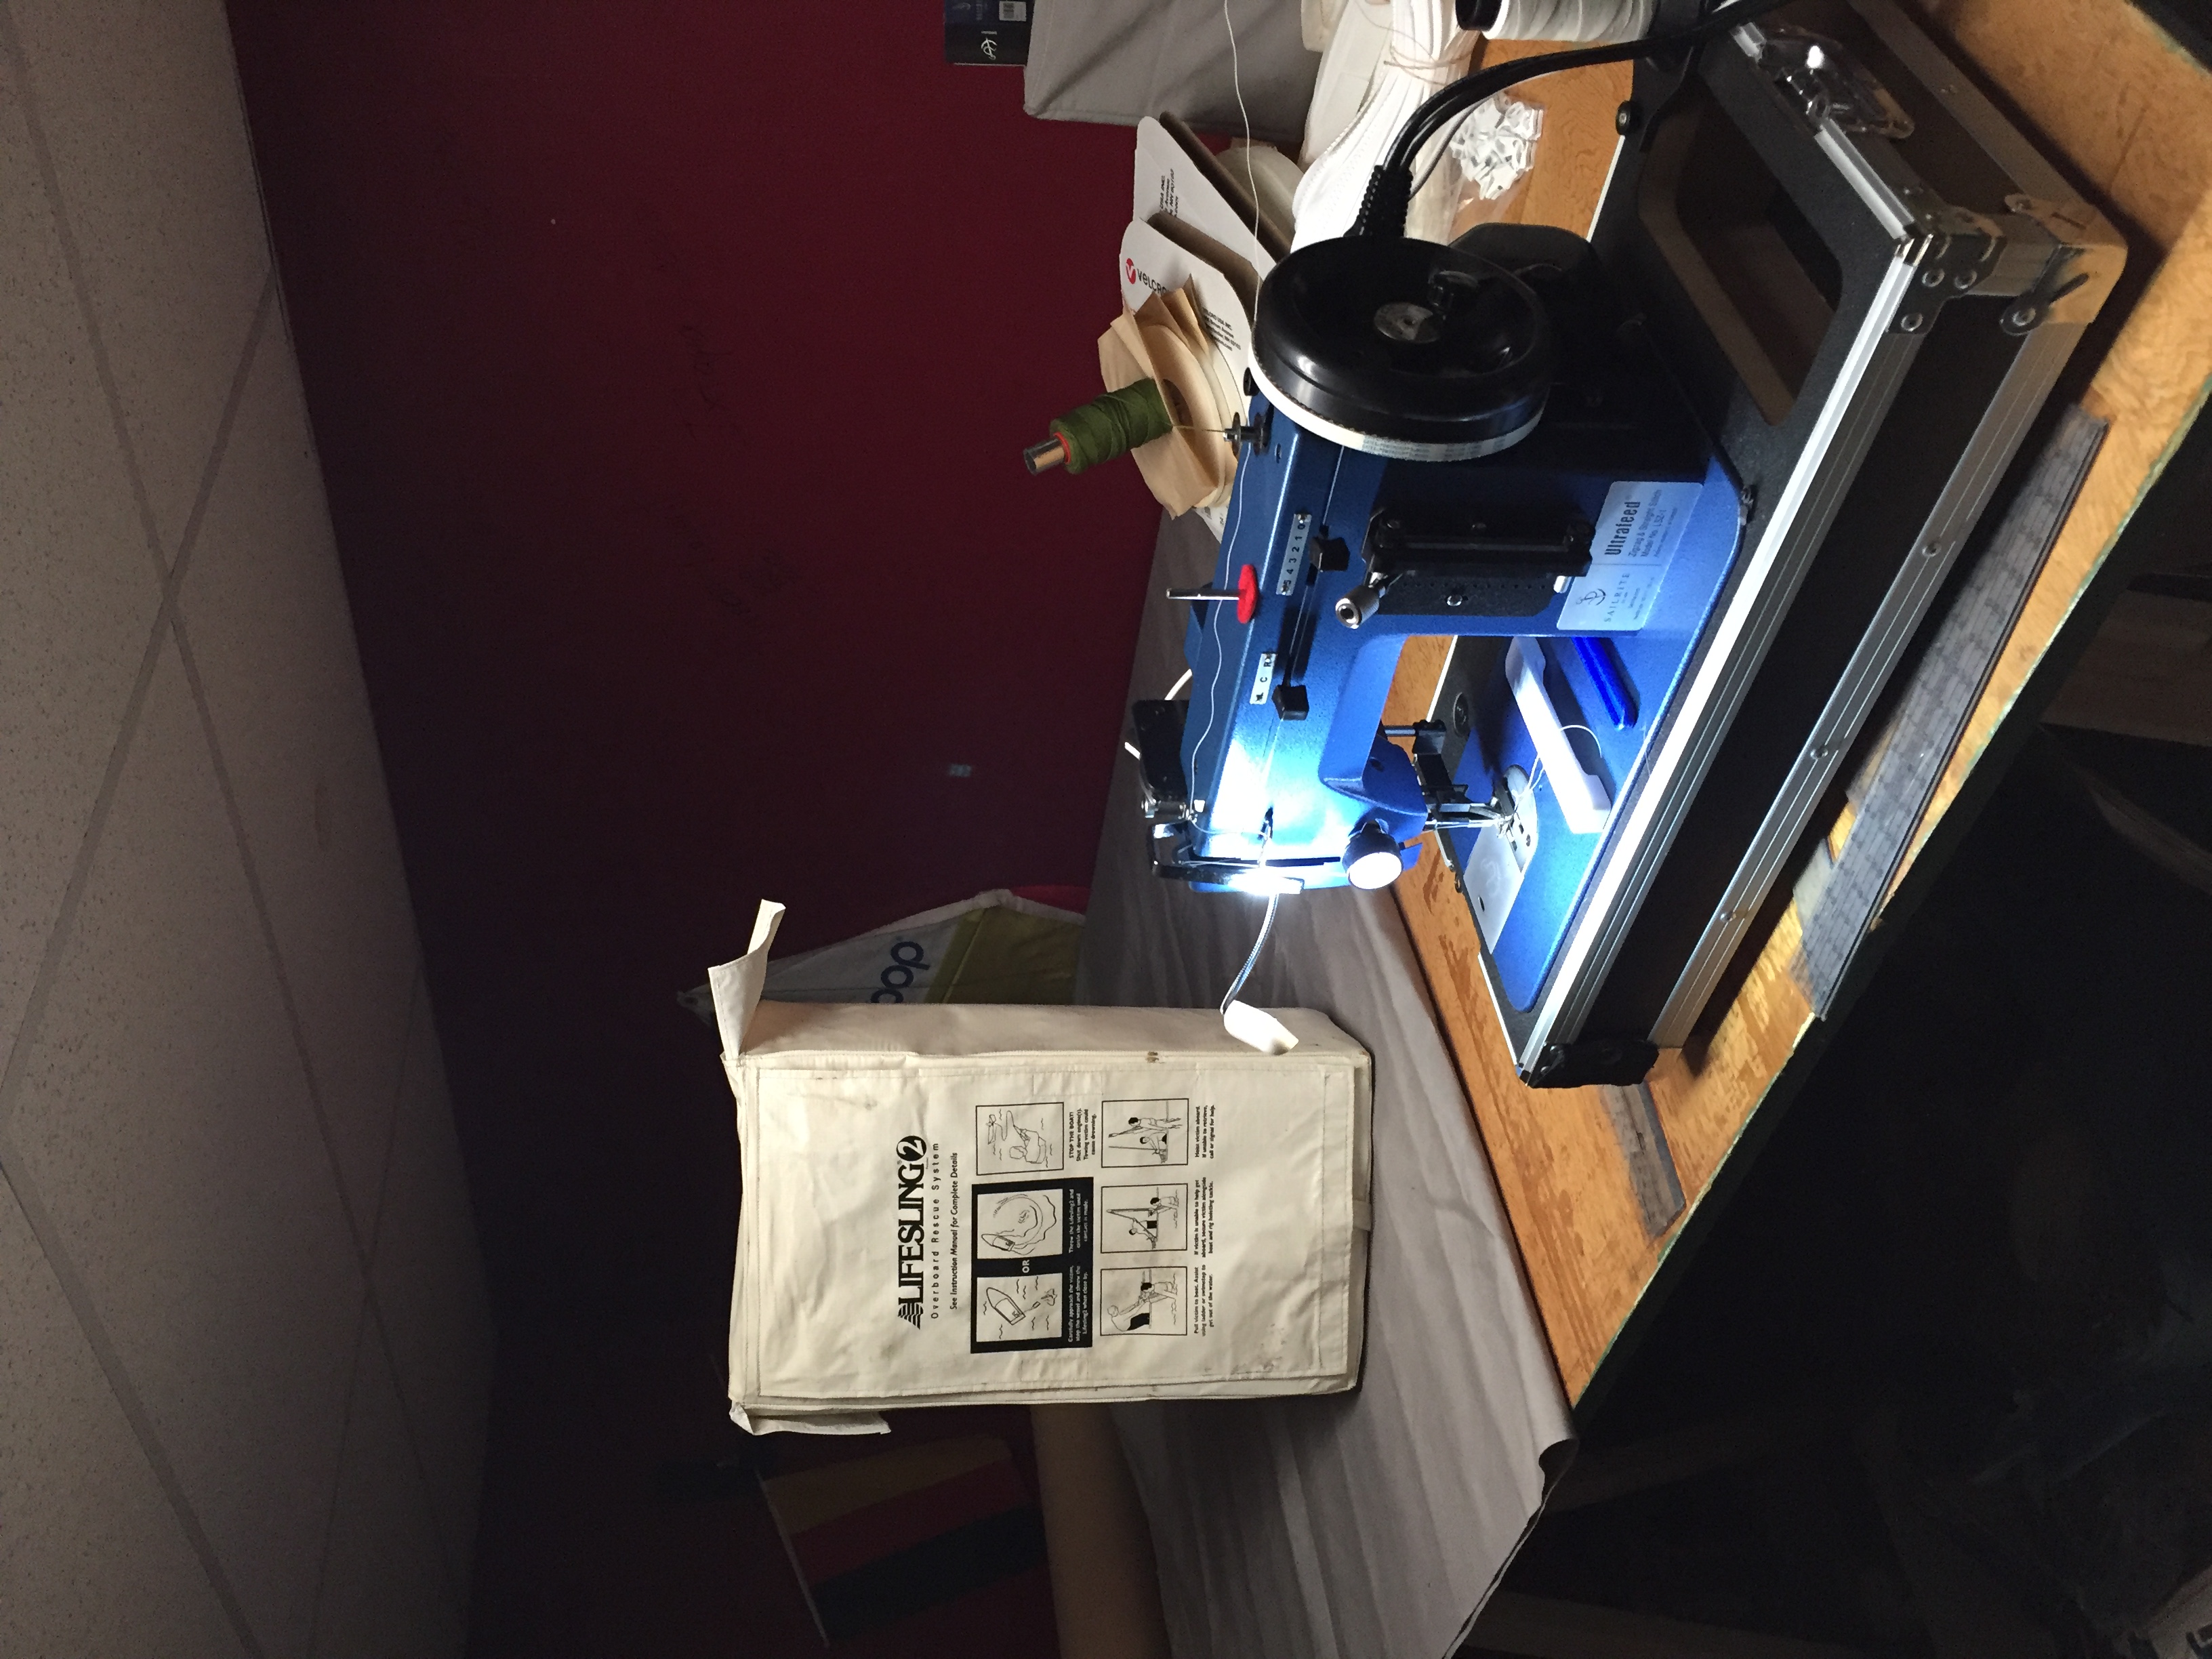
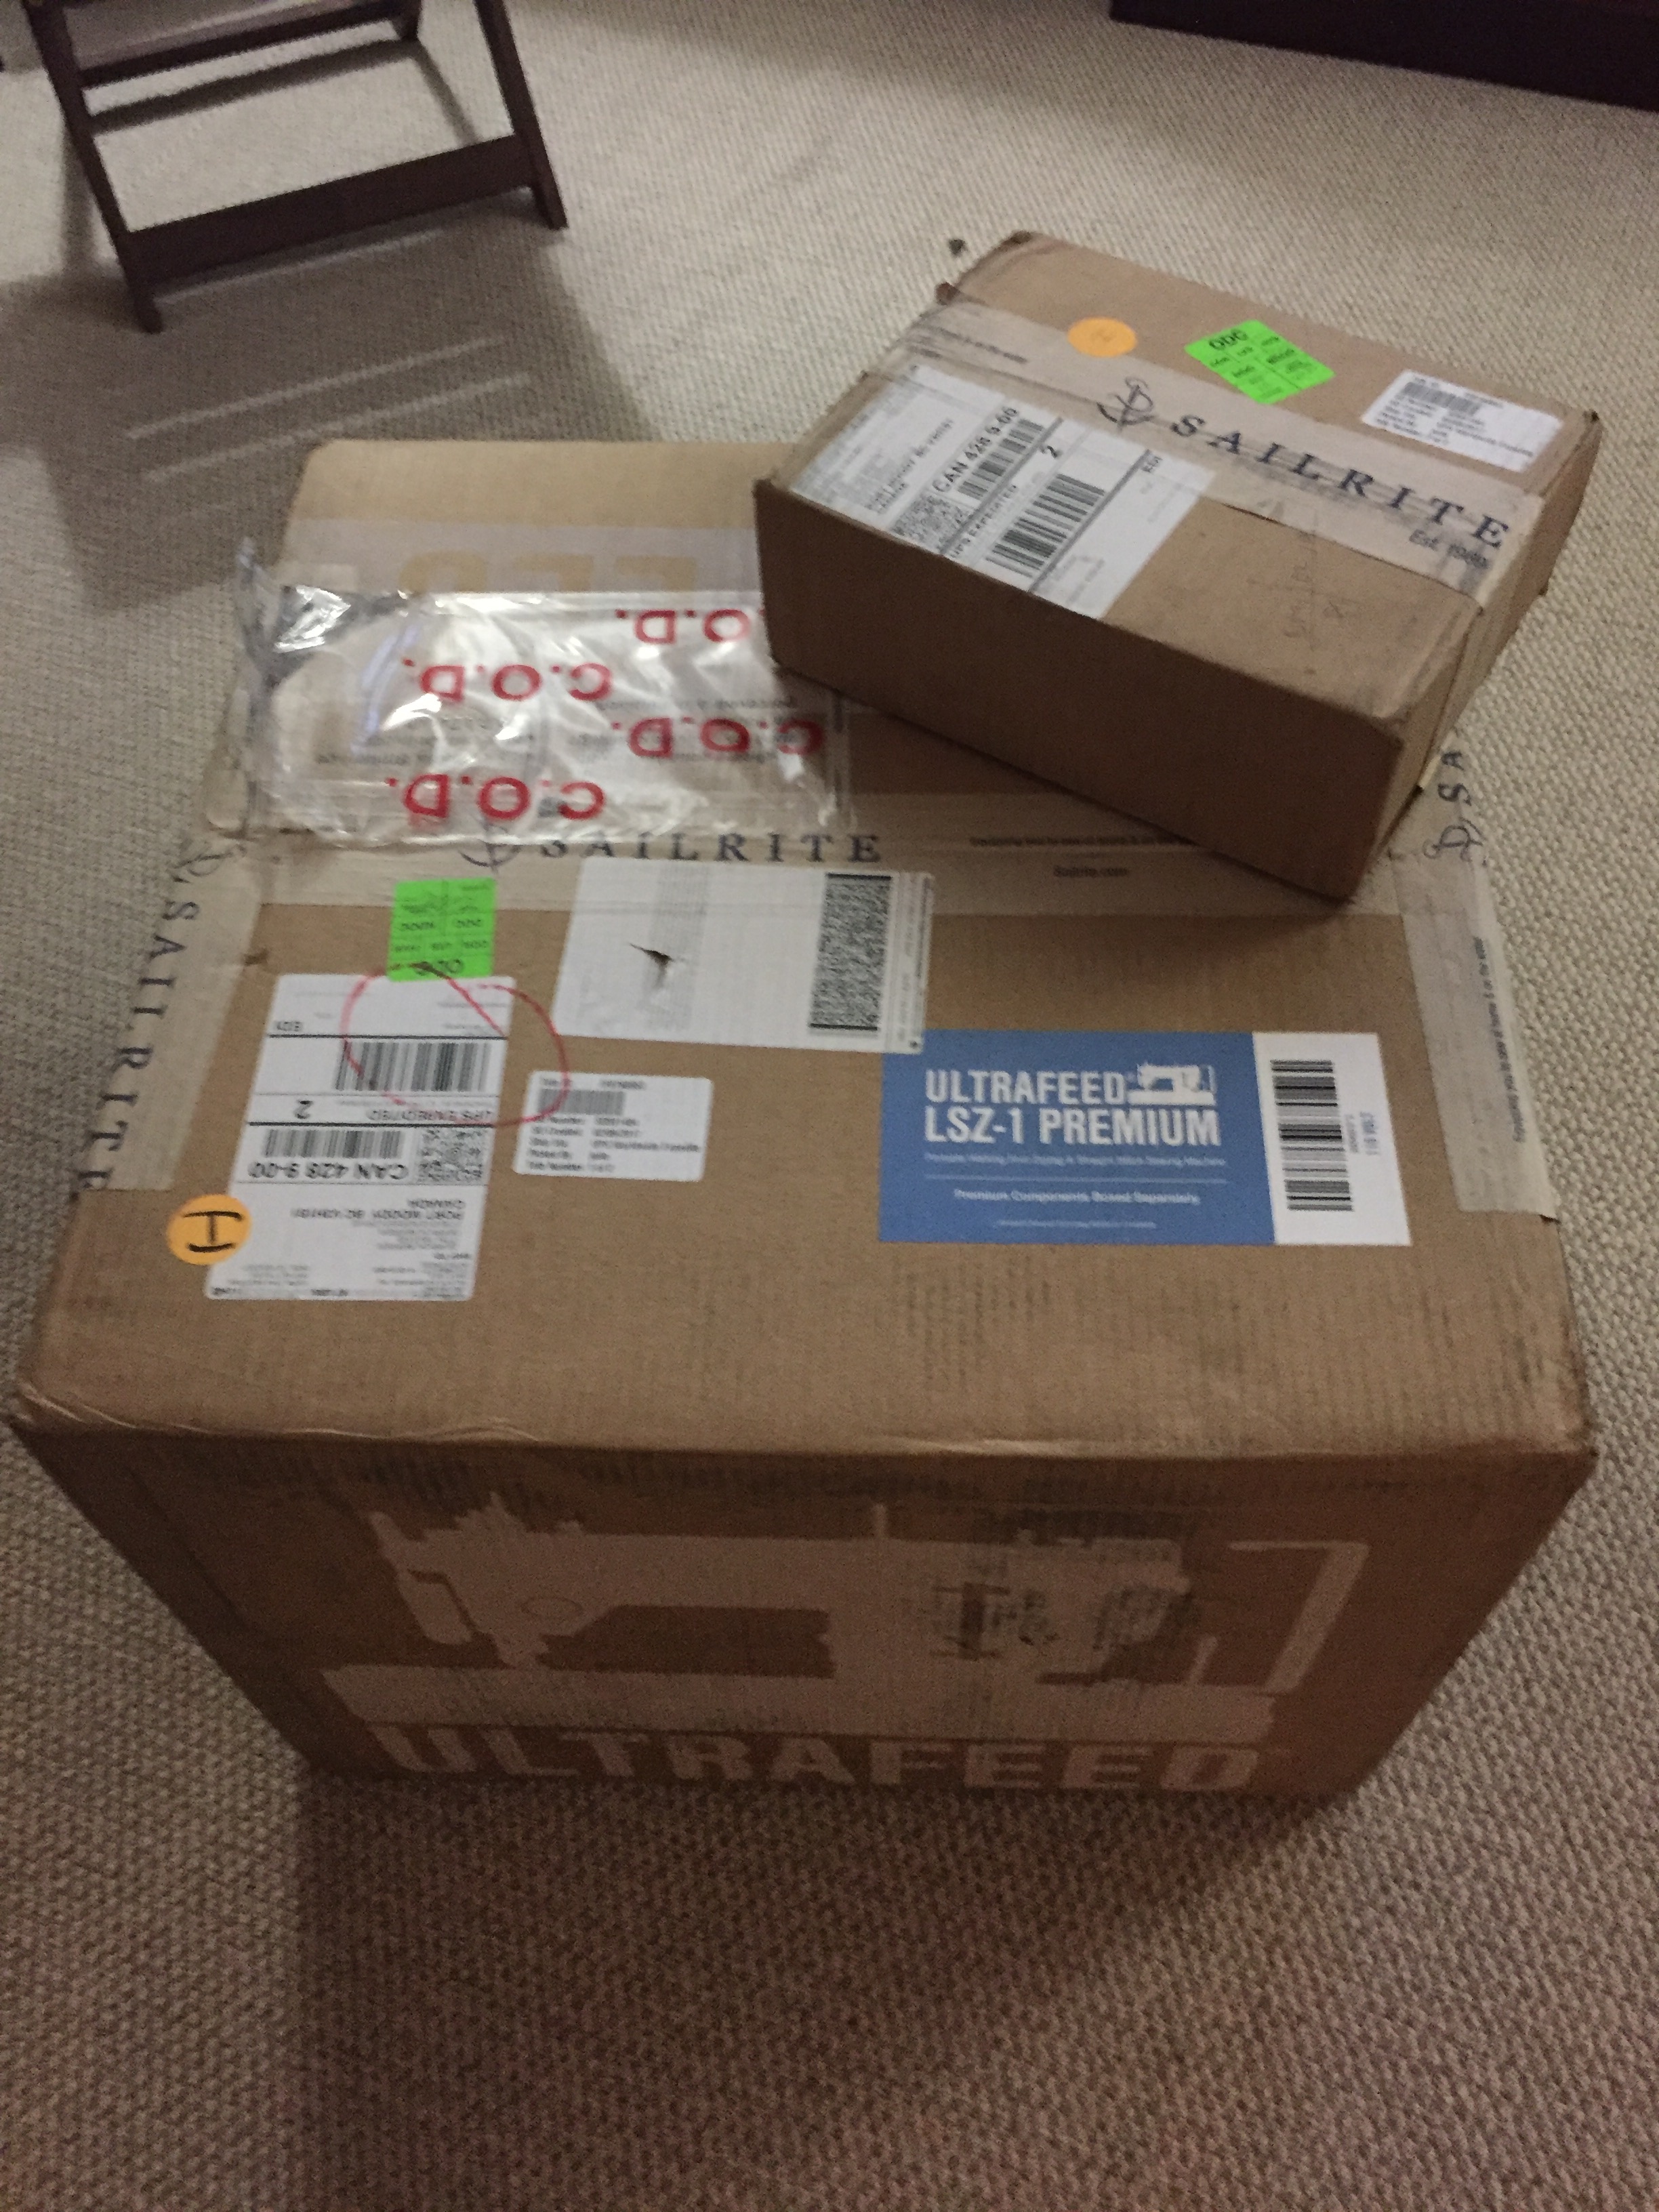
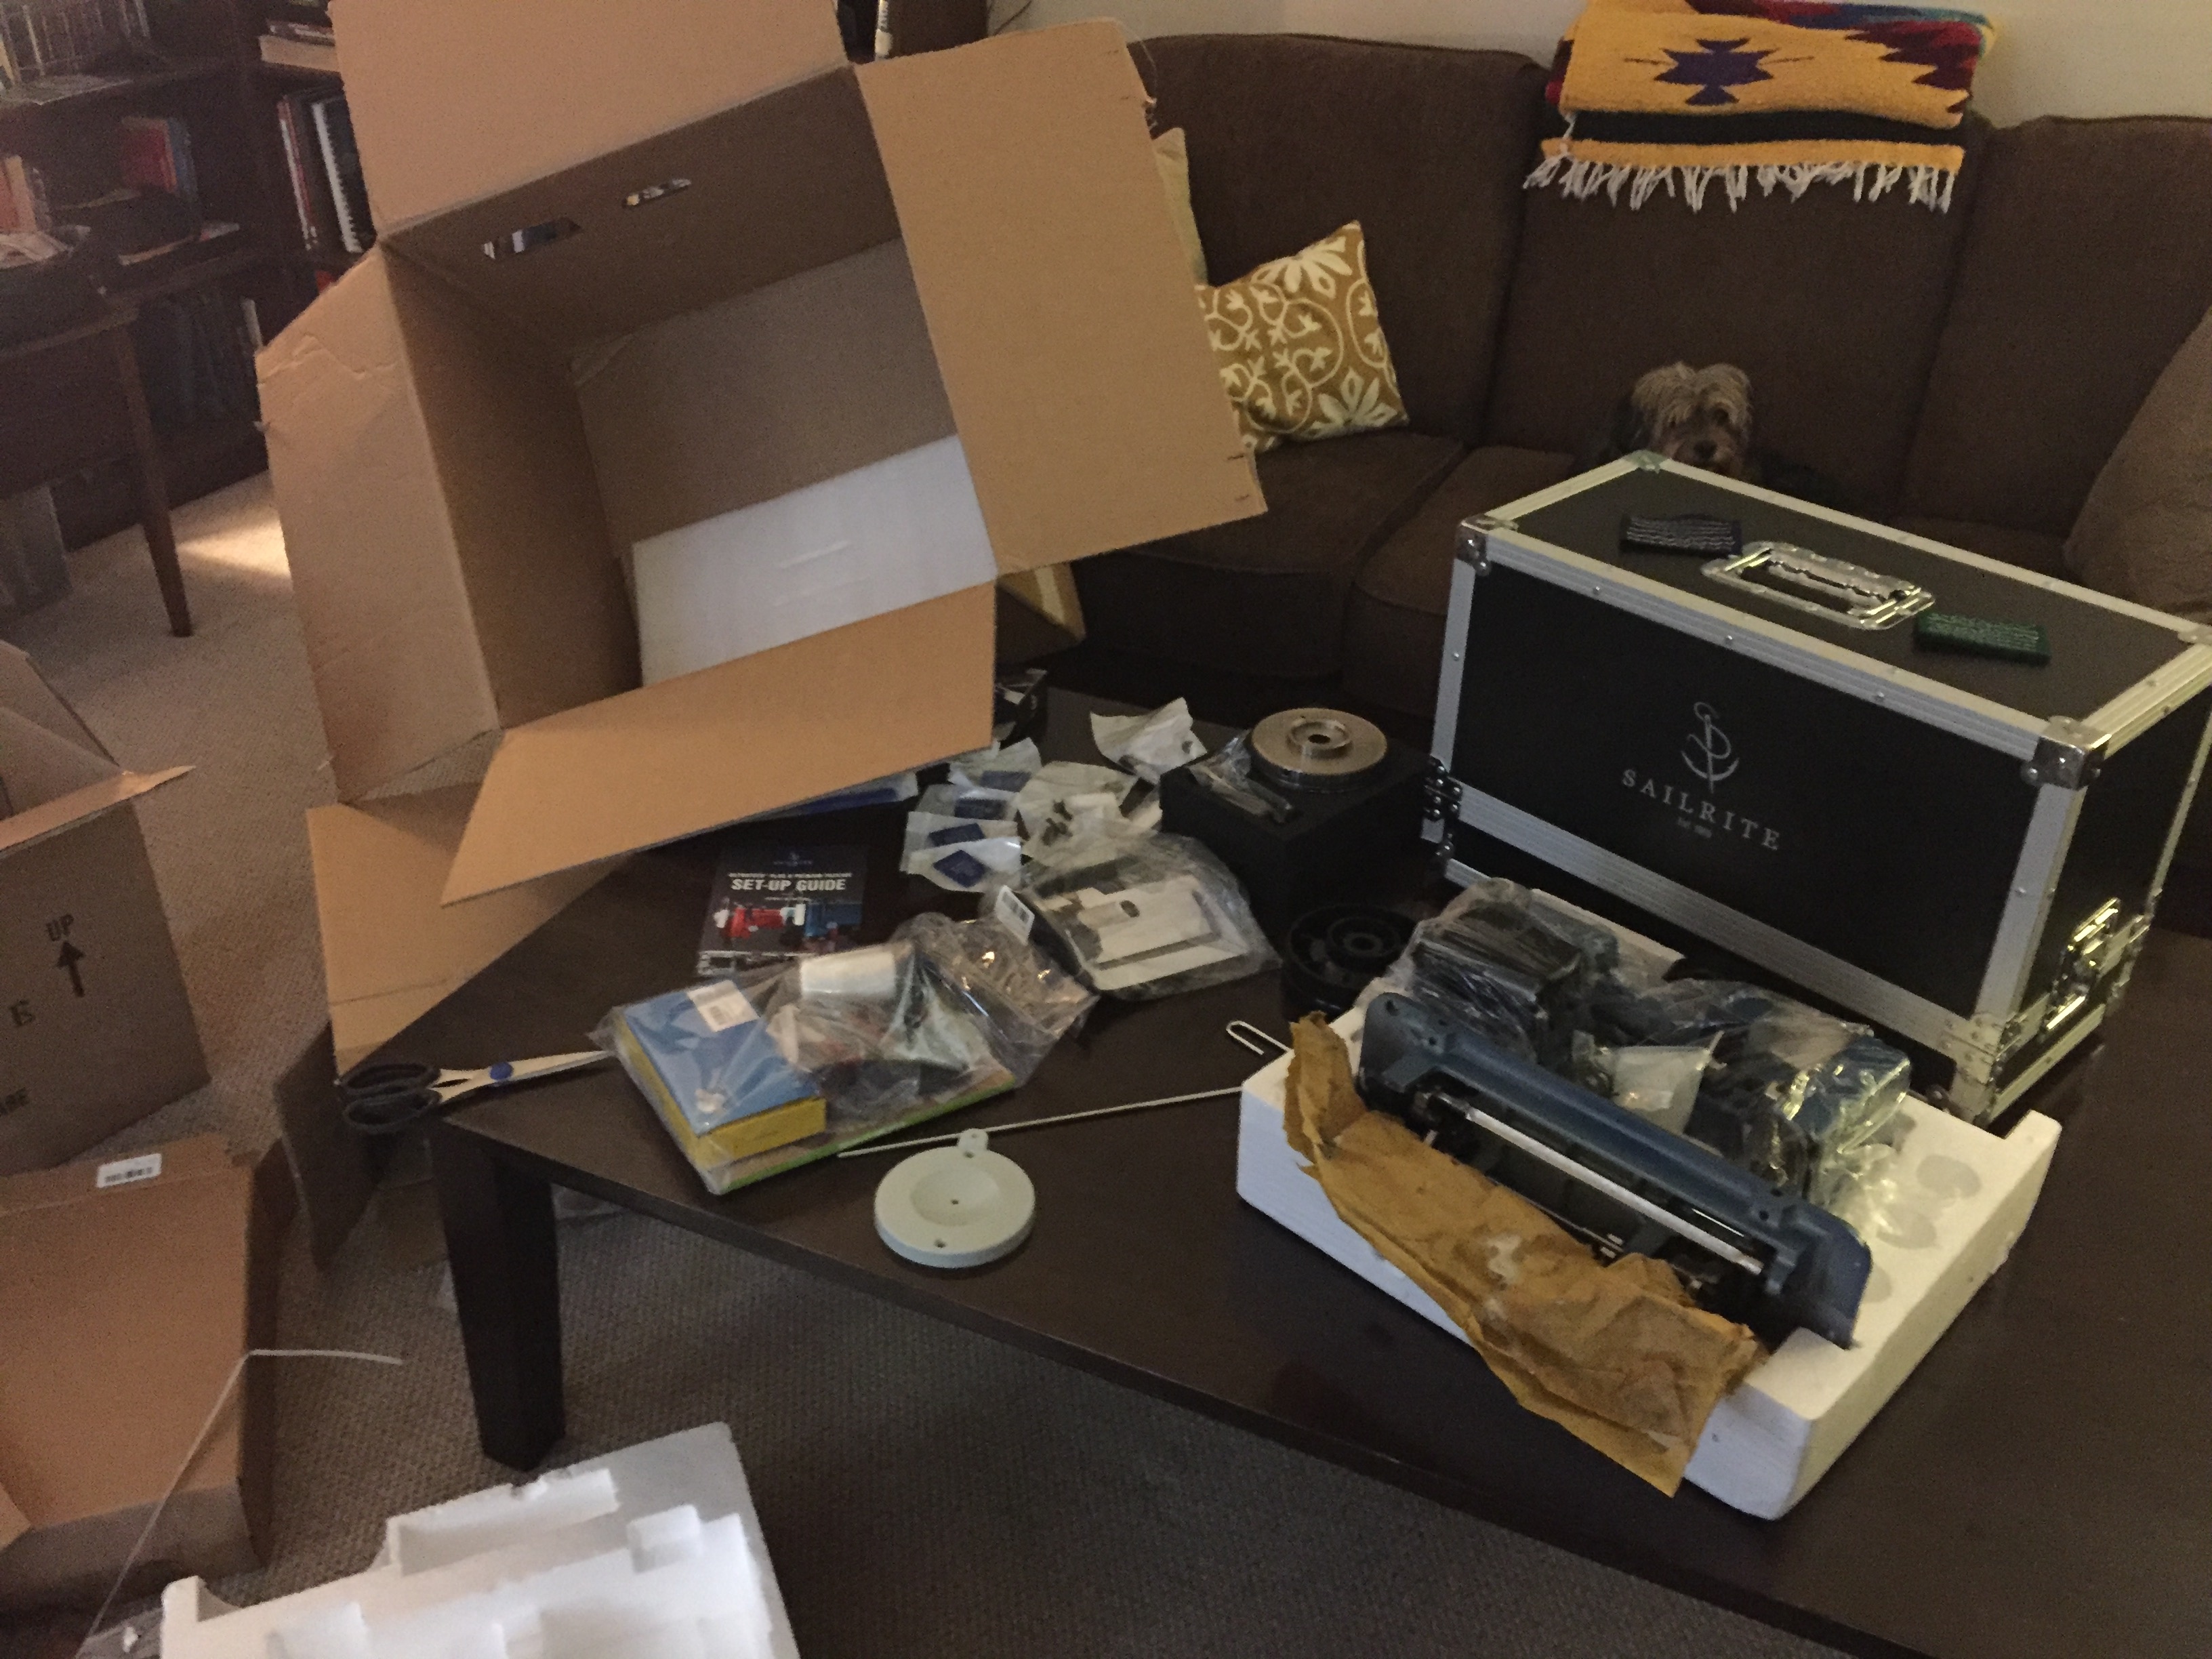
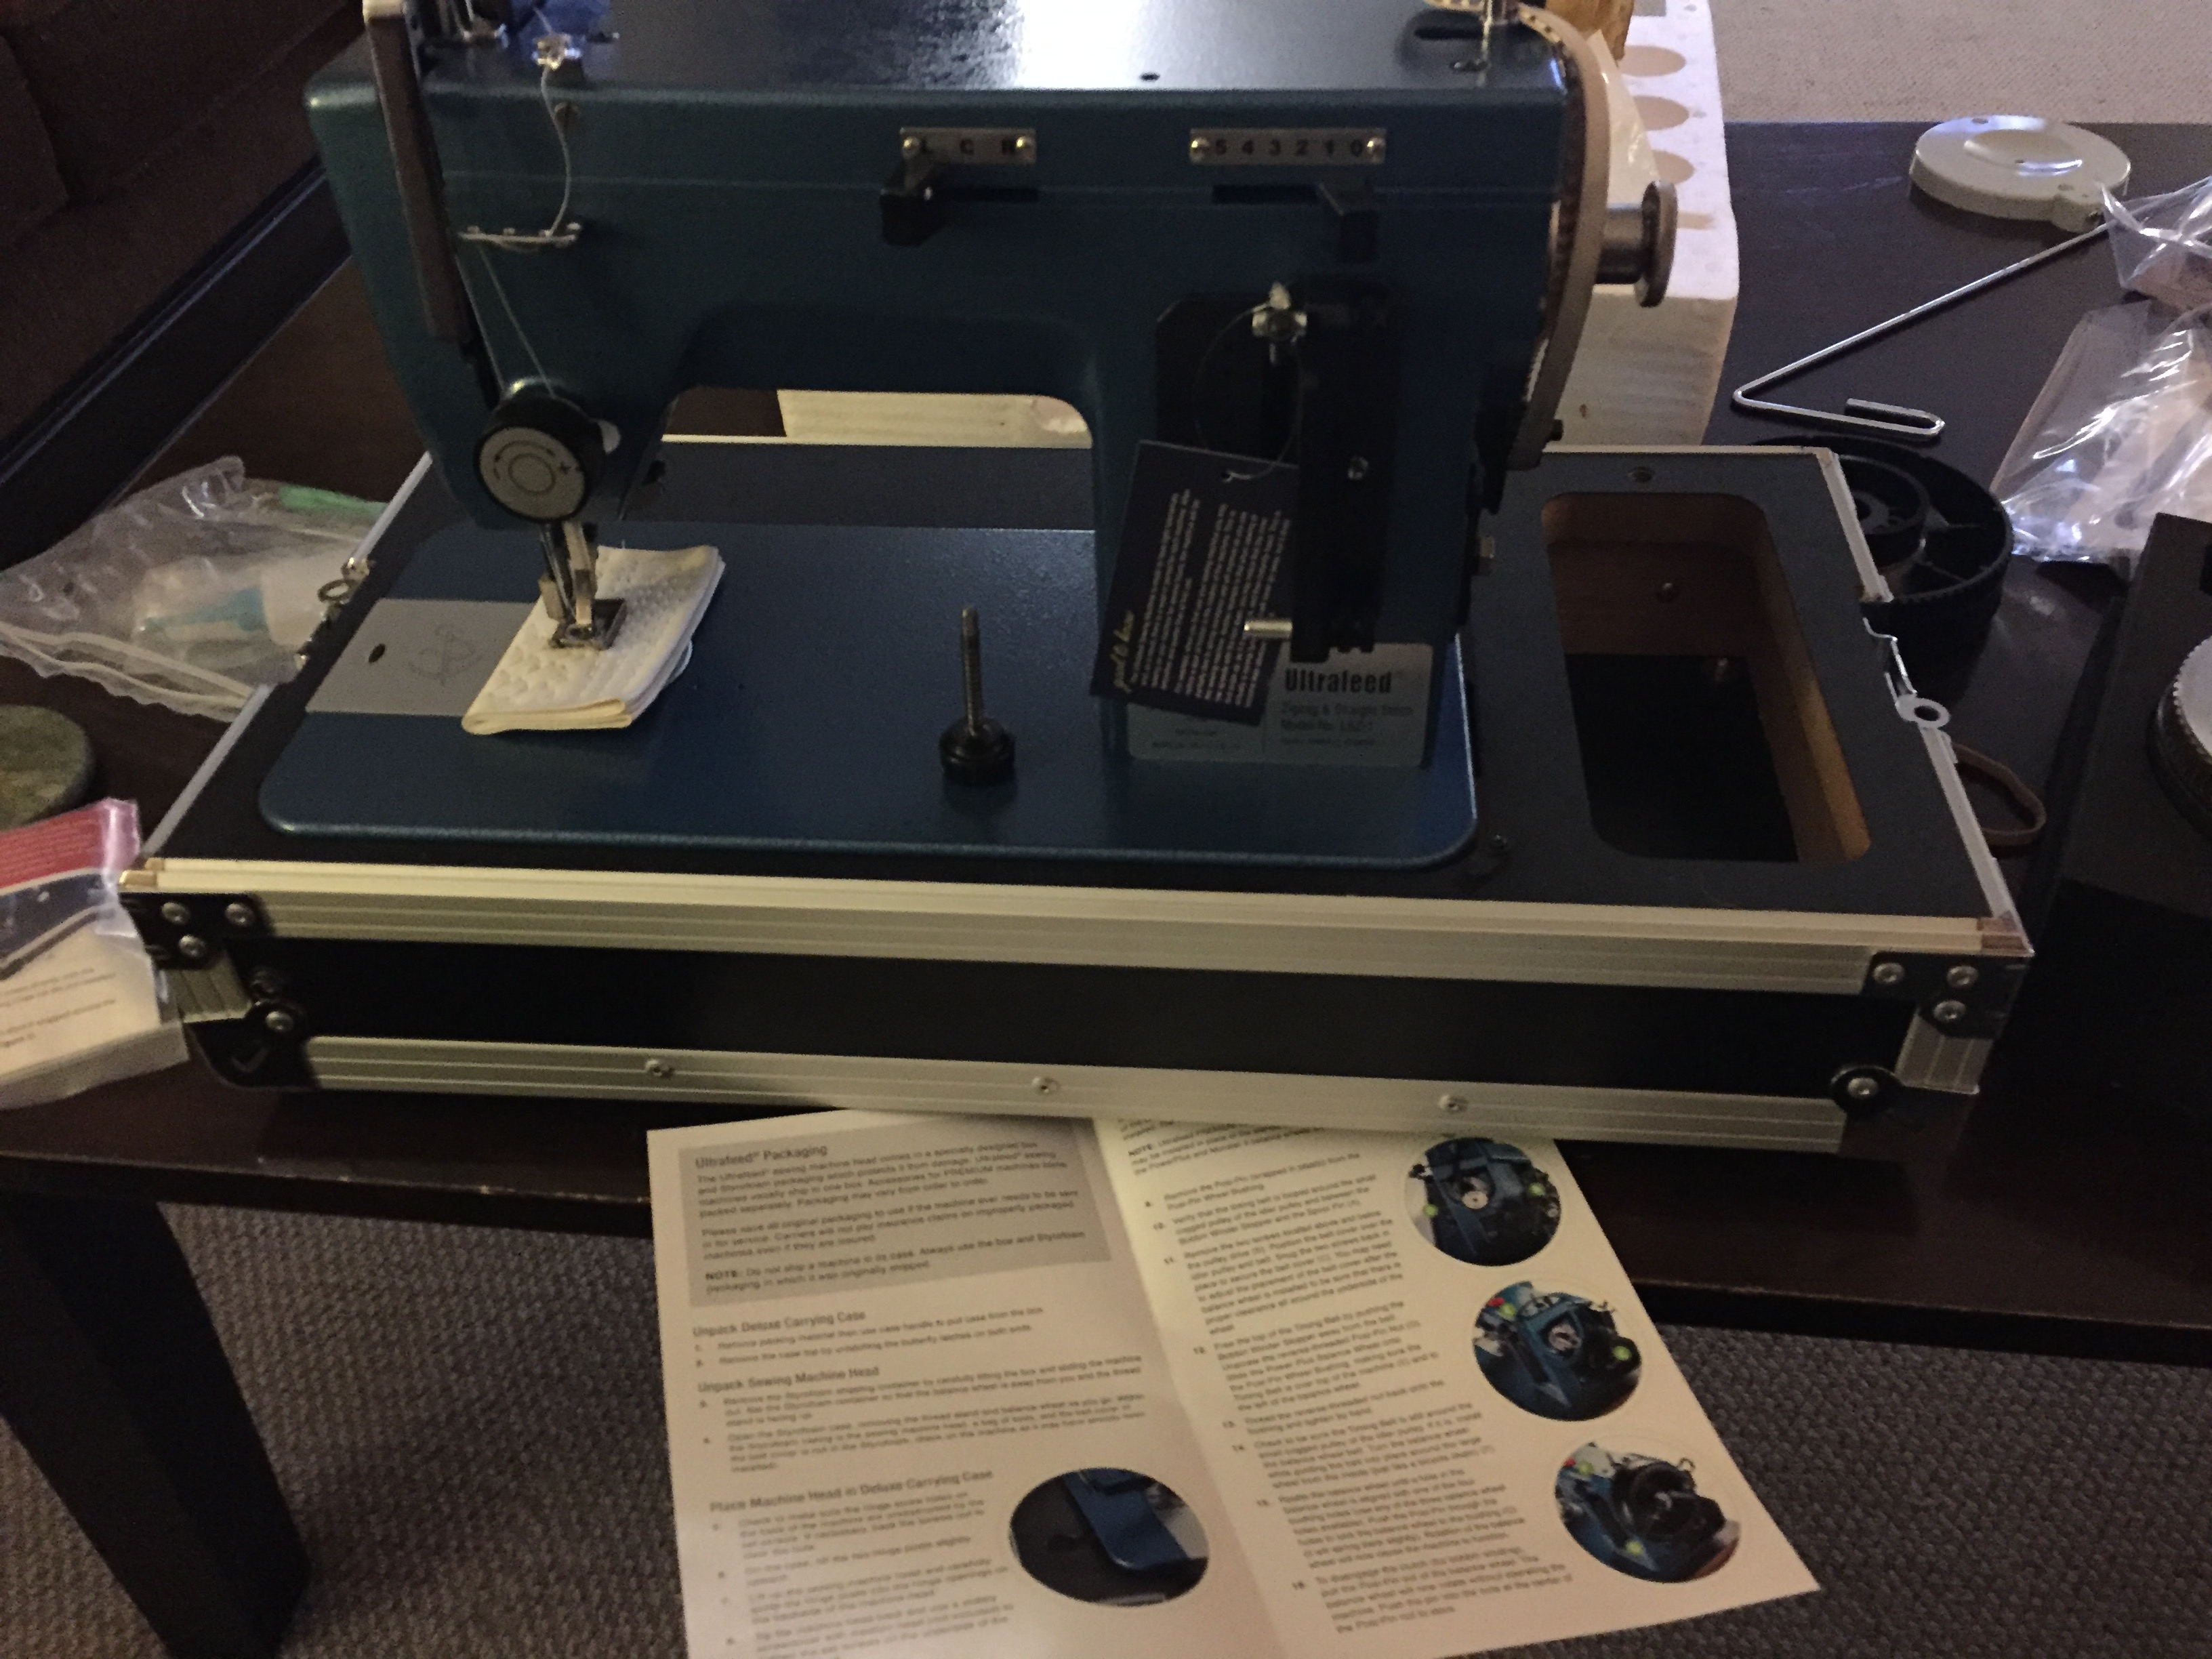
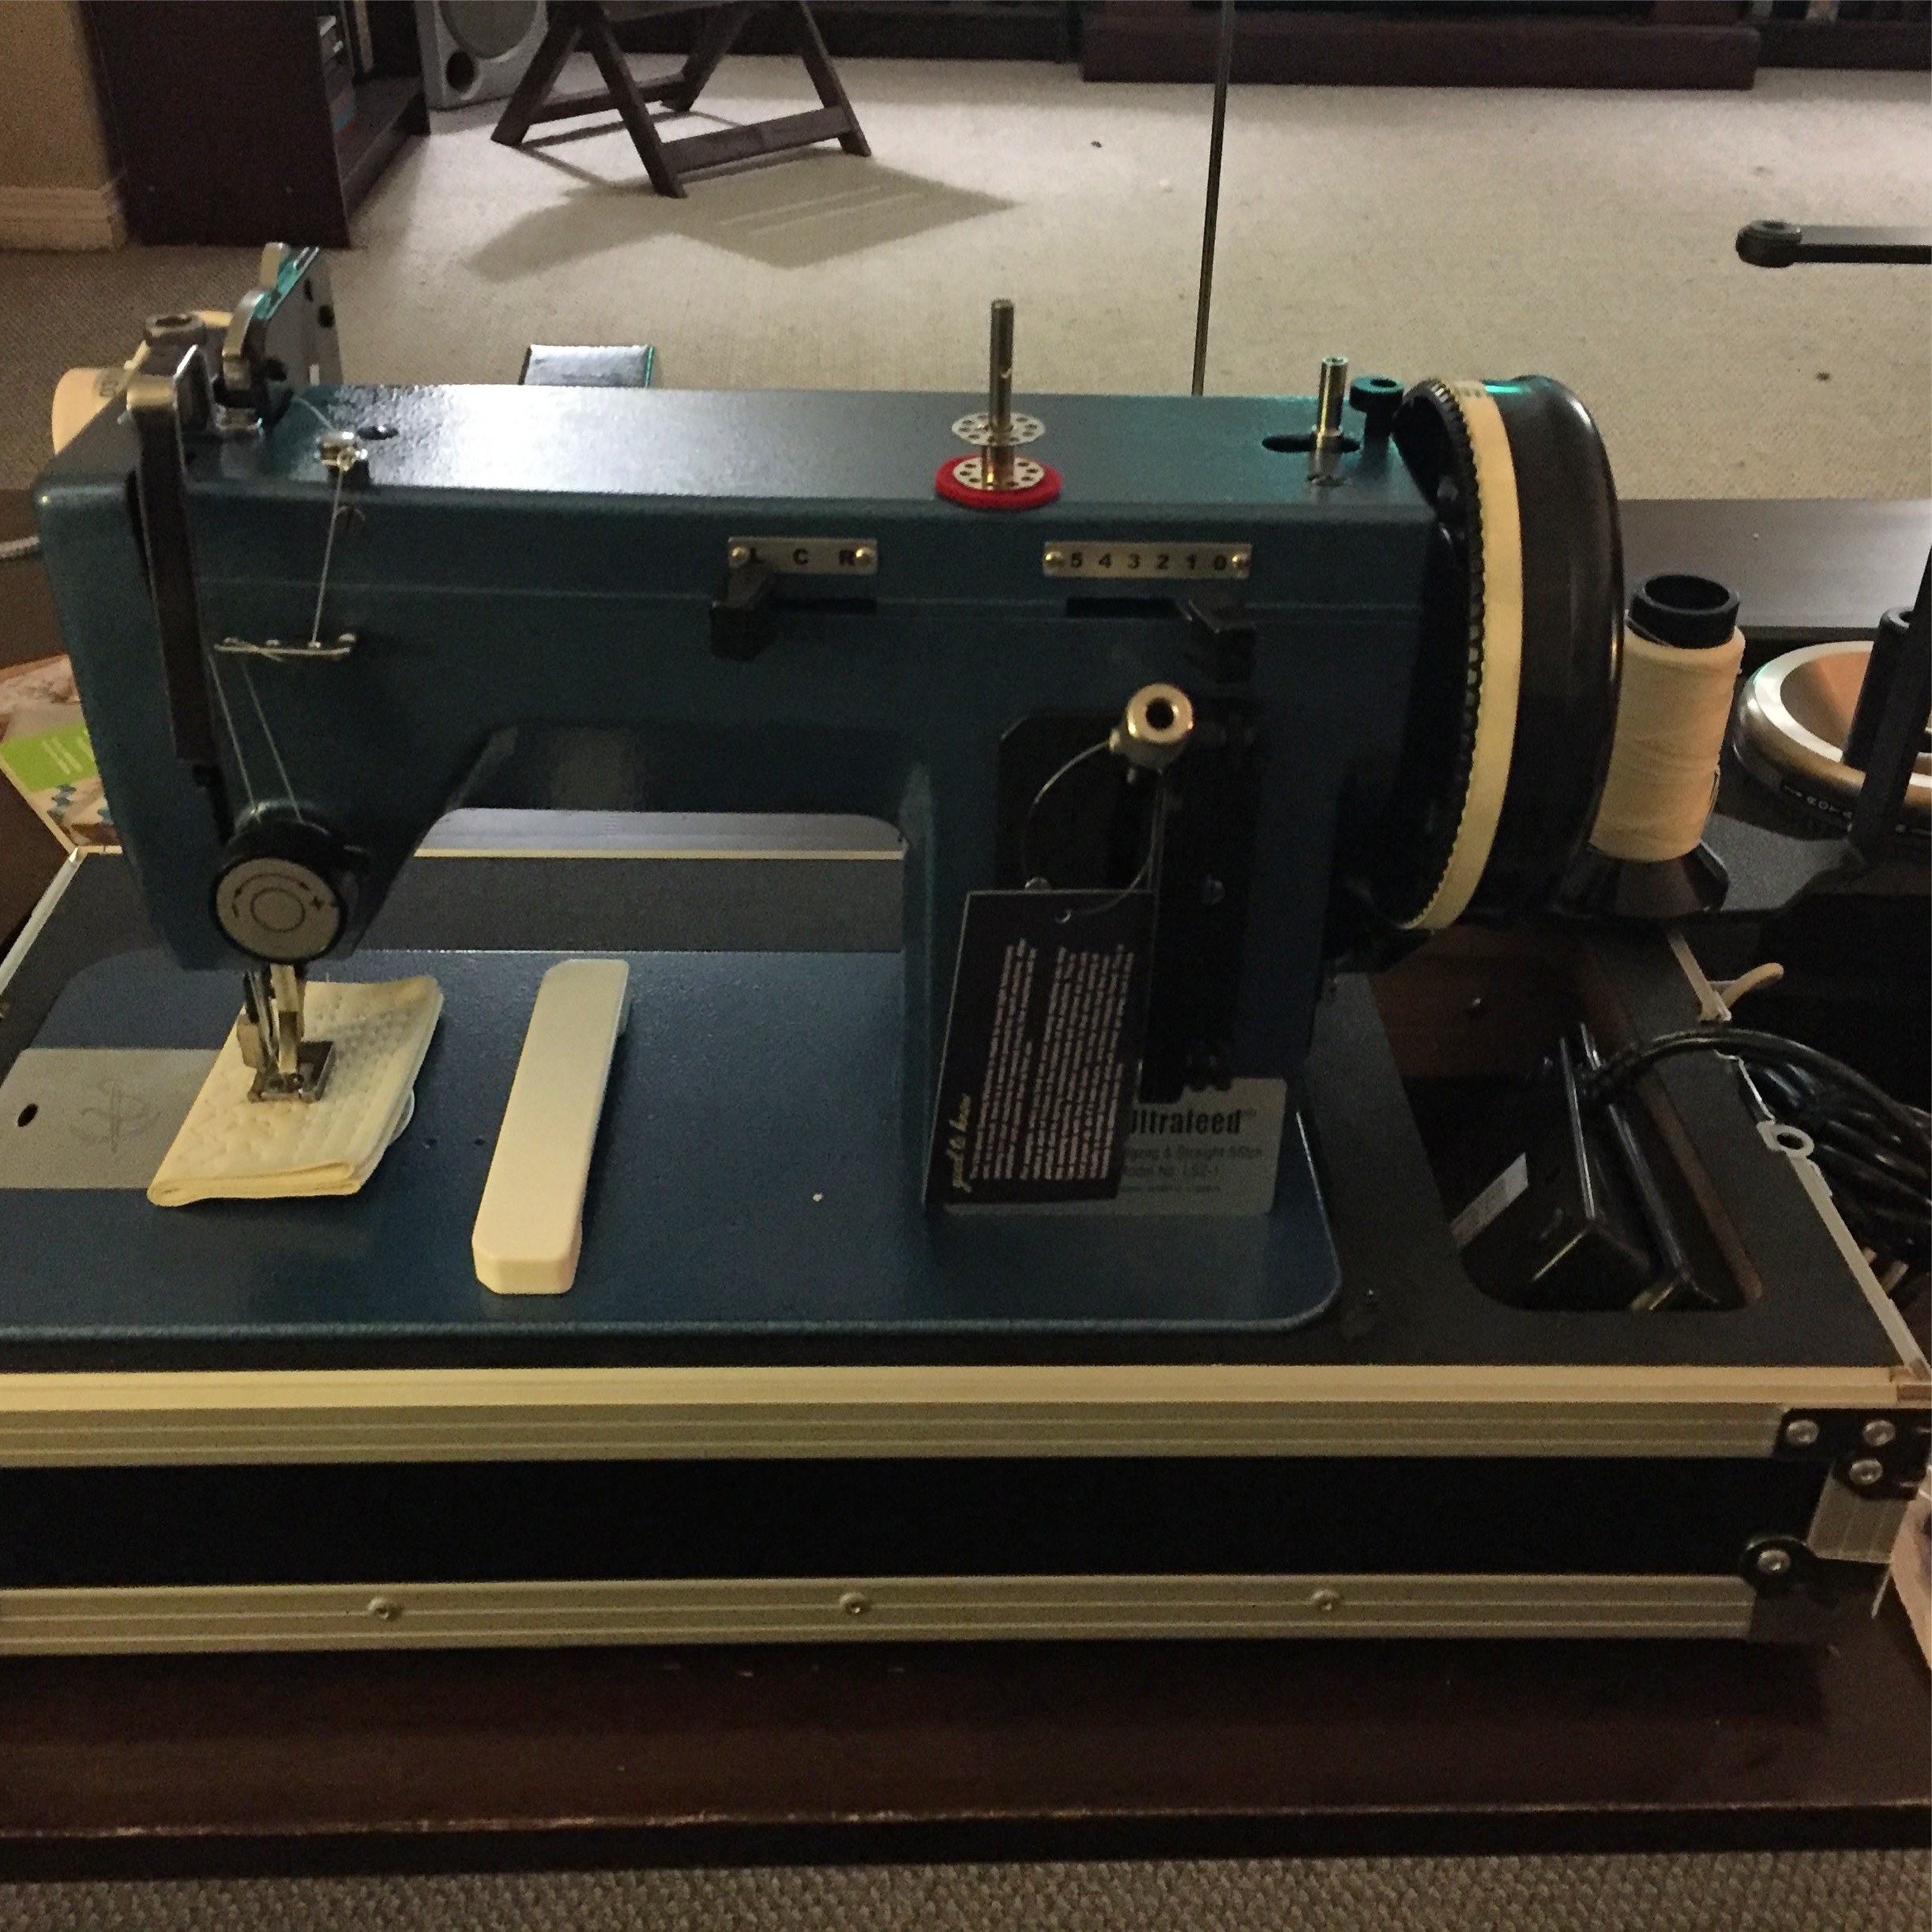
It has been a long time coming but we have finally started on replacing them all, which is an additional reason why I purchased the Sailrite LSZ1 sewing machine last year.

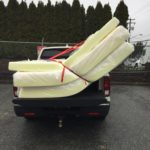
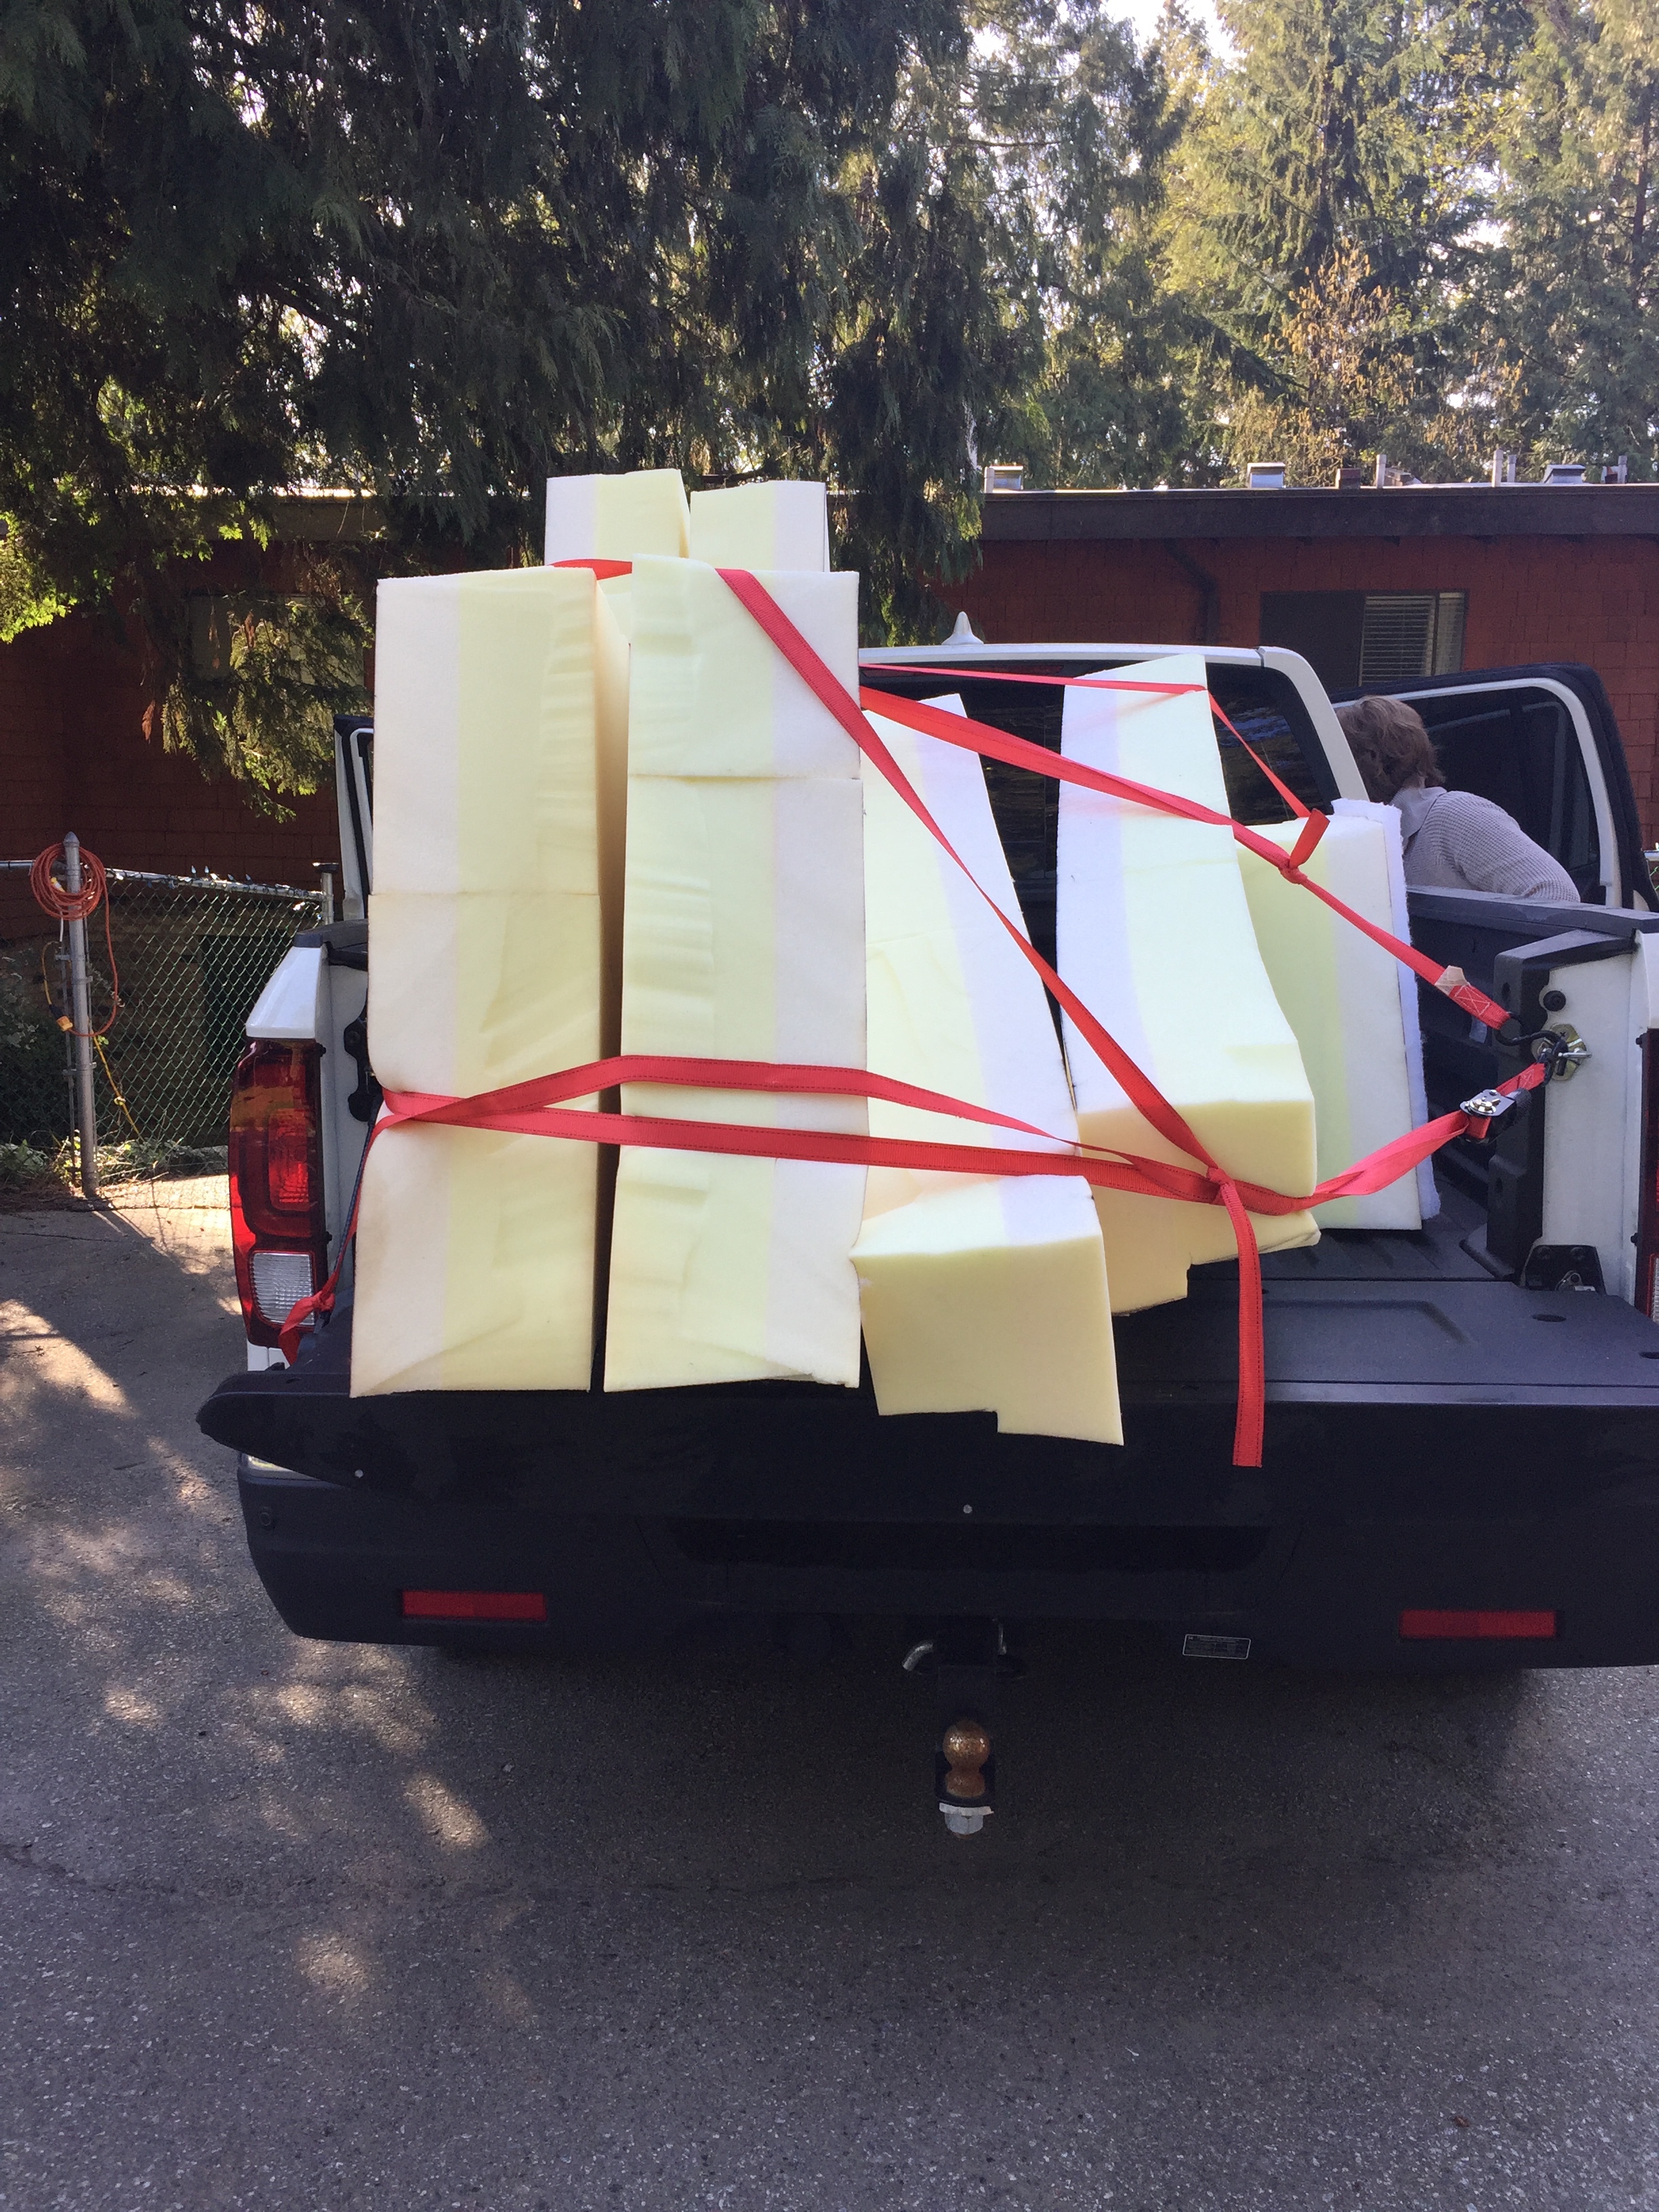
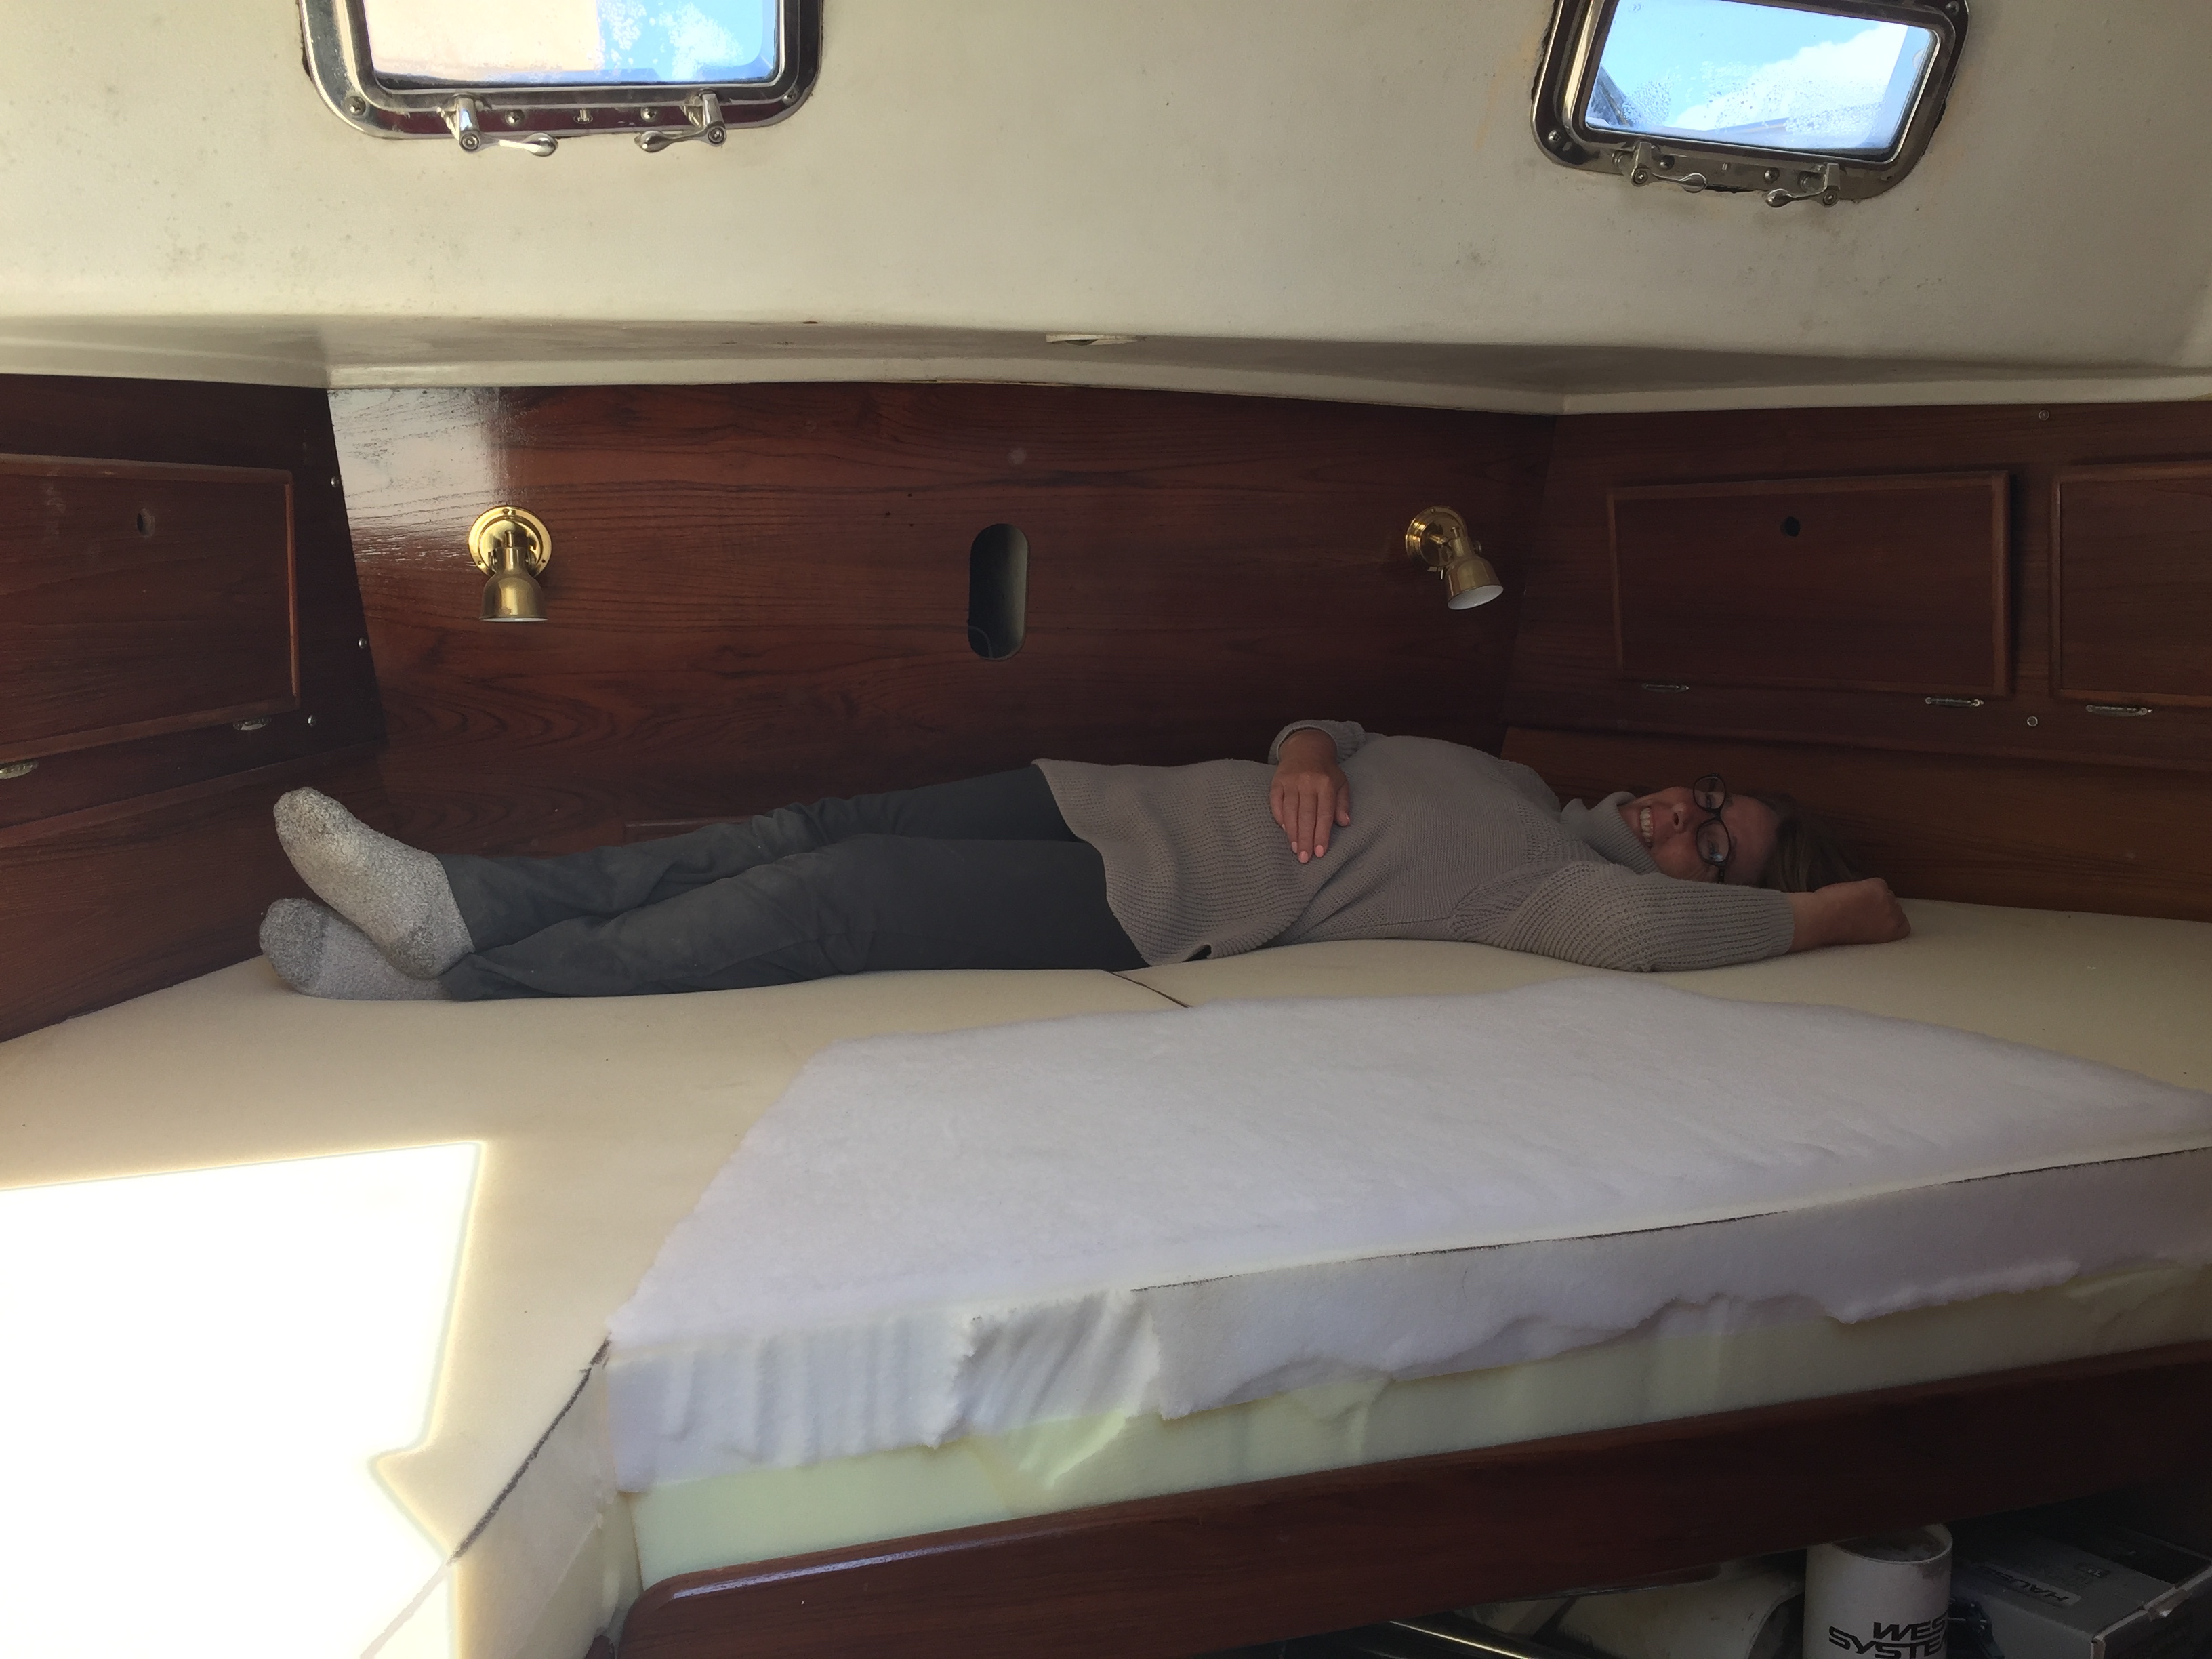
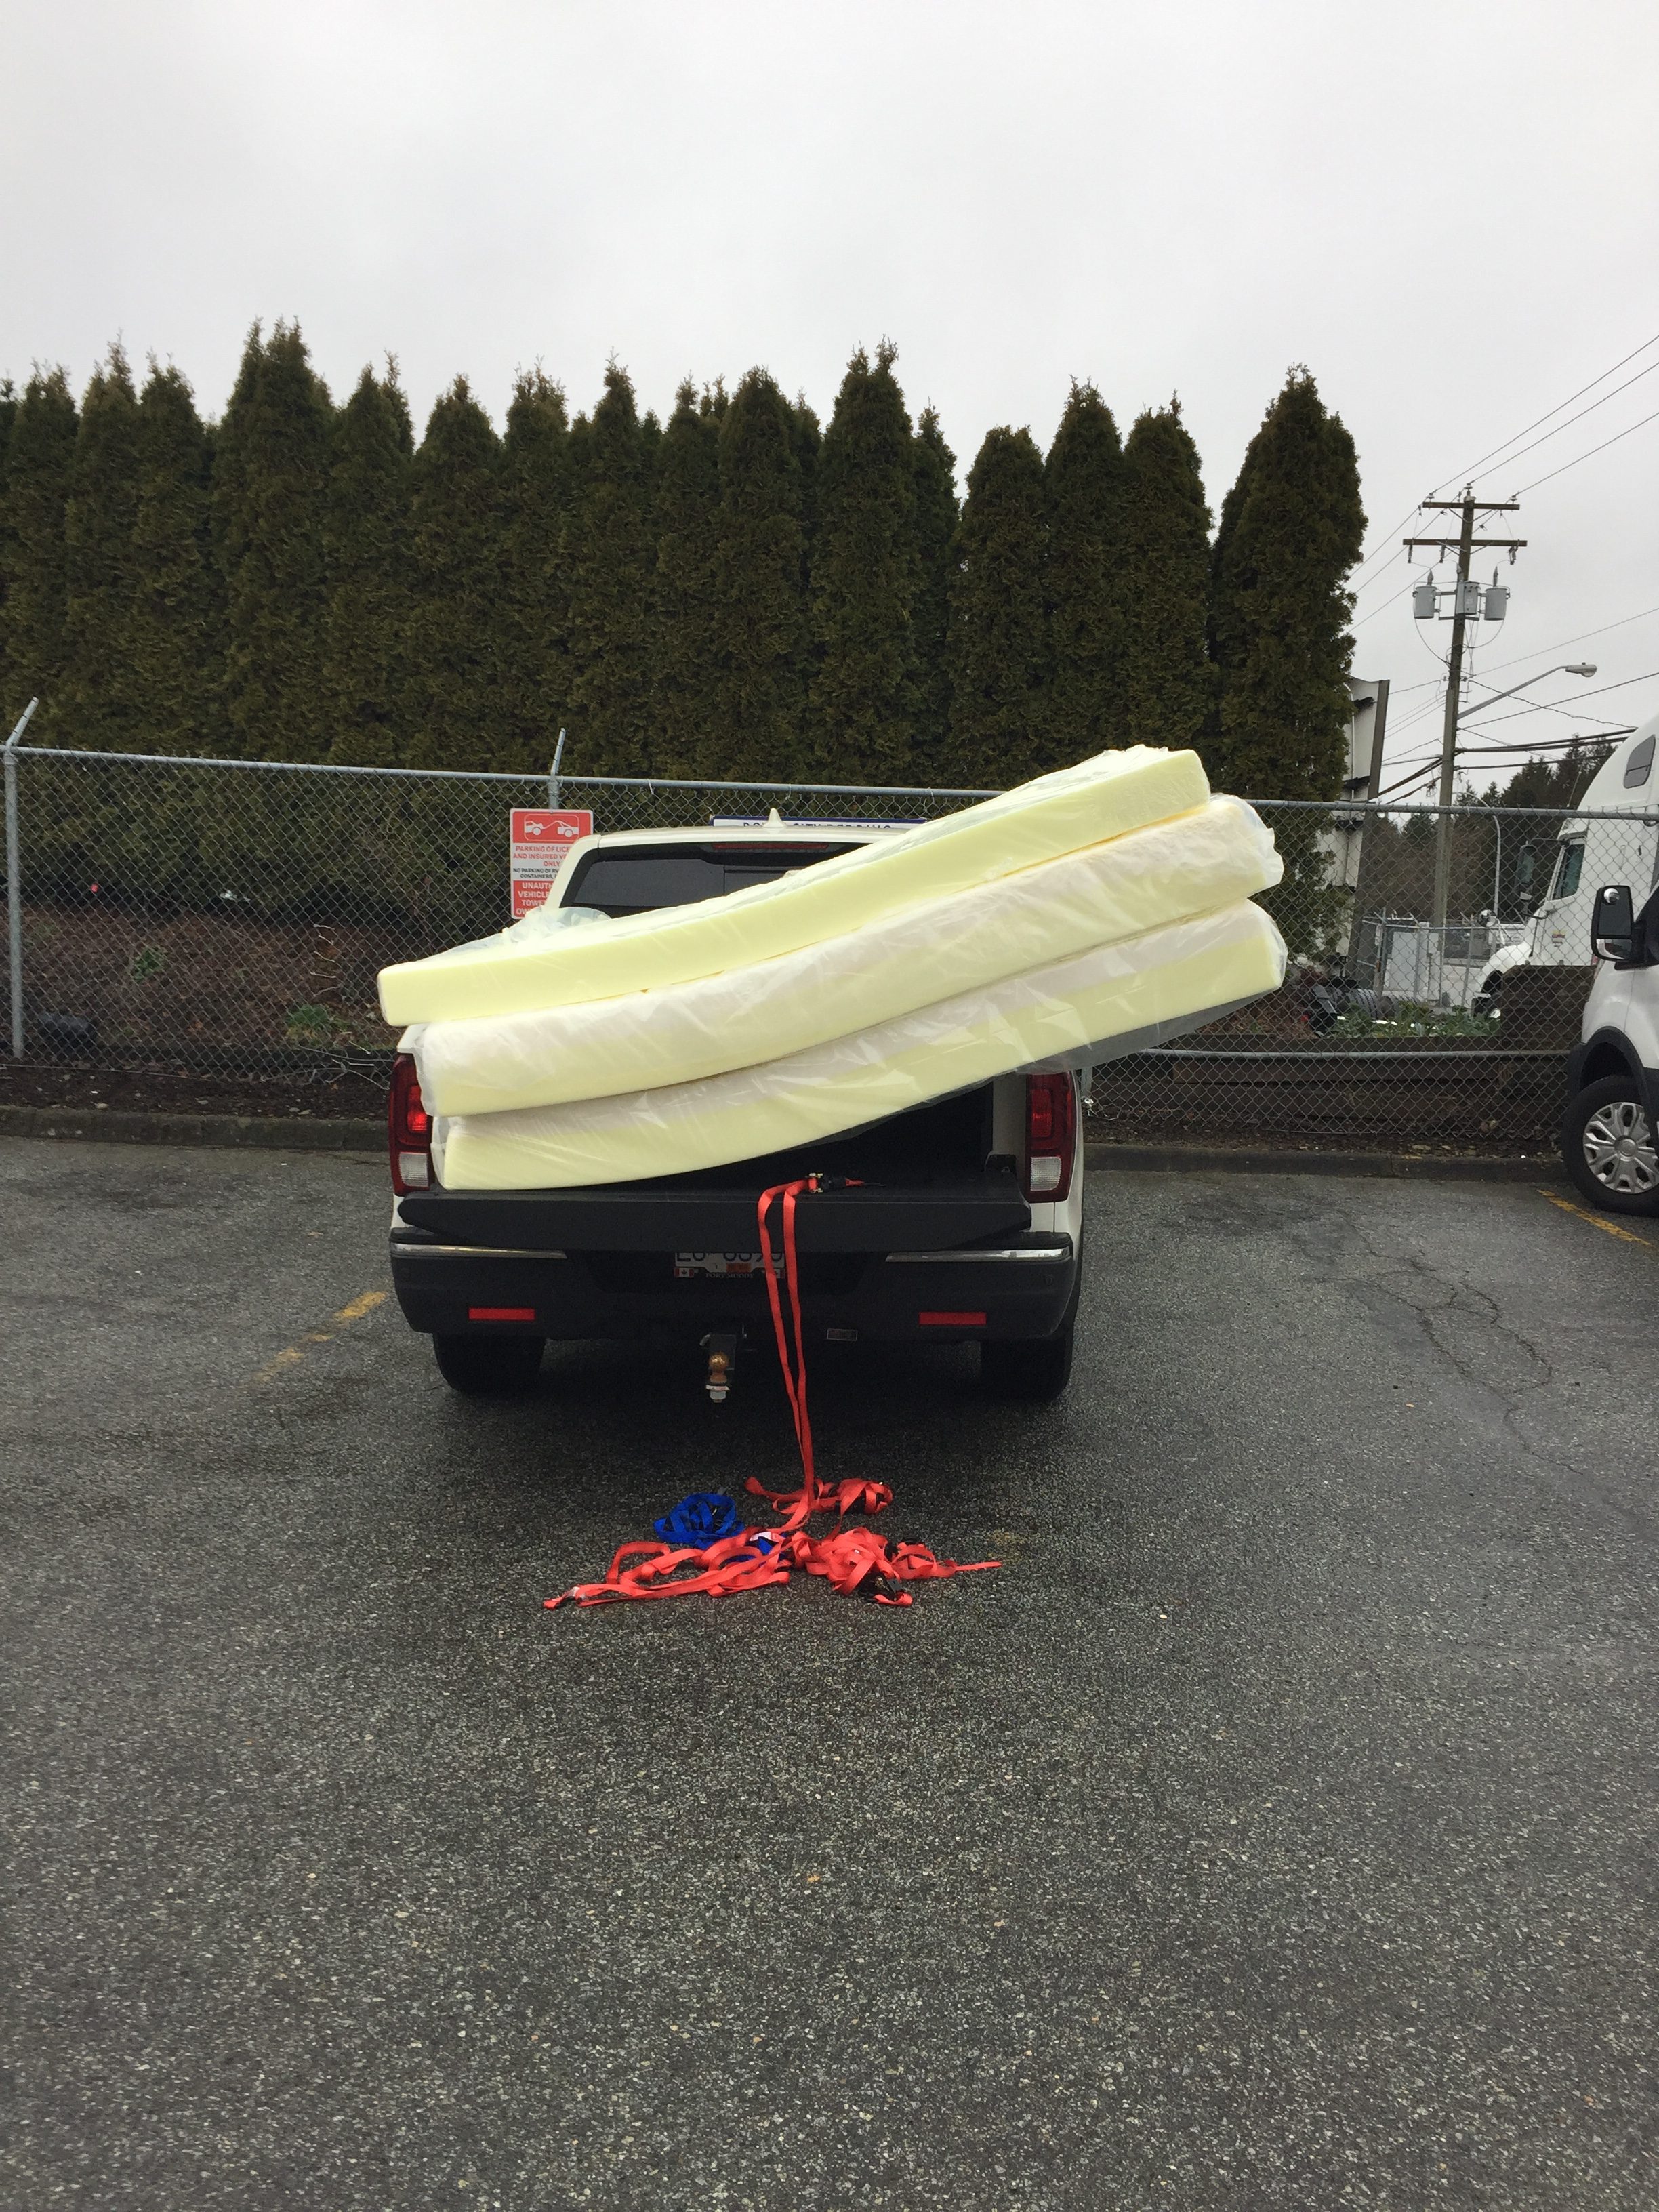
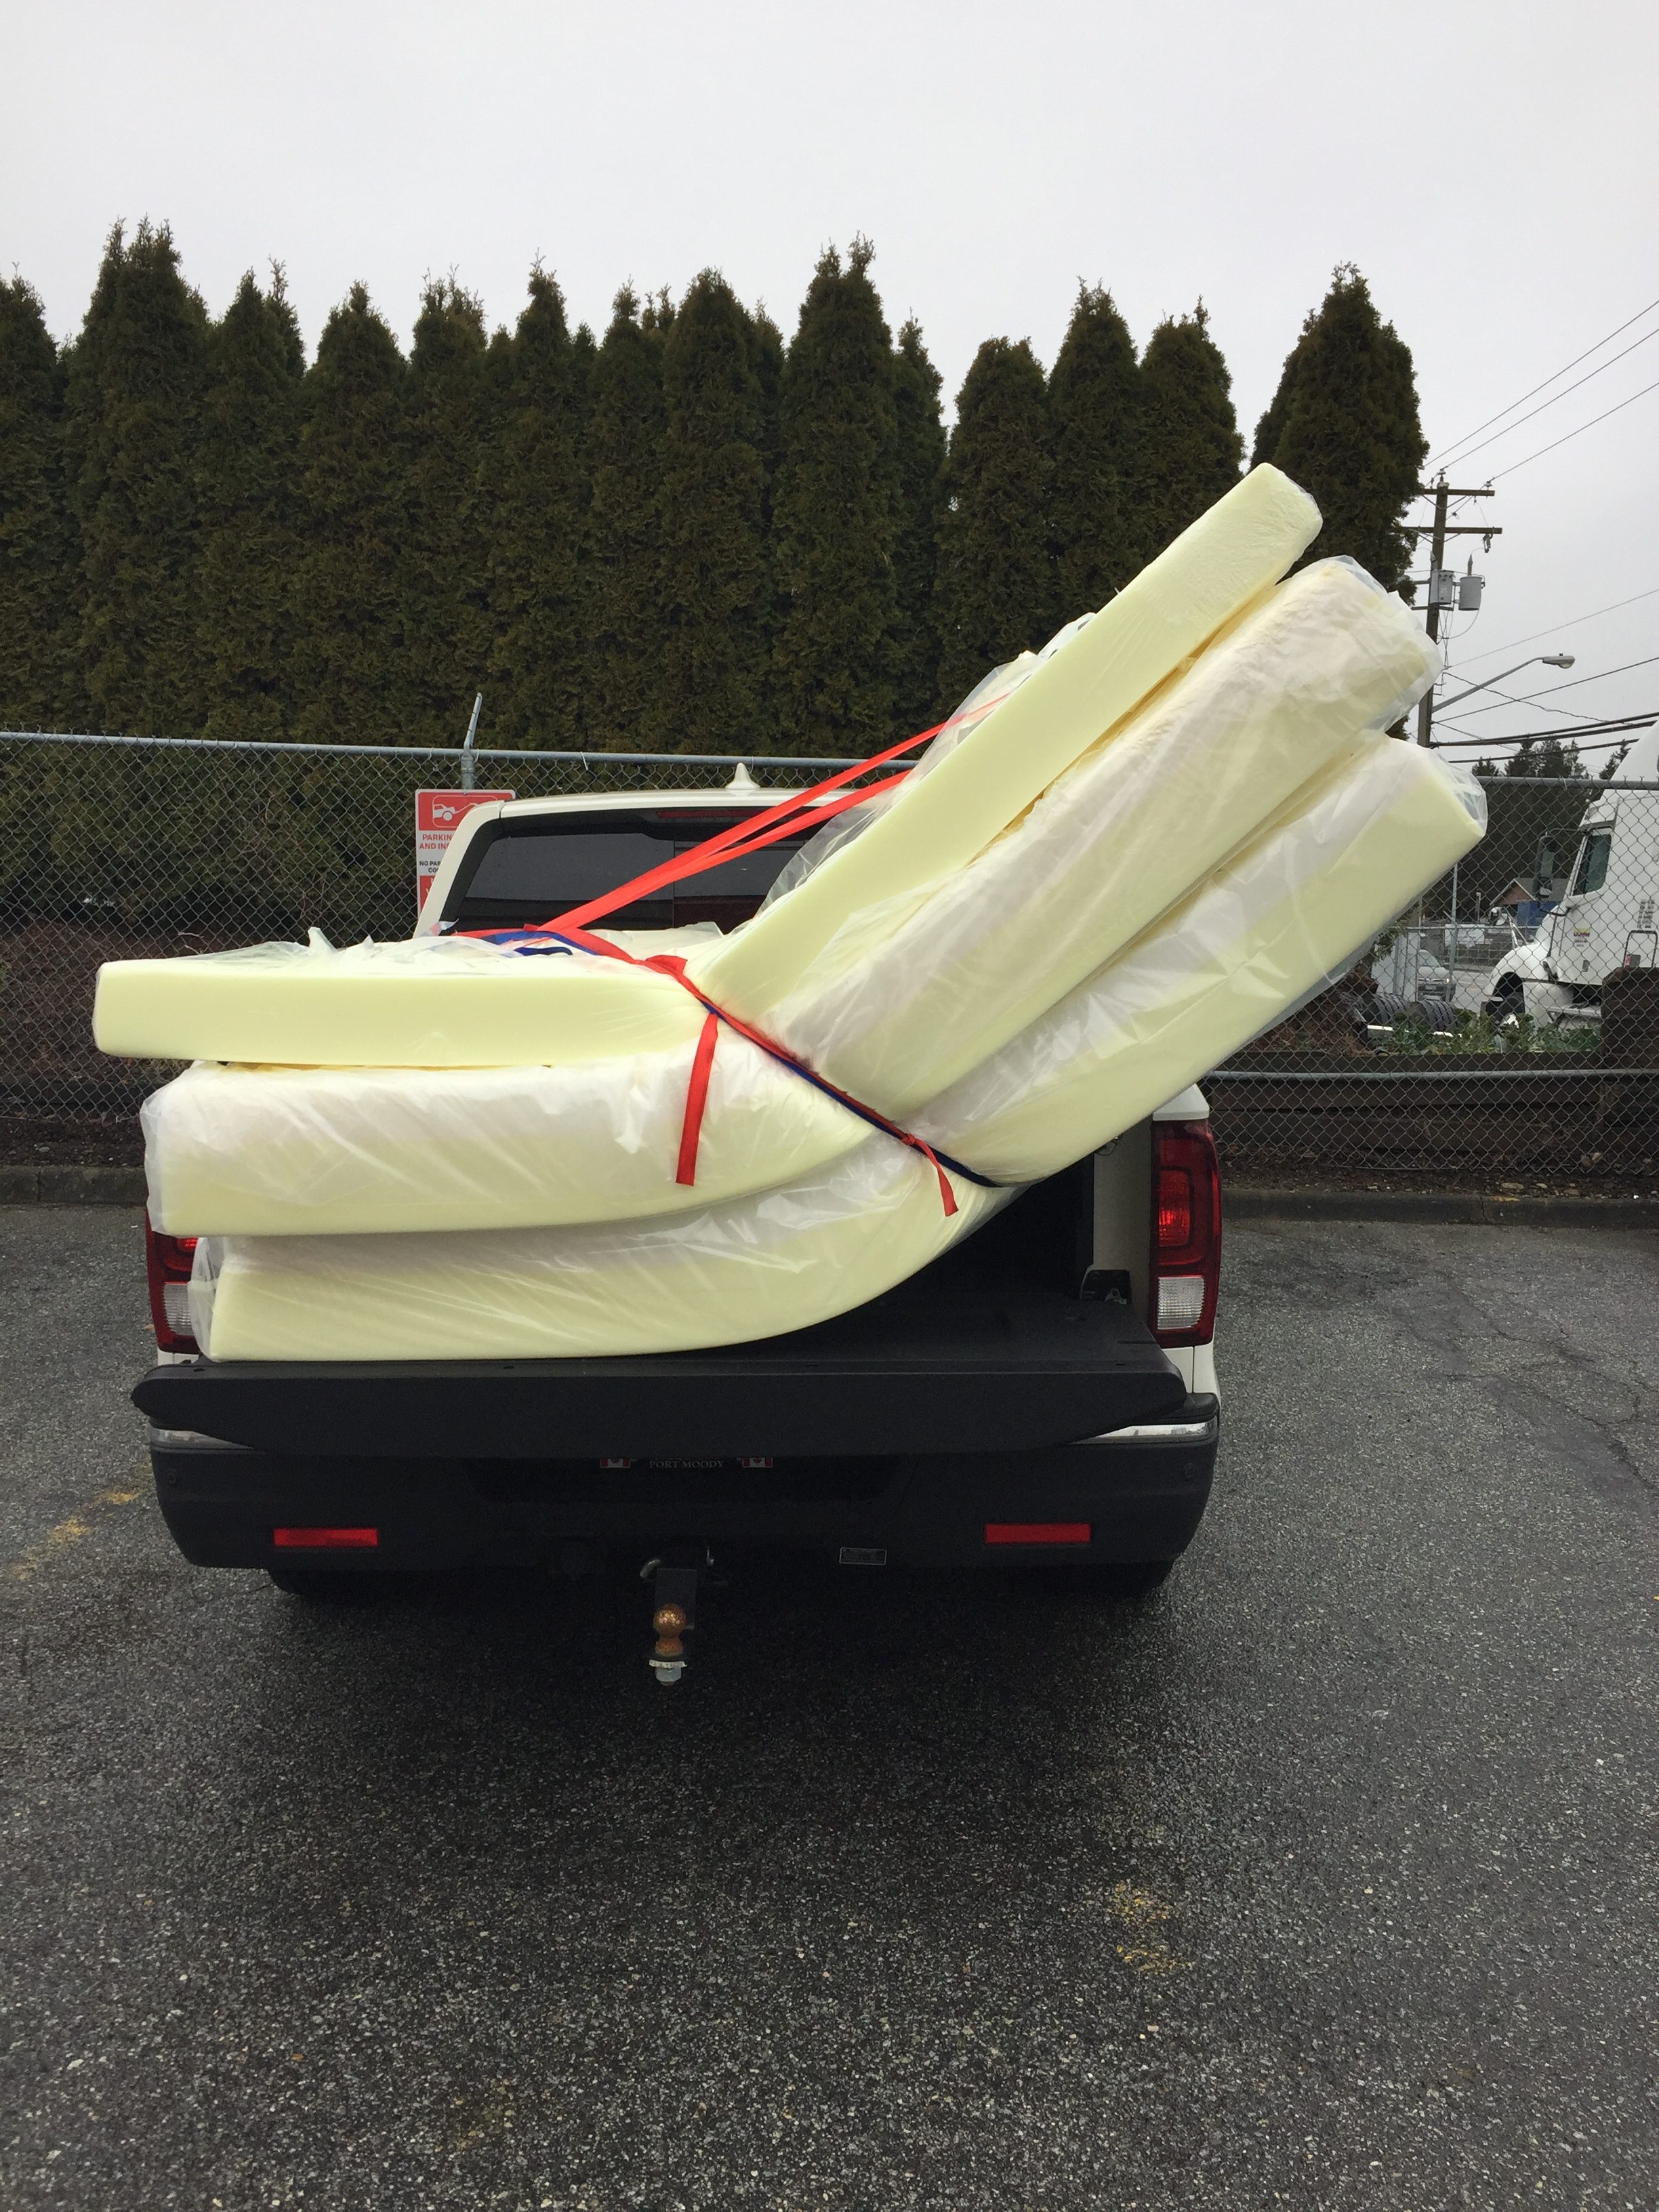
2 years ago at the boat show we picked the foam we were going to use and this year we purchased it. The aft cabin and the v berth will have 8 inches of foam, 5 inches of a firmer foam and 3 inches of a softer foam glued together. The main salon has 5 inches of the harder foam. We went with a harder foam in the main salon to deter extra over night guests, joke 🙂 , because we wanted the cushions to last as long as possible and we all know that in time they will soften.

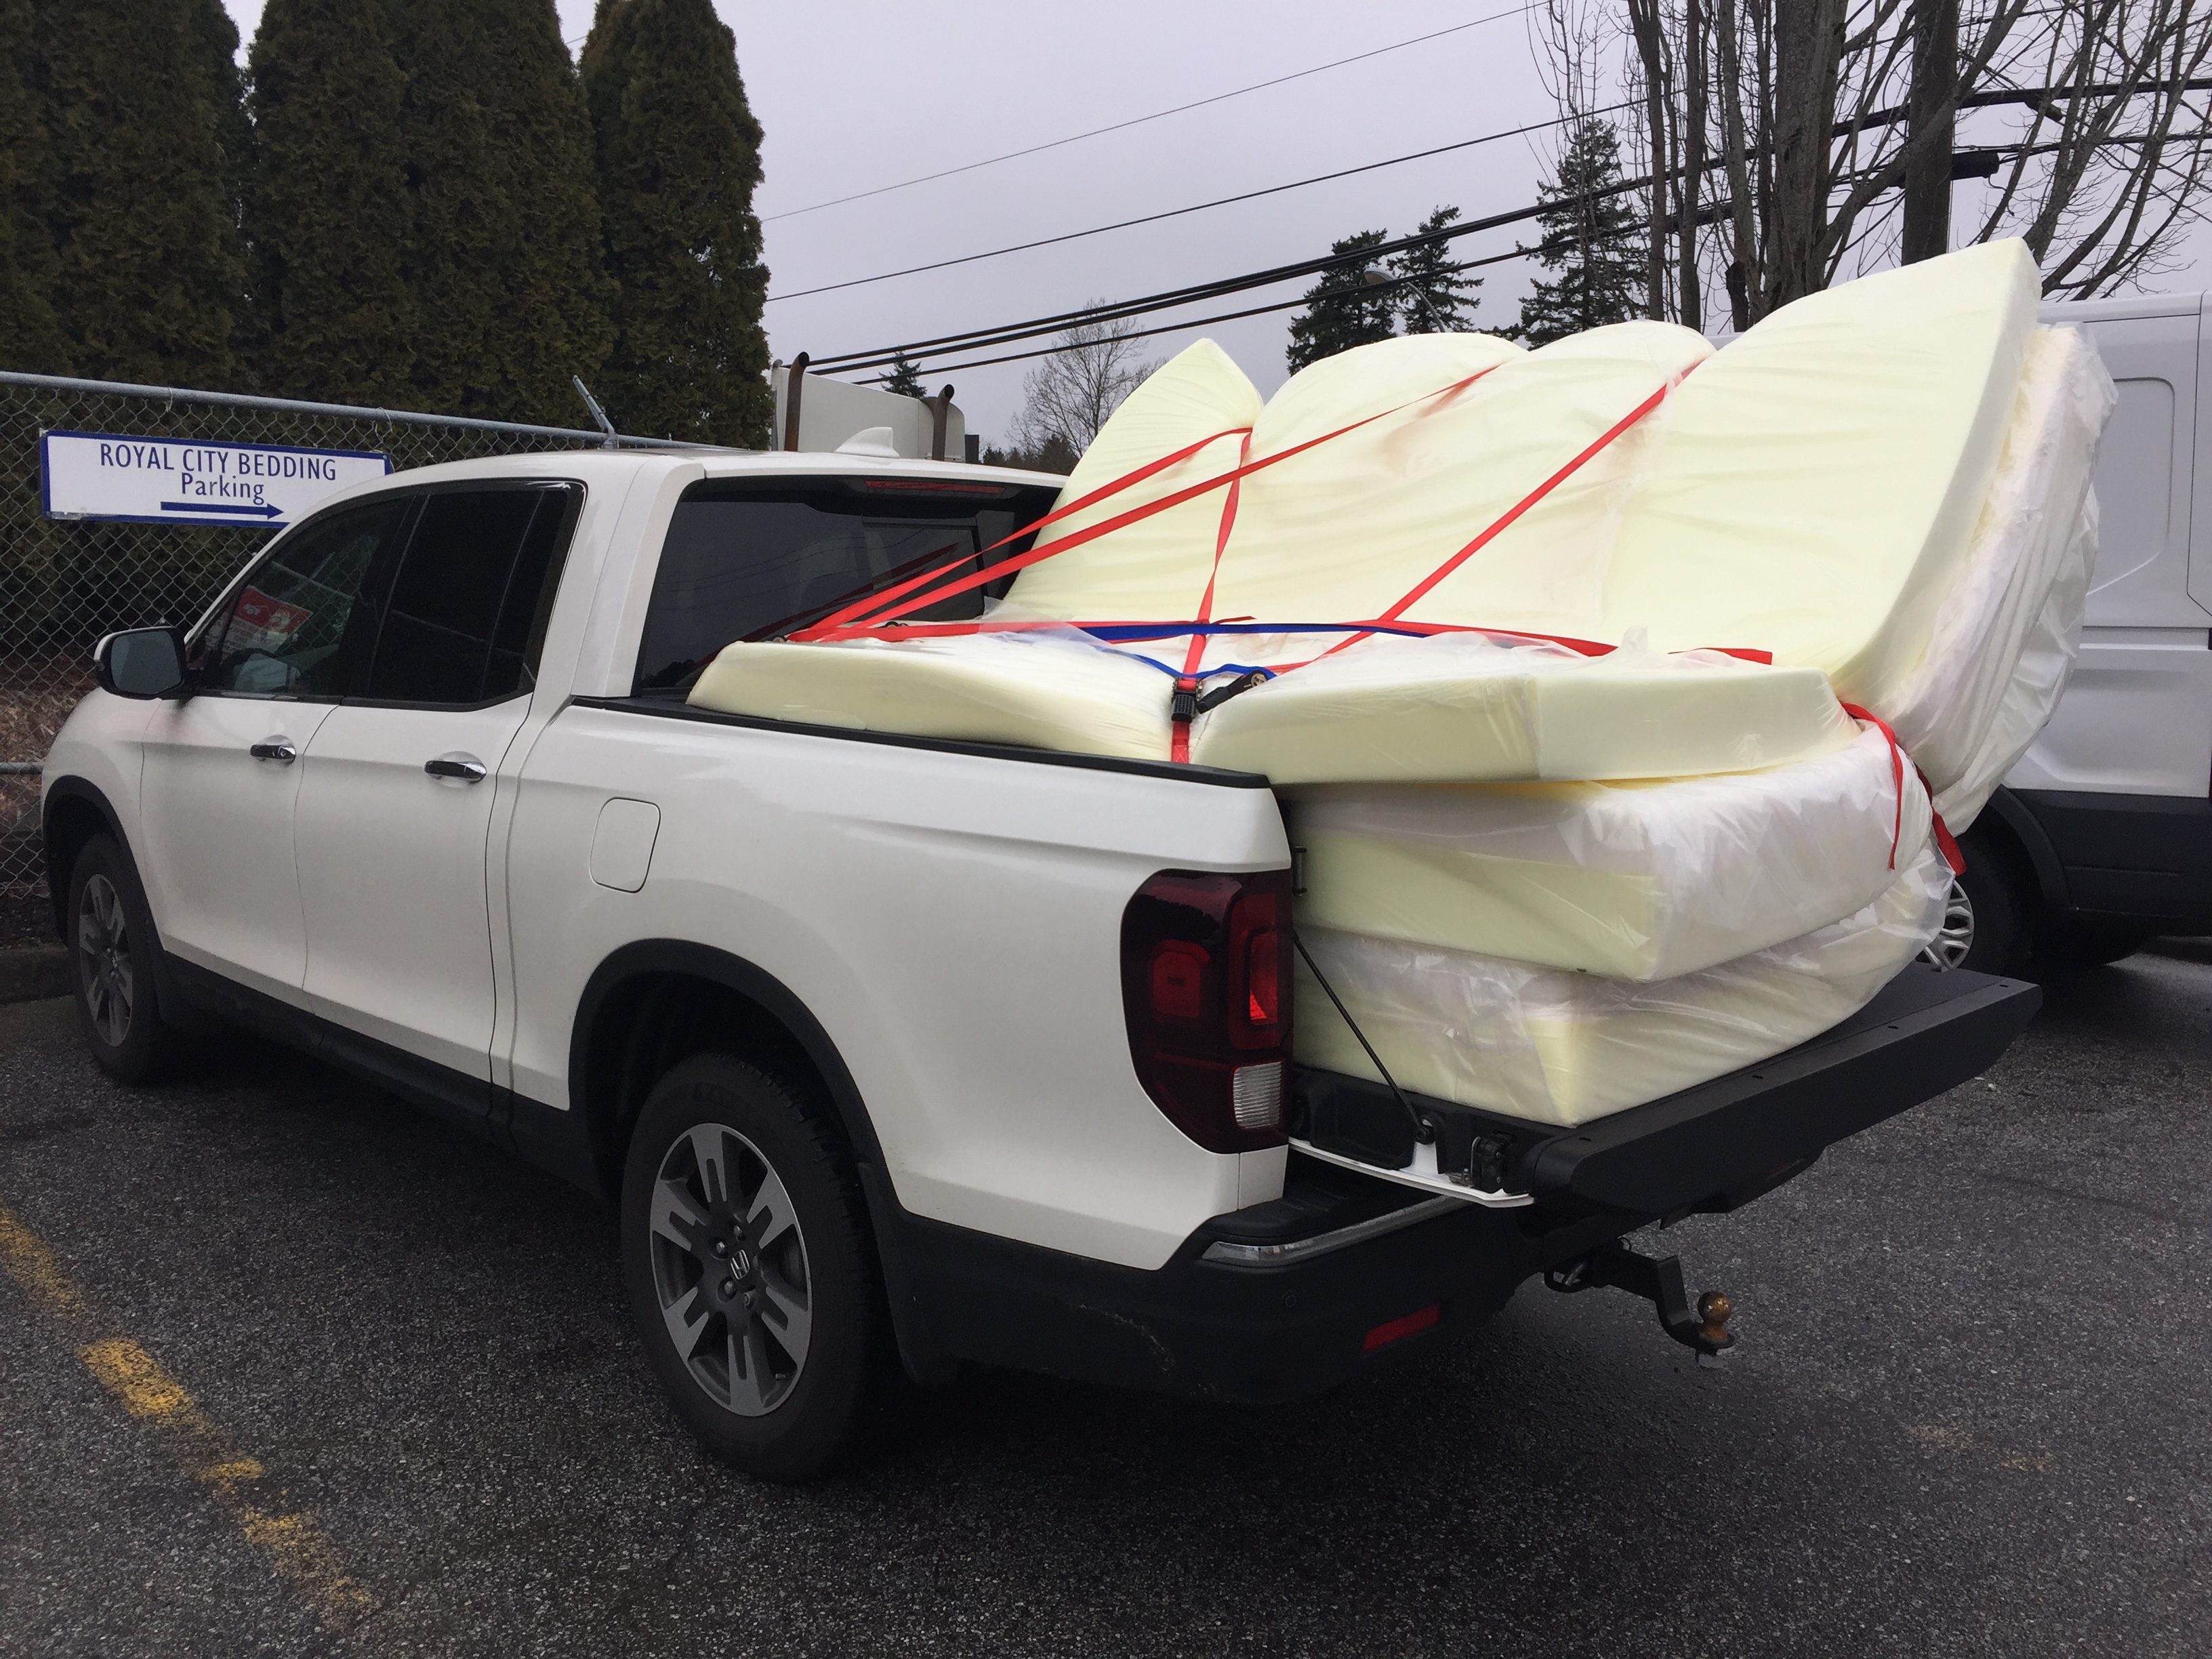
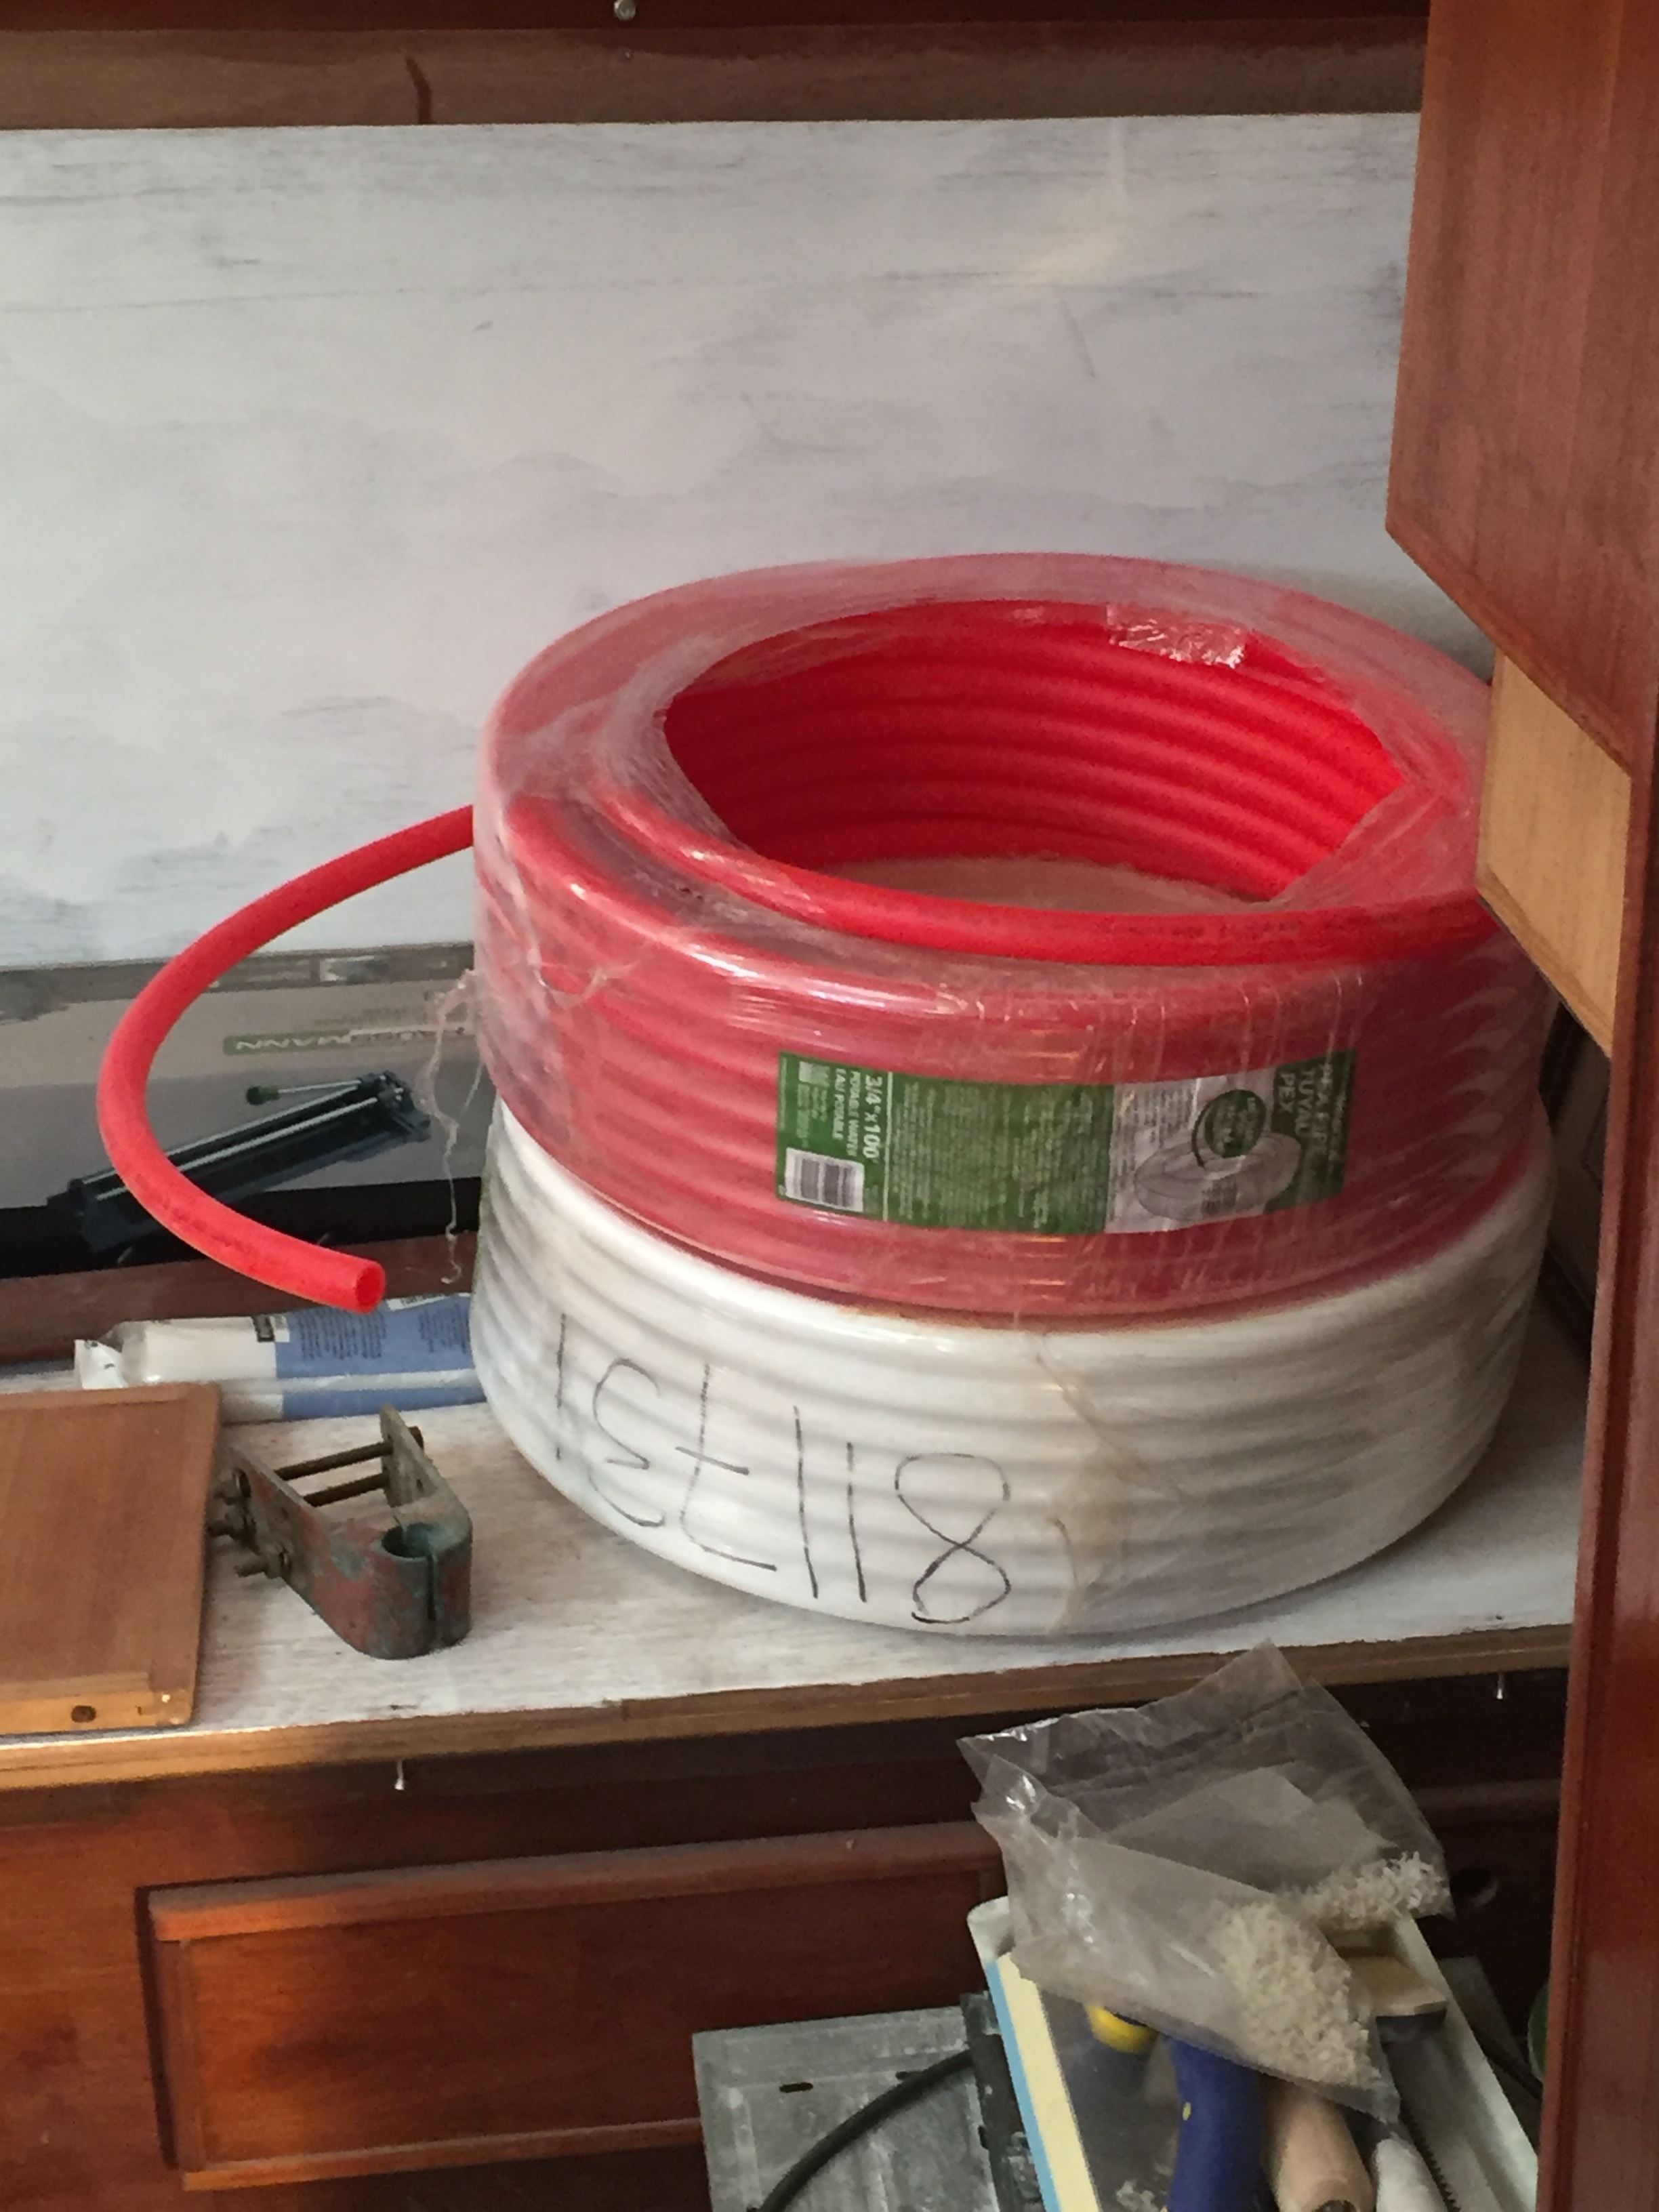
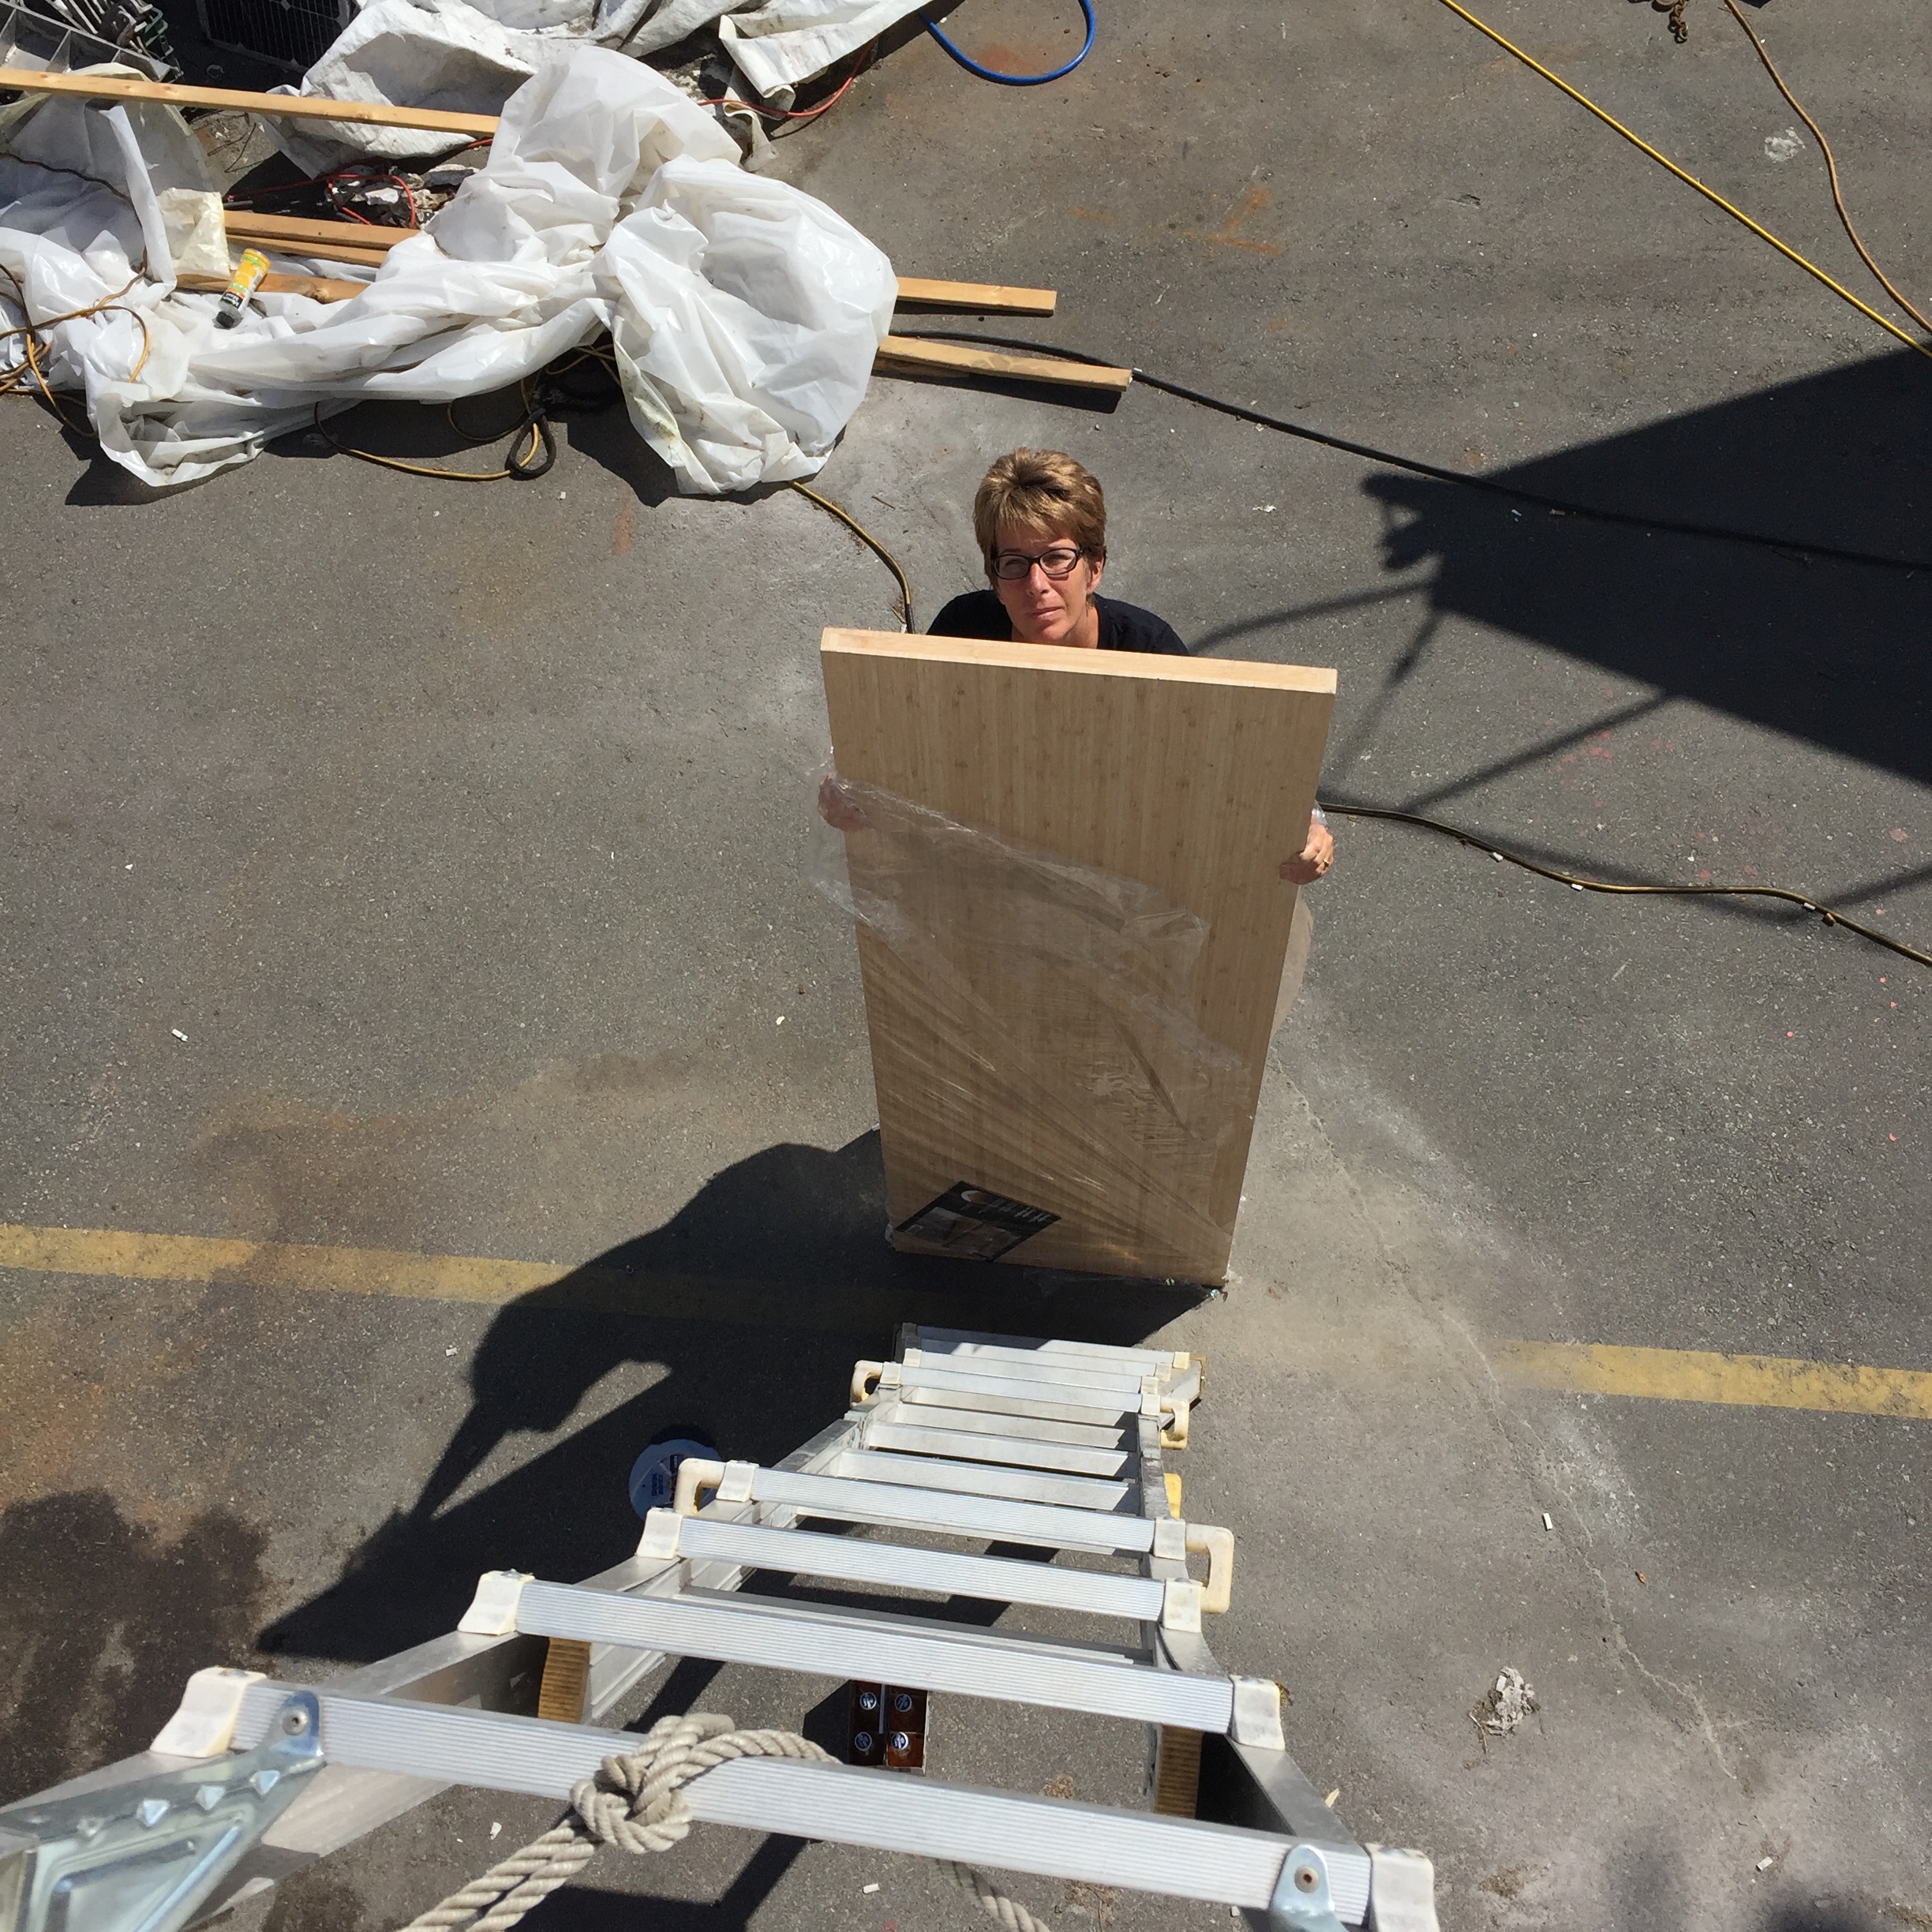
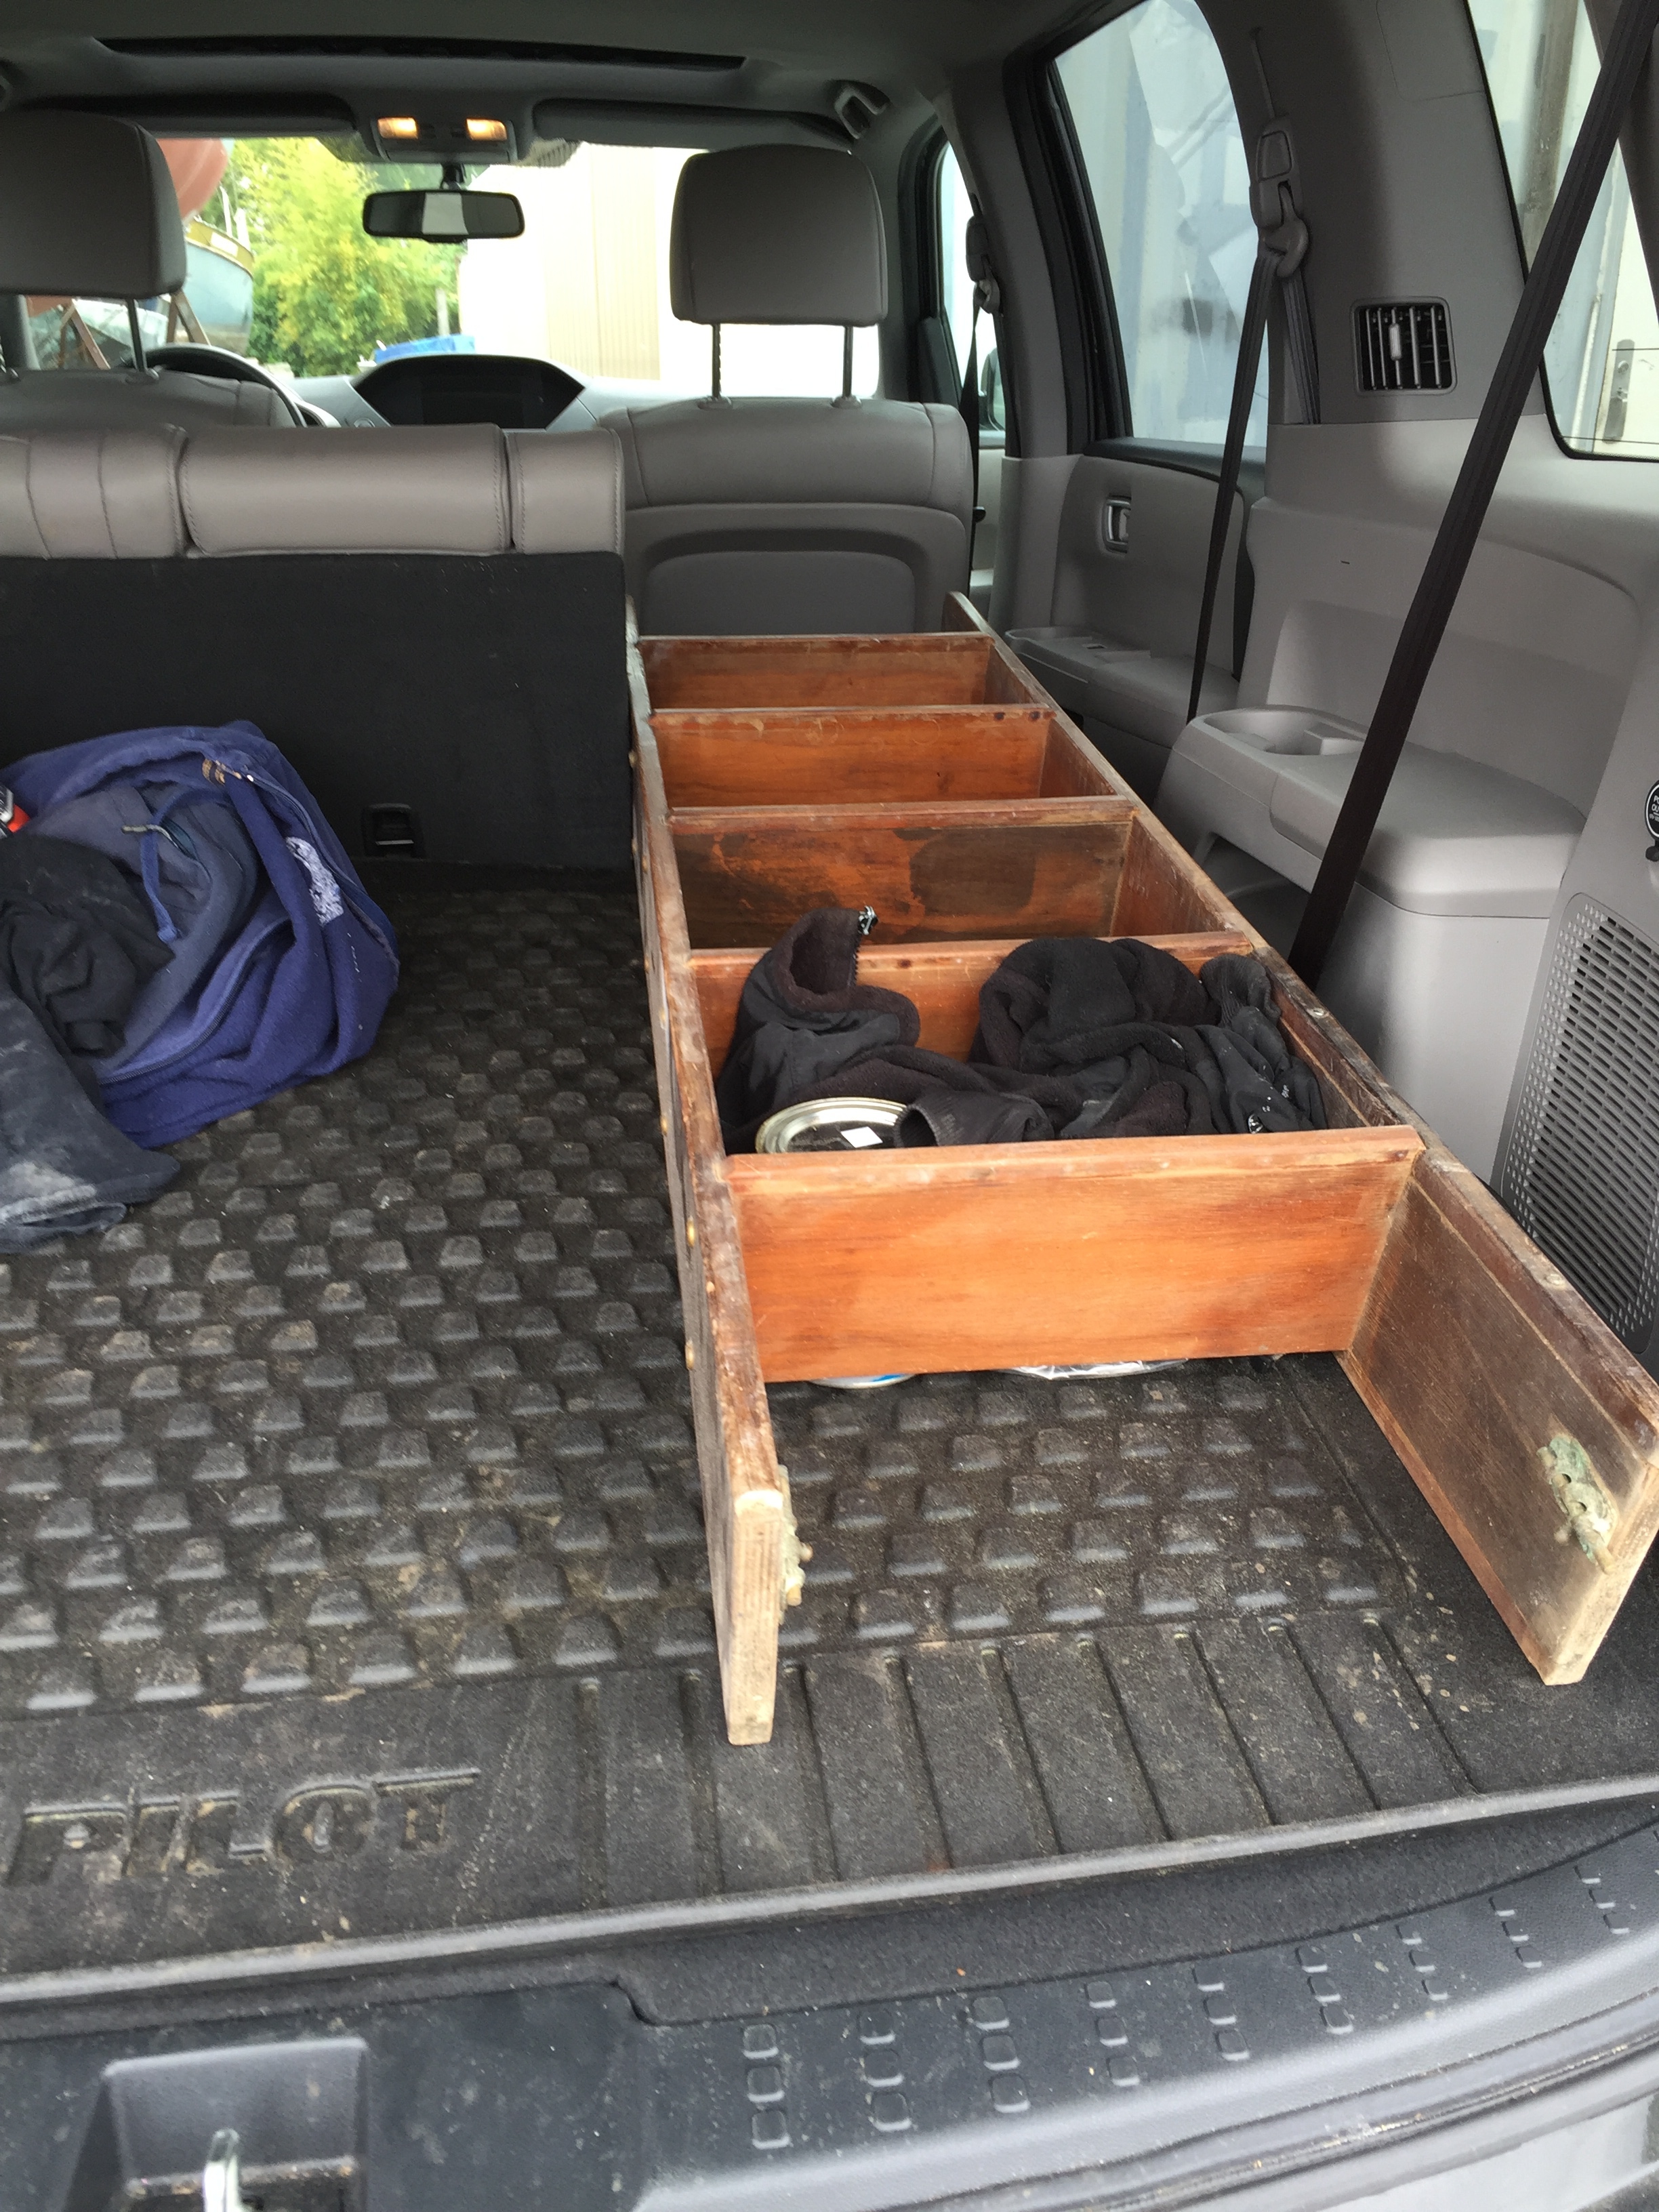
Fitting 3 King size pieces of foam, 2 8″ thick and one 5″ thick into my truck was a little challenging, but we managed.

I have made cushions for boats in the past but on a home sewing machine and just reusing the old foam. They didn’t look too bad but they were very simple boxes and there was a lot of room for improvement. The second time I made them, for our Alberg 30, we paid to have the main salon cushions made and were less than impressed so I made the v berth. This time, I guess I am putting my money where my mouth is, and doing ALL of the cushions/mattresses.

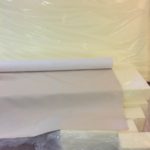
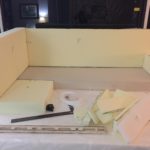
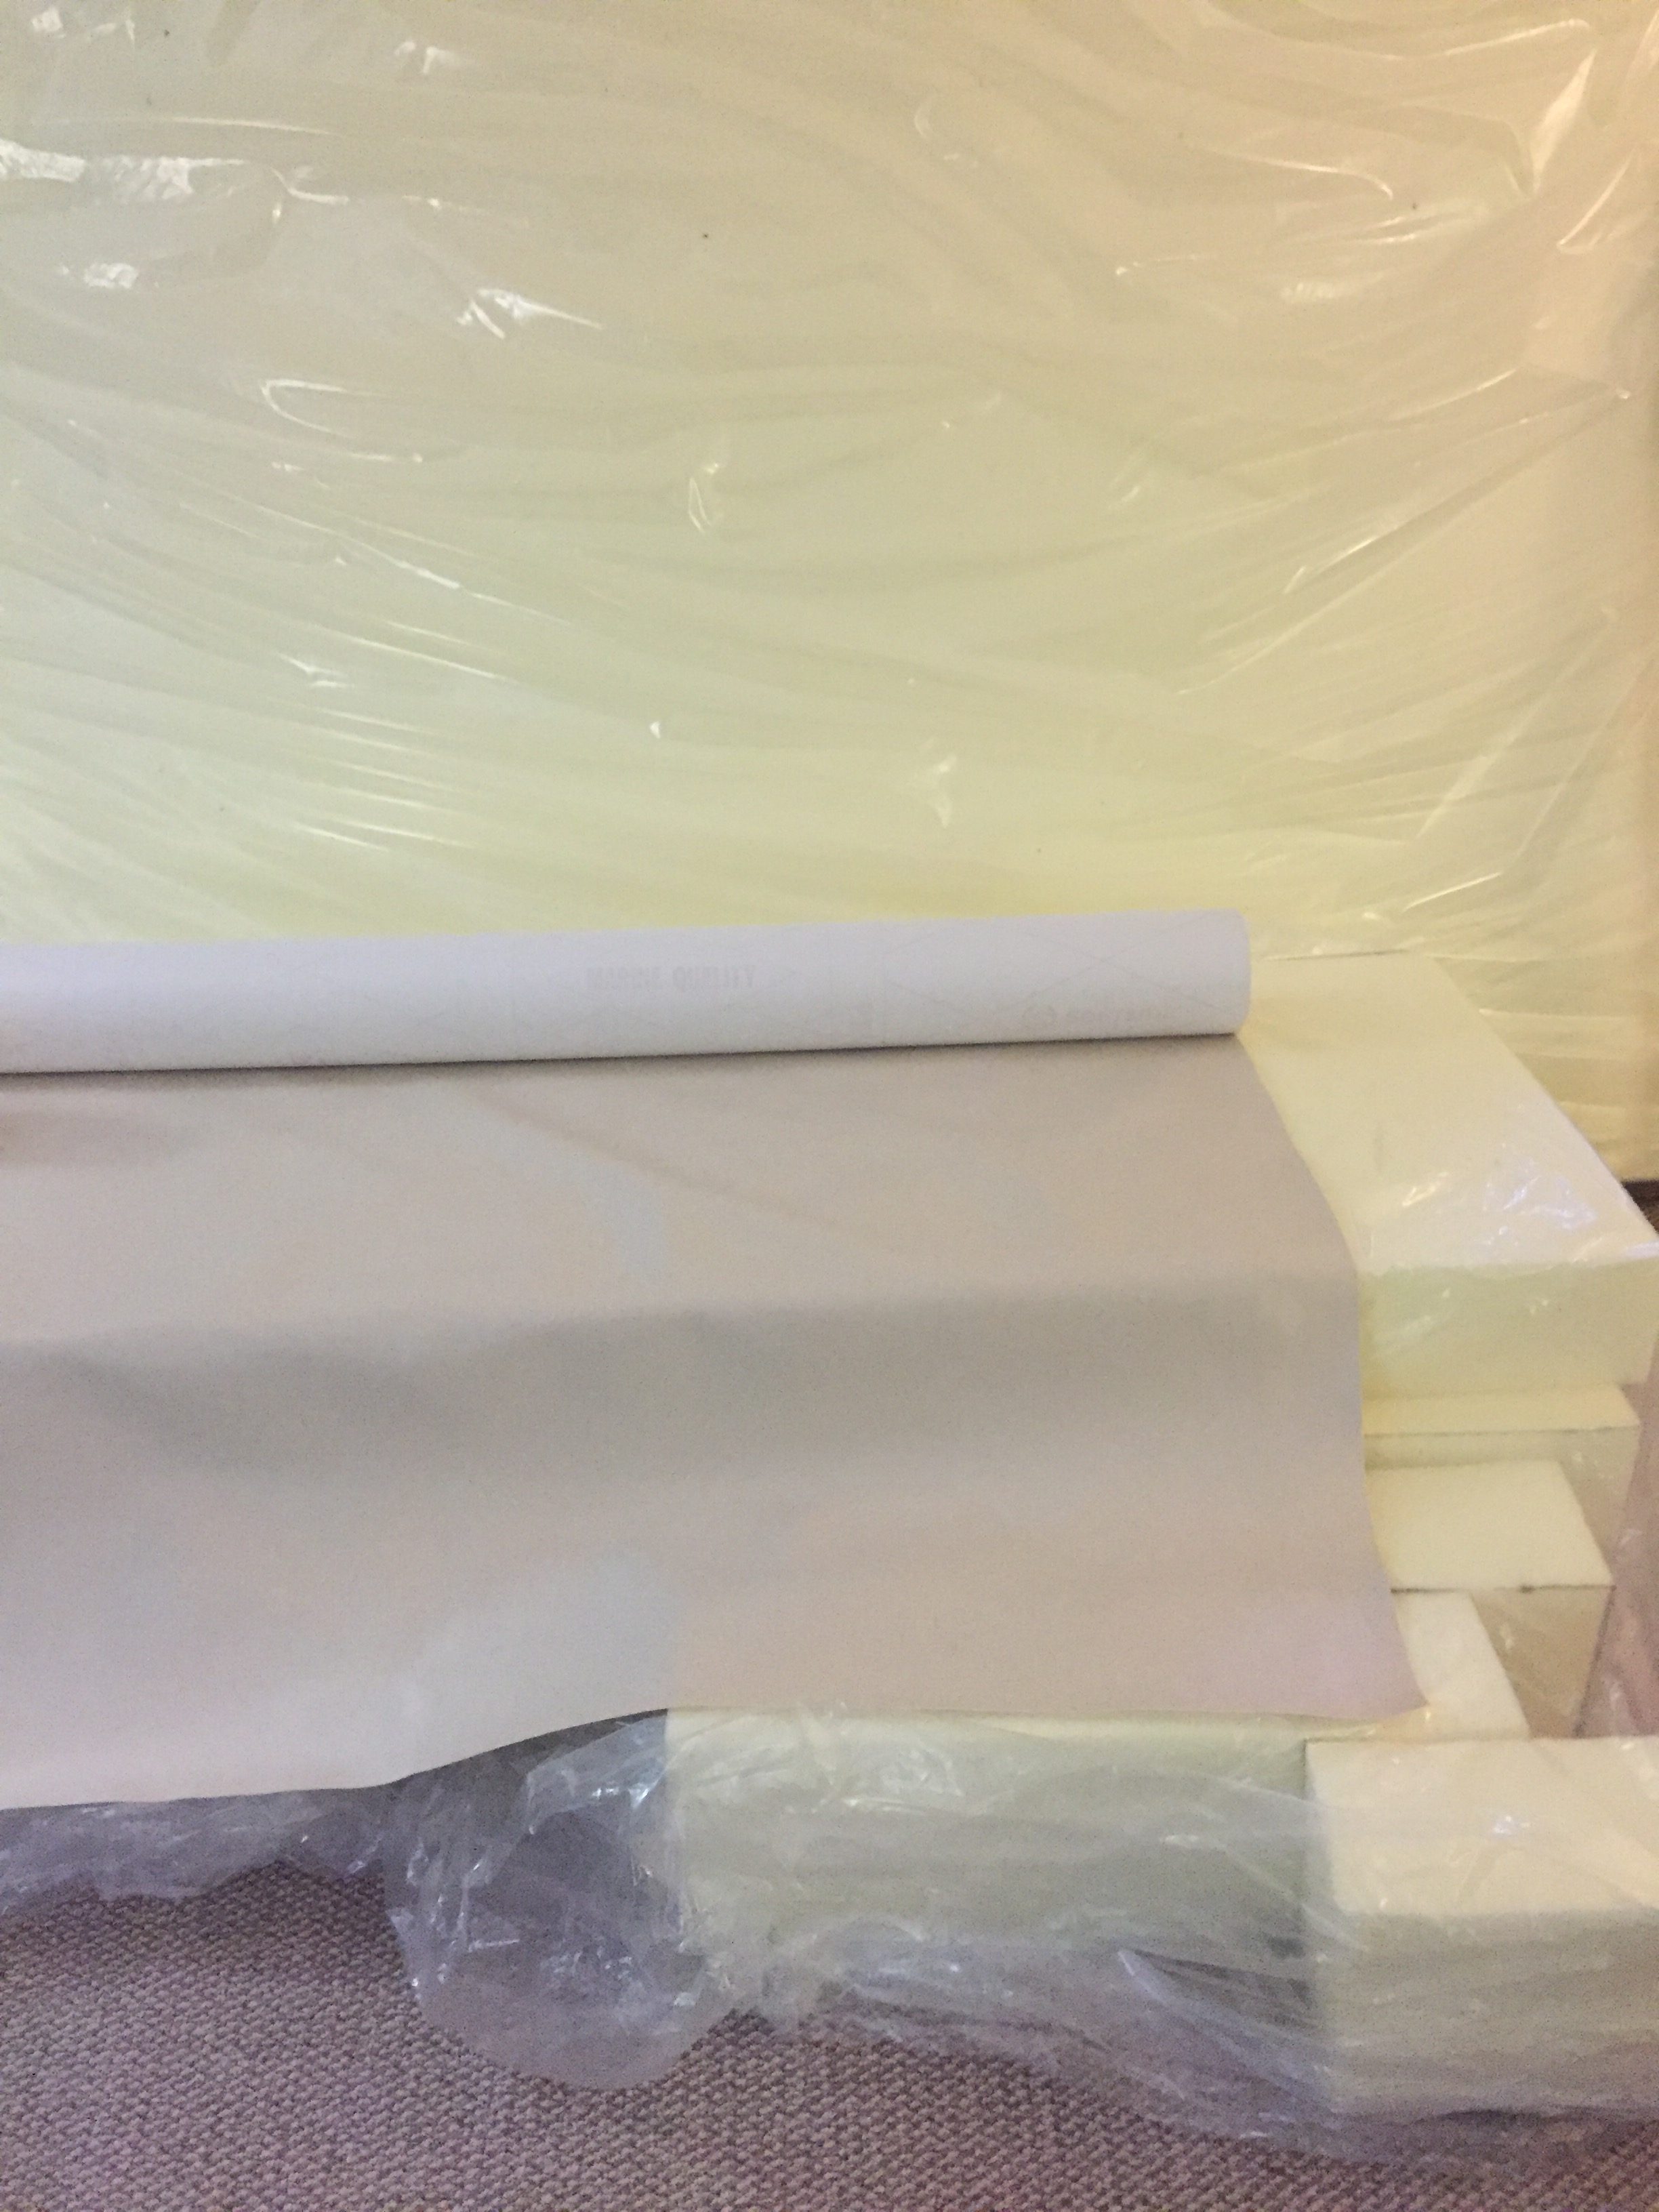
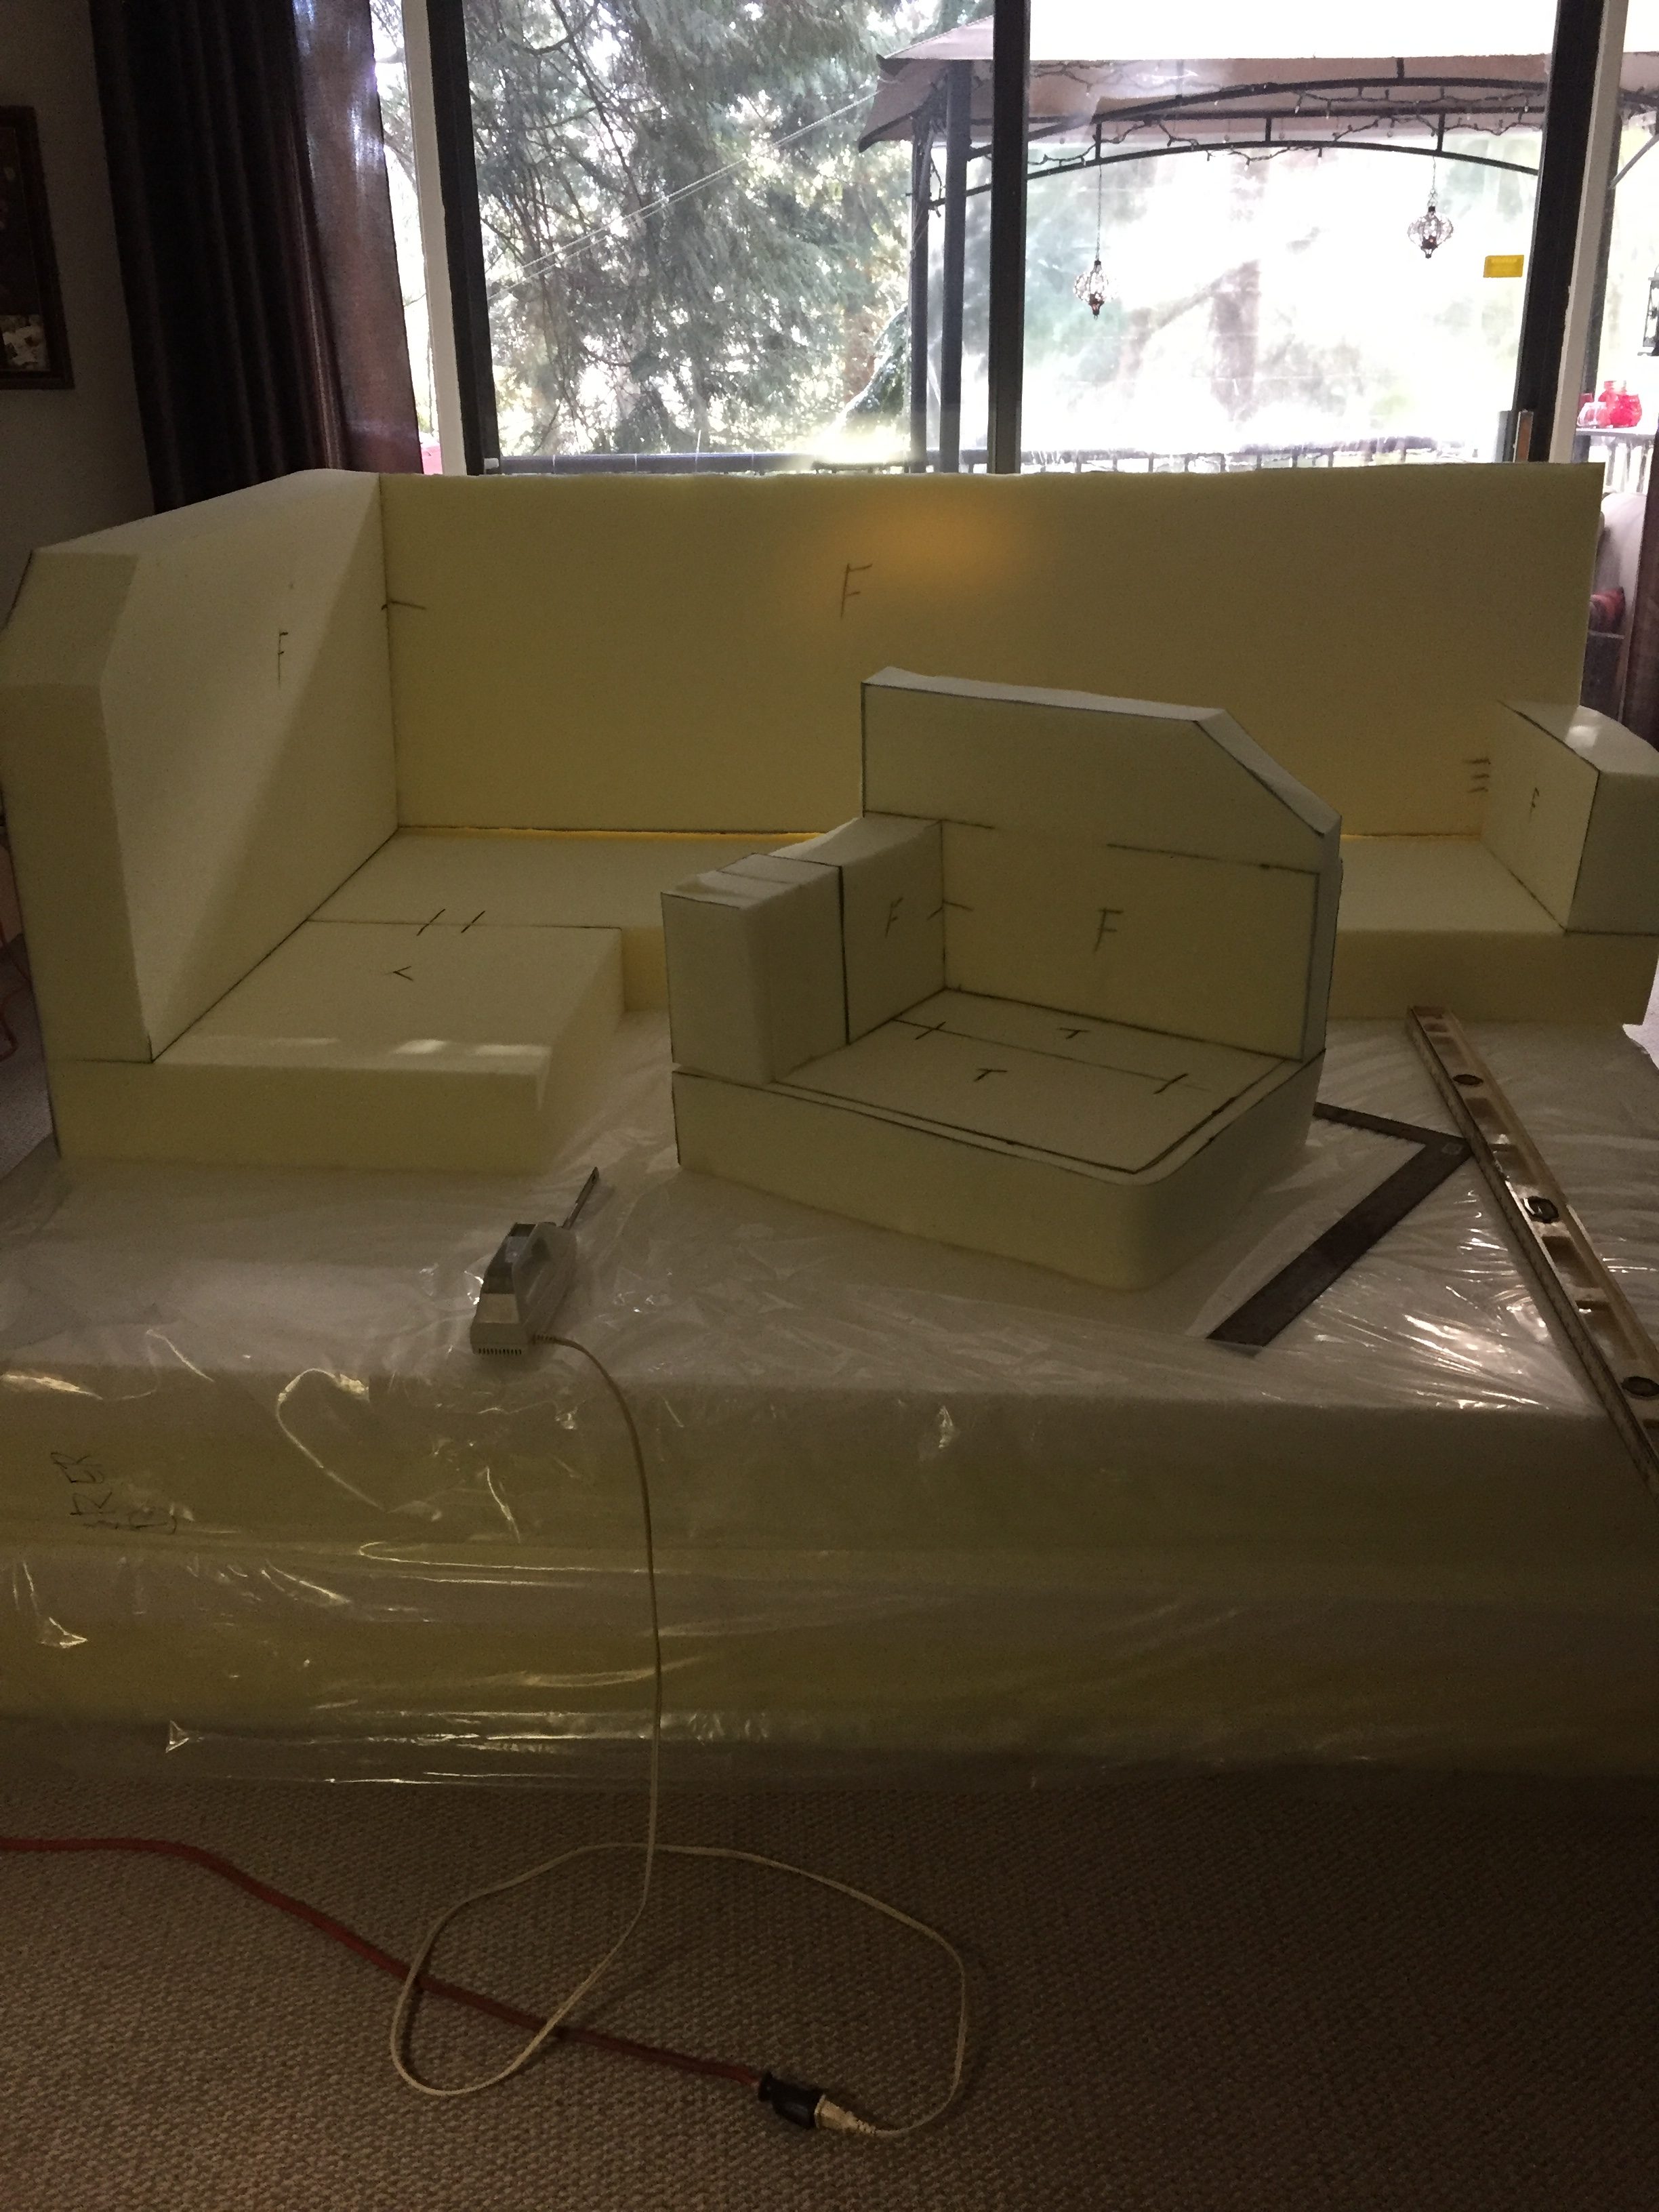
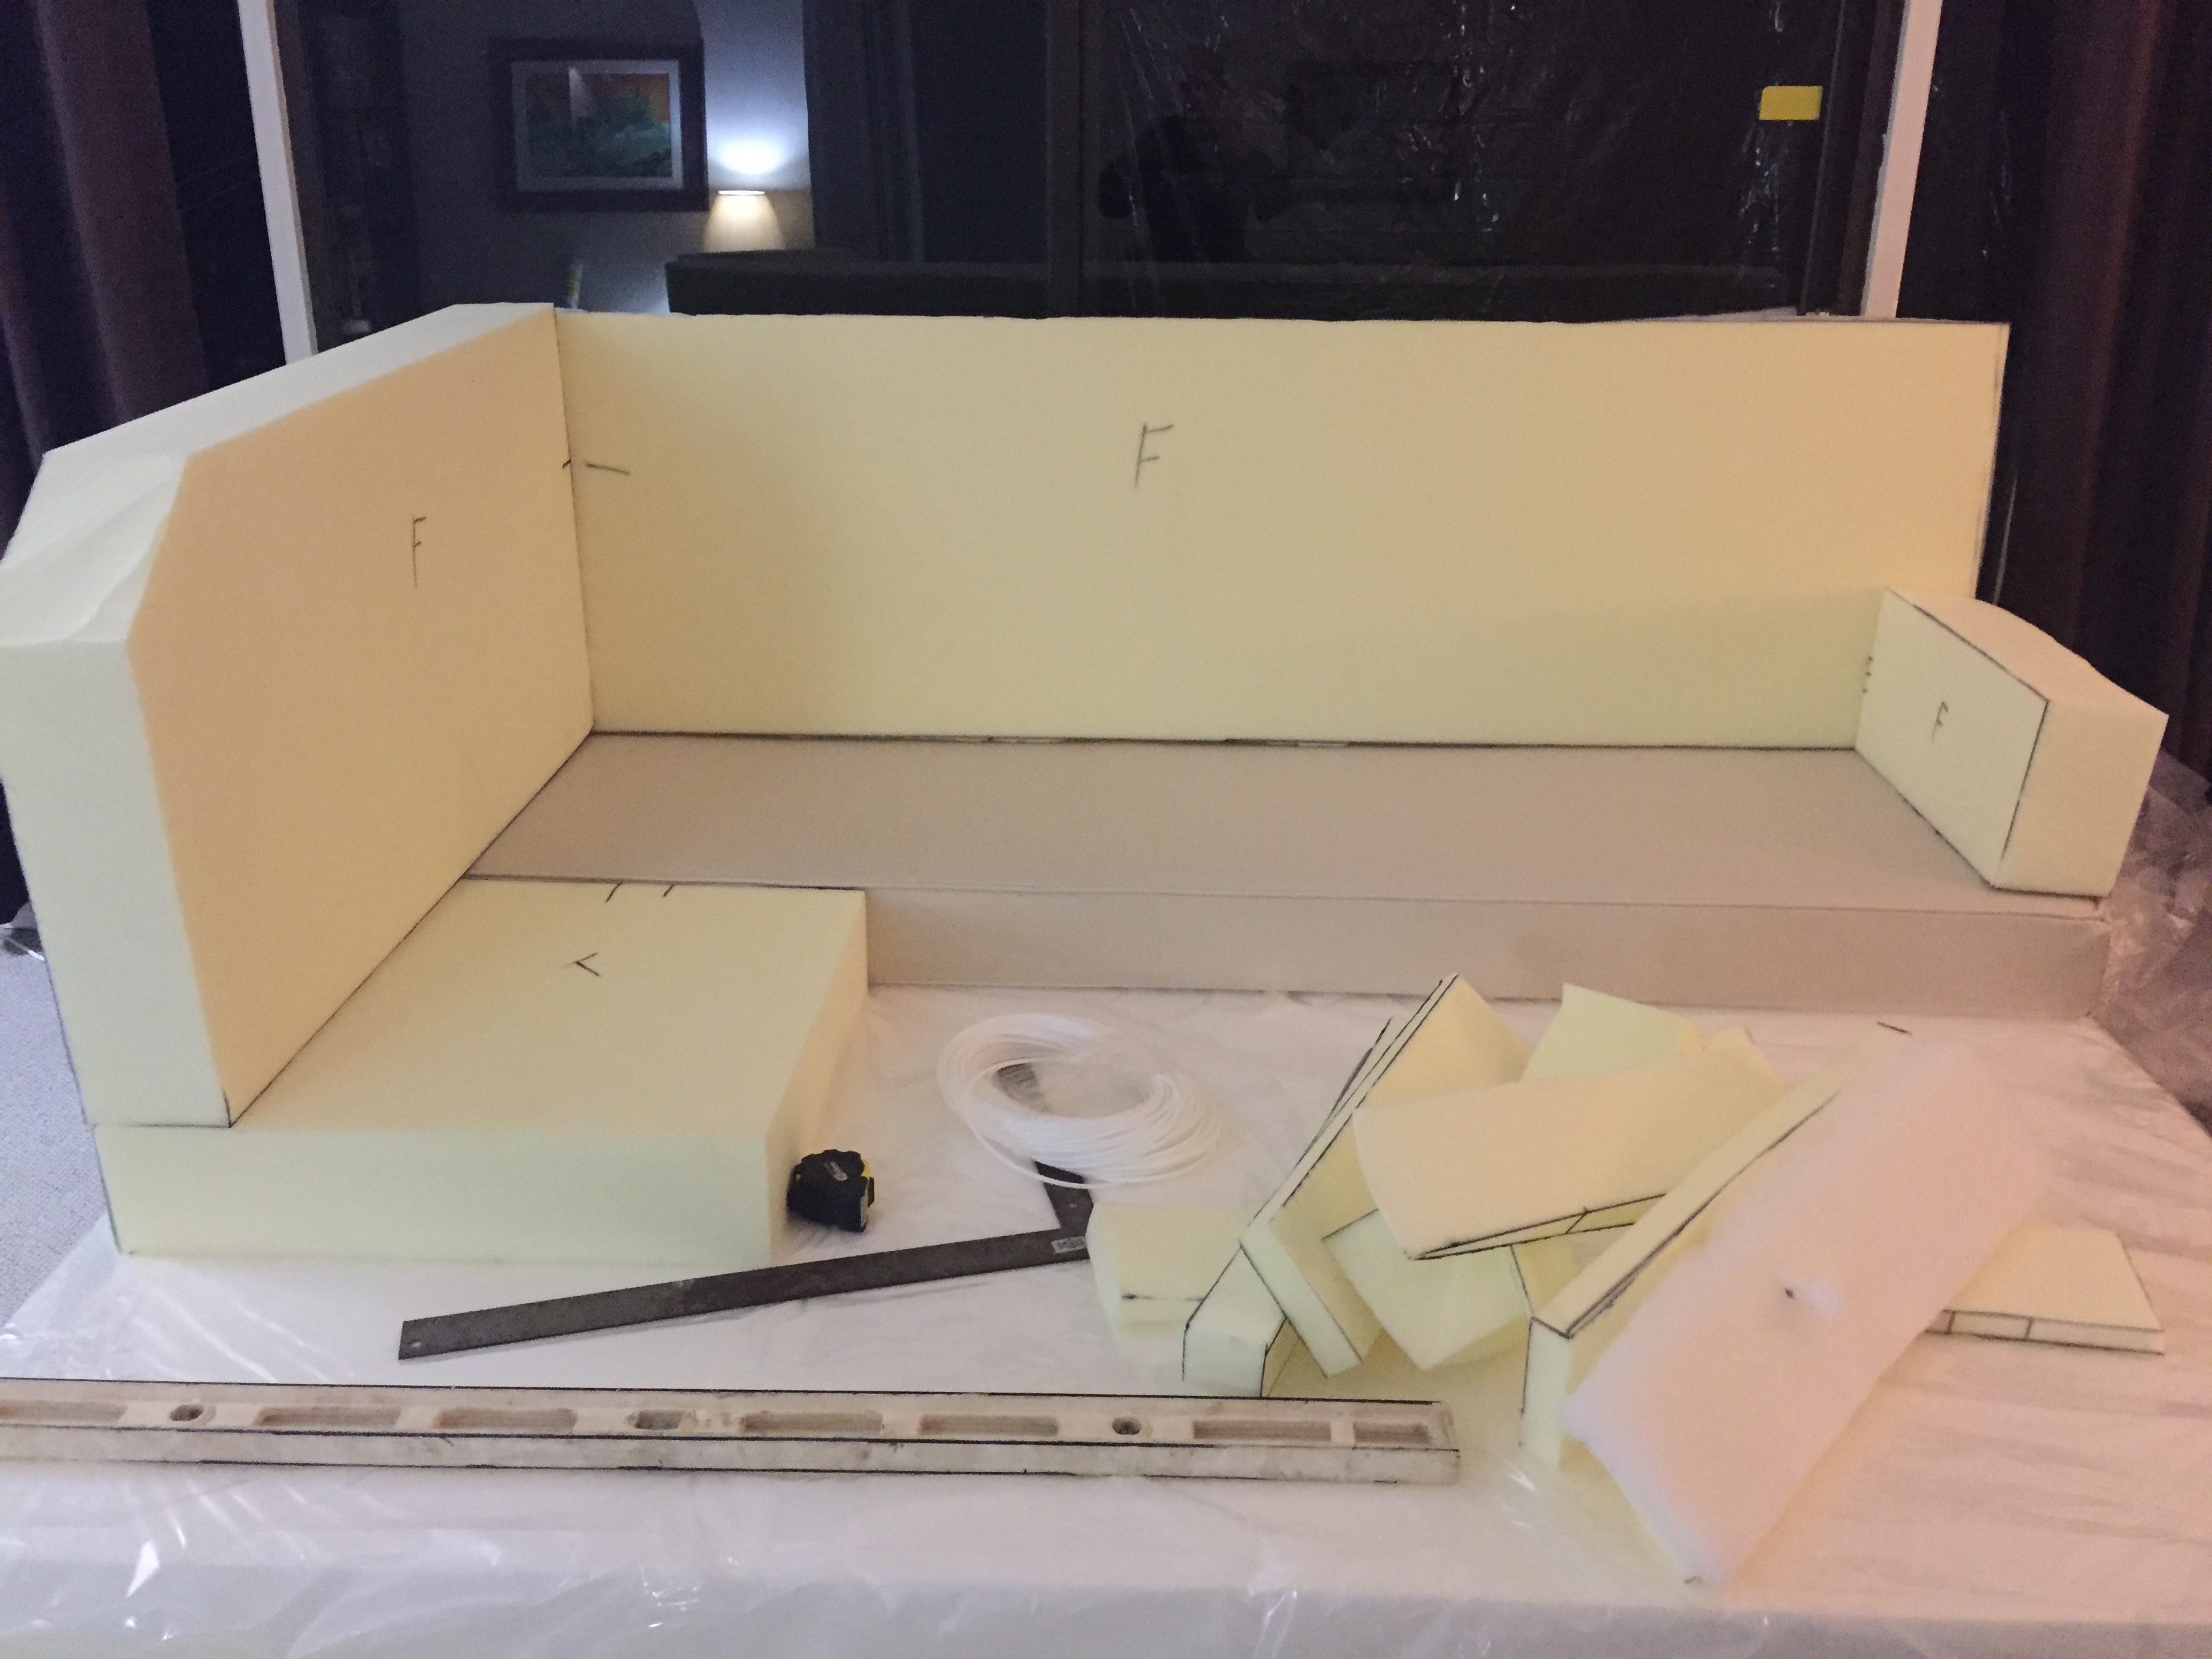
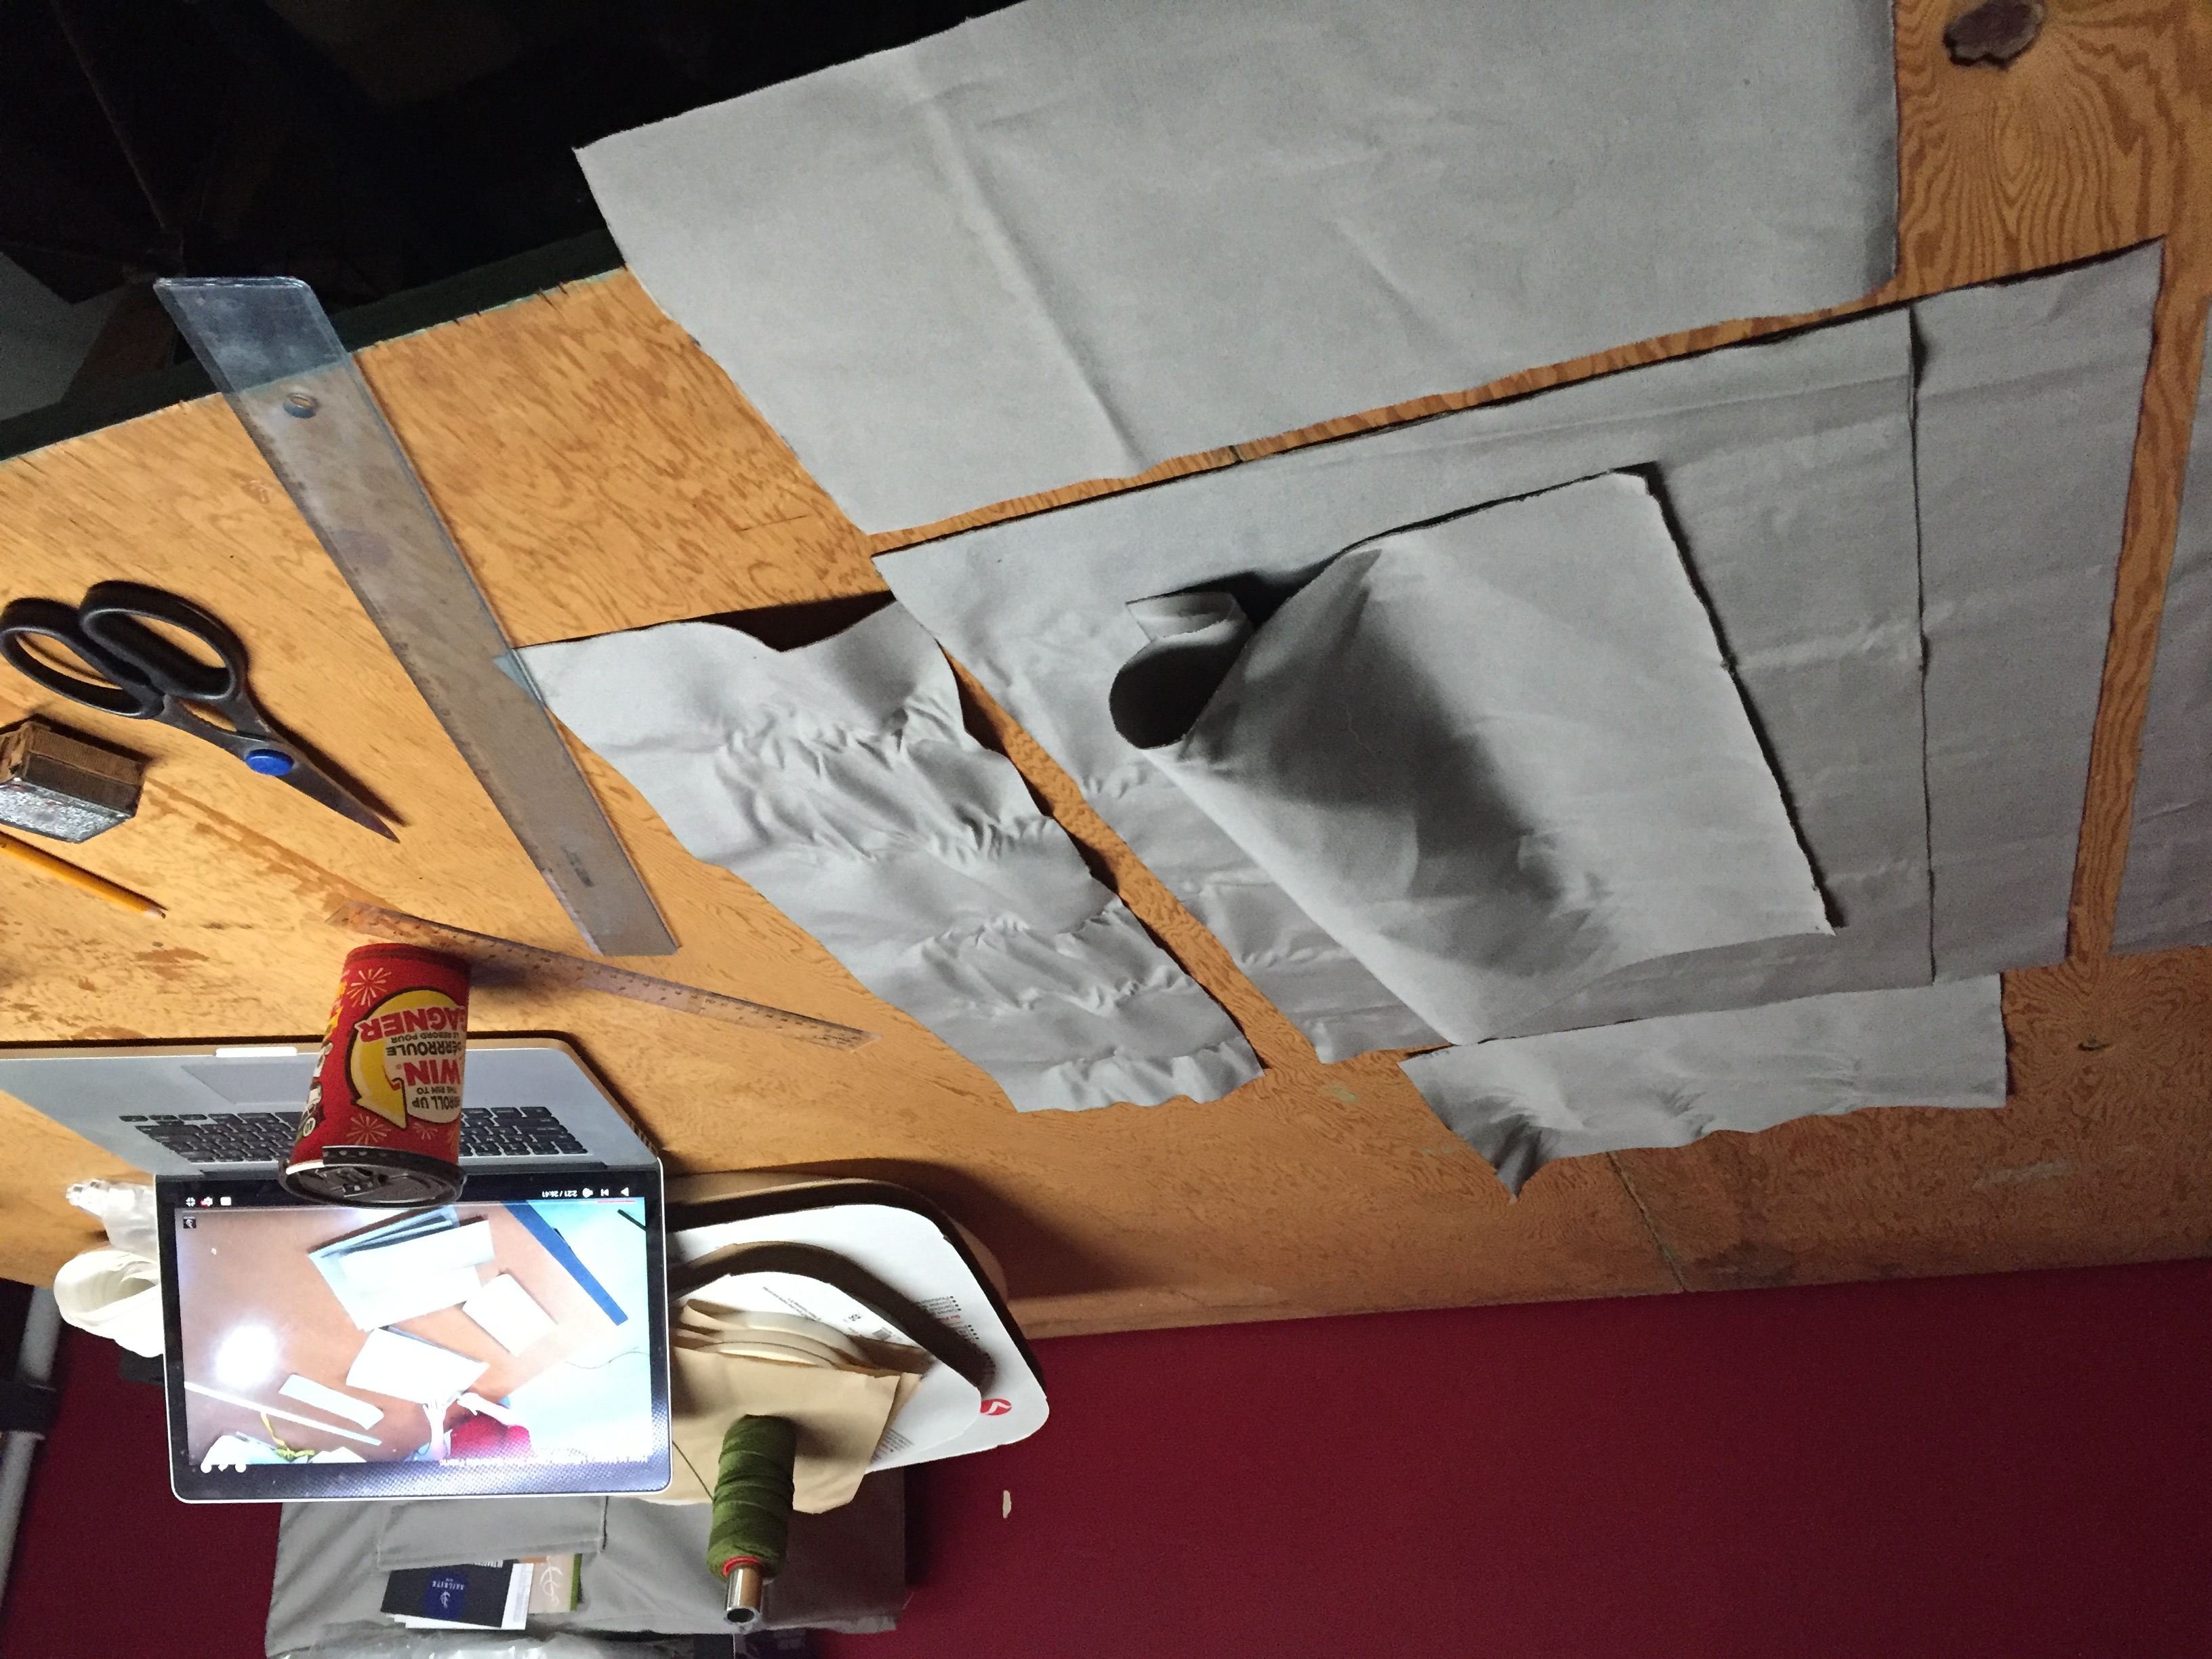
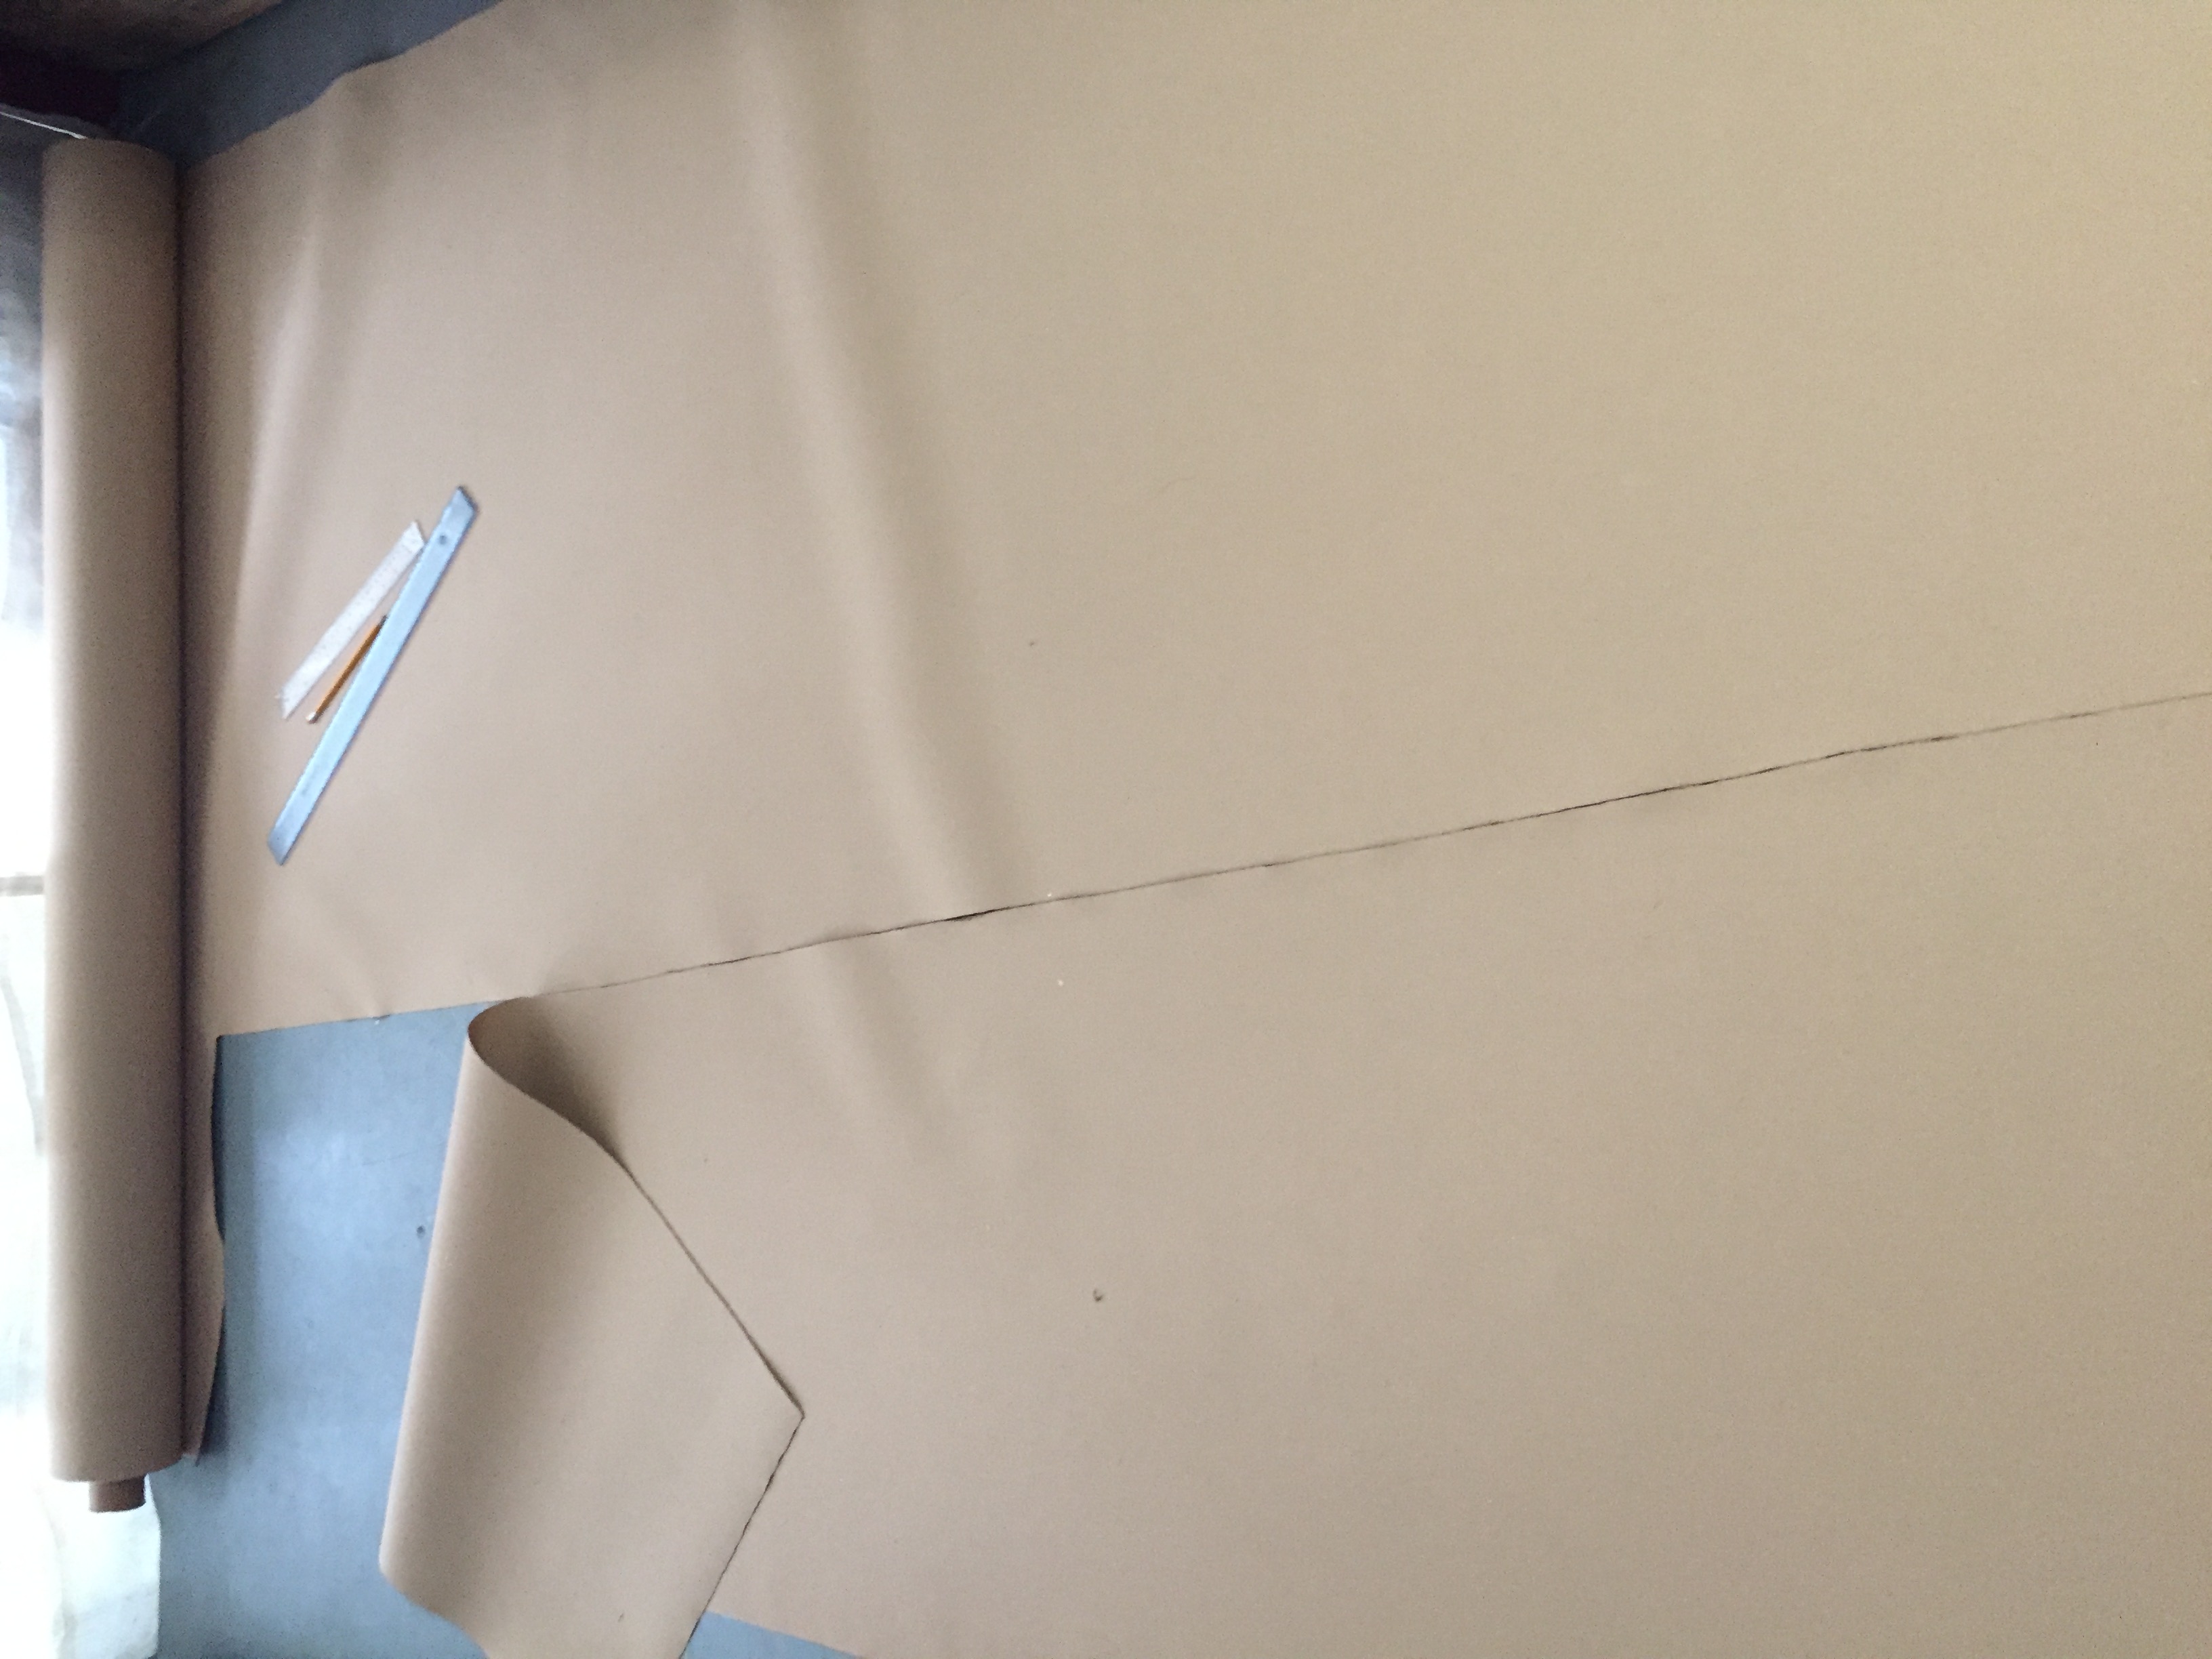
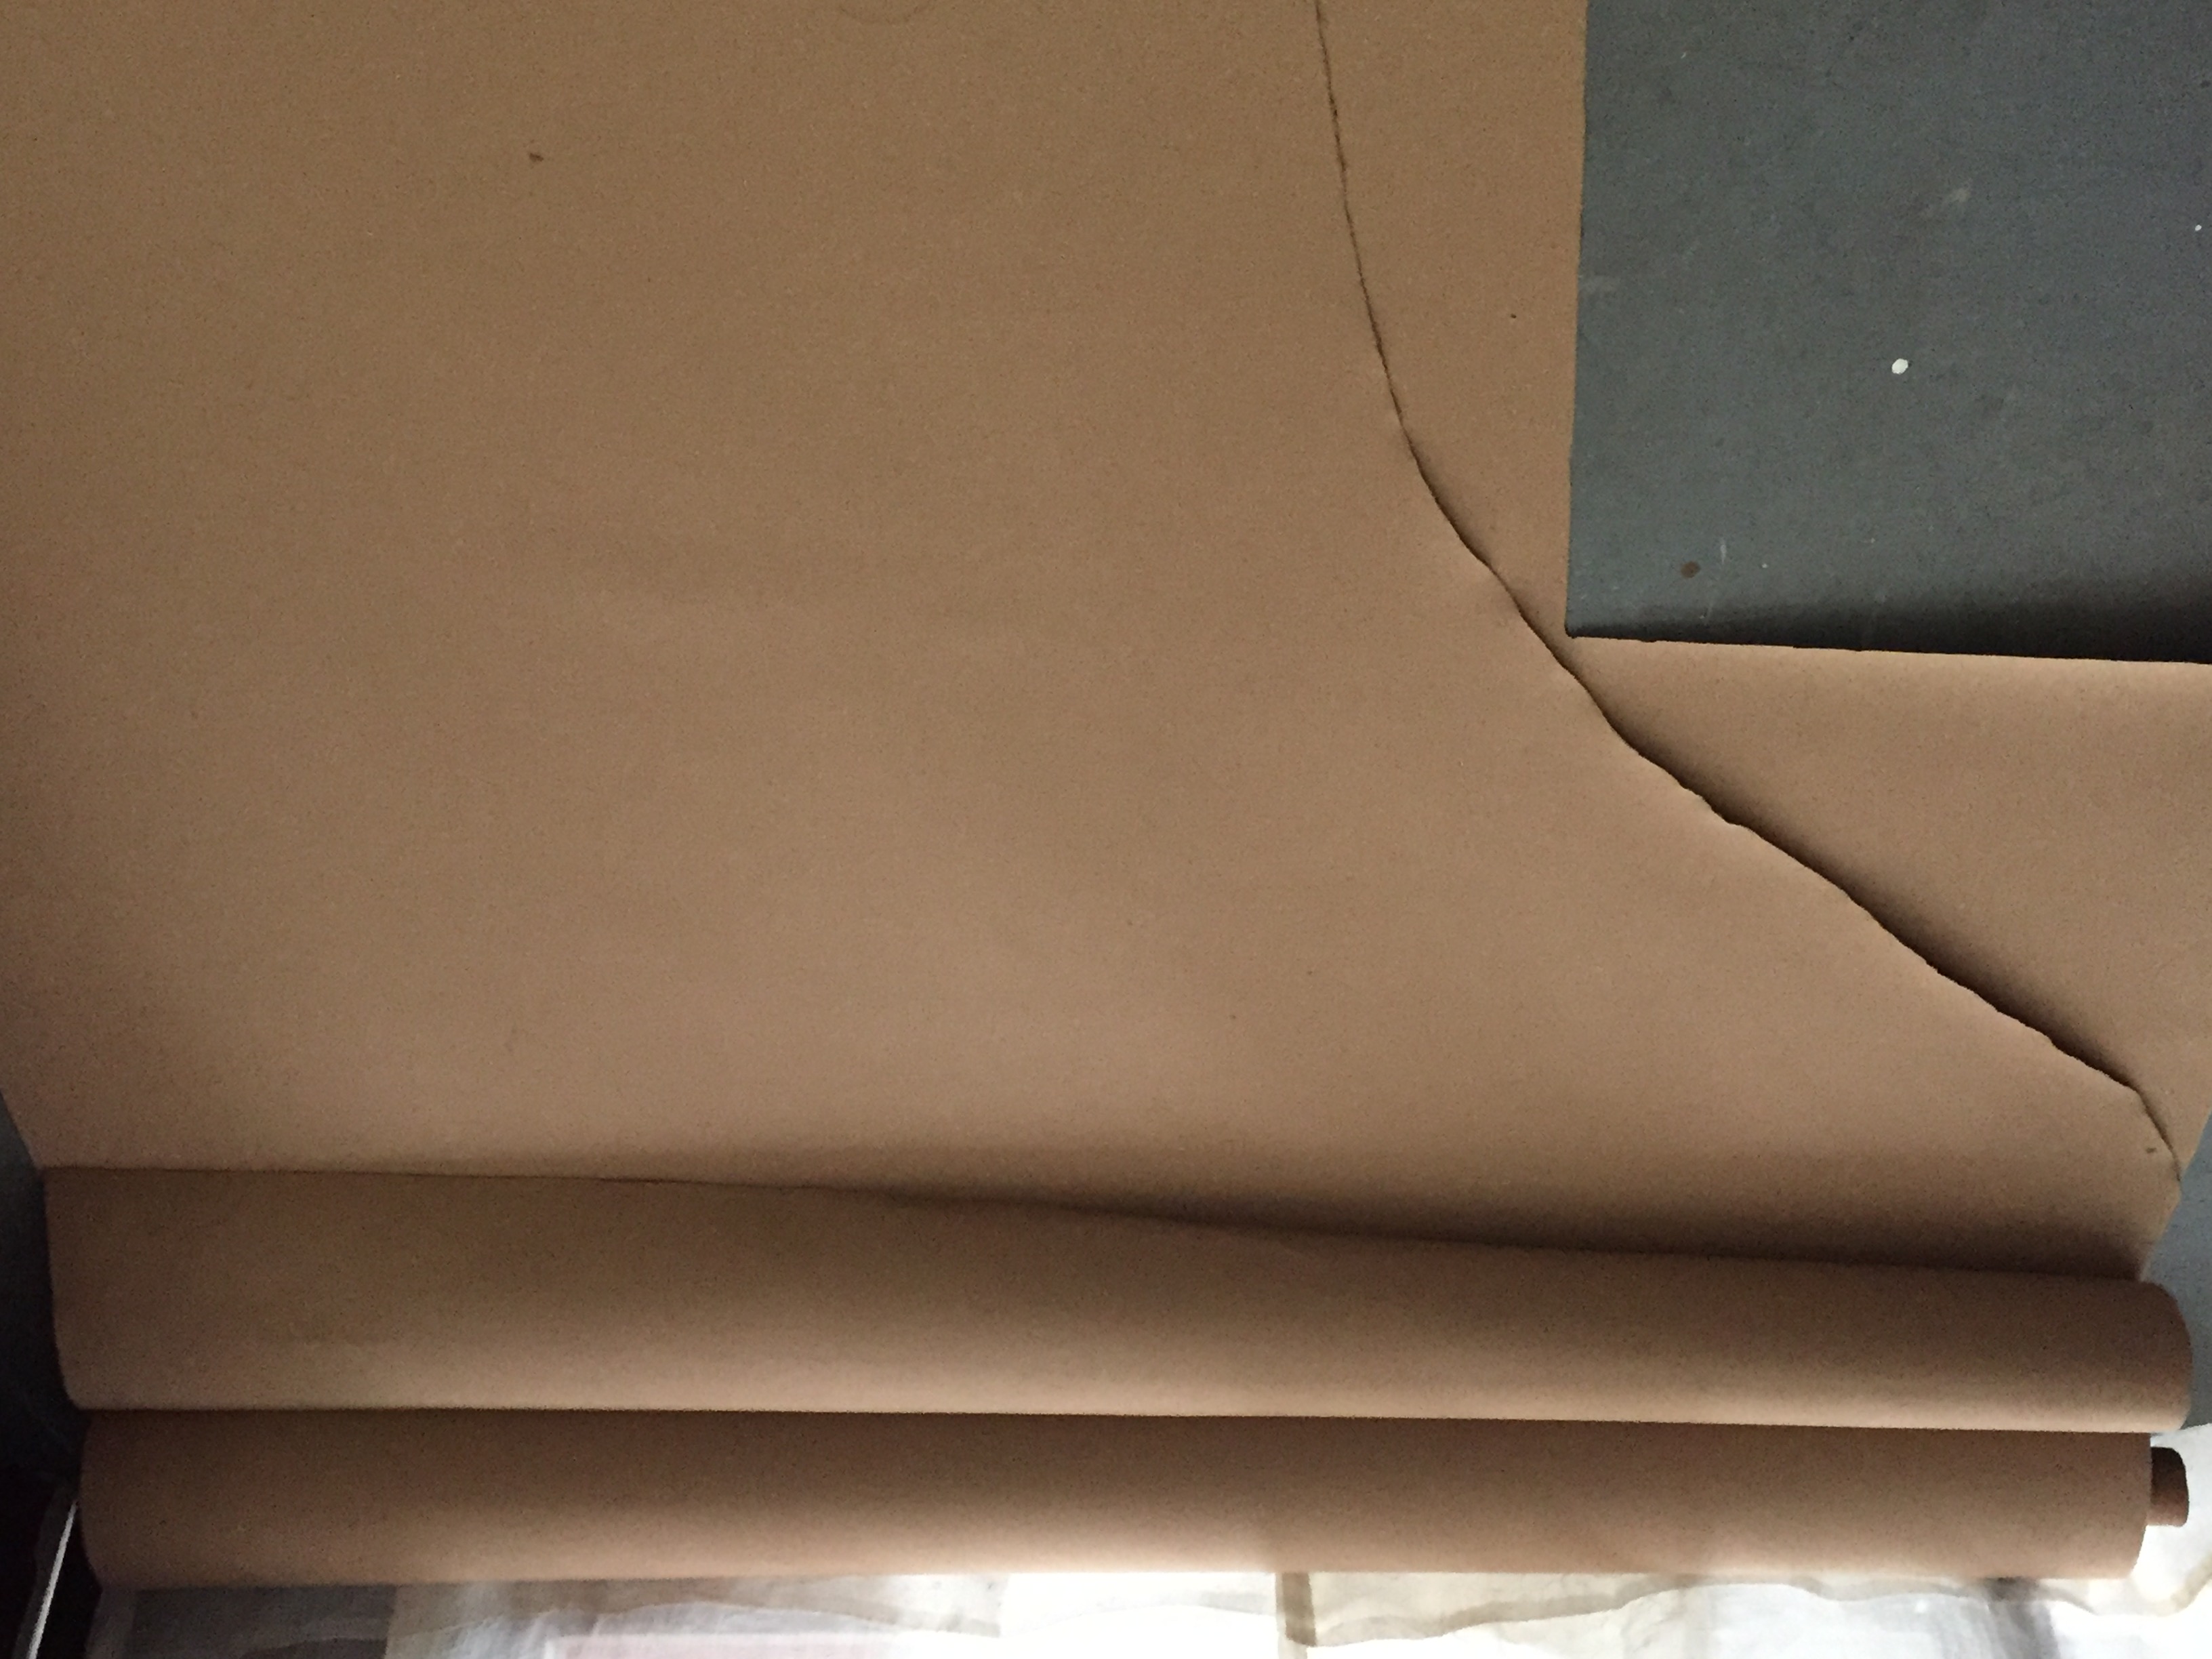
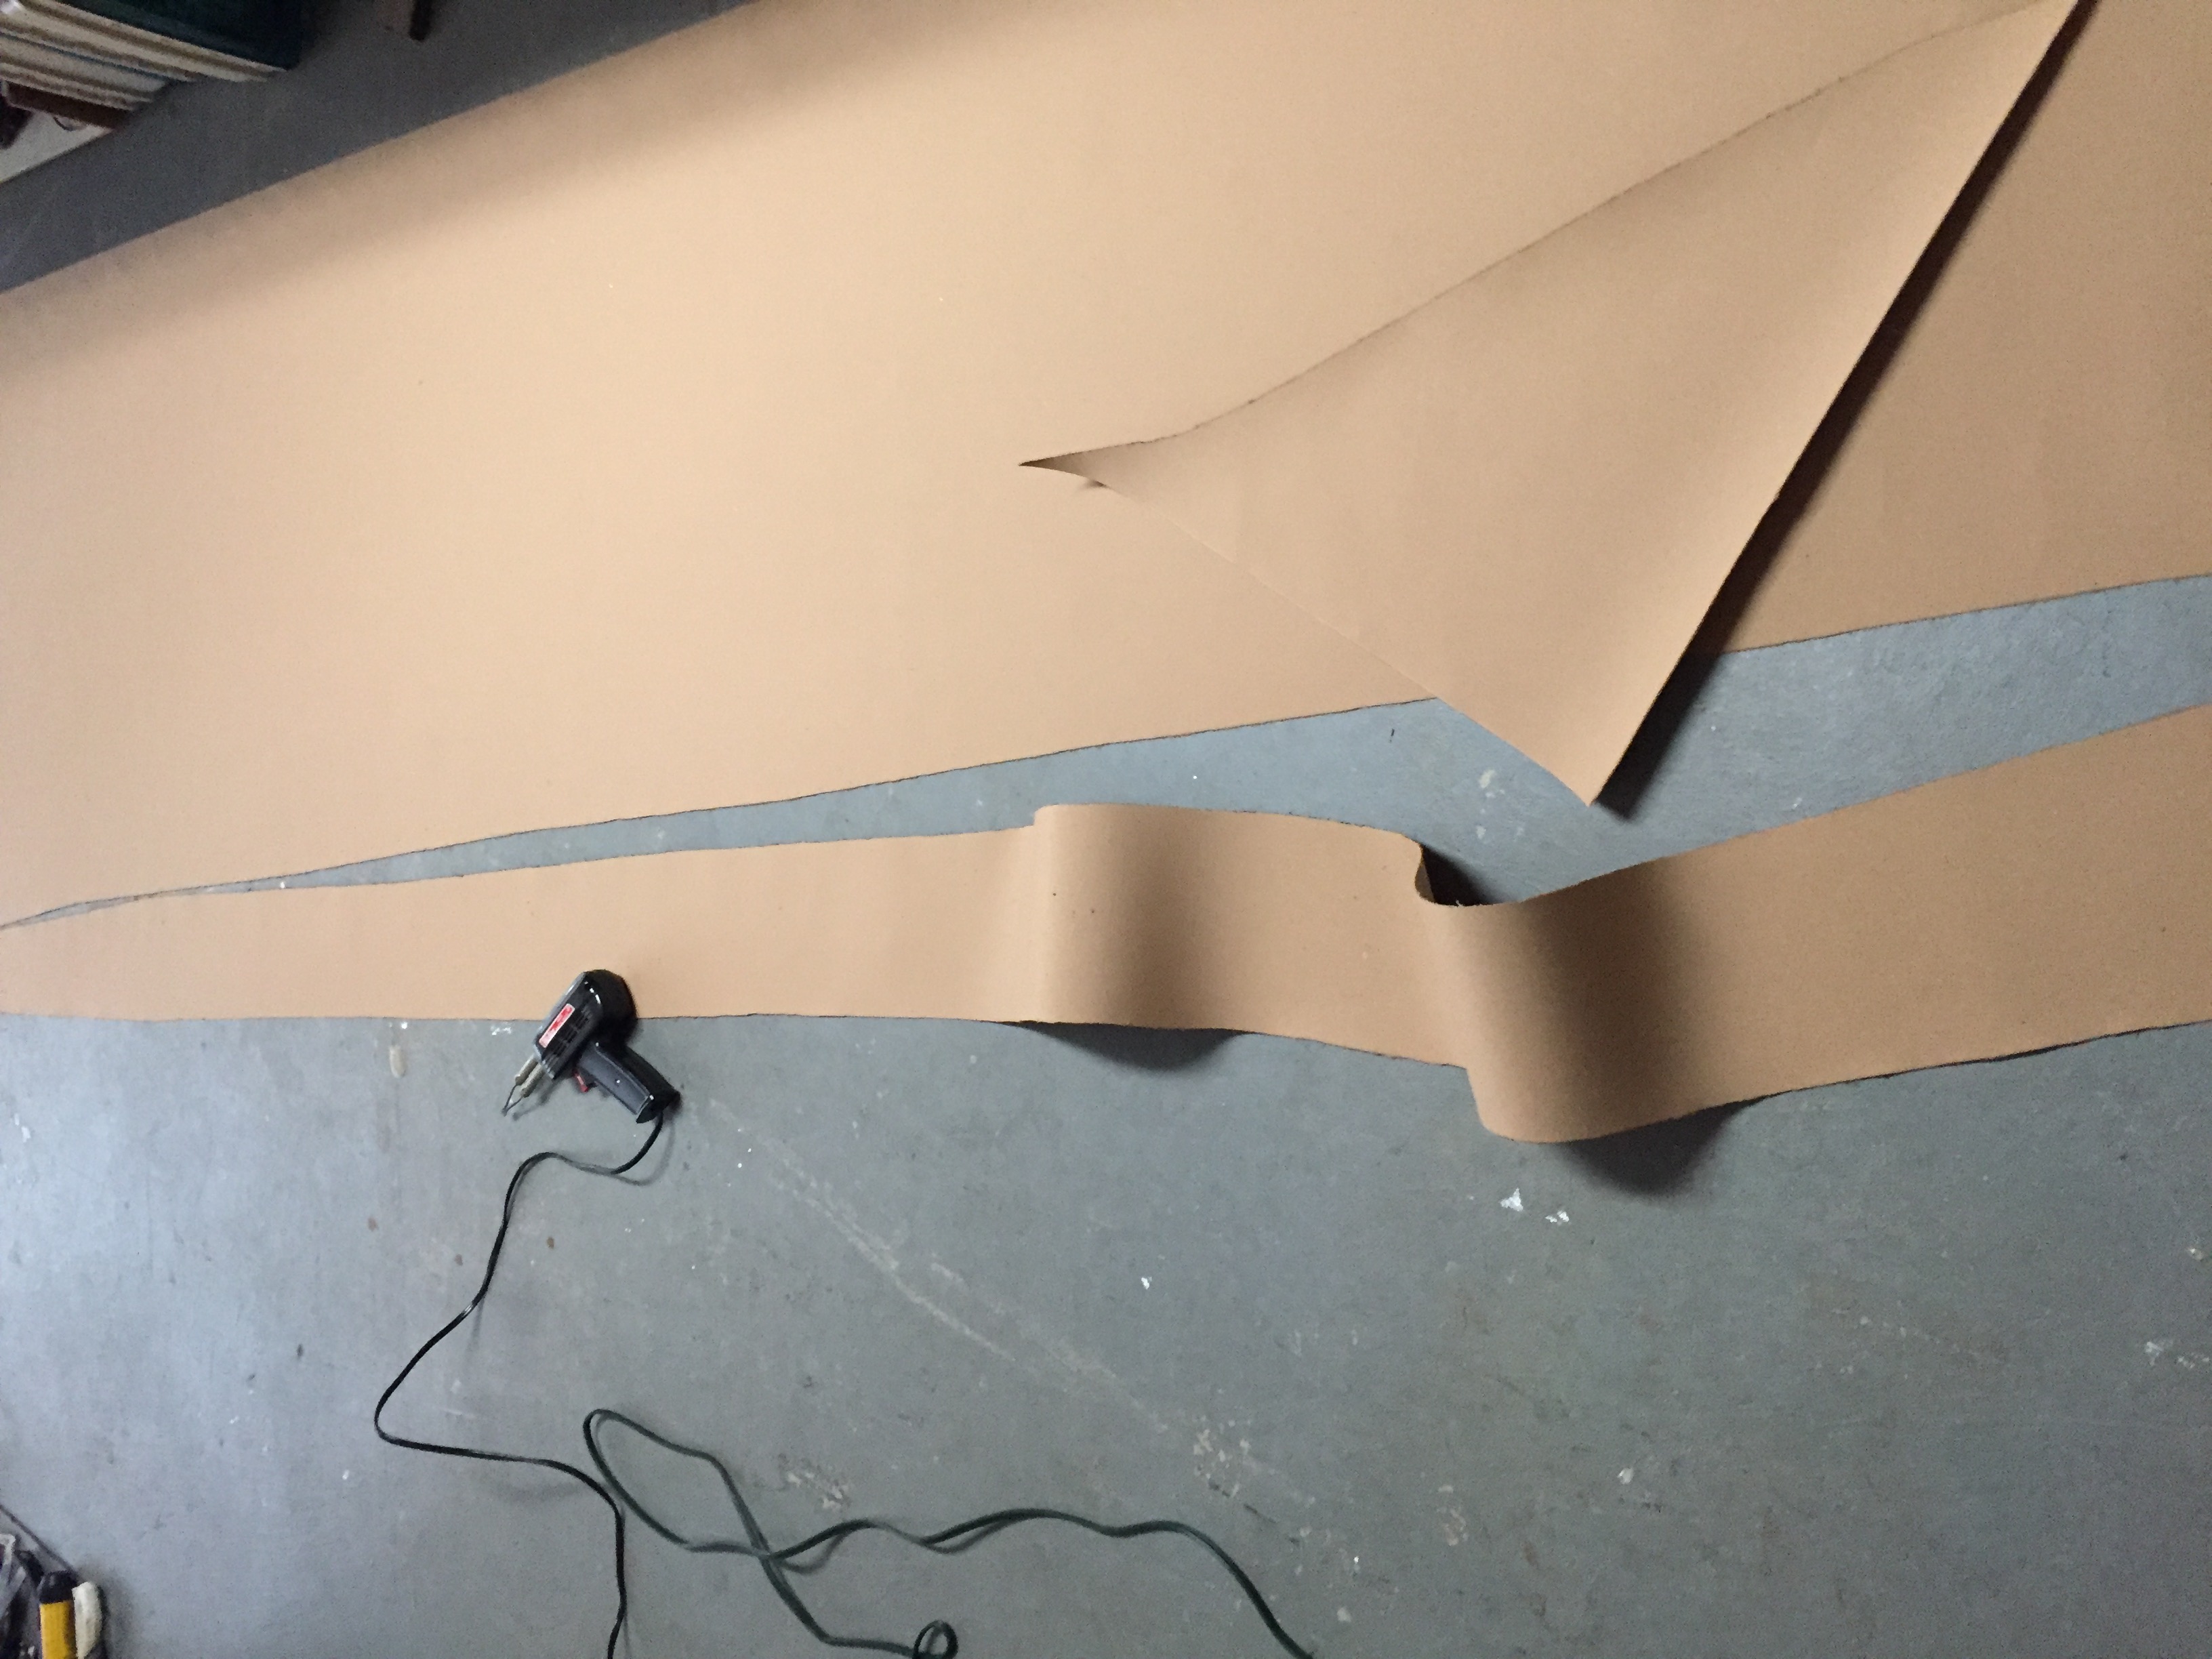
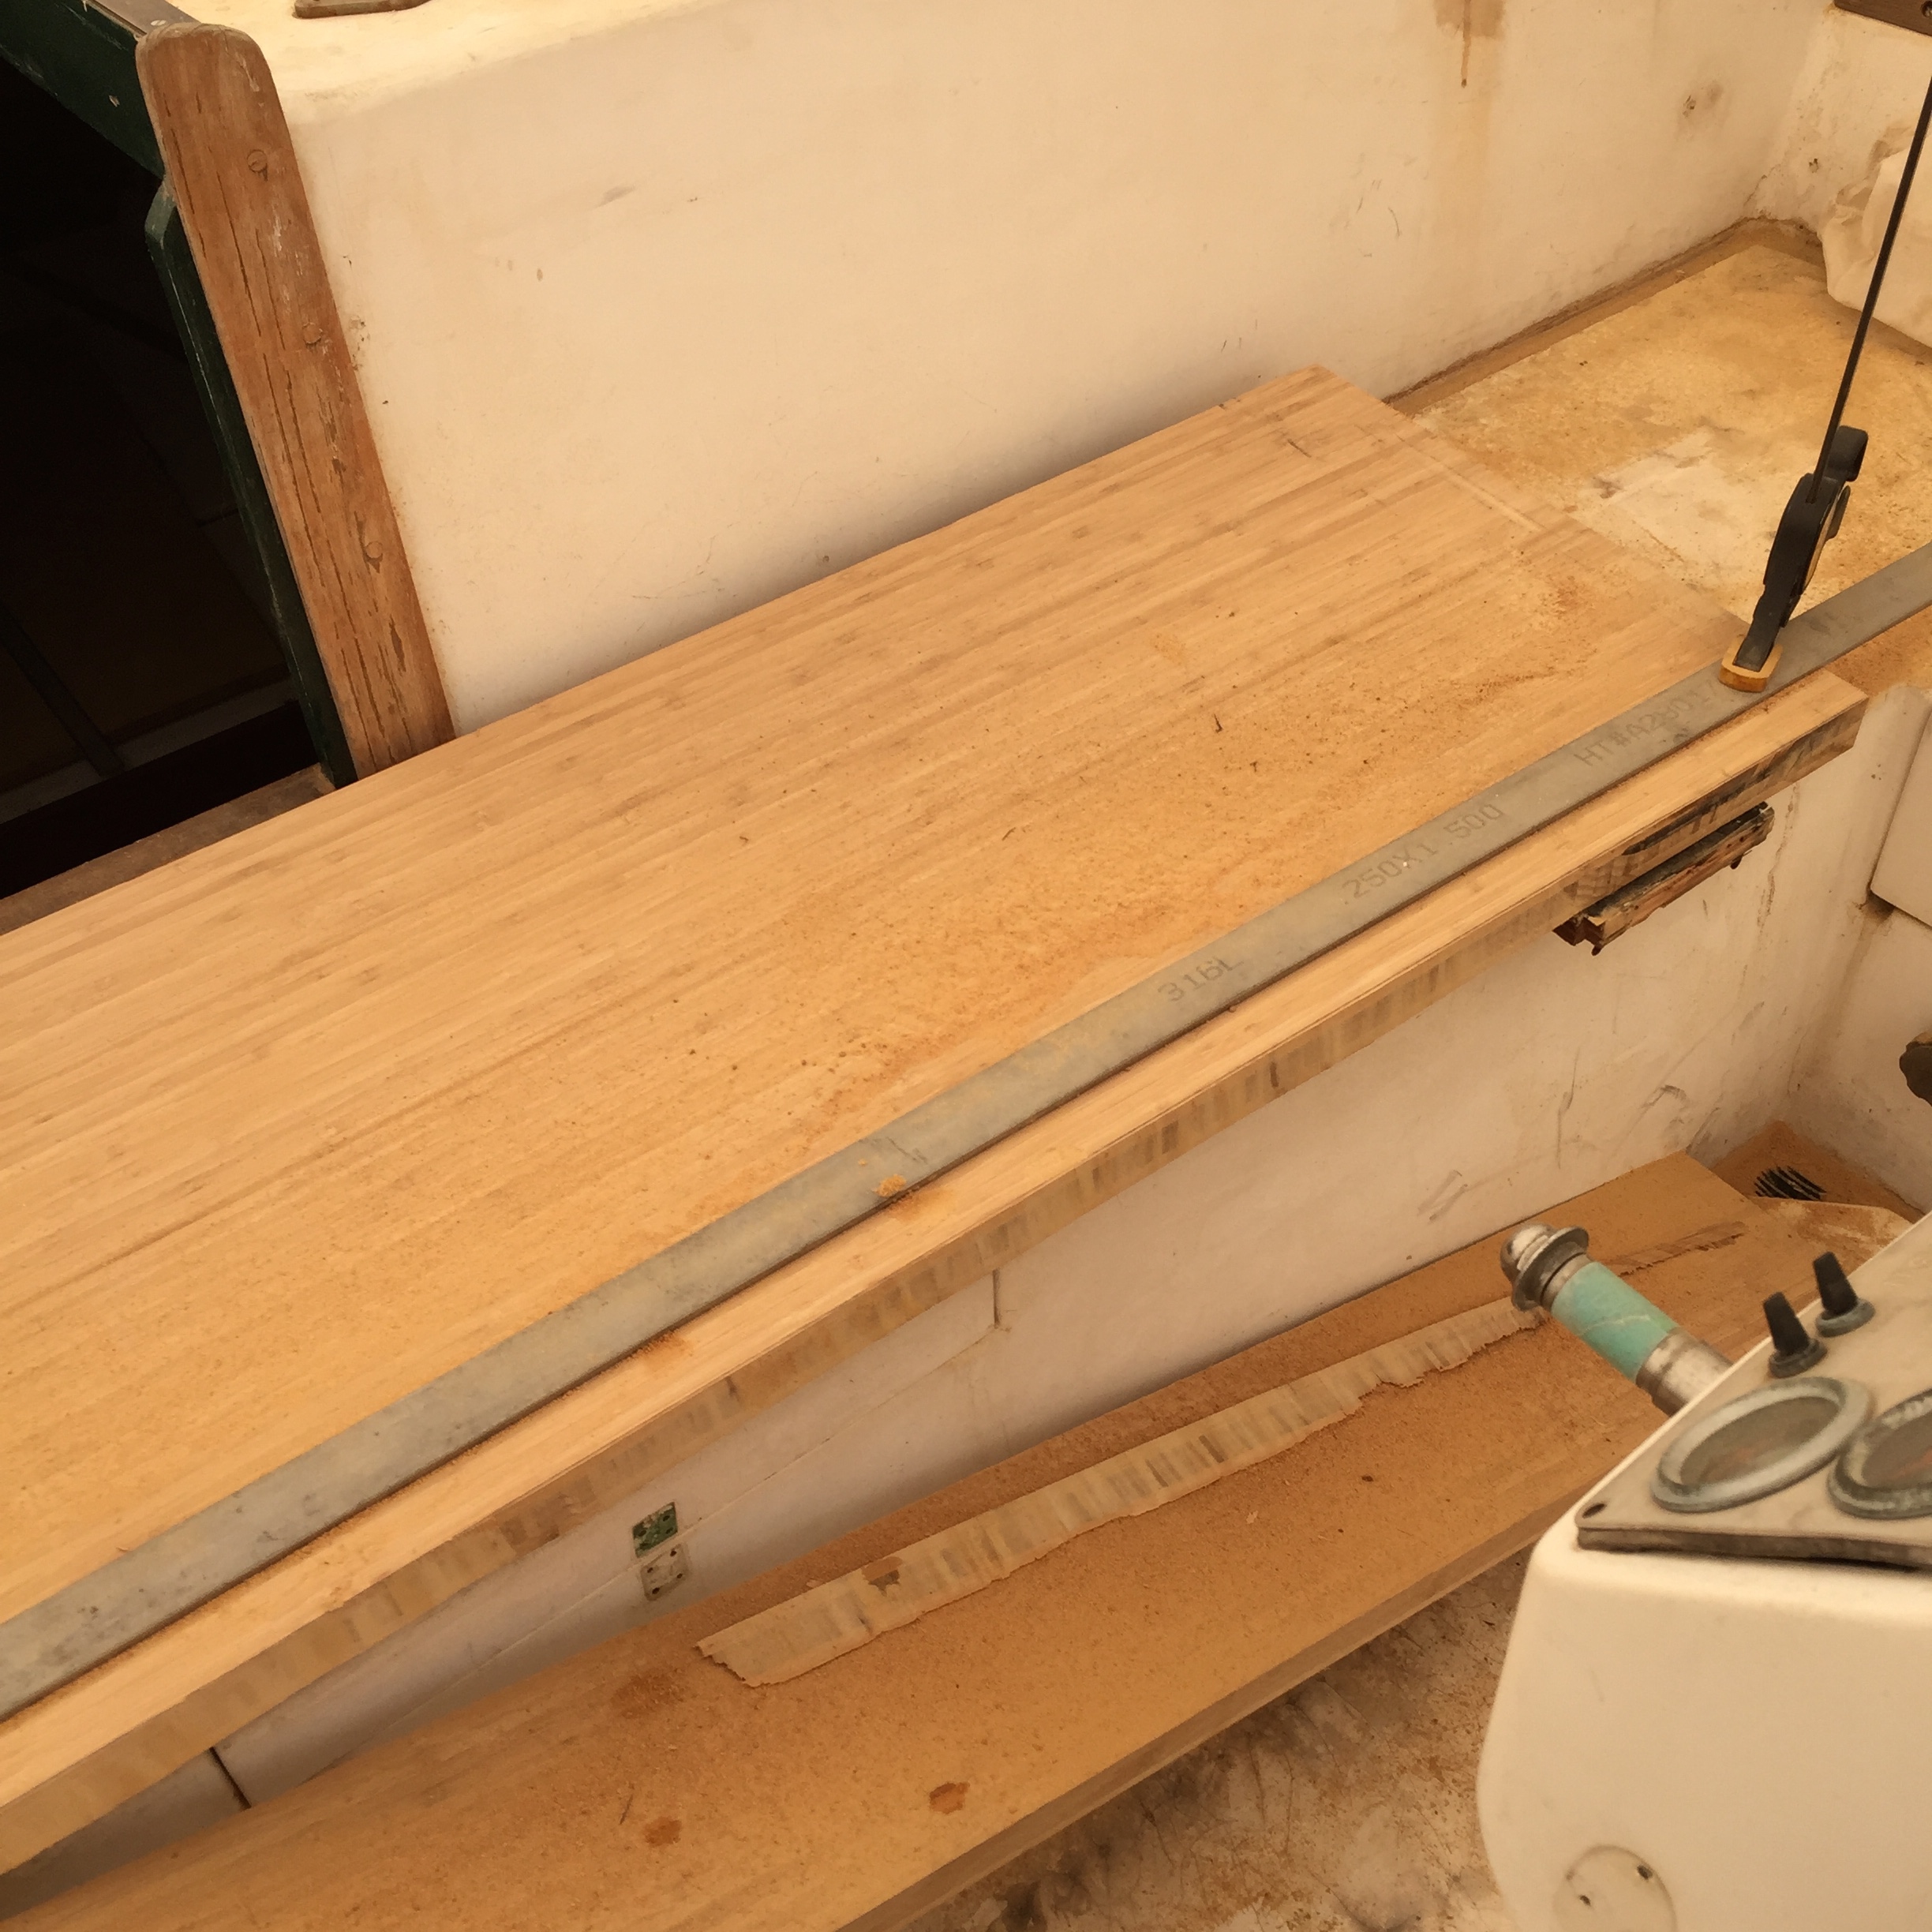
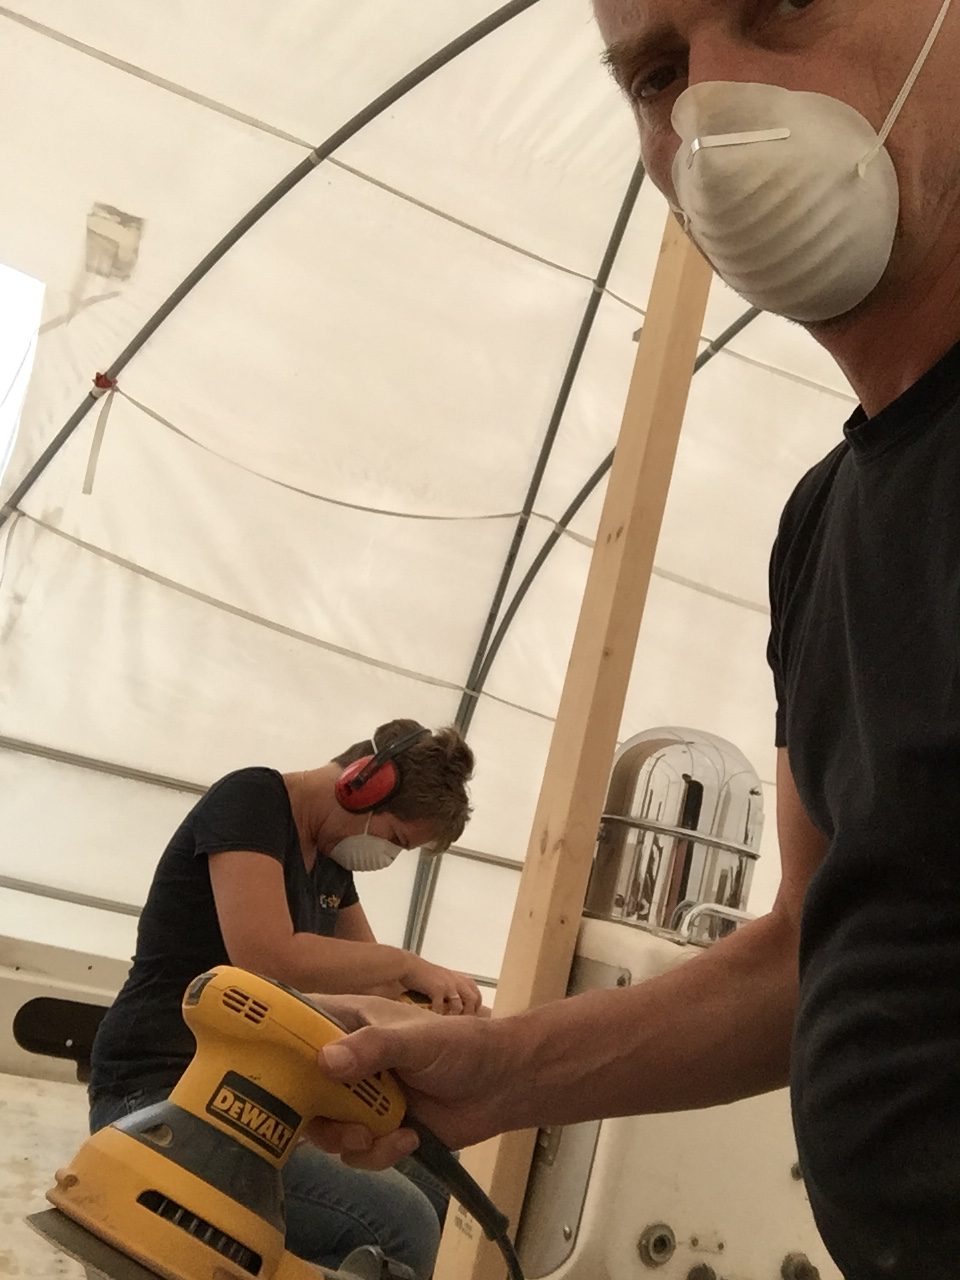
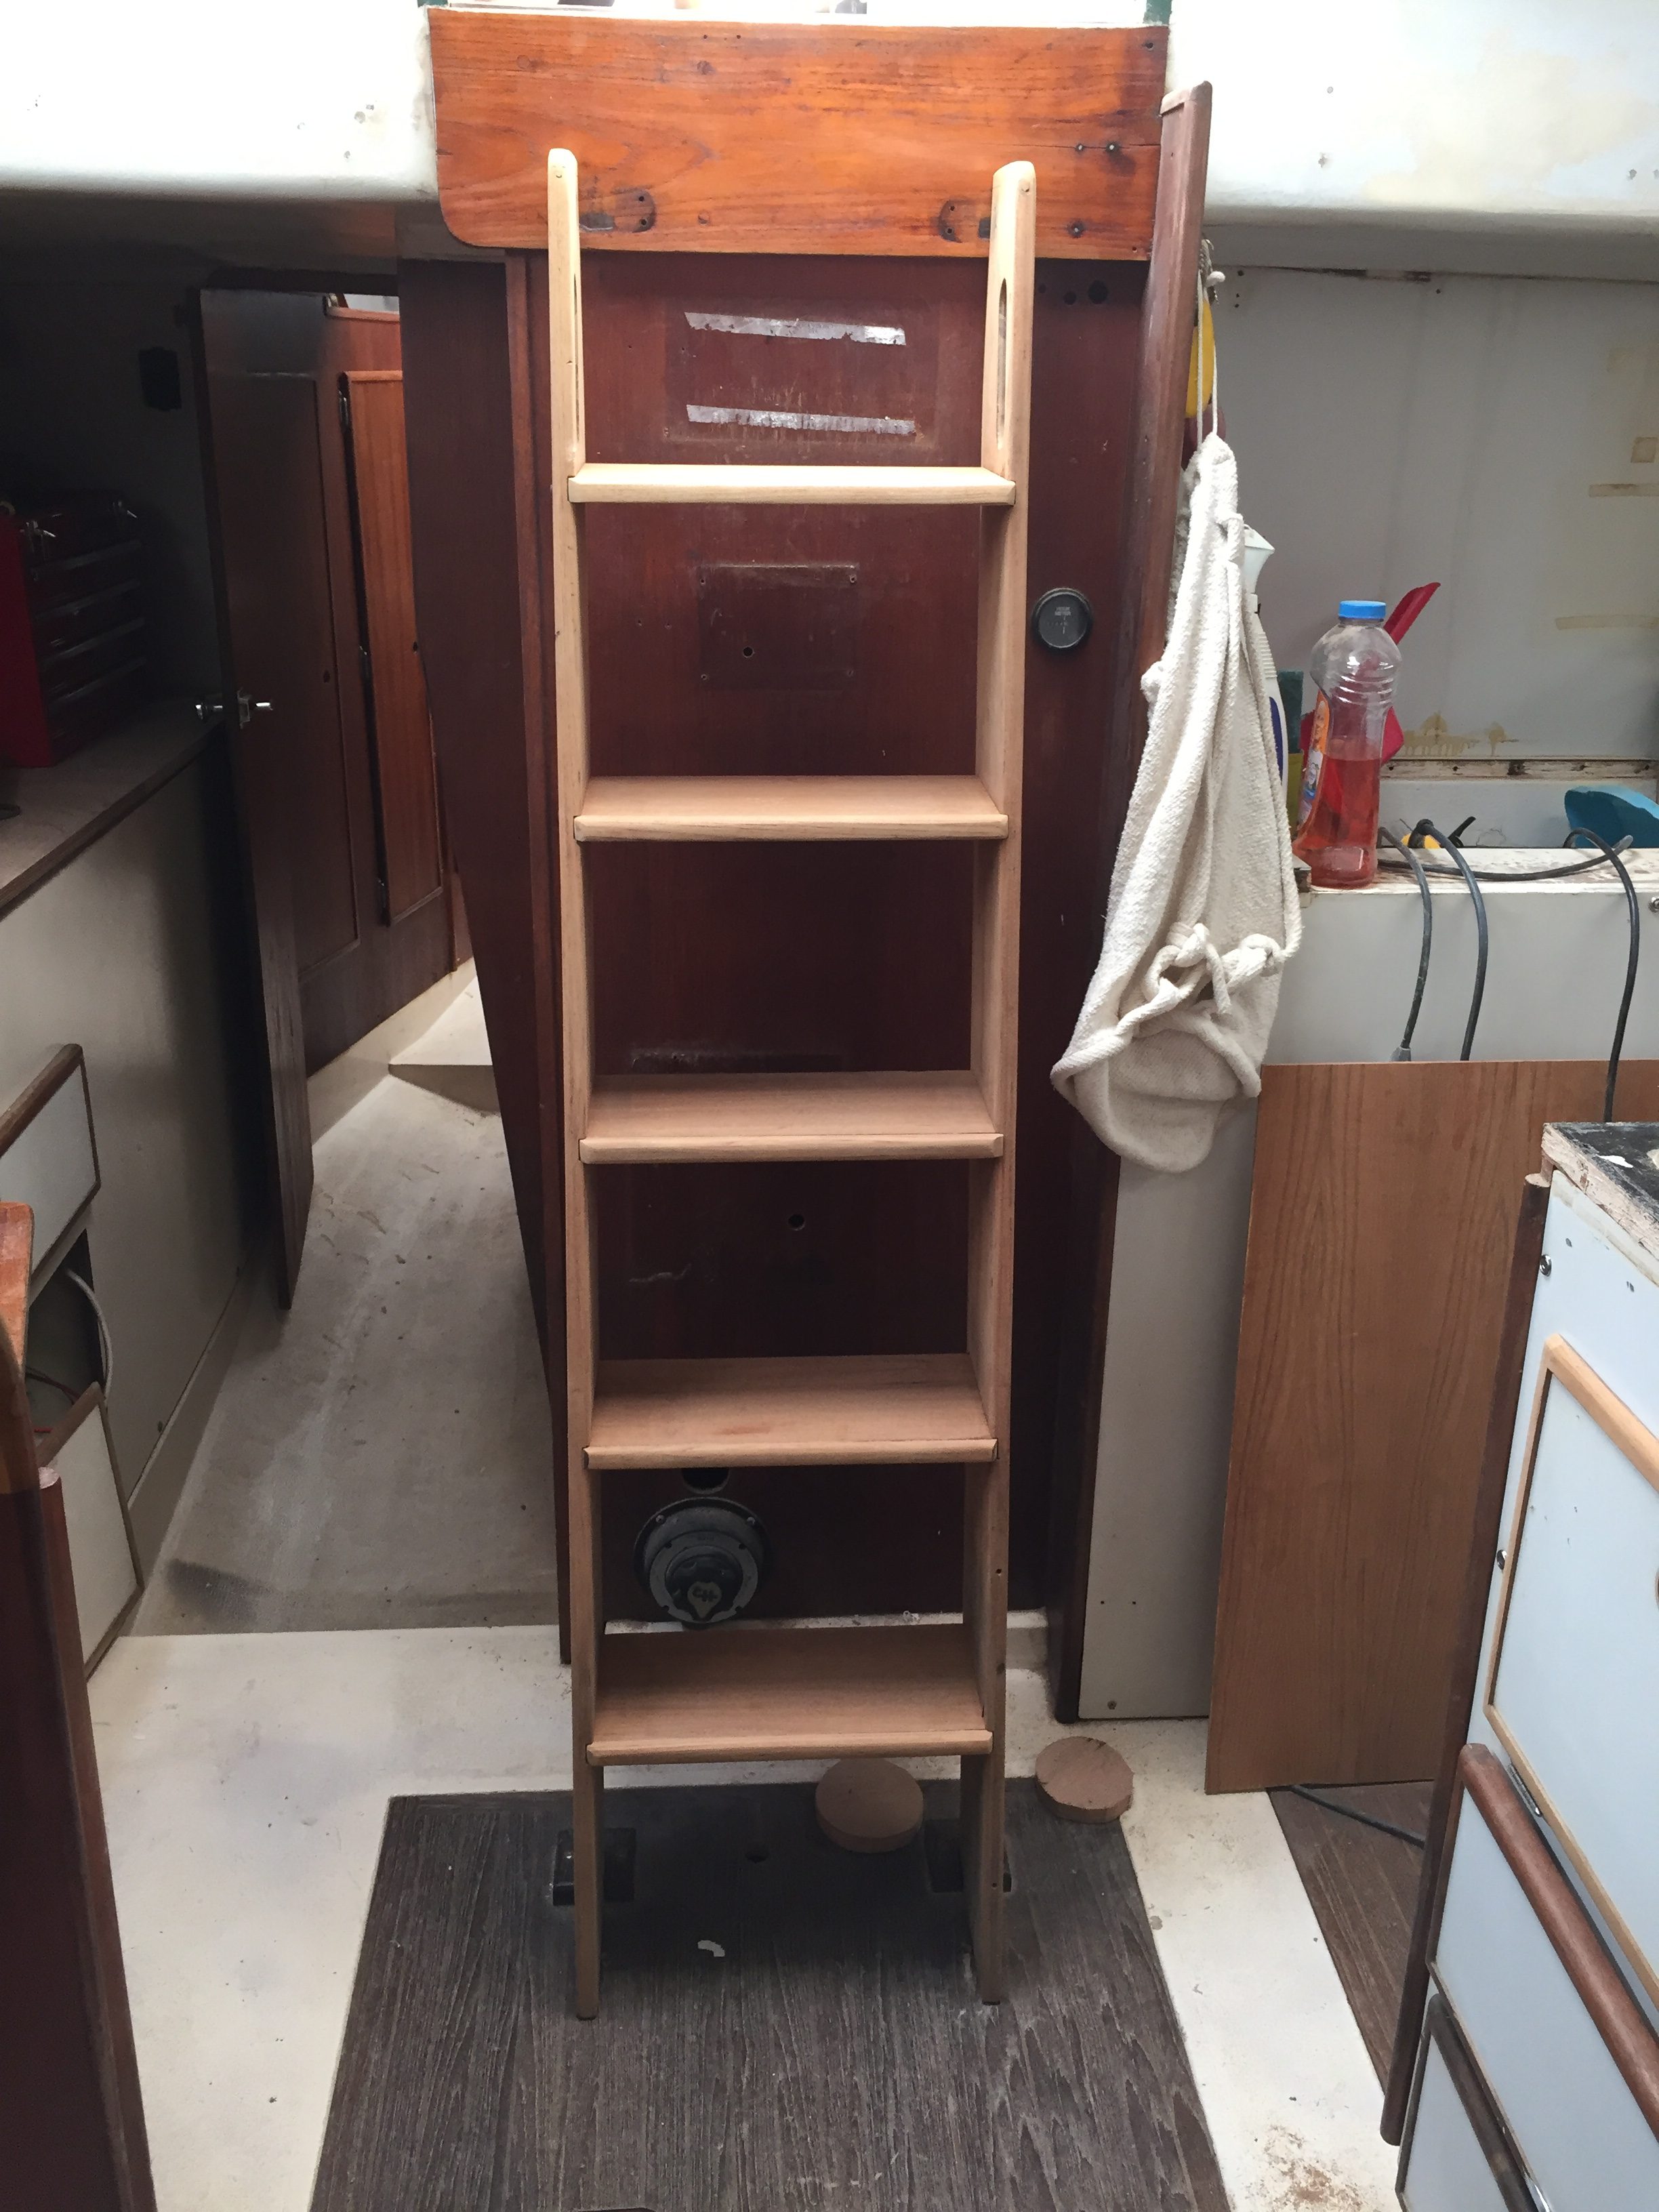
The first part of course is cutting the foam to size.

These pieces are the main salon settee and the Nav station.

I had rough plans but needed to take exact measurements before cutting. The 5″ foam cut really nice with our electric kitchen knife. We will see how it goes with the 8″ thick.

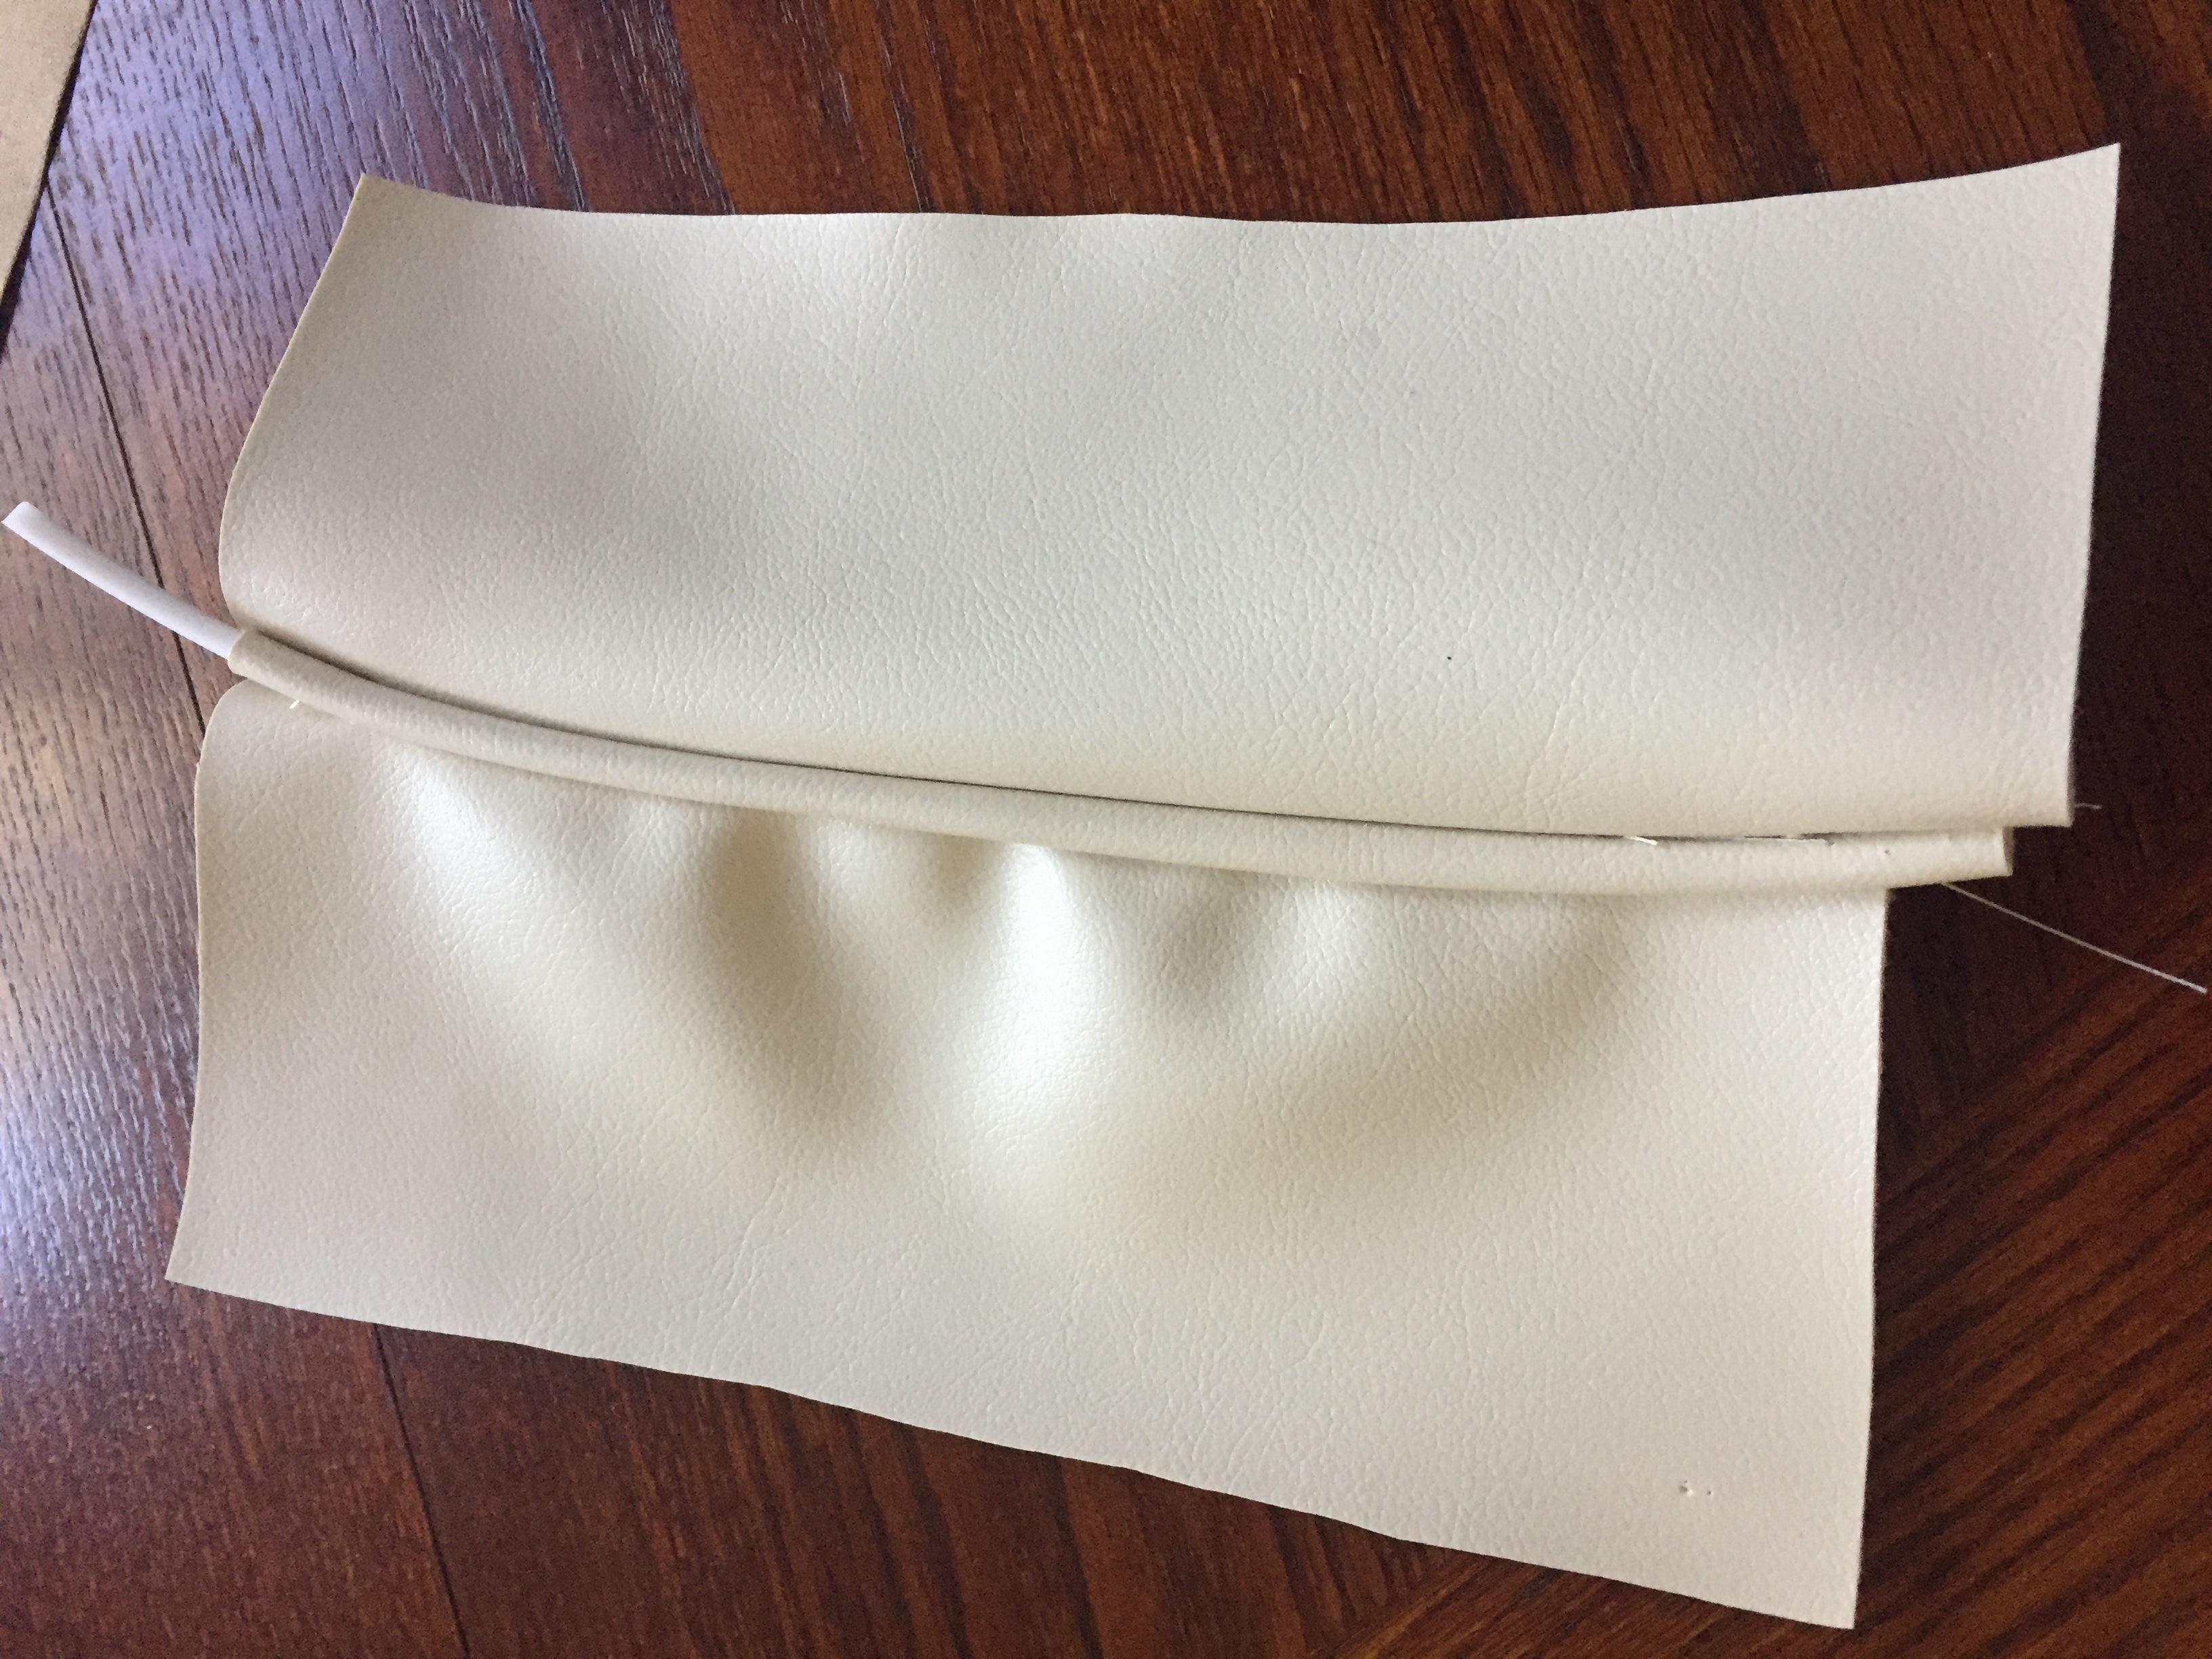
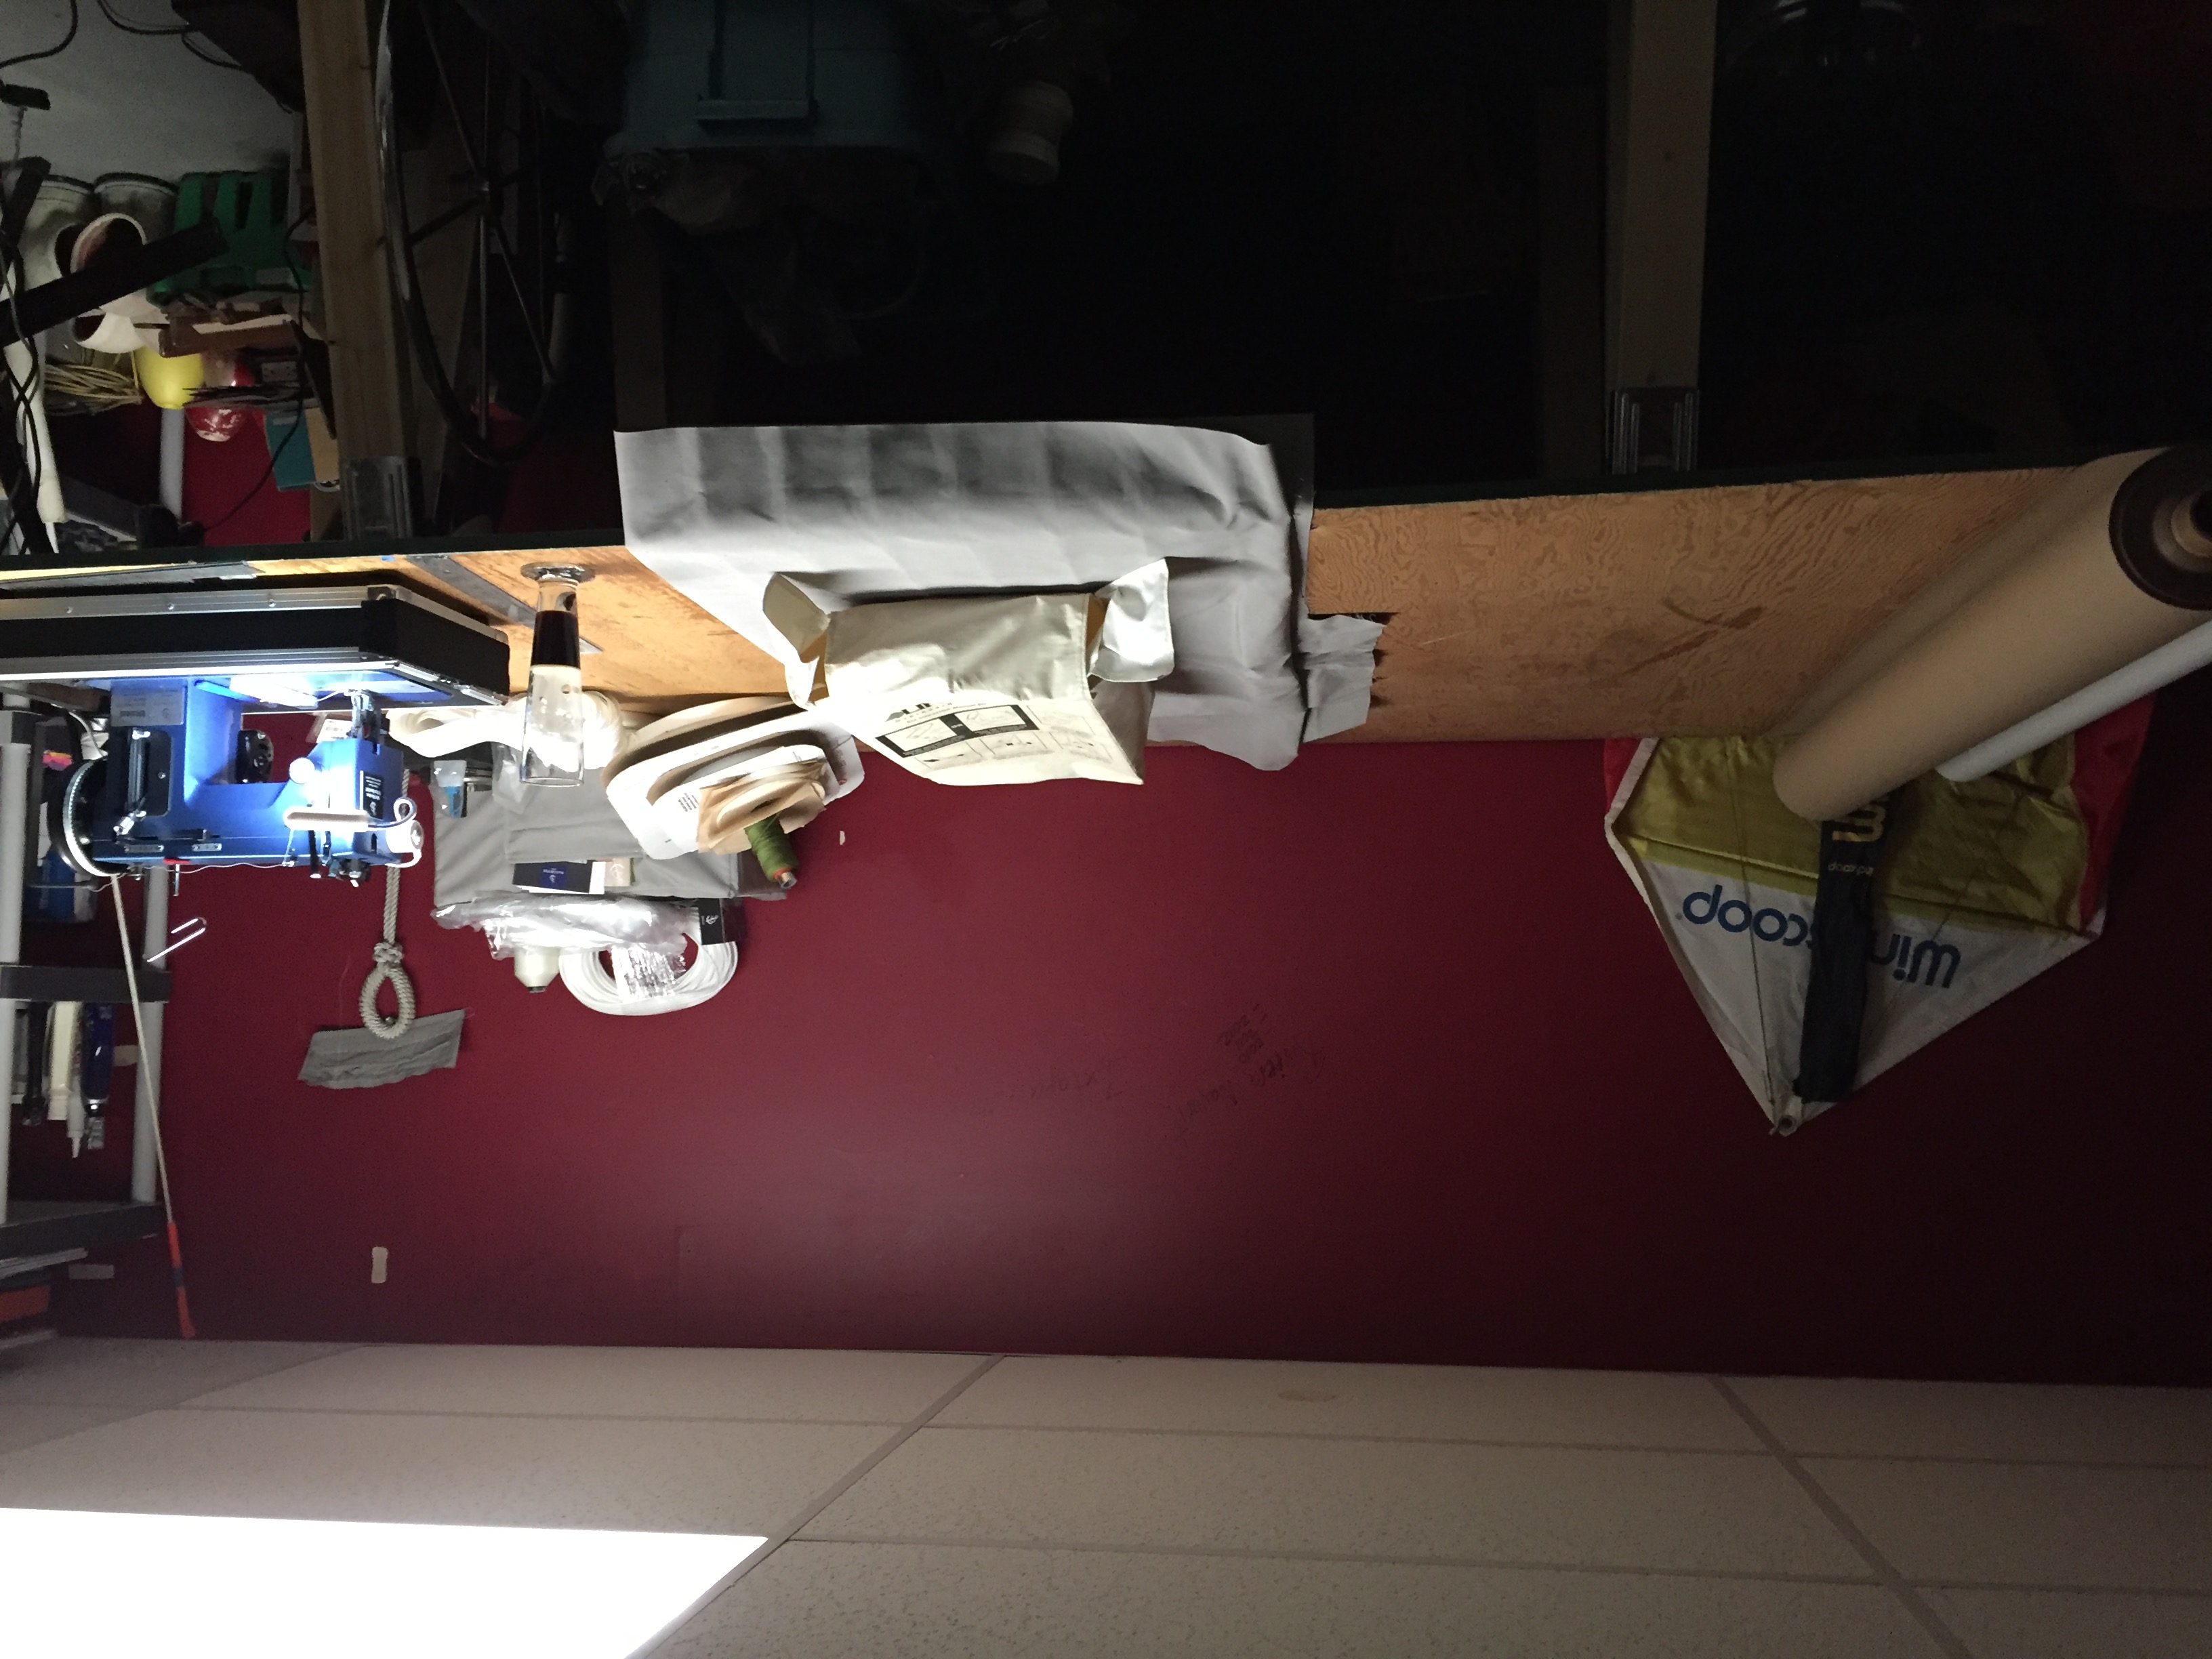
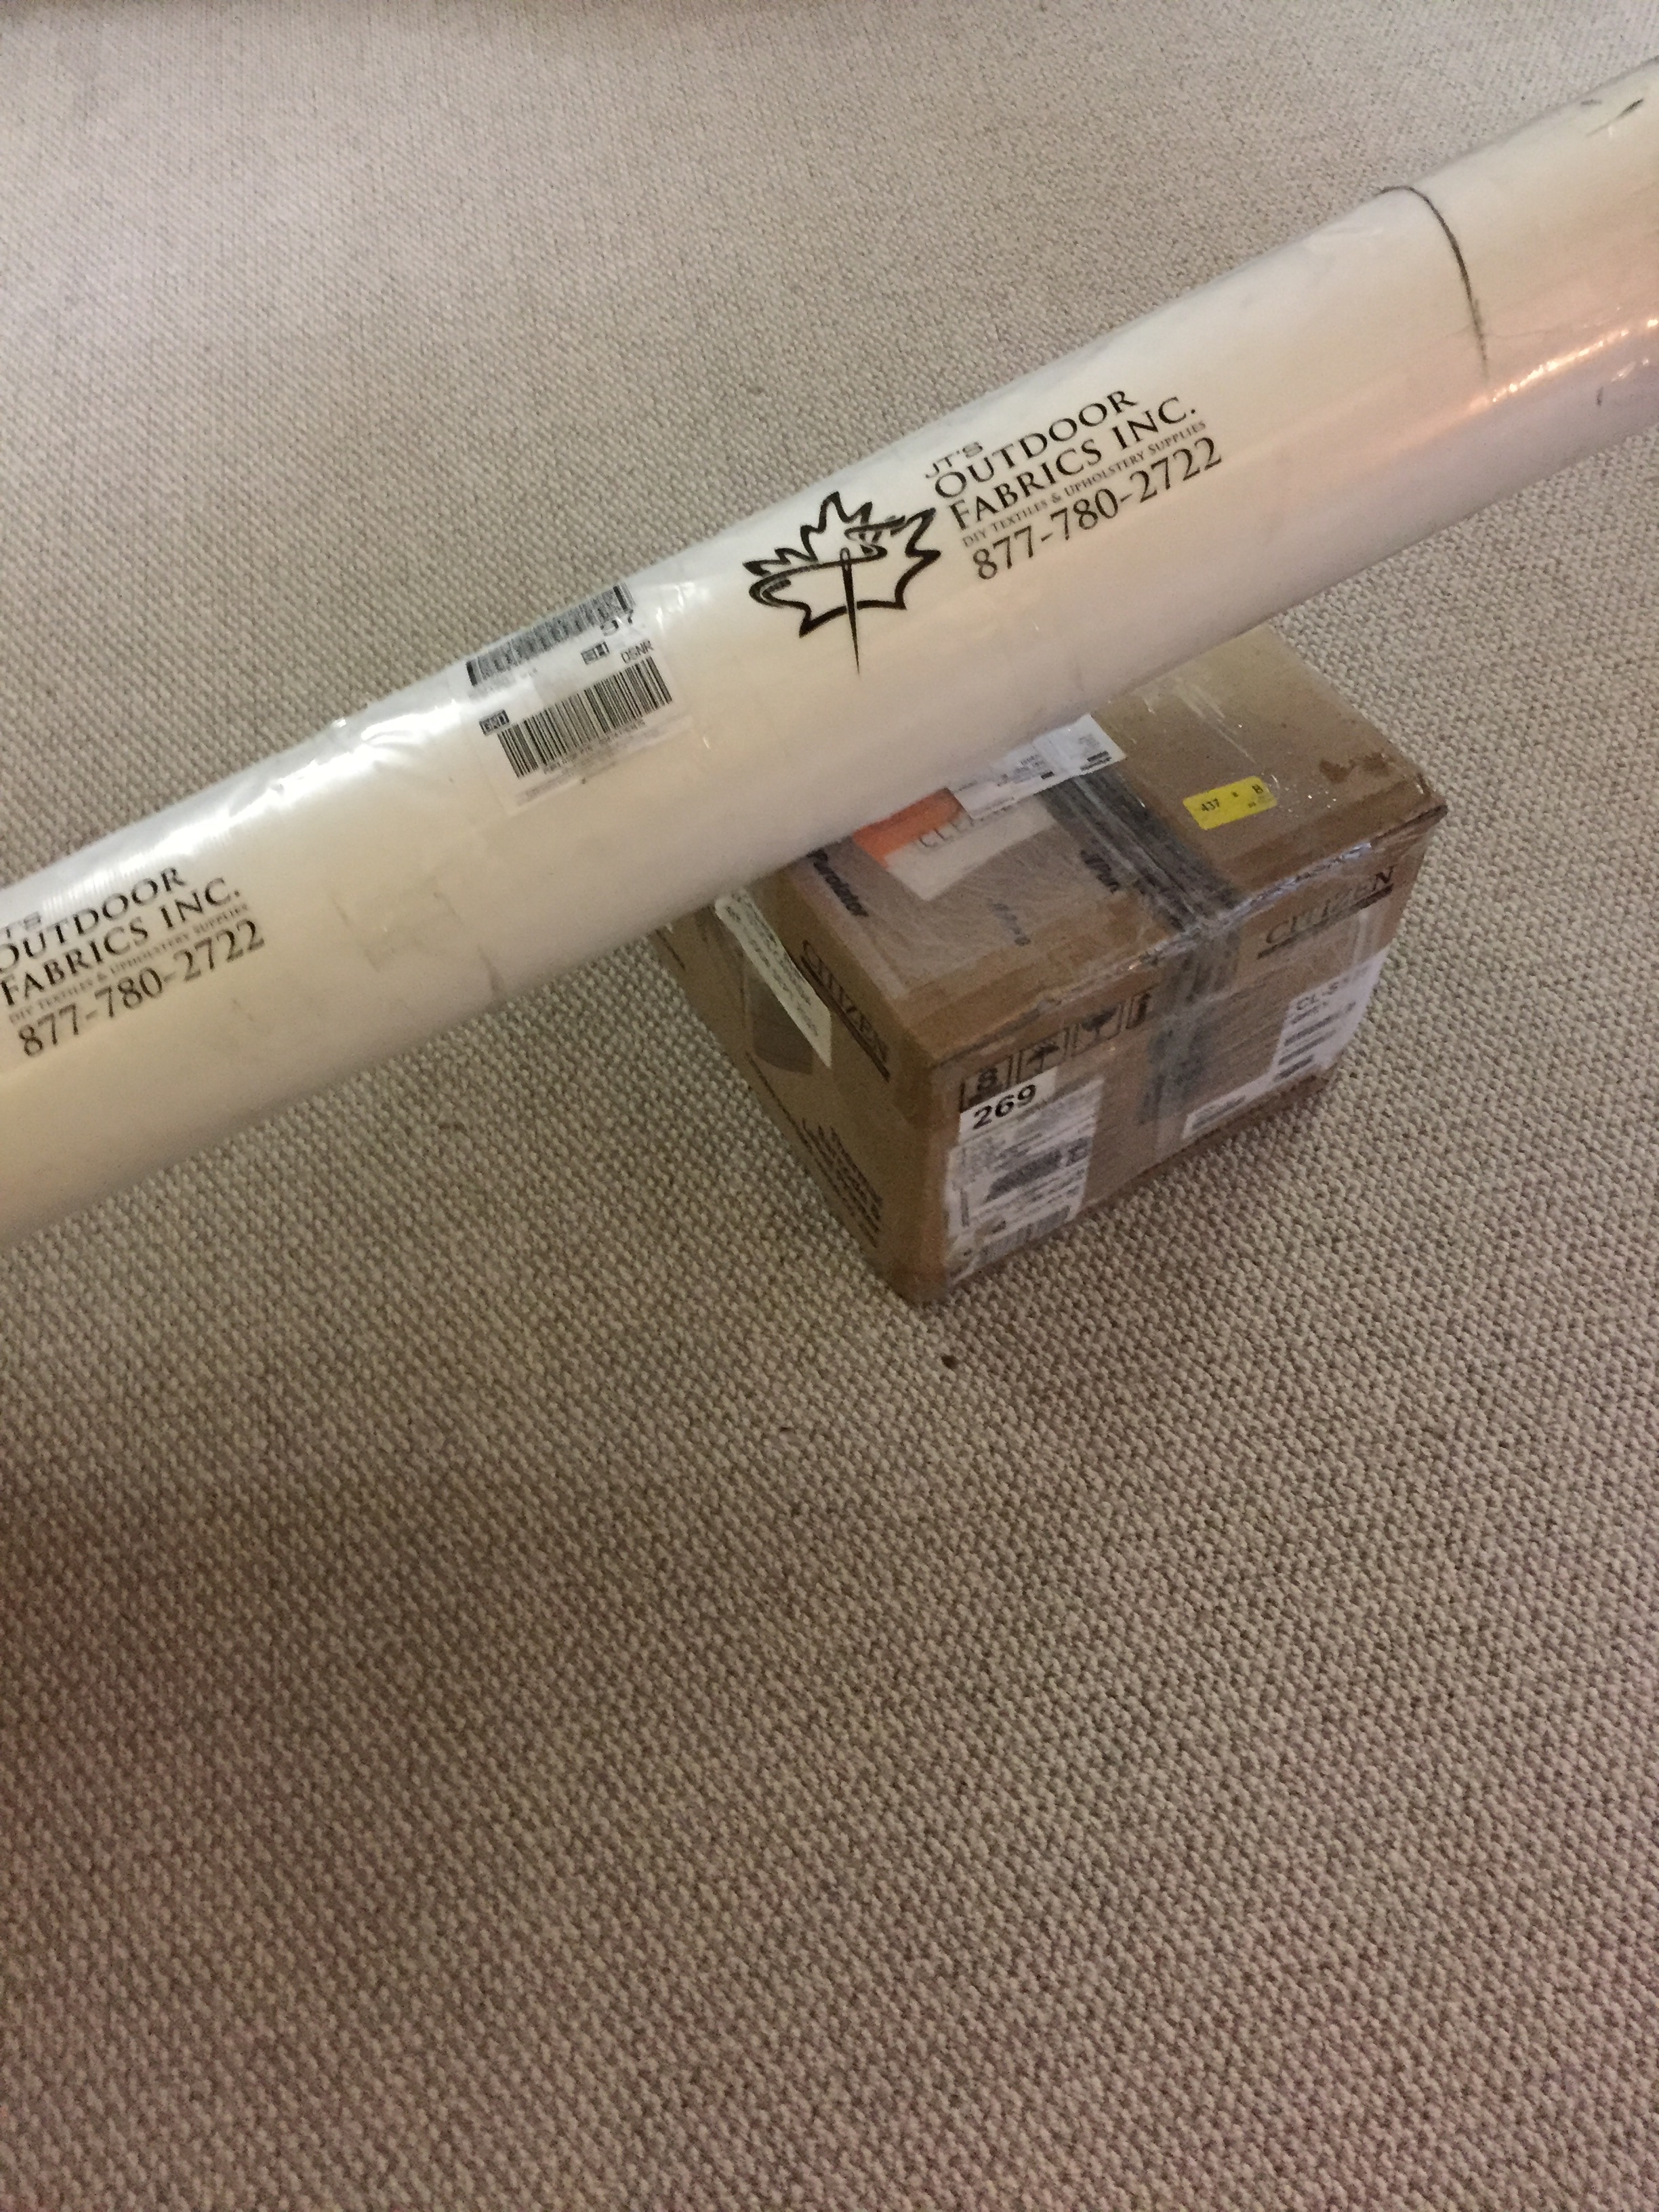
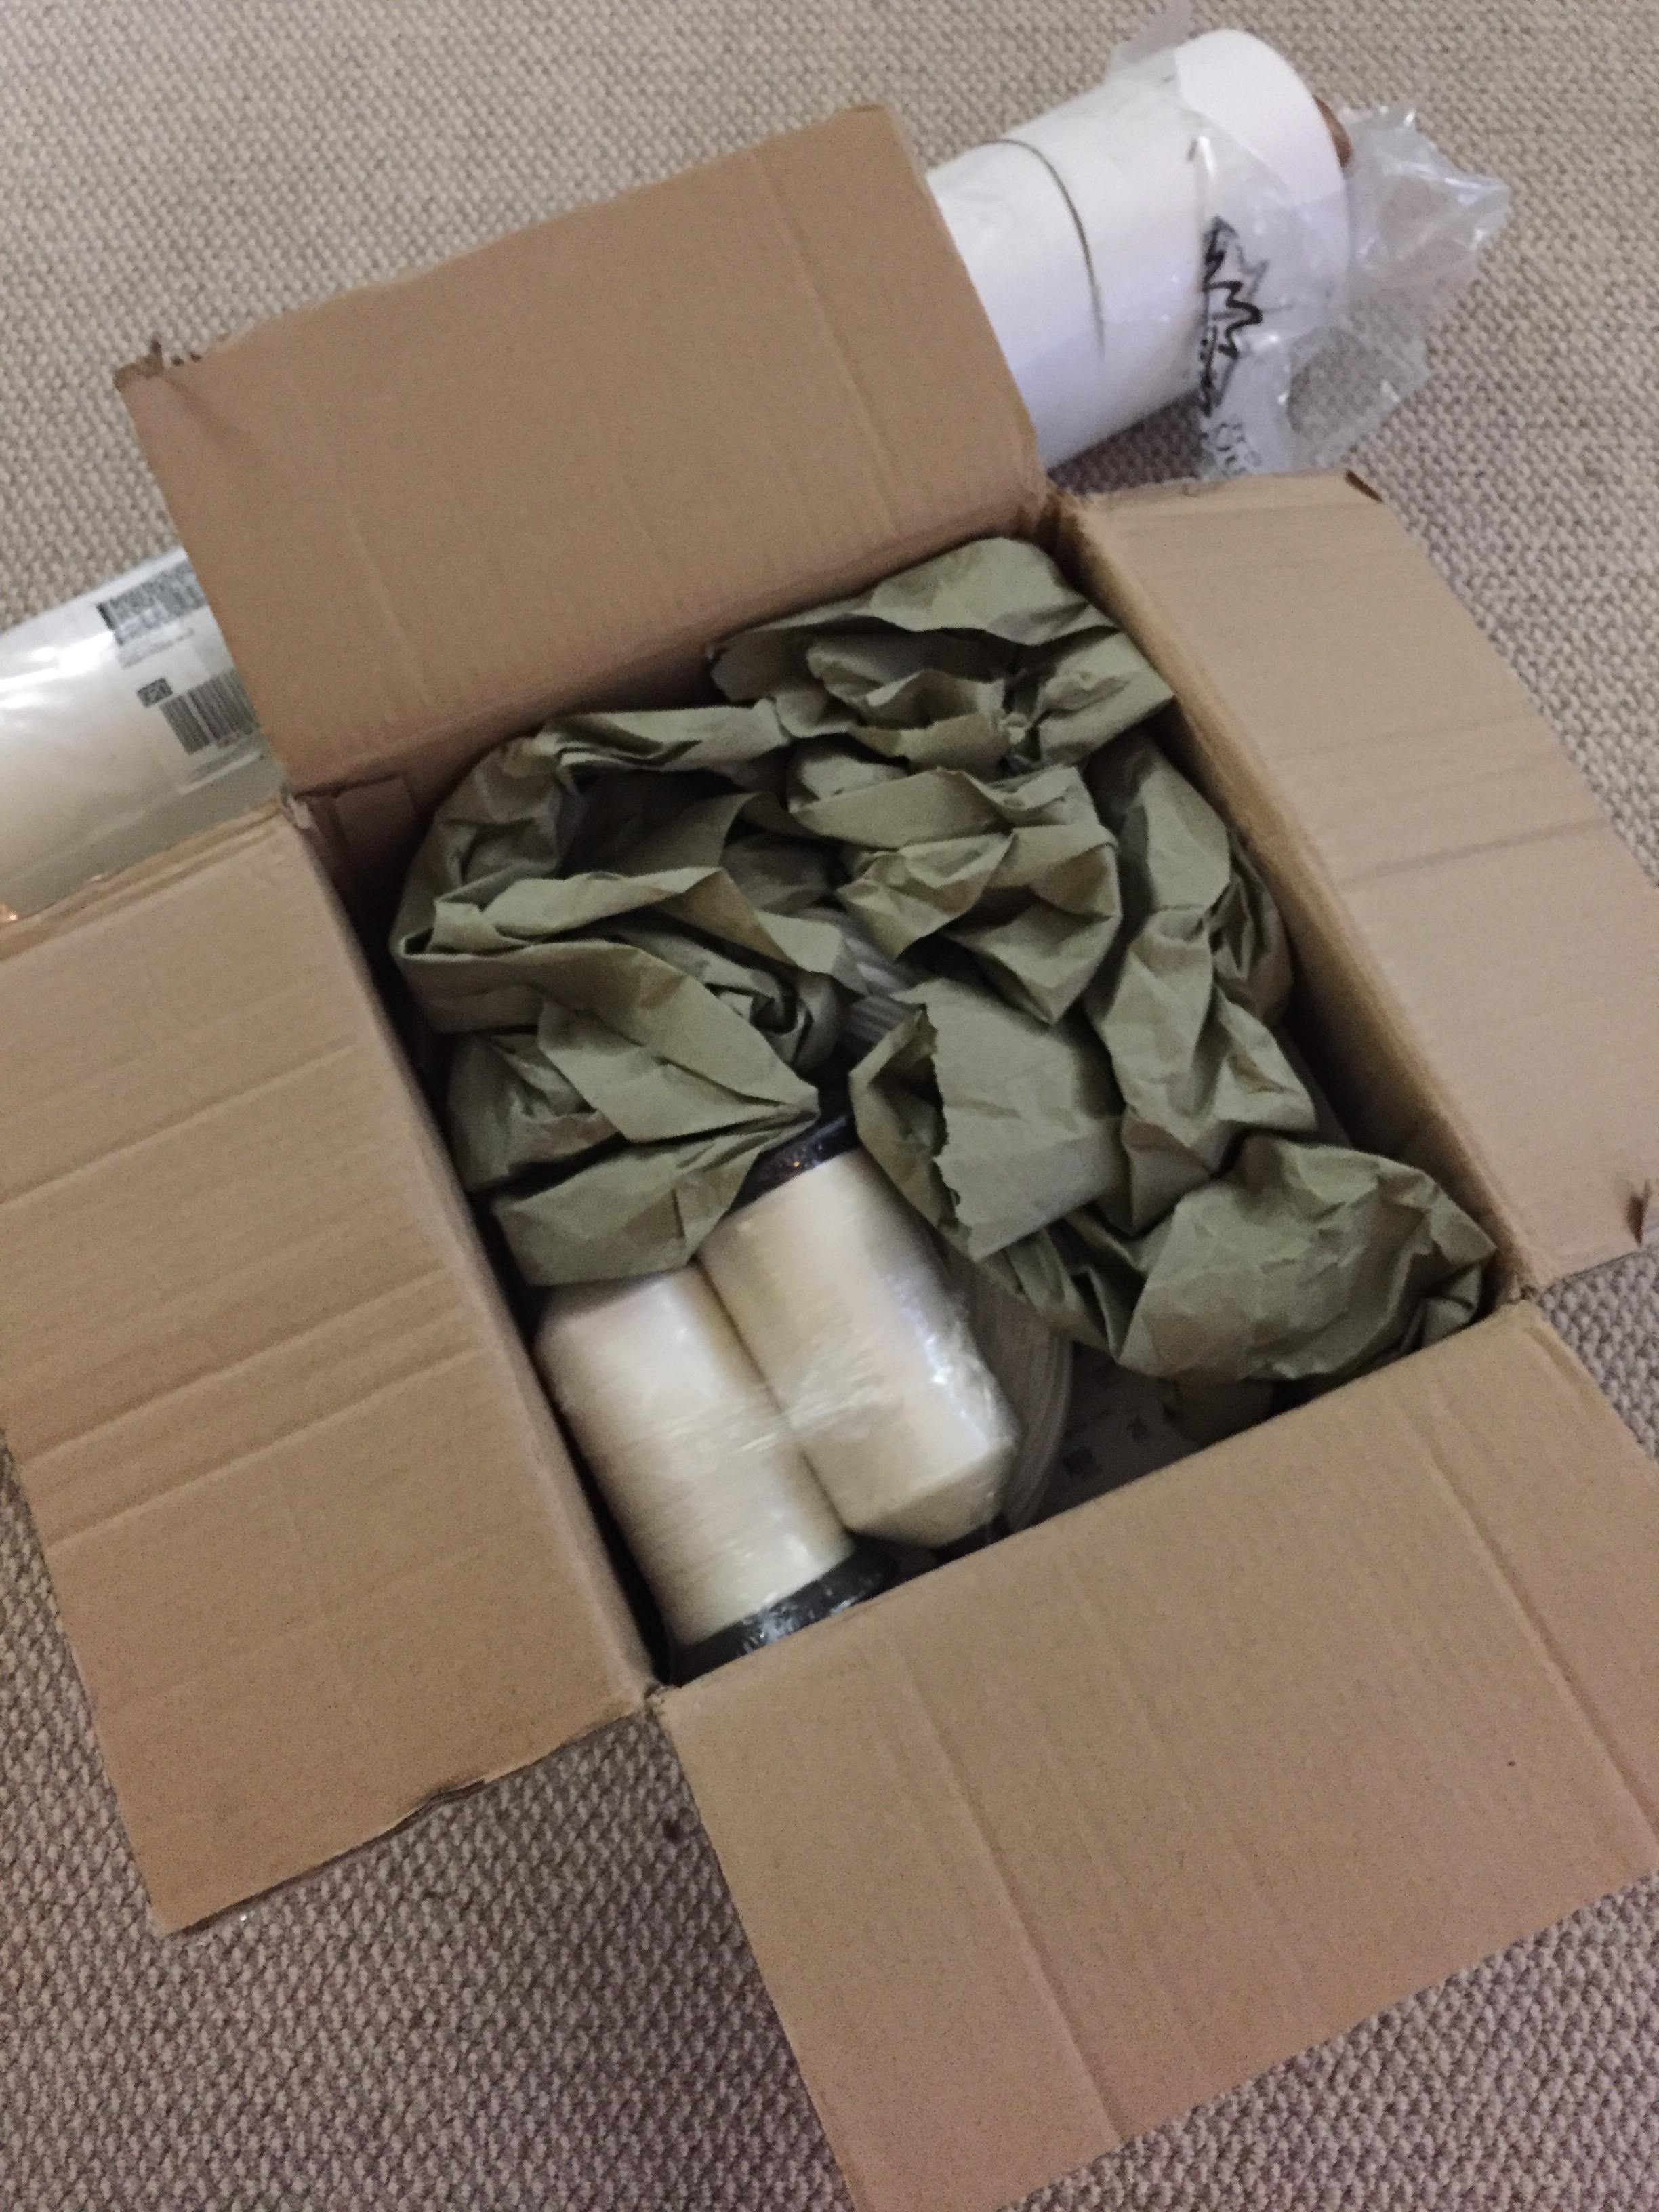
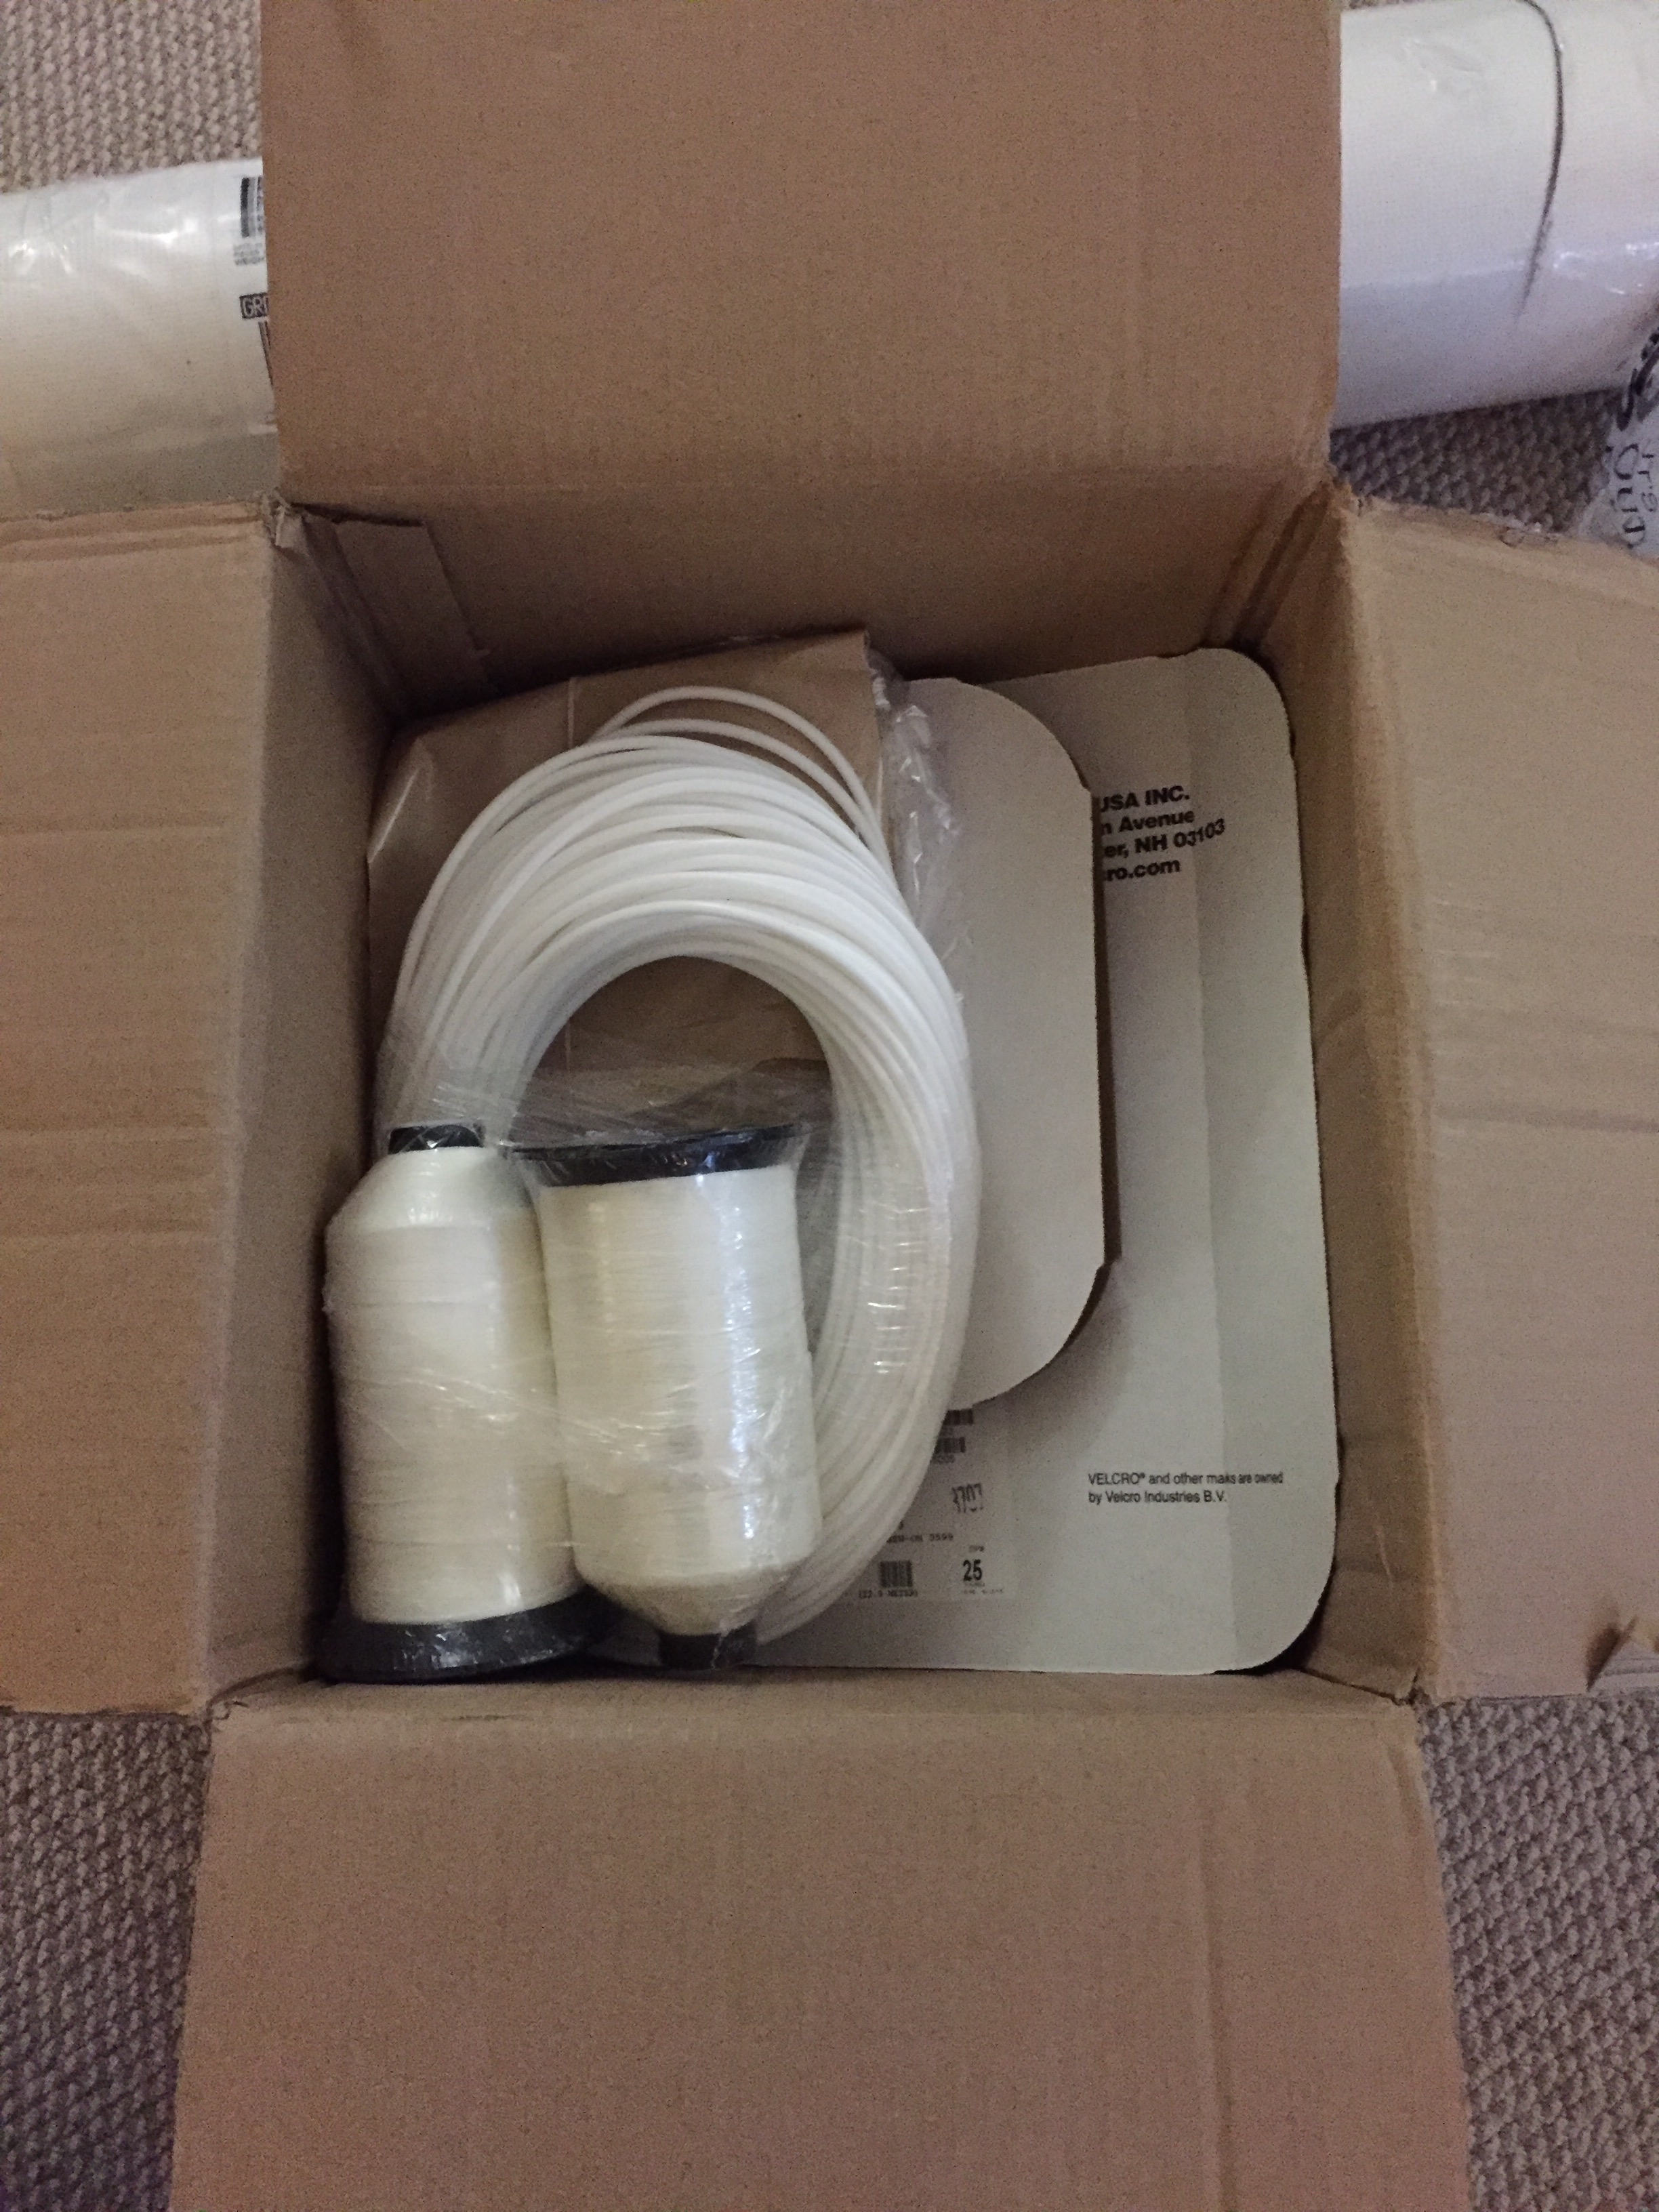
Once we had the material it was time to do a test piece. We had originally wanted to go with Ultraleather but could not justify the cost with 2 dogs, so we chose vinyl. Yup, I said it. Vinyl! Now before you pass out, shut down your computer, or merely dismiss me as a lunatic, you need to understand that vinyl is not the same as what it was on your dad’s boat. The vinyl we bought is a marine grade highly wear resistant material that is very close to Ultraleather but less than half the cost.

If anyone ever asks for advice on how to do interior cushions, my response is going to be measure 10 times, cut once, and test fit every single thing you do!

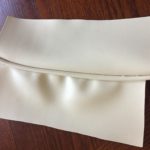
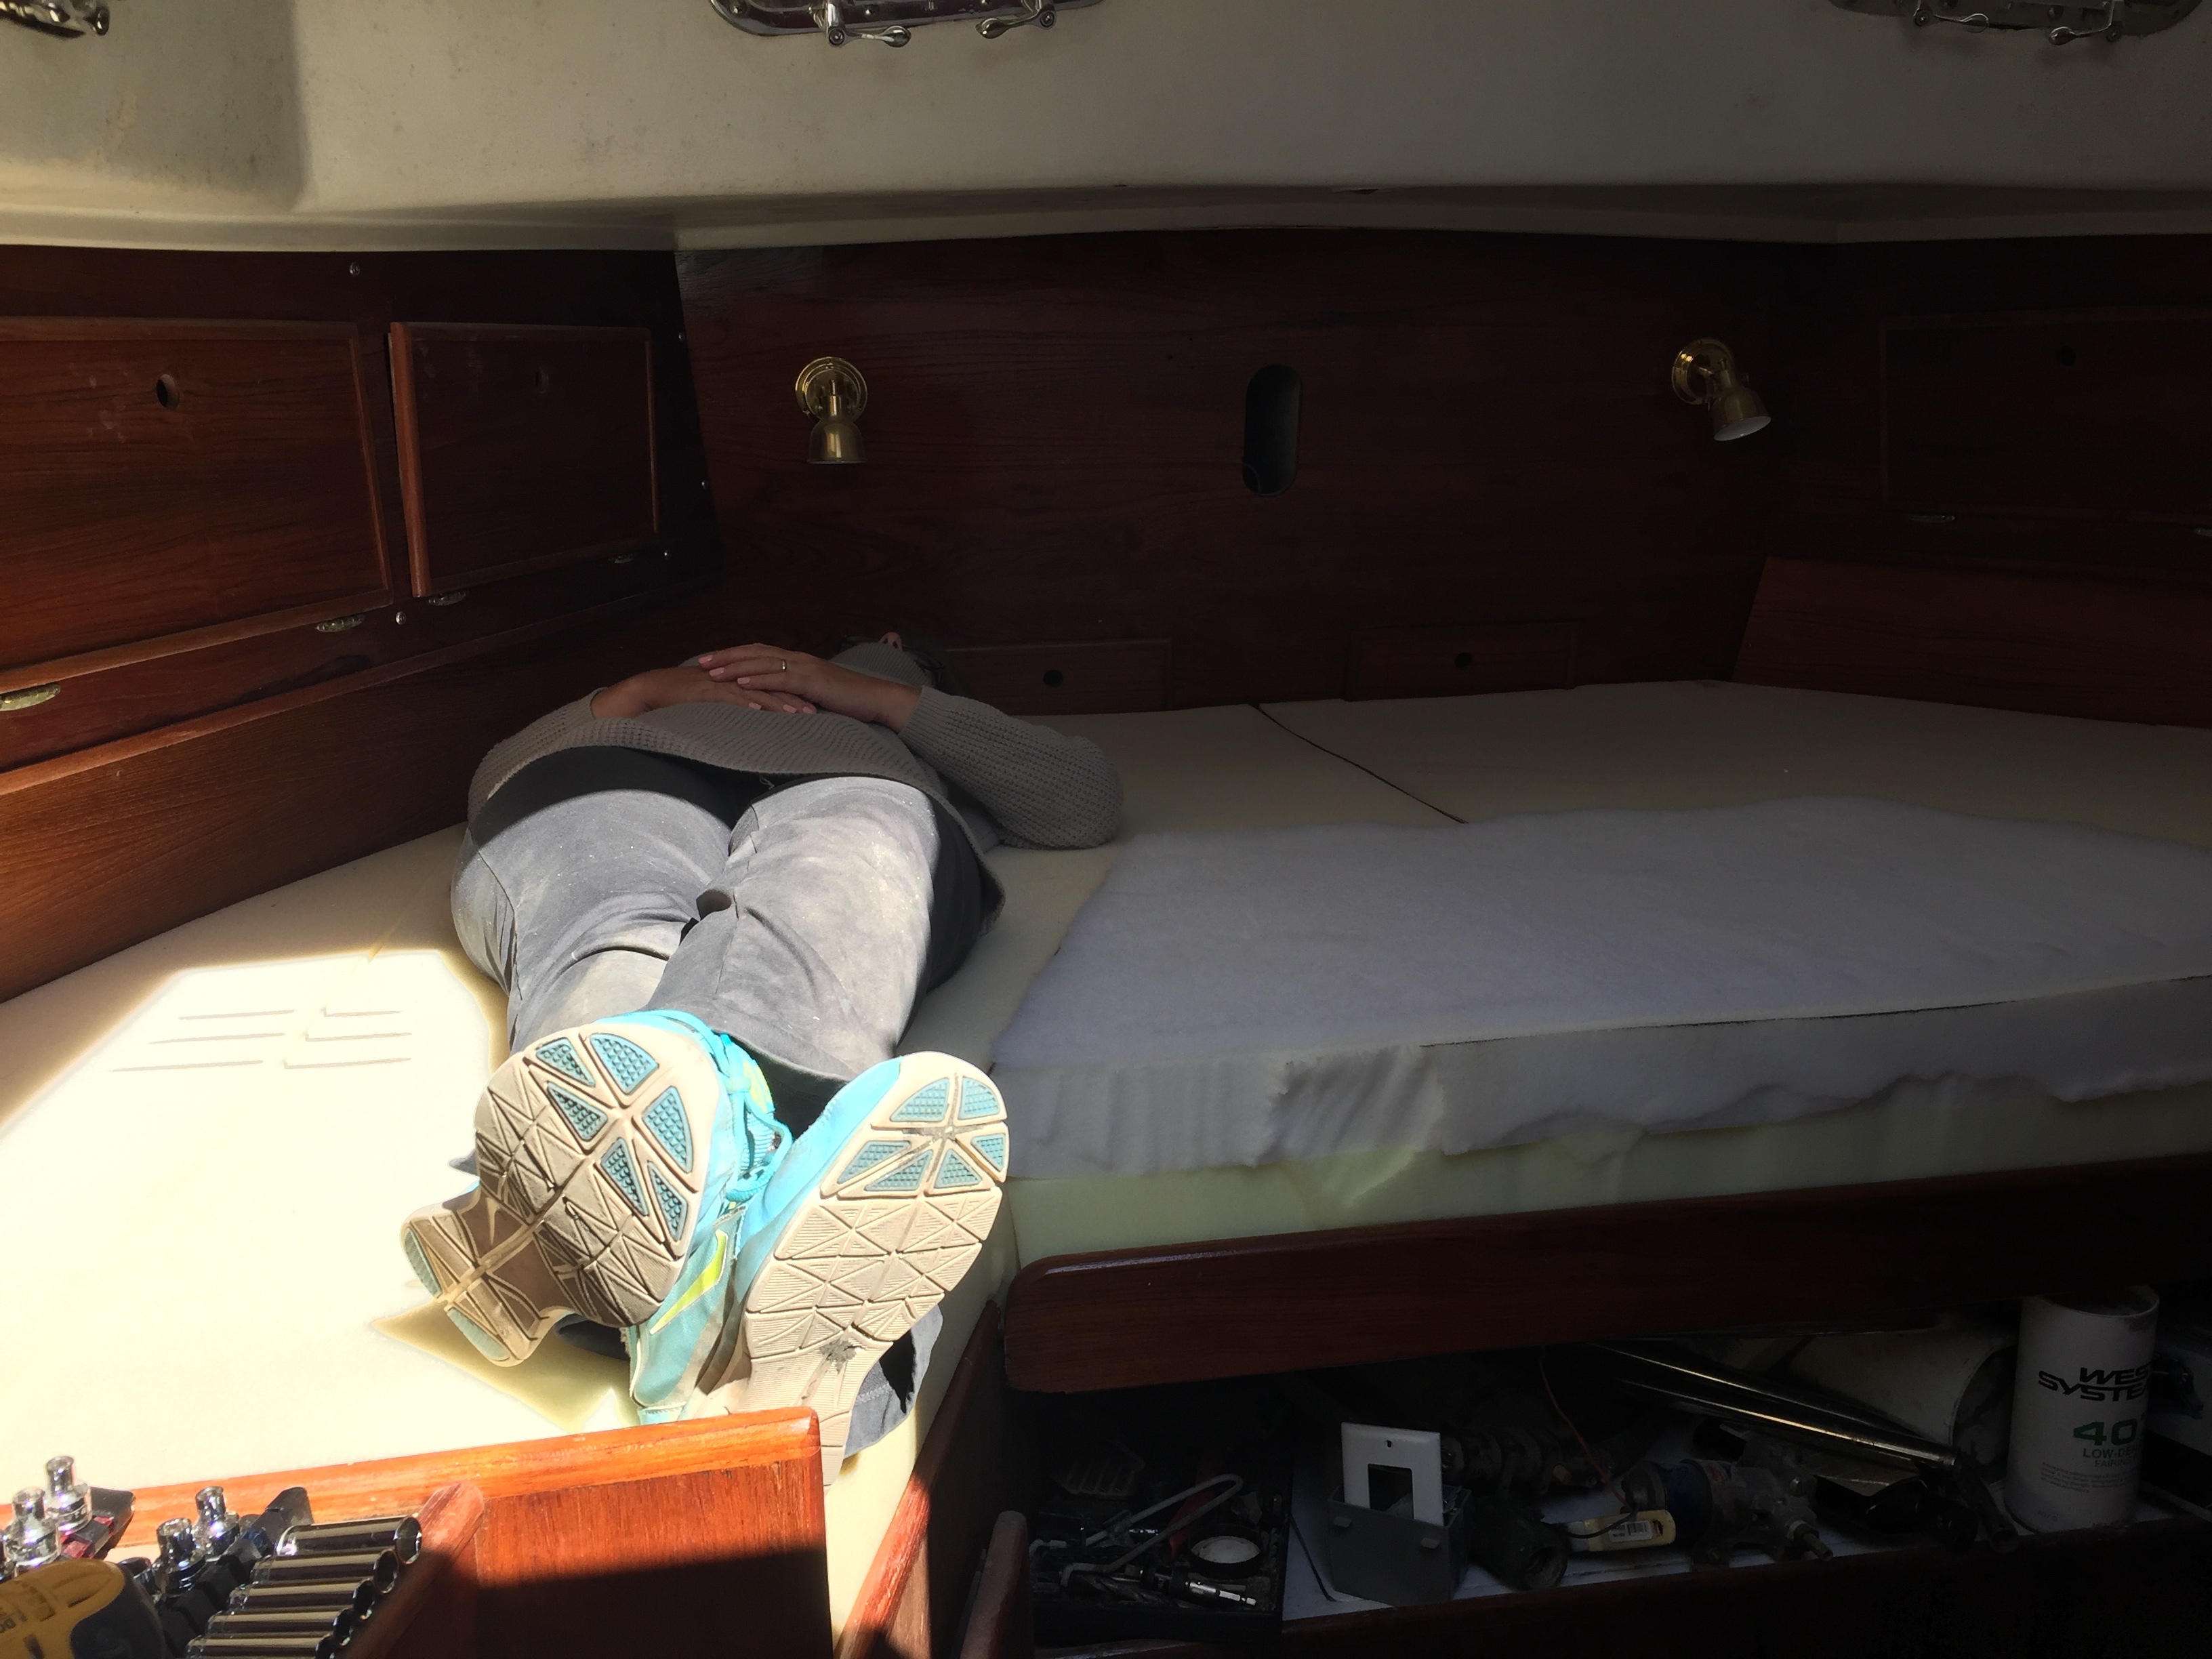
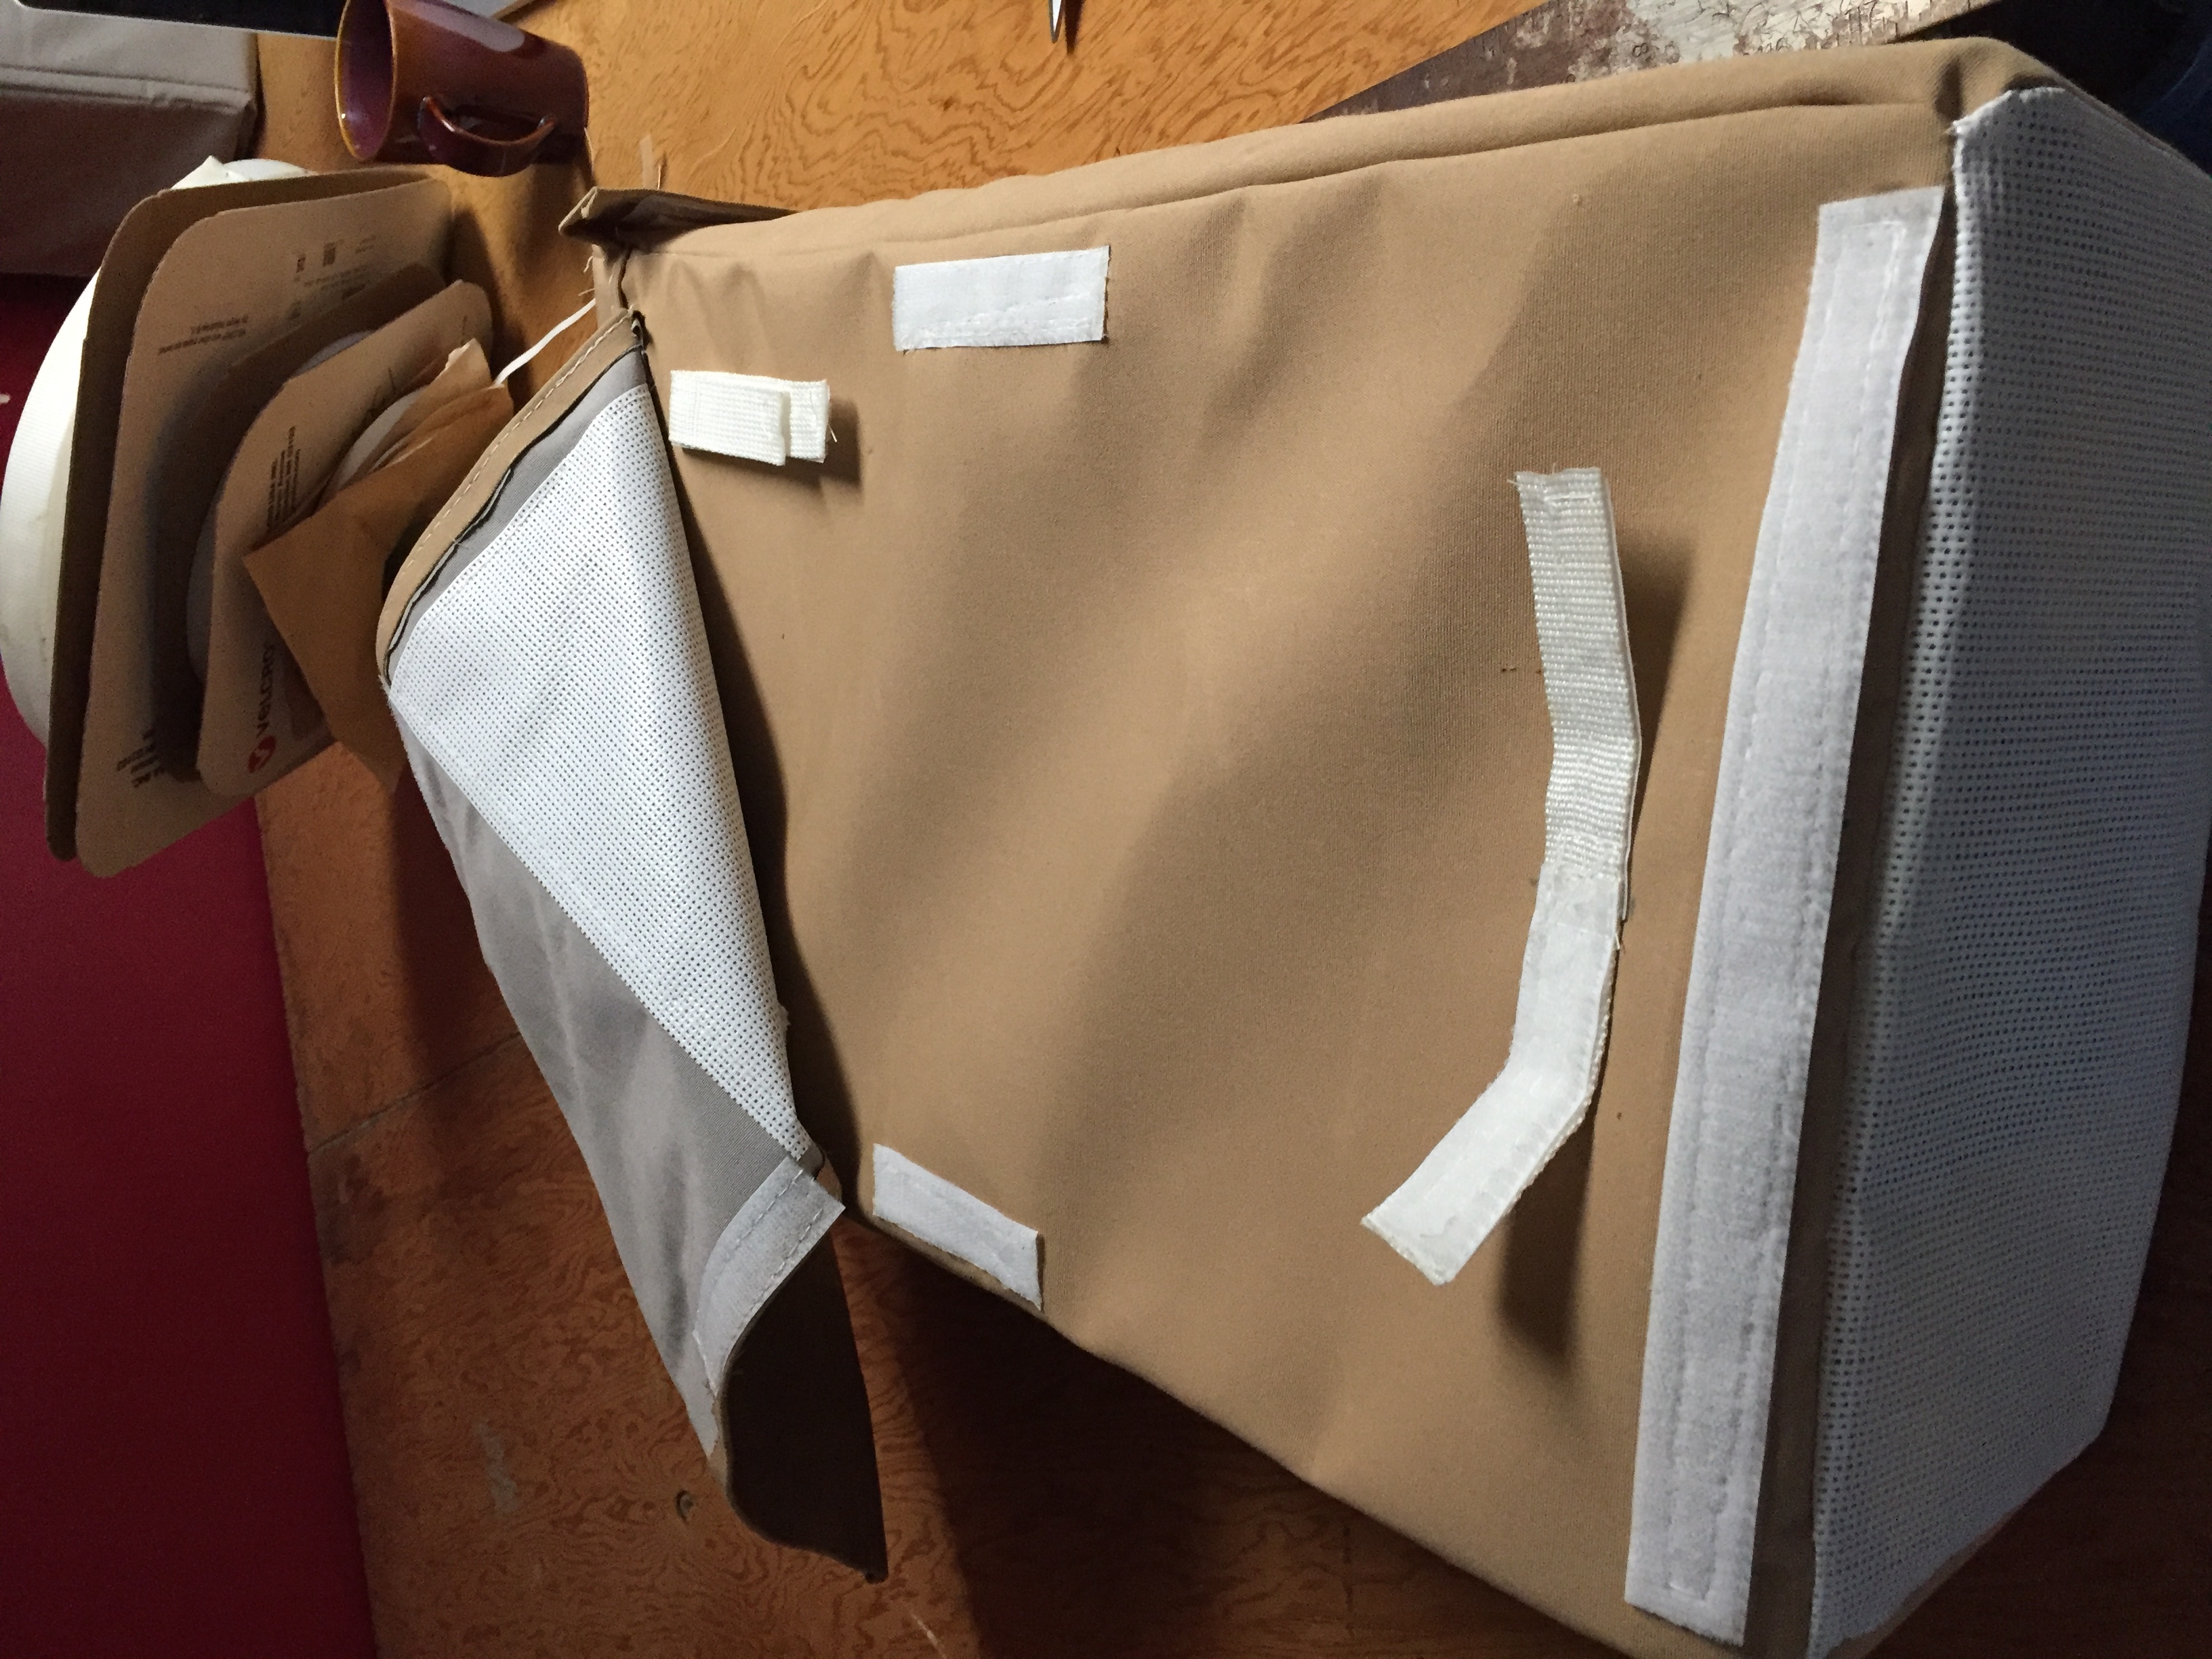
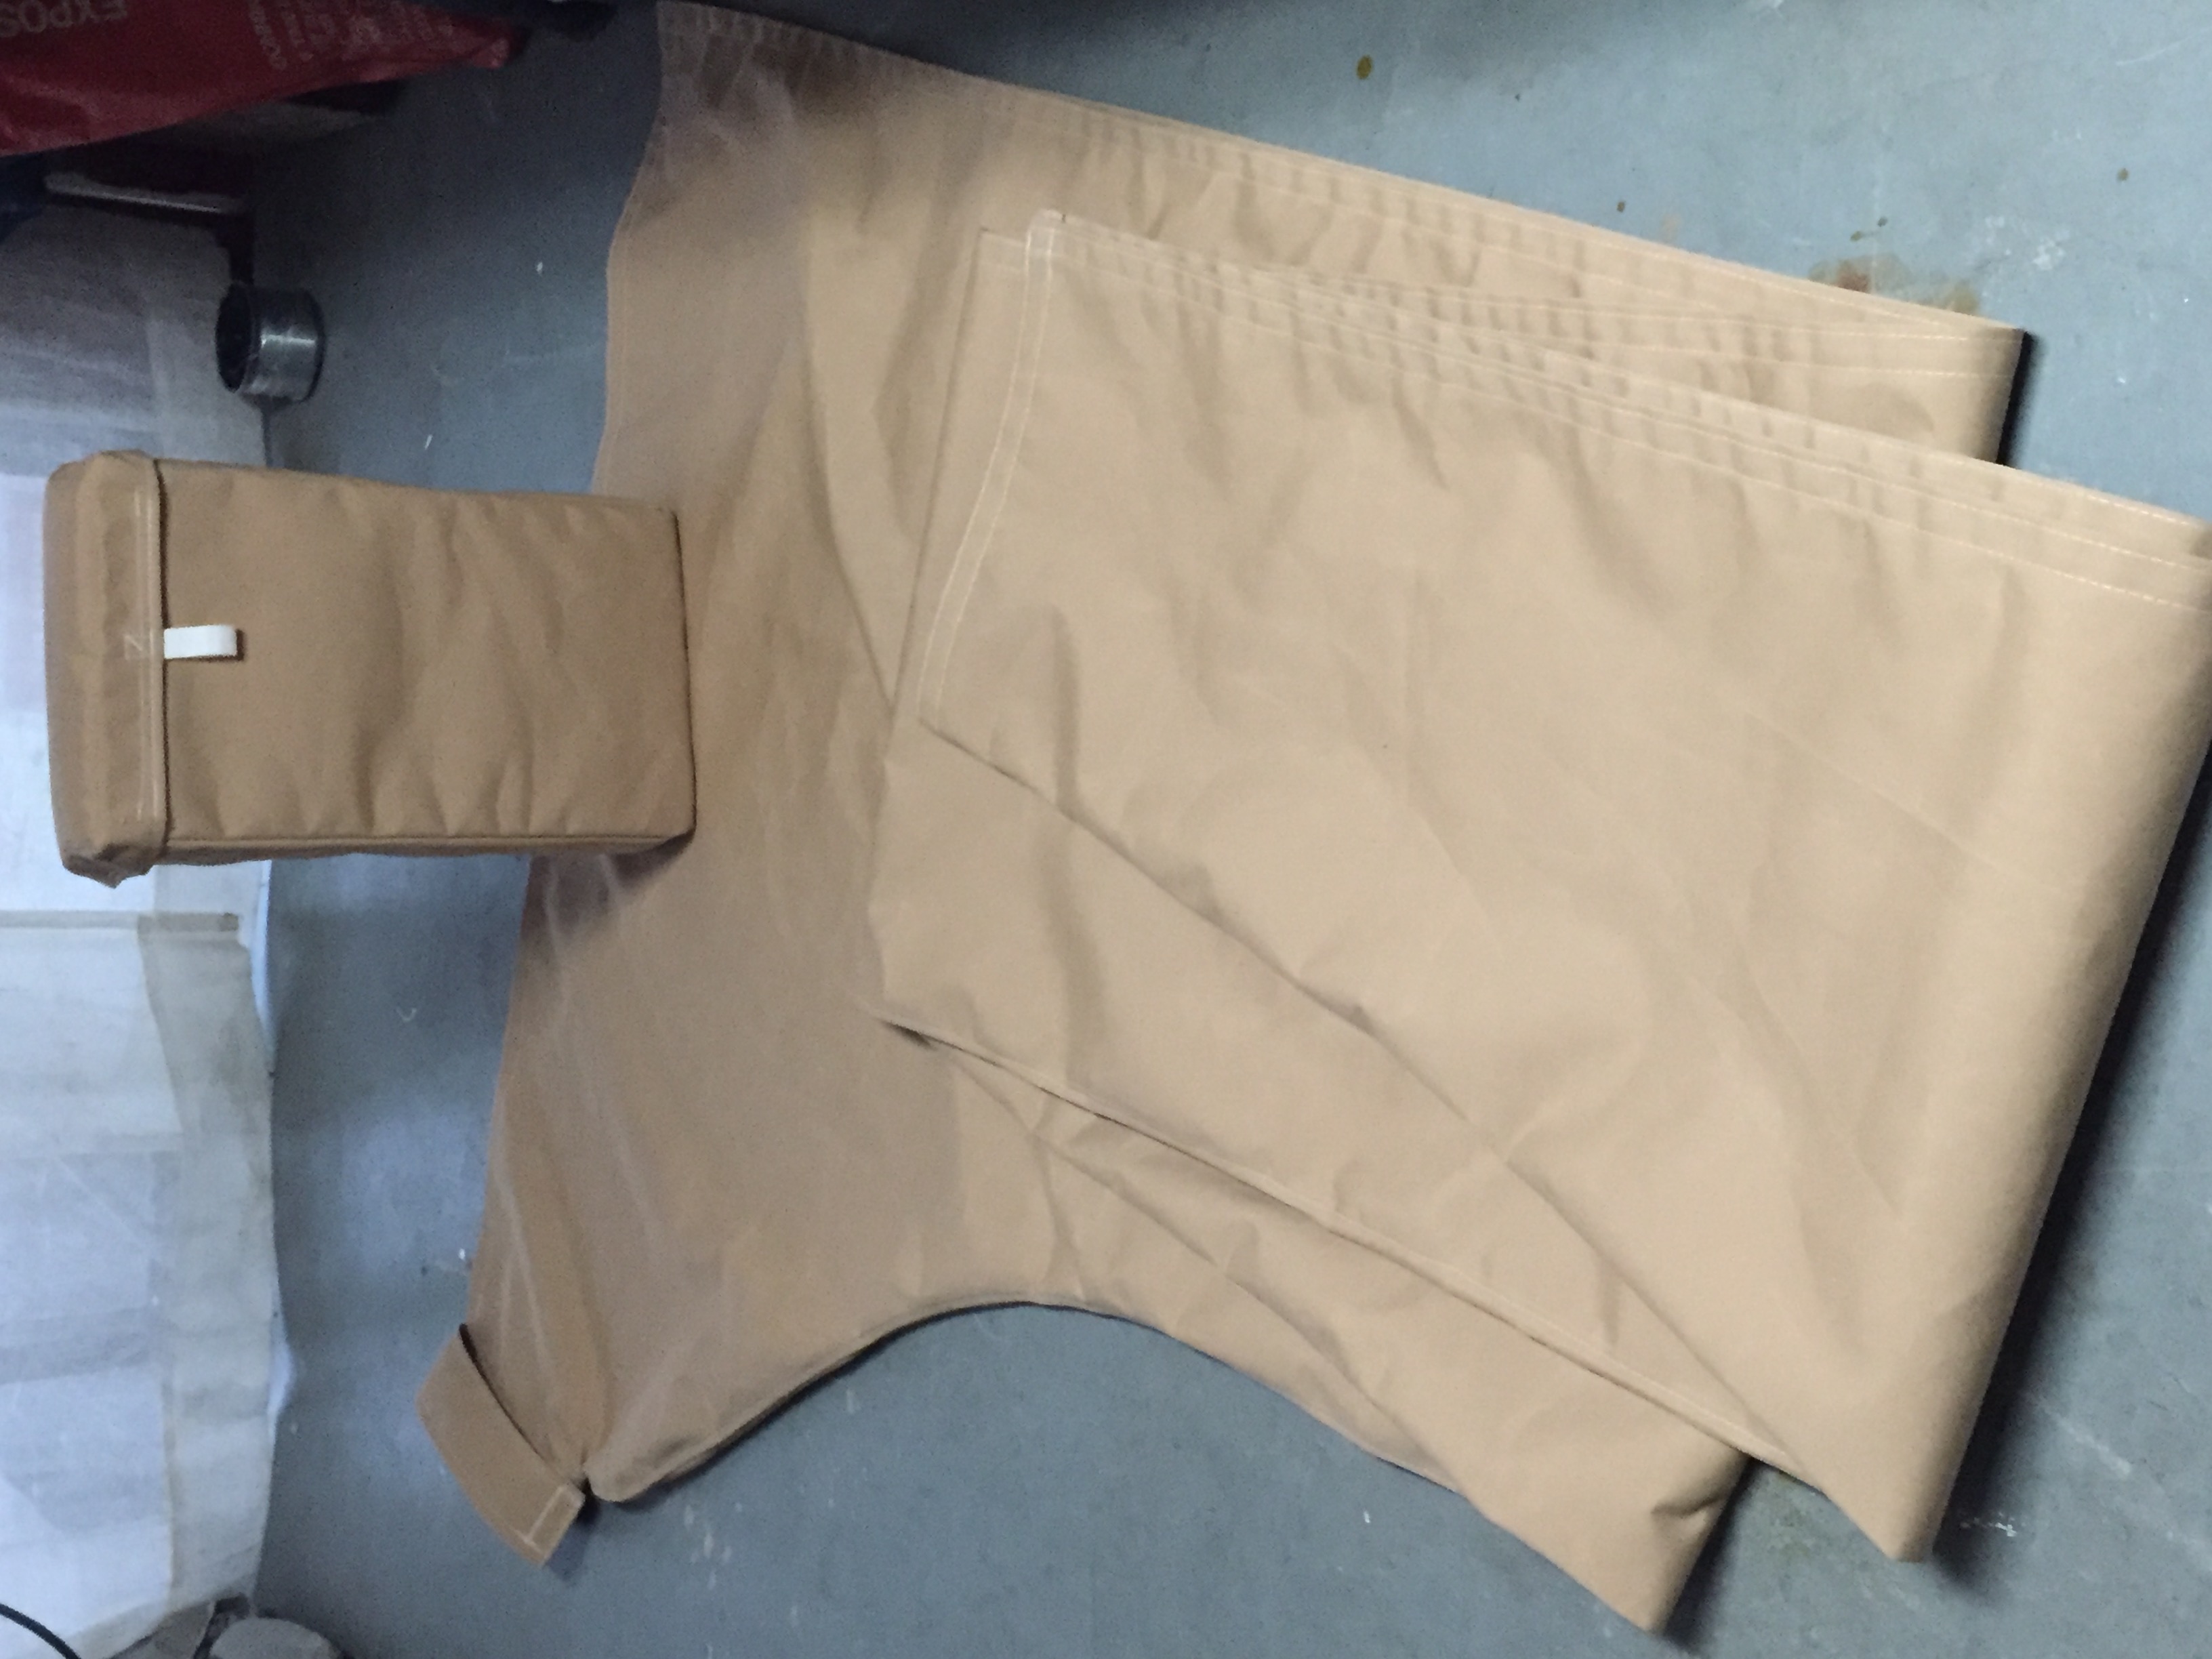
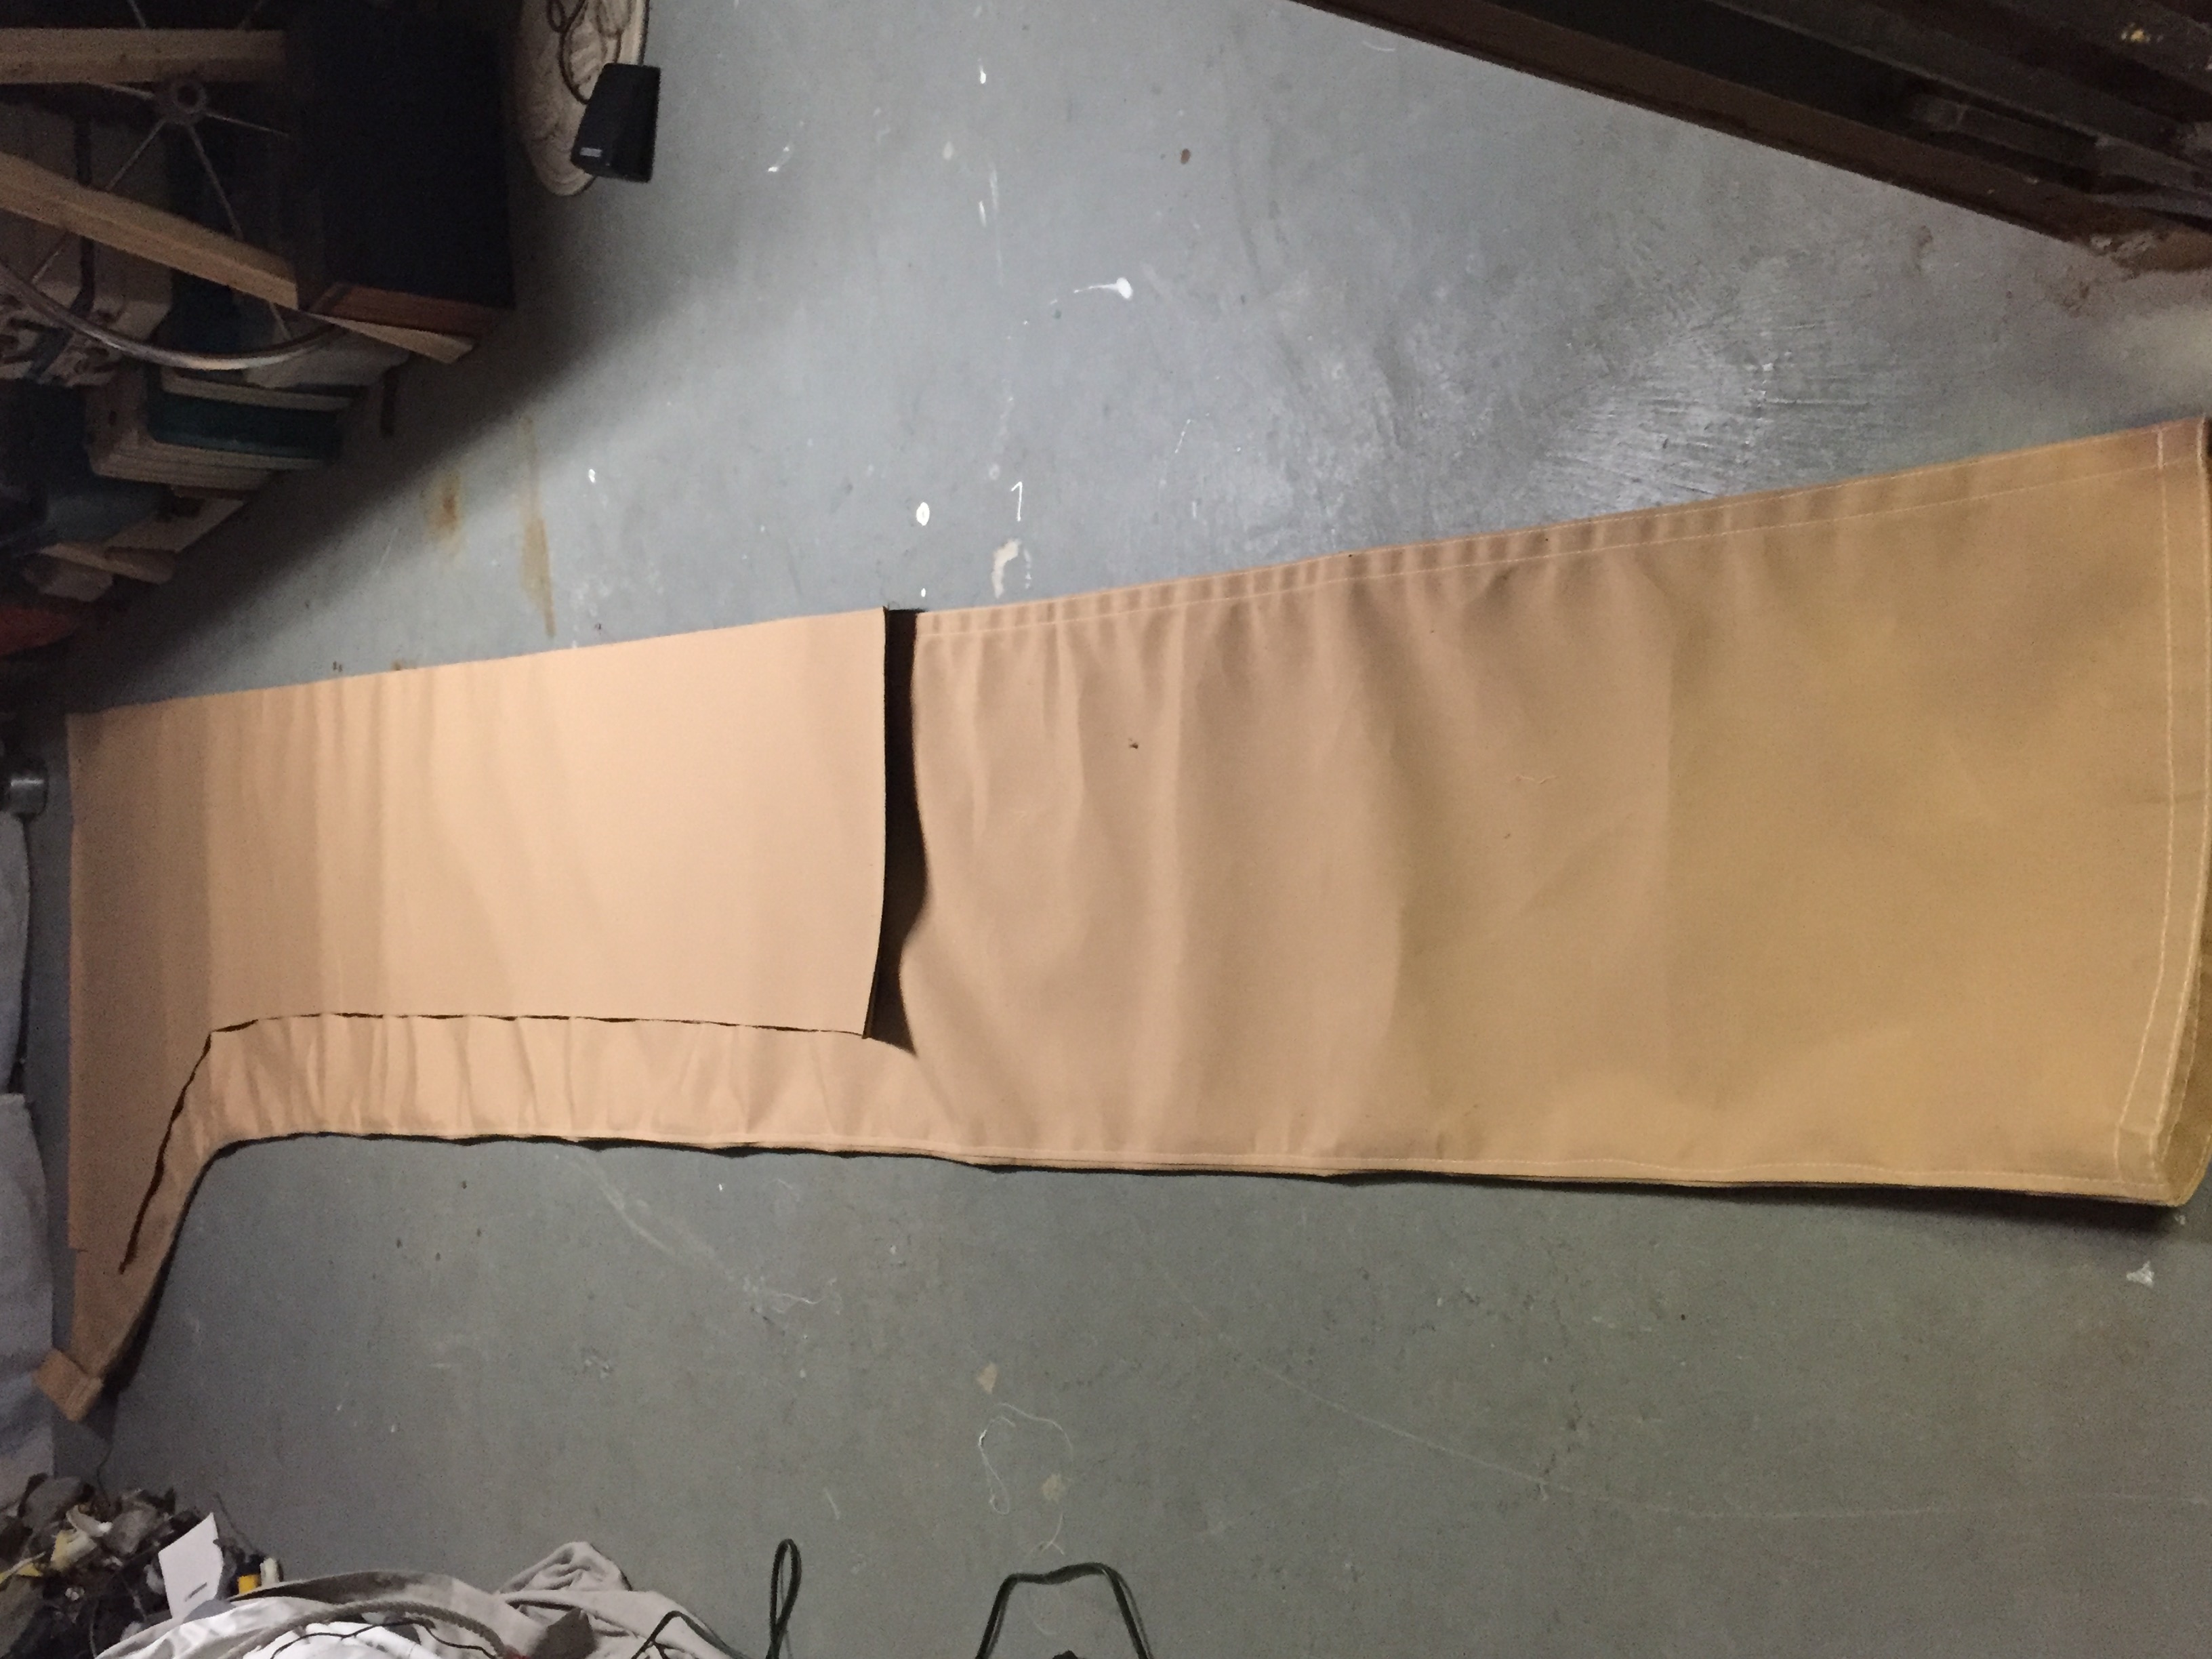
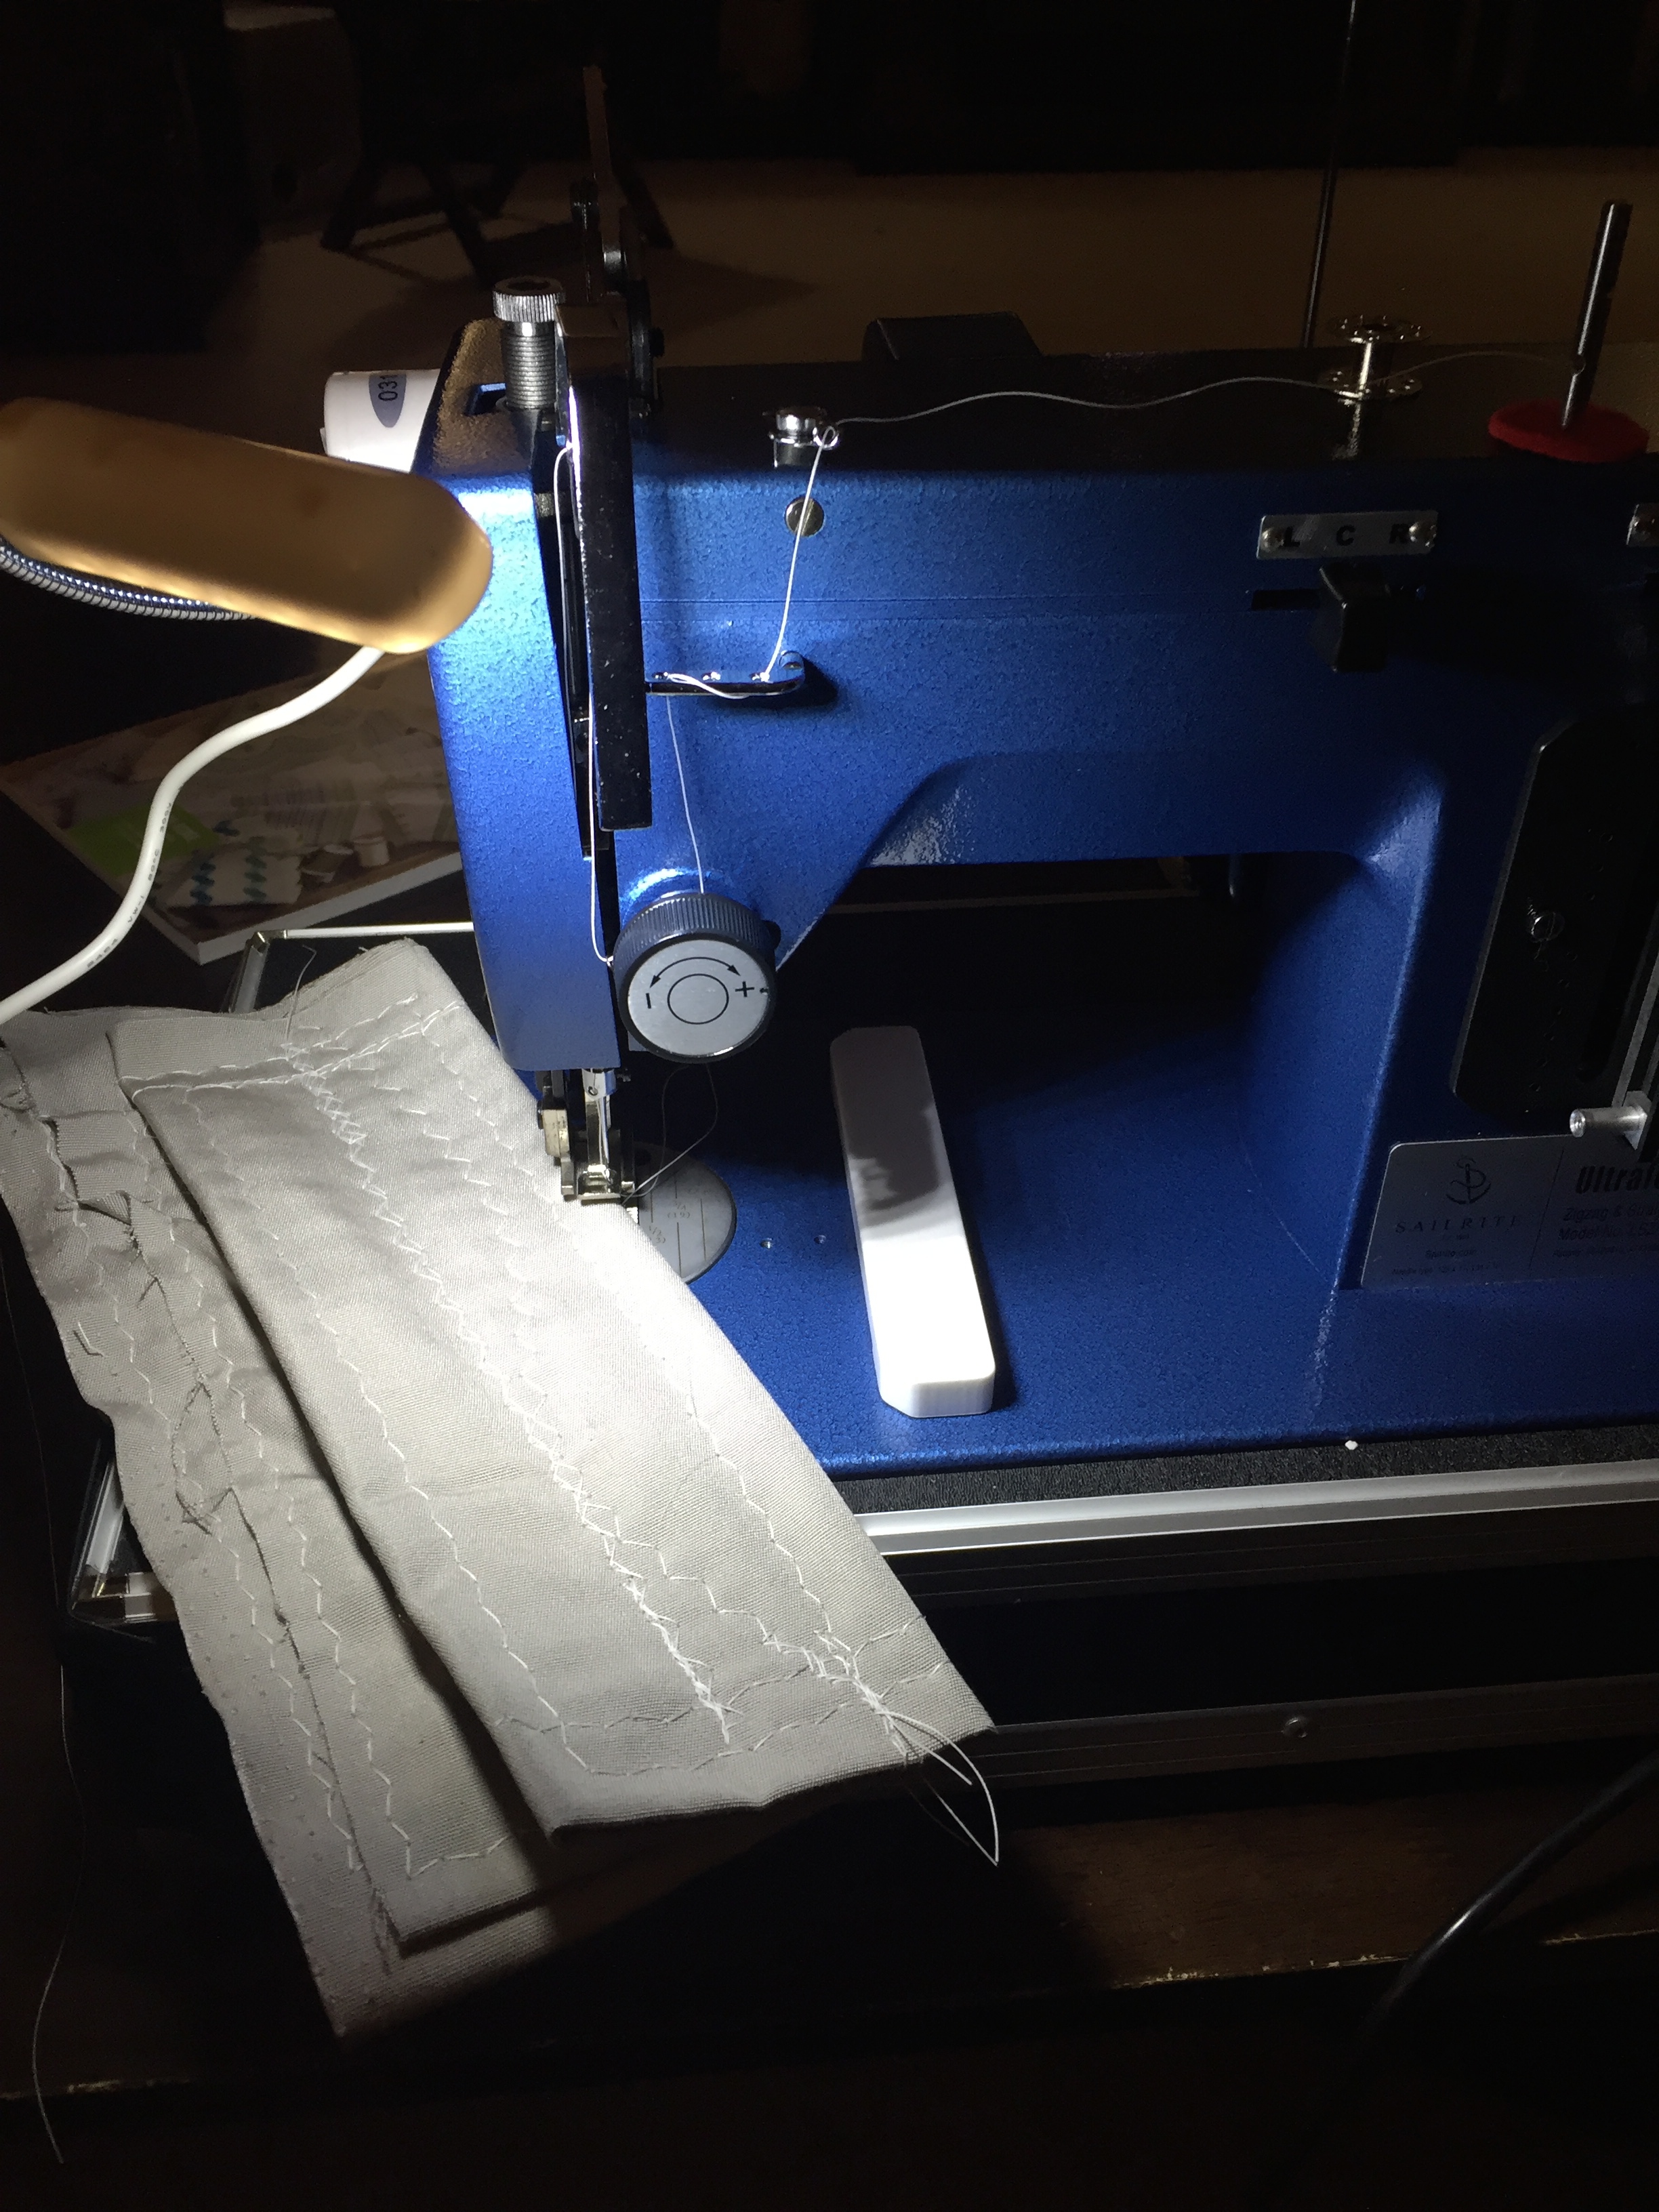
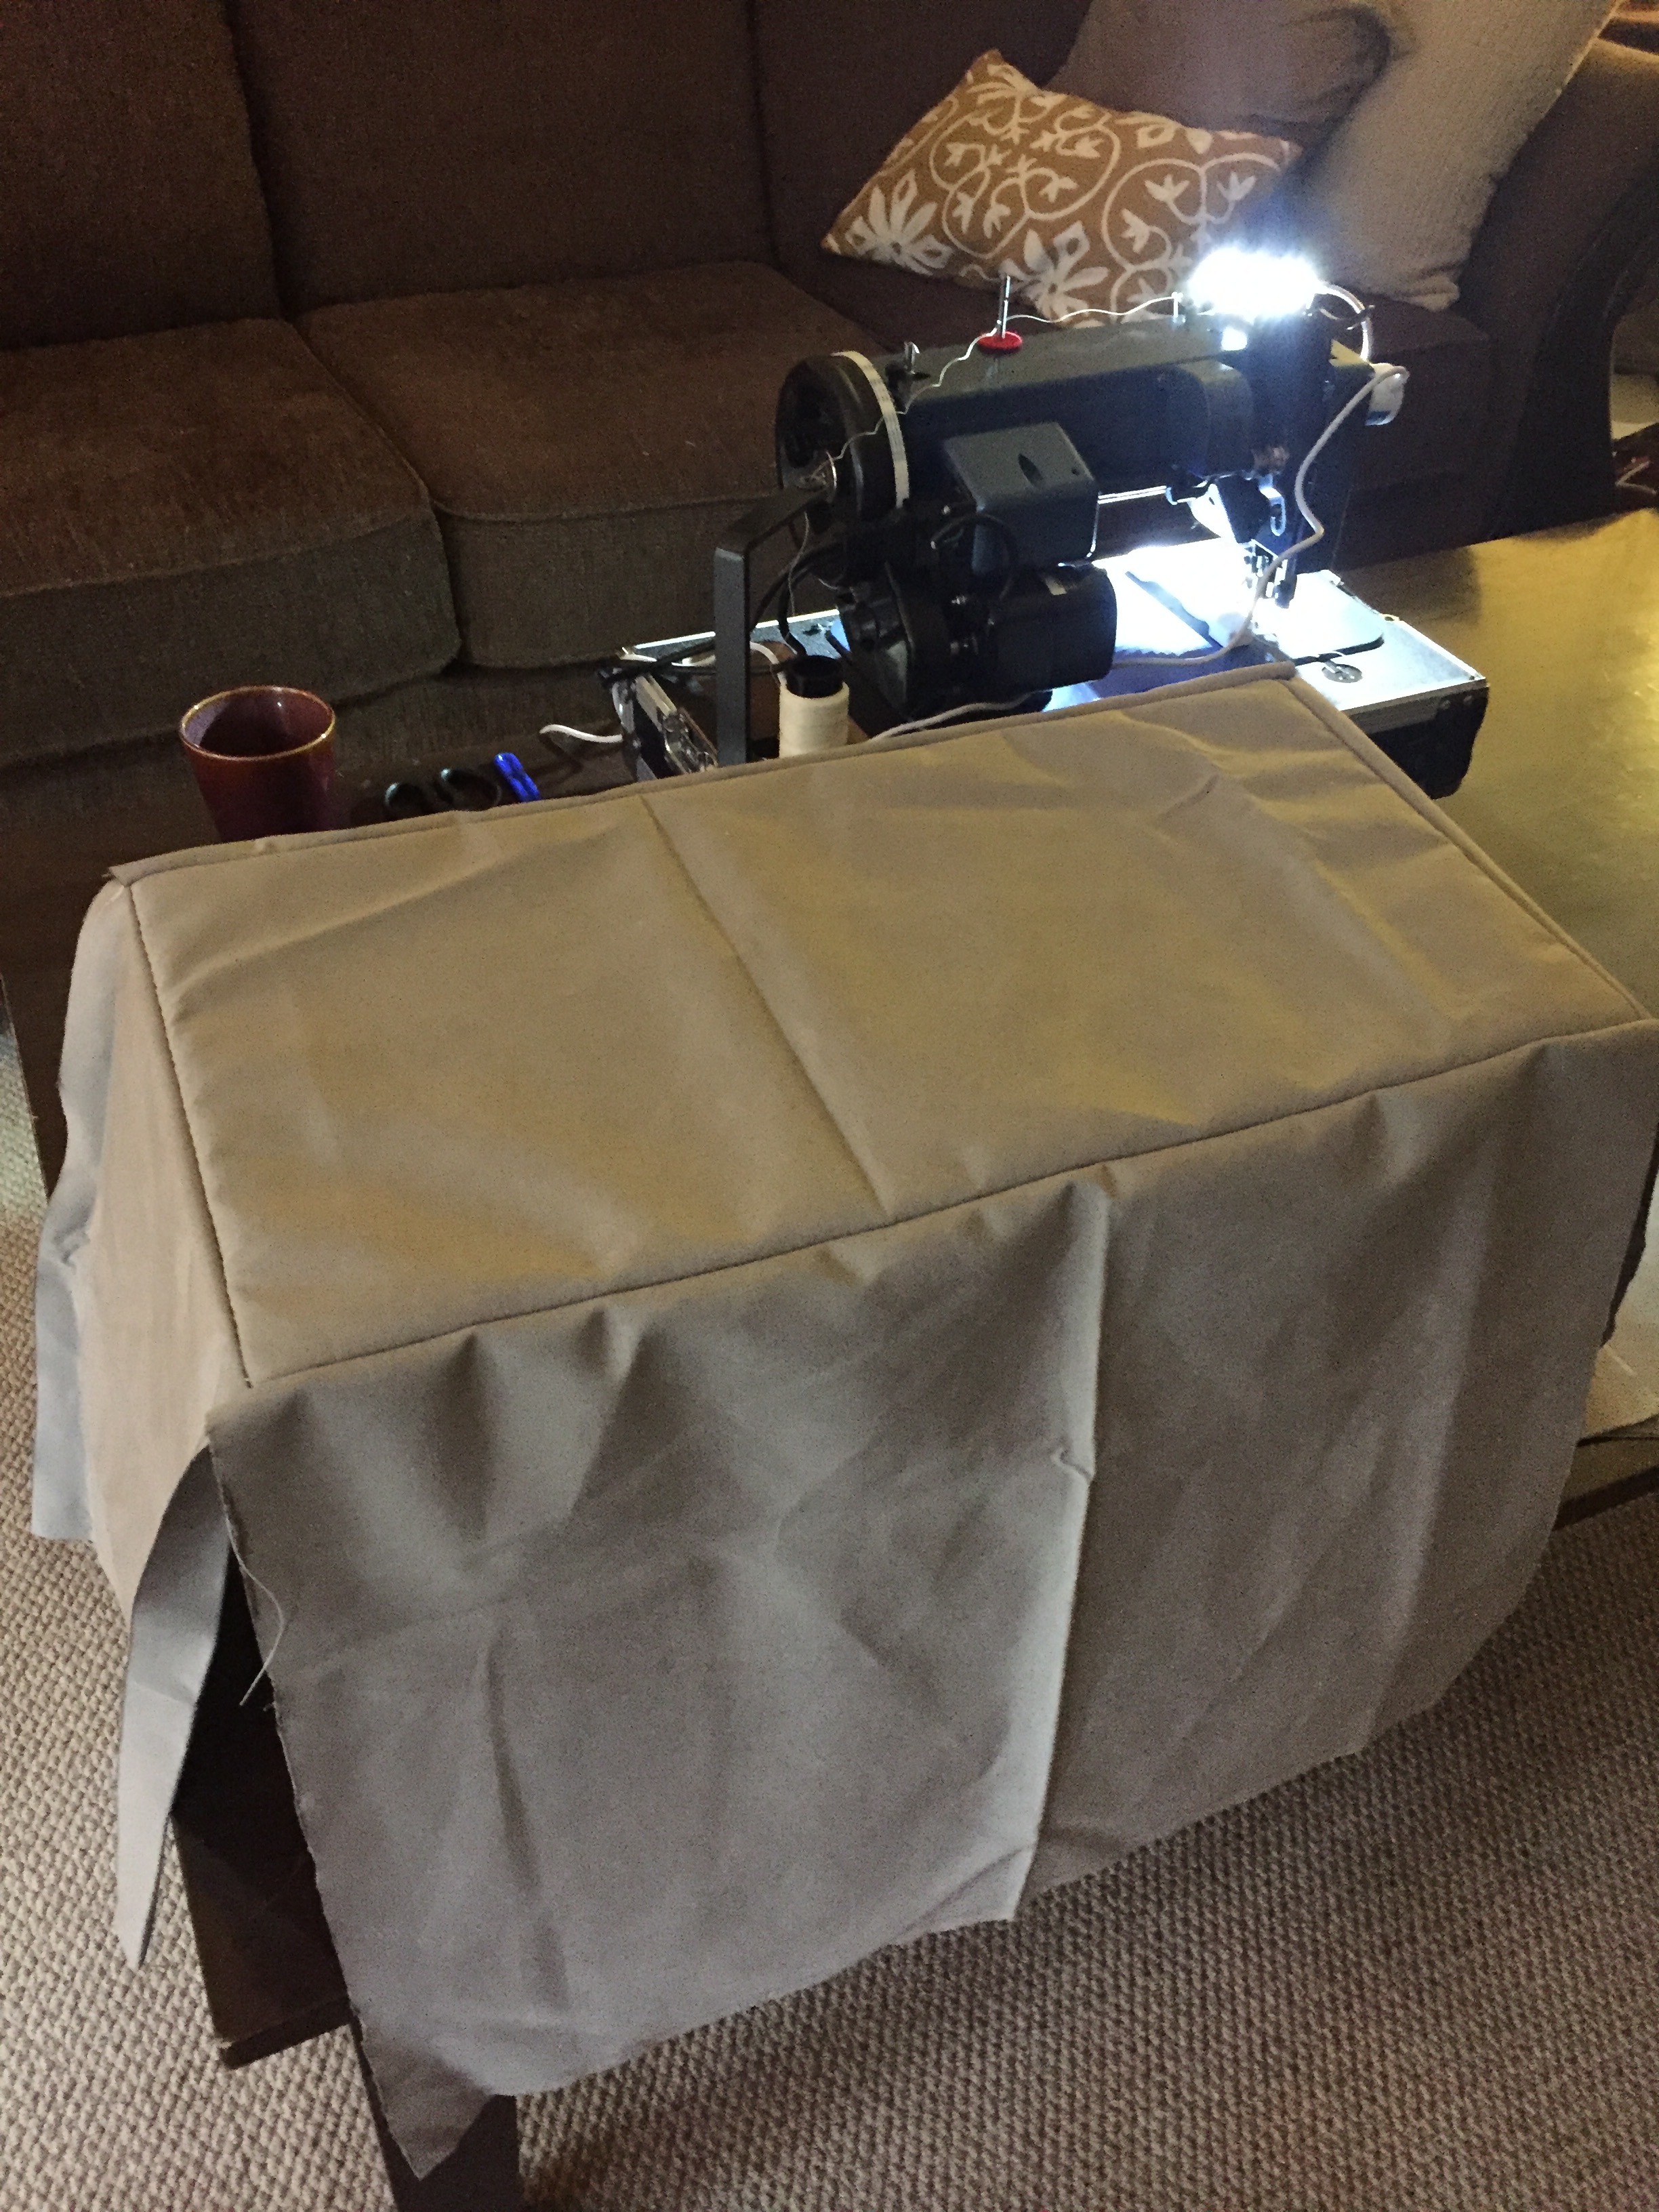
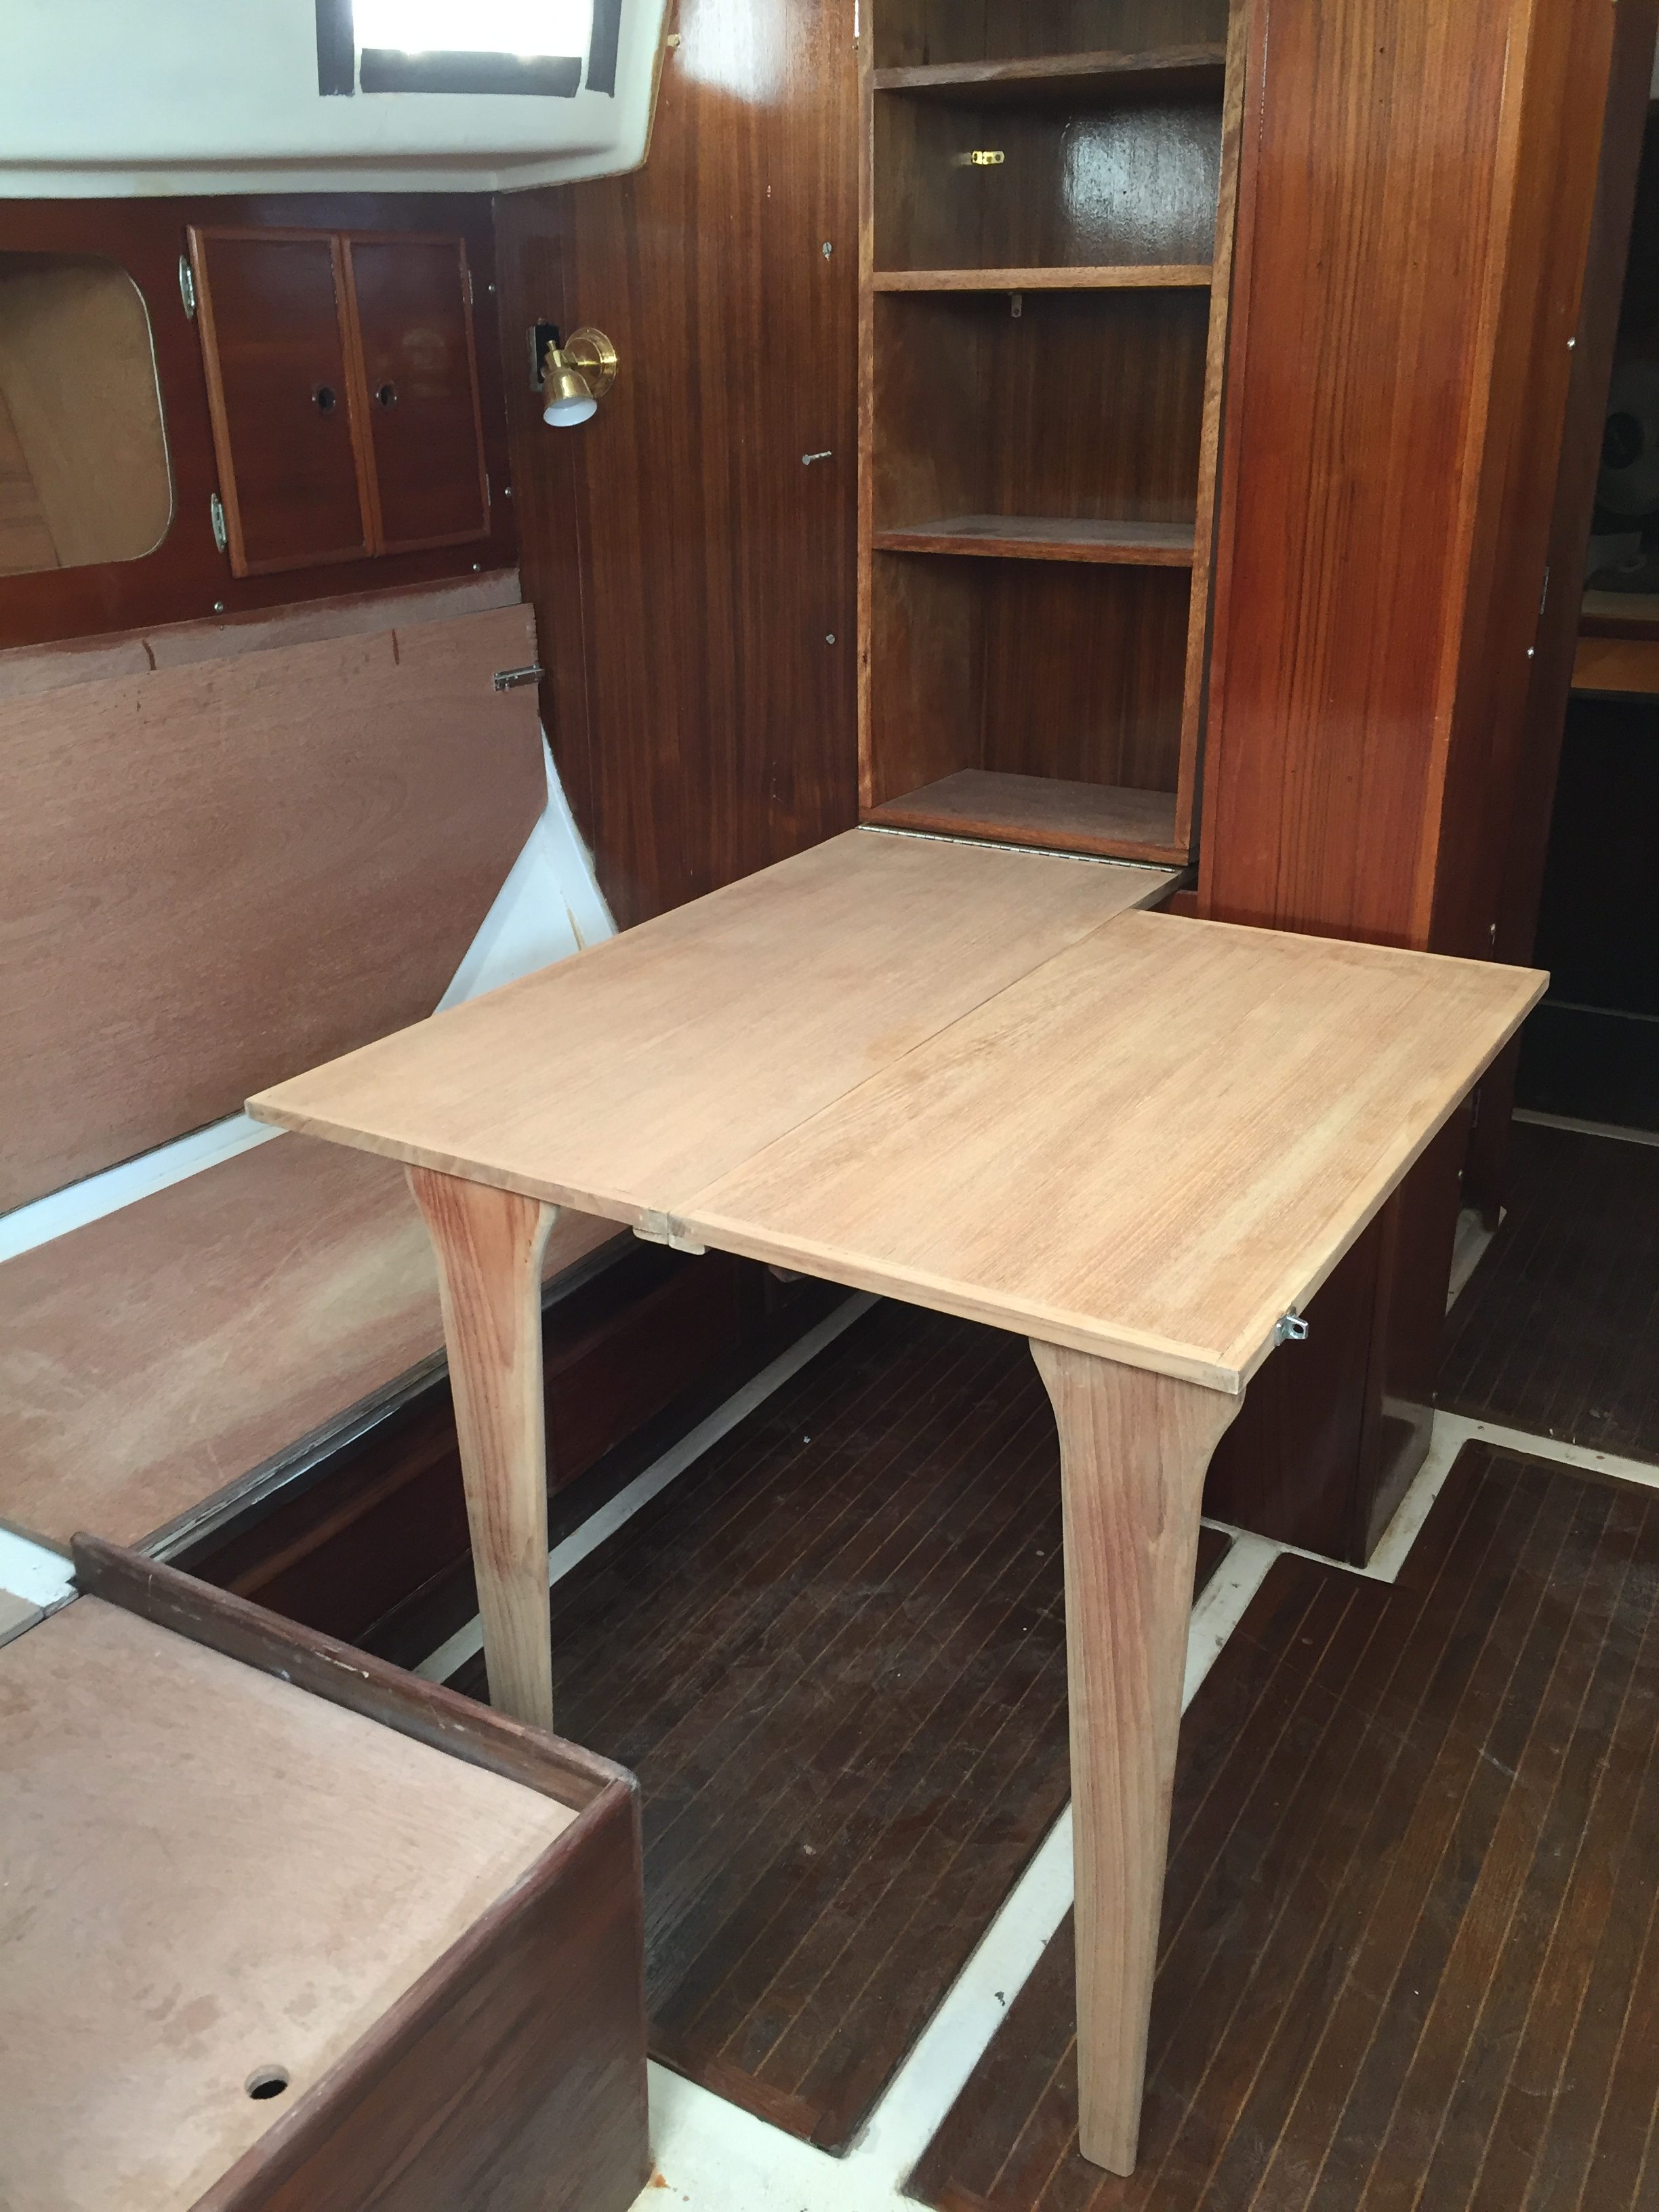
This picture above is about the 5th time test fitting, sew a little, test fit again, and repeat. You can see the side are not attached yet.

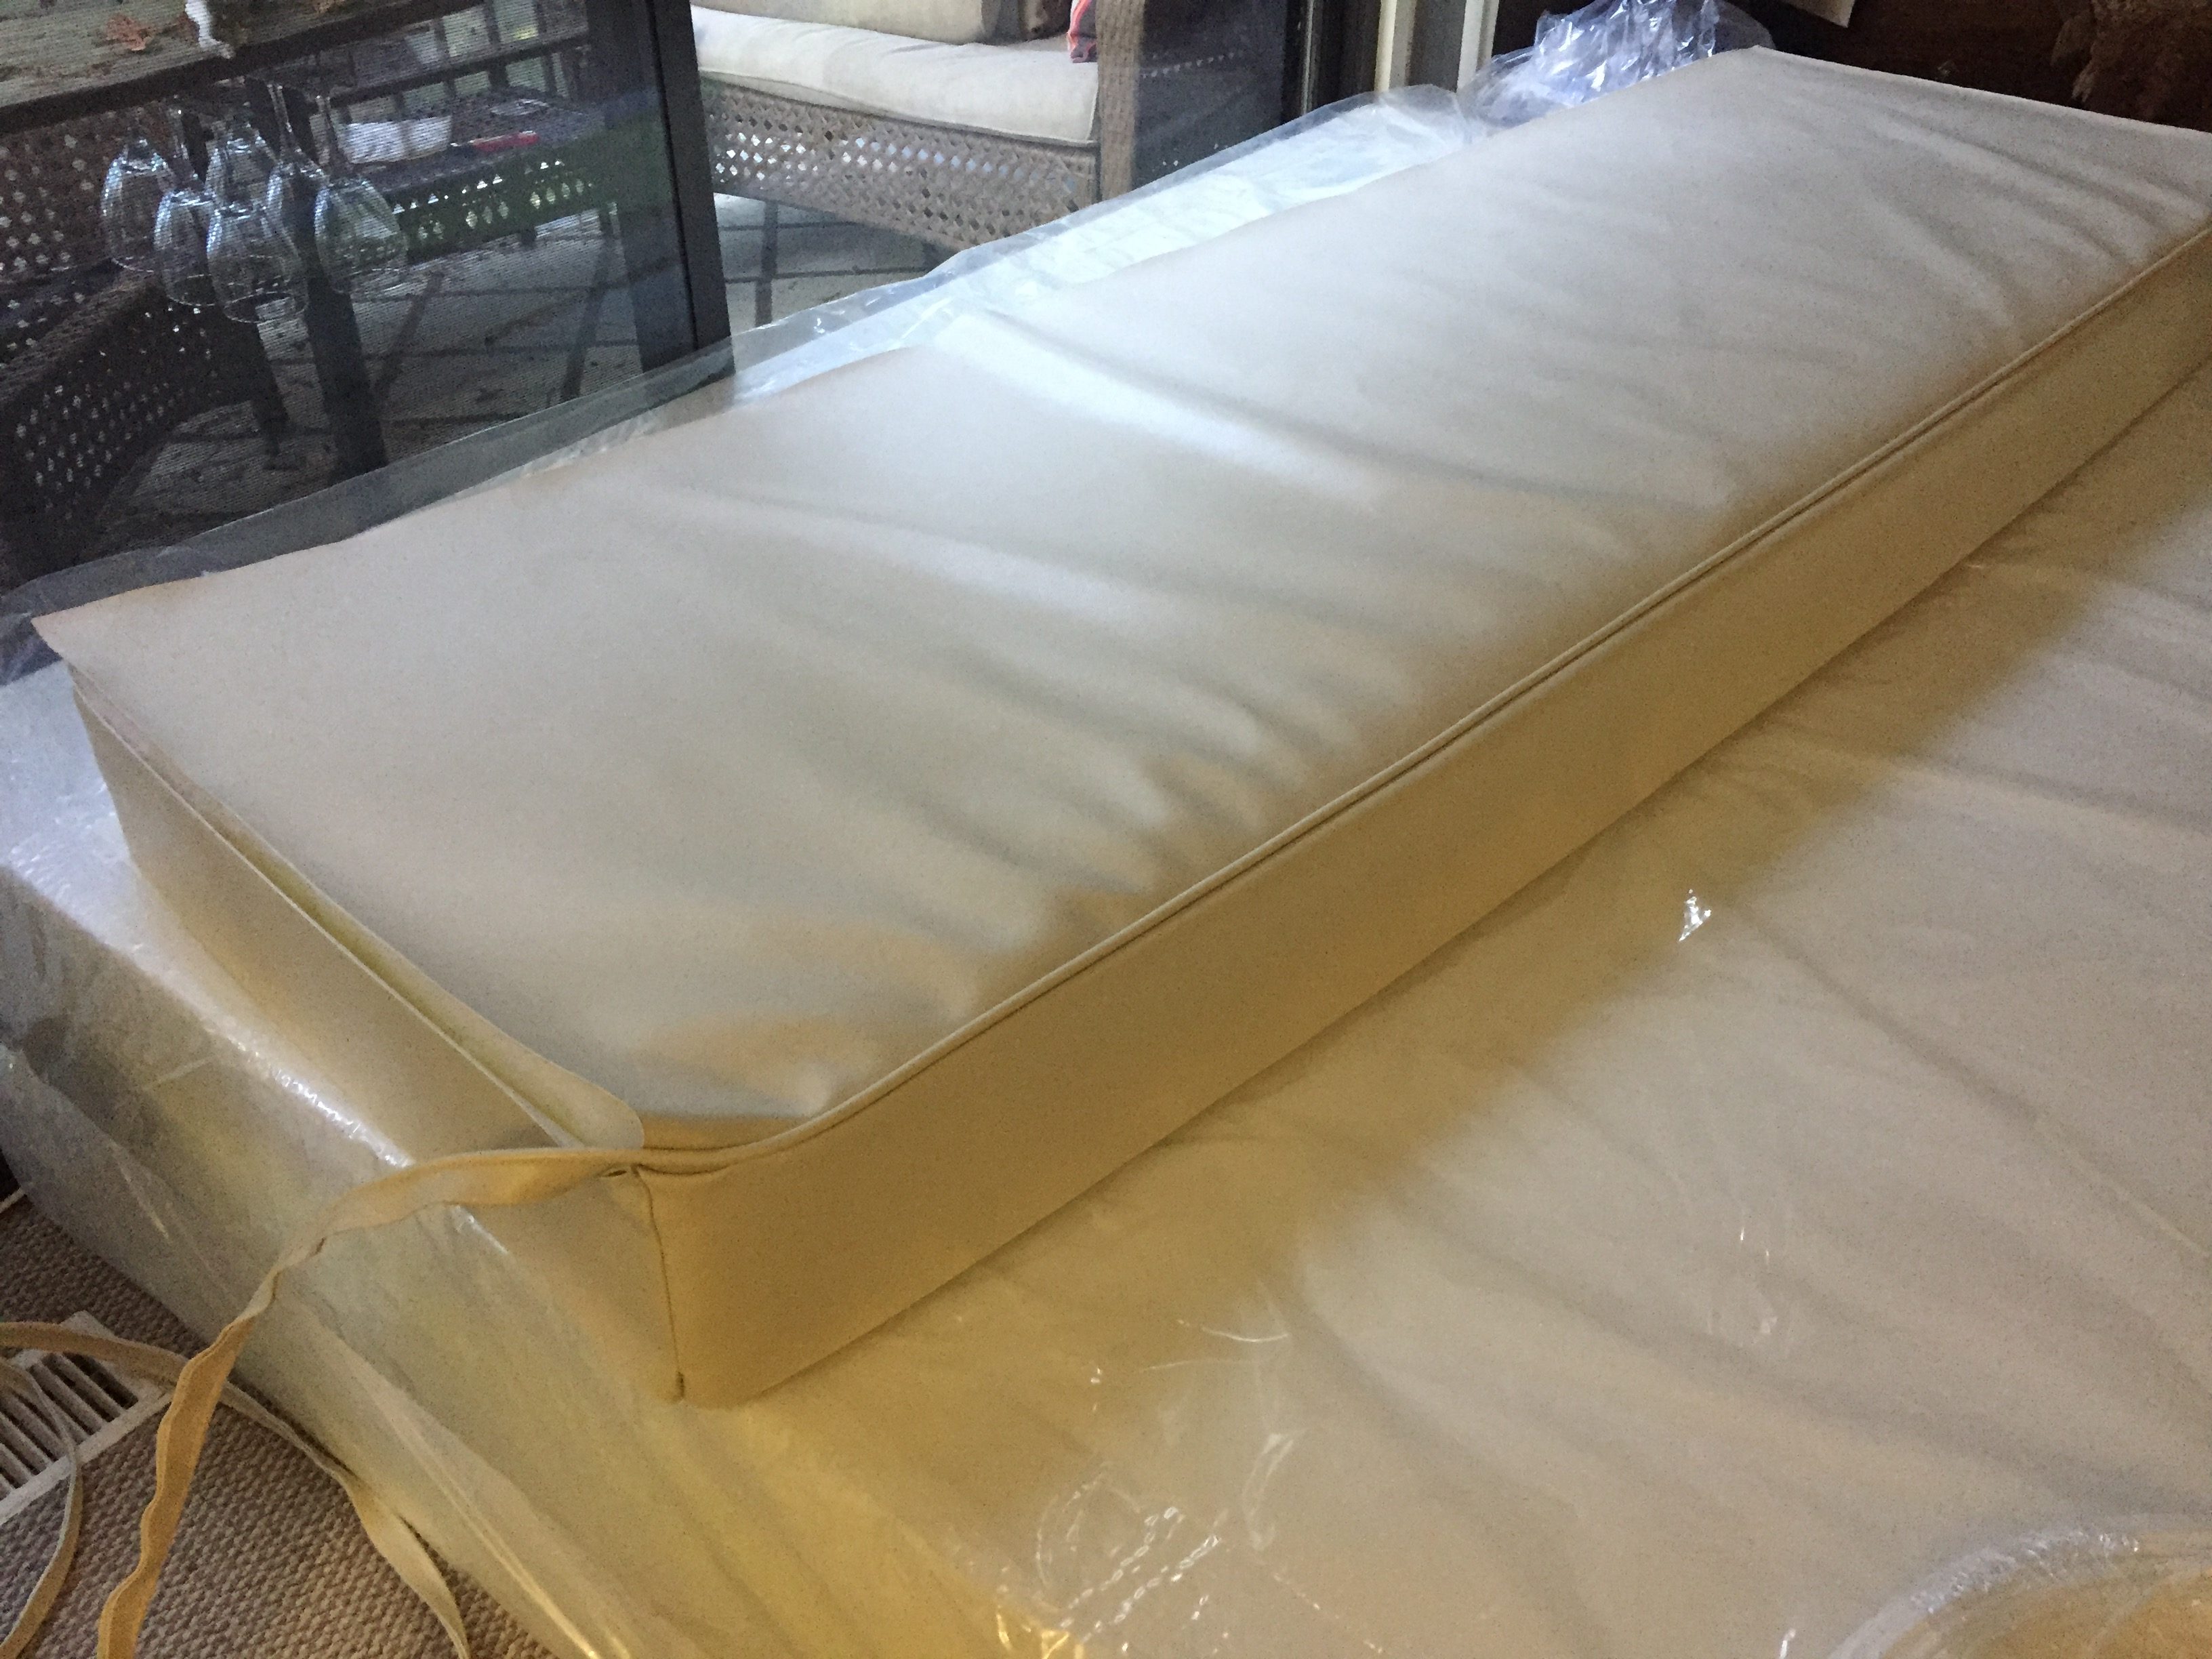
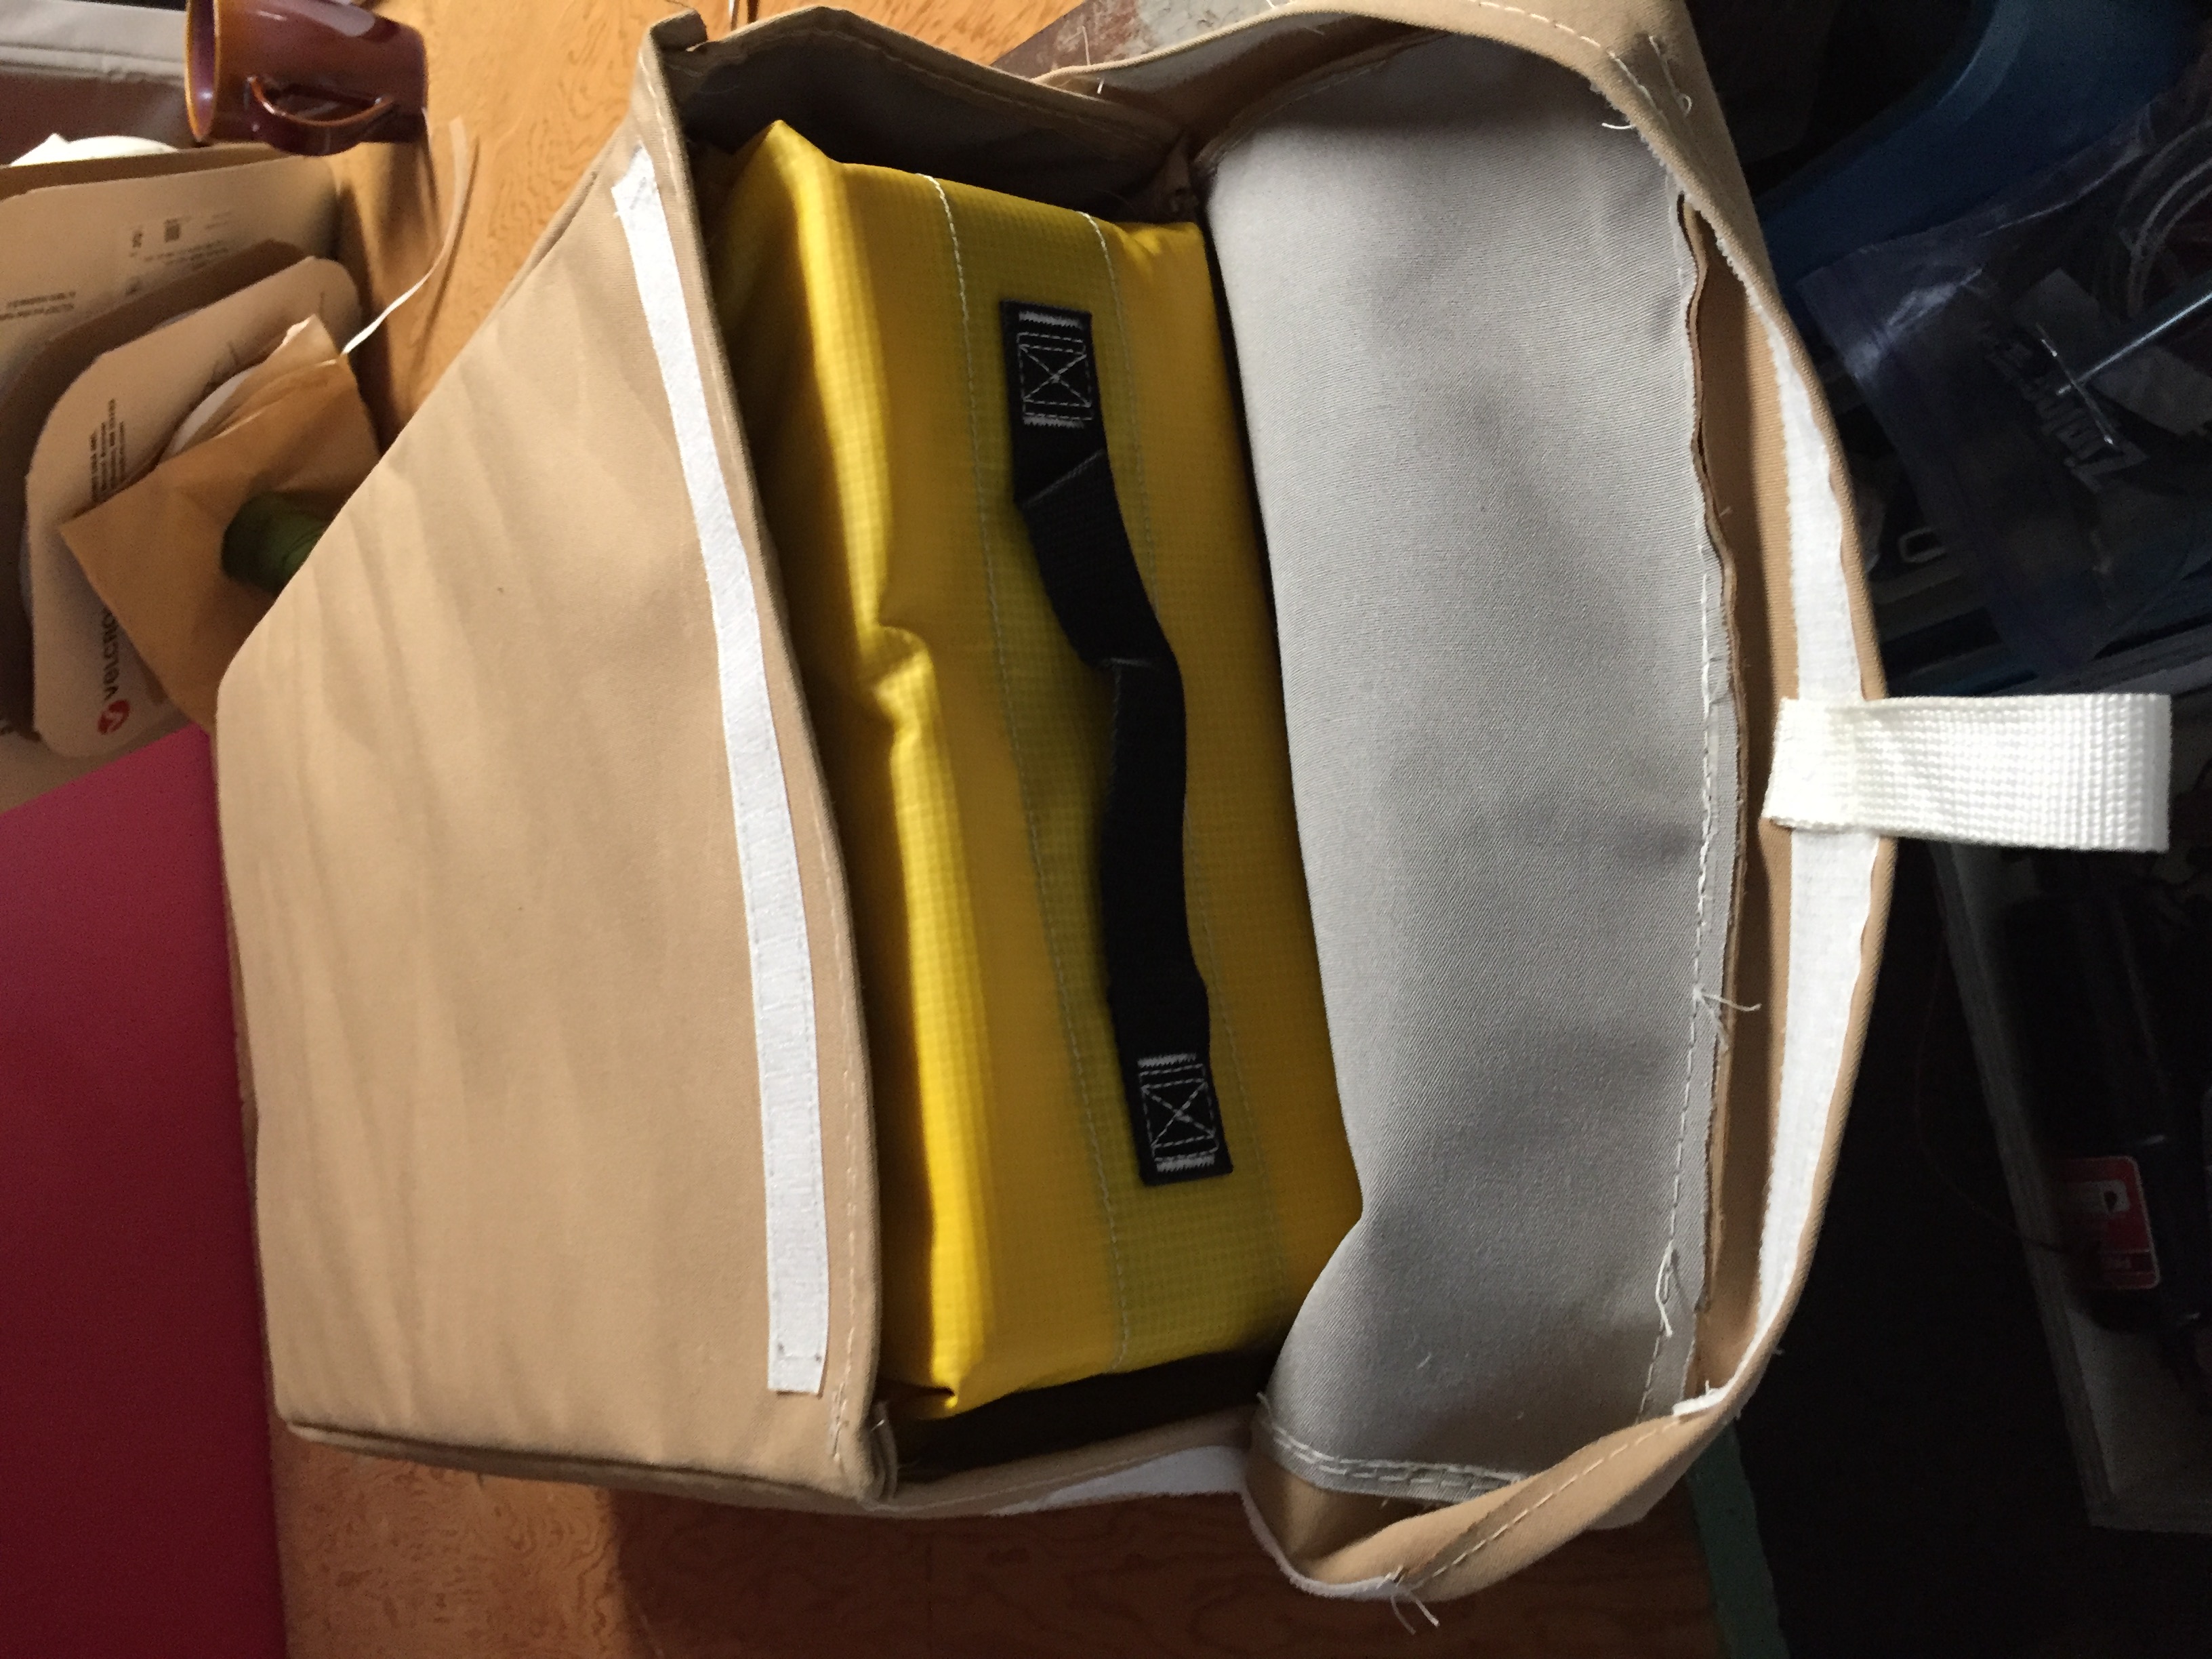
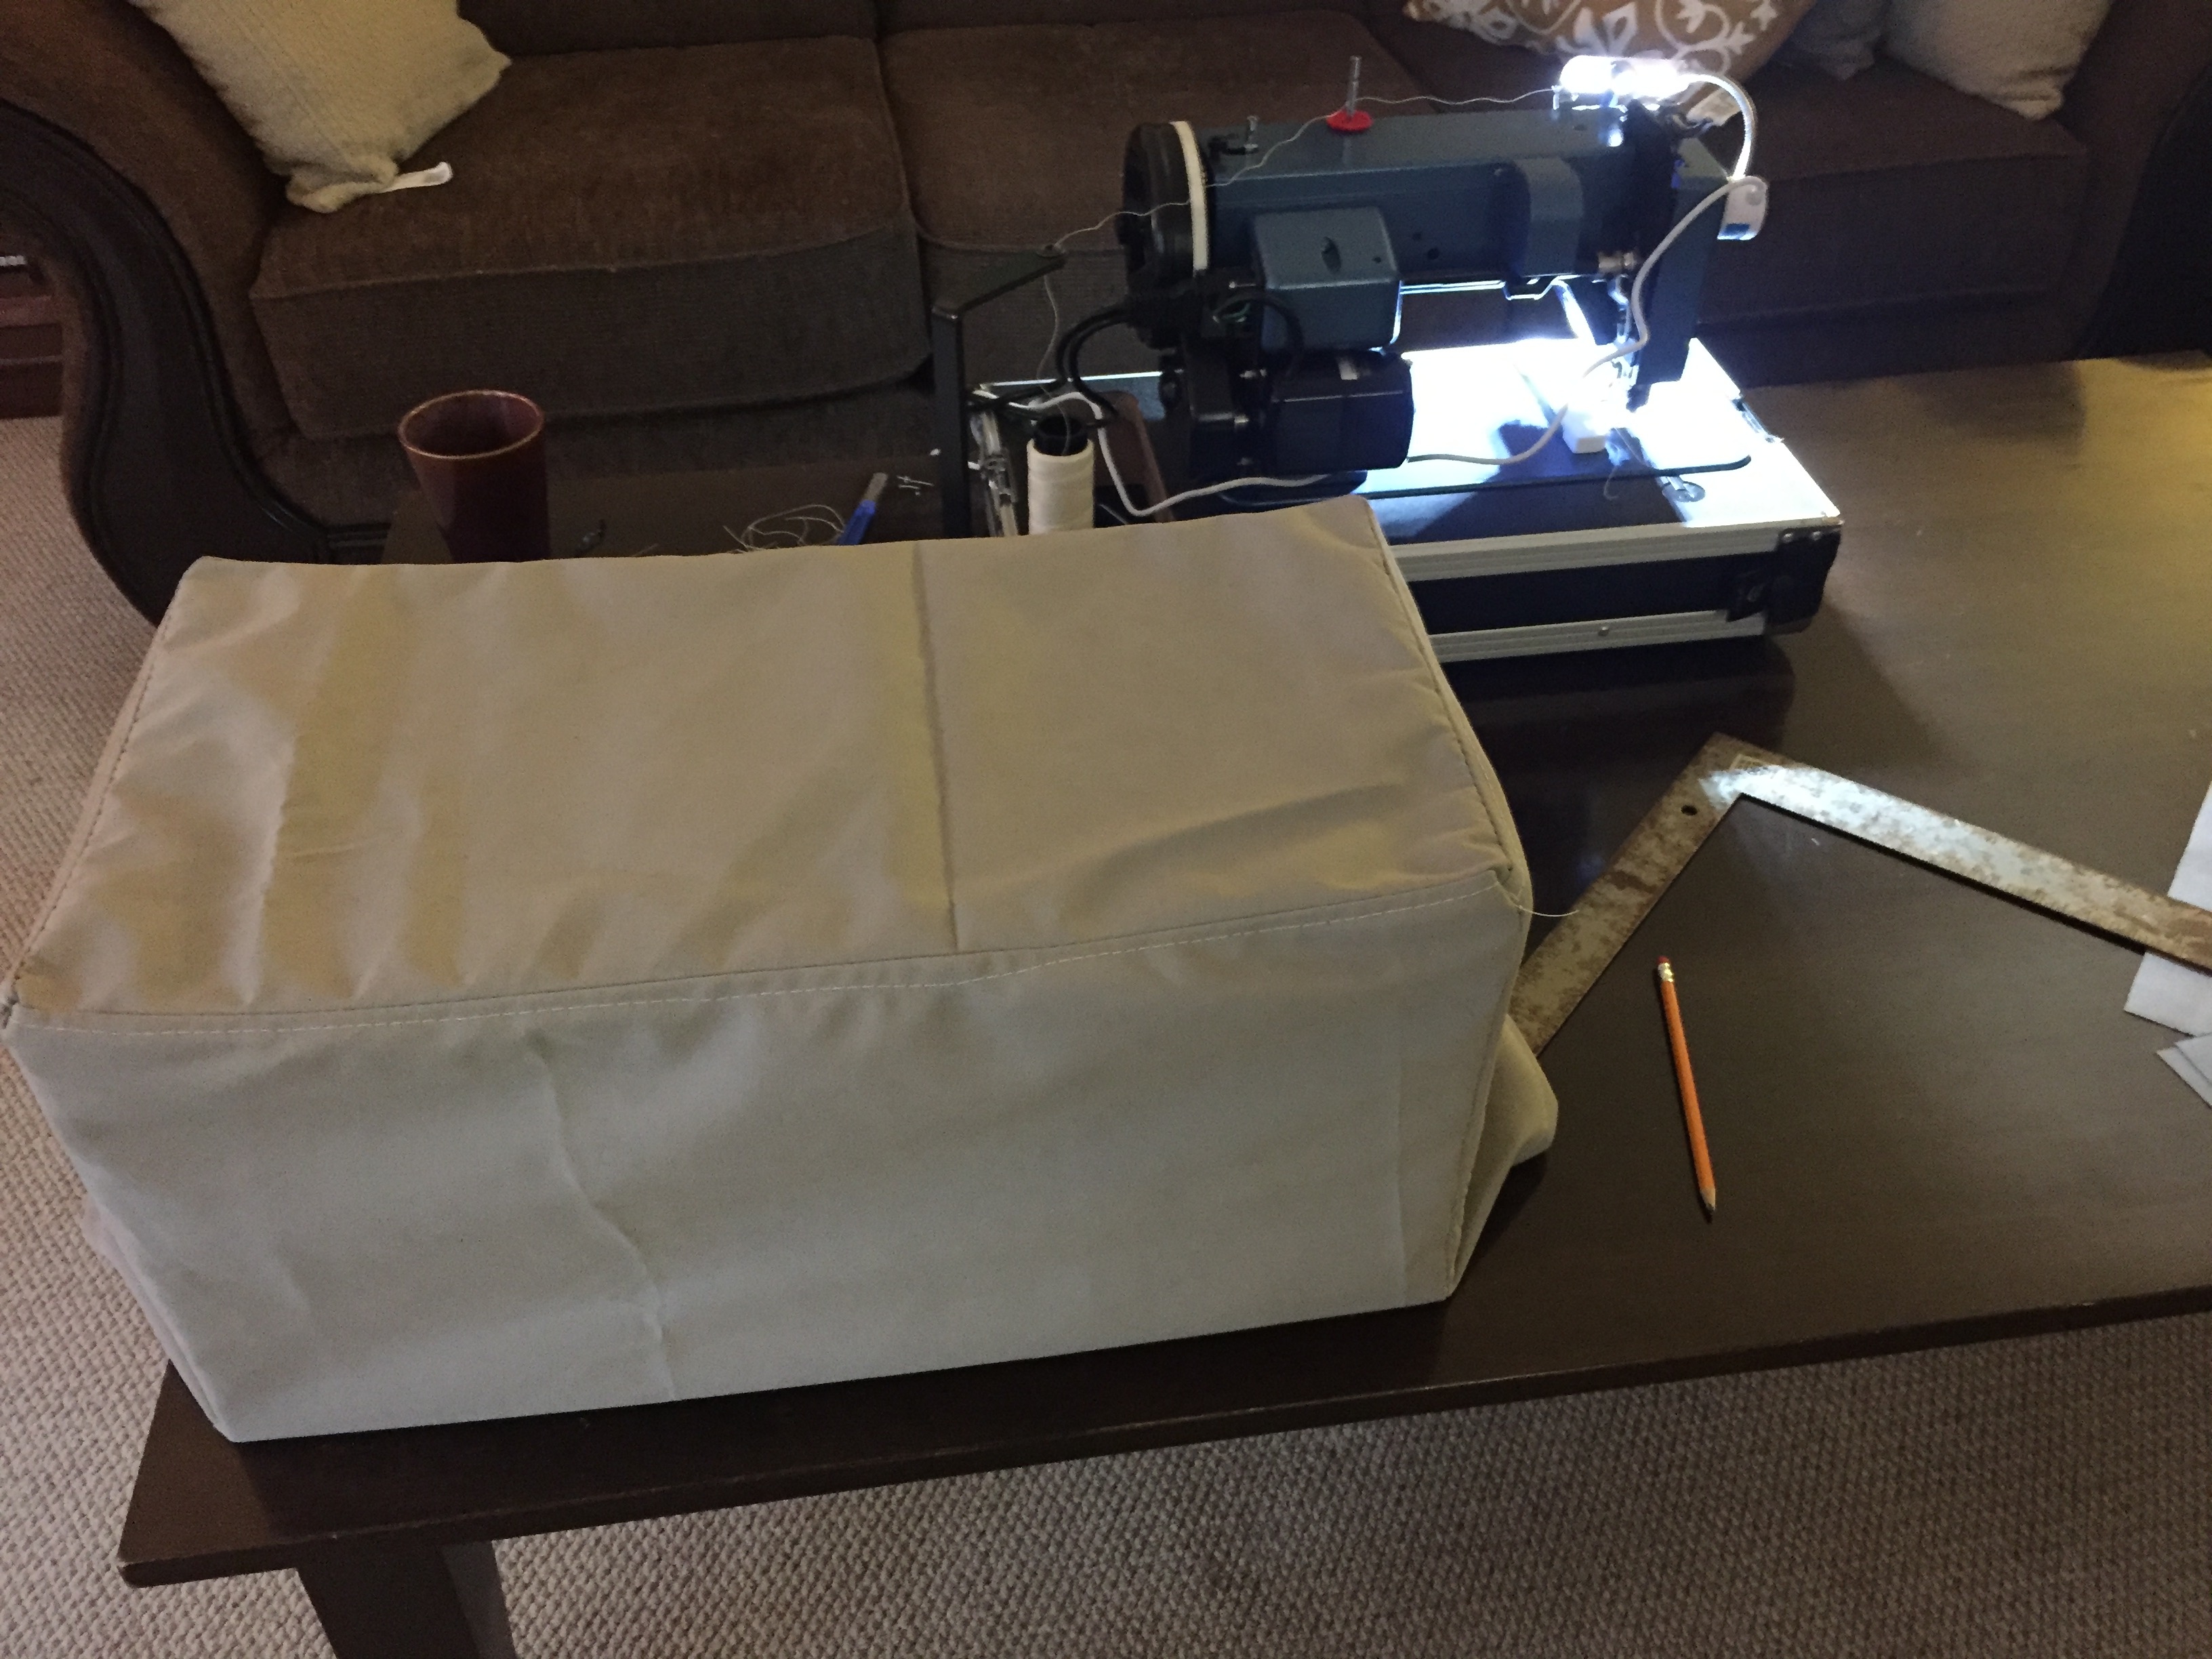
And once you have it all figured out, insert the foam and discover all of your mistakes.

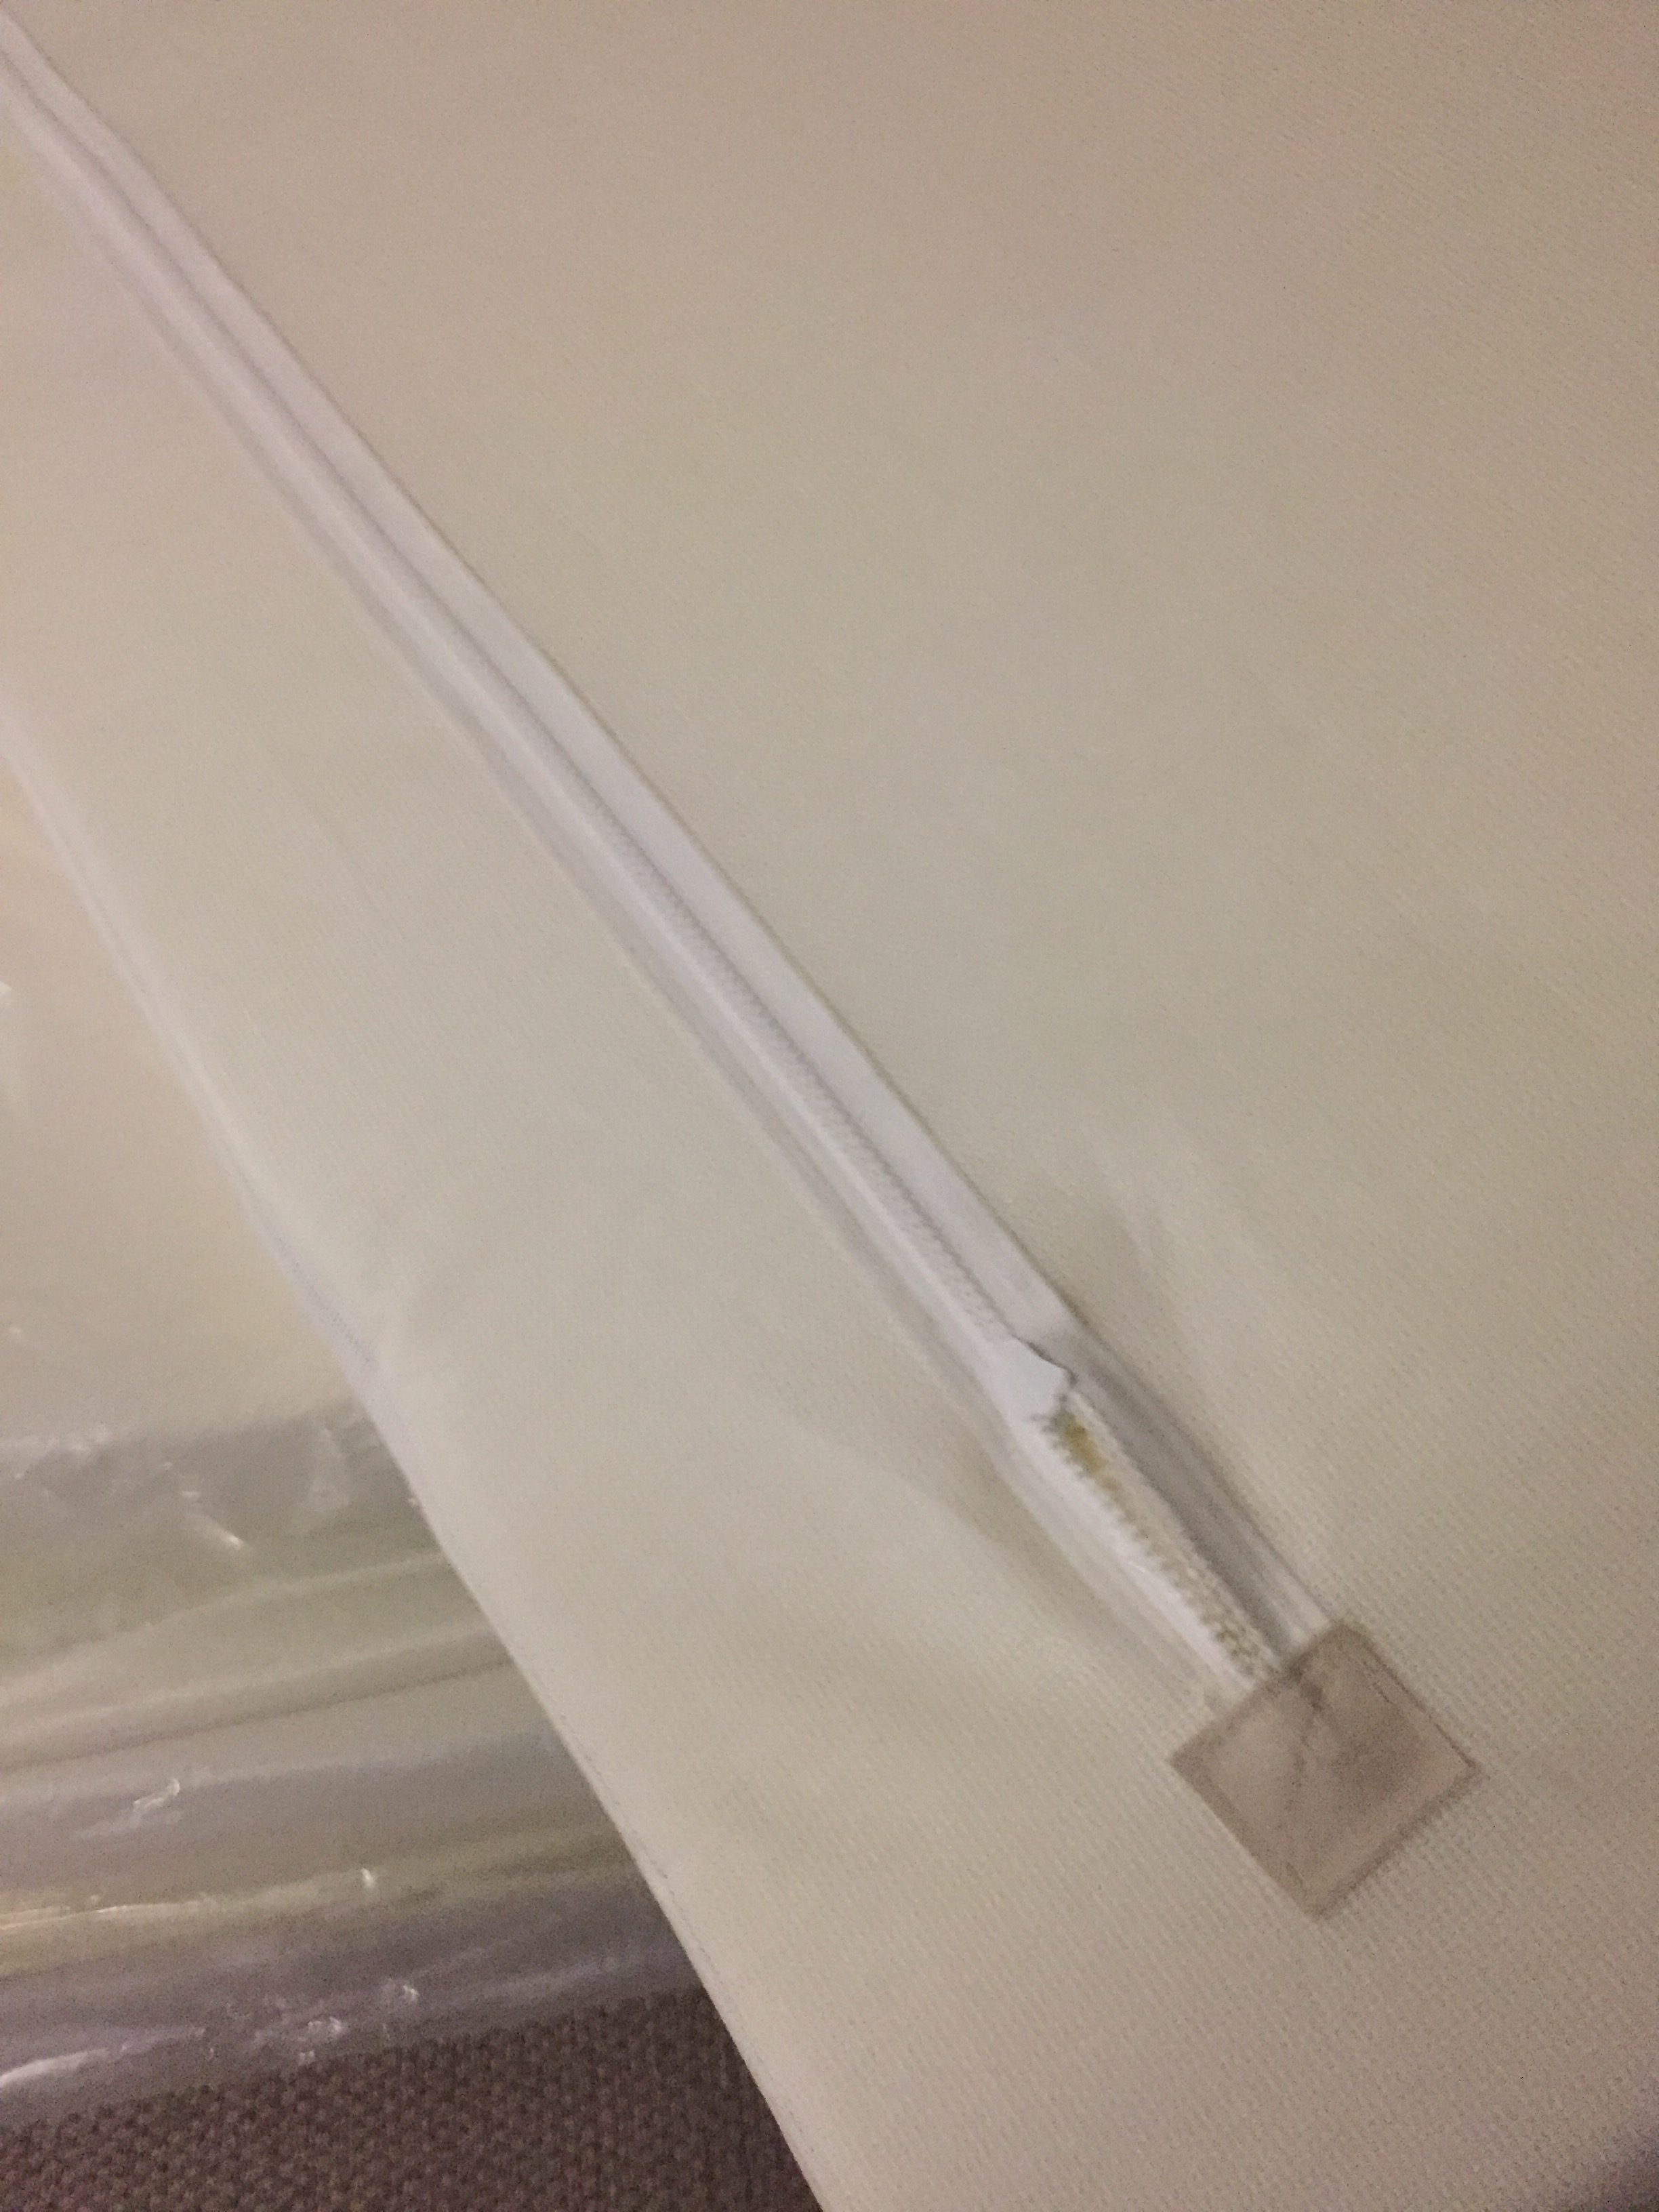
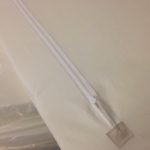
Like this one above. Yup, I put the zipper in upside down. And the entire time I was thinking to myself, don’t put the zipper in upside down. Thankfully it is an easy fix.

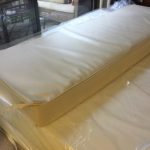
I still have to fix my corners, corners with piping is challenging and the learning curve is pretty steep, but here is the first cushion completed, almost.


Hoses, hoses and more hoses…

I had originally left all of the plumbing intact when we started this refit in order to be sure that I remembered where everything ran. Well that was a big waste of time. There was absolutely no point to that whatsoever. Lesson learned. The plumbing in Akupara was a mess to say the least. There were more tee’s and joins than a city water system. Managed to rip out the majority of it yesterday and began running the new Pex tubing. Because I bought the rolls of Pex as opposed to straight Pex tubing, it took a little longer than expected as I had to straighten and fight with it a bit but it is all in place now not including the aft head.

I think I have decided to locate the manifolds and pump underneath the galley as there is a fair amount of empty space there to work with.

Also managed to finish up some electrical work yesterday which is nice.

Engine is still in – damnit – I wish they would hurry up and get it out or perhaps I will start taking it out myself piece by piece.

The boat show is coming up fast, another 10 days, I wonder if the Admiral knows how much this show is going to cost us??? 😉

Also spent some time this morning planning out the new system.


Catch Up!

Almost impossible to add stories for everything that we have worked on for the last 4 months, so I will instead let the pictures tell the story!
A high level overview is, we had a very bad winter for Vancouver, we installed a Cubic Mini Woodstove, we purchased a Sailrite sewing machine and we continued work in the galley. That and 1000 other things!

The galley

Holy crap there is a lot of work in renovating a kitchen! Now I understand why kitchen reno’s are so expensive! The galley on Akupara is gigantic compareds to a lot of boats, but miniscule as compared to a home kitchen, and yet the amount of work feels the same!

Epoxy coating
Epoxy coating

img_1620

img_1558

So far I have placed and removed the 2 countertops at least 10 times, I have placed and removed the cupboard panel at least 10 times. I have gutted the shelf, built a new one, sanded, ground, painted and epoxied, and we are still not complete!

Laying out the pattern

Starting to tile

img_1638

Dry fitting
Dry fitting


Last weekend we took the plunge and started installing white subway tile as a backsplash both behind the sink and behind the fridge/freezer. I have never done tiling in any way shape or form but thanks to the internet, home reno shows, and advice from my neighbour, who also loaned me his tile tools, I think I managed to do a decent job.

not too shabby
not too shabby

img_1640

This weekend we are going to attack the grouting. Hopefully it will work out ok and hopefully I have watched enough youtube to do it properly.

I am spending a little extra time on the galley. I really want to make sure that it is “perfect” for the Admiral. I don’t mean that in any condescending or sexist way, I truly want her to be happy there. And to back up my claim of not trying to be ignorant, she has said the exact same thing to me. She wants it to be “perfect” for her as well. As she says, if it meets all of her needs, and she enjoys being in the space, she will use it. If it is a hole, she won’t. Makes perfect sense to me. I make her the best galley I possibly can, she enjoys it and spends lots of time in there, she does lots of cooking and baking, and I get fat! It’s a win win situation 🙂 ok I fell off the puritan wagon didn’t I 🙂

Just needs the grout

The galley in Akupara as I said above is a really big galley for a 42 foot boat in my opinion. It is located midships as close to the center of motion as possible. It is narrow for and aft which makes for a safe workspace while underway, the list goes on and on. But. It also has its drawbacks. You need to lean over the top of the stove to get into the cupboards. There is a gigantic bottomless pit underneath the counter beside the stove that again you have to twist and contort over half of the stove to access. It only has 3 small drawers, 1 drop down compartment which is half used by the sink, 2 slightly bigger drawers on the end and another drop down access. It can be improved. The issue is, I am not an interior designer or a master at re-architecting and re-defining useable space. I am also confined by the layout of the galley itself, which I do not want to change.

I have a dream for the galley but I will need to see if the budget allows for it. Last year at the boat show we visited a booth that blew our minds.

Shelf-genie! http://www.shelfgenie.com/british-columbia

These people seem to have a solution for everything! Oh the improvements that could be made, the happiness of the Admiral, and the fresh banana cream pies that could be had….. 🙂

It has certainly been a while.

img_1601img_1602img_1605img_1607Well I am starting to wonder if we have somehow cursed ourselves. Every time we start back at it something happens that pulls us away. It is a struggle to find the time to get work done but if we have any hope in hell of hitting a launch date in June, we better figure it out quickly.

I have obviously watched one too many home renovation shows because it just didn’t seem right to not carry the bamboo countertops into the heads for continuity. Now I guess we will also have to carry the subway tile theme to match as well. Anyway, one more little job done, the forward head countertop is cut and dry fit. More next week I hope!

Labour Day Weekend

At times it feels like we are making great progress and at other times it feels like we are making none or very little at least. I guess in reality any progress is good progress.

During our last surprise inspection I noticed that the eyes of one of the inspectors kept gazing towards the ceiling in the main salon. Hmmm not a good sign. I will admit that it looked pretty bad. So that decided it. We would tackle the ceiling. Now truth be told we had been putting this off as in order to paint it we needed to sand it. 4 hours of holding orbital sanders with 80 grit paper above our heads was not fun let me tell you but we powered through it and managed to get it done. We also had to cover all of the wood with drop cloths of course and created a scene right out of Dexter.

Another episode of Dexter?

2 coats of gloss white paint later and it feels like a new boat.

1st coat
1st coat

So. In order to complete the main cabin including the galley the major projects left are to finish the galley cupboards, countertop and tile. The main salon needs to have the pantry painted and we still need to make a firm decision on the starboard settee.

Whitby 42 Galley

fresh paint
fresh paint
All painted
All painted

The last and biggest job to complete will be the sole. It had been painted at some point with a lovely off white and of course with the refit now has a myriad of paint and stain drips and is very dirty. This will wait until all of the interior construction is complete.

We still have a lot of customizing to do inside lockers and what have you but those types of jobs will not prevent us from launching. Our goal as I said previously is to launch in June and at least Akupara will be back to original even is the custom jobs are yet to be completed.

This weekend I think we will work on completing the galley  and maybe the electrical wire will be run it would be nice to have that job done as well.


Back to sanding

Whitby 42 refitAs we approach the 2 year mark the Admiral is still smiling. Hmmm maybe we should buy a bigger boat?

Sometimes I wonder if we had just saved all of our dimes and nickels for all this time, we probably could have a bought a working version of Akupara by now. But then again, we would have an unknown boat with all kinds of yet to be discovered issues. At least with Akupara we will be 100% intimate with every nut bolt screw wire fixture fitting piece of wood rope material and know for sure that if and when there is an issue exactly how to fix it.

September already.

Wow so it is September already. Where did the summer go? The leaves have begun to change colour and the weather has certainly altered course. We are back to a typical rainy Pacific Northwest. I guess the good news is that with the cooler temperatures we can get back to the hot dirty work of sanding the decks and getting ready for painting but I sure wish we were already done. The last few days have made me long for a nice cozy fire on the boat. I love being aboard when the temperature is cool and the rain is hammering the deck with a hot cup of coffee and a warm fire. Of course I love the idea of being onboard in the tropics just as much but we will take what we can get. ?

Last weekend was the first time in almost 2 years of working on Akupara that I got fed up and had to walk away. We were working in the galley and had a surprise inspection. Of course it never fails that everything is a giant disorganized mess when this happens and the progress does not show but in any event, I think we passed. ?

After they left we returned to work, completed what we had been doing and started trying to run some wire on the port side. For whatever reason, something that should have been super simple turned into a nightmare of events. I realized that this just was not going to happen and whatever else I attempted that day was just going to result in the same thing so I threw my arms up, gave up, packed up, and we left.

Strange how a week later I am still worried about a repeat of events. Not sure if I will work on the wiring today or not. Might be better to have a minor accomplishment first before returning to complete this job. In any event, fingers crossed that we have a good day of work and that things go a little better.

Just as we thought we were done with being dirty…

They say a picture is worth a thousand words! Hopefully these pictures will tell you what we have been up to as of late.

We have also made progress on the electrical with all of the 12v and 120v starboard wiring forward of the nav station strung, as well as a good portion of the port side. We need to run the rest of the wiring from the aft cabin to the nav station but with only 12v lights a 120v plugins, this part is easy. Next will be to wire all of the plugs and lights.

Out with the old sink
Out with the old counter
Out with the other counter
This one was a little bit stubborn
Out with the cupboards
In with the new countertop
Cutting the new countertop to size
Dry fit
Dry fit
A shelf perhaps?
A shelf perhaps?
Varathane bar epoxy sealer
A bit of heat to remove the bubbles
Whitby 42 Epoxy sealed Bamboo Countertops
Now as long as they stay this shiny!

A short time ago you may remember me speaking highly of a certain Captain and saying things like “no matter what, they never seem to get dirty” well I may have made mention of a fabled rumour of polishing fenders. Ha, now I have the proof!!

Busted!
Busted!

Keel repair complete!

imageimageimage image image image image
This is the first time in 18 months of owning Akupara that we have hired out a job, with the exception of the shrinkwrap. Let me tell you is it ever nice to show up at Akupara and the job has been started, worked on, and completed and we didn’t even have to get dirty!!

I was also able to start on the internal wiring a little bit. Kind of a disorganized day but every little bit counts.


Catch up time

It has been pointed out to me that I have been a bit negligent in updating the blog so I thought I had better write something.

So not sure where I left off but here goes…we have completed all of the interior wooden bits and pieces

IMG_1080

We have sanded and stained the ladder as well as wrapped it in old tshirts to protect it. It is also glued and screwed with new screws of course.

Whitby 42 ladder

Whitby 42 ladder stained

Whitby 42 ladder wrapped

We have started on work on the aft head.

Whitby 42 Aft Head
Whitby 42 Aft Head


We have found a place for the wine glasses, always important

Whitby 42 wine glass holder

We have found a use for the teak book rack that always seems to be in the way. It turns out it will hold 4 bottles of wine perfectly. I will need to make a bungee cord restrainer so the bottles do not come crashing out but now the wine will be within reach for dinner. Okay, some of the wine. Of course all of these little things need to be removed when we paint and then permanently installed. The wine rack (formerly book rack) will be through bolted. I don’t want my precious to come crashing down with the first little wave we hit.

Whitby 42 wine rack

We have finished all of the trim in the galley. Of course it will all come off for the new countertops but it is done. As well, the cutting board, fridge cover is sanded ready for food safe stain.

Whitby 42 Galley

We have completed a multitude of little jobs and we have hired Prodigy Marine to fix the bad repair on the bottom of the keel. We have also requested a quote for painting the decks from them which we want to do while it is still warm in BC so that the paint cures properly. Of course this means sanding the decks in the heat as well but hey, we should have completed that back when it was cold out. We will sand the headliner very shortly so we can paint the ceiling inside. Once the headliner is painted, we can put up the last few pieces of trim and once the decks are painted, we can re-install all of the ports. I have also started purchasing wire for the big re-wire job and have installed all of the AC outlets.

So apologies for being behind on the blog, but lots of work has been happening and although it is small things, in the end they amount to big things.


The starboard settee

Whitby 42 starboard settee

Akupara originally did not have a starboard settee in the main salon and the previous owner added one. We have been going back and forth on this topic for almost 18 months. Do we reinstall it, or do we try to find 2 chairs that will work. Personally I think we need it. It is extra seating for 3 people, it is extra storage for odds and ends or survival suits or sails etc but because it was added afterwards, it totally removes access to the drawers and cupboards behind. Thankfully the PO did not cut and modify the cabinet behind so we still have a choice. I think for now we will leave it and use it. Until we find some nice chairs.  But then again, it is another good sea berth as well.

Decisions decisions decisions ?


What is missing from this picture?

What is missing?
What is missing?

If you said a pile of wood to be sanded you are correct!!!

Thats right. It’s all done. Okay I have 8 more pieces of trim to bring down today but they are all small.

Holy crap. 18 months just to clean the garbage out, remove all of the wood, sand all of the wood, reinstall all of the wood and gut the electrical! This is how long it takes when you have jobs, family, school and no garage at home. To say that we are thrilled to be complete this part would be an understatement. Don’t get me wrong, we still have some more work with wood like finishing the pantry and adding shelves in the closets etc but no sanding of old wood. Thank heavens.

By the way, the admiral has completed 90% of all of this sanding. I am sure that if you wanted to hire her to do your boat she would be interested for a low low rate of about $1000 per hour 😉

Today the plan is to complete the last 8 pieces, stain everything that we have left. Install as much of it as possible and maybe do a really good cleaning inside to start trying to get rid of all the dust.

Engine Rooms…

Over the last 20 years of looking at boats and researching different makes and models and looking at for sale ads, I have always been shocked by how a lot of people treat their engine rooms. Many times I have seen ads where the introduction says something like “Immaculate condition” and as you continue on to through the pictures there is a dark, greasy, oily, dingy, rusty old piece of machinery crammed into some inaccessible hole that is called the engine room. You wouldn’t send your worst enemy in there as they may never come back out.

One of the things that drew us to the Whitby 42, okay me anyway, was the fact that she has a proper engine room. You can’t stand up in it but there is enough room to move around and you have pretty decent access to the engine as compared to a lot of other sailboats.

Whitby 42 Engine RoomAkupara’s engine room currently falls into this category!

Whitby 42 Engine Room 2Whitby 42 Engine Room bilgeIt is not up to standards. It isn’t up to anyone’s standards let alone mine.

On Sunday I had to venture in to the pit in order to remove the battery charger and the inverter, funny thing, it says right on them not to install in a hot machinery space, but that is another post, and I got to thinking that this was totally unacceptable and how exactly was I going to be able to make it acceptable. At the same time, I had been cleaning up a little and putting away tools etc. I have now commandeered almost every drawer, cupboard, and cavity with tools. This is also unacceptable! Especially when the admiral finds out!

And then it happened. I came across a bit of inspiration. It is possible to have an impressive engine room! It can be done. And no, grease, oil, grunge or any other detritus needs to be a part of it.

Now this is how an engine room should look!

Well, now I have my goal and my vision! Look at this! Not only is it immaculate but all of the tools are in an organized tool chest, not to mention clean, exactly where you need them. The cabinet becomes a work bench and all of the machinery is enclosed with protective screens so it would be impossible to get your sleeve caught in something if you had to go in there in a rolling sea! This is fantastic!

Okay so to be honest, I have pretty big doubts that Akupara’s engine room will ever look like this, but hey, if you don’t try, it definitely will never happen. If anyone knows where a guy can get one of those tool cabinets, let me know!

Progress

Sometimes pictures speak louder than words. We have been making a little progress lately as you can see in the pictures below. We have one more bulkhead to sand (behind the ladder) and then we are down to a few remaining pieces of trim. Of course we still need to finish the galley, but there is no sanding of old wood there.

Whitby 42 - Sanding SelfieWhitby 42 - Sanded tableWhitby 42 - Sanded LadderWhitby 42 - Forward HeadWhitby 42 - First CoatWhitby 42 - TrimWhitby 42 - PicturesWhitby 42 - navWhitby 42 - table

Next on the list, add several more coats of cetol, sand the cabin top, paint, and call the interior done.

And then move on to the hard stuff.

Quick Update

I have managed to dissemble and sand the main salon ladder as well as the icebox cutting board. The cutting board was coming completely unglued so I also re-glued the entire thing. It is partially sanded but I ran out of sandpaper 🙁

At Akupara I glued the corkboard down to the aft cabin dressing table and took a bunch of measurements for the vberth and aft cabin mattresses as well as for the new countertops. So progress is happening all be it very slow.

I will post a complete update this weekend and fill you in on the general goings on around here.

Good for the sole…

Sometimes you need to divide and conquer. Case in point. I went to Akupara, the Admiral did not. However, with the addition of the new sander, she was not completely off the hook as she may have thought. I spent a few hours sanding and staining the main salon sole and the admiral spent a couple of hours sanding itty bitty pieces at the house. All in all a good day.

It has been a long time, but I actually brought another piece home. The ladder needs some TLC so it will be worked on through the week and hopefully be ready for next weekend.

There is 1 more really big job to complete in the interior. Sanding all of the fiberglass liner enough to take new paint. That one is not going to be fun.

Whitby 42 - Main sole

Whitby 42 - Main salon sole

Whitby 42 - main salon 2

Whitby 42 - main salon ladder

From light to dark.

Ready for Cetol
Ready for Cetol

The admiral had sanded the “entertainment unit” several months ago but because of the cooler temperatures and the absence of ongoing work, we had not gotten around to applying the cetol. Yesterday we pulled the piece back out and gave it a light sanding just to touch up a few of the places that had been nicked and to open up the pours again.

1st coat of Cetol
1st coat of Cetol

Overall I think it went well and looks a hell of a lot better now.

Main Salon
Main Salon

I still need to add the teak backing in behind, but it is nice to have this much completed.

While the admiral was sanding this, I was rebuilding the shelves inside with all new plywood of course. Interesting that I cut the new pieces using the old ones as a template and they still did not fit properly. I seem to recall that when I first removed them, they had not fit all that well either.

It will be nice to some day be able to open up the bar and have it nicely stocked, pour ourselves a drink, go to the freezer and grab some ice, proceed into the cockpit and sit quietly watching the sun go down feeling the boat move gently underneath. Ahhhh, some day.