As we approach the 2 year mark the Admiral is still smiling. Hmmm maybe we should buy a bigger boat?
Sometimes I wonder if we had just saved all of our dimes and nickels for all this time, we probably could have a bought a working version of Akupara by now. But then again, we would have an unknown boat with all kinds of yet to be discovered issues. At least with Akupara we will be 100% intimate with every nut bolt screw wire fixture fitting piece of wood rope material and know for sure that if and when there is an issue exactly how to fix it.
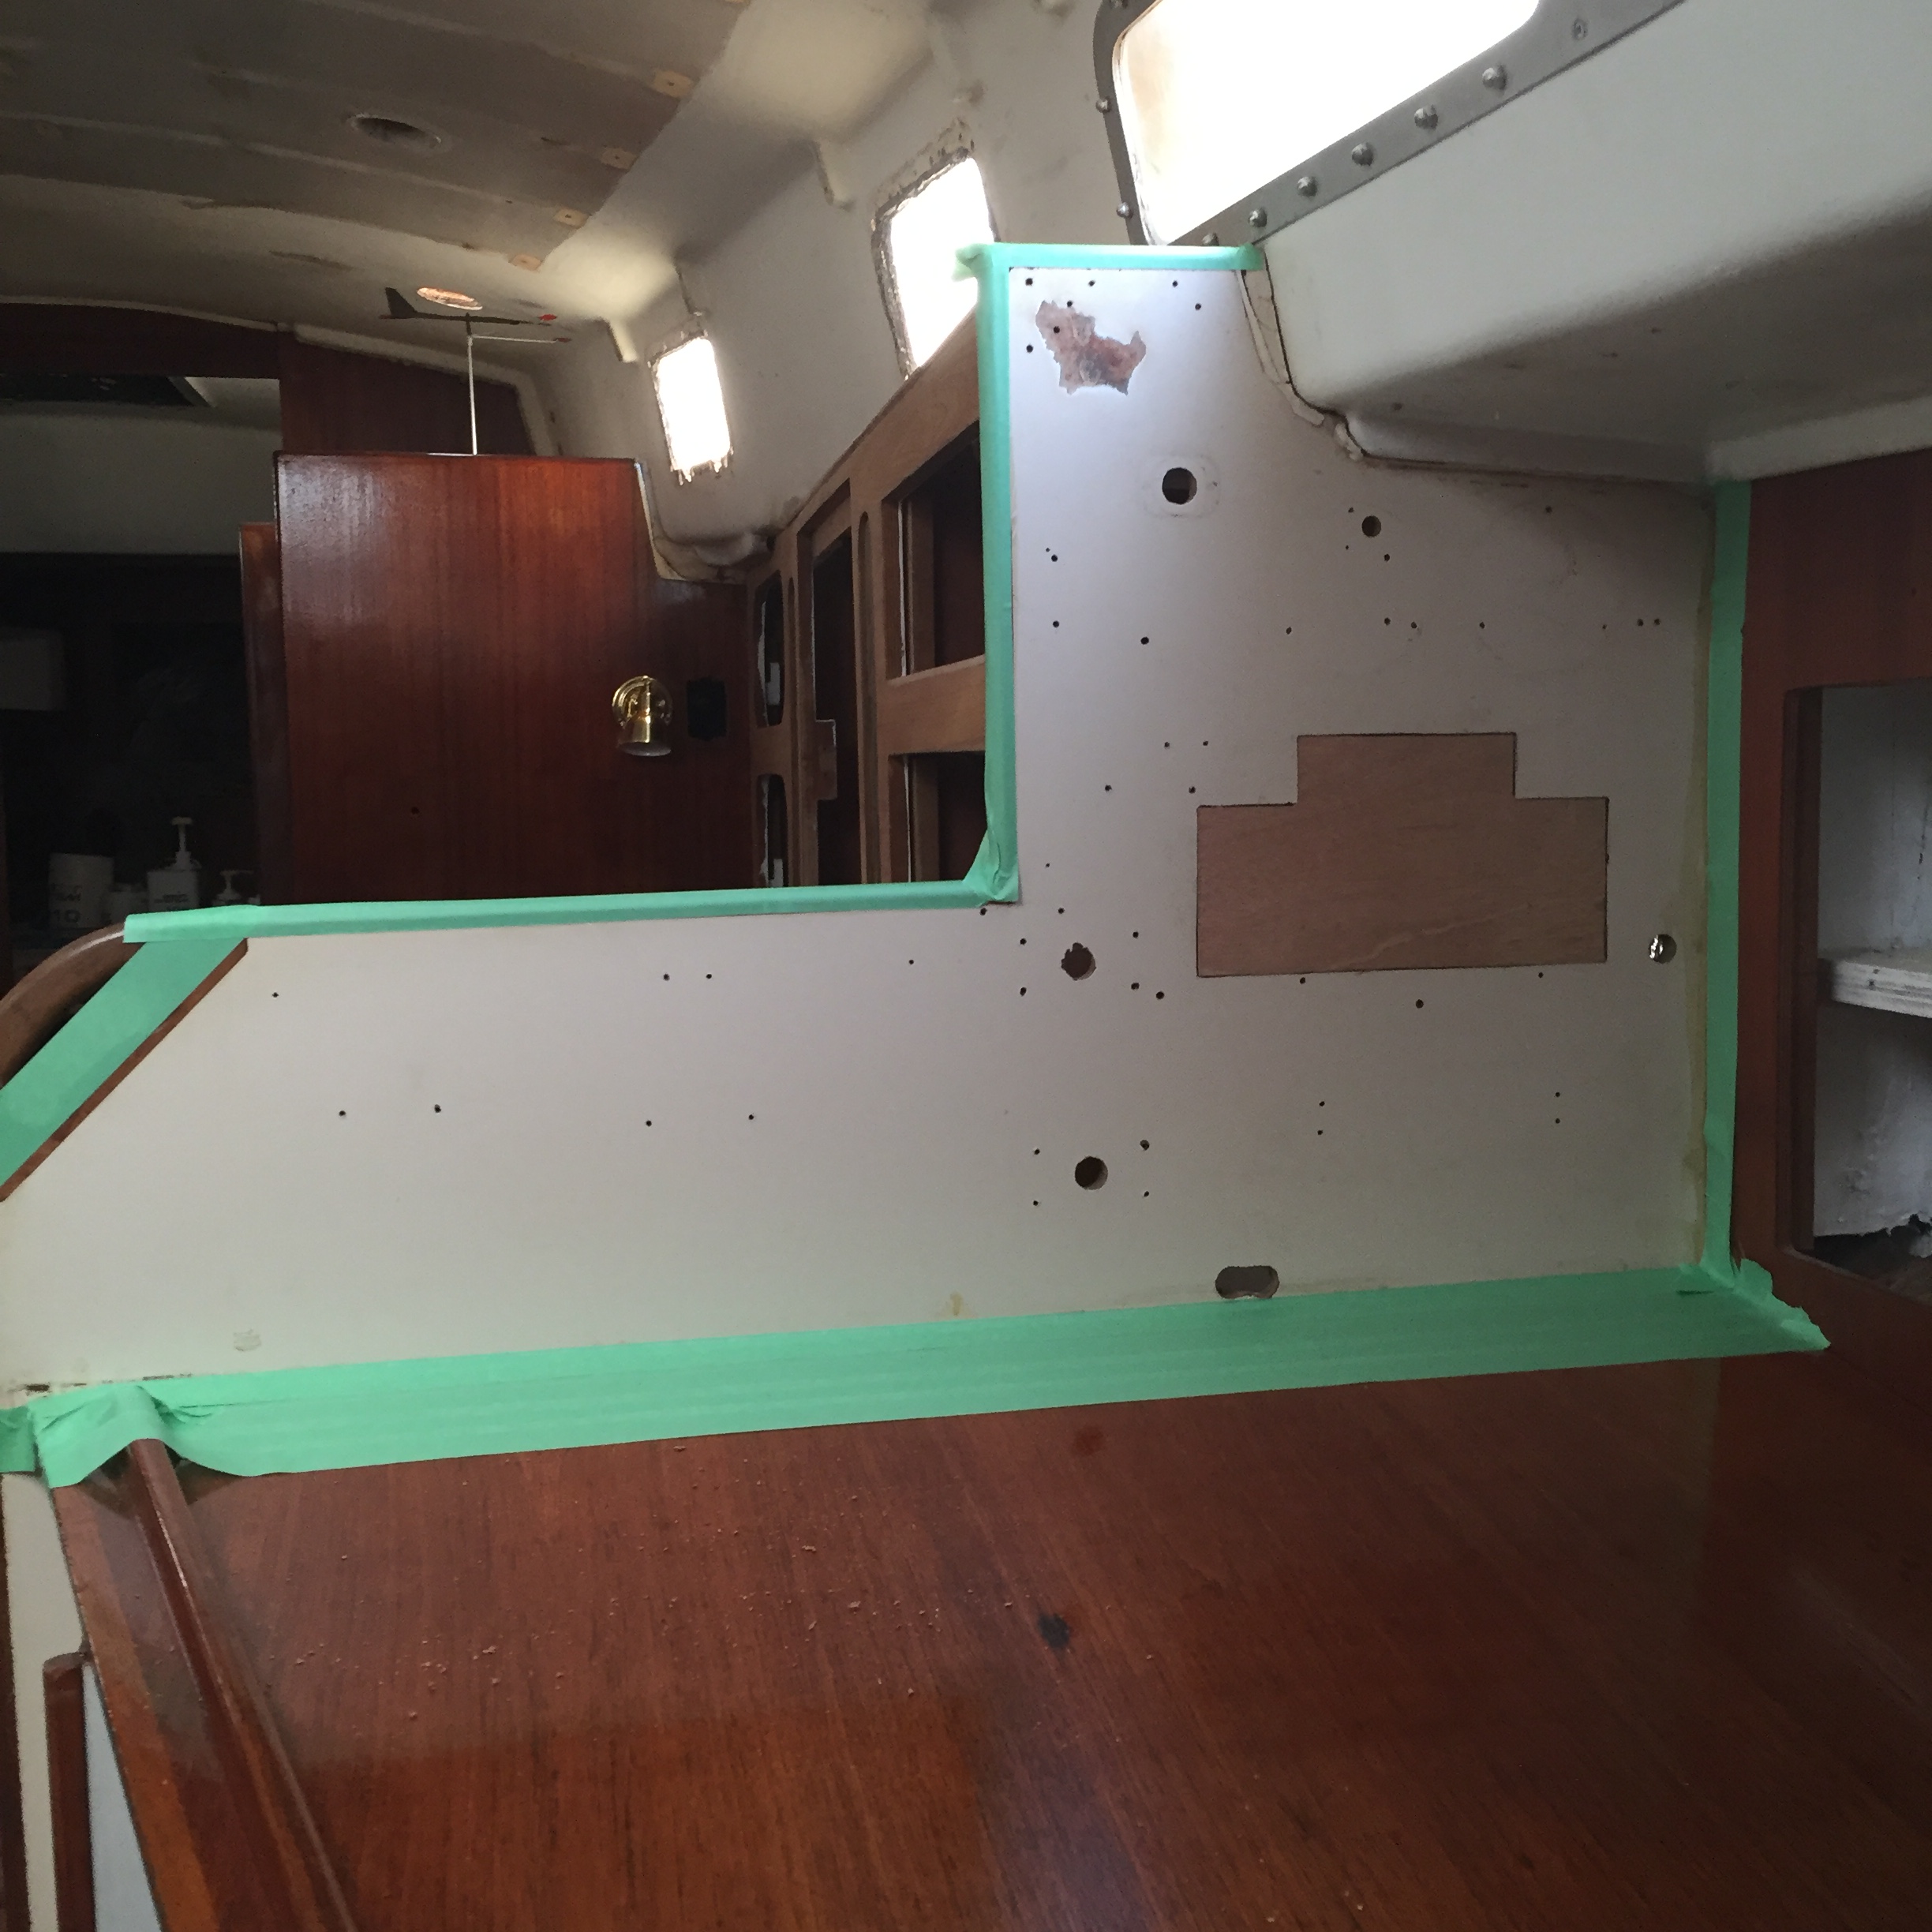
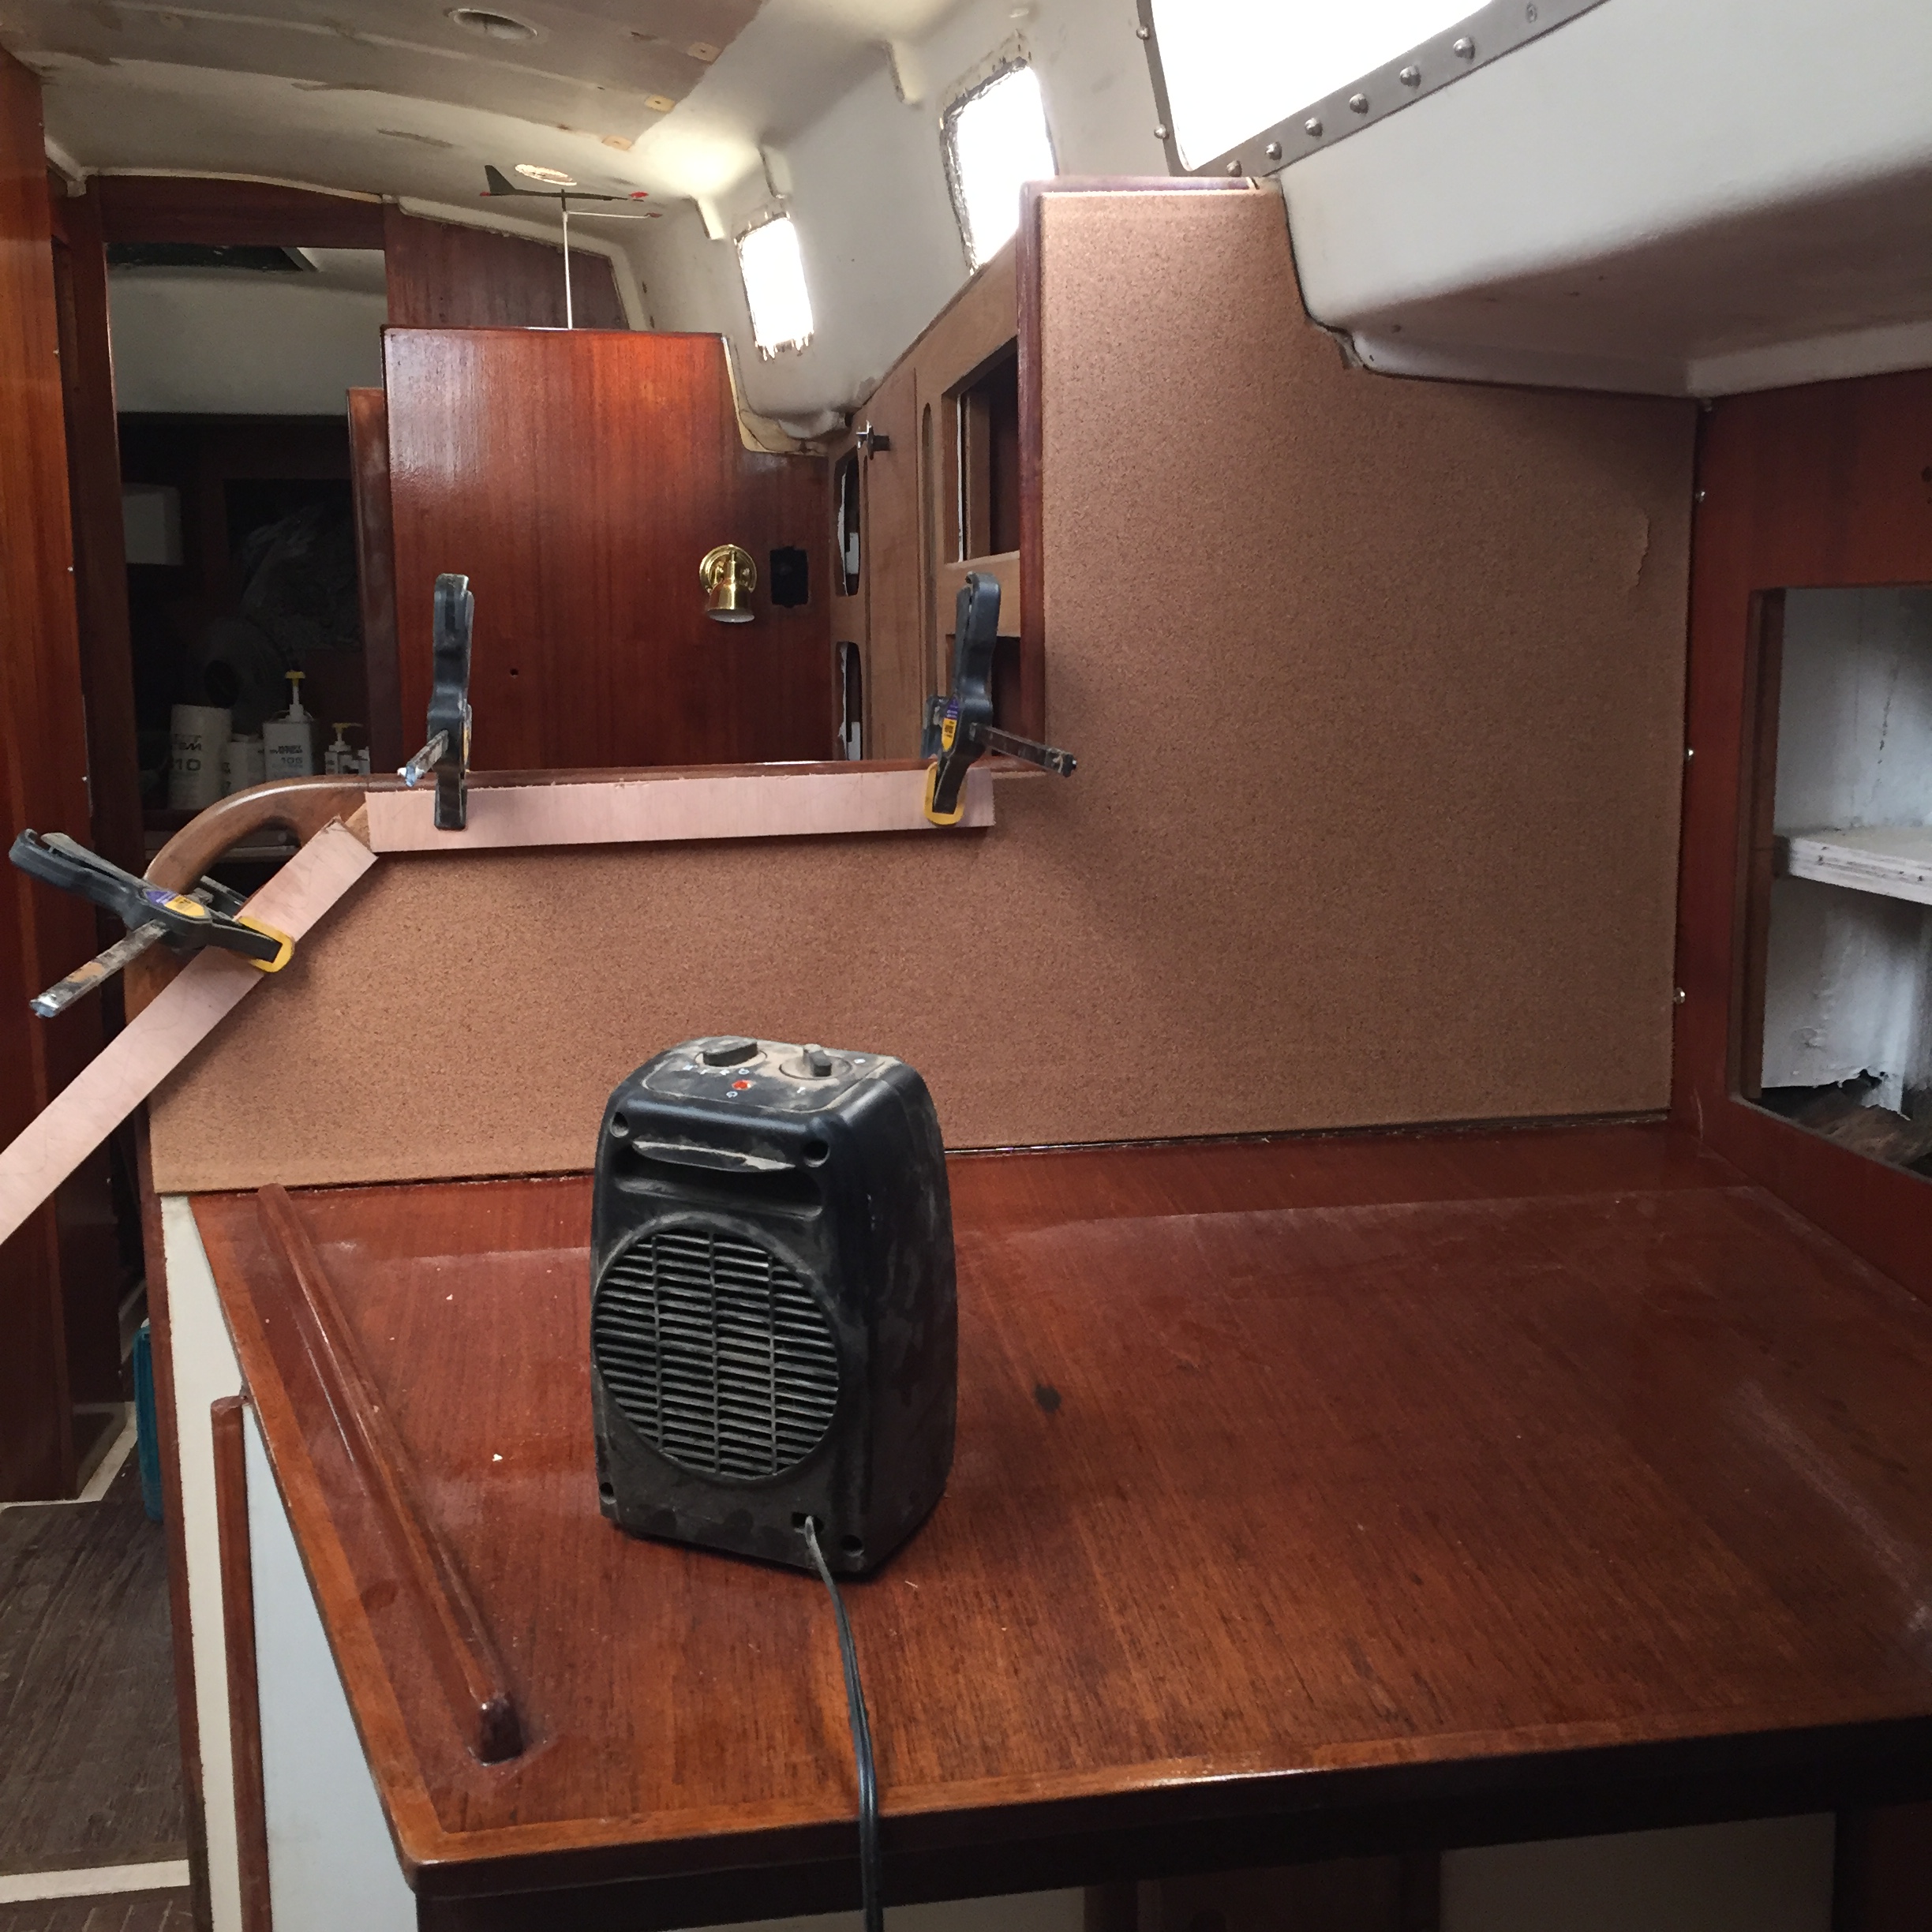
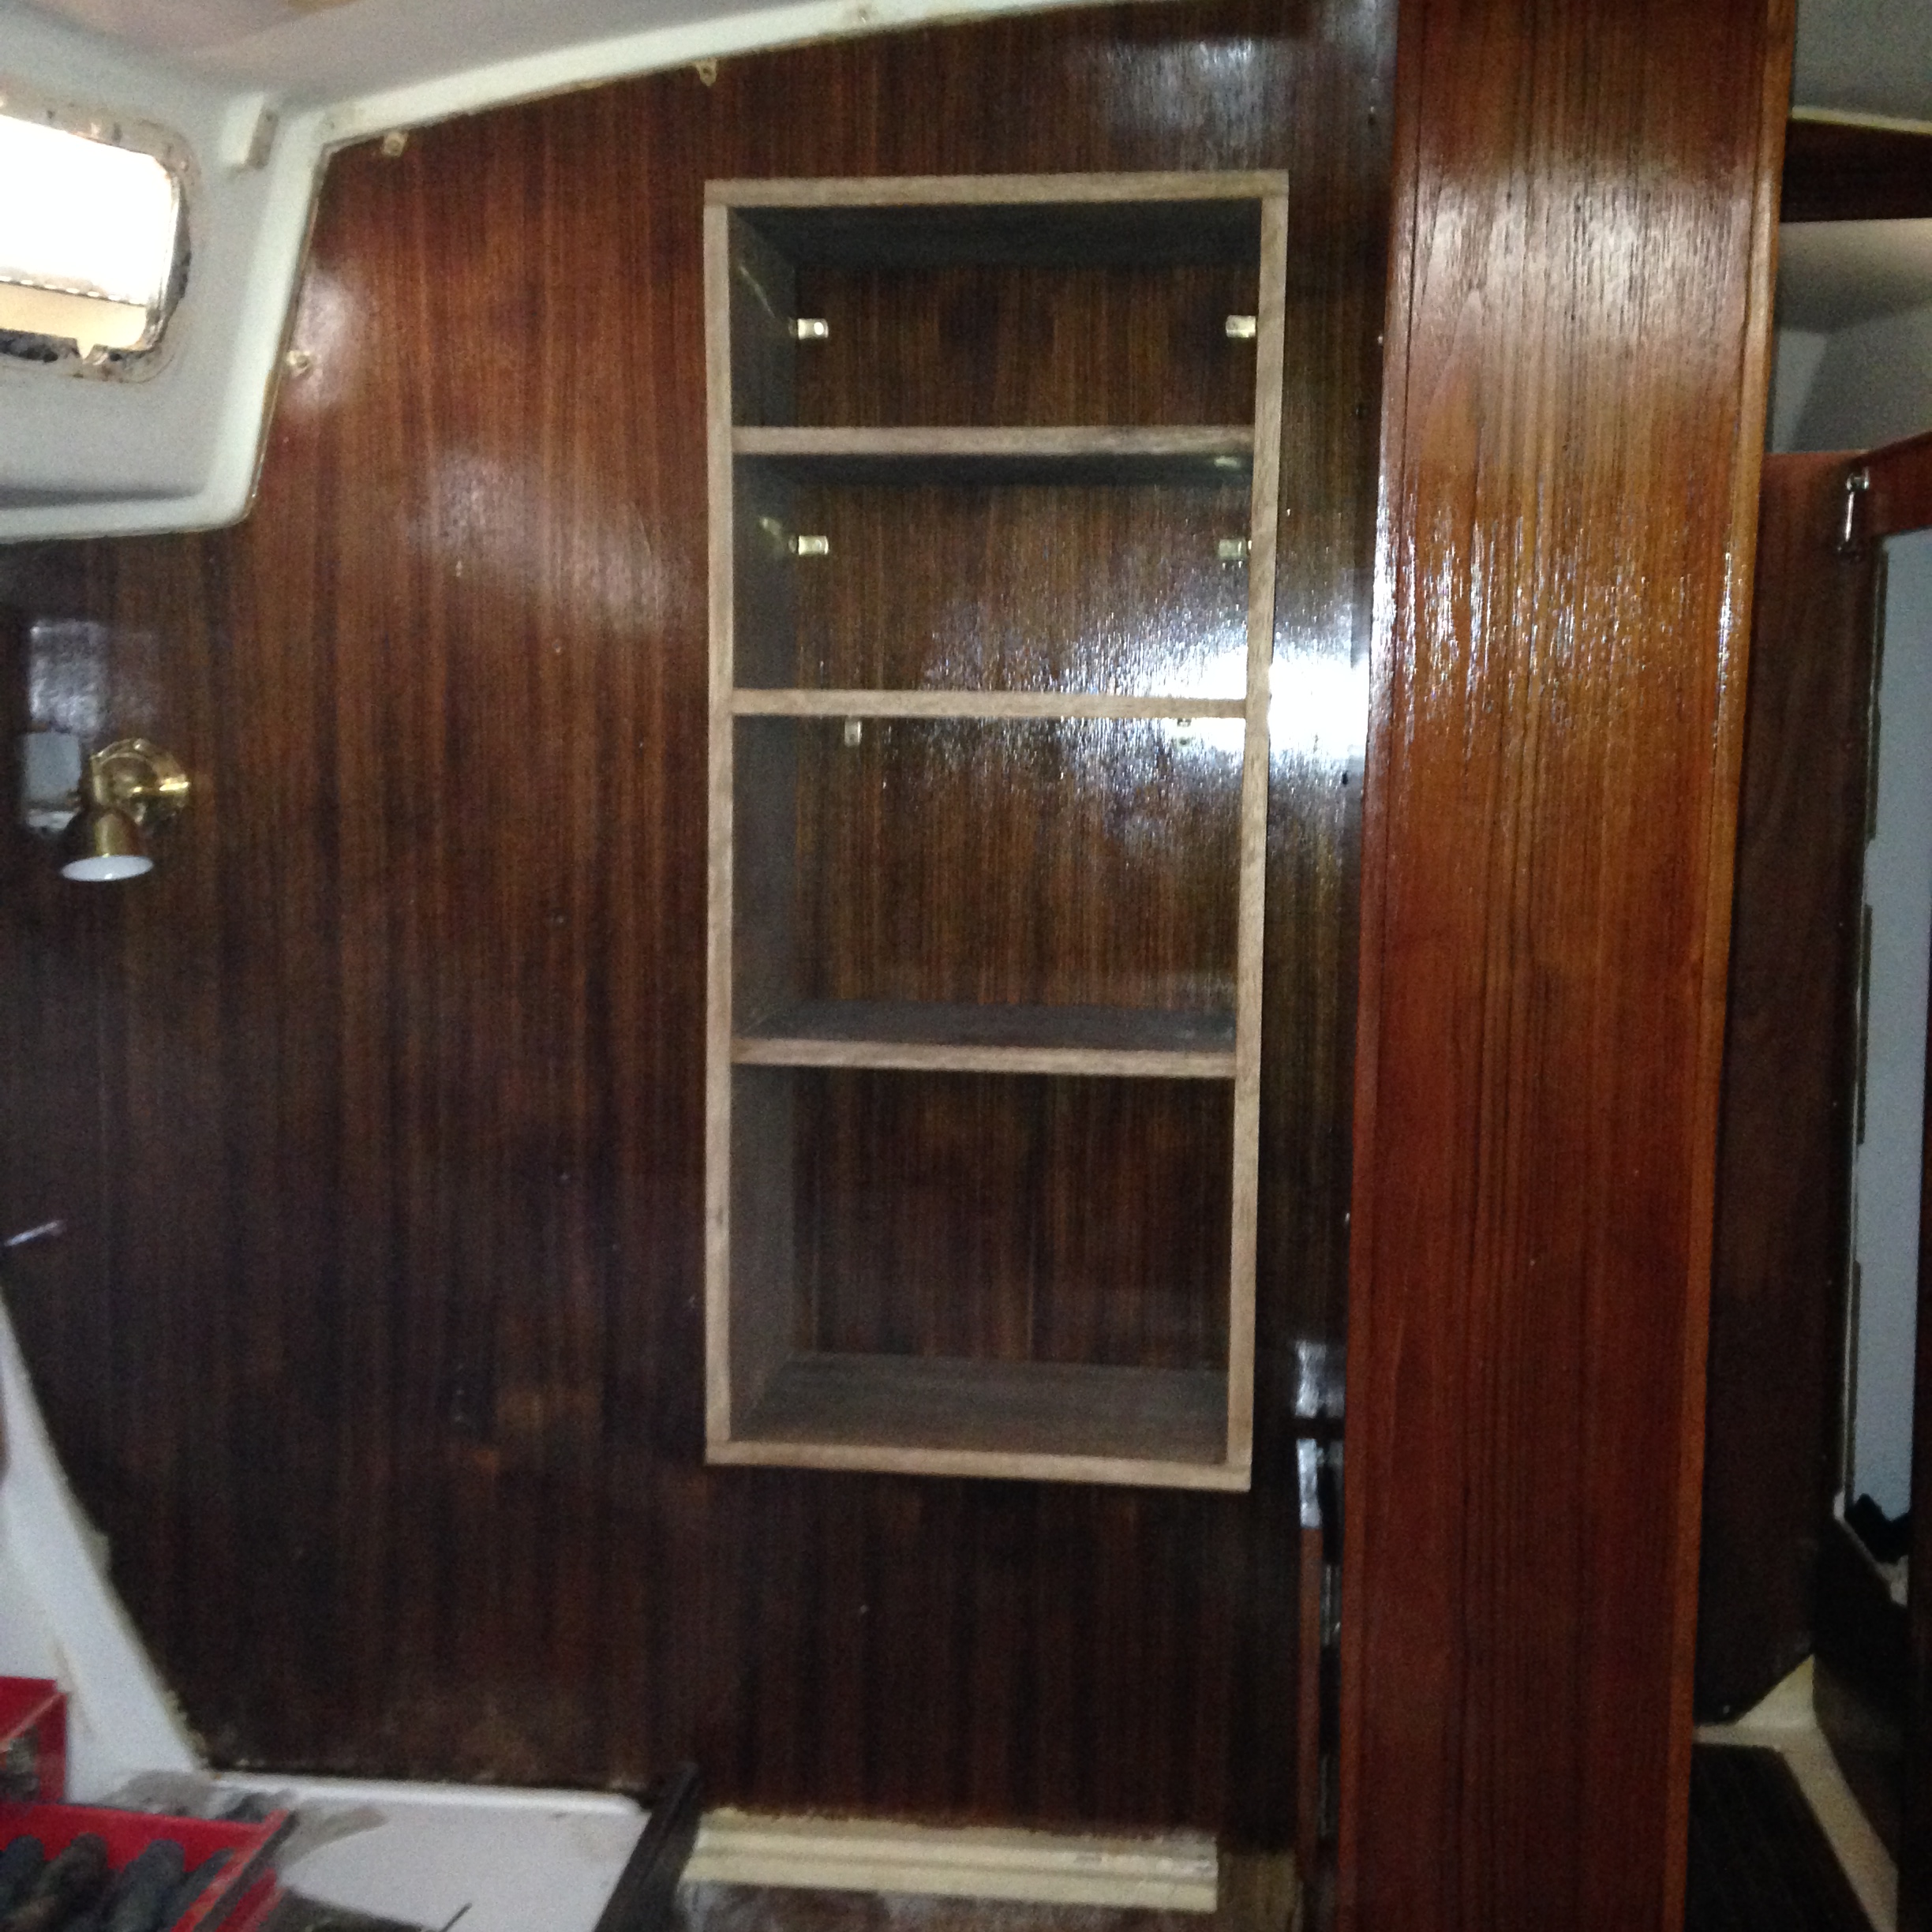
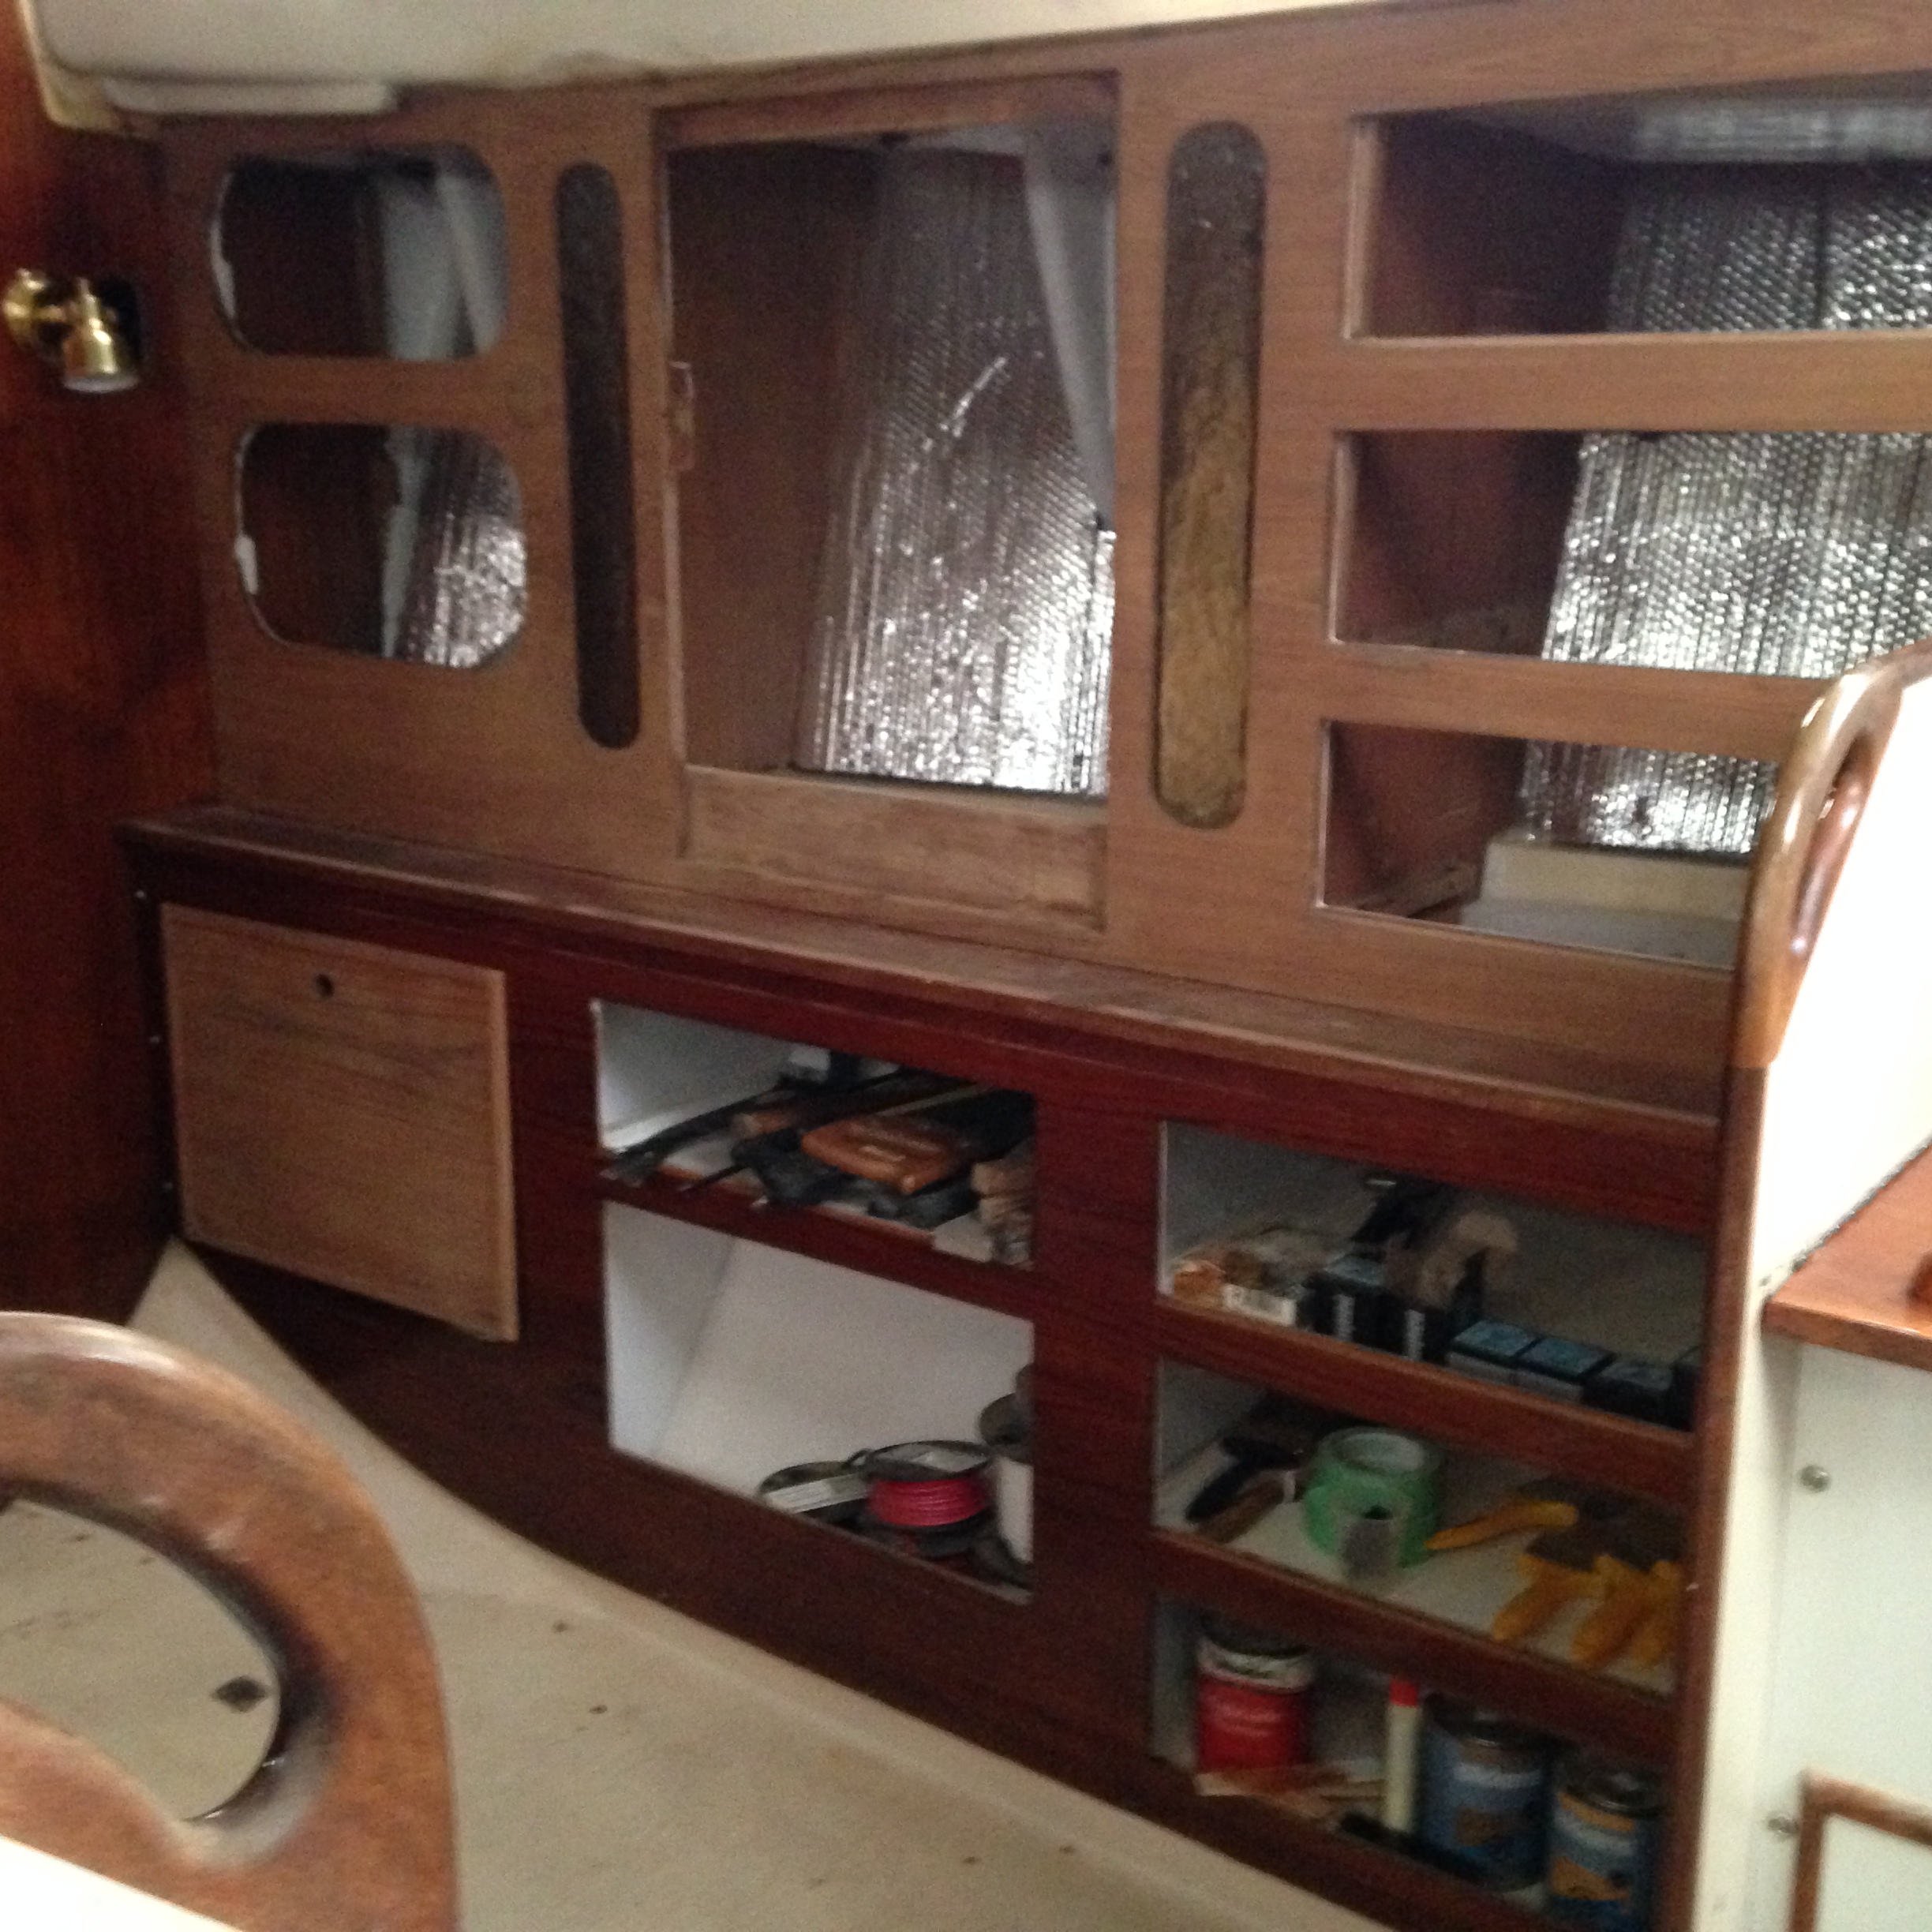
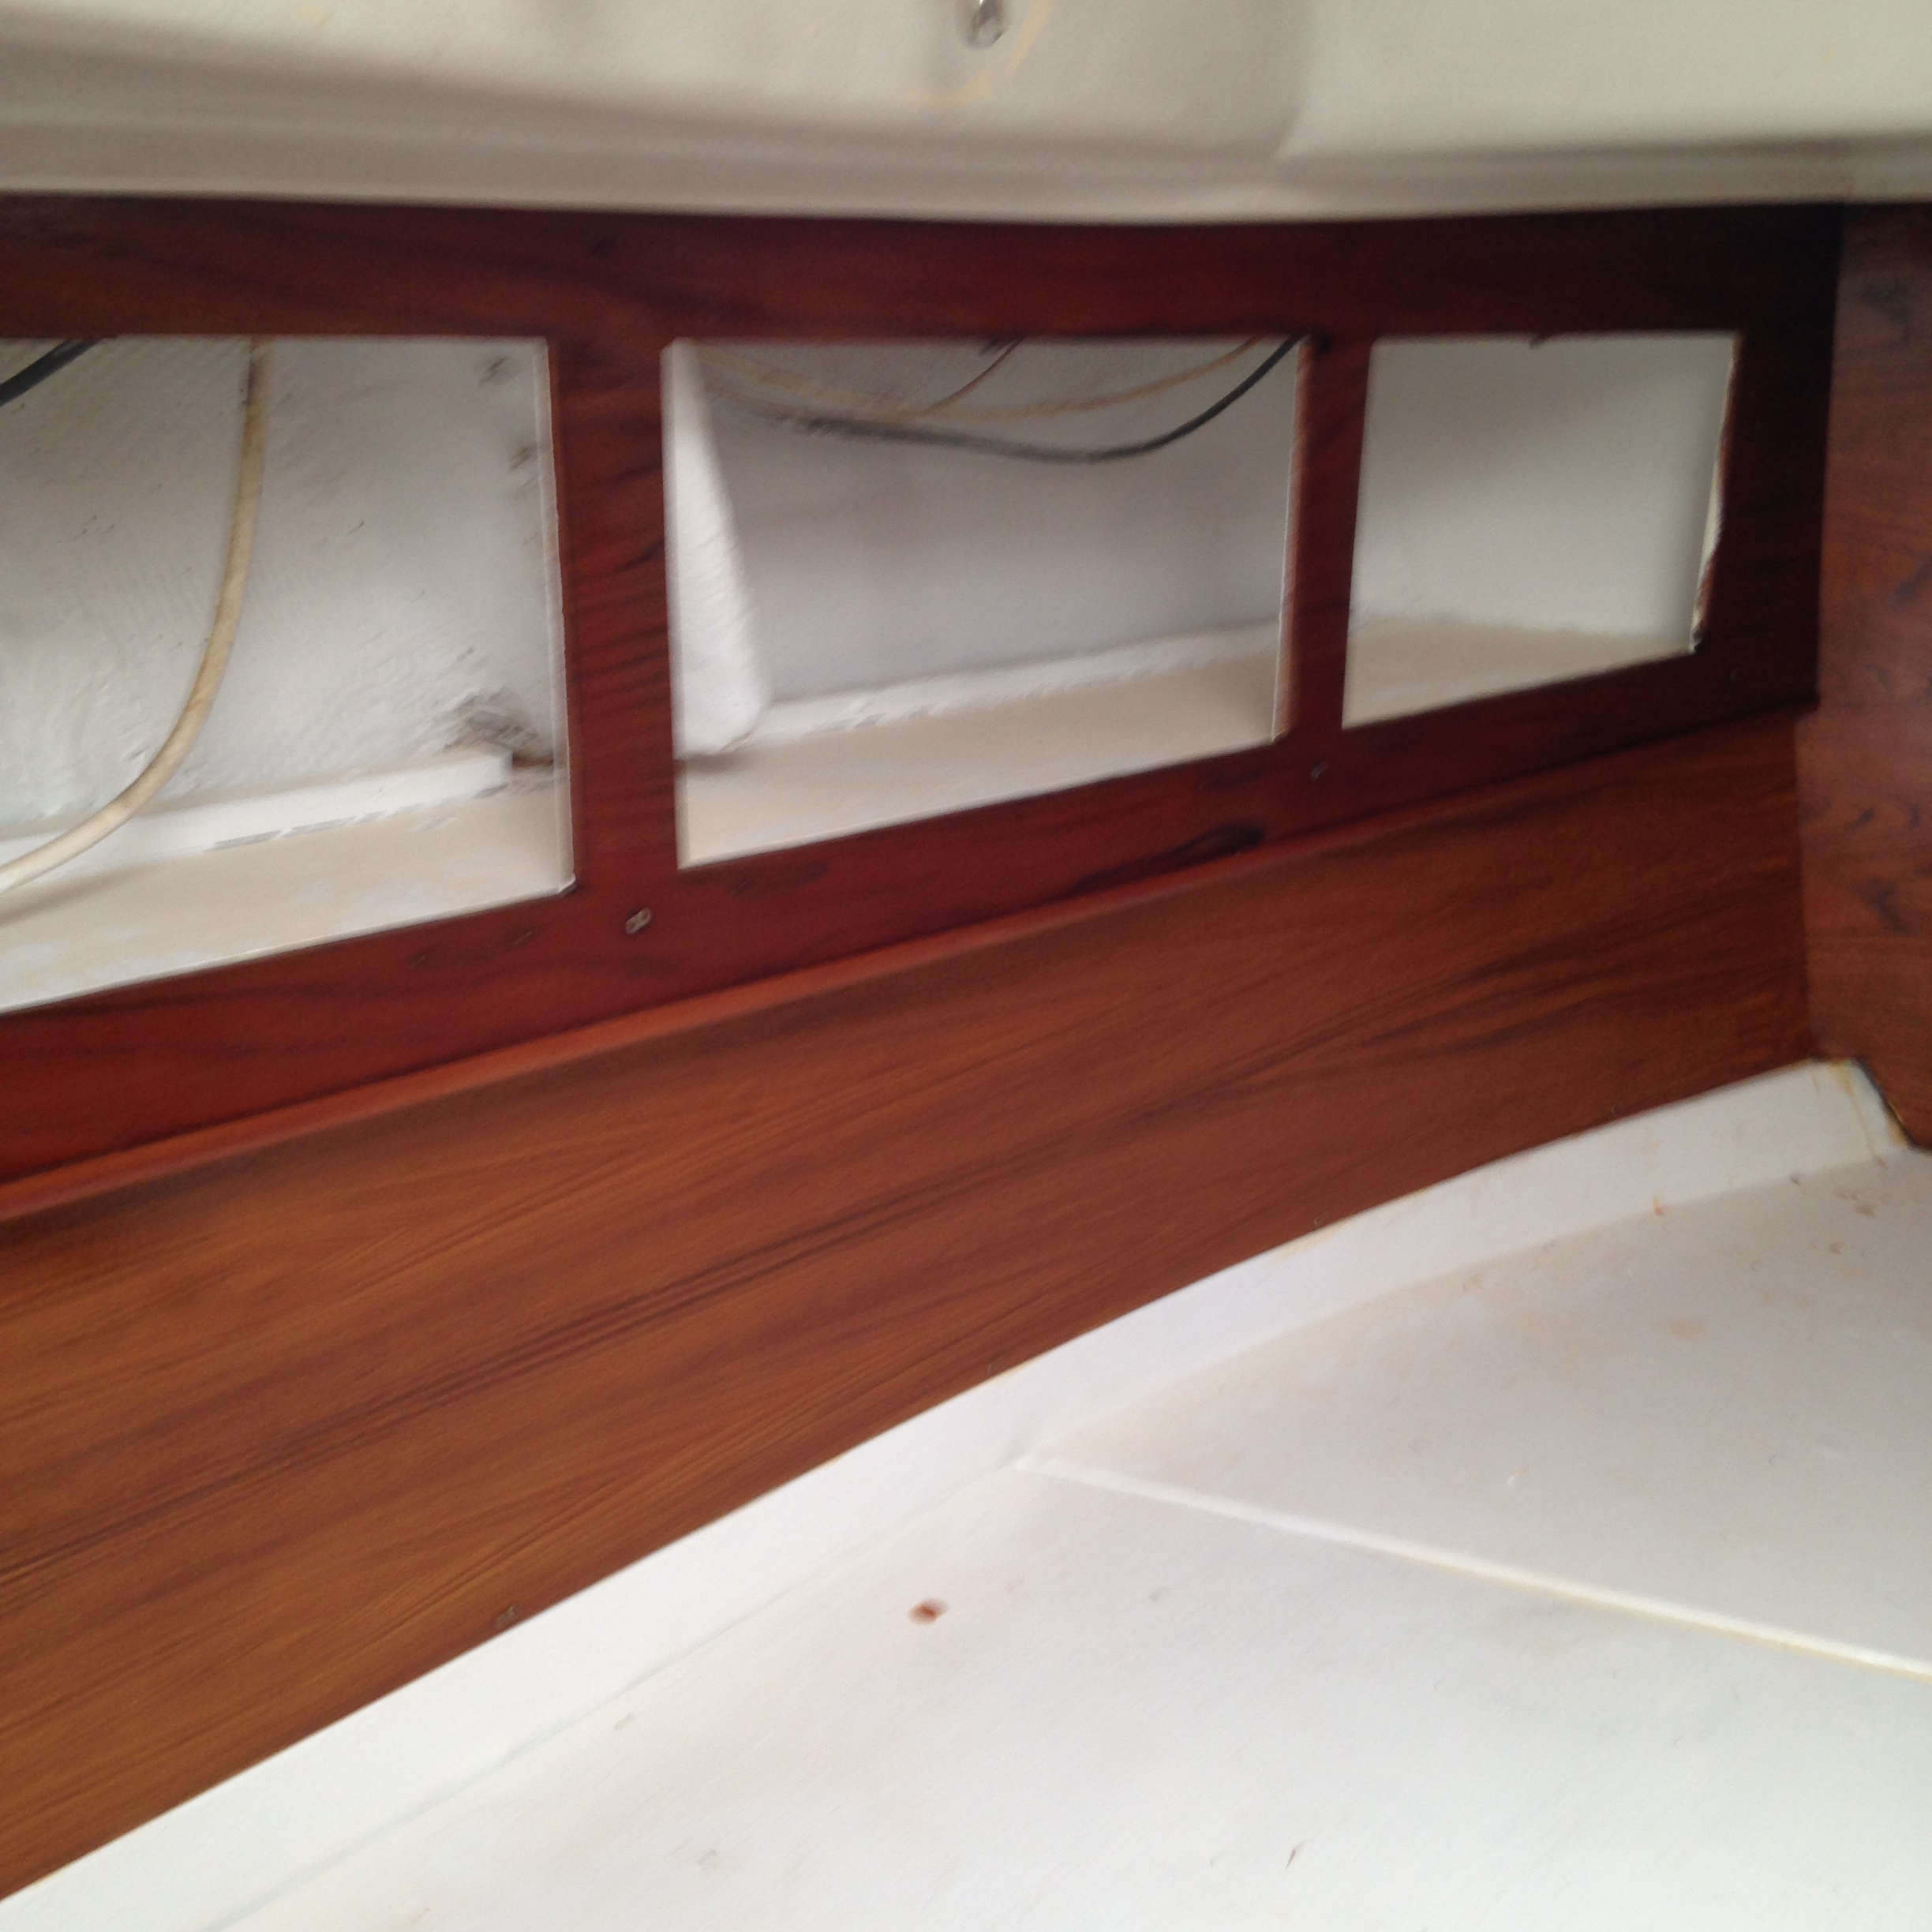
For some time now I have been trying to find a solution to the nav station forward bulkhead. Over the last 40 years people have drilled holes and cut holes and screwed into it and generally made a huge mess of one of the first things you see as you enter Akupara. I have had this particular solution in my mind and finally decided to bite the bullet and give it a try.
Holy
Of course something that should be fairly simple turned into another 5 hour job but hey, it’s a boat, that’s what happens!
Off to the local Lowe’s store to buy the needed supplies. Now this is not the first time I have looked at the availability of cork in the lower mainland, and I knew what I was getting before I got there and knew what had to be done in order to make my idea work.
Let’s step back for a minute. I do not actually have a pushpin handy and I have not purchased any to actually measure, but all of my mind is telling me that the actual pin part of a pushpin is longer than 4mm and the only available thickness of cork material is, yup you guessed it 4mm. Considering the area has arborite on it, the odds of pushing a pin in far enough to hold something well in my mind, are very low.
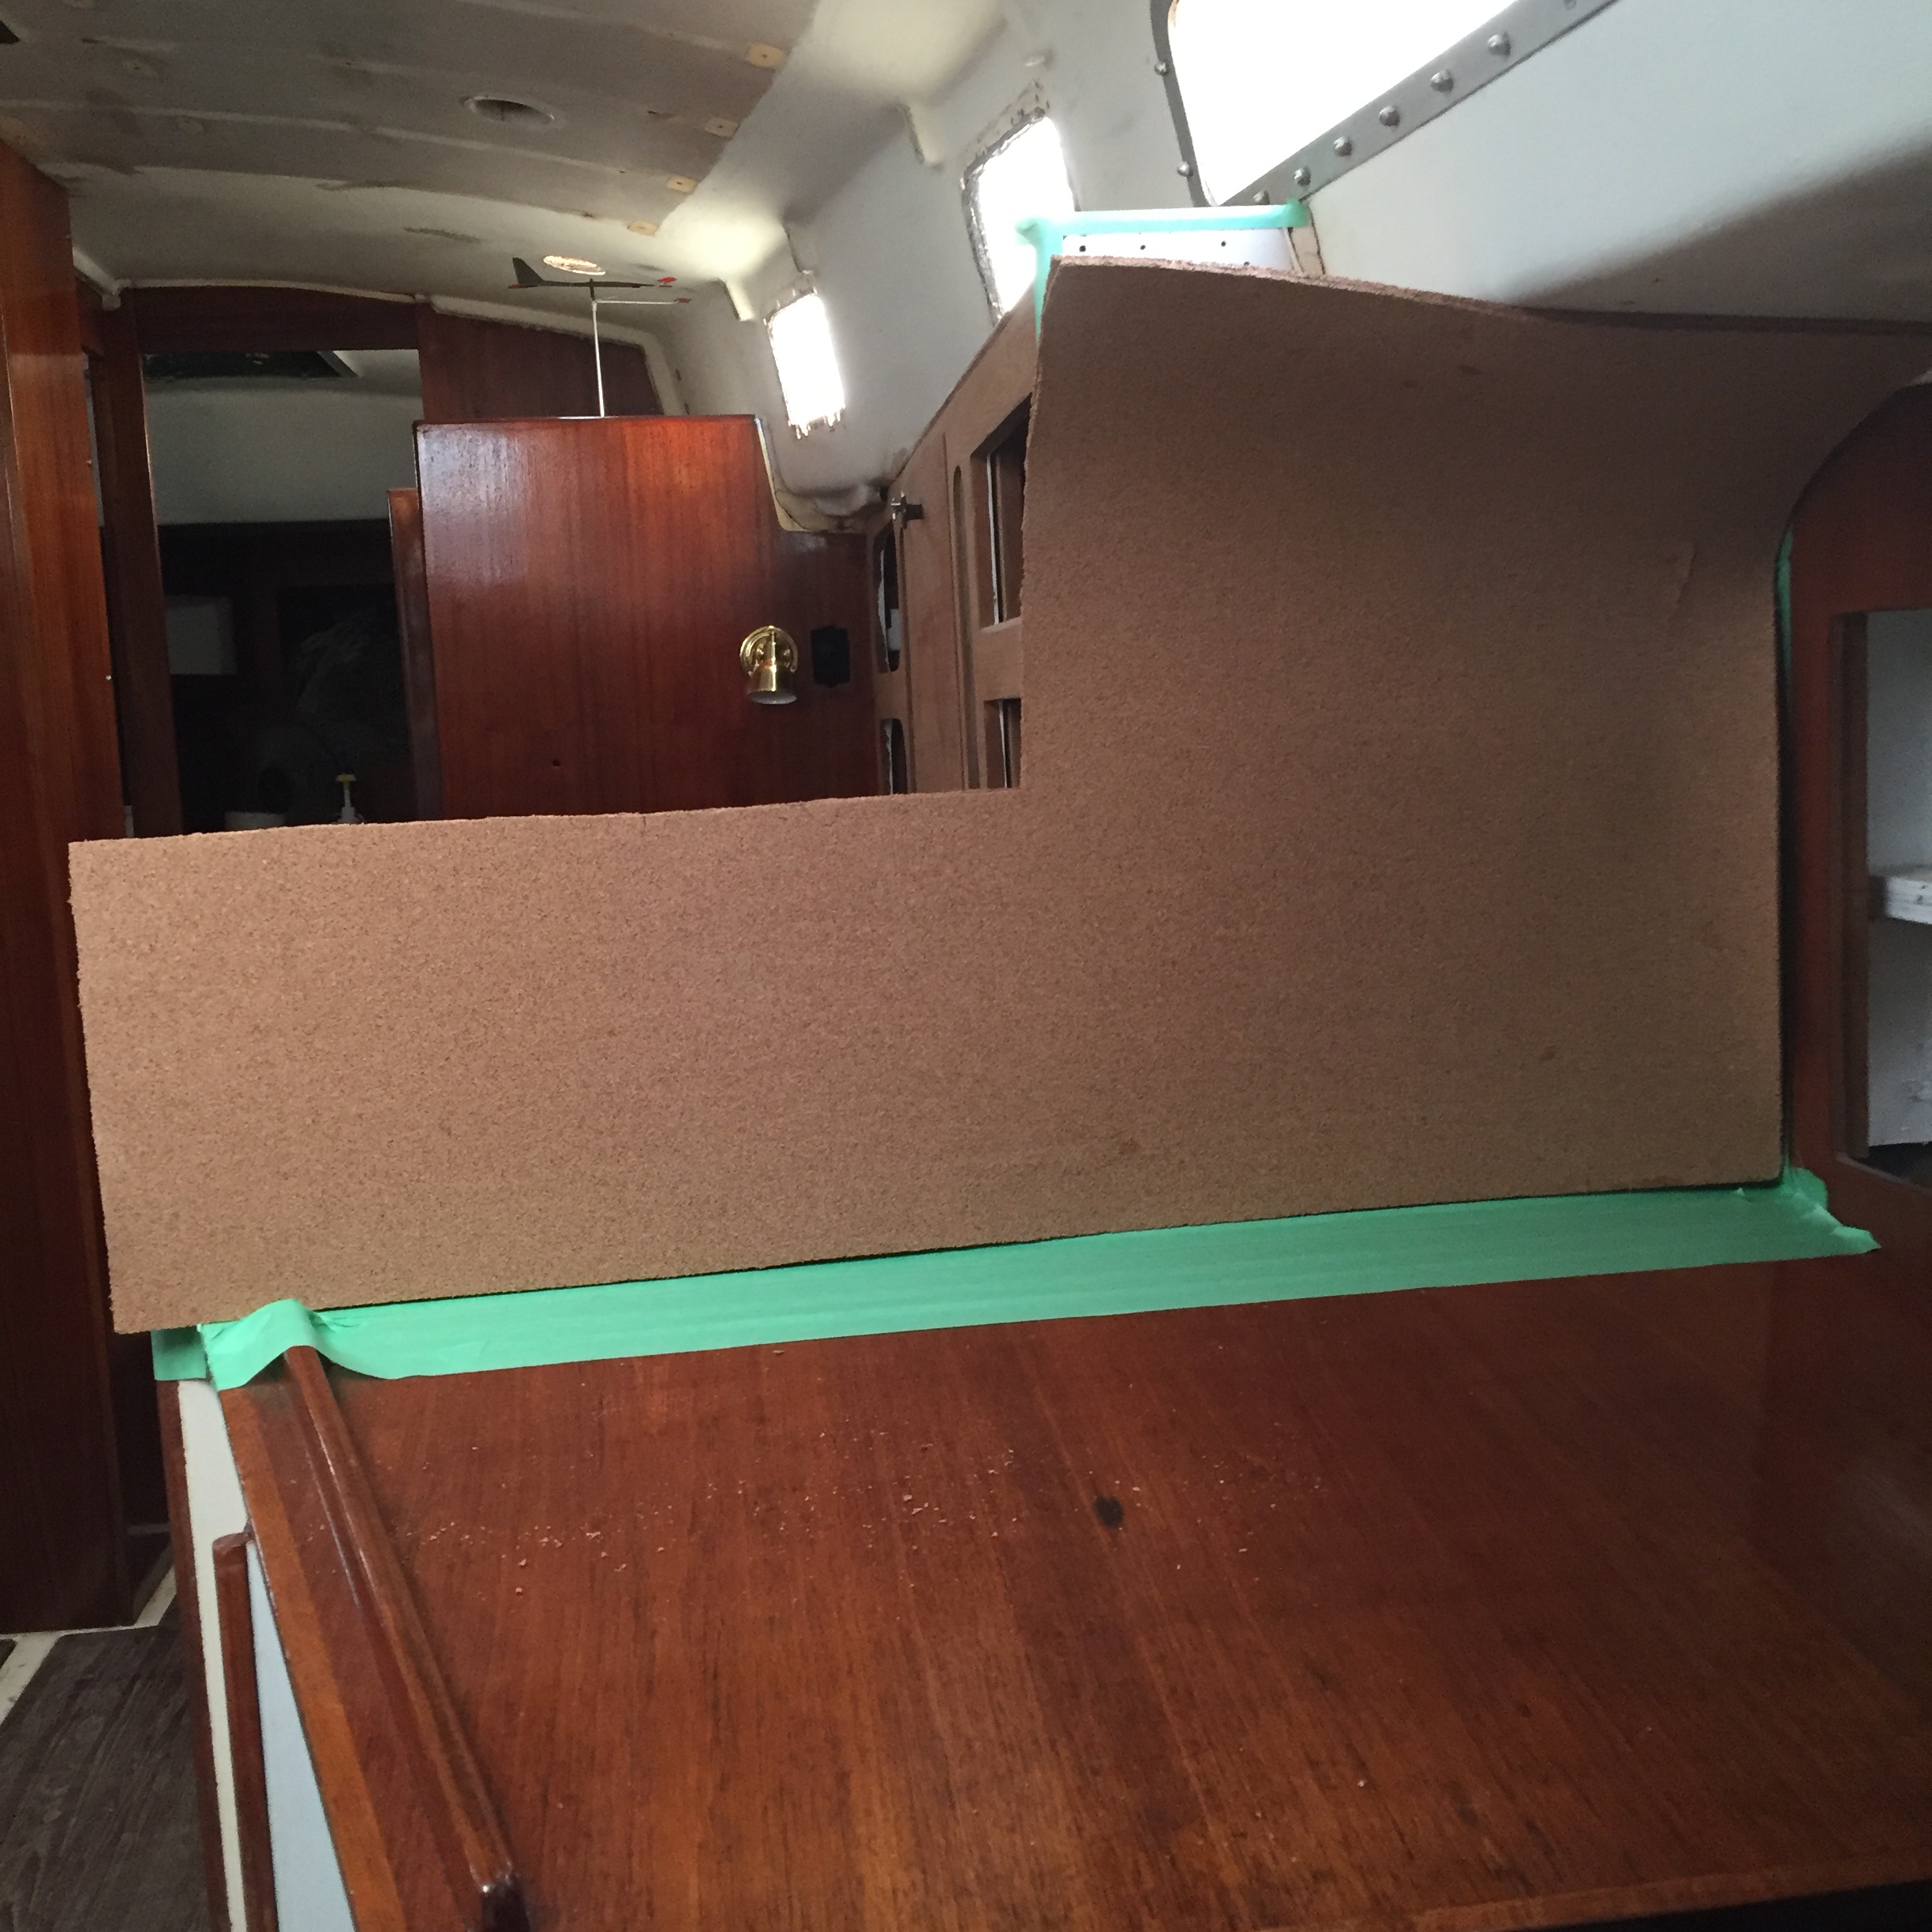
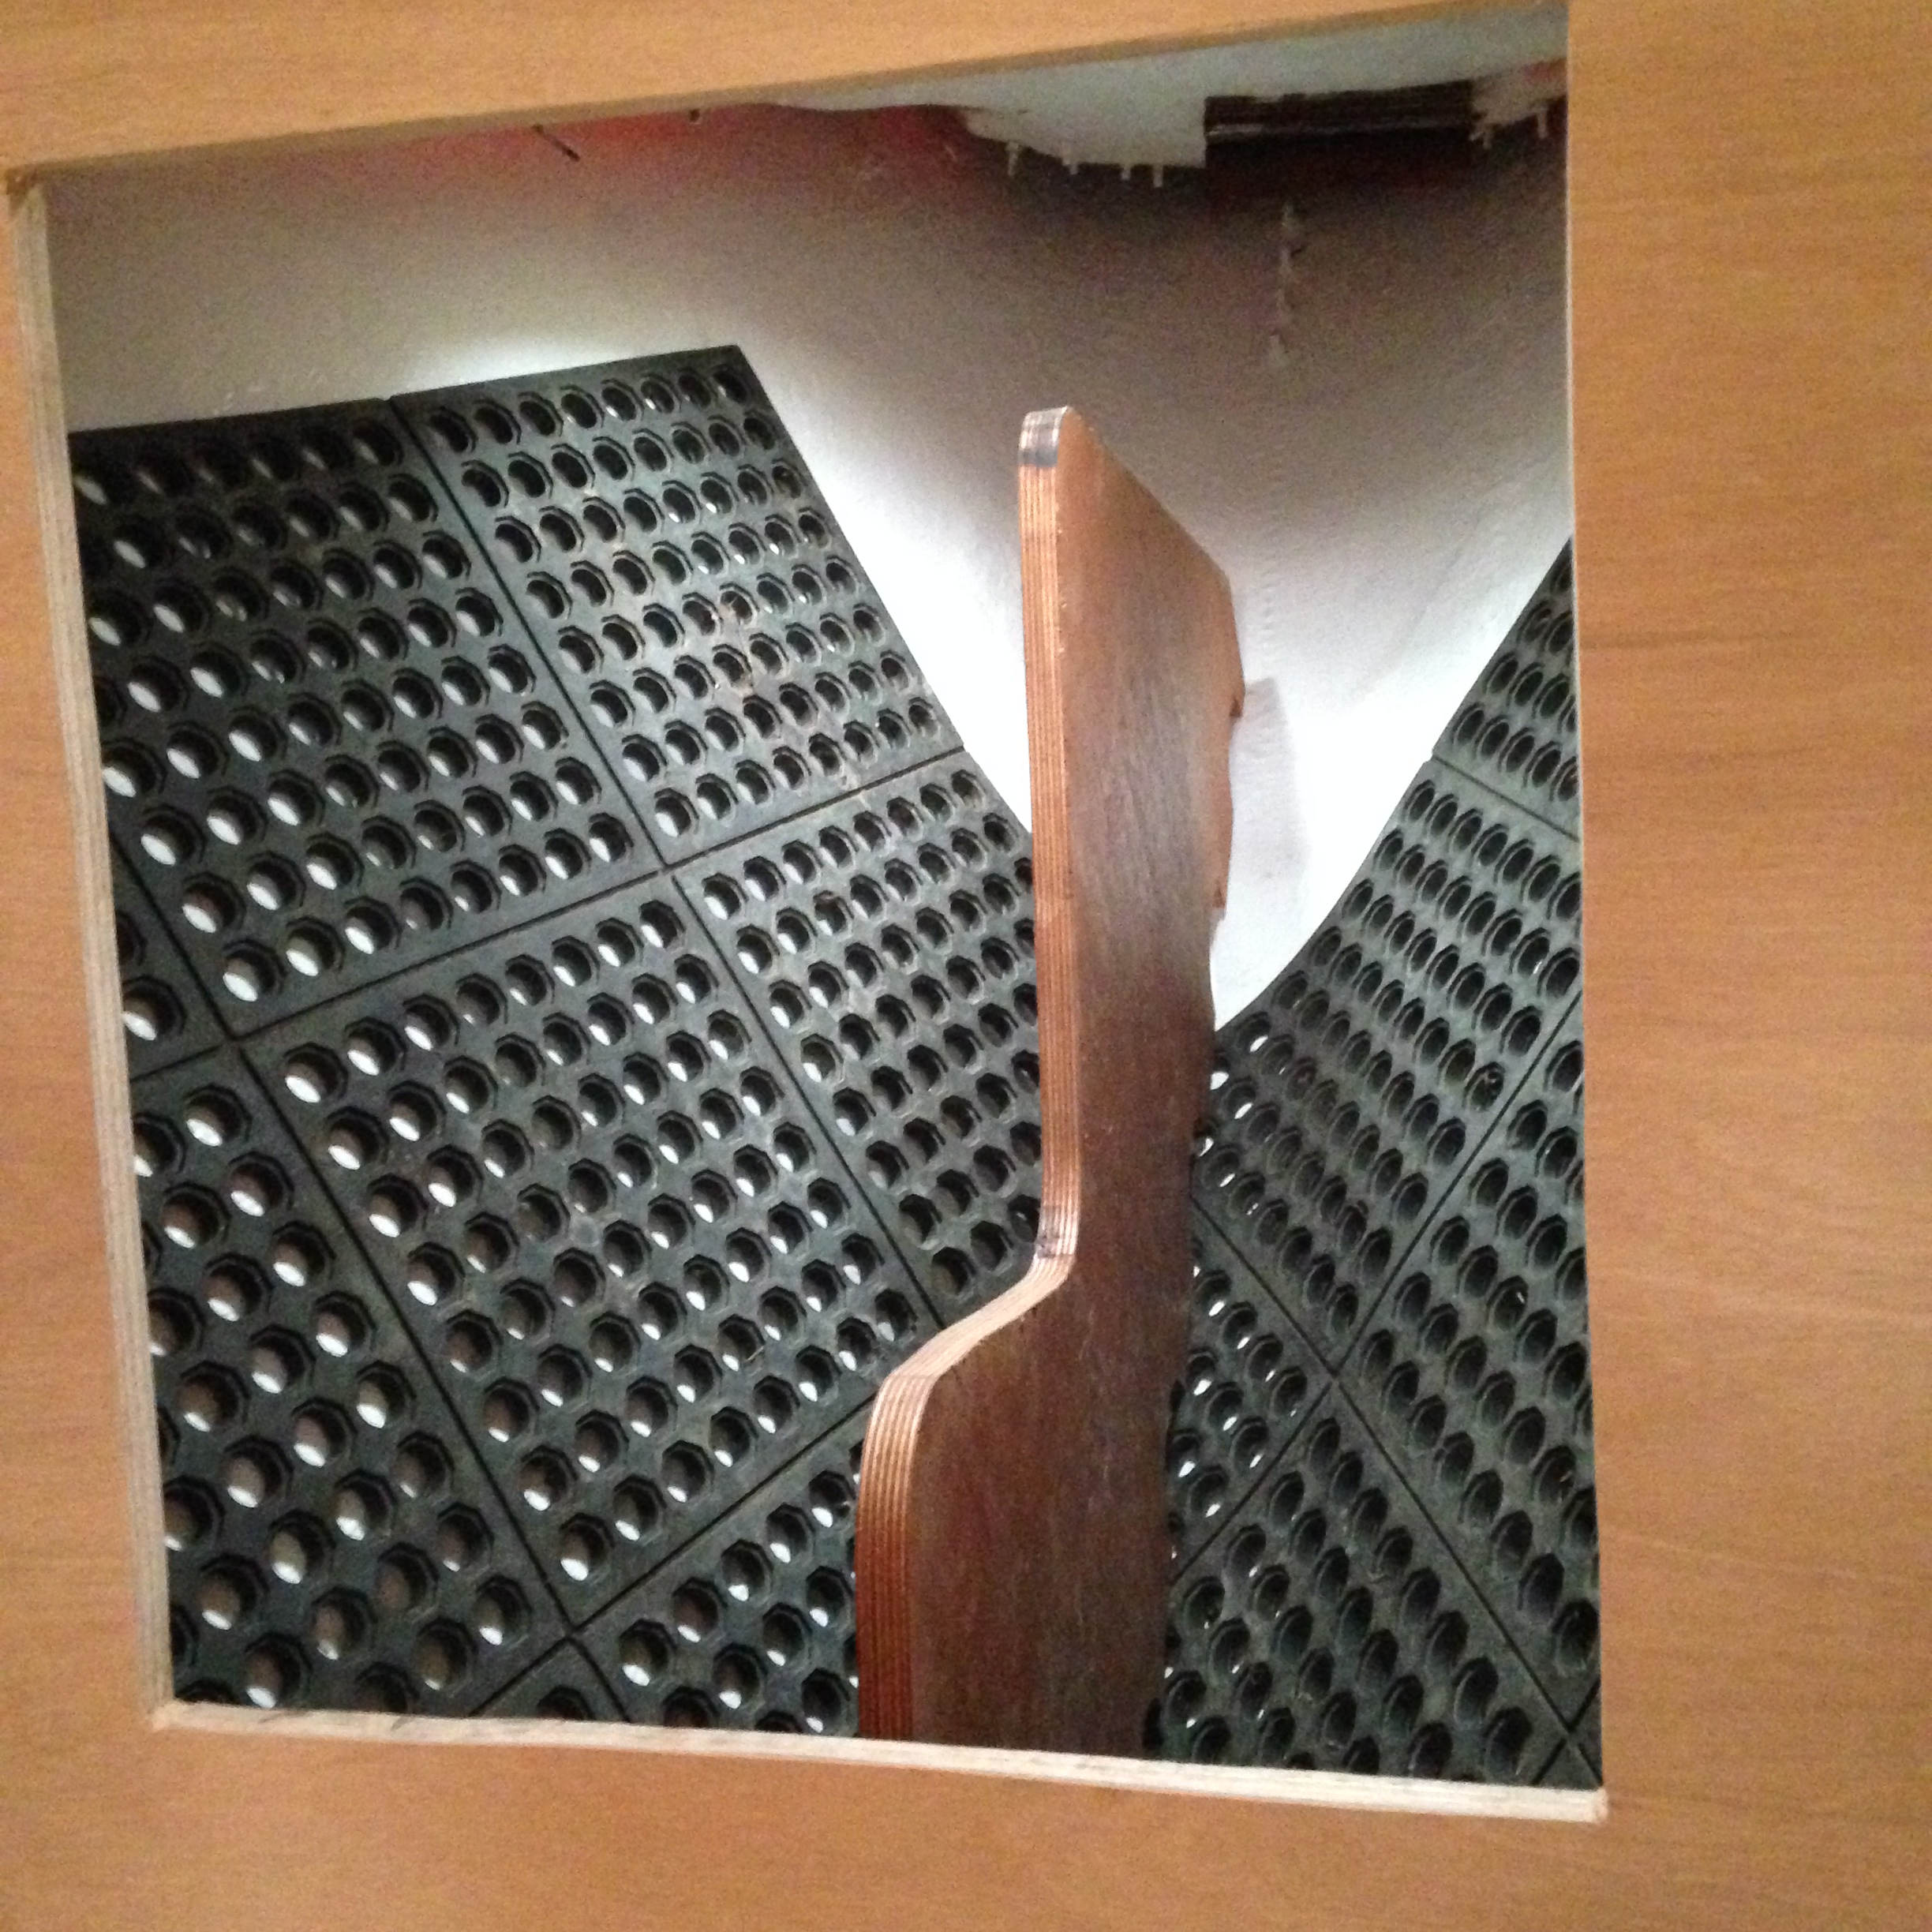
This meant that I needed to cut two pieces the same size and glue them together before gluing it to the bulkhead.
Amazing how little space there is to work inside, but I got it done, barely. And I only have a few spots of contact cement that need to be removed from all of the surrounding areas.
It is a fairly basic plan. Cut two pieces of rolled cork to fit the space exactly. Glue them together with Contact Cement. Sand the area that is going to be applied to. Glue the piece in place and voila, you have a newly refinished bulkhead, and a corkboard.
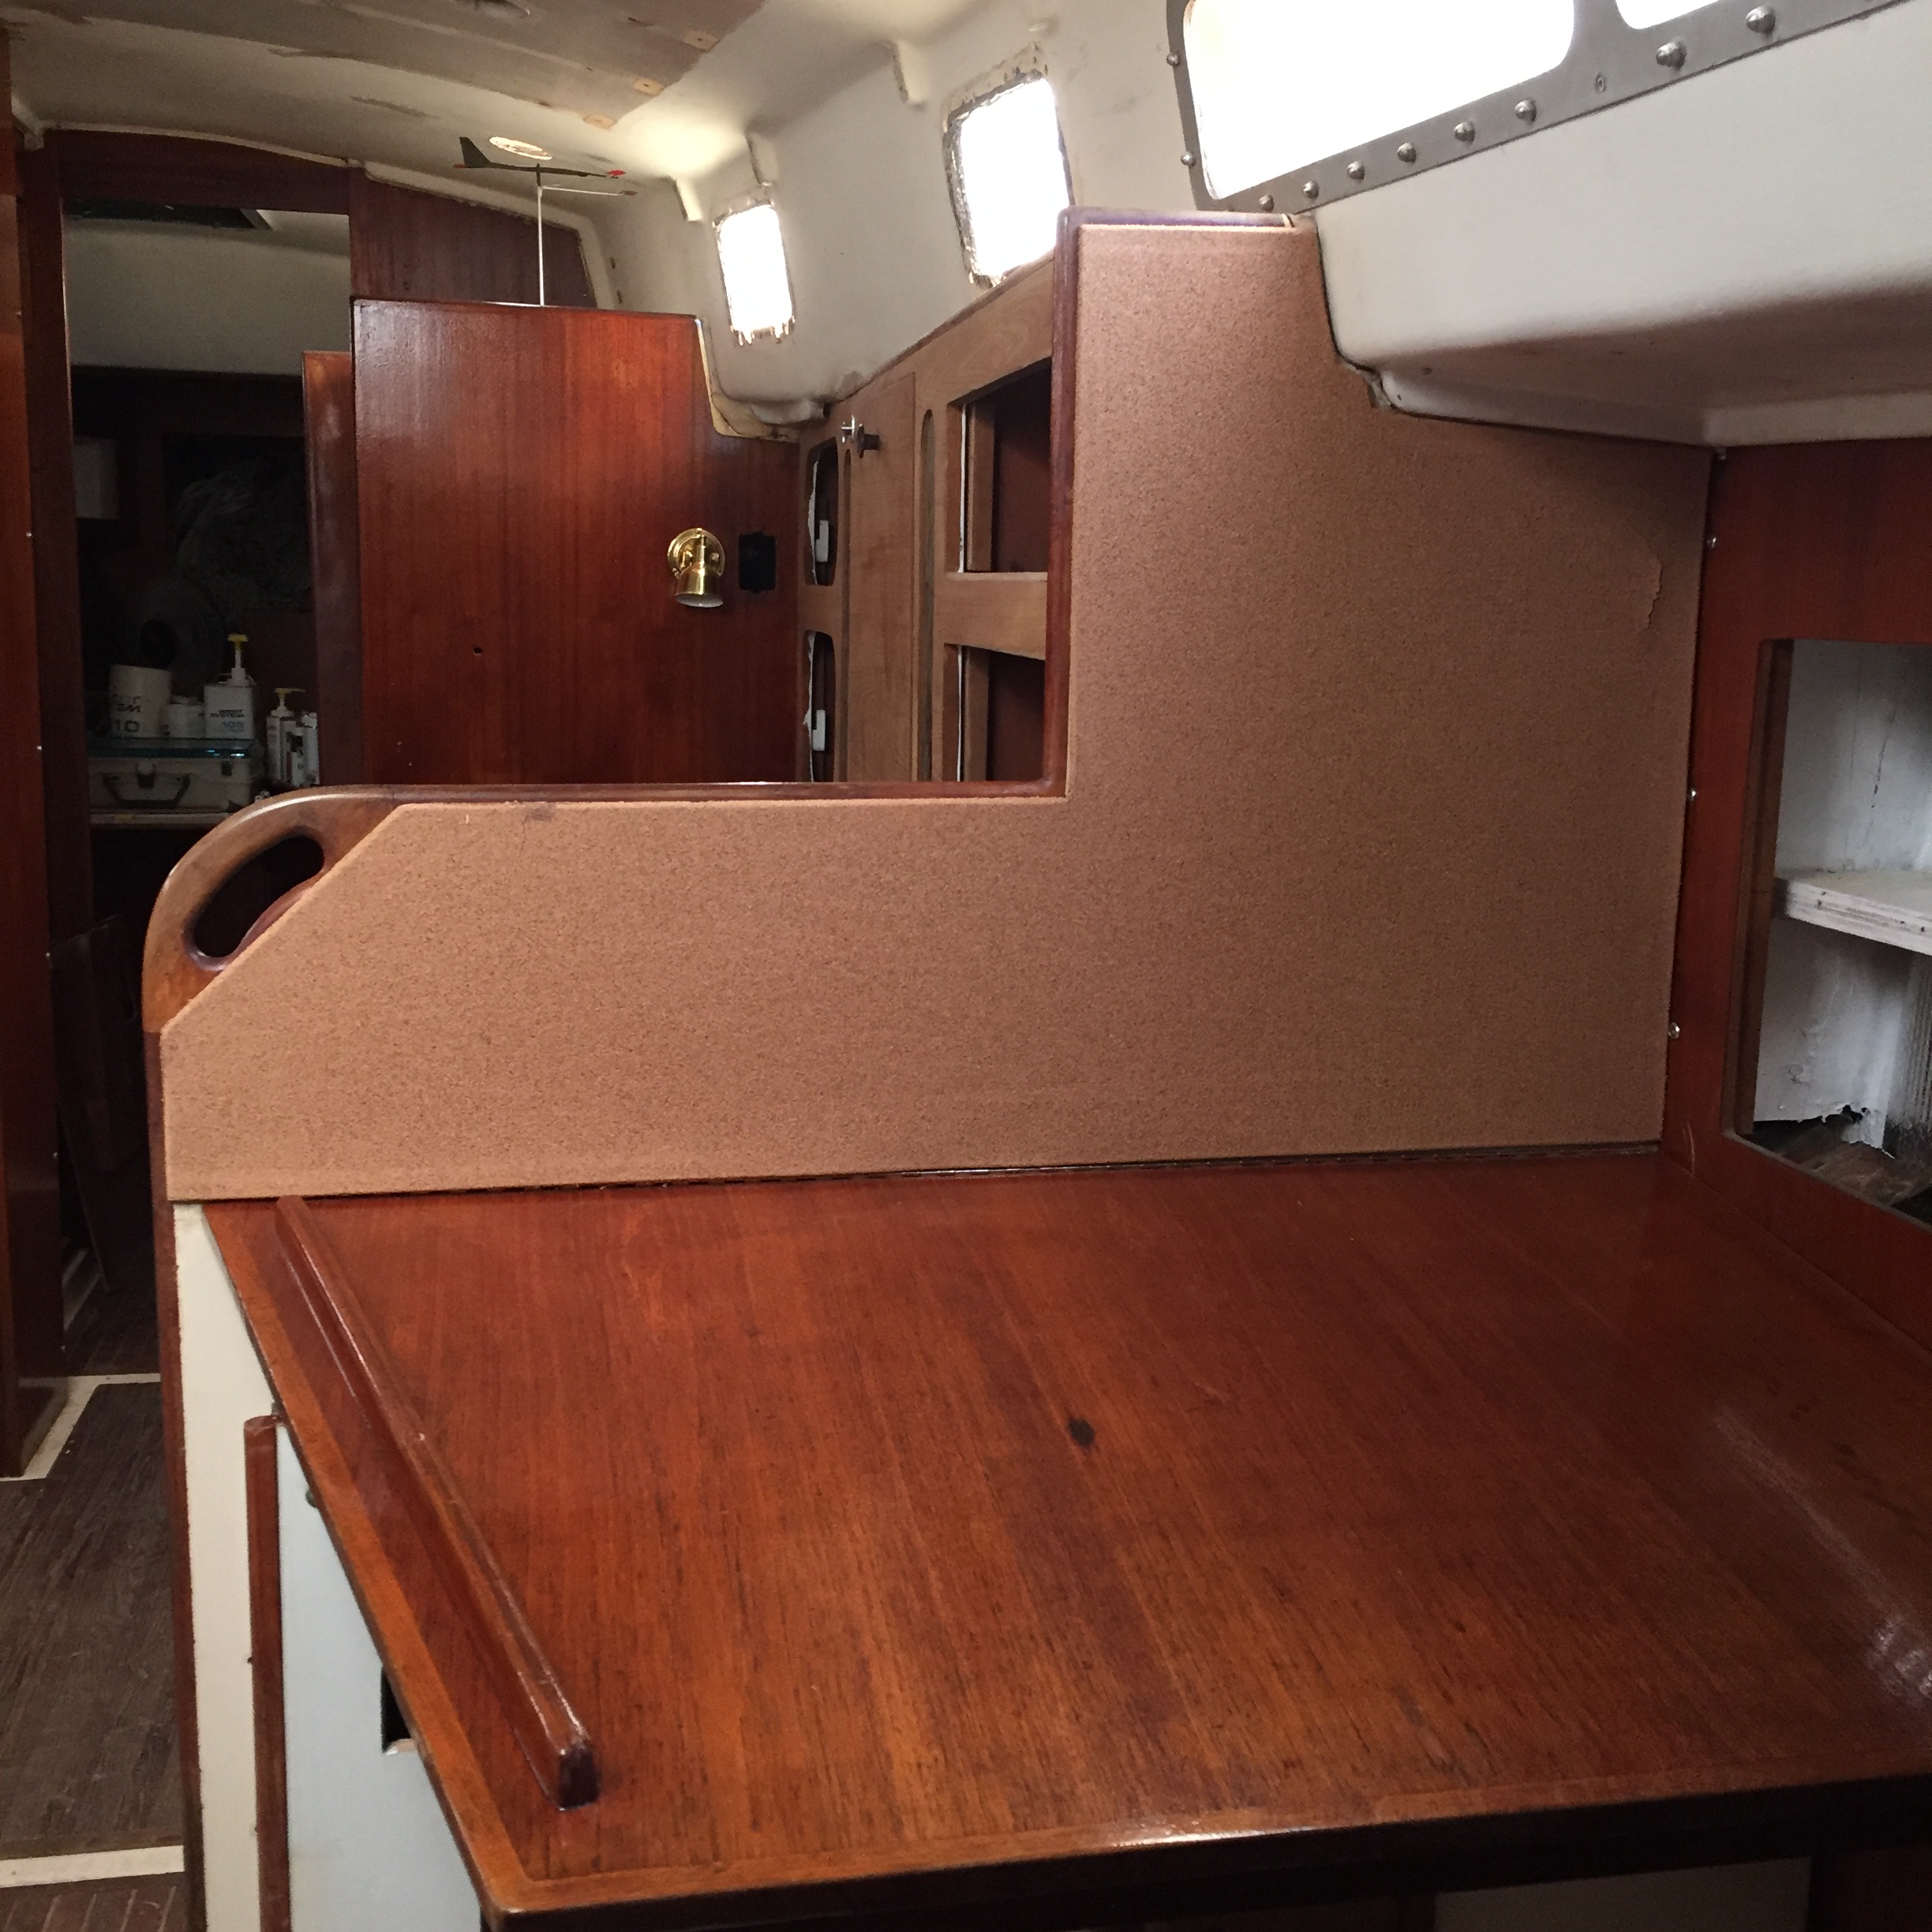
Nav Station Corkboard
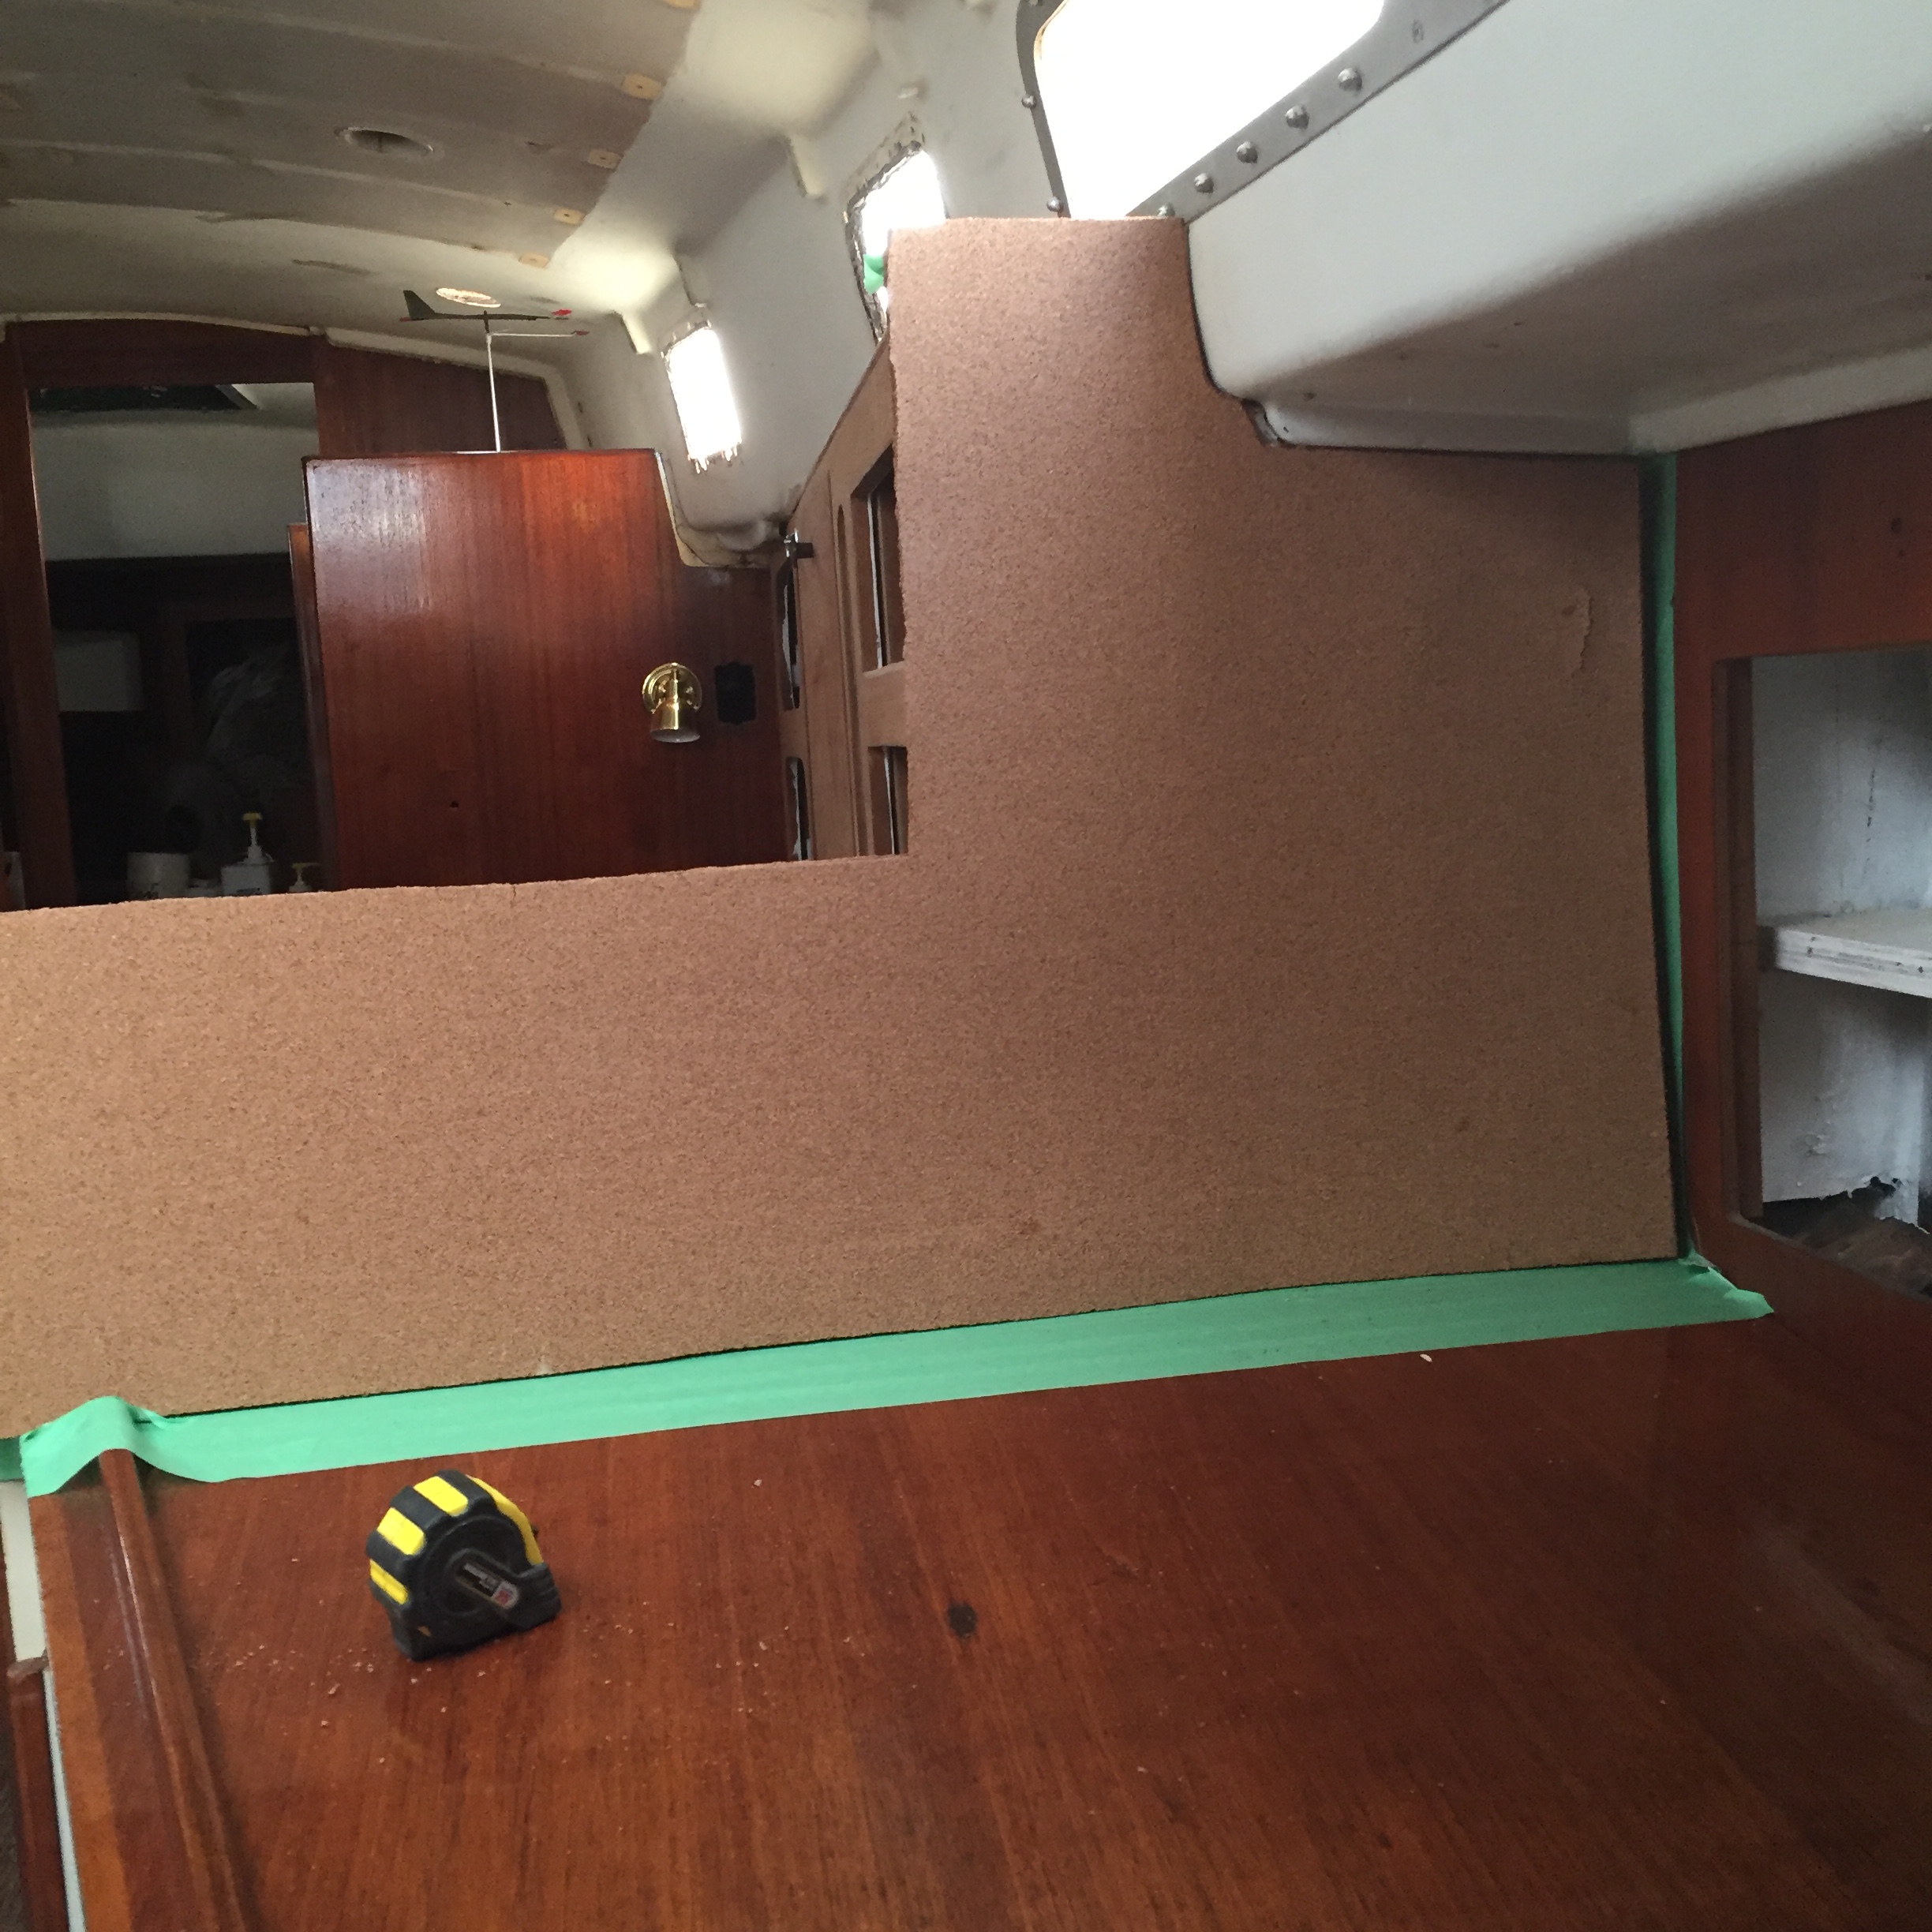
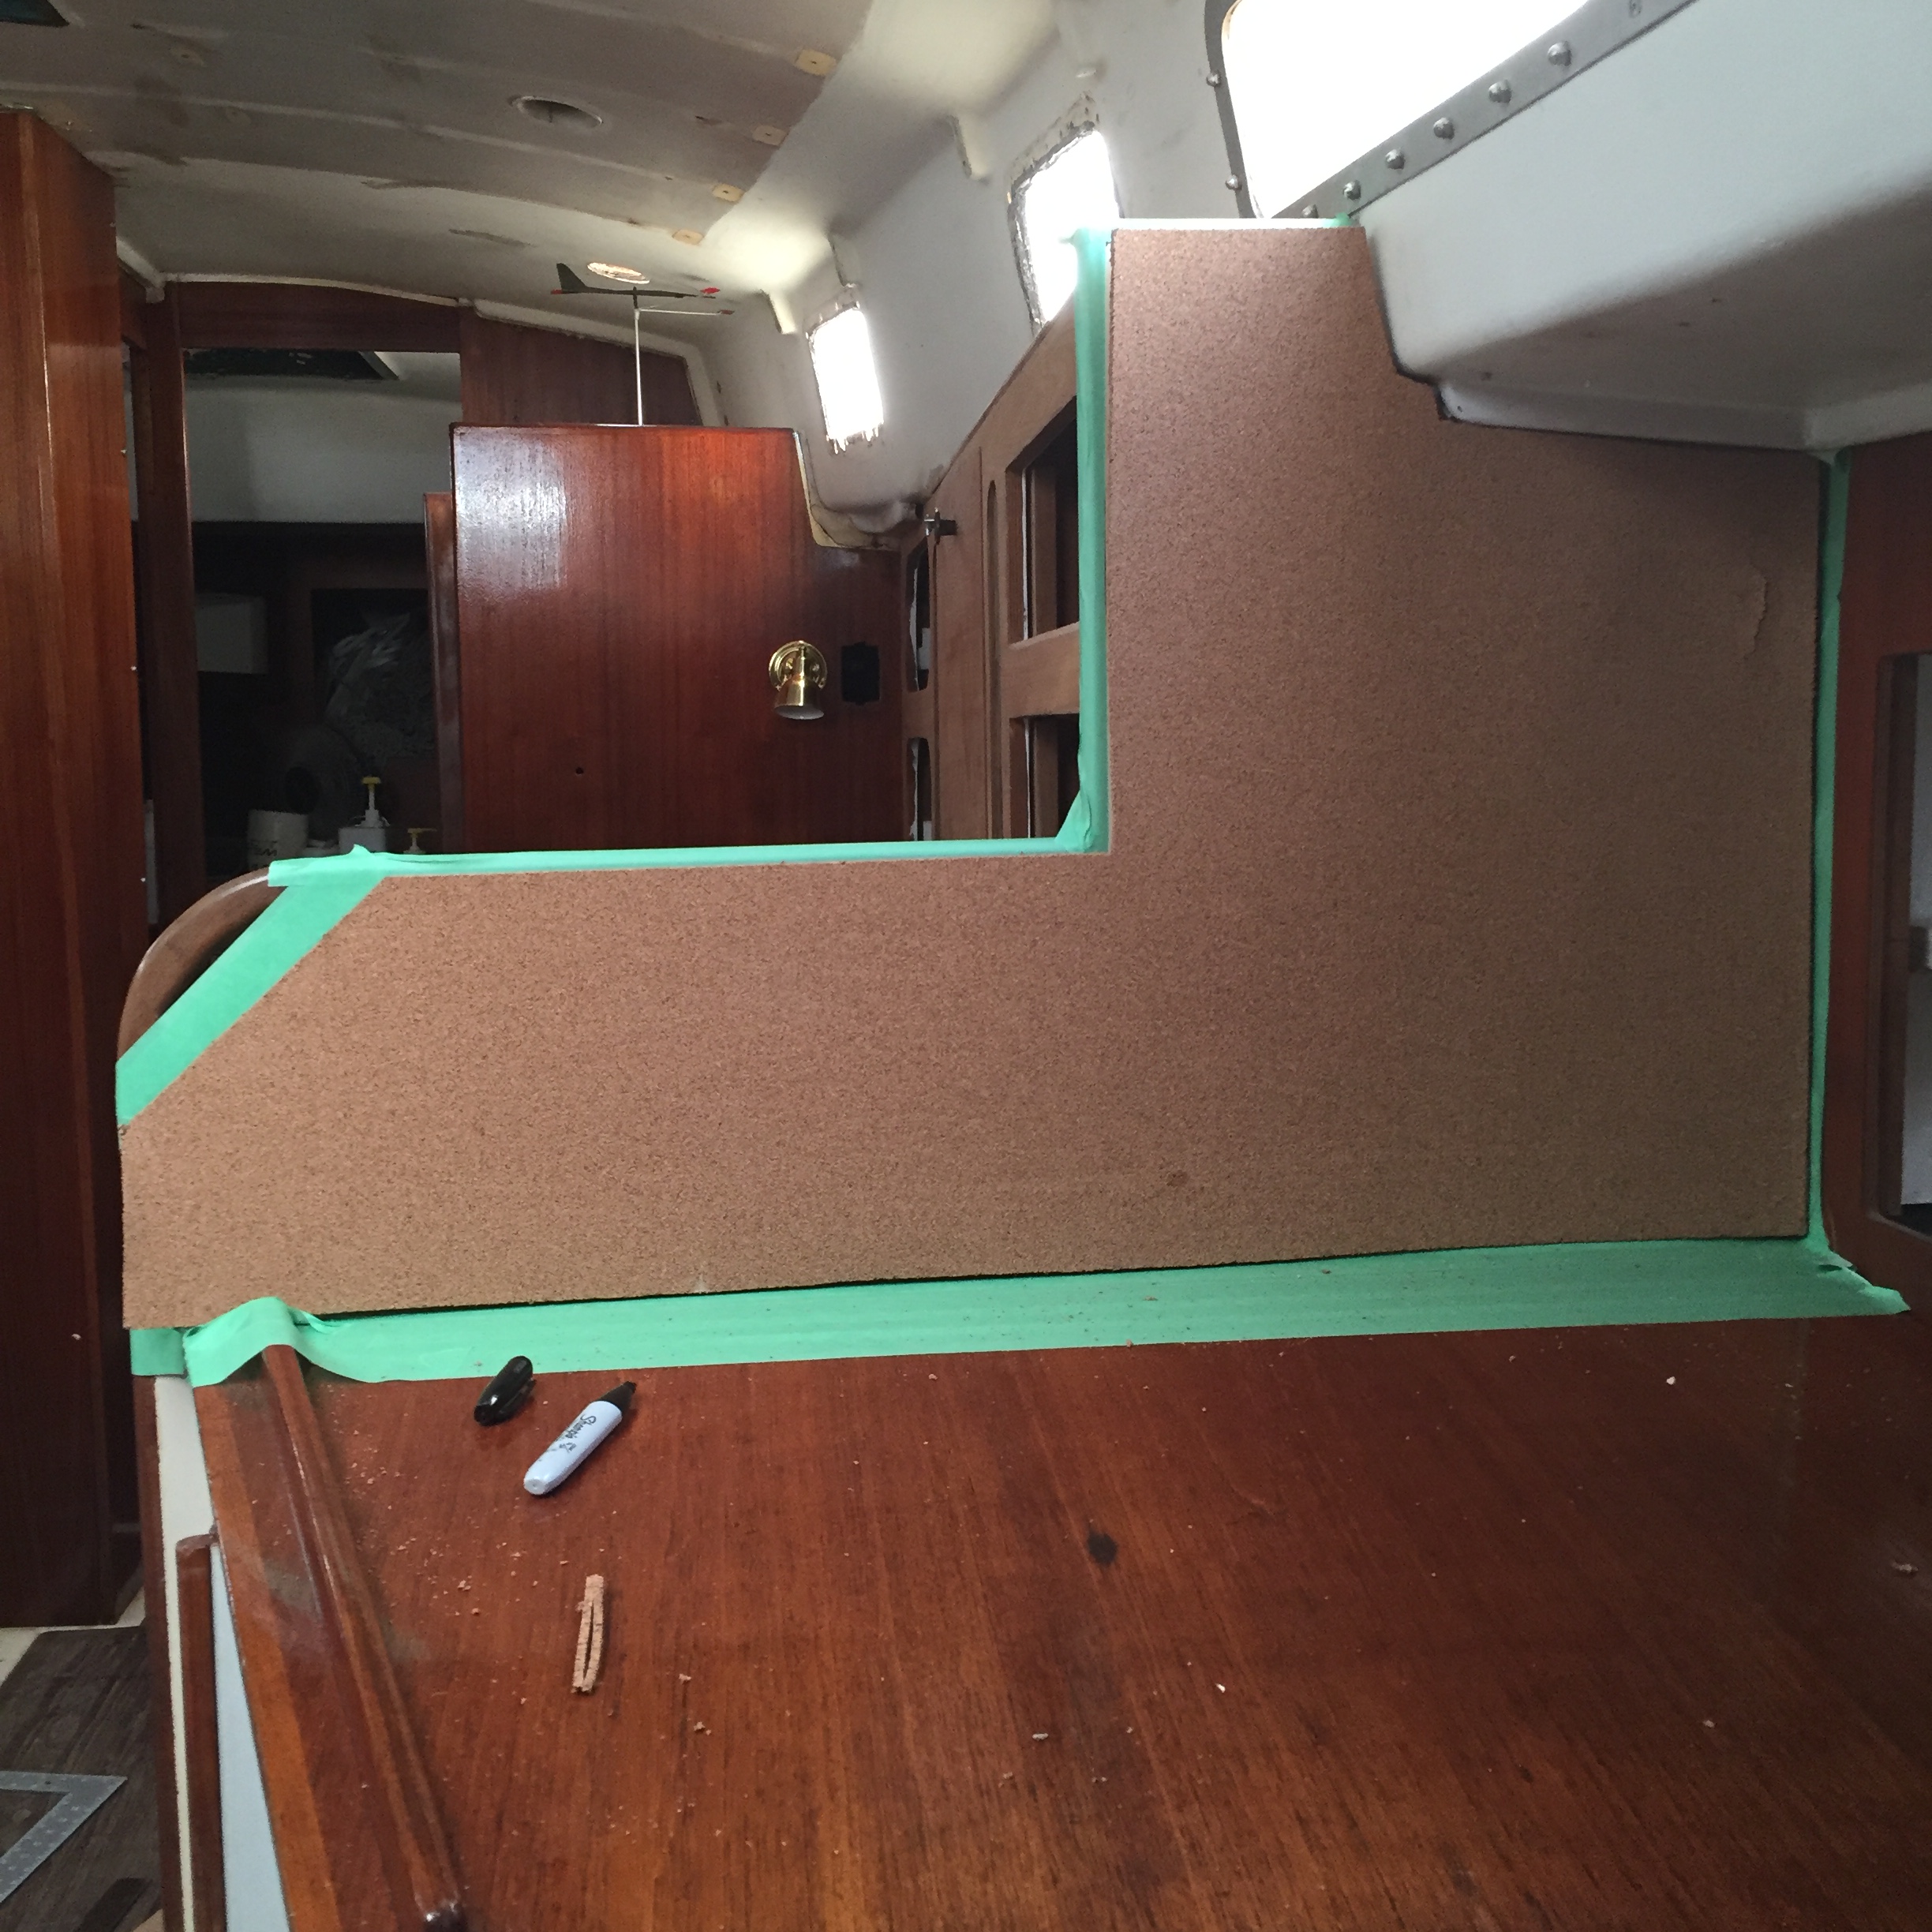
And it was a simple plan, I just did not include the number of times I would need to move it back to the floor in order to cut it. Okay to make a long story short, I was very careful to get as exact of a fit as possible and possibly could have taken it a little bit too far, but the end result is pretty cool.
Fitting the corkboardFitting the corkboard 2clamping the edges
Now while I was going through all of this I also decided that I was going to add one layer to the dressing table in the aft cabin as cork is also a non skid and as you know, it also is covered in that arborite/formica stuff.
Cork top for dressing table
This cover in the aft cabin has yet to be glued down but I think it looks great!
And the final product in the nav station….
Corkboard in Nav Station
I have lots of little pieces left over that I am sure I will find uses for, but I also want to try different stains on them as I may want to give the cork a bit of a different colour, but I think it is an inexpensive, relatively small job, that anyone can do in an afternoon to give new life to a tired old surface. Damn, starting to sound like one of those home fixer upper dudes….
A few things you may not have known about cork:
It is a wood product and will accept stains and paints.
It can be cut with scissors or a sharp blade.
It is sandable. I sanded all of the edges by hand to give them a nice 1/4 round edge.
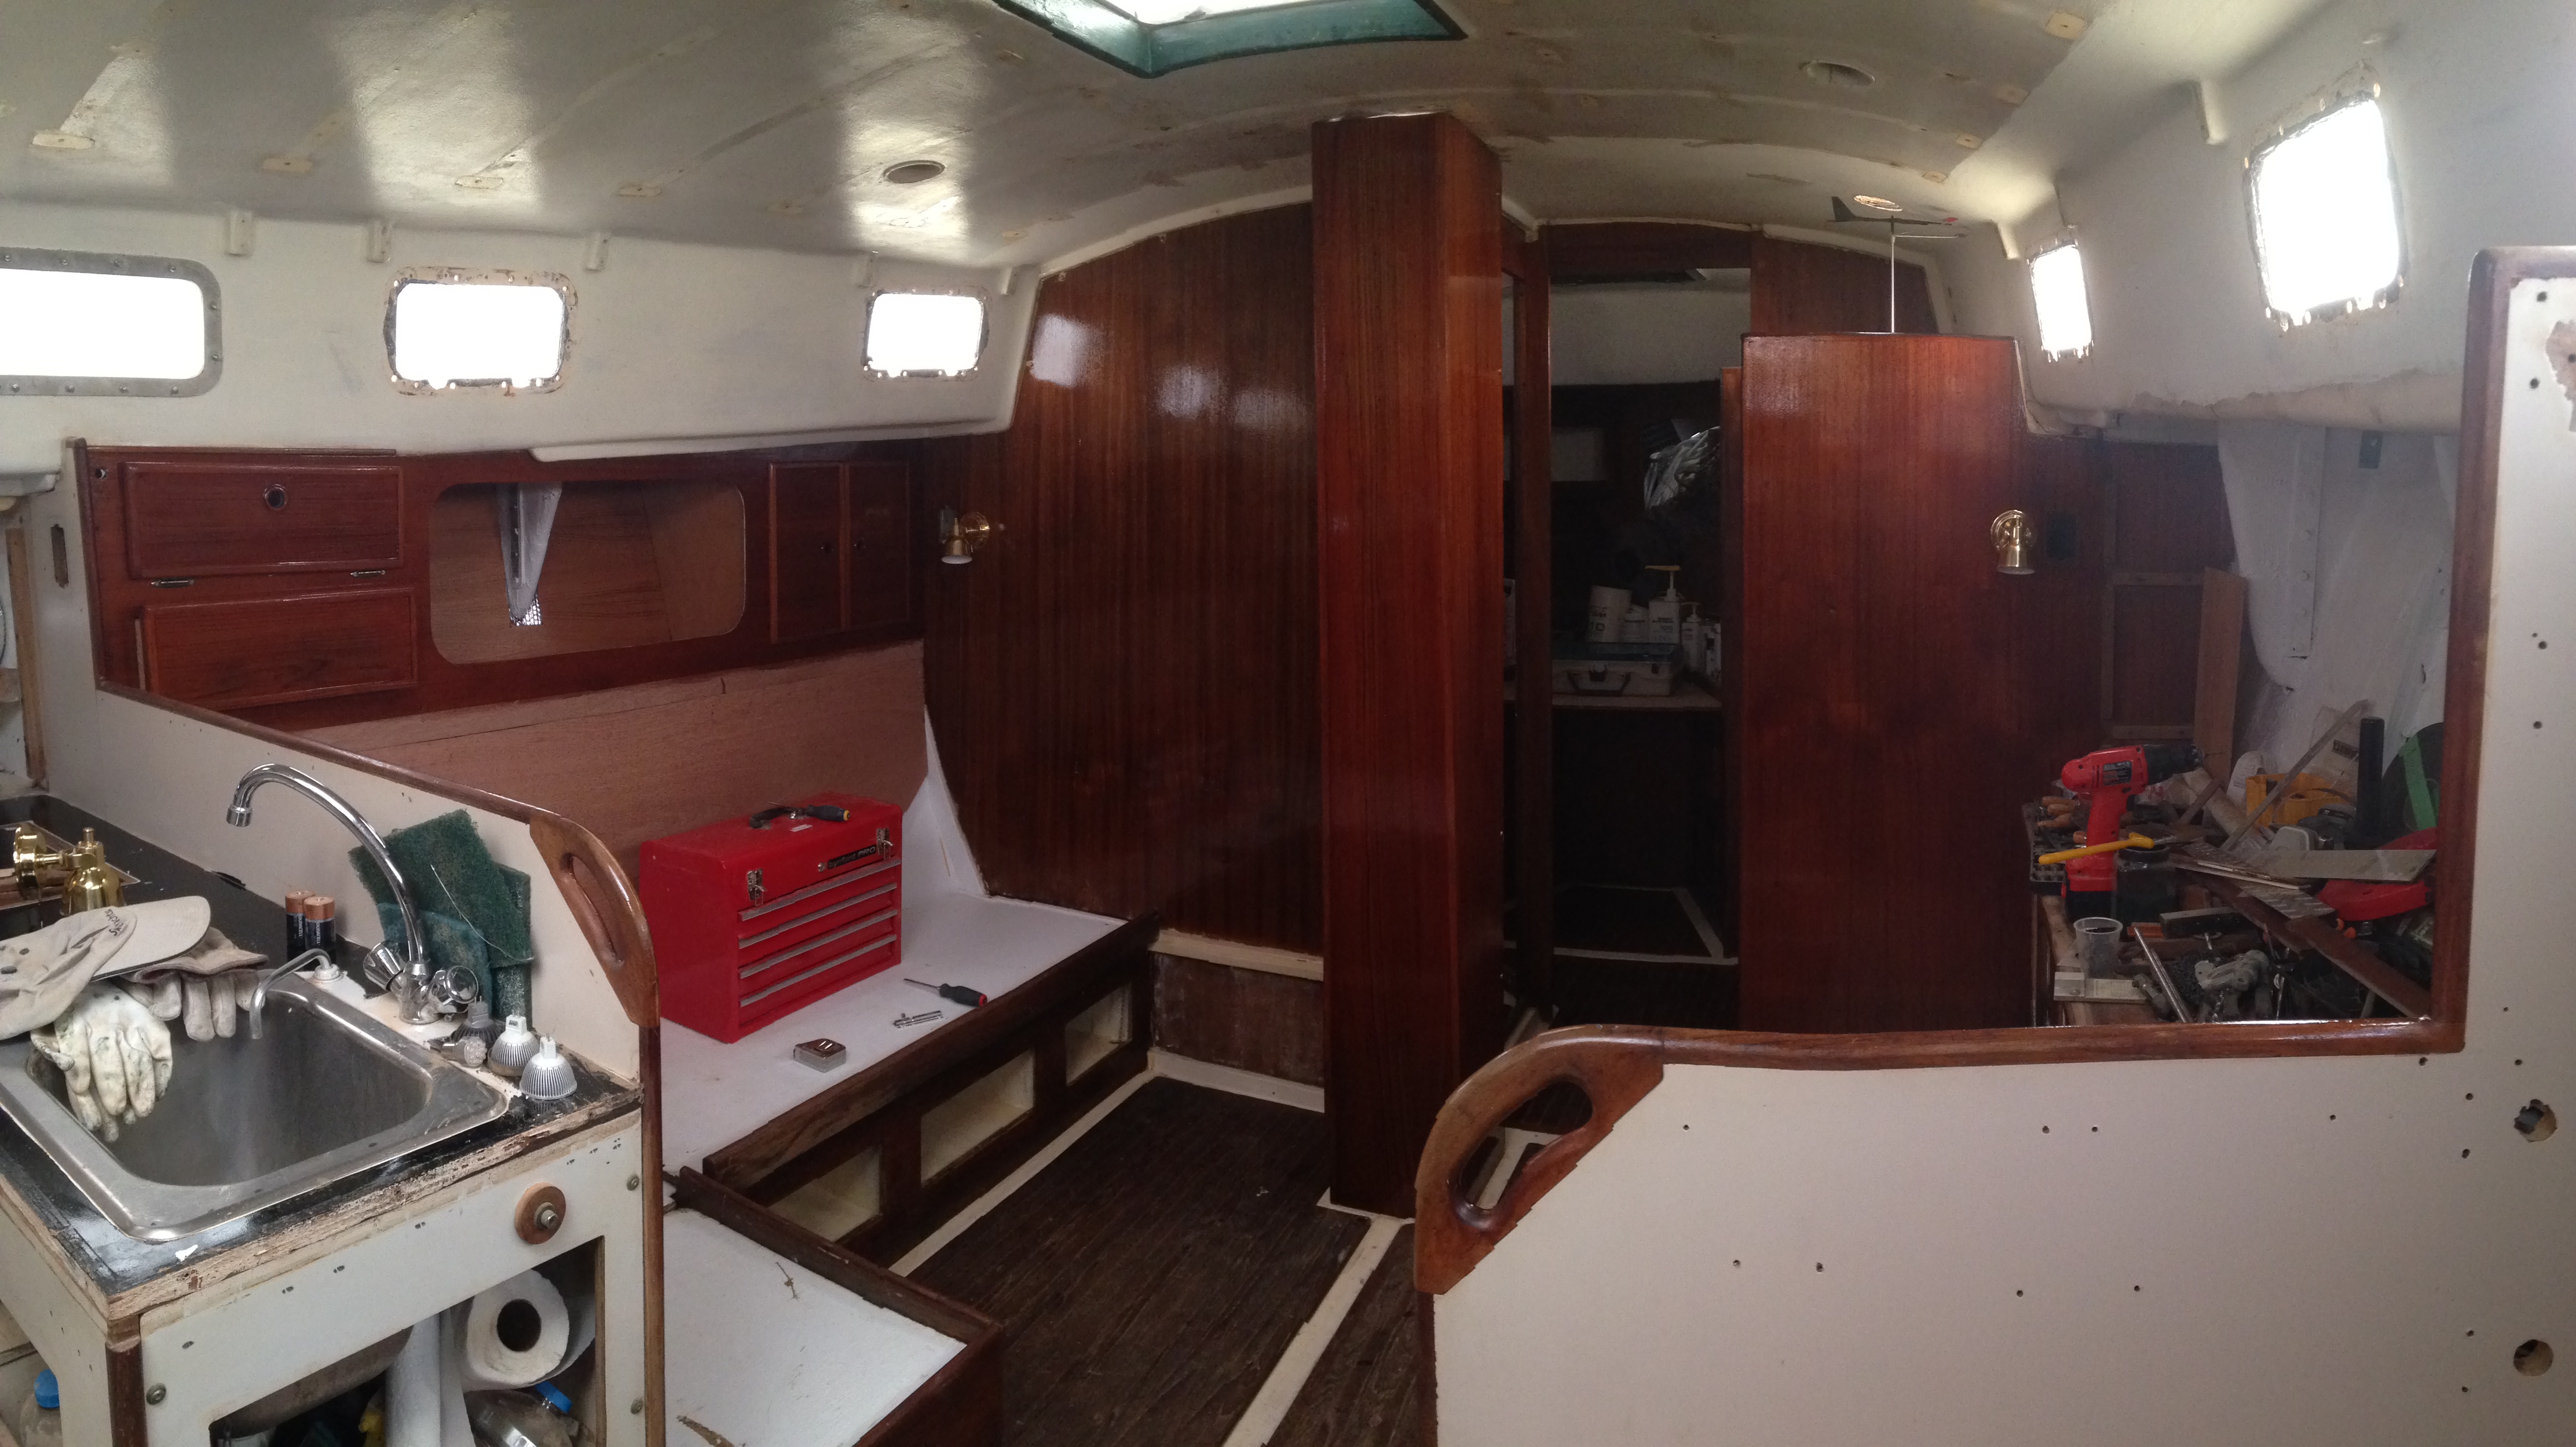
Little by little we are reassembling Akupara’s interior and at the same time emptying out our basement. We are down to one more load of wood to bring back and it is all fiddly bits. There is still a plethora of drawers and things to sand on Akupara but the Admiral is getting a lot closer to having it all completed.
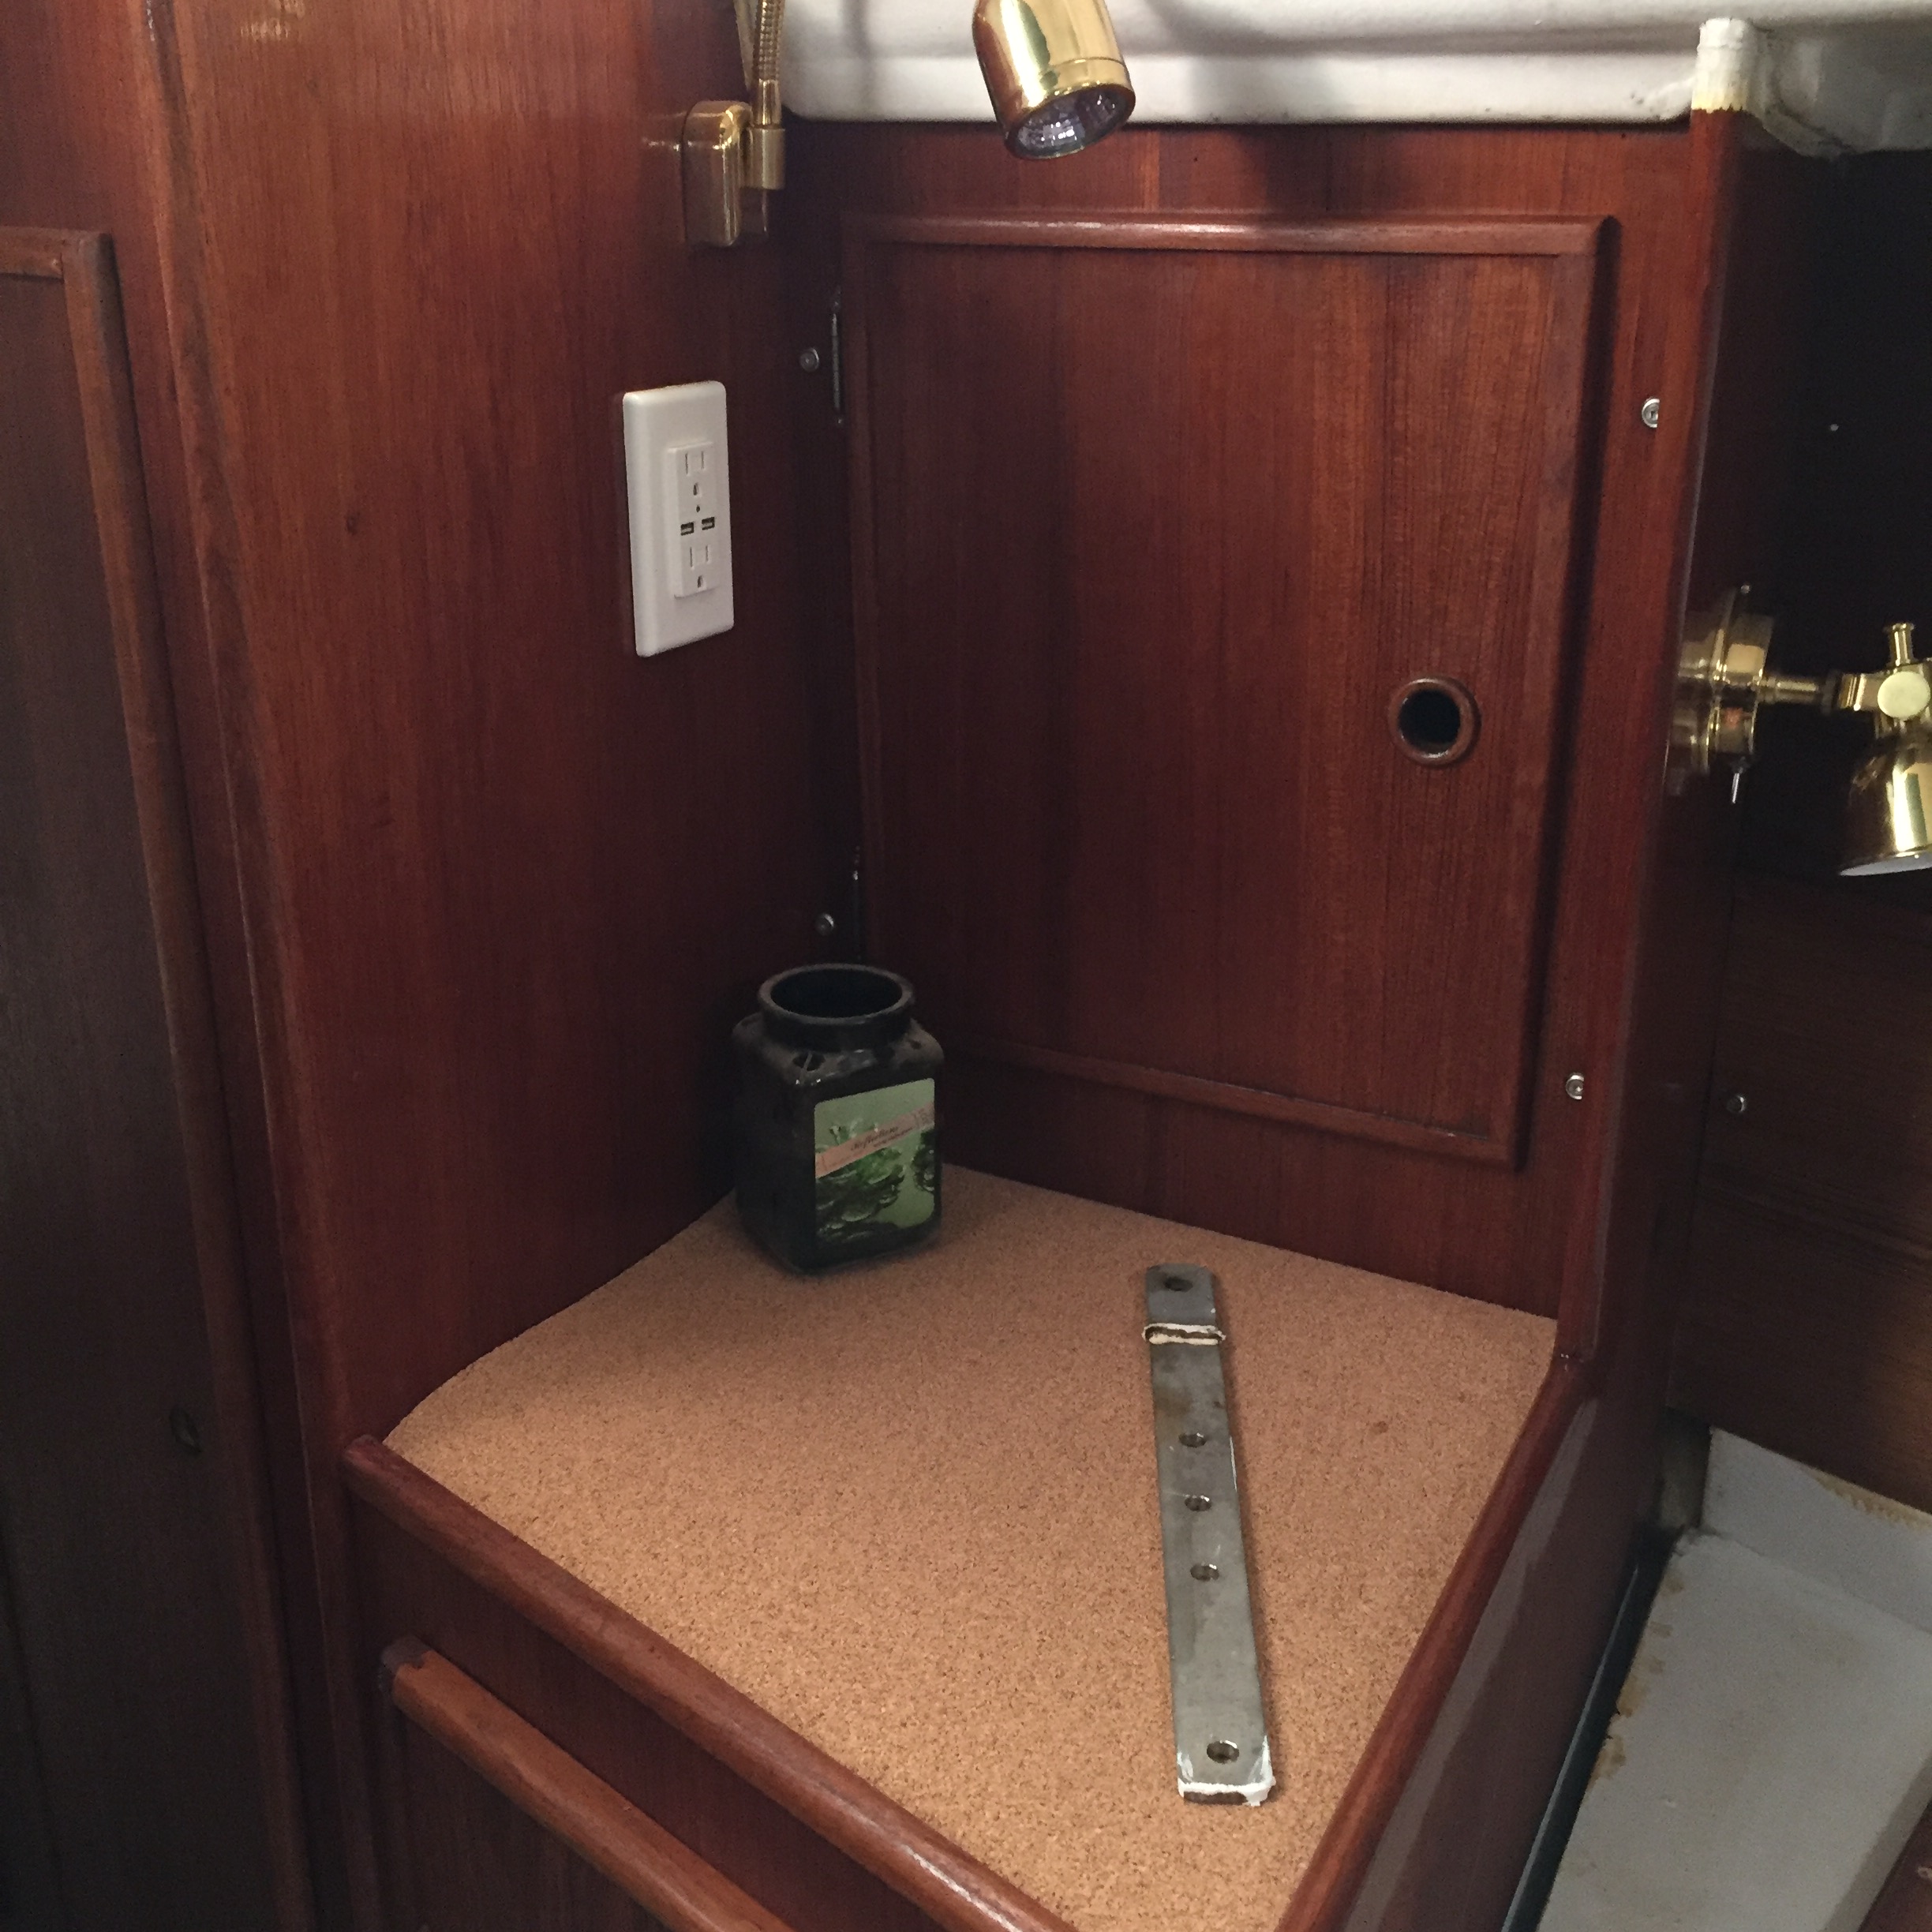
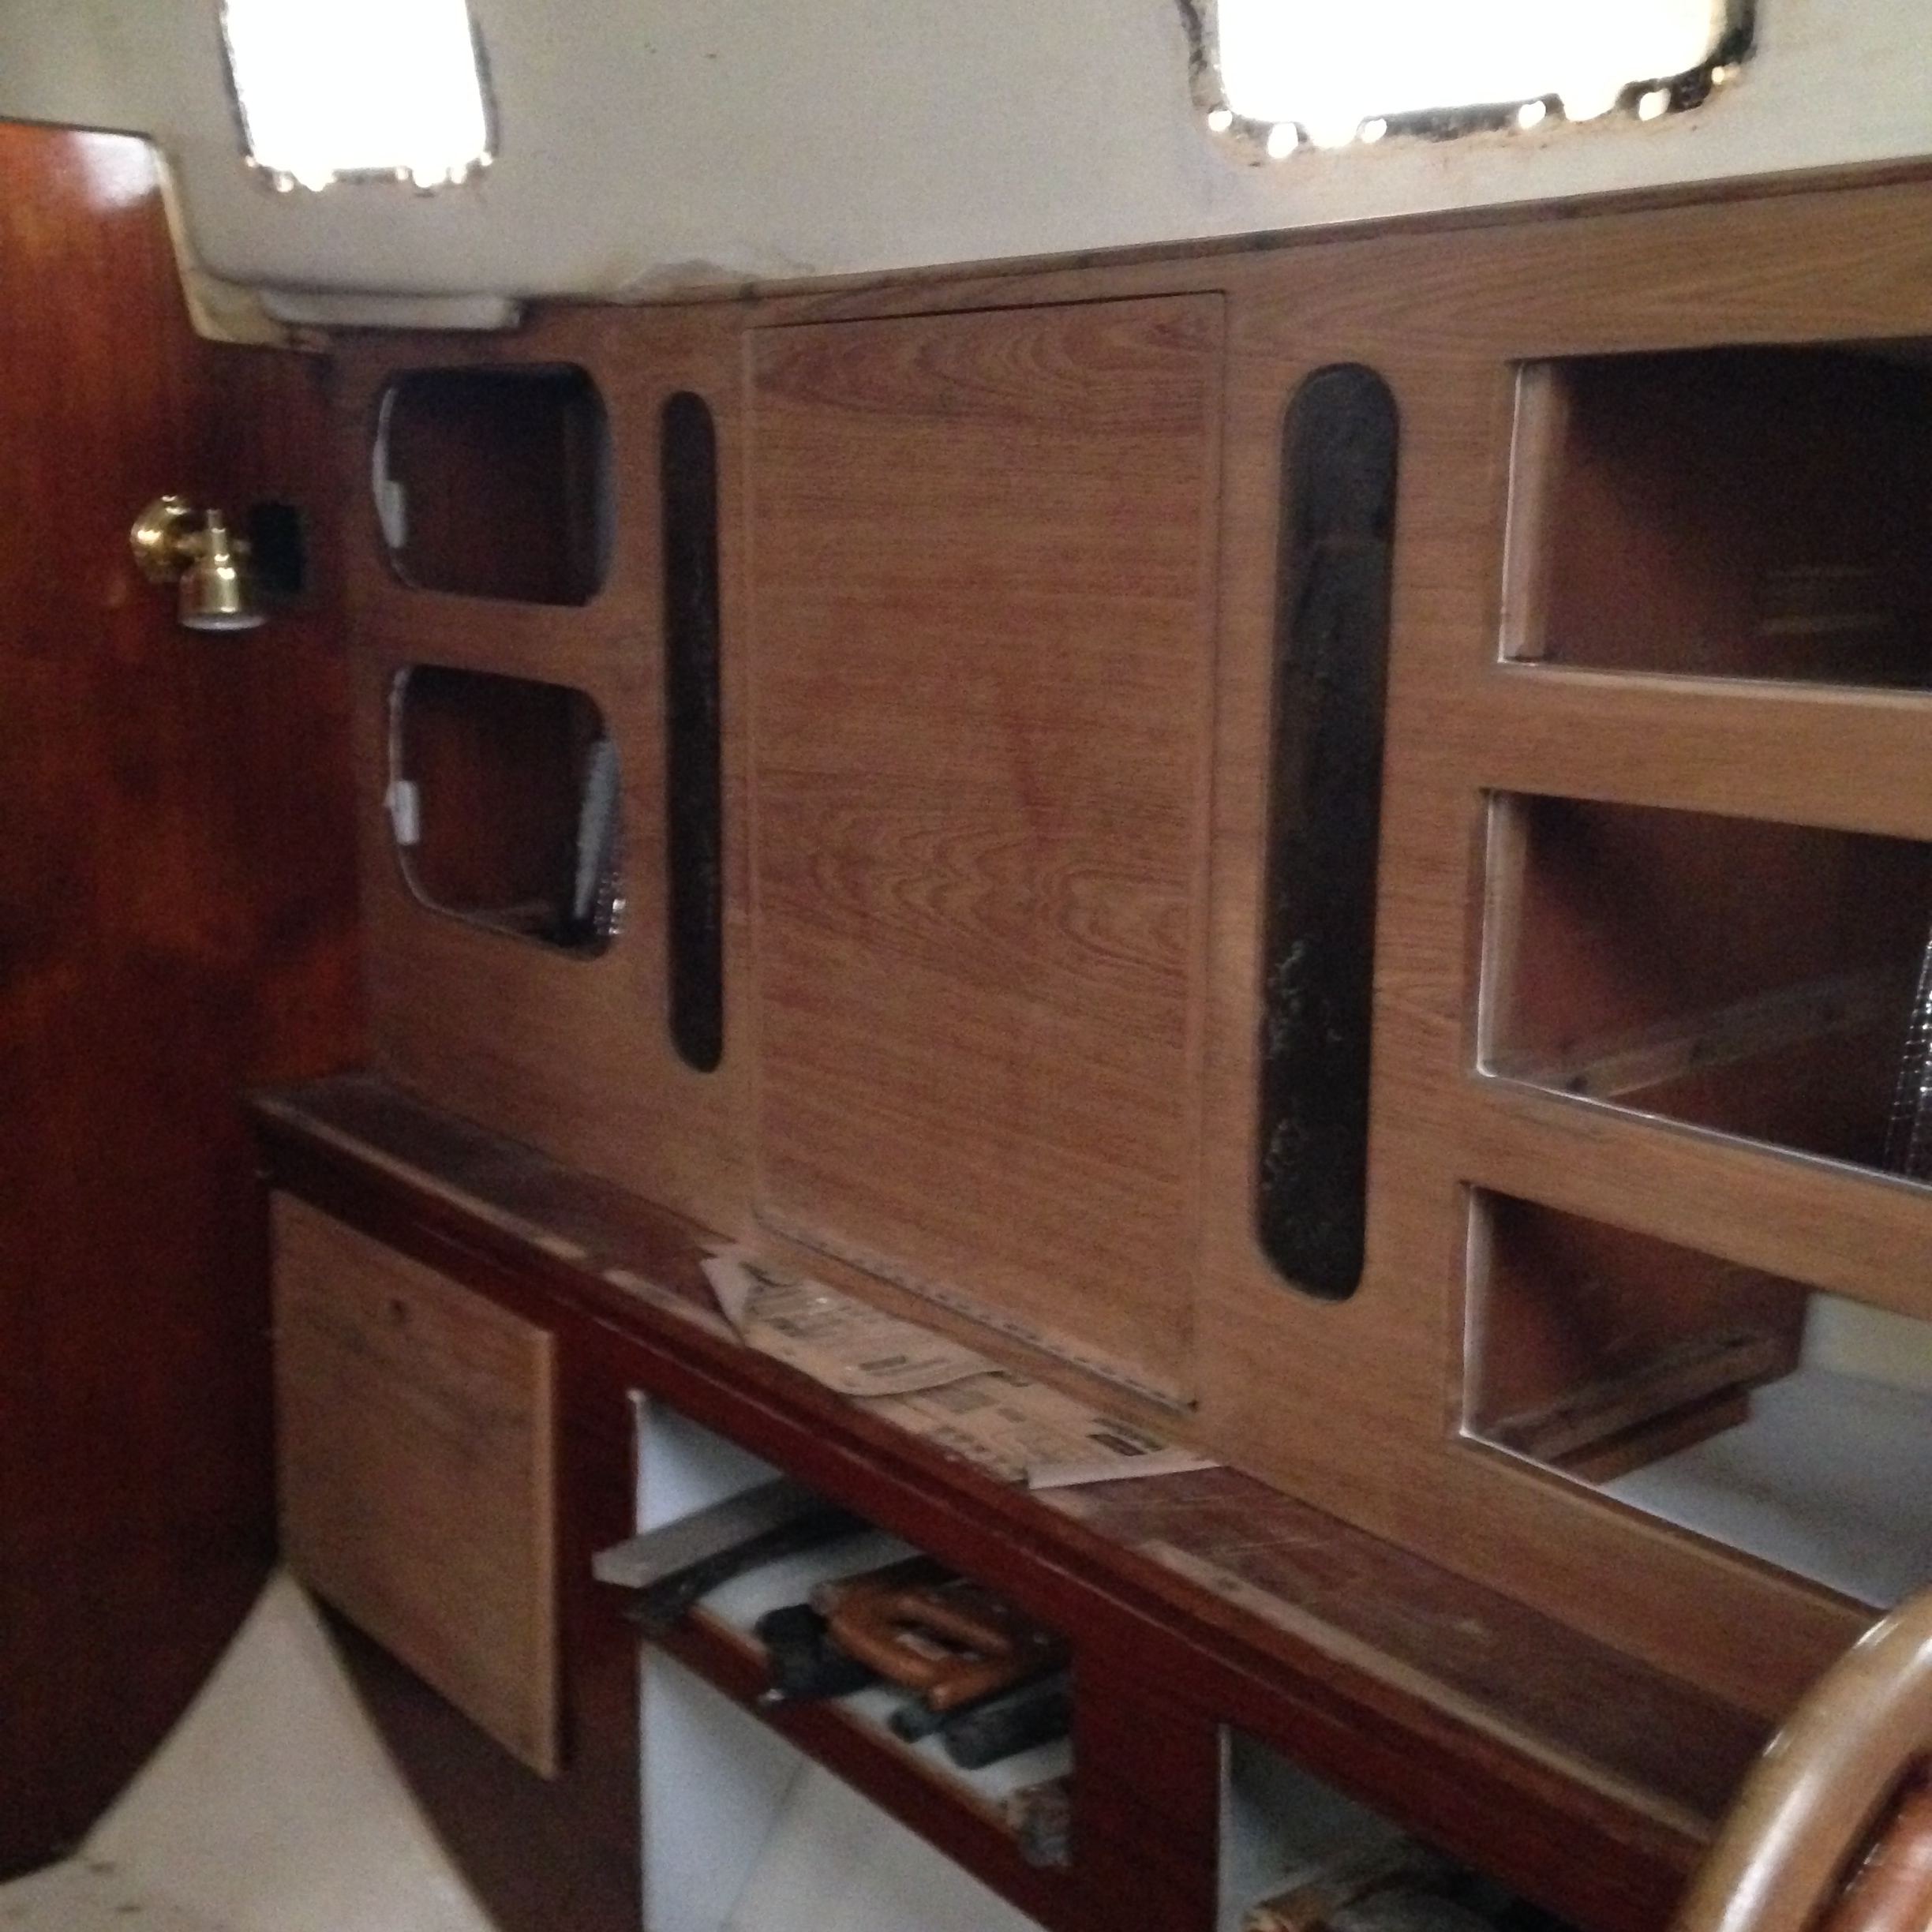
We have one more wooden area inside Akupara to sand and refinish and that is underneath the main salon companionway ladder, the back of the nav station and the little bit of wood in the hallway.
We are almost at the point of masking and taping it all off with dropsheets and giving the interior liner a rough sand before priming and painting it. Once that is complete we can complete all of the interior trim.
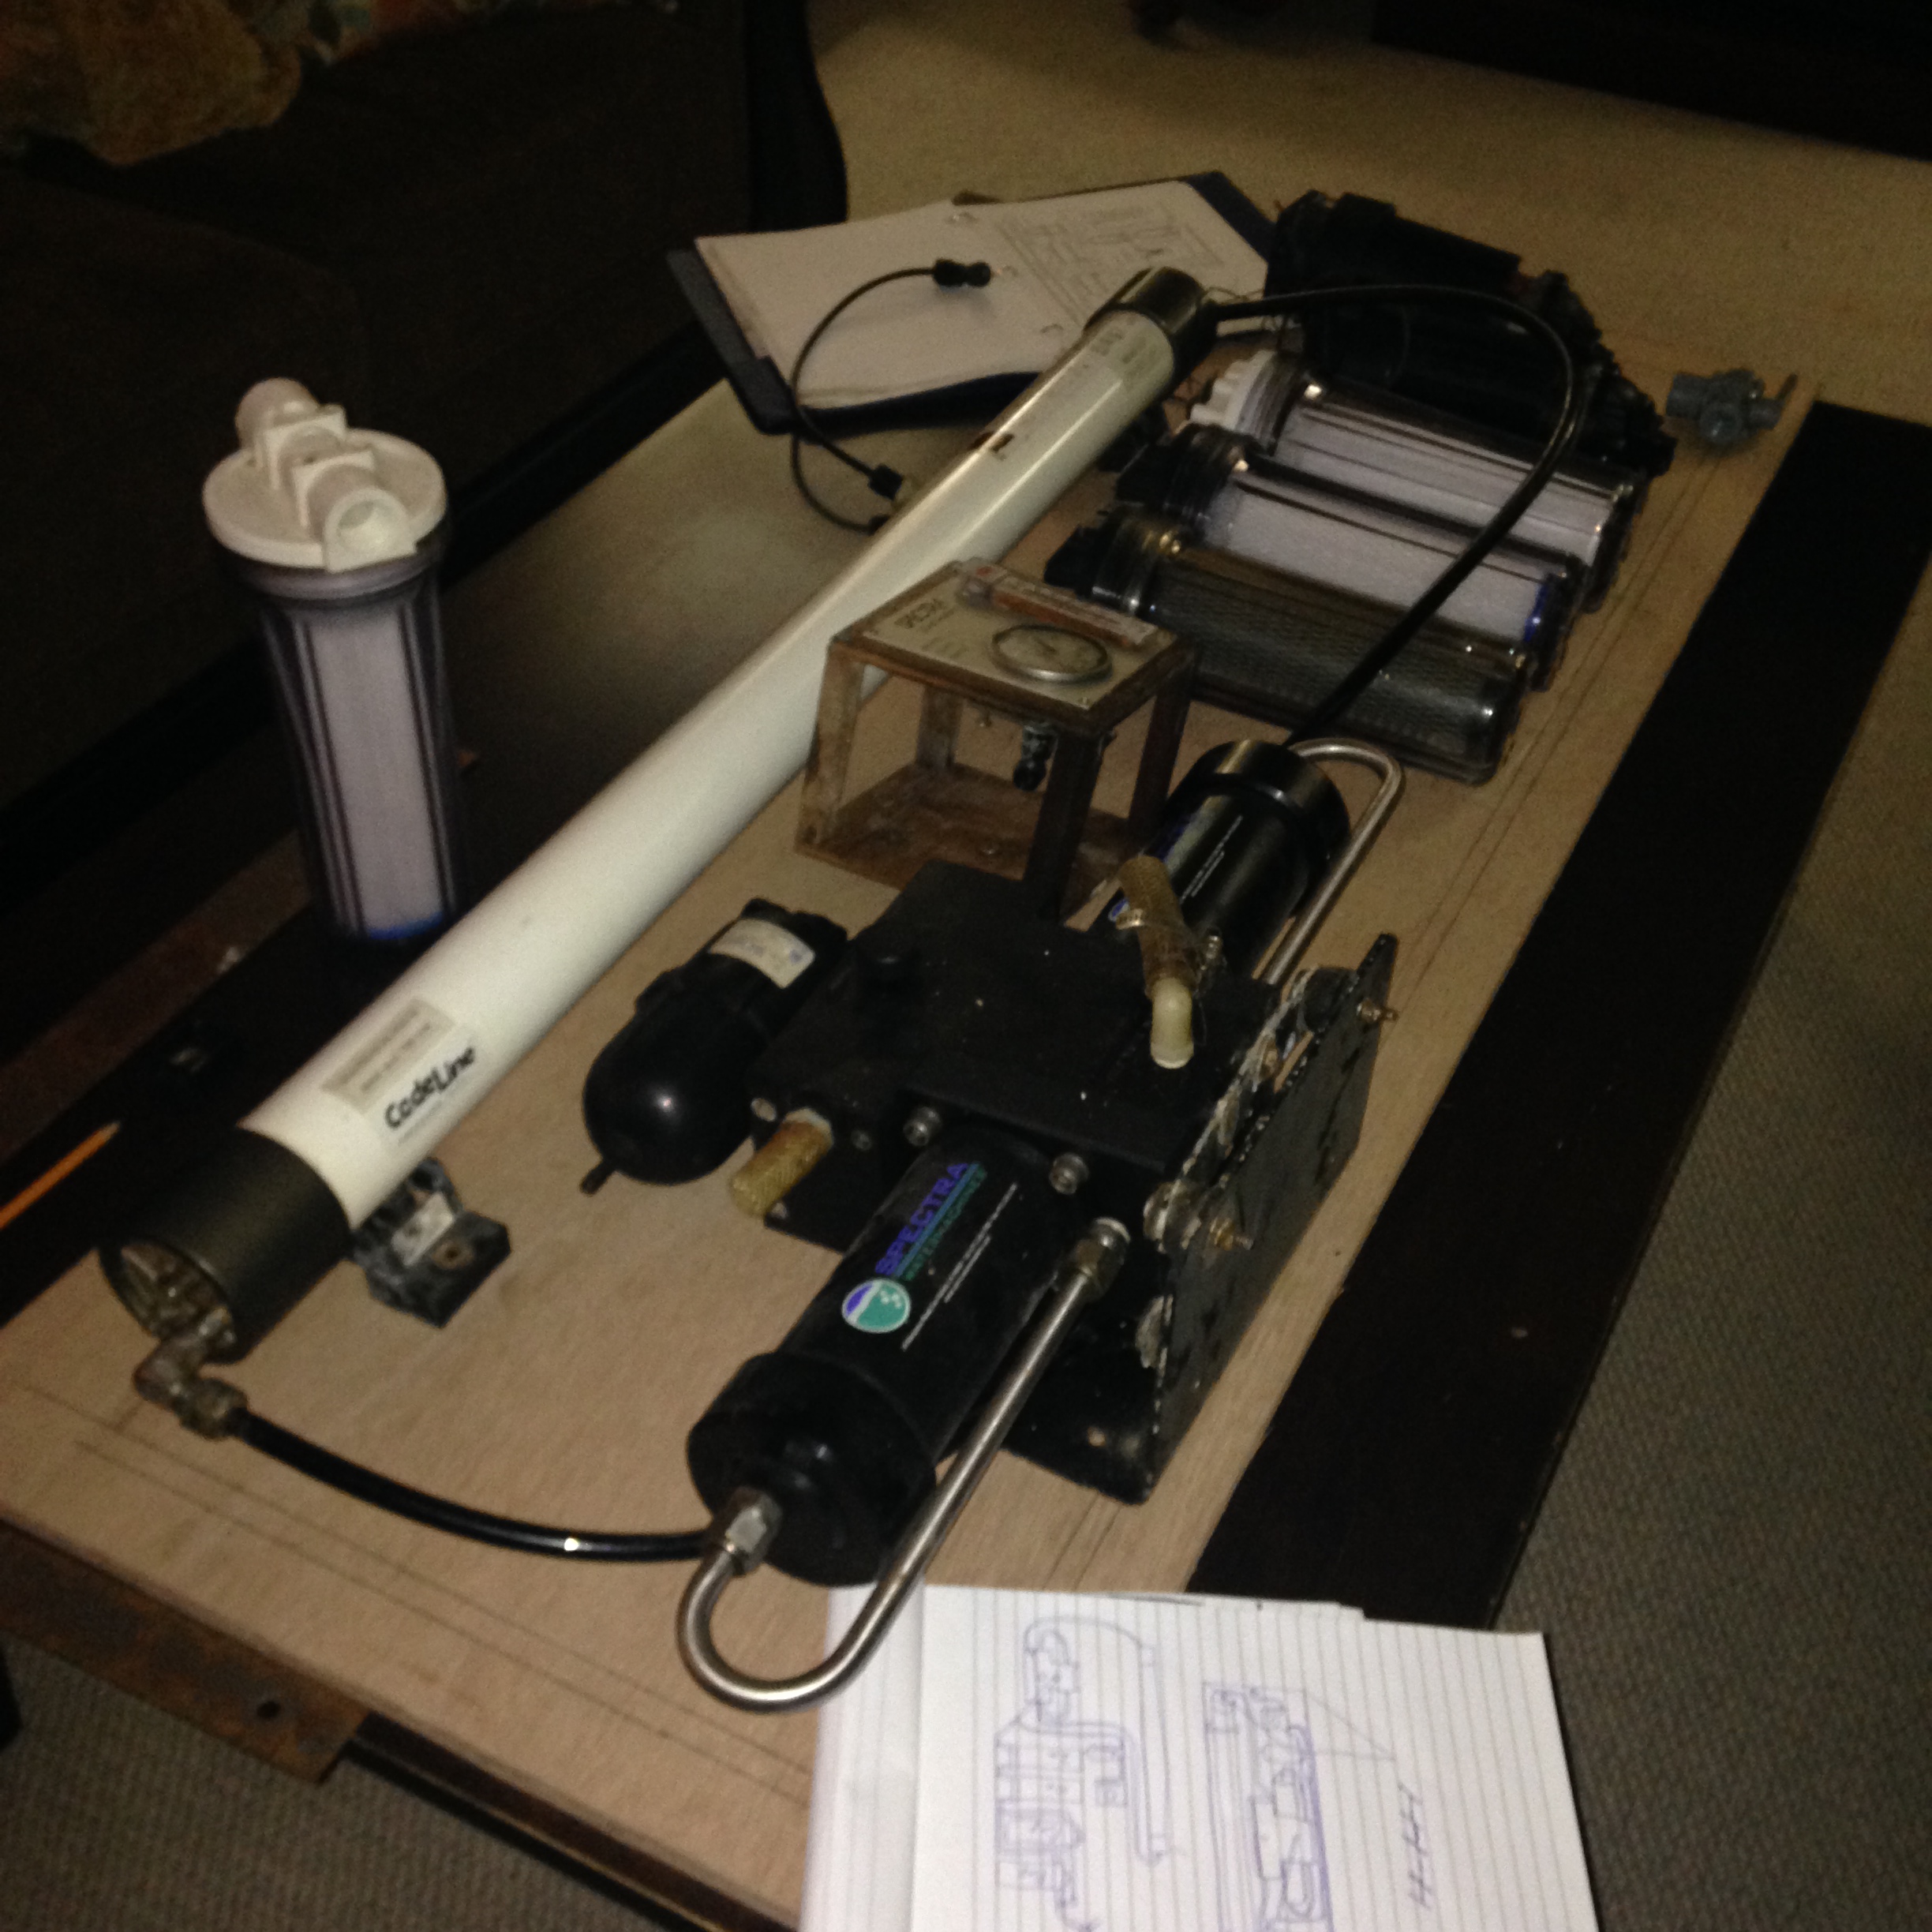
We have cut the insulation for behind the watermaker, made a new top and hatches out of 3/4 marine ply and dry fit everything.
The new home for the watermaker
We have also sanded and hung the dishrack/bookshelf in the main salon. Currently it is held on with little wee angle brackets which was how we originally found it. I will definitely be beefing this up for sure. I do not want a cabinet full of fine china to come crashing down 😉
The dishrack
We have also temporarily reinstalled the last big panel. I had to do a little bit of epoxy repair work where the fold down bar hinge attaches so the admiral will have a little more sanding before we can permanently install it. As well, I need to buy yet another sheet of teak plywood for the back of the cabinet and then build in the shelves again.
The bar will soon be open
I am still working on the exact layout of the watermaker and the grumblings around the house are indicating to me that I should probably hurry up a bit. Apparently having a watermaker on the coffee table is not a good thing. I don’t really understand this because it gives me great pleasure to have it there. I can rearrange, and tweak the placement, and visually plan out the routes for the hoses and all the while I am getting more and more familiar with each piece and how the entire magic little system works and I marvel at how ingenious it is and I think about how the sailors of old would drink stagnant water from old barrels for months on end and what they would have given to have one of these little miracles, okay I get it, I will hurry up.
Spectra Watermaker layout
I think very soon we will be starting work on the galley and the heads or another way to look at it, we are down to 4 rooms left to complete. Galley, 2 heads, and last but not least, the engine room. Of course I am skipping all of the little details like electrical and plumbing, and rigging, and ok are we ever going to be done? 😉
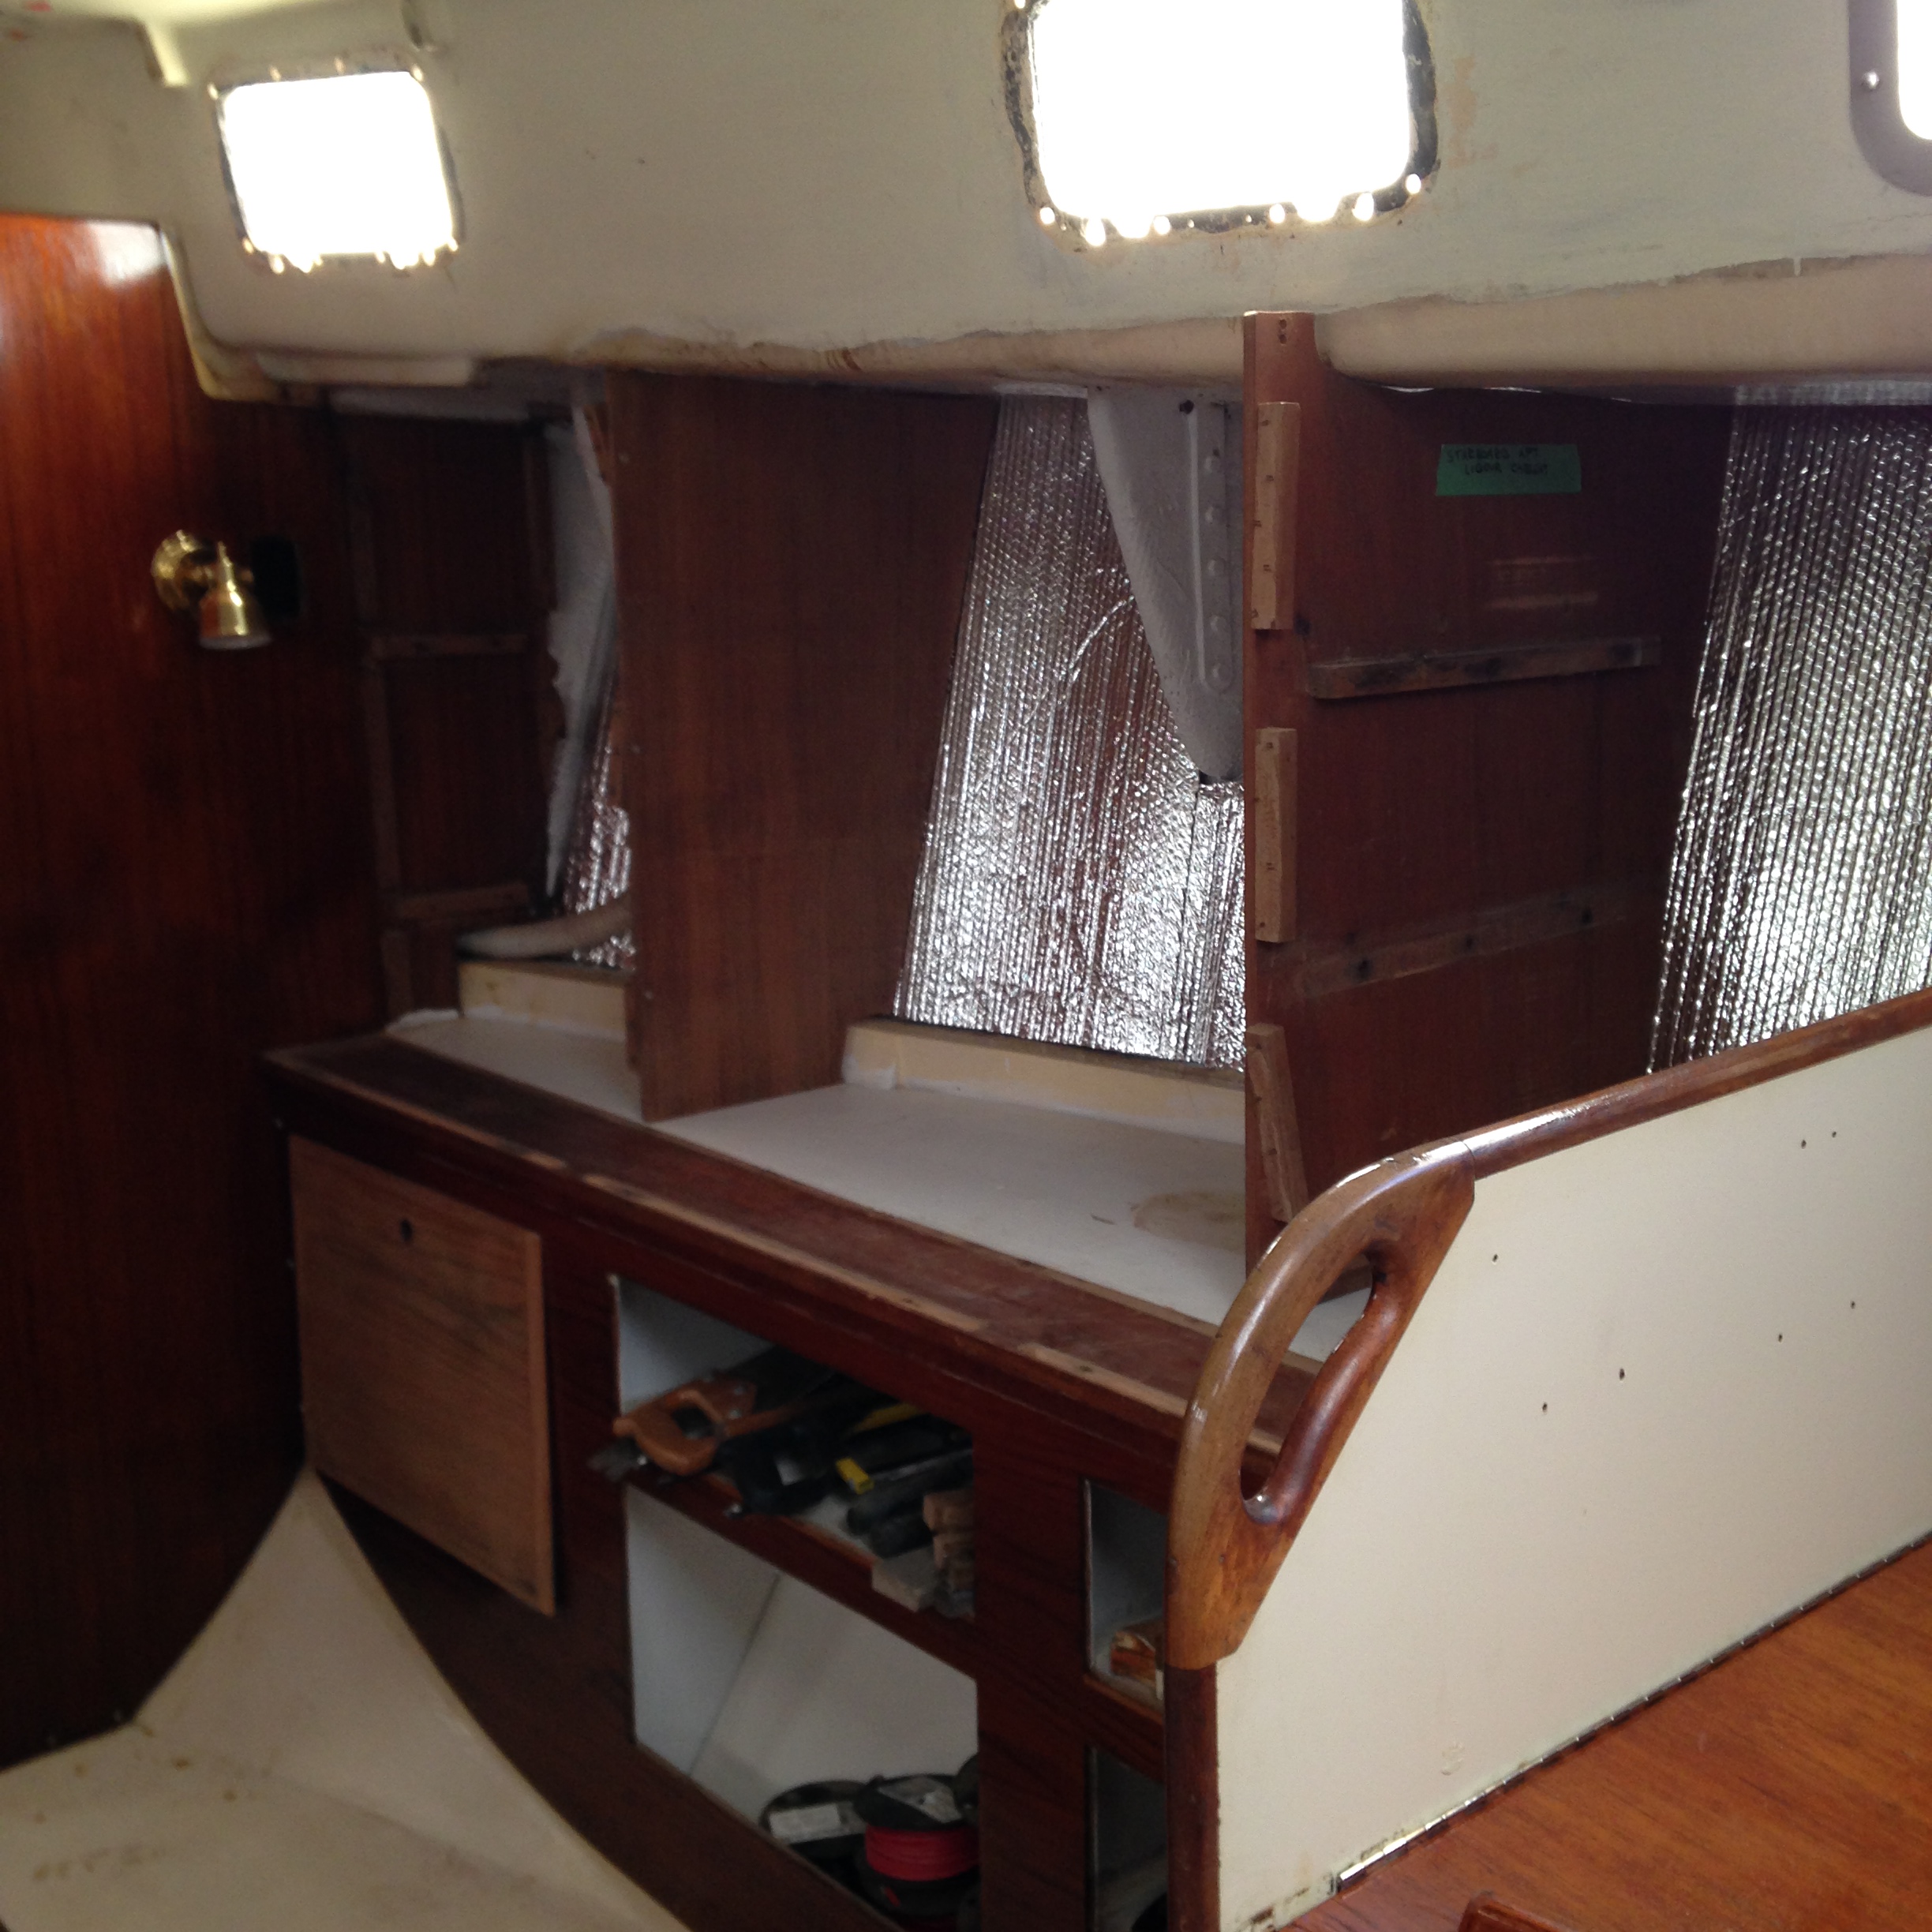
Well after hitting the lumber store and buying 2 more sheets of marine ply, 1 – 1/2′ and 1 – 3/4″ we made our way down to Akupara. The Admiral spent the day sanding and I did a bit of reorganizing, cut the insulation for the starboard wall, began to reinstall the starboard cupboards and as the Admiral finished the last major panel, we went ahead and installed it temporarily. It needs to come back out in order to finish the shelving and the back panel but it was a feeling of accomplishment to at least get it in for now.
We have lined up our work for this weekend. The Admiral will continue to sand, for some strange reason she likes it, so I will not complain, and I will resume cutting the new shelving and installing everything. Hopefully we will be able to get a couple of coats of cetol on as well.
Starting to think about what I will tackle next as the Admiral continues to sand, I have lots to choose from of course but as I mentioned, I think it will be the installation of the watermaker. 🙂
Starboard main salon insulationStarboard main salon cabinet
Today was a weird day. I have been sick for a couple of days with the flu so I was not up to a full blown work day but we still have lots to get completed so off we went. We decided that today would be a cleaning day. Andrea and Paige swept and vacuumed and washed as much of the dust away as possible and I applied a coat of Cetol Gloss to as much as possible. All in all it was a good day as we left with the feeling of having accomplished something and when we return, we will have a fairly clean boat to get all dirty again. 🙂
The two worst interior panels on all of Akupara were the two bottom ceilings in the aft cabin. They had suffered the most damage and unfortunately would not be salvageable so yesterday we set about replacing them.
In Vancouver it is pretty much impossible to find real Teak Marine plywood. Perhaps this is the case everywhere and I just do not realize it but either way it is fairly frustrating. So I broke down and purchased Teak plywood that is not marine grade and hopefully if we take the proper precautions it will last. Obviously we are planning on removing ALL ,which we have almost completely finished, and that will help to preserve this plywood, but I will take it a step further and once the visible side has completely dried and is therefore protected, I will remove the panels and paint the backs with epoxy. So why did I purchase the non marine teak ply? Simple, to make it look as close as possible like the originals.
The teak veneer is so thin that there is no way it can ever be sanded, but it turned out fairly close in looks to the aft bulkhead but not the cupboard face. In the previous picture you can see the silver foil bubblewrap that acts as both a moisture barrier and adds some insulation. It is cut to fit and installed behind the panels as well just like in the vberth.
We are getting closer. At least we feel like we are getting closer. Once we have all of the cupboard doors and the drawers sanded, stained and installed, we will have the woodwork for at least the vberth and the aft cabin complete. This is giving us a strong sense of accomplishment and although we still need to sand and paint all of the interior fiberglass on the ceiling which will be a big dirty job, we need to feel like we are getting somewhere and this is allowing for just that.
I am anxious to get started on the main cabin. It will be a slightly different approach as we are replacing the majority of the interior wood for the cabinets and shelving and hopefully it will go a bit faster. The original plywood that was used was 1/4 inch and over 40 years most of it has sagged and some of it has suffered water damage as well so it will simply be replaced. We kept all of the old pieces to use as templates so it is only a matter of tracing them on new plywood and cutting them out.
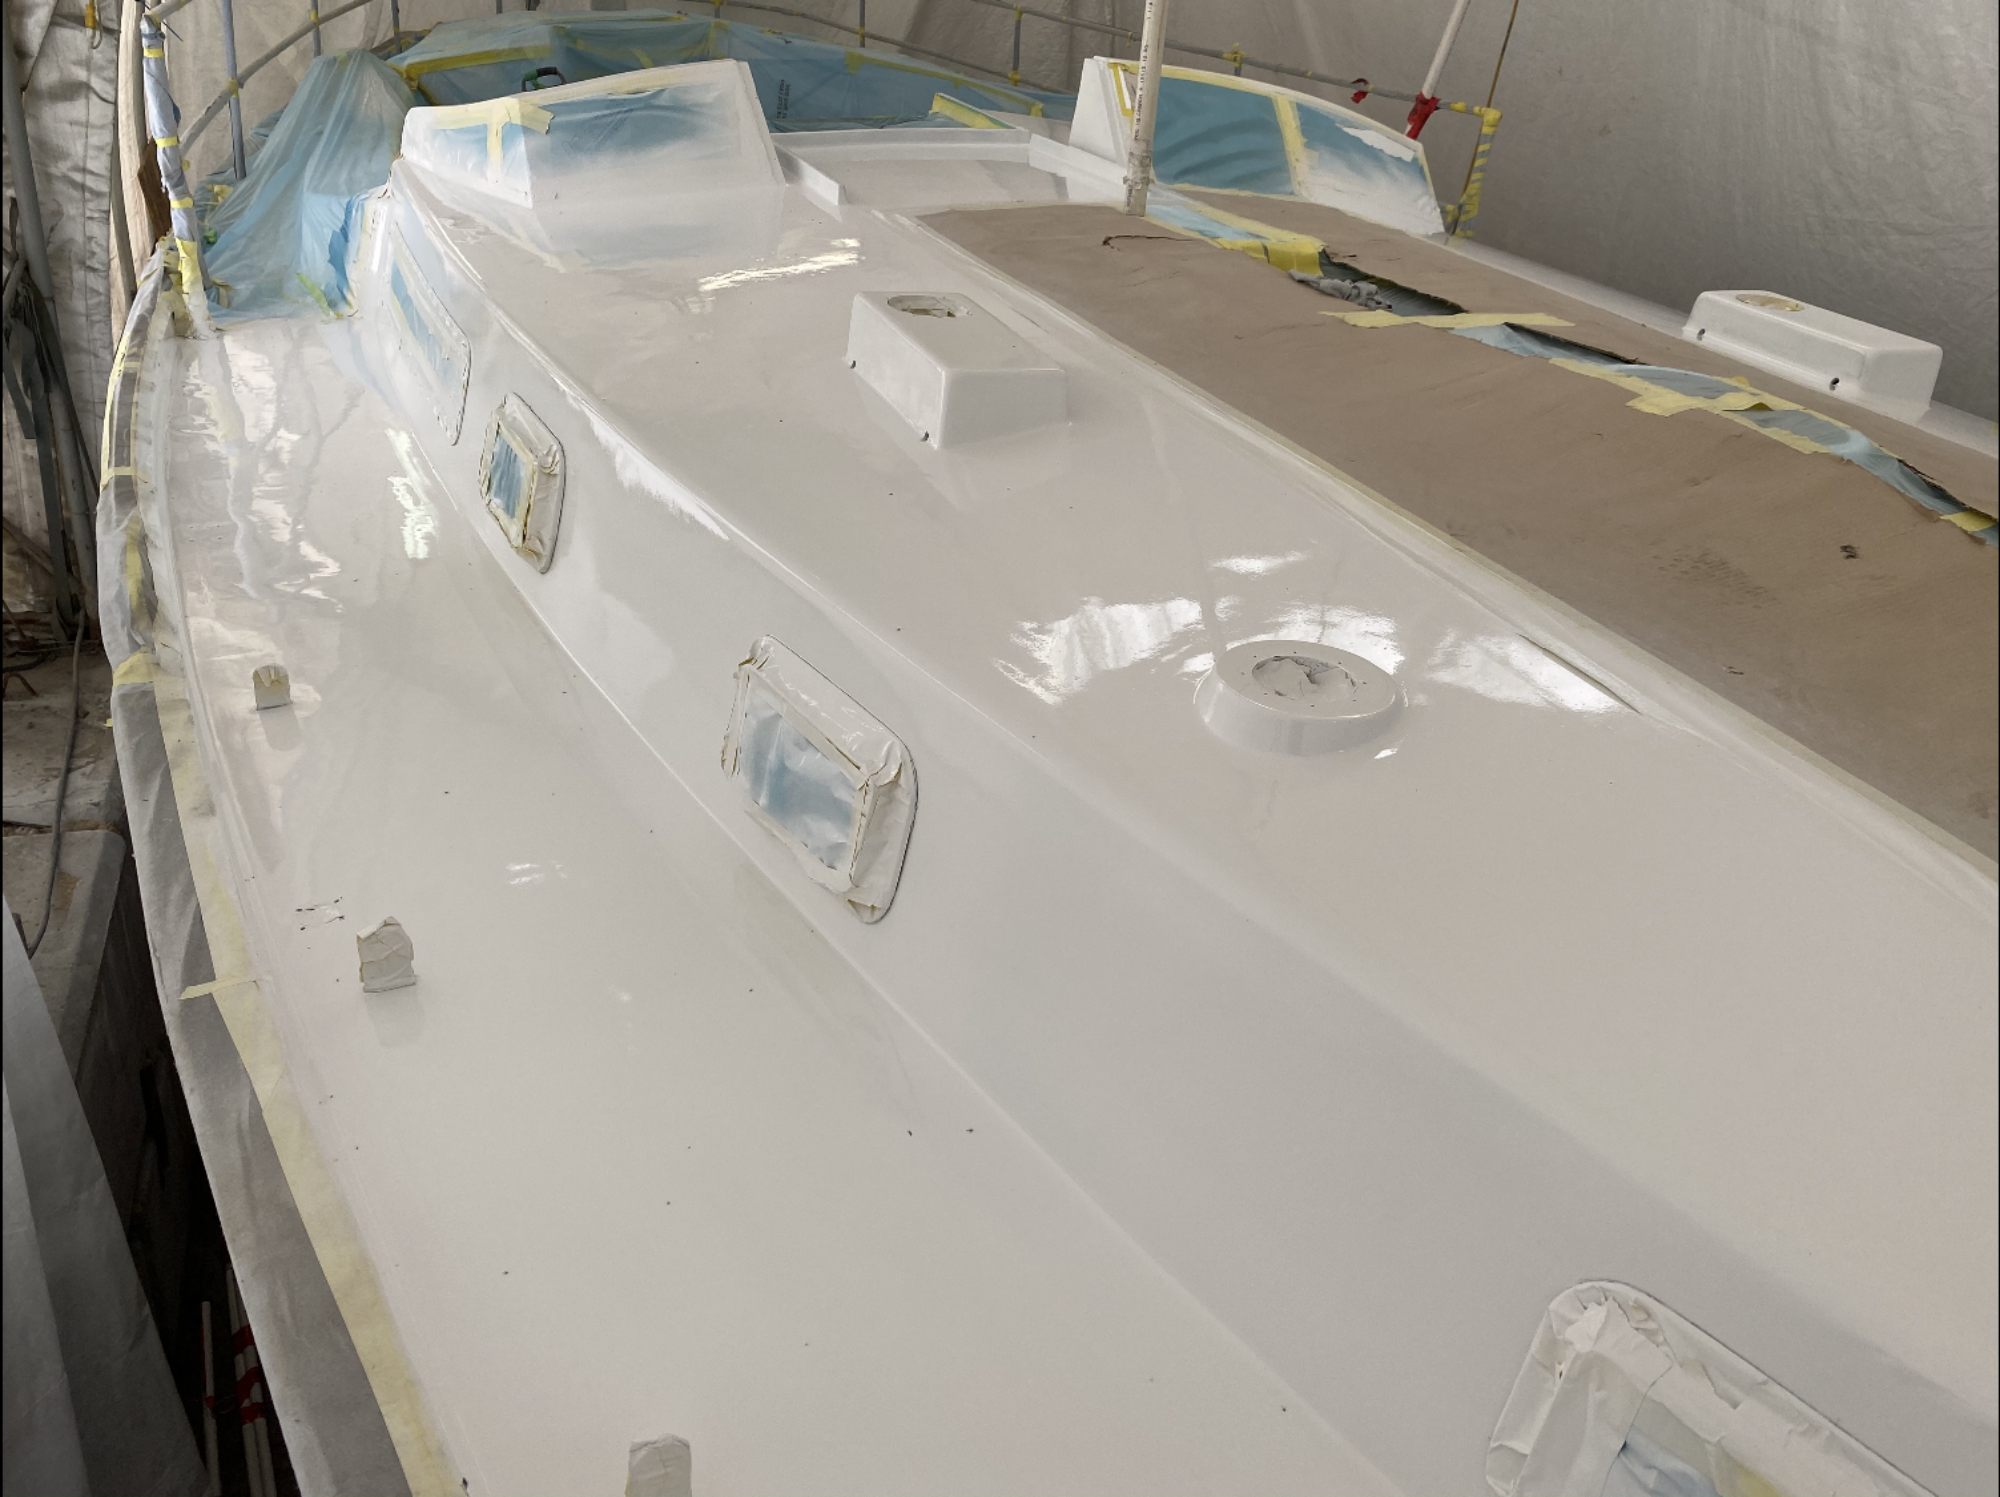
We still have a the giant job of sanding and painting the decks but we met a great young couple yesterday who just had the decks on their Bayfield 32′ sanded and painted. Wow what a nice job. It truly gave us inspiration to keep working. So I think the plan for now is to keep moving in the direction of completing the interior cabinetry, and making any repairs necessary on the inside as we go along. The electrical and plumbing can be added at any point so I am not all that concerned with that aspect. Once the interior is complete, and the weather cools off a bit, we will get back to re-finishing the decks. I do not want to have a beautiful new paintjob and then ruin it by dragging and moving all kinds of other parts all over it. This will also allow for the re-installation of deck fittings over the winter where we can take our time and make sure they are installed properly.
It is interesting that yesterday we loaded the truck at home and brought parts of Akupara back to Akupara as opposed to the other way around. I guess that means we are just past slack tide and the flow has begun to go in the other way!
It is a great feeling to be at this point and start seeing some results of all of our hard work. The process of gutting and cleaning was a long one and the biggest part is yet to come, the engine removal, but the tides have definitely turned!
Yesterday I put the finishing touches on the anchor locker by cutting the rubber mats I was talking about to fit and by installing the rode divider. I changed my mind about glassing the divider in as it would make any further work in there nearly impossible so I went with a gigantic screw to hold it in place. This means that when the time comes to wash out the locker, I can remove the divider and the mats and get it nice and clean!
The mats and divider are installed.Anchor locker 2
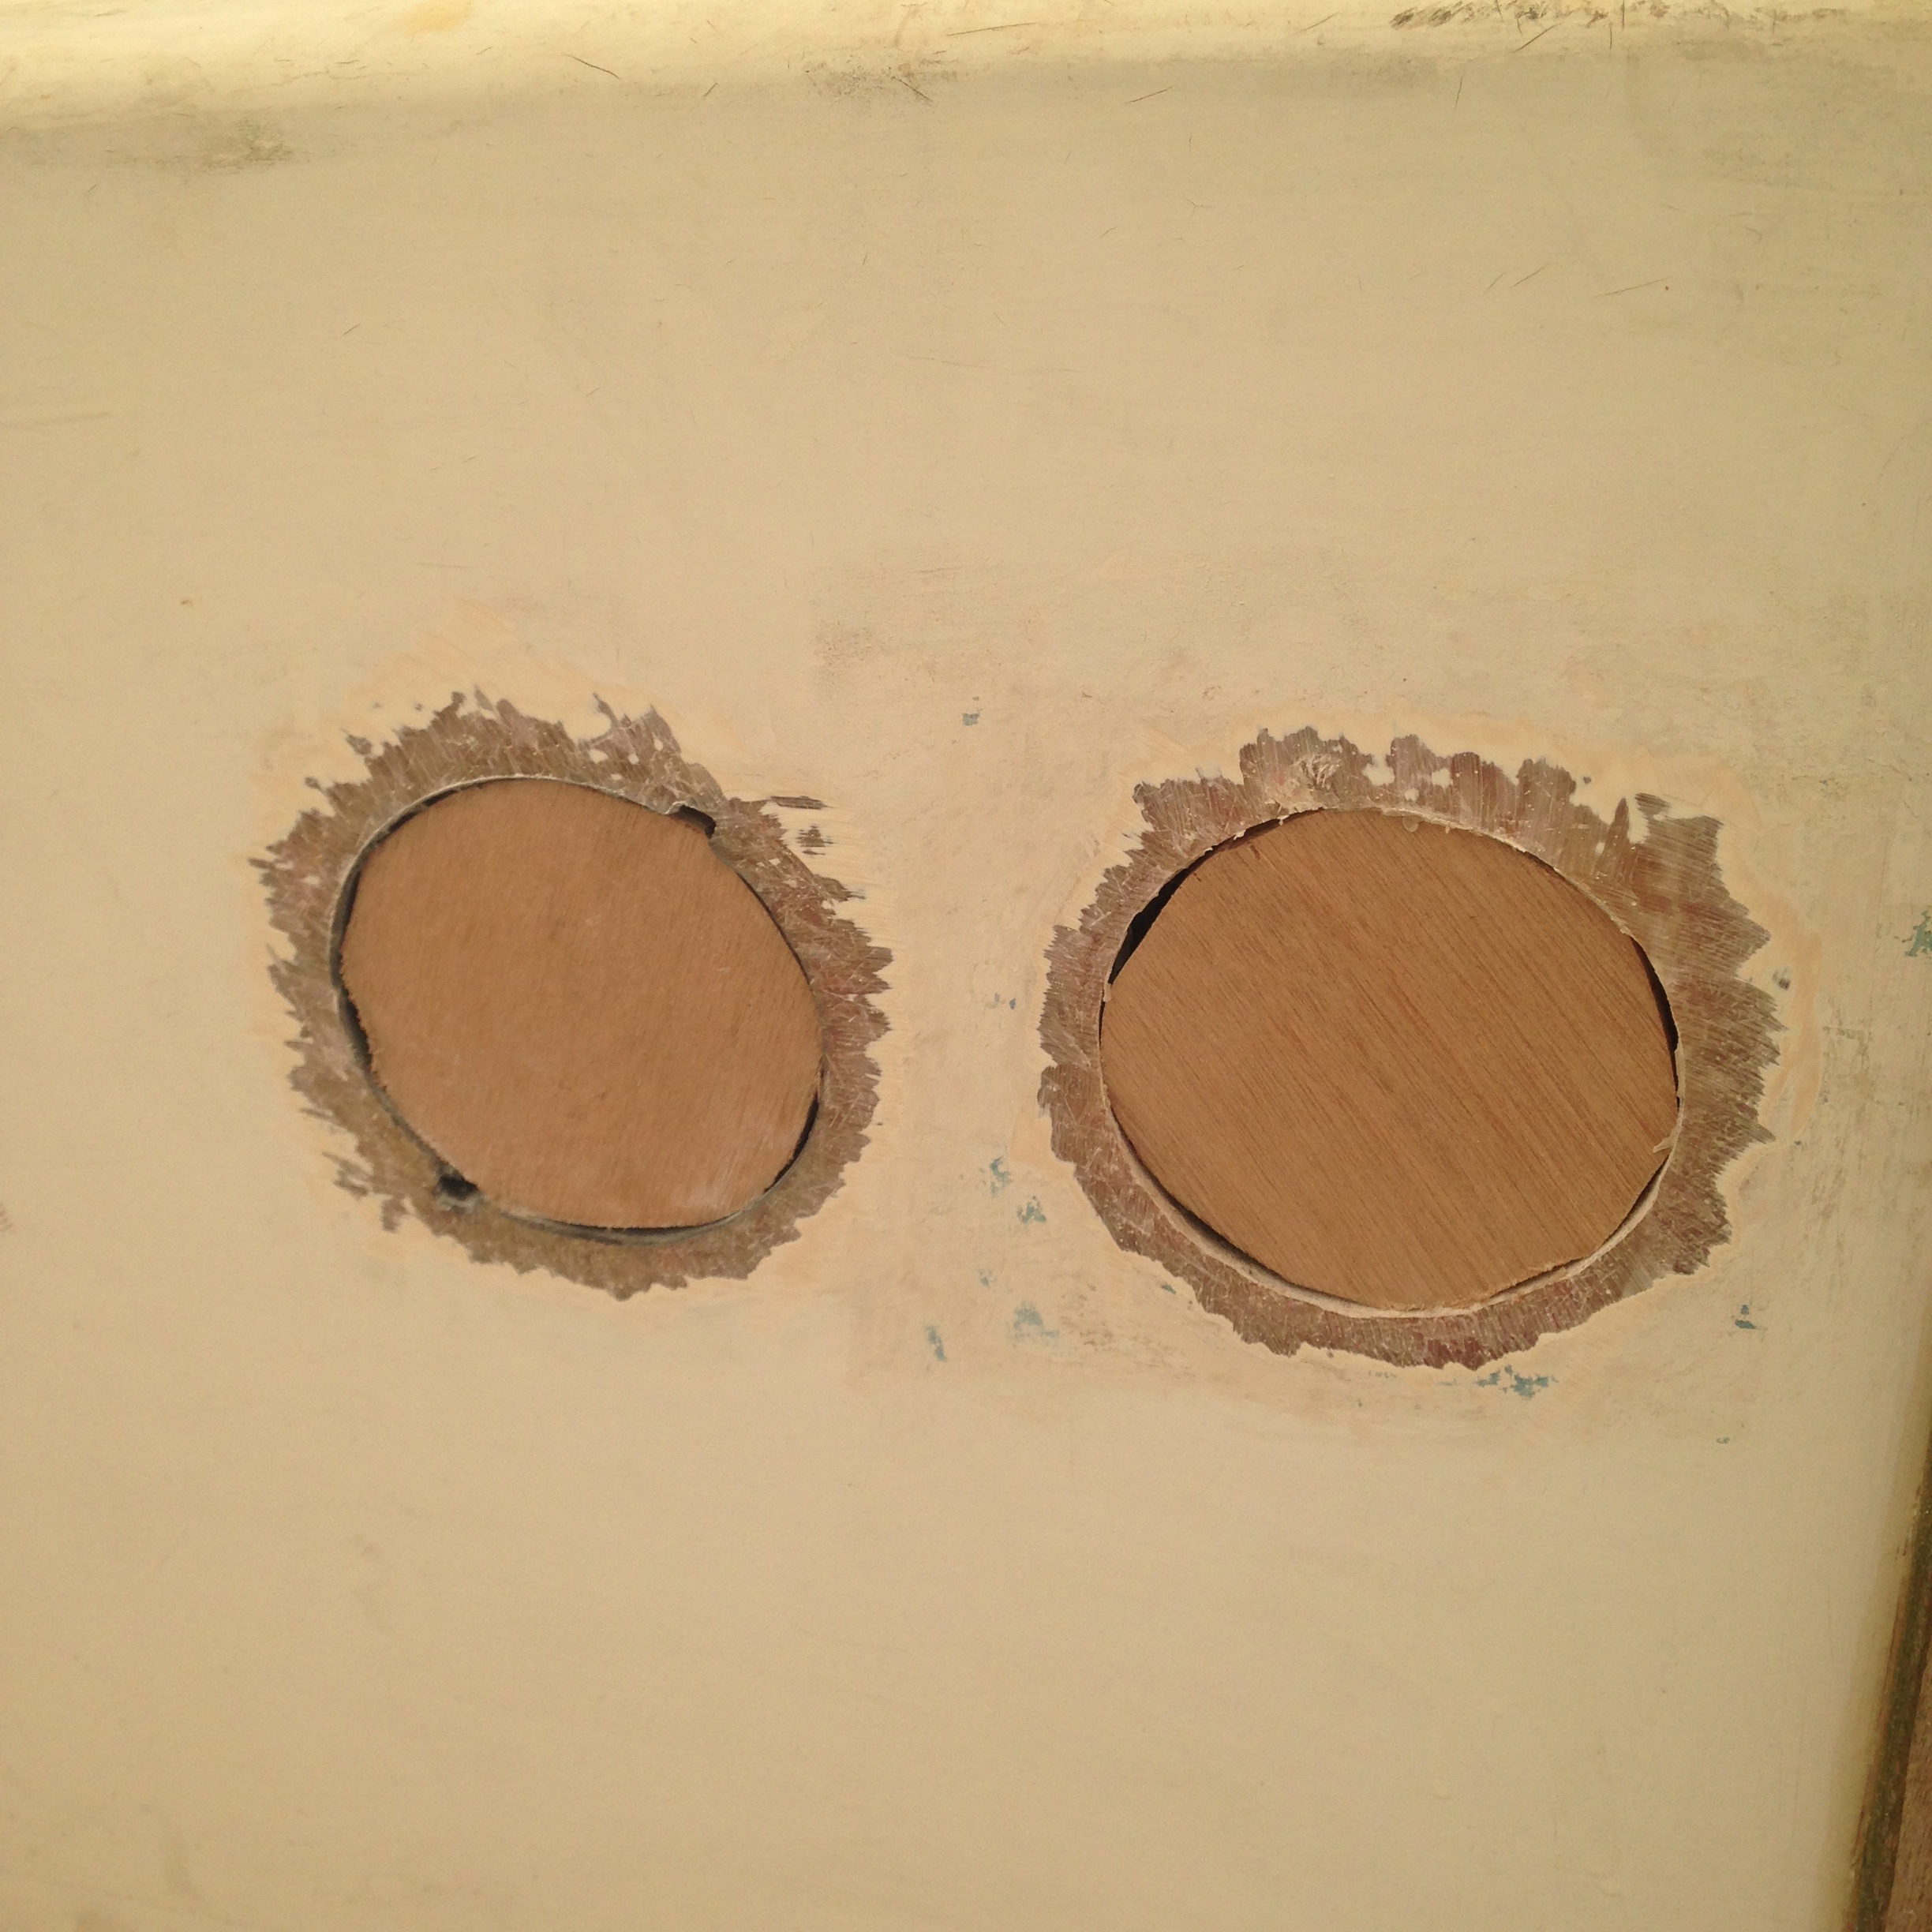
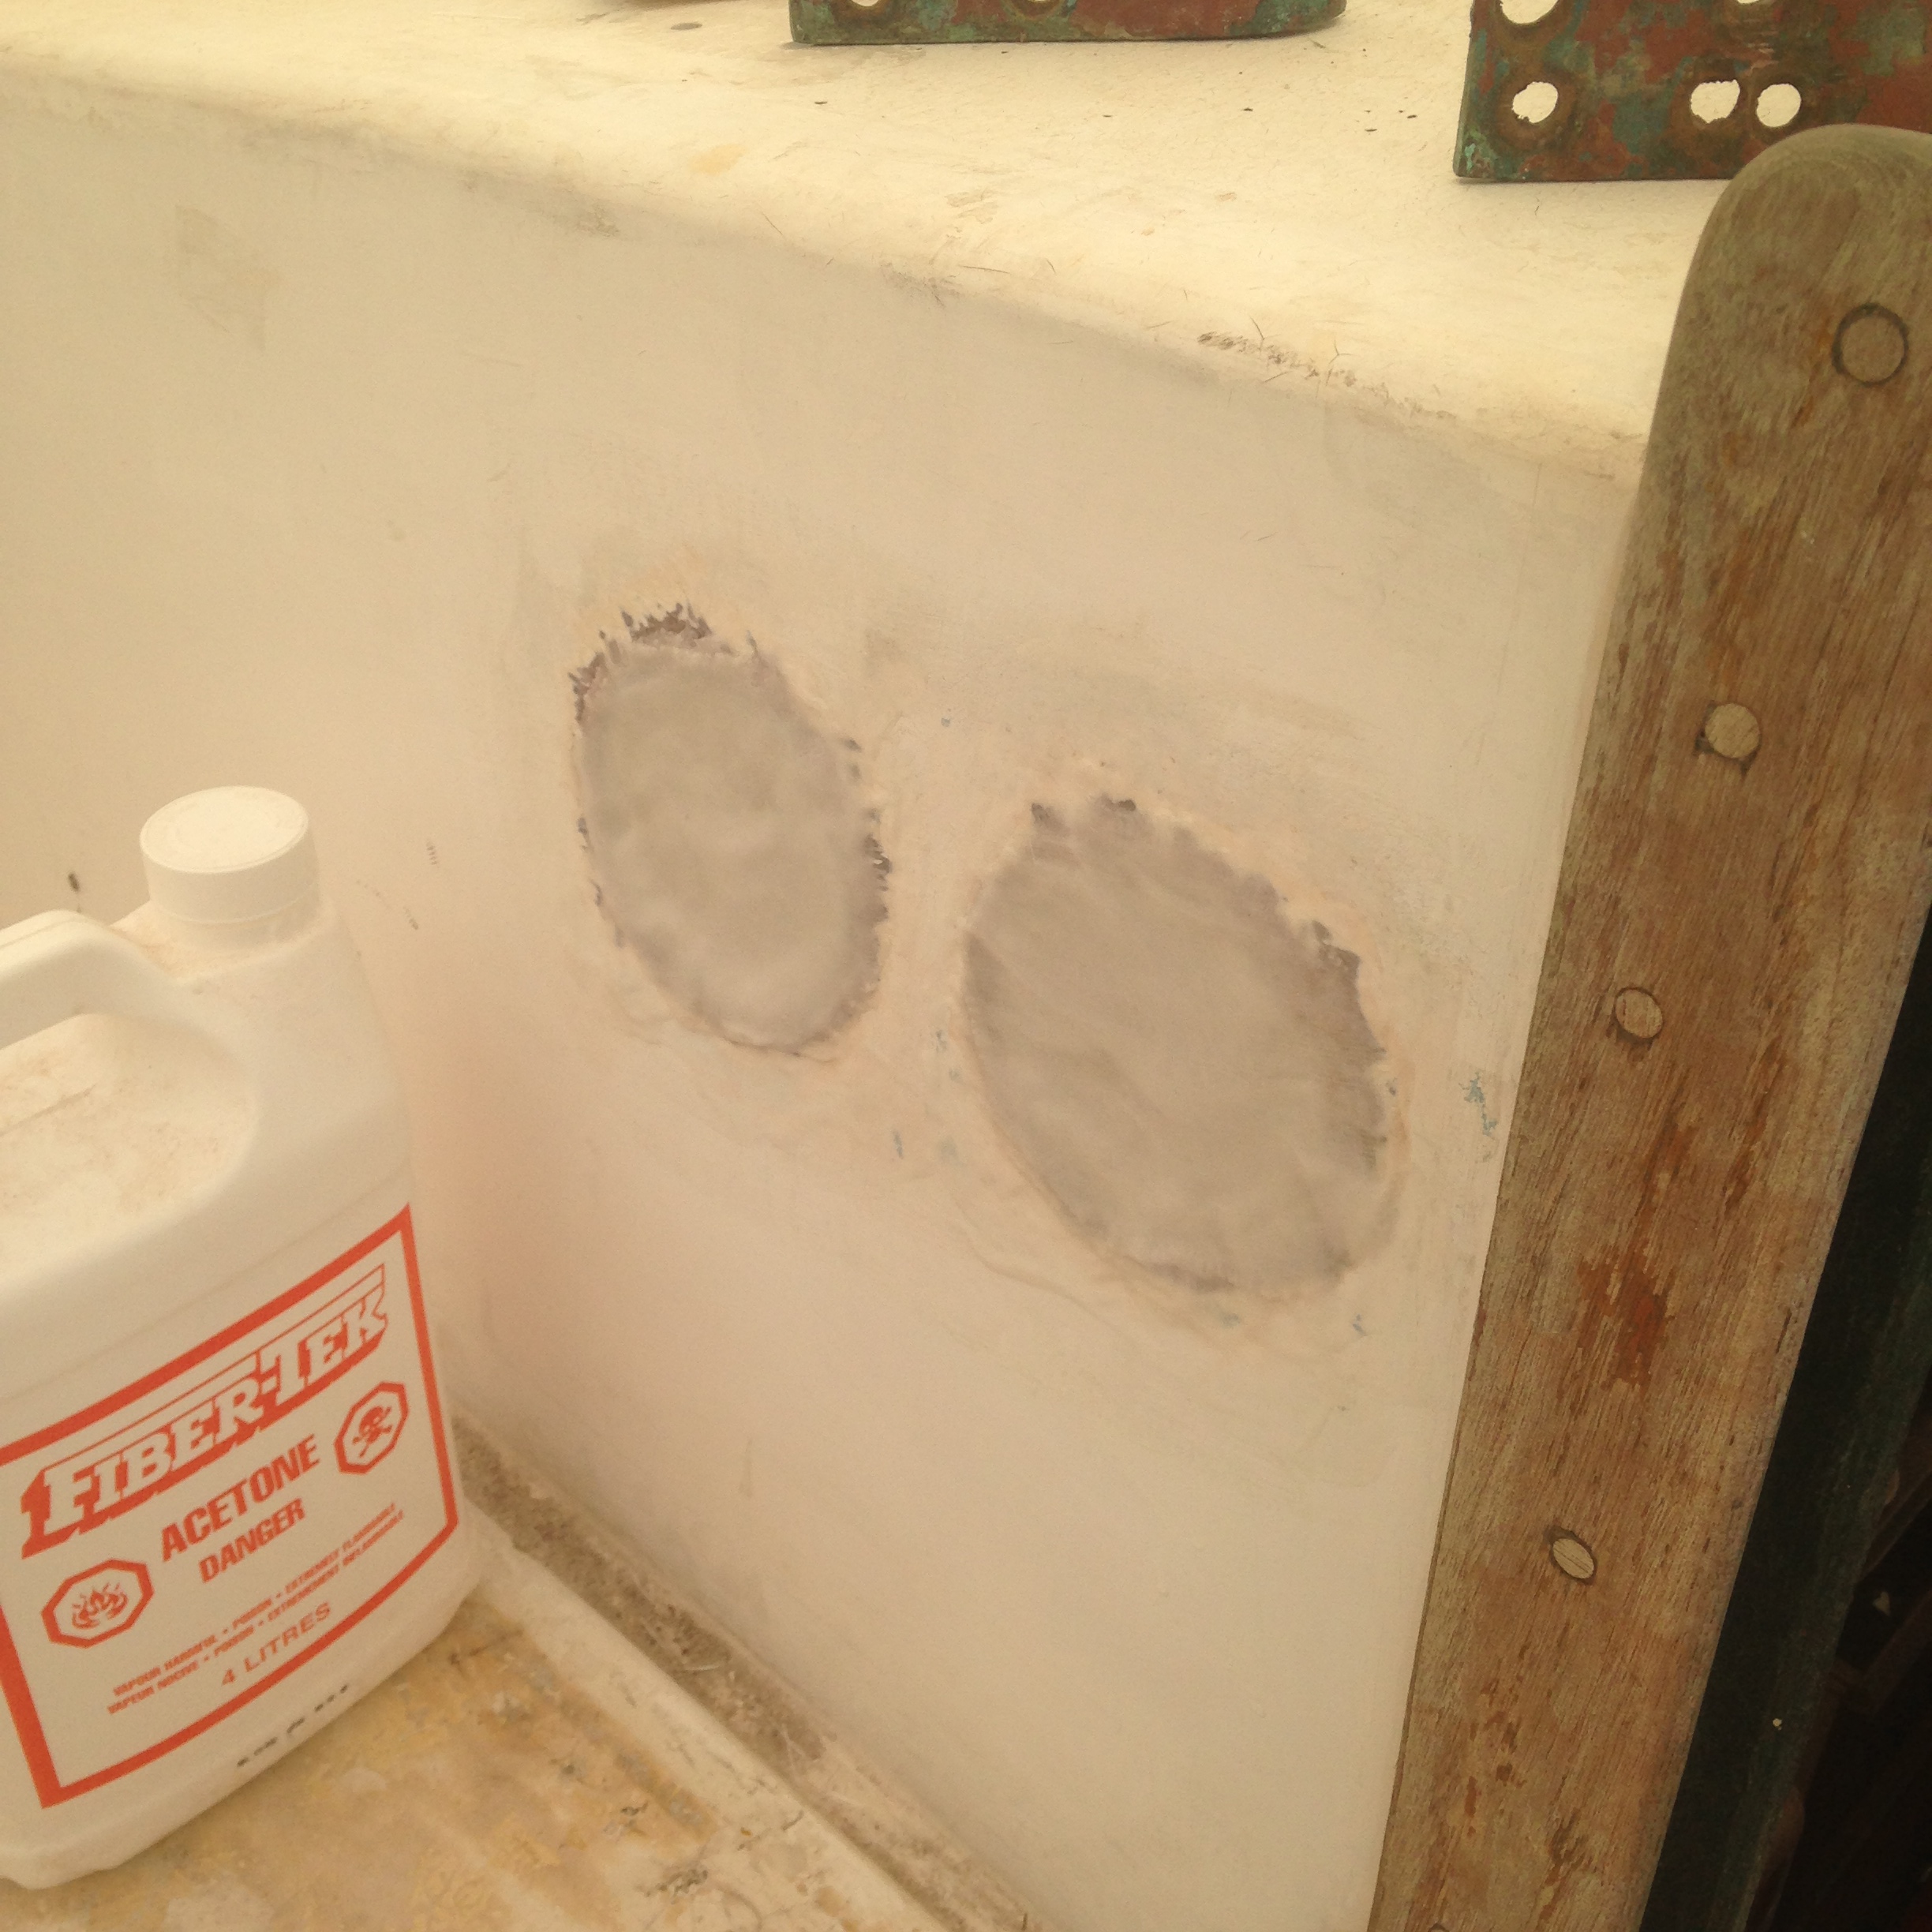
I also managed to glass in the two holes in the cabin that had previously contained instruments. Last weekend we cut the marine plywood plugs and yesterday I took the grinder, bevelled the edges, and glassed them in with 6 layers of cloth and some structural filler in the epoxy. Next time down I will need to grind them flush and fill with fairing filler and epoxy so that there is no trace of them when we paint.
Old holes be gone
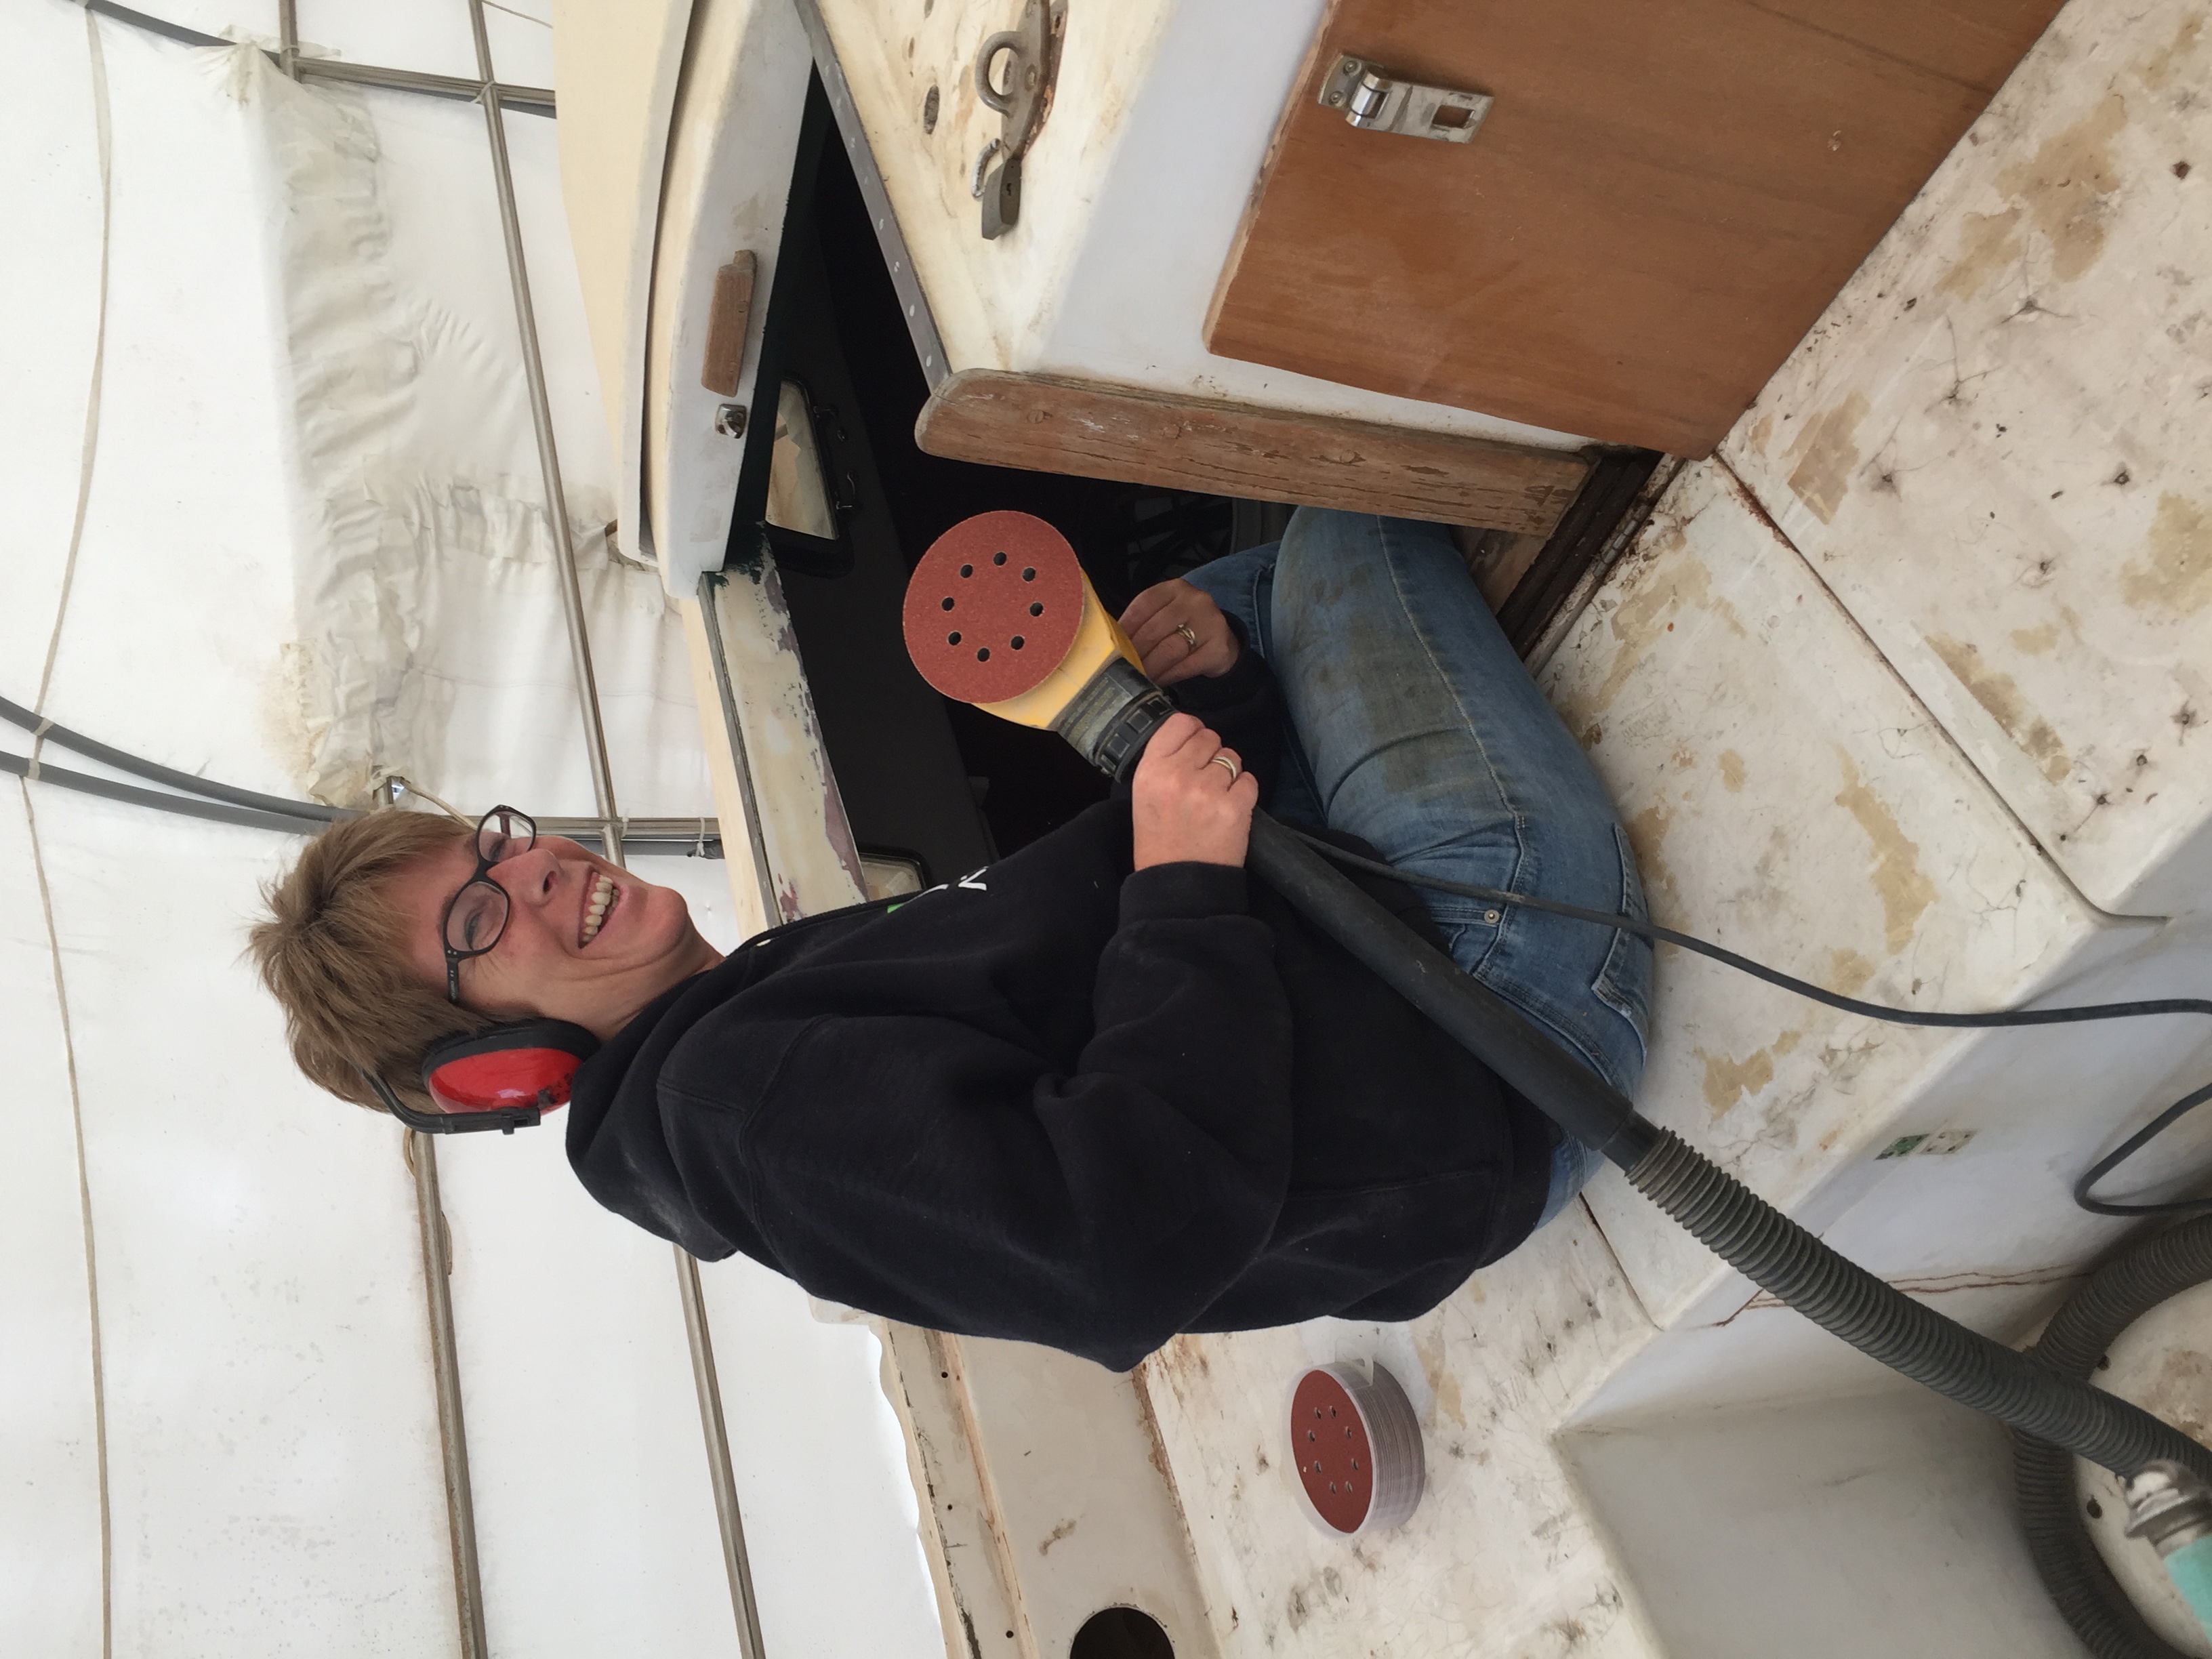
While I was doing all of this, Andrea and Paige were sanding their hearts out. All of the ceiling slats were sanded on the visible side with the orbiting sander and any paint from the back side that dripped was removed by hand. They spent the majority of the day doing this and their efforts were clearly visible based on the amount of sawdust on the two of them.
a sanding we will go…
Strange thing though, my random orbit sander started to act up around hour number 4. It started making funny noises and also had a weird smell of burning brushes. The admiral swore that she had been emptying it and that she had not been hogging it down hard but nevertheless it just wasn’t working well anymore.
Sabotage I say! And if this is the kind of thing that is going to happen on a regular basis, ie I am tired so I will break the tool, I need to revisit the overall budget for this project and increase the tool allowance! Thankfully there is a Lowe’s hardware store about 10 minutes away so the any more of this nonsense will result in new tools 😉
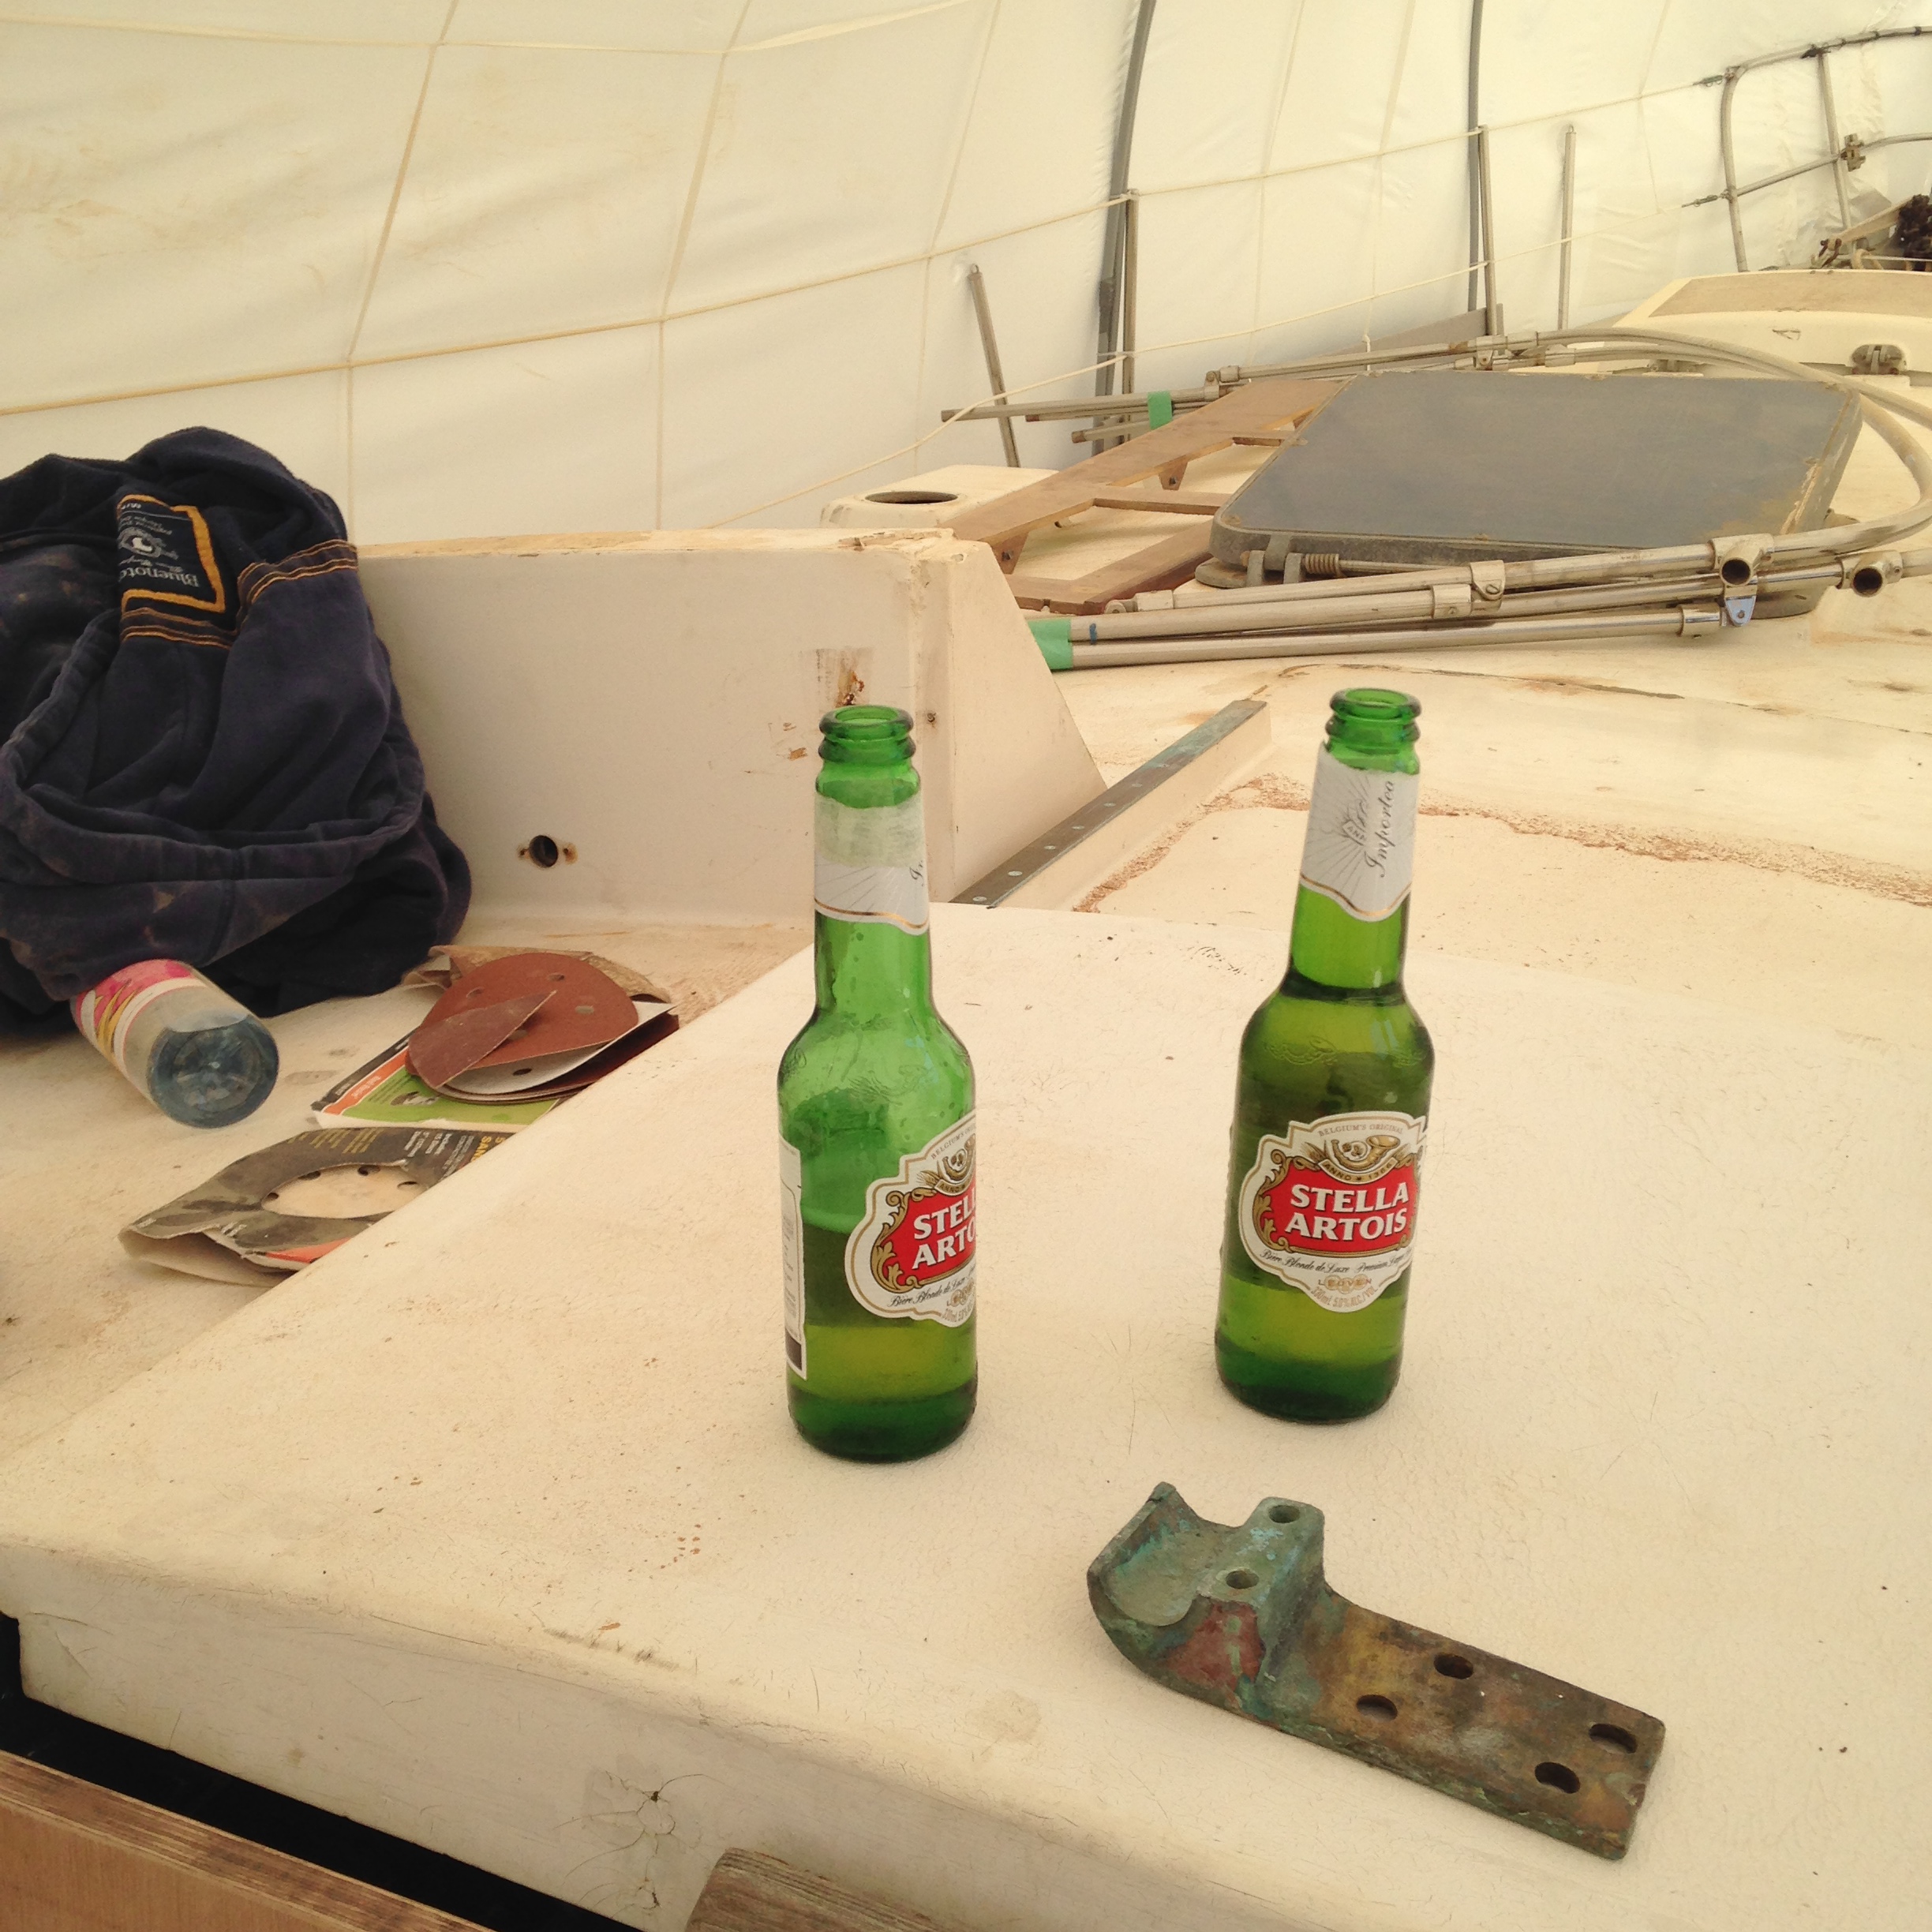
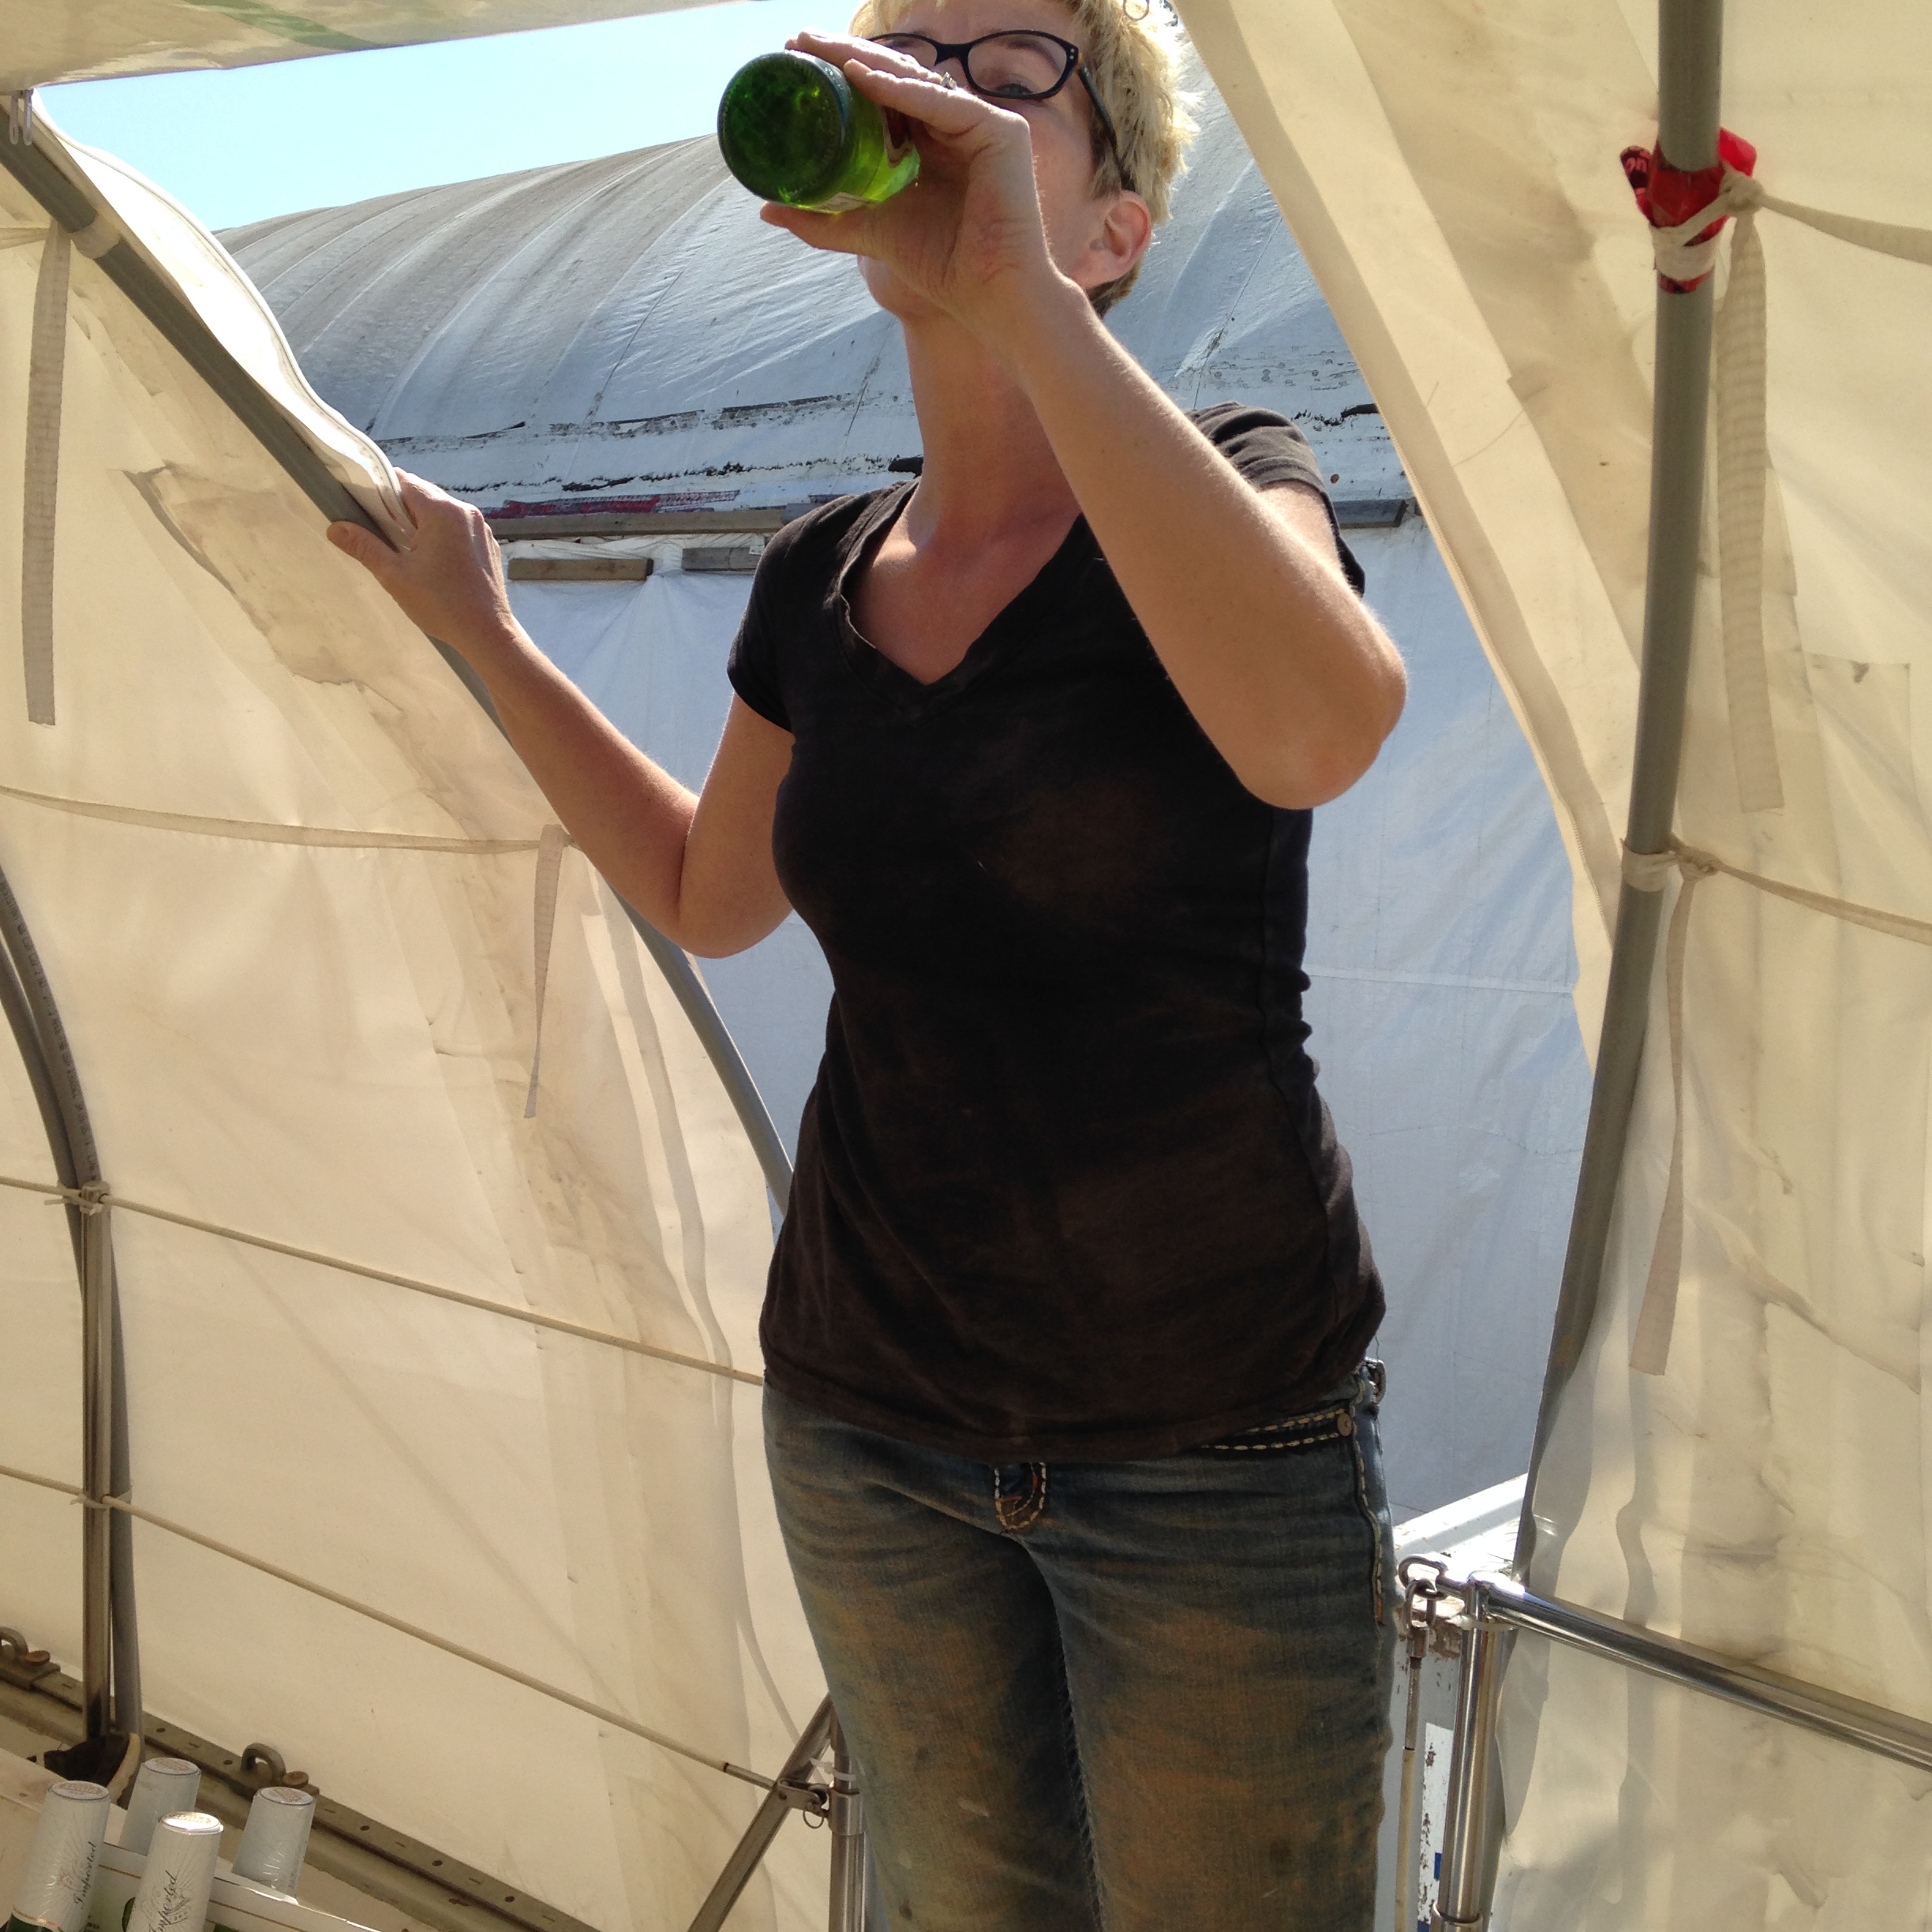
It is starting to get nice in the Pacific North West and under the shrinkwrap it is even warmer! So we broke our own rule of not having beer on the boat until we launched and enjoyed our first ice cold beer on Akupara amidst all of the chaos!
Our first beer on Akupara
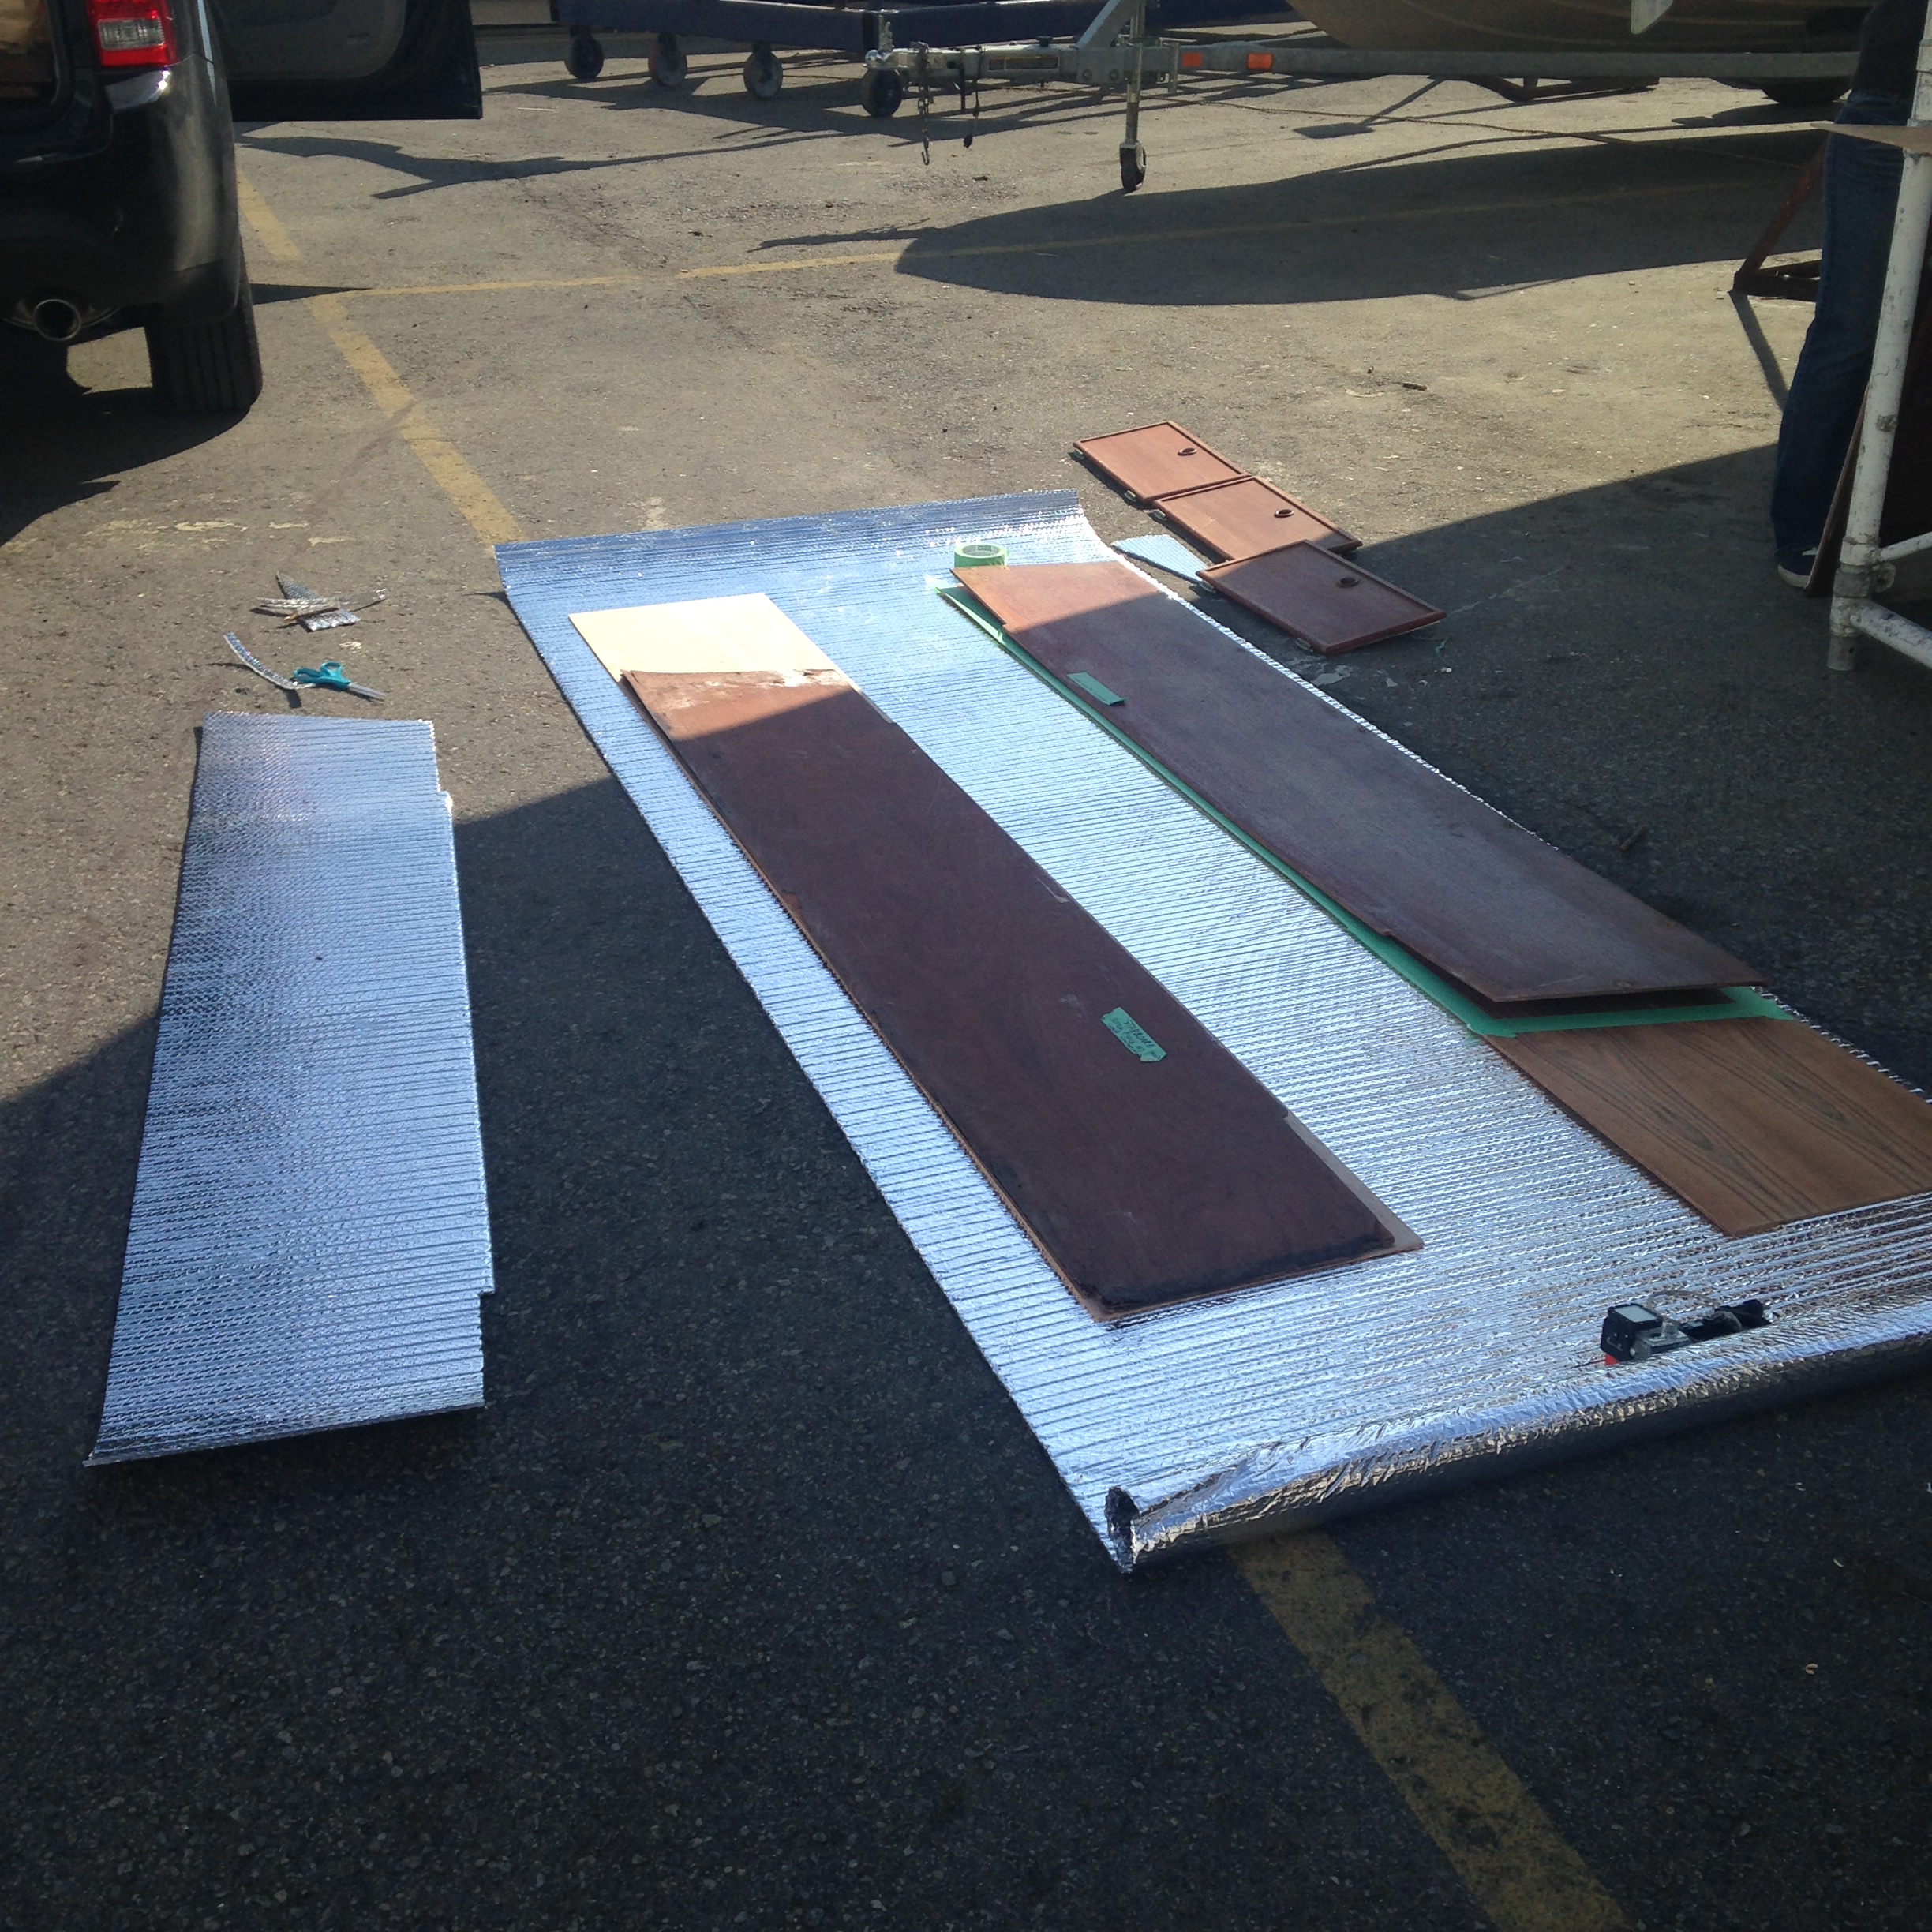
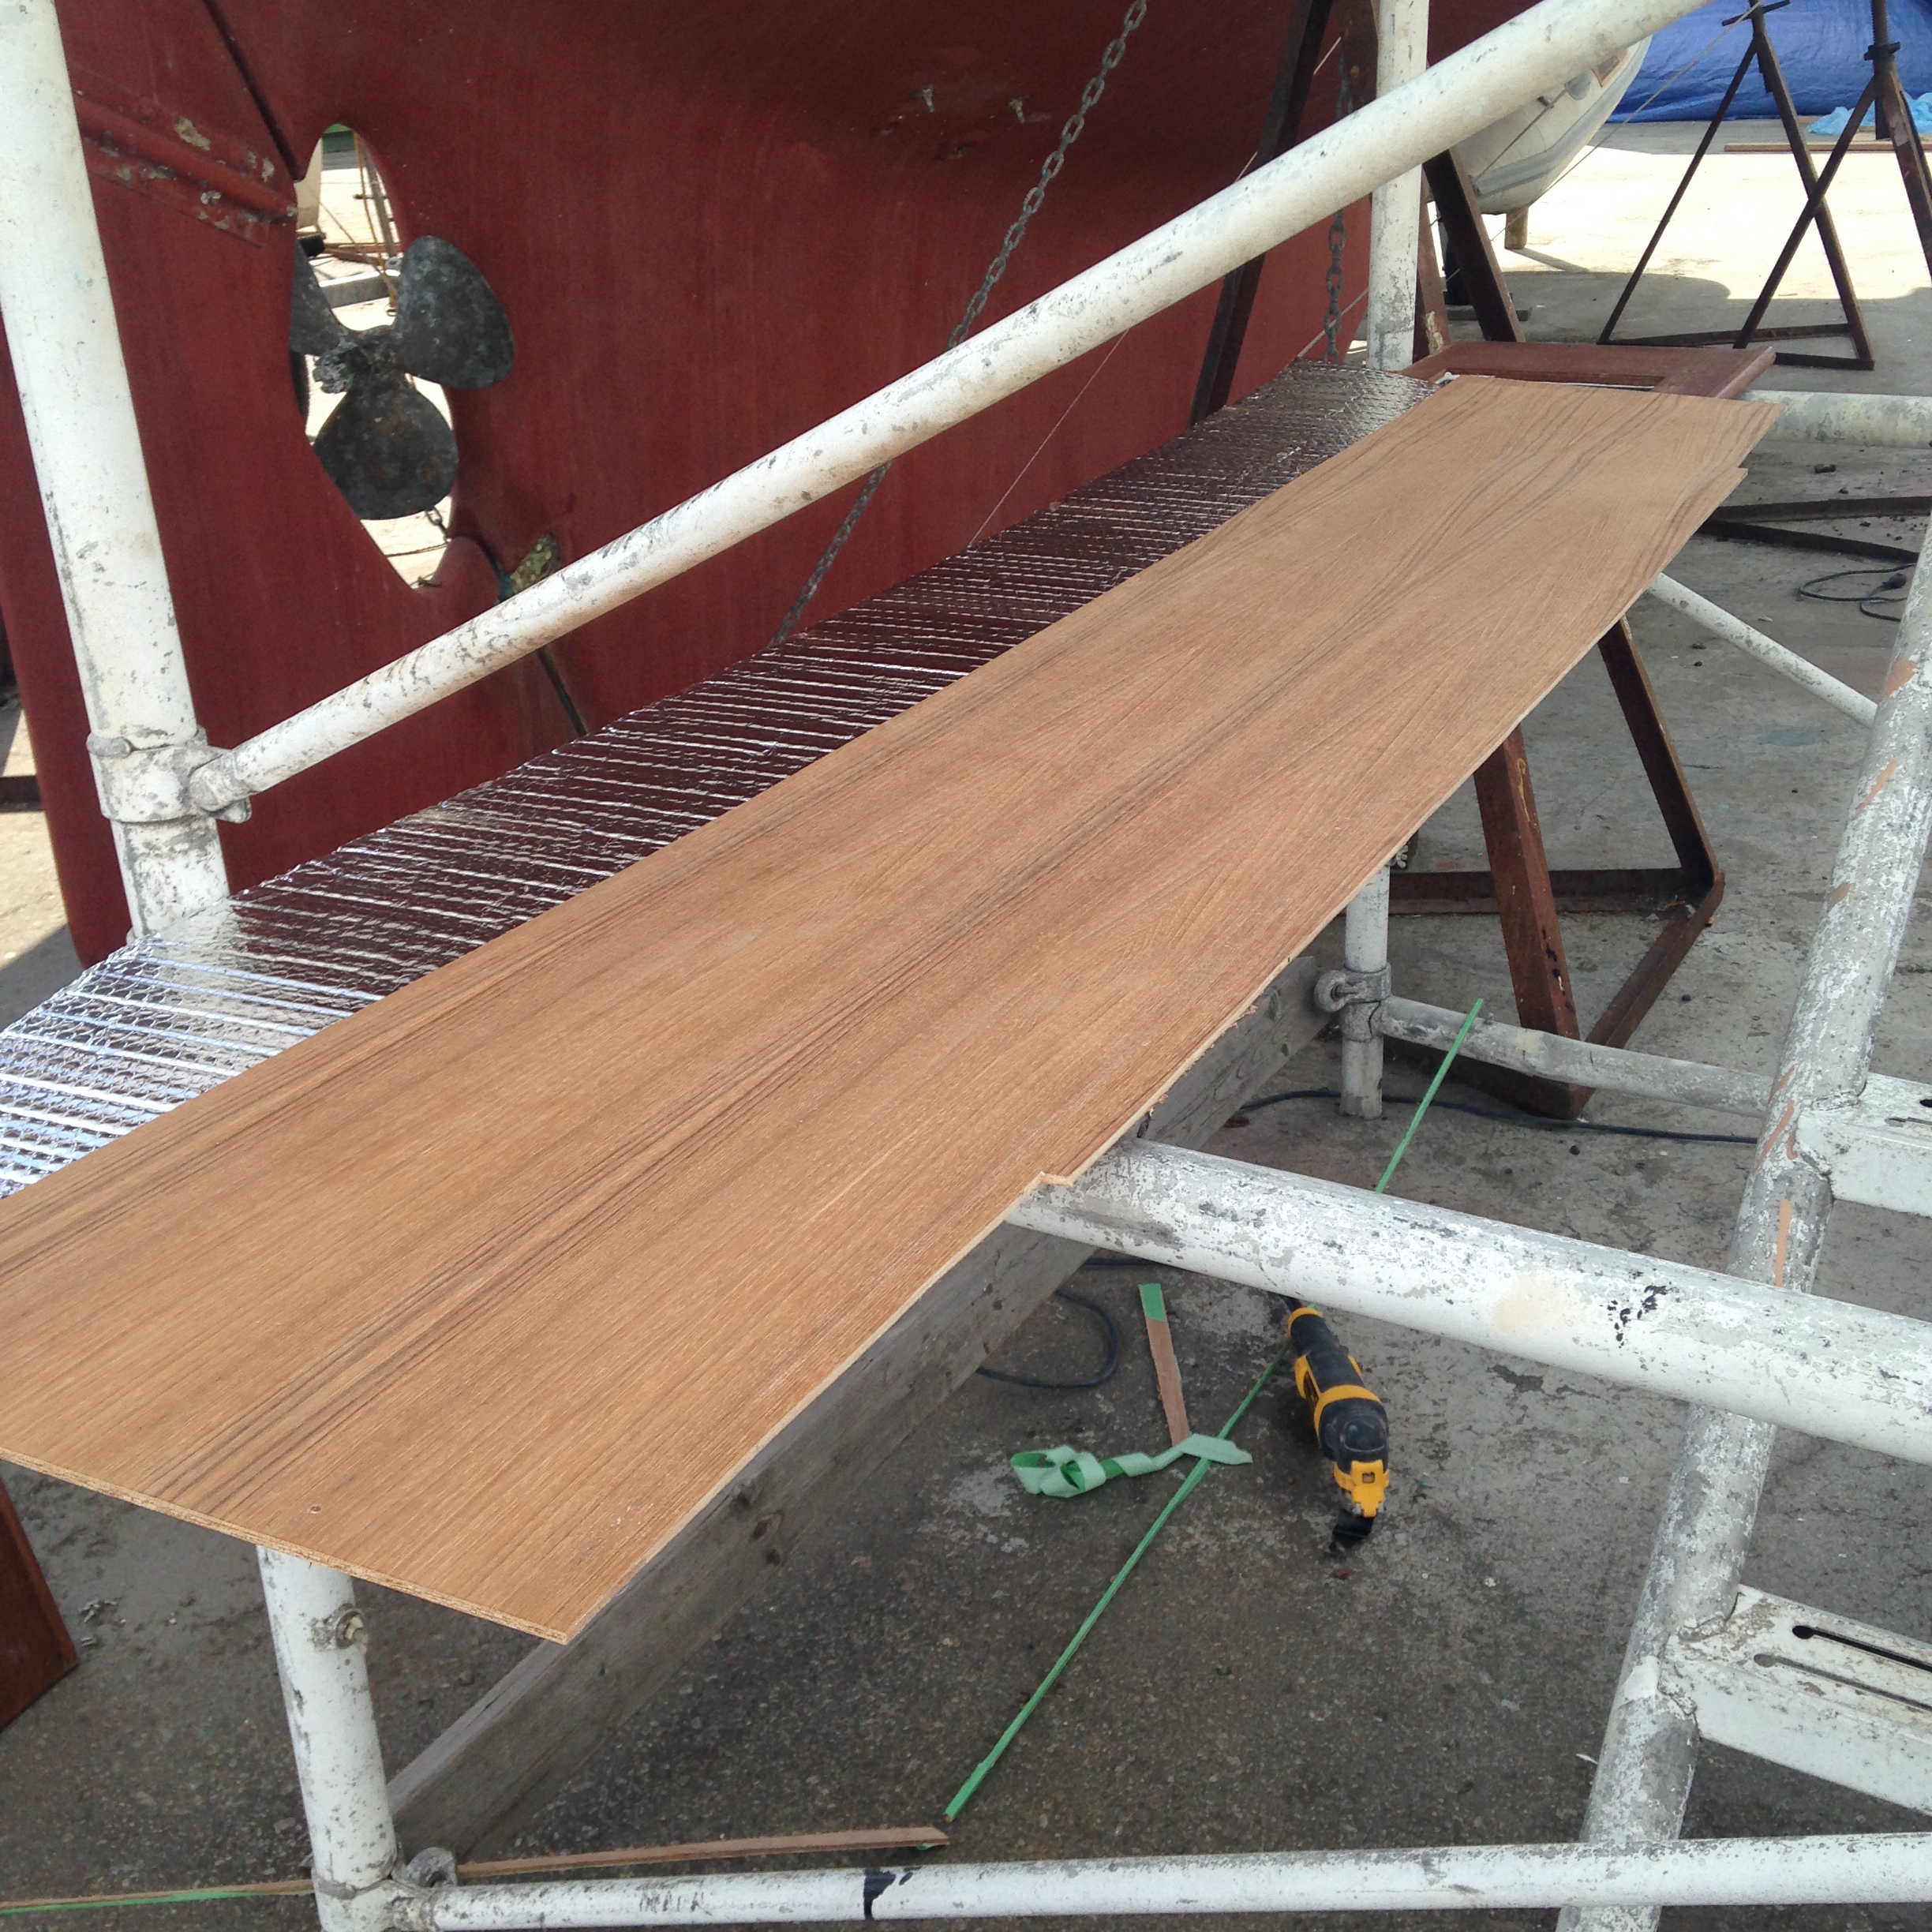
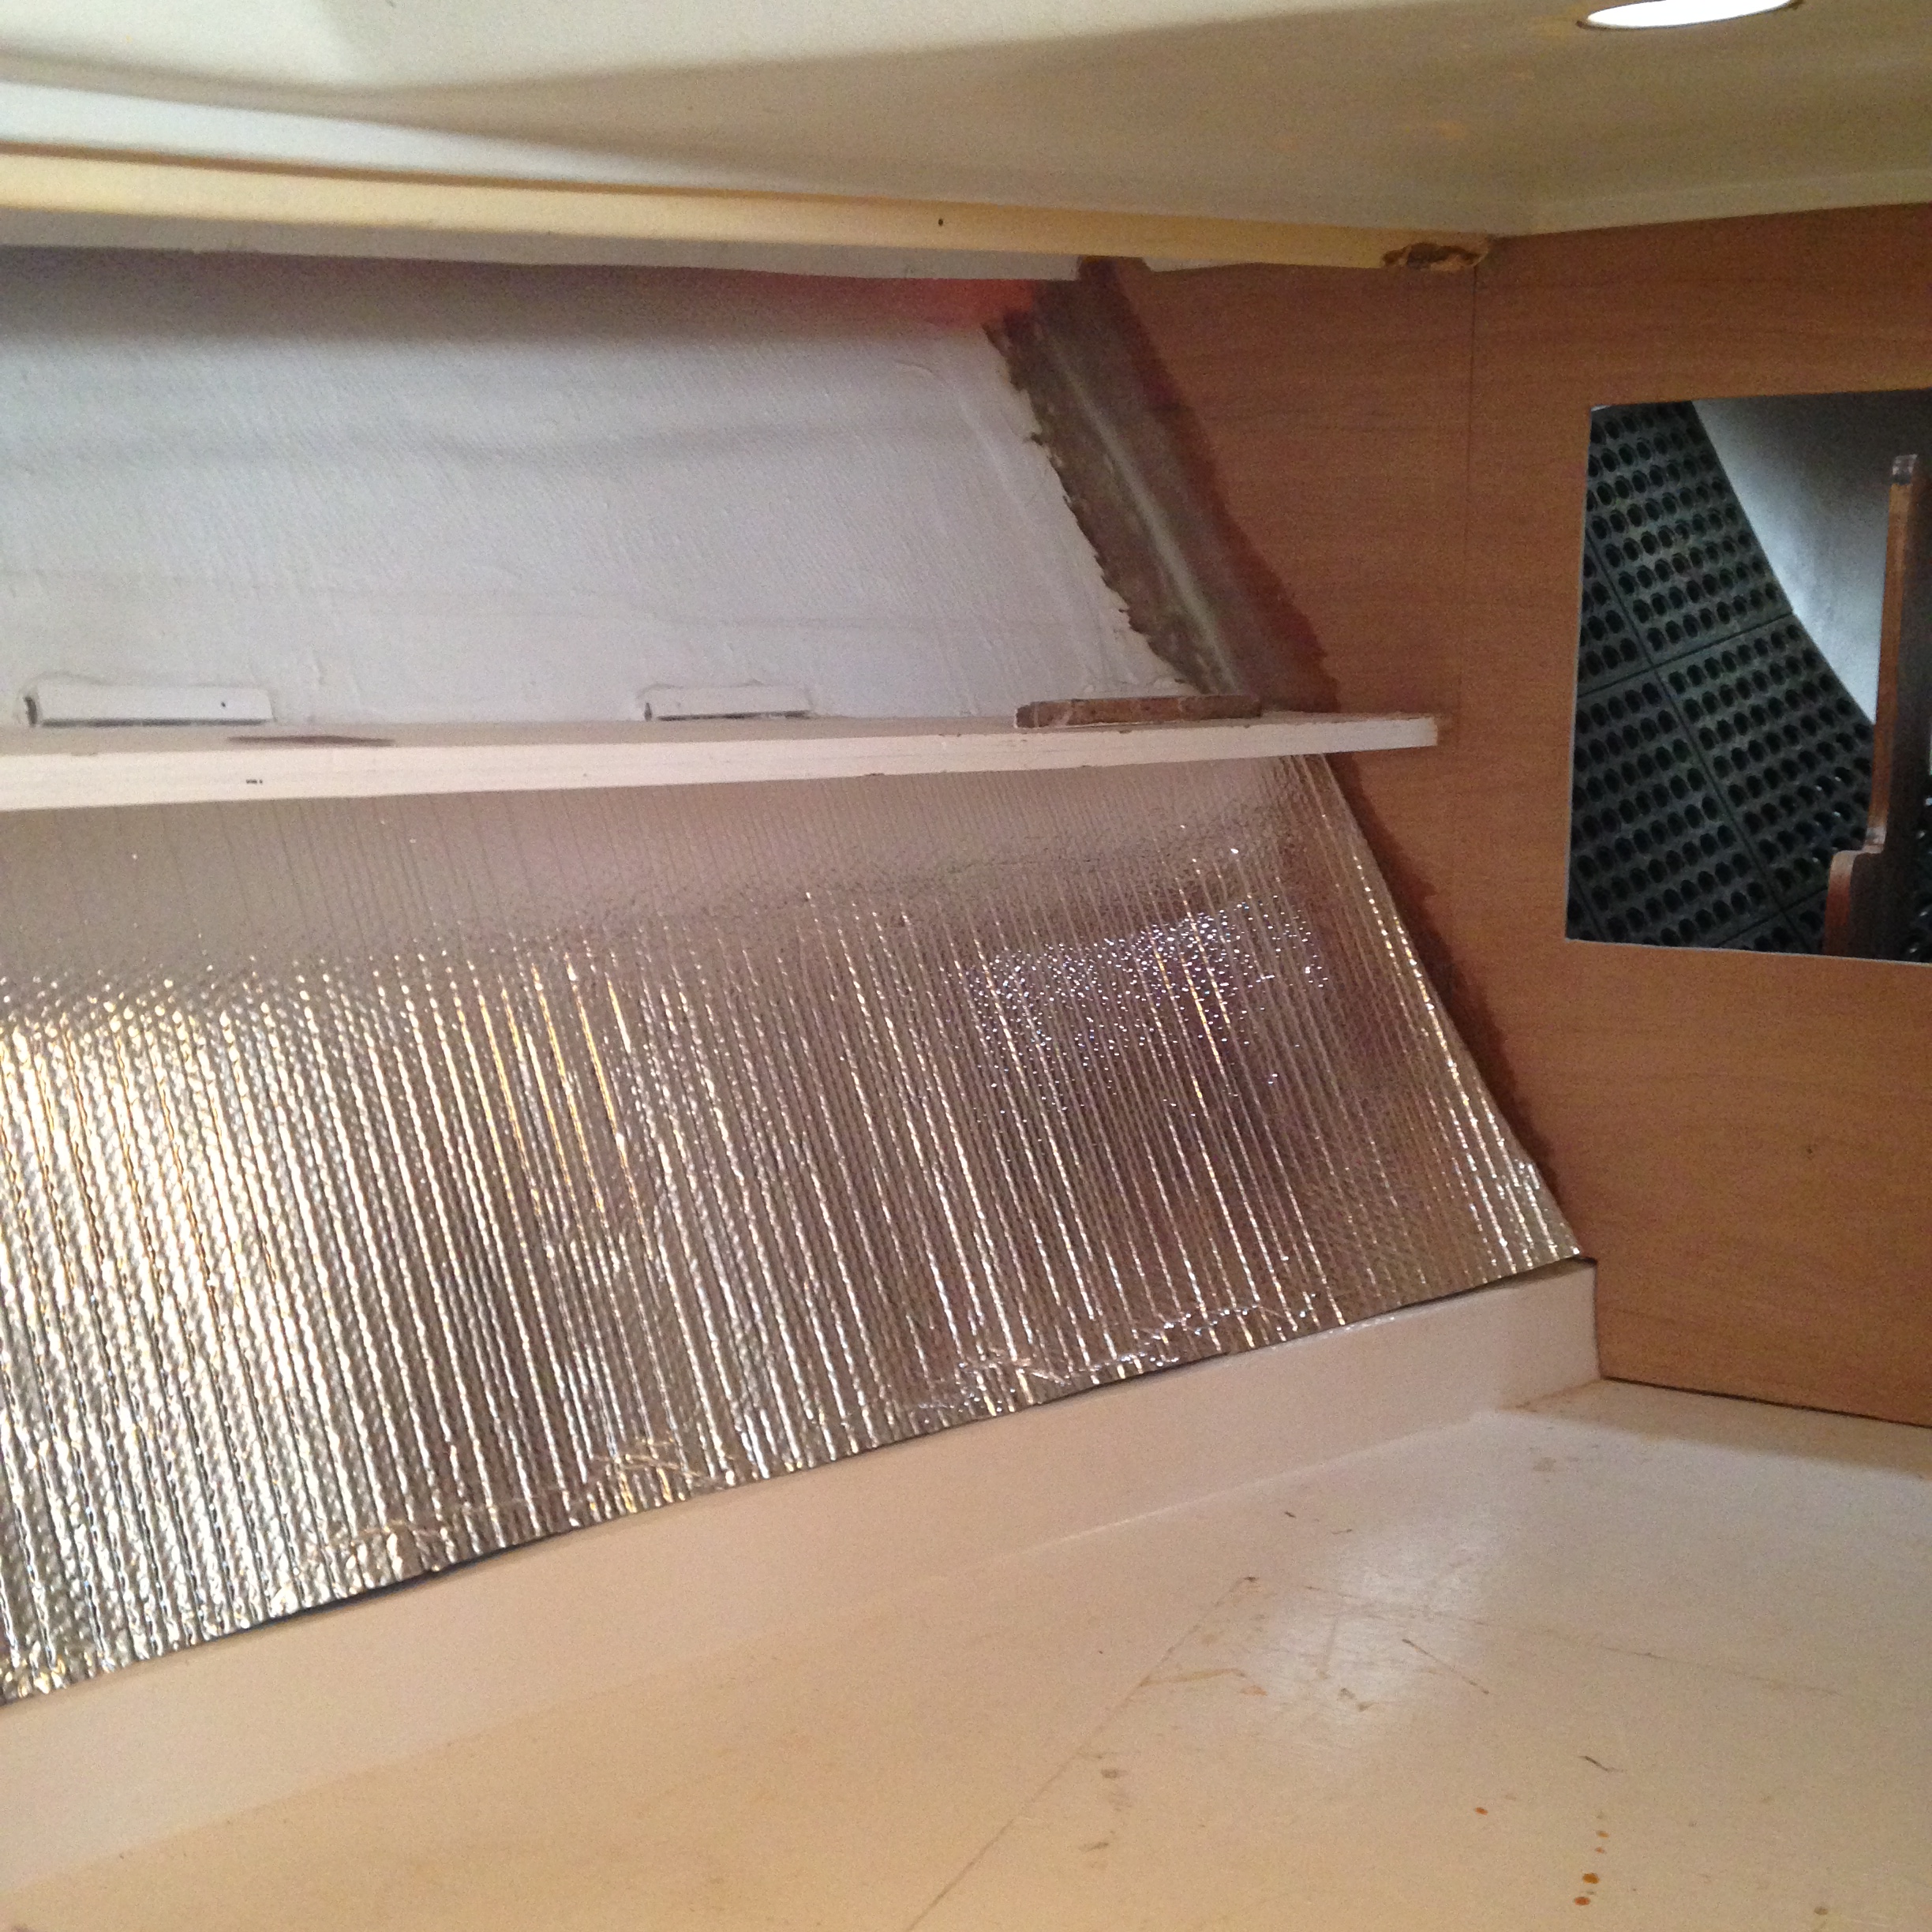
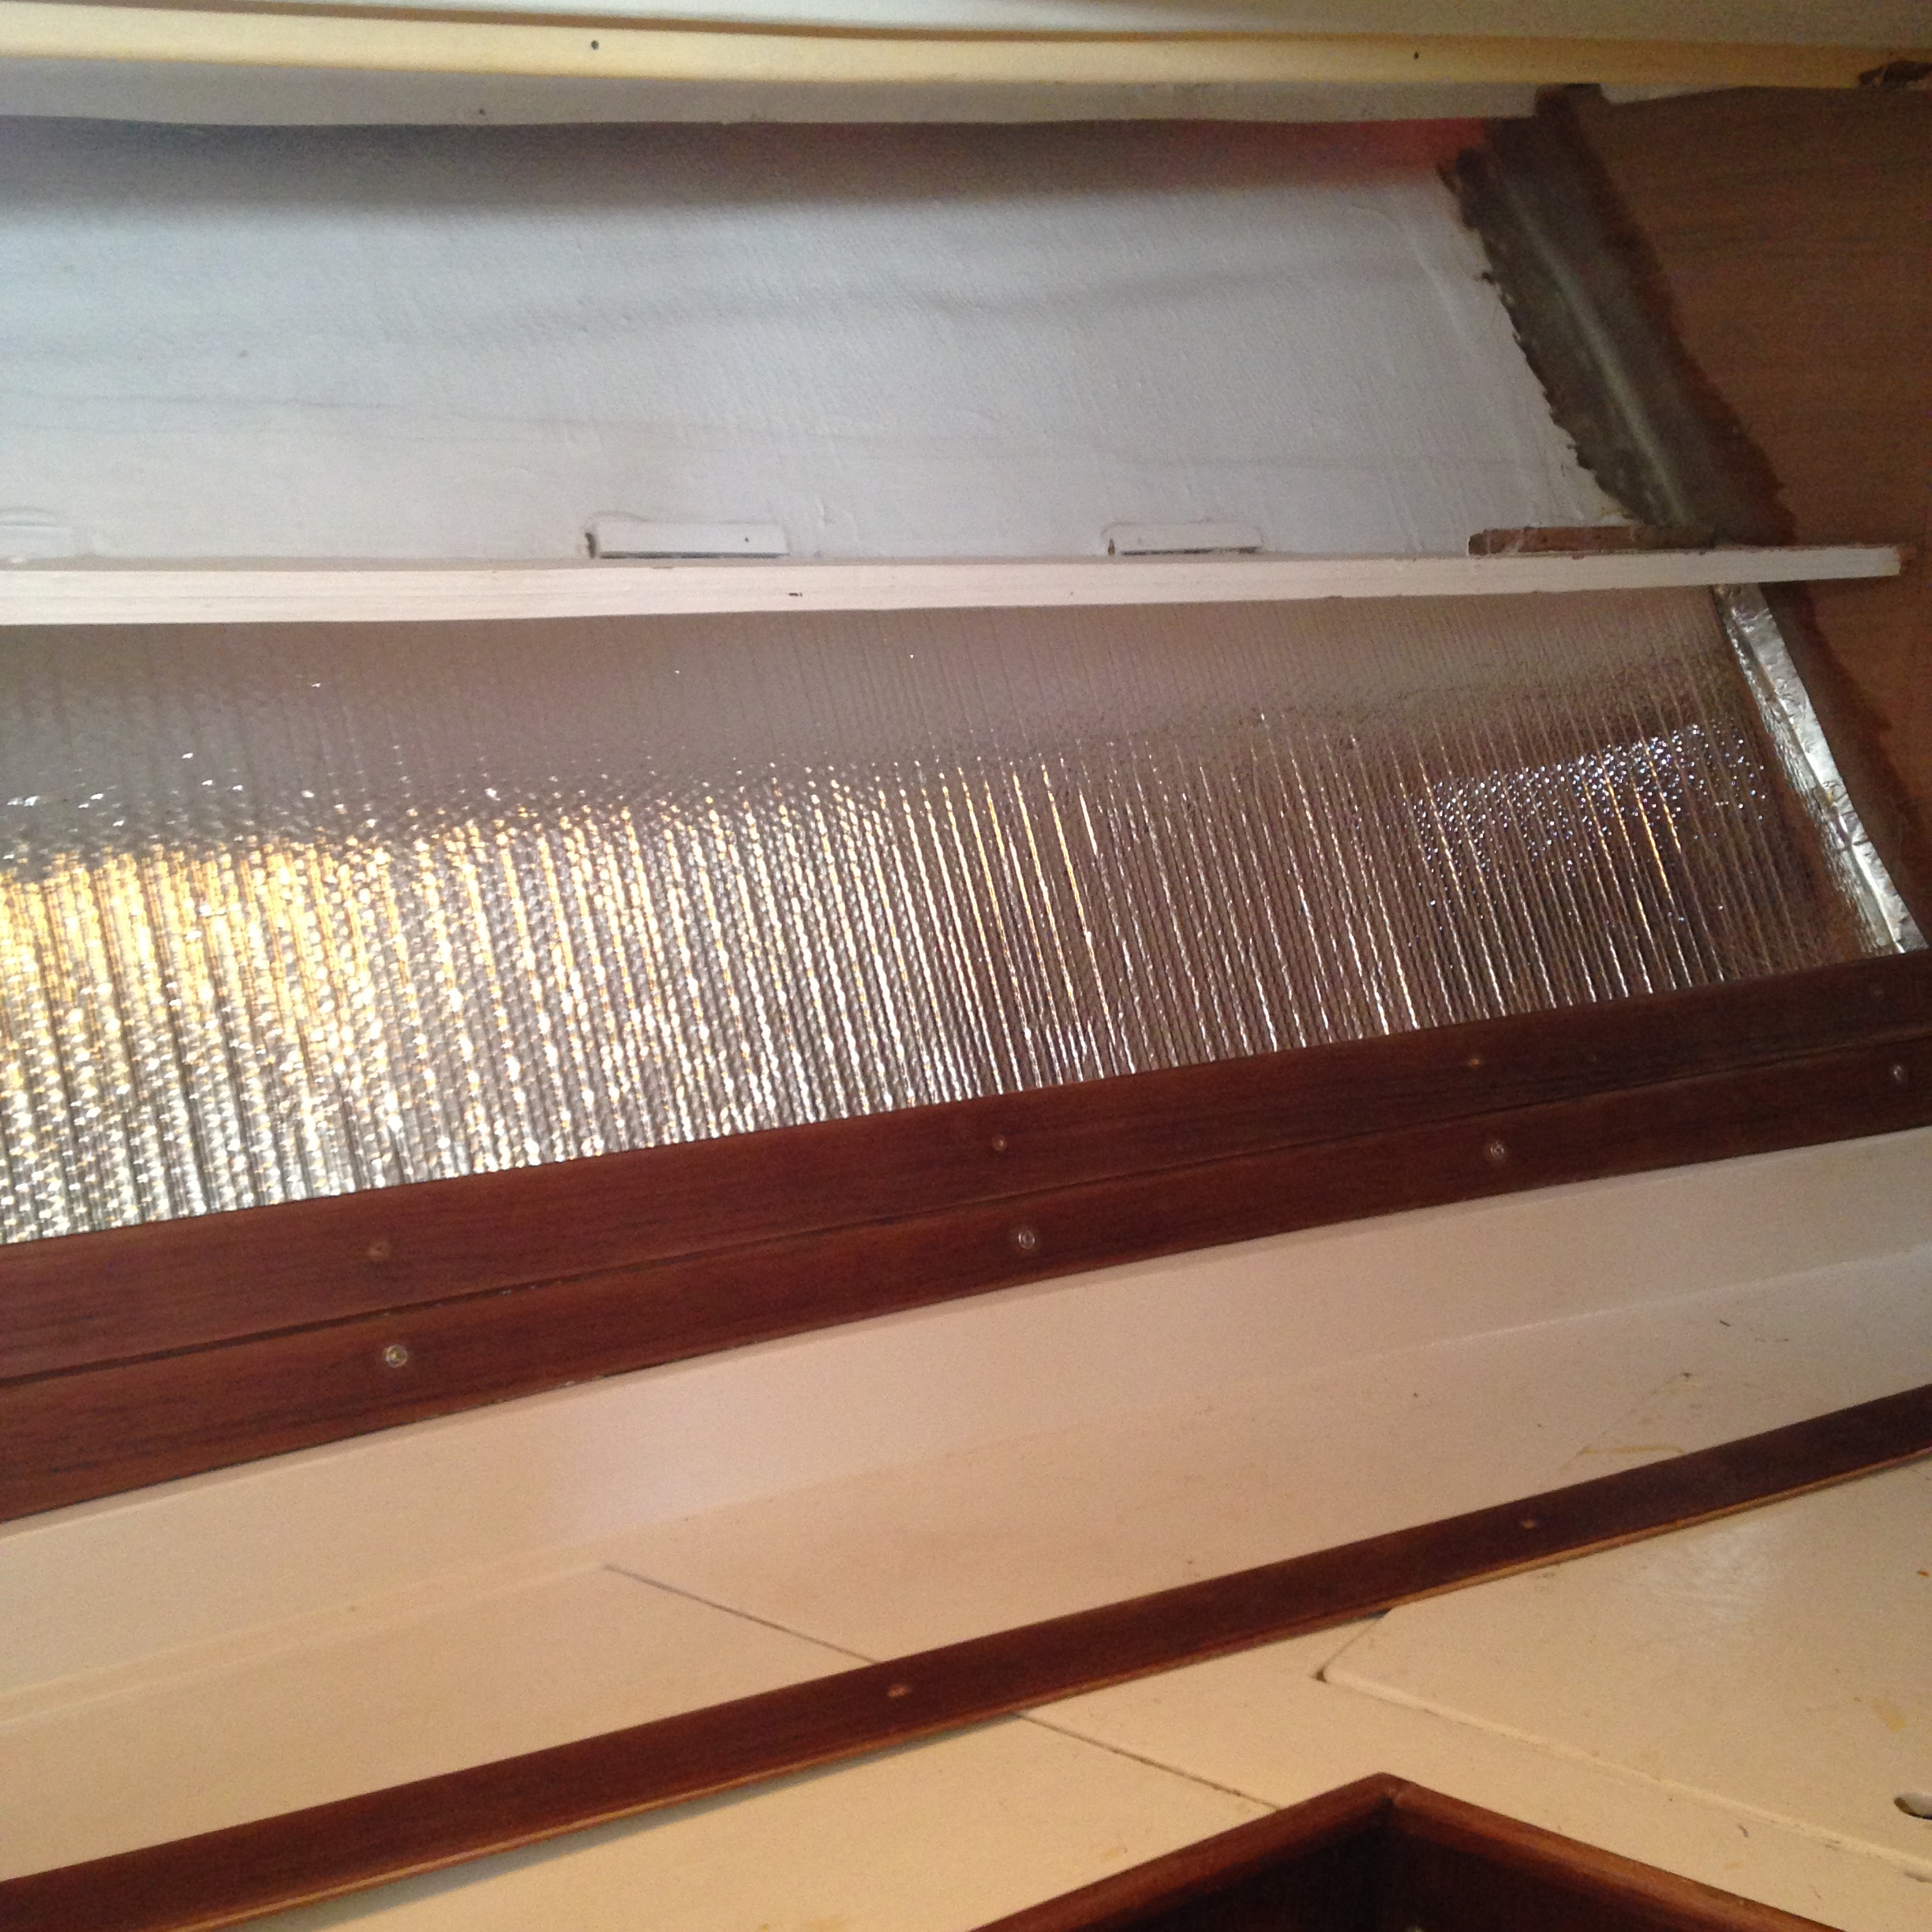
As the ladies were finishing up the sanding of the v berth pieces, I was installing some insulation. Insulation? Yes insulation! There are 3 reasons we are adding insulation as we proceed through this rebuild. 1) As we plan to liveaboard, any heat we can retain will be advantageous as we both hate being cold. 2) When we finally get to warmer climates, the insulation should do the opposite and help to keep the belly of the beast a little cooler. And 3) I have heard a rumour that adding this silver bubble foil insulation actually increases your radar return to other vessels. I am not completely sold on this as I have no direct proof, but anything that increases our radar signature and makes us more visible to oncoming ships in the fog, is a good thing in my mind!
InsulatingThe v berth ceiling going back
By adding the insulation beneath the ceiling, I have left a 2″ air gap in between the hull and the ceiling. So, cored hull which is warmer than a non cored hull, 2″ dead air space, and reflective insulation beneath the ceiling, should keep us toasty warm and hopfully reduce any condensation buildup.
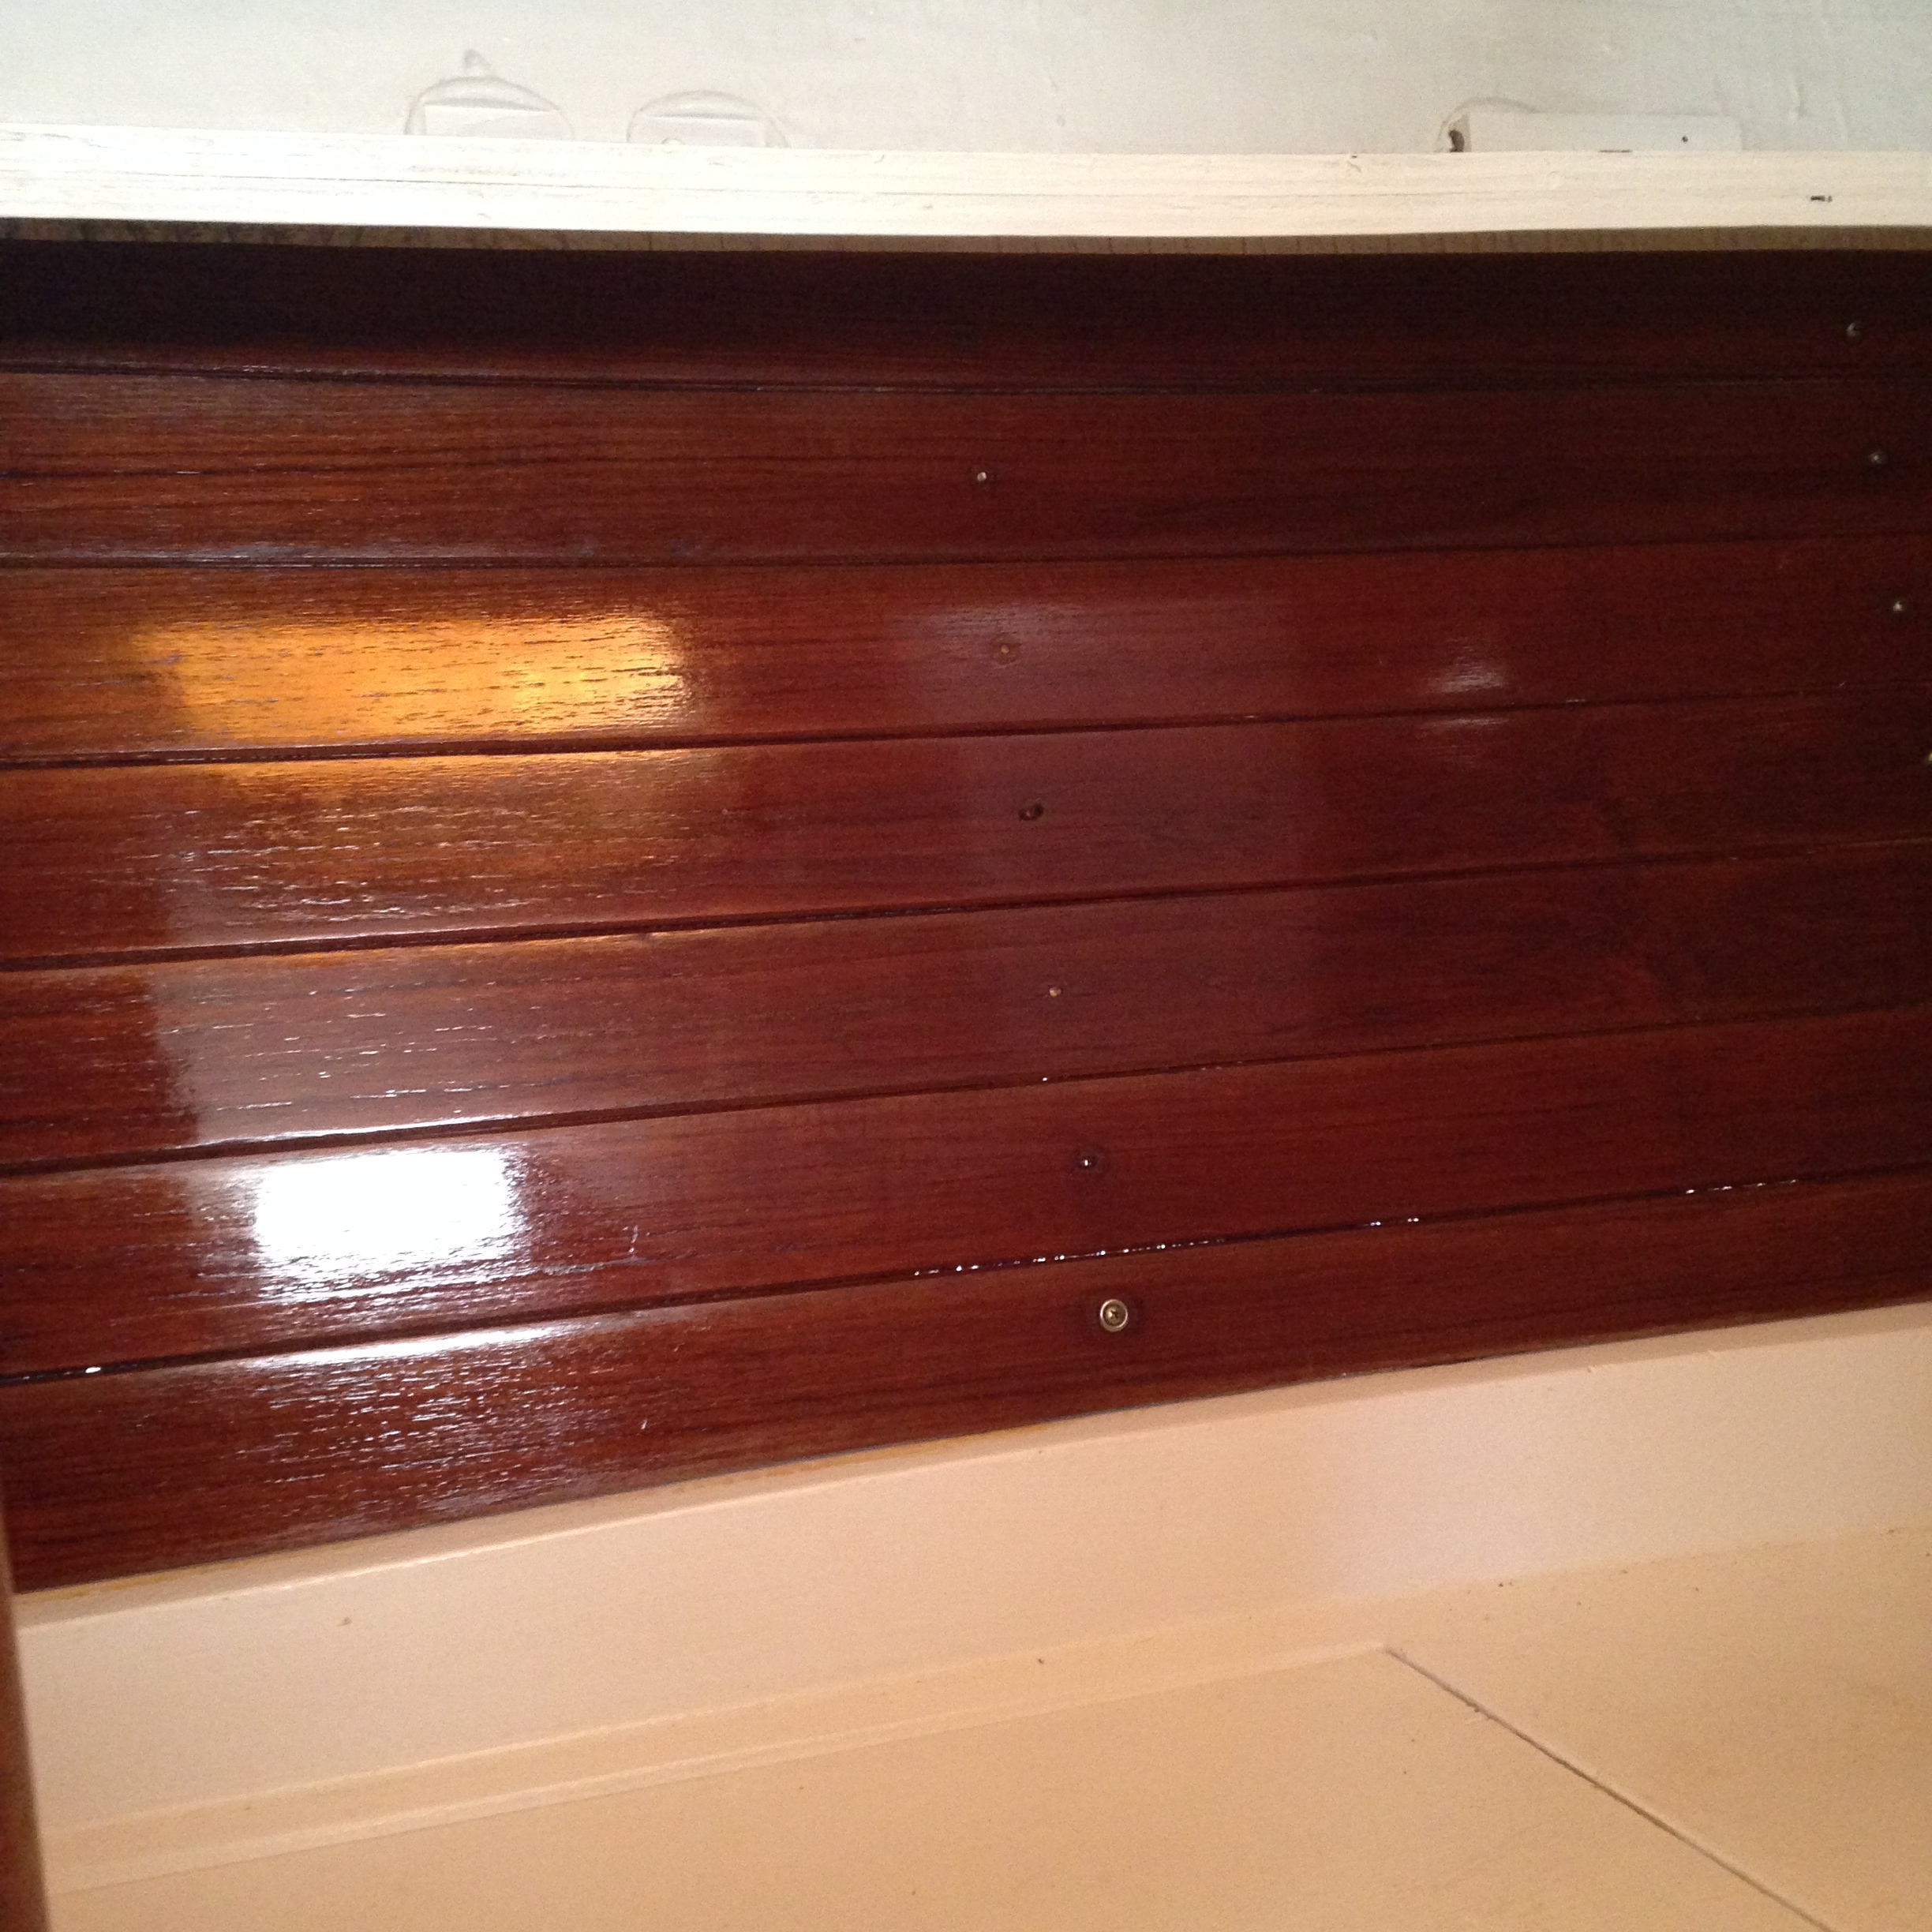
And after a long day of work on several different projects, we almost have the v berth back to a state of completion.
V berth ceiling with first coat of cetol Natural teak.
 As we approach the 2 year mark the Admiral is still smiling. Hmmm maybe we should buy a bigger boat?