Rust

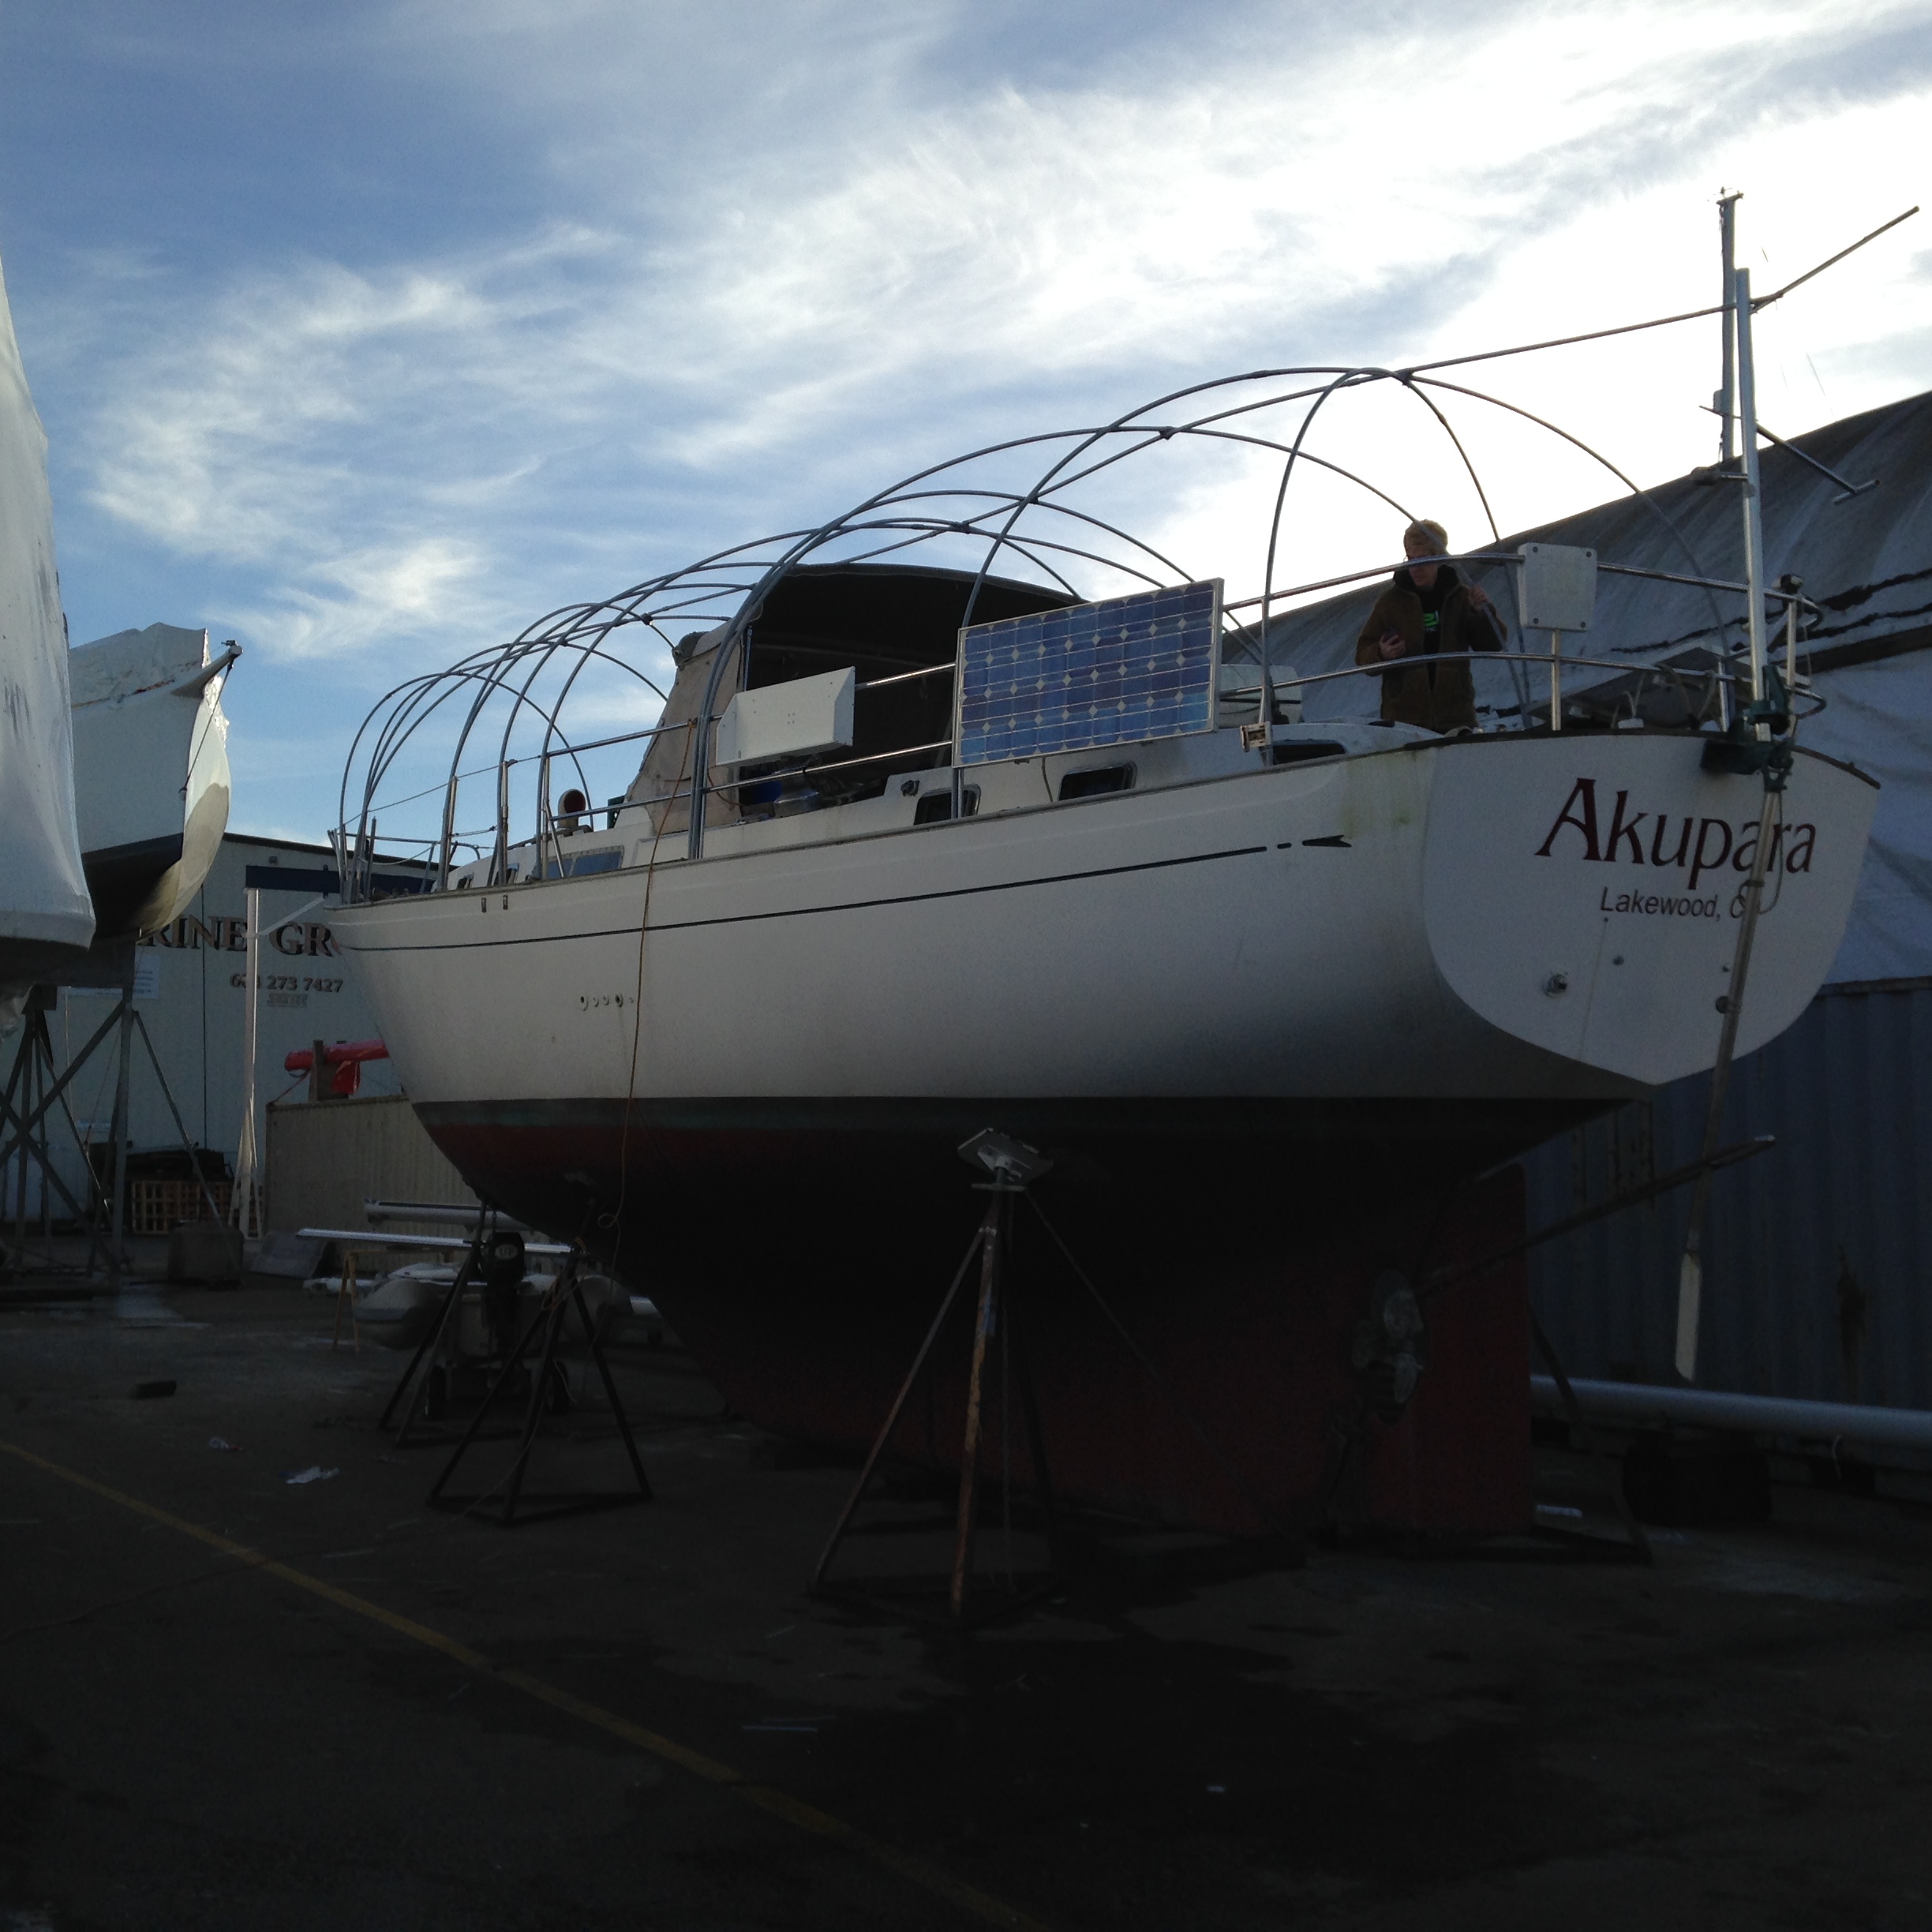
When we first went to see Akupara I climbed into the vberth and had a quick look inside the chain locker. I knew it was in pretty rough shape but once I started really investigating, the truth became more and more evident.

IMG_0589

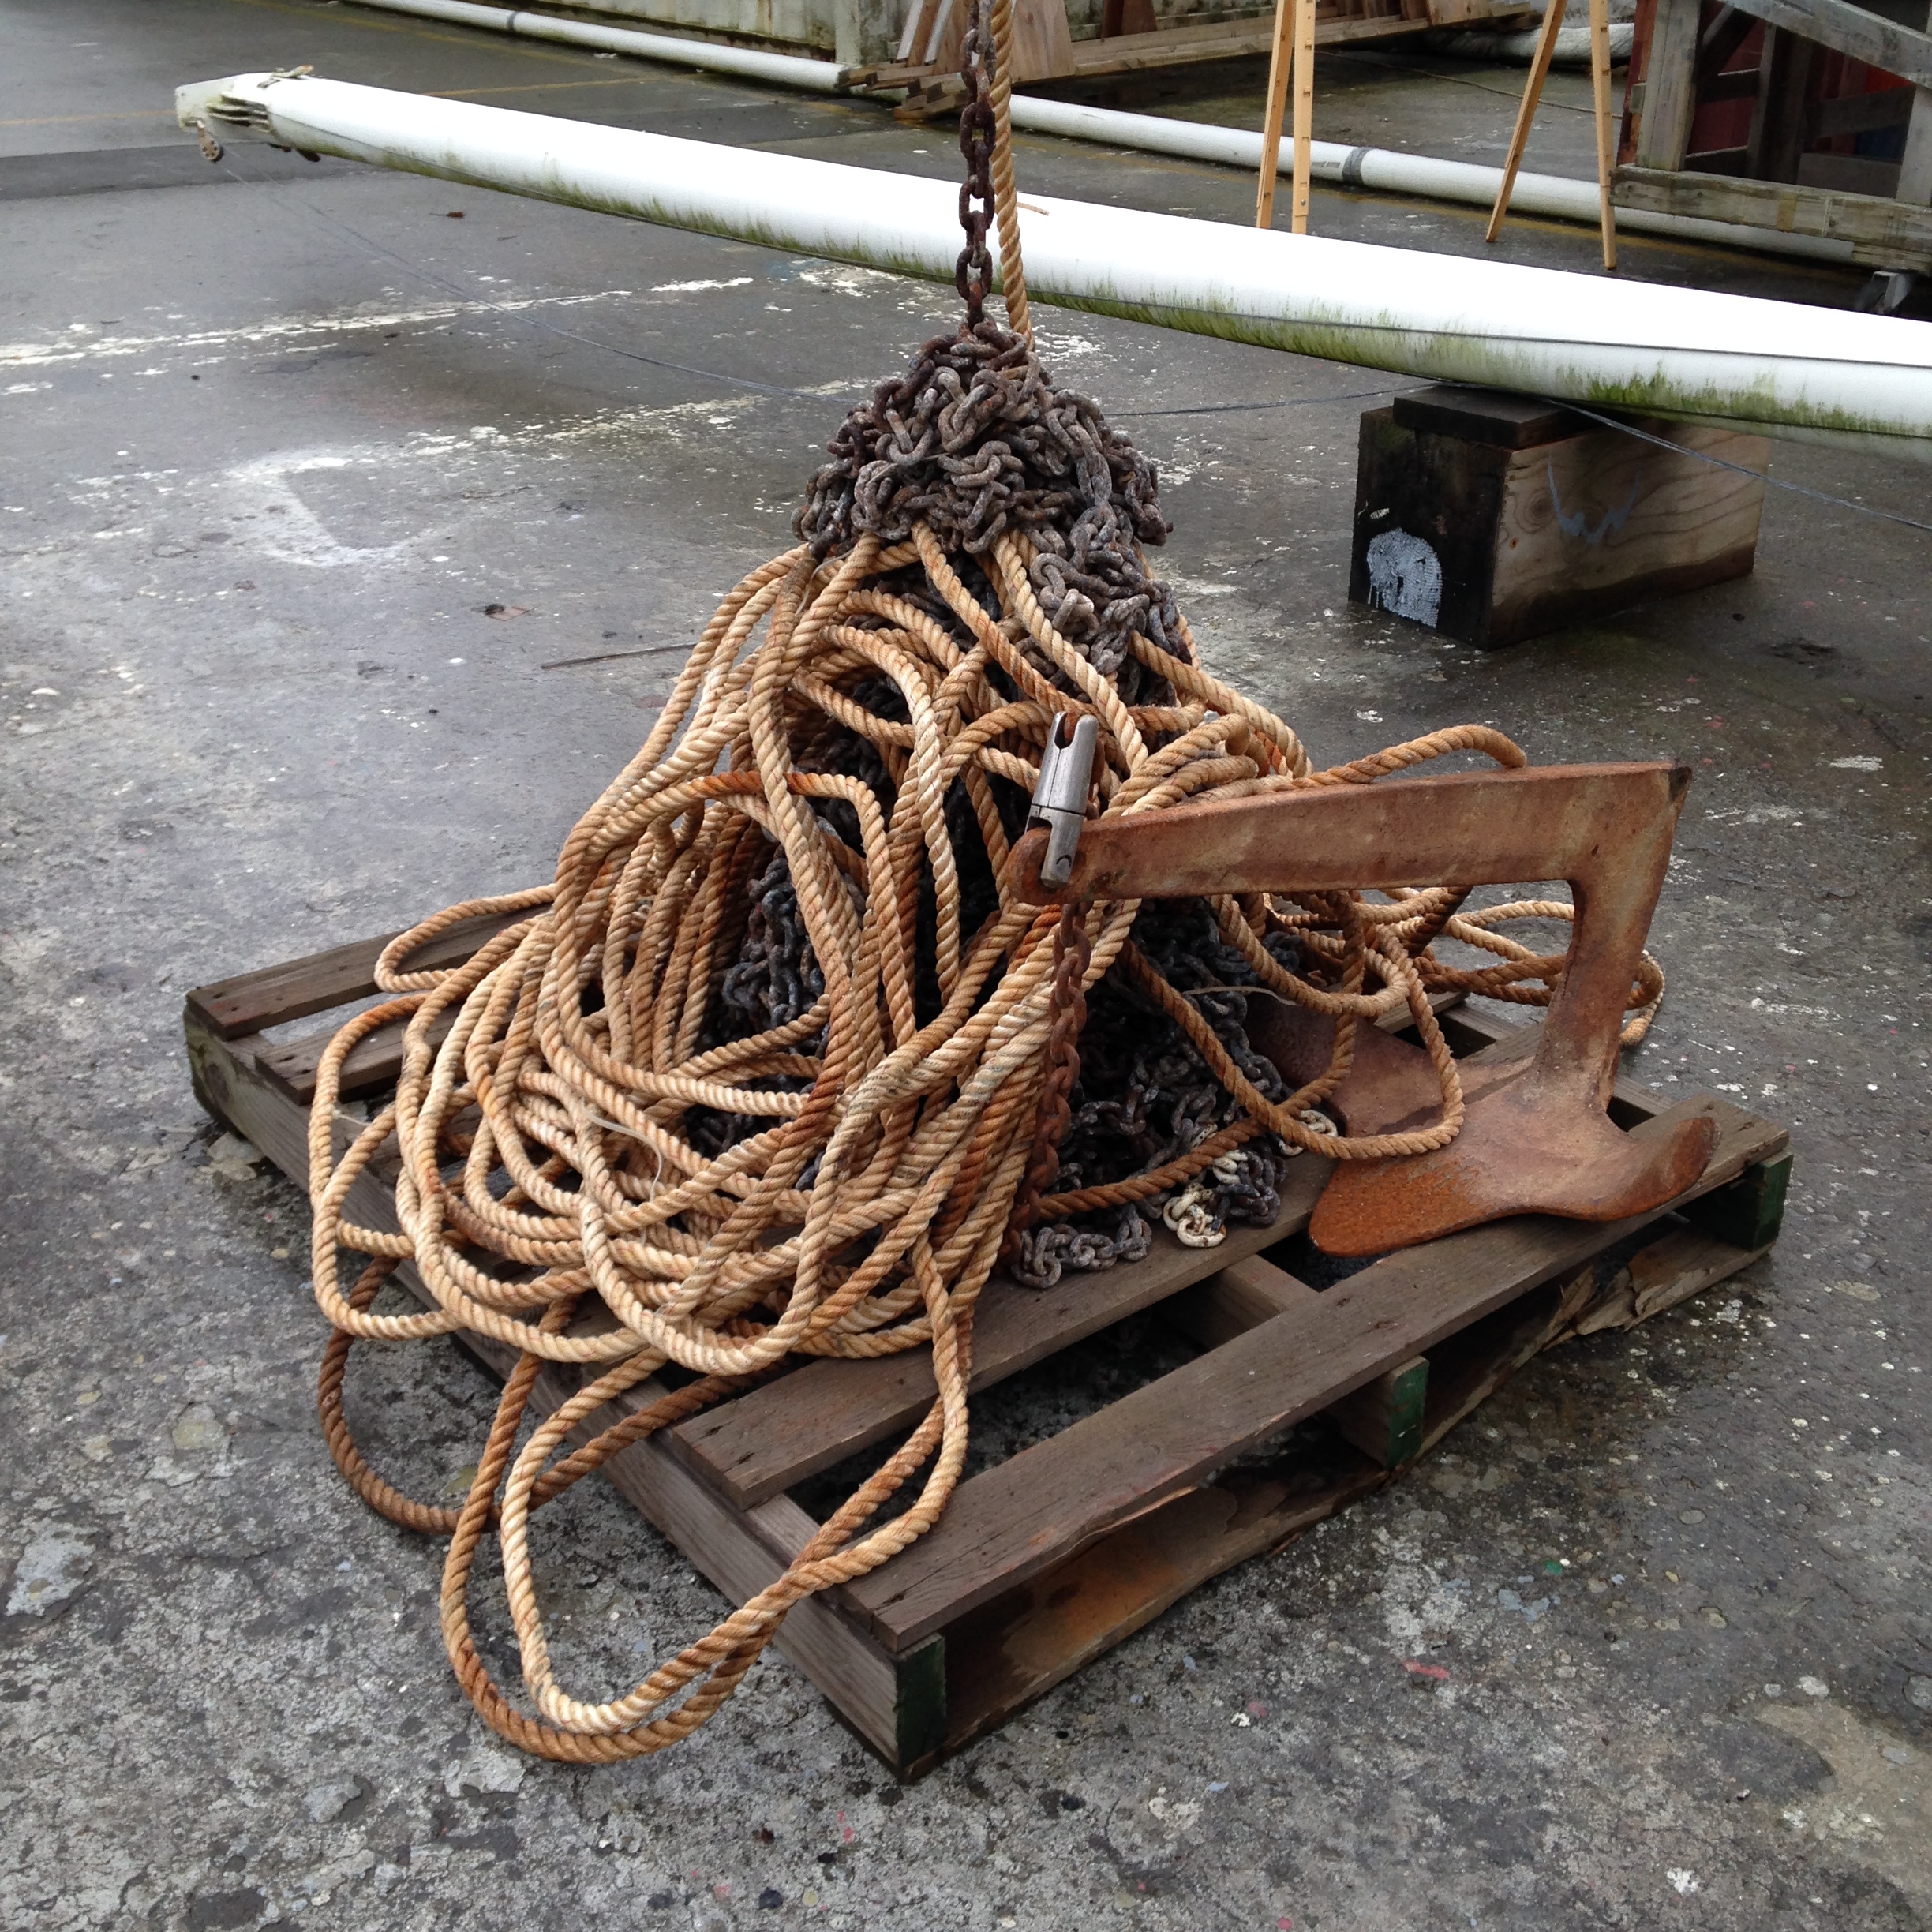
Since we have a soft spot on the foredeck, I decided to drop the anchor so that I would have access to the deck from underneath. The primary anchor is a big old rusty bruce, and the secondary a big old (not as bad) rusty CQR. After about 15 minutes of trying to free up the windlass (add a windlass rebuild to the project page) down went the bruce with a mighty crash. Good thing the marina yard cats weren’t sitting on the pallet I had placed there. The majority of the chain came out, with the occasional bit of encouragement but there was a lot of rust flakes on the deck. Next I let go the secondary chain.

IMG_0590 
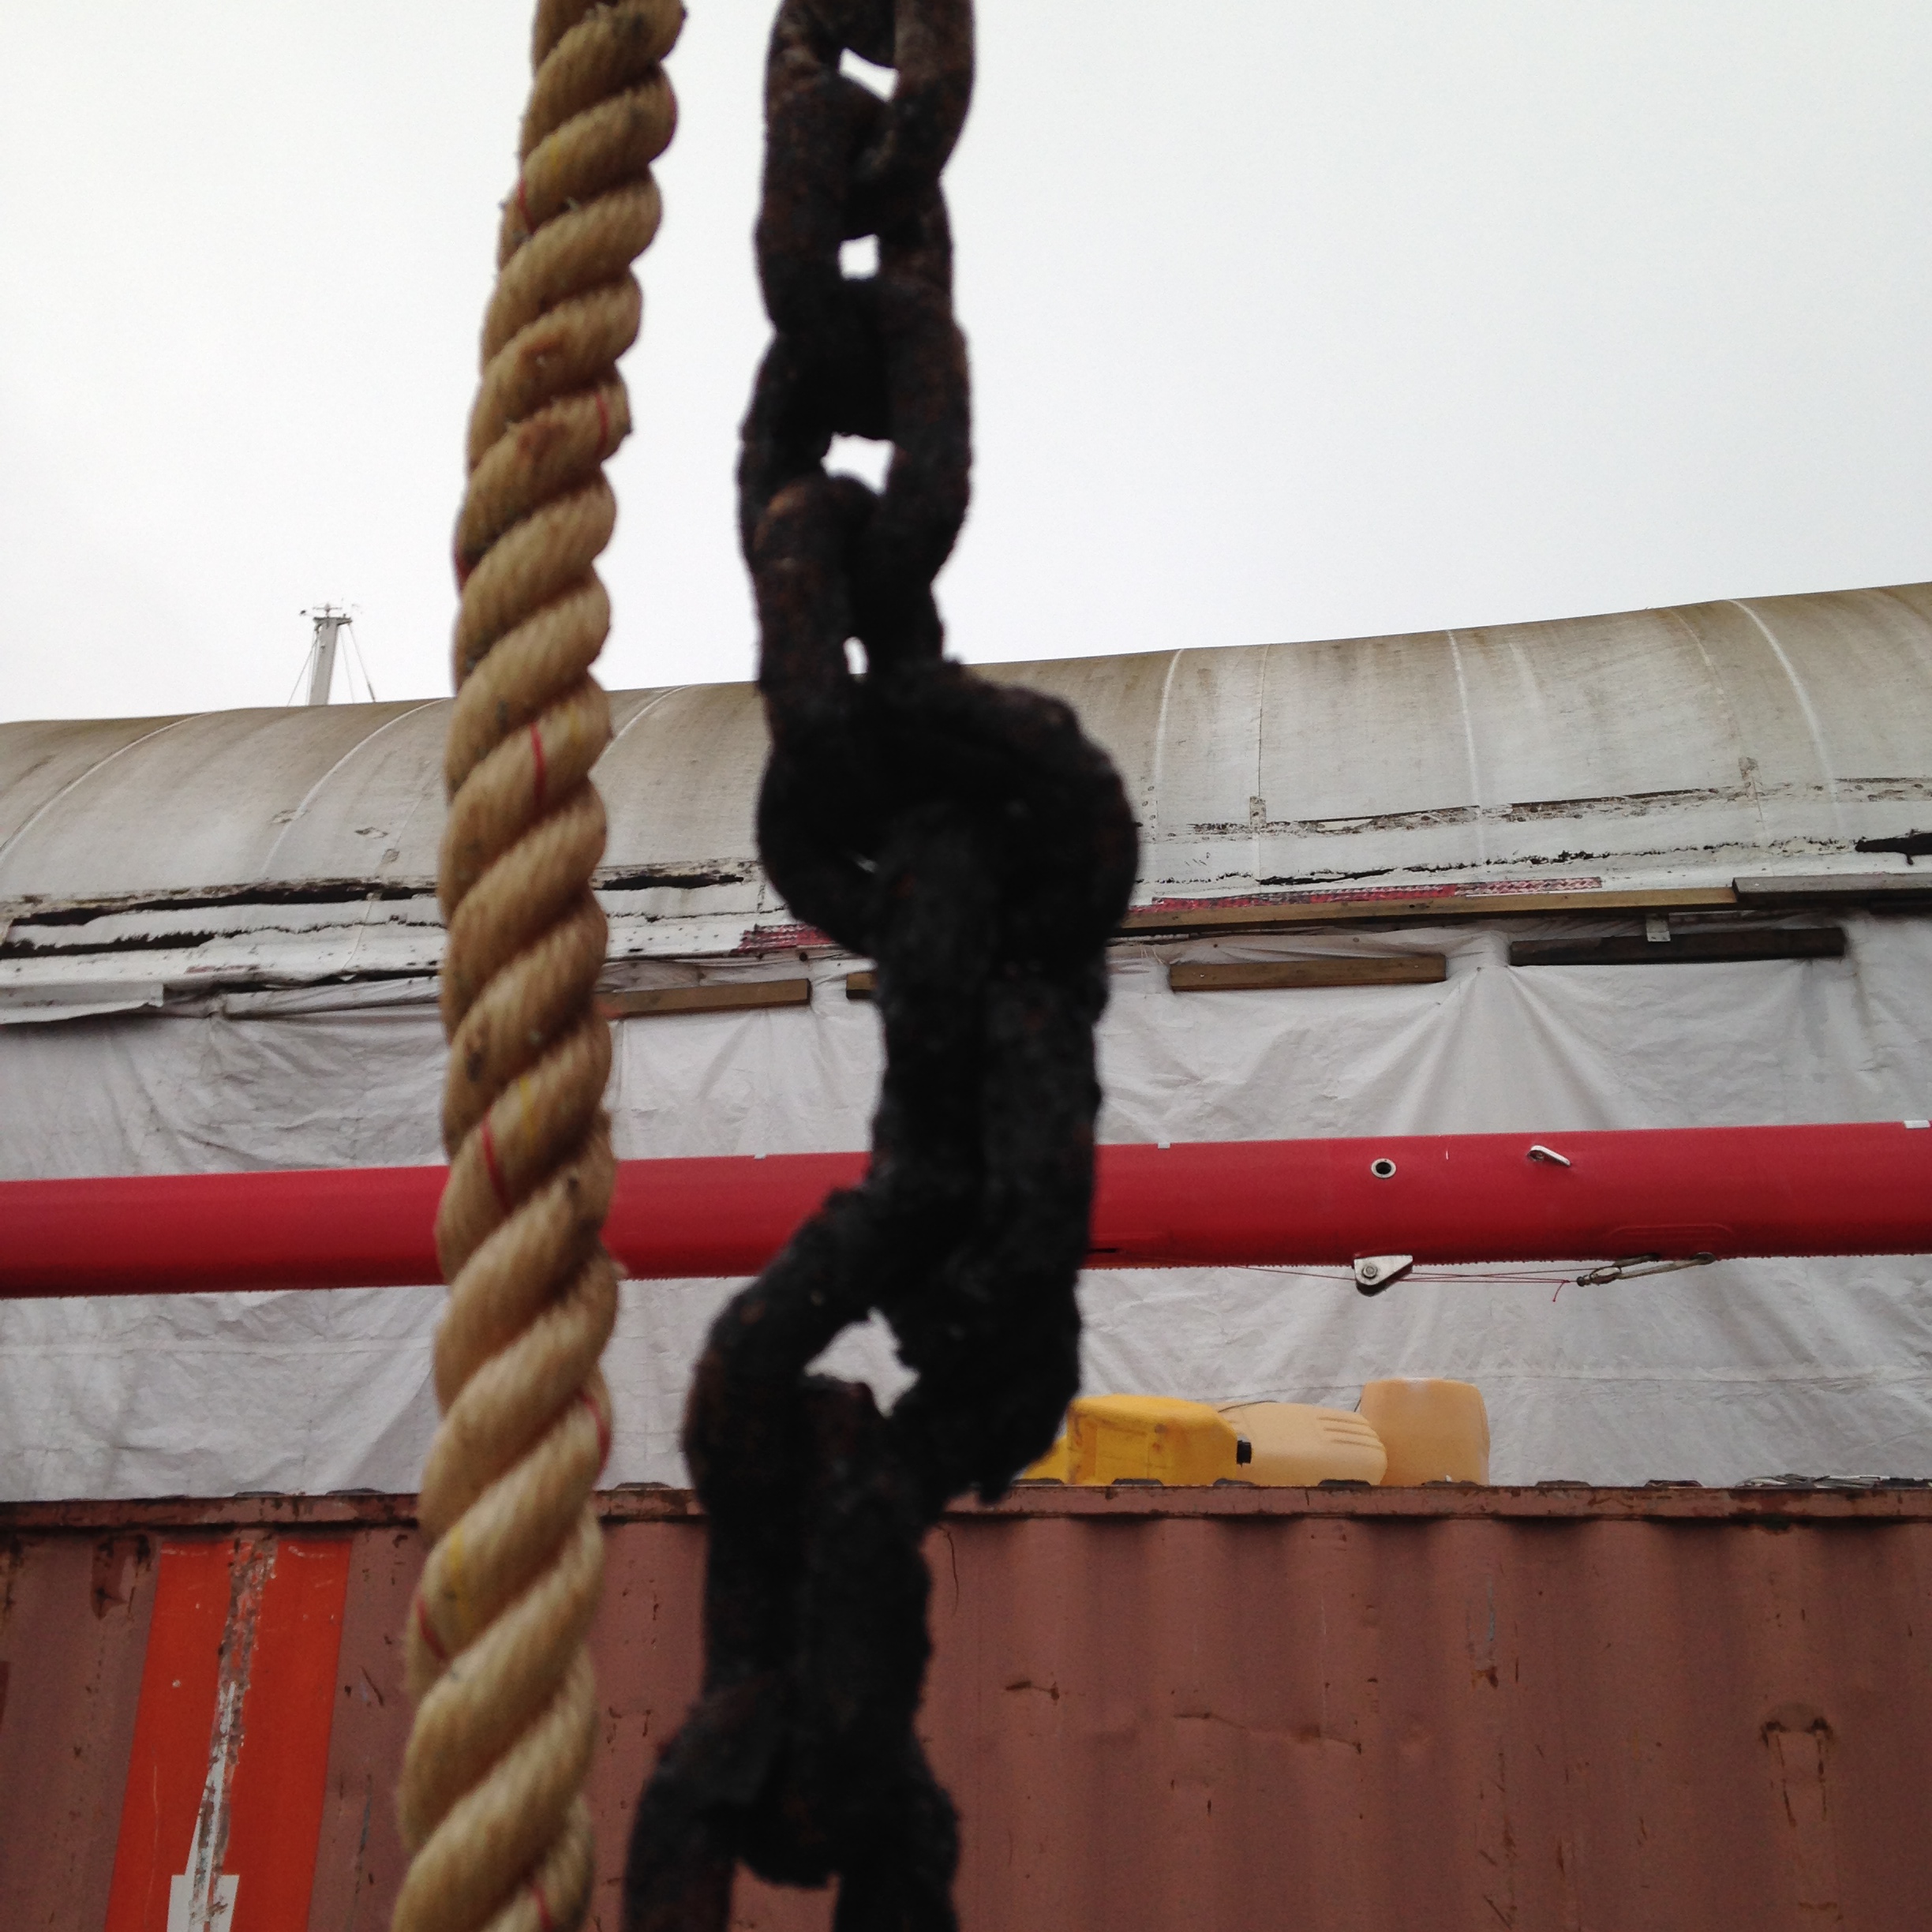
This time I was not so lucky. about 1/4 of it did come out but then it came to an abrupt stop. Nothing I did would make it come out any more. I went back inside, climbed into the vberth and the reason became quickly obvious.

IMG_0584
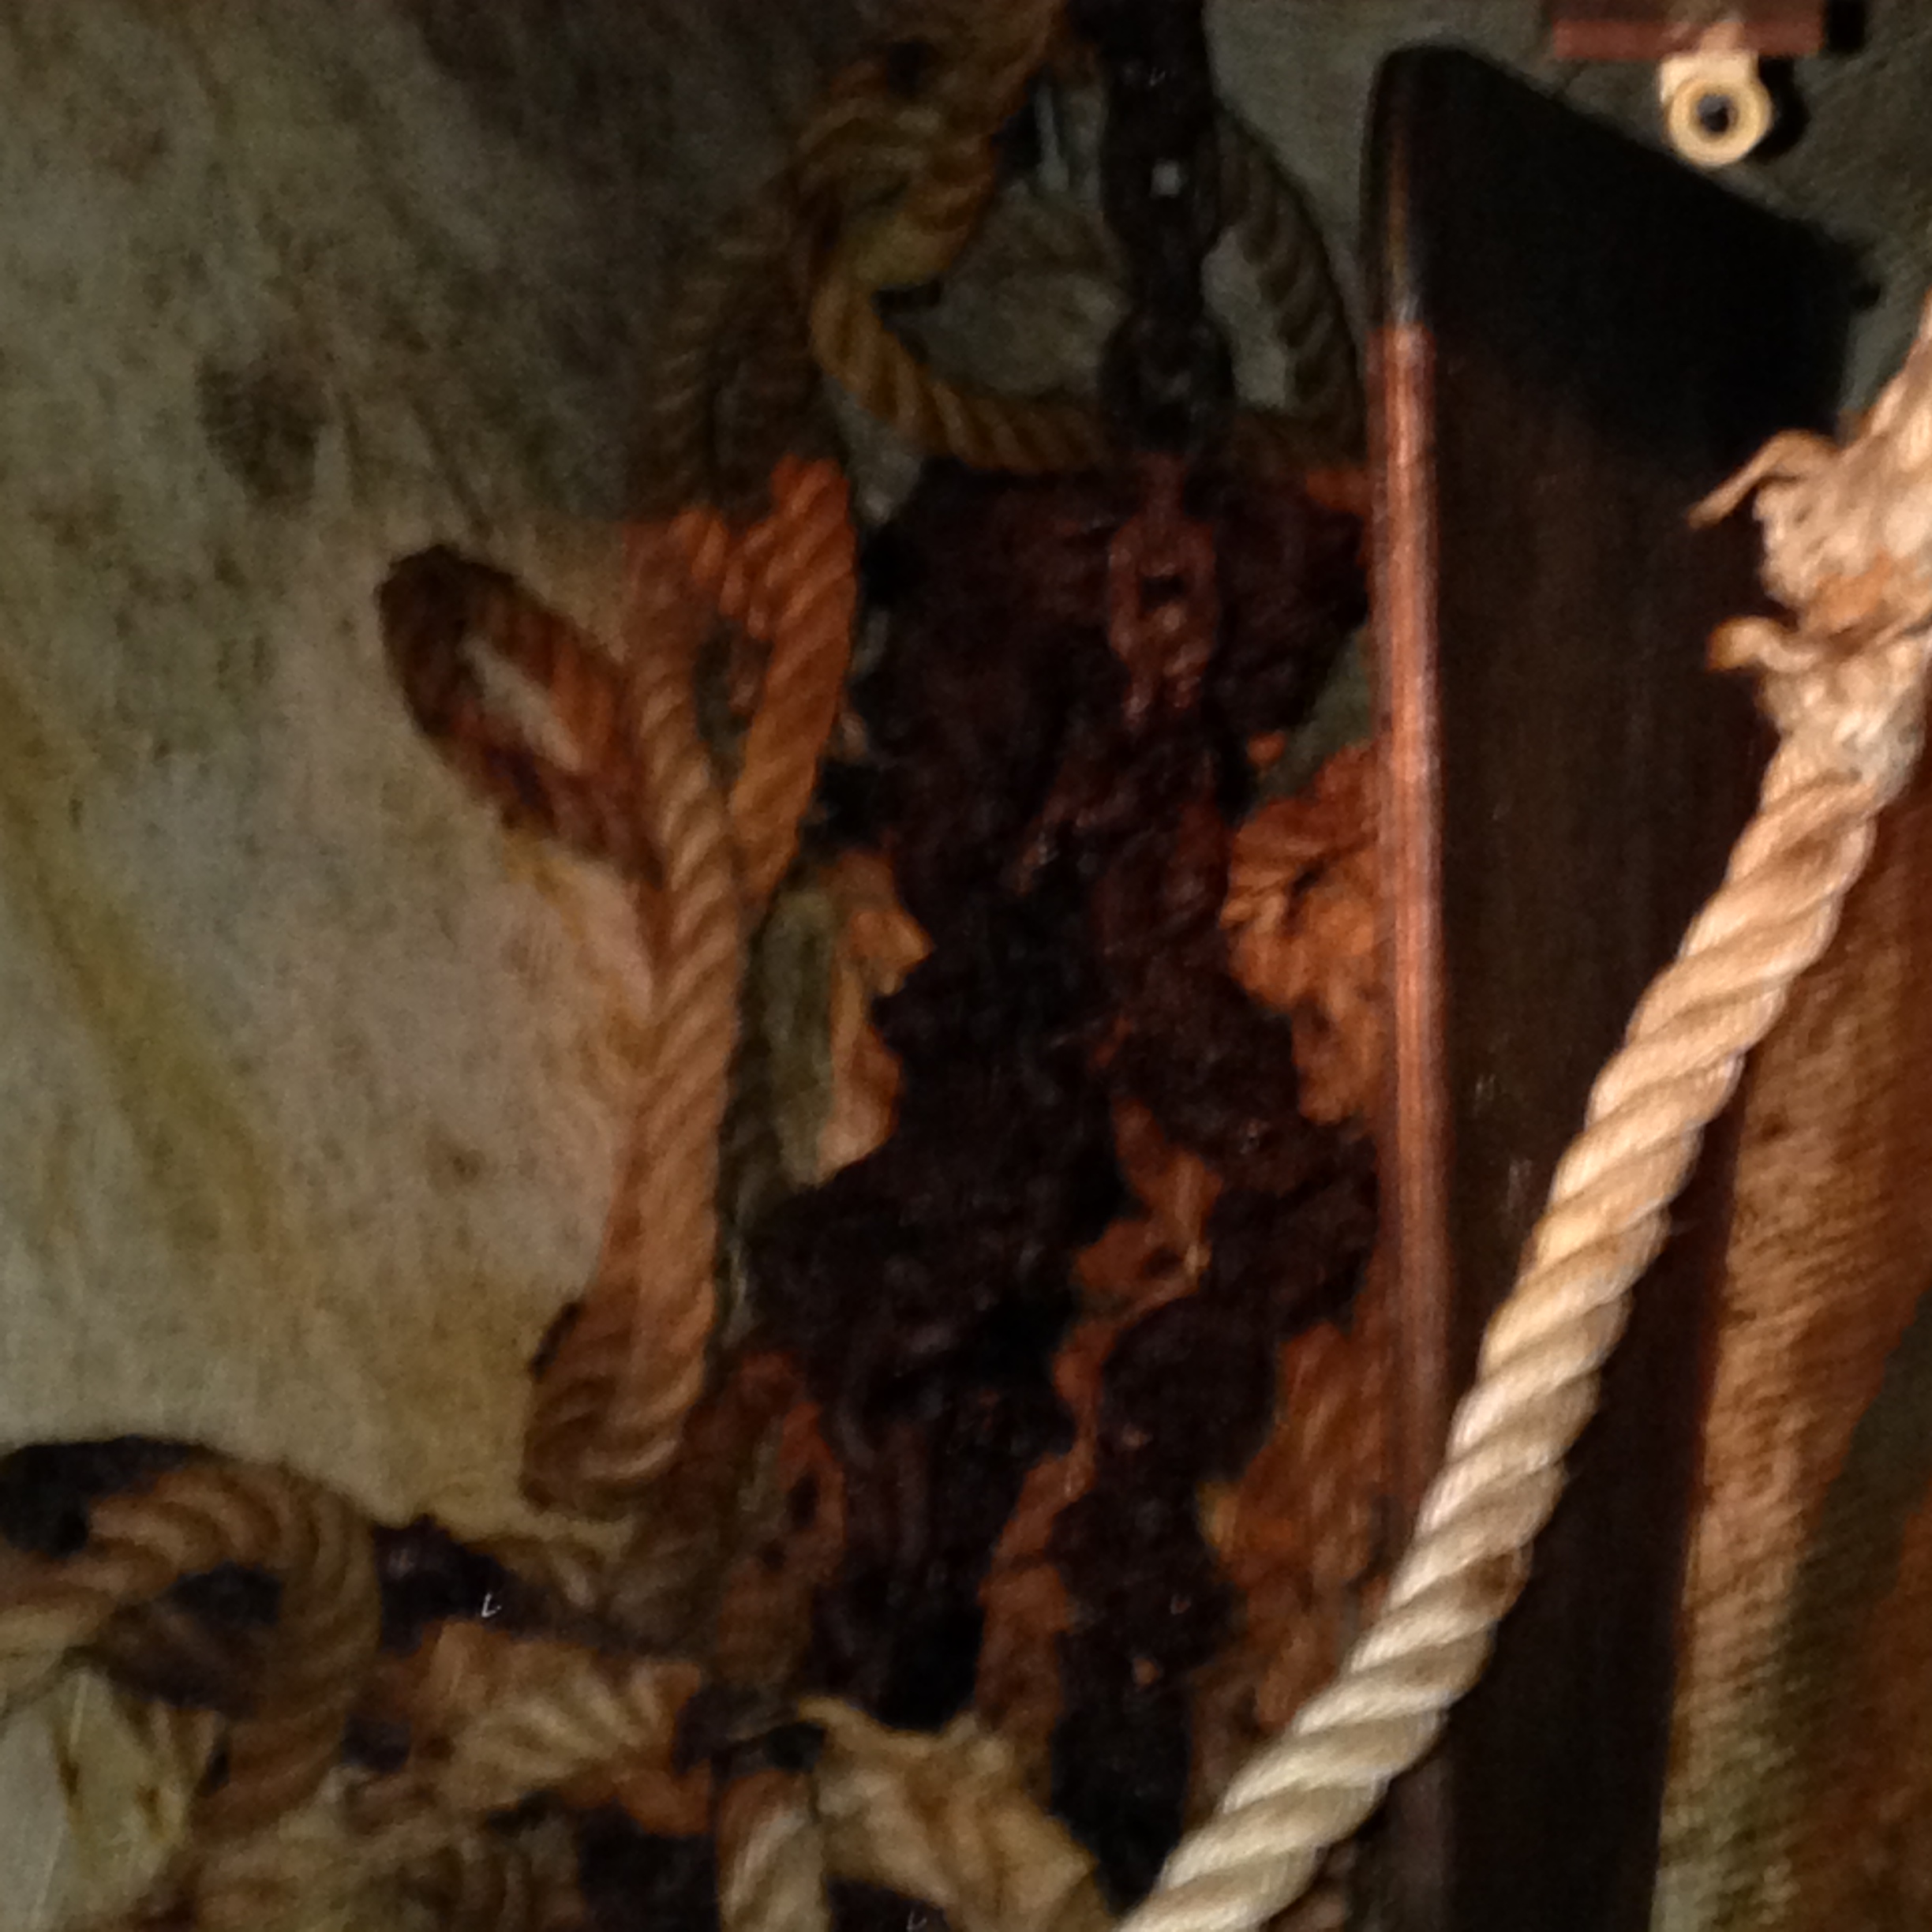
The majority of the rest of the chain is a giant rust ball. I will need to return with my grinder to cut it up and dispose of it. (Add a quote for 500 feet of new chain to the costs page.)

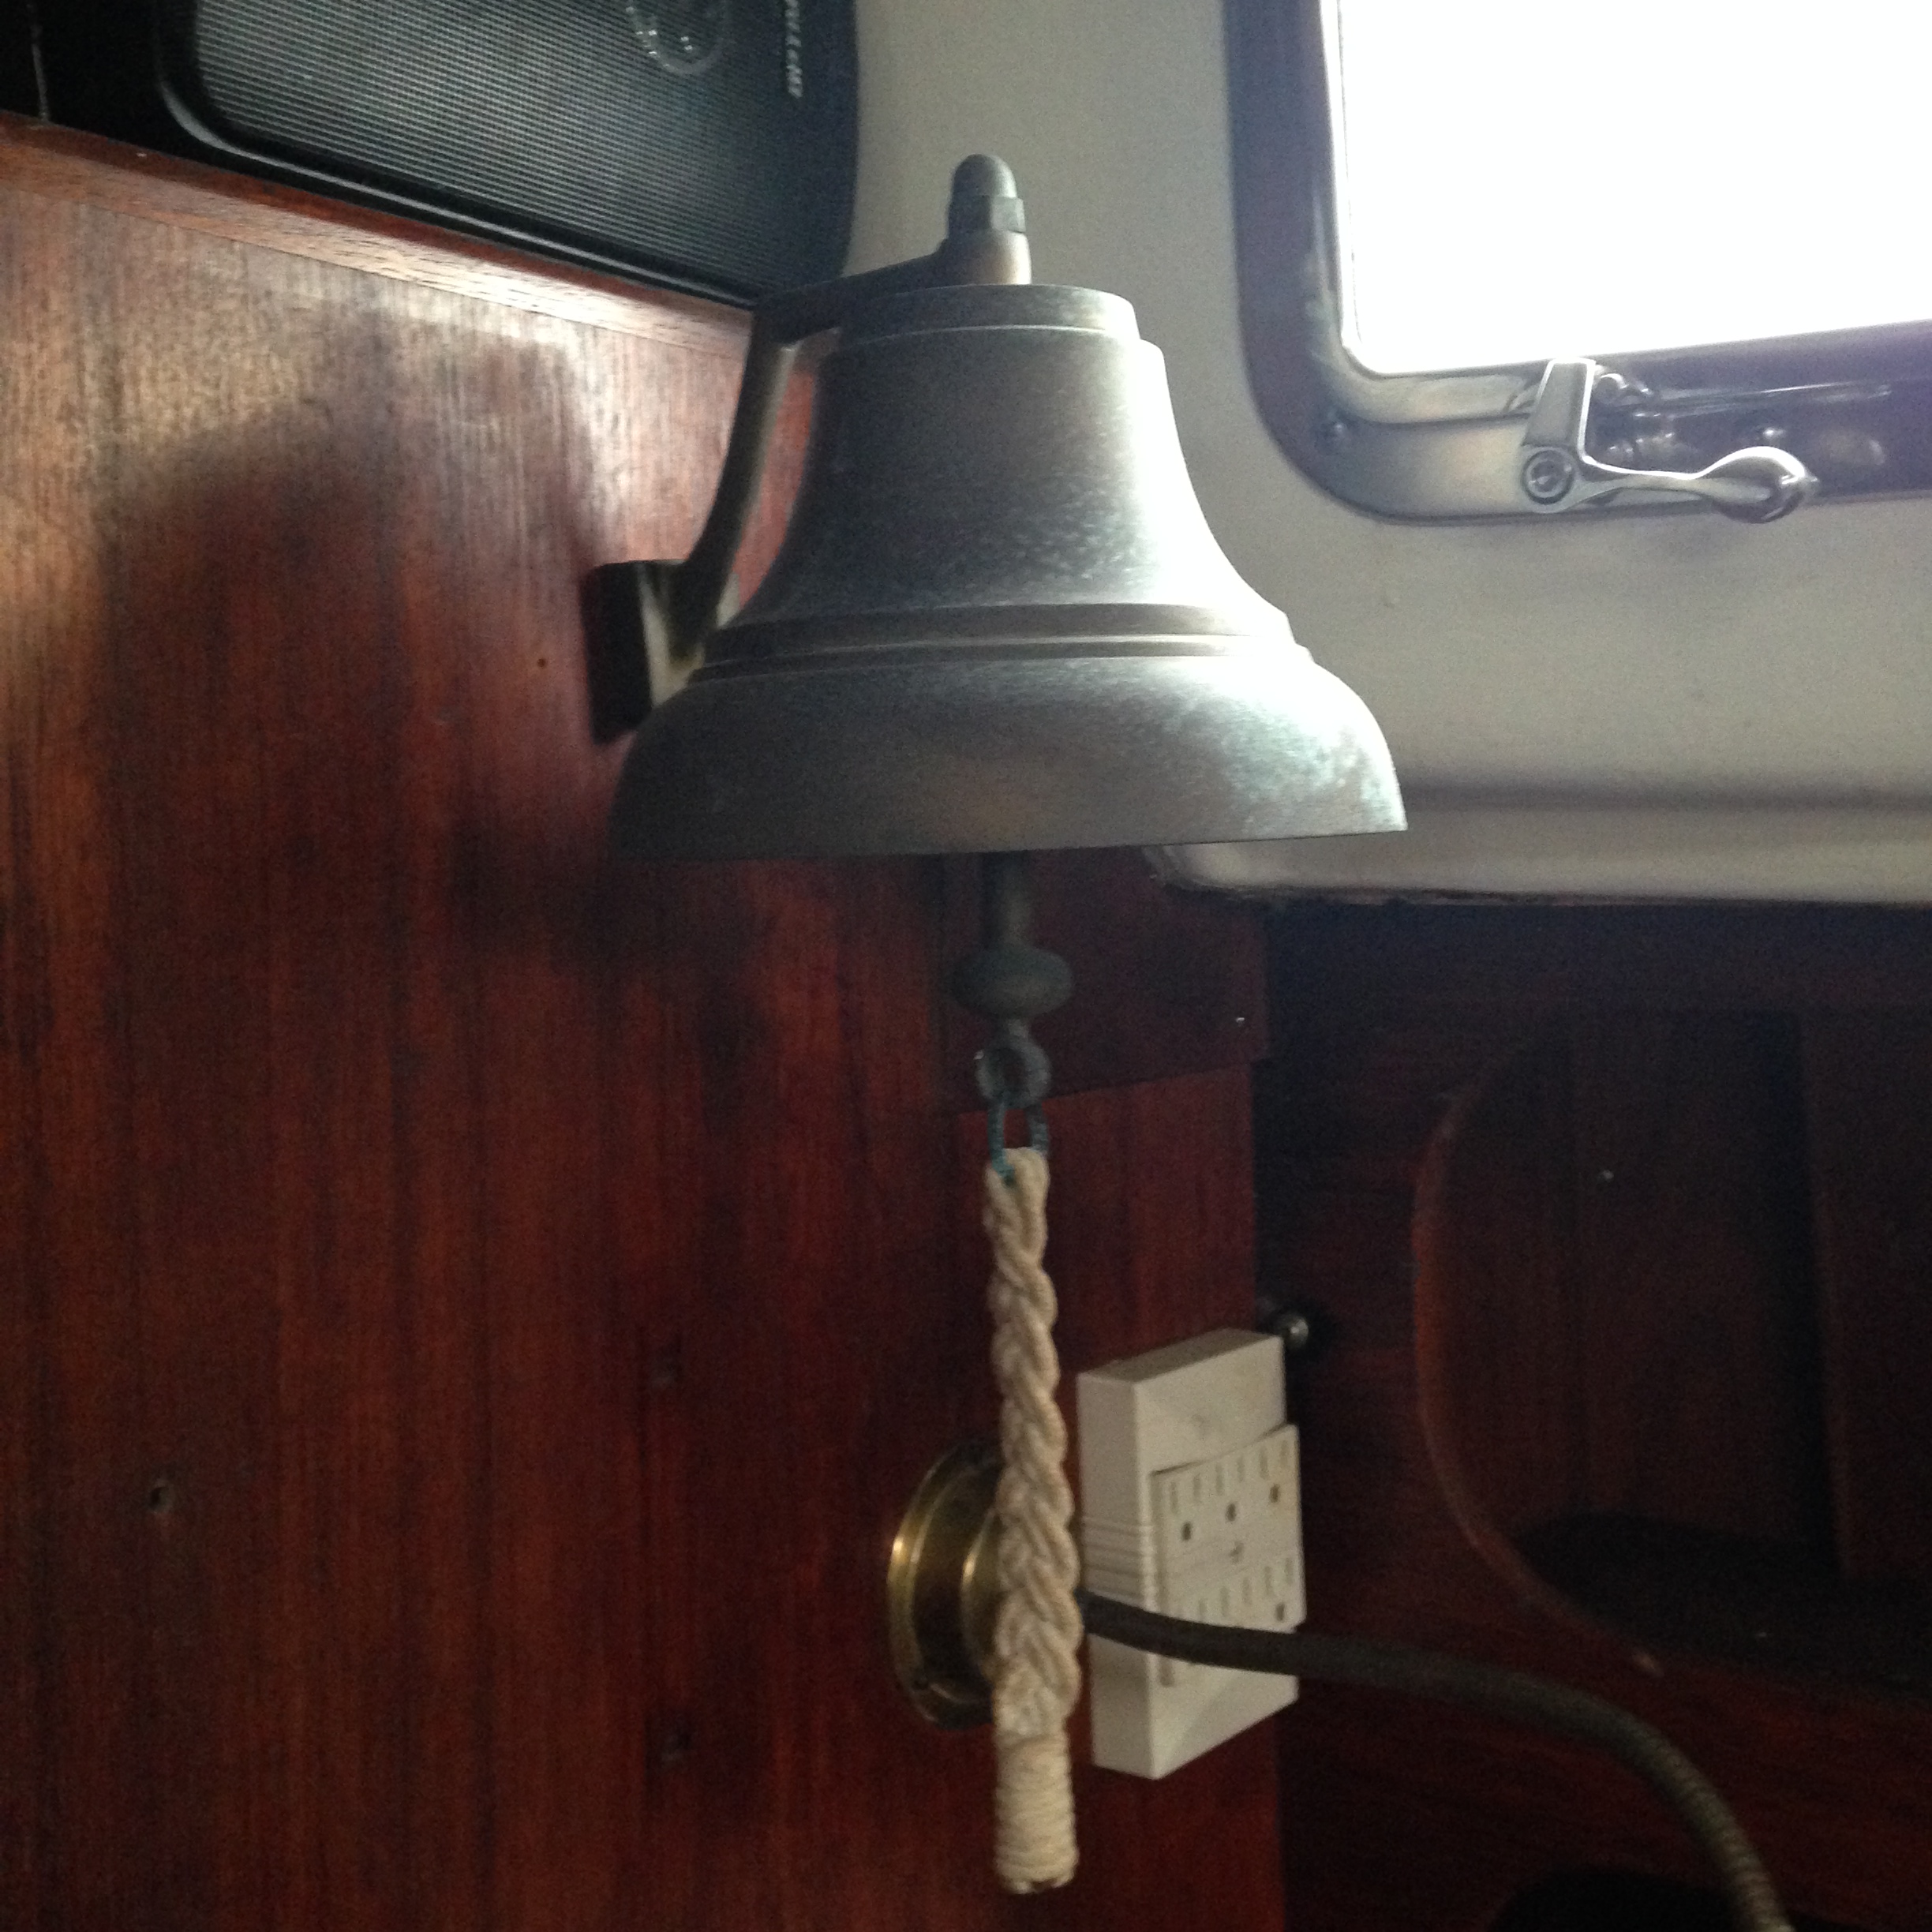
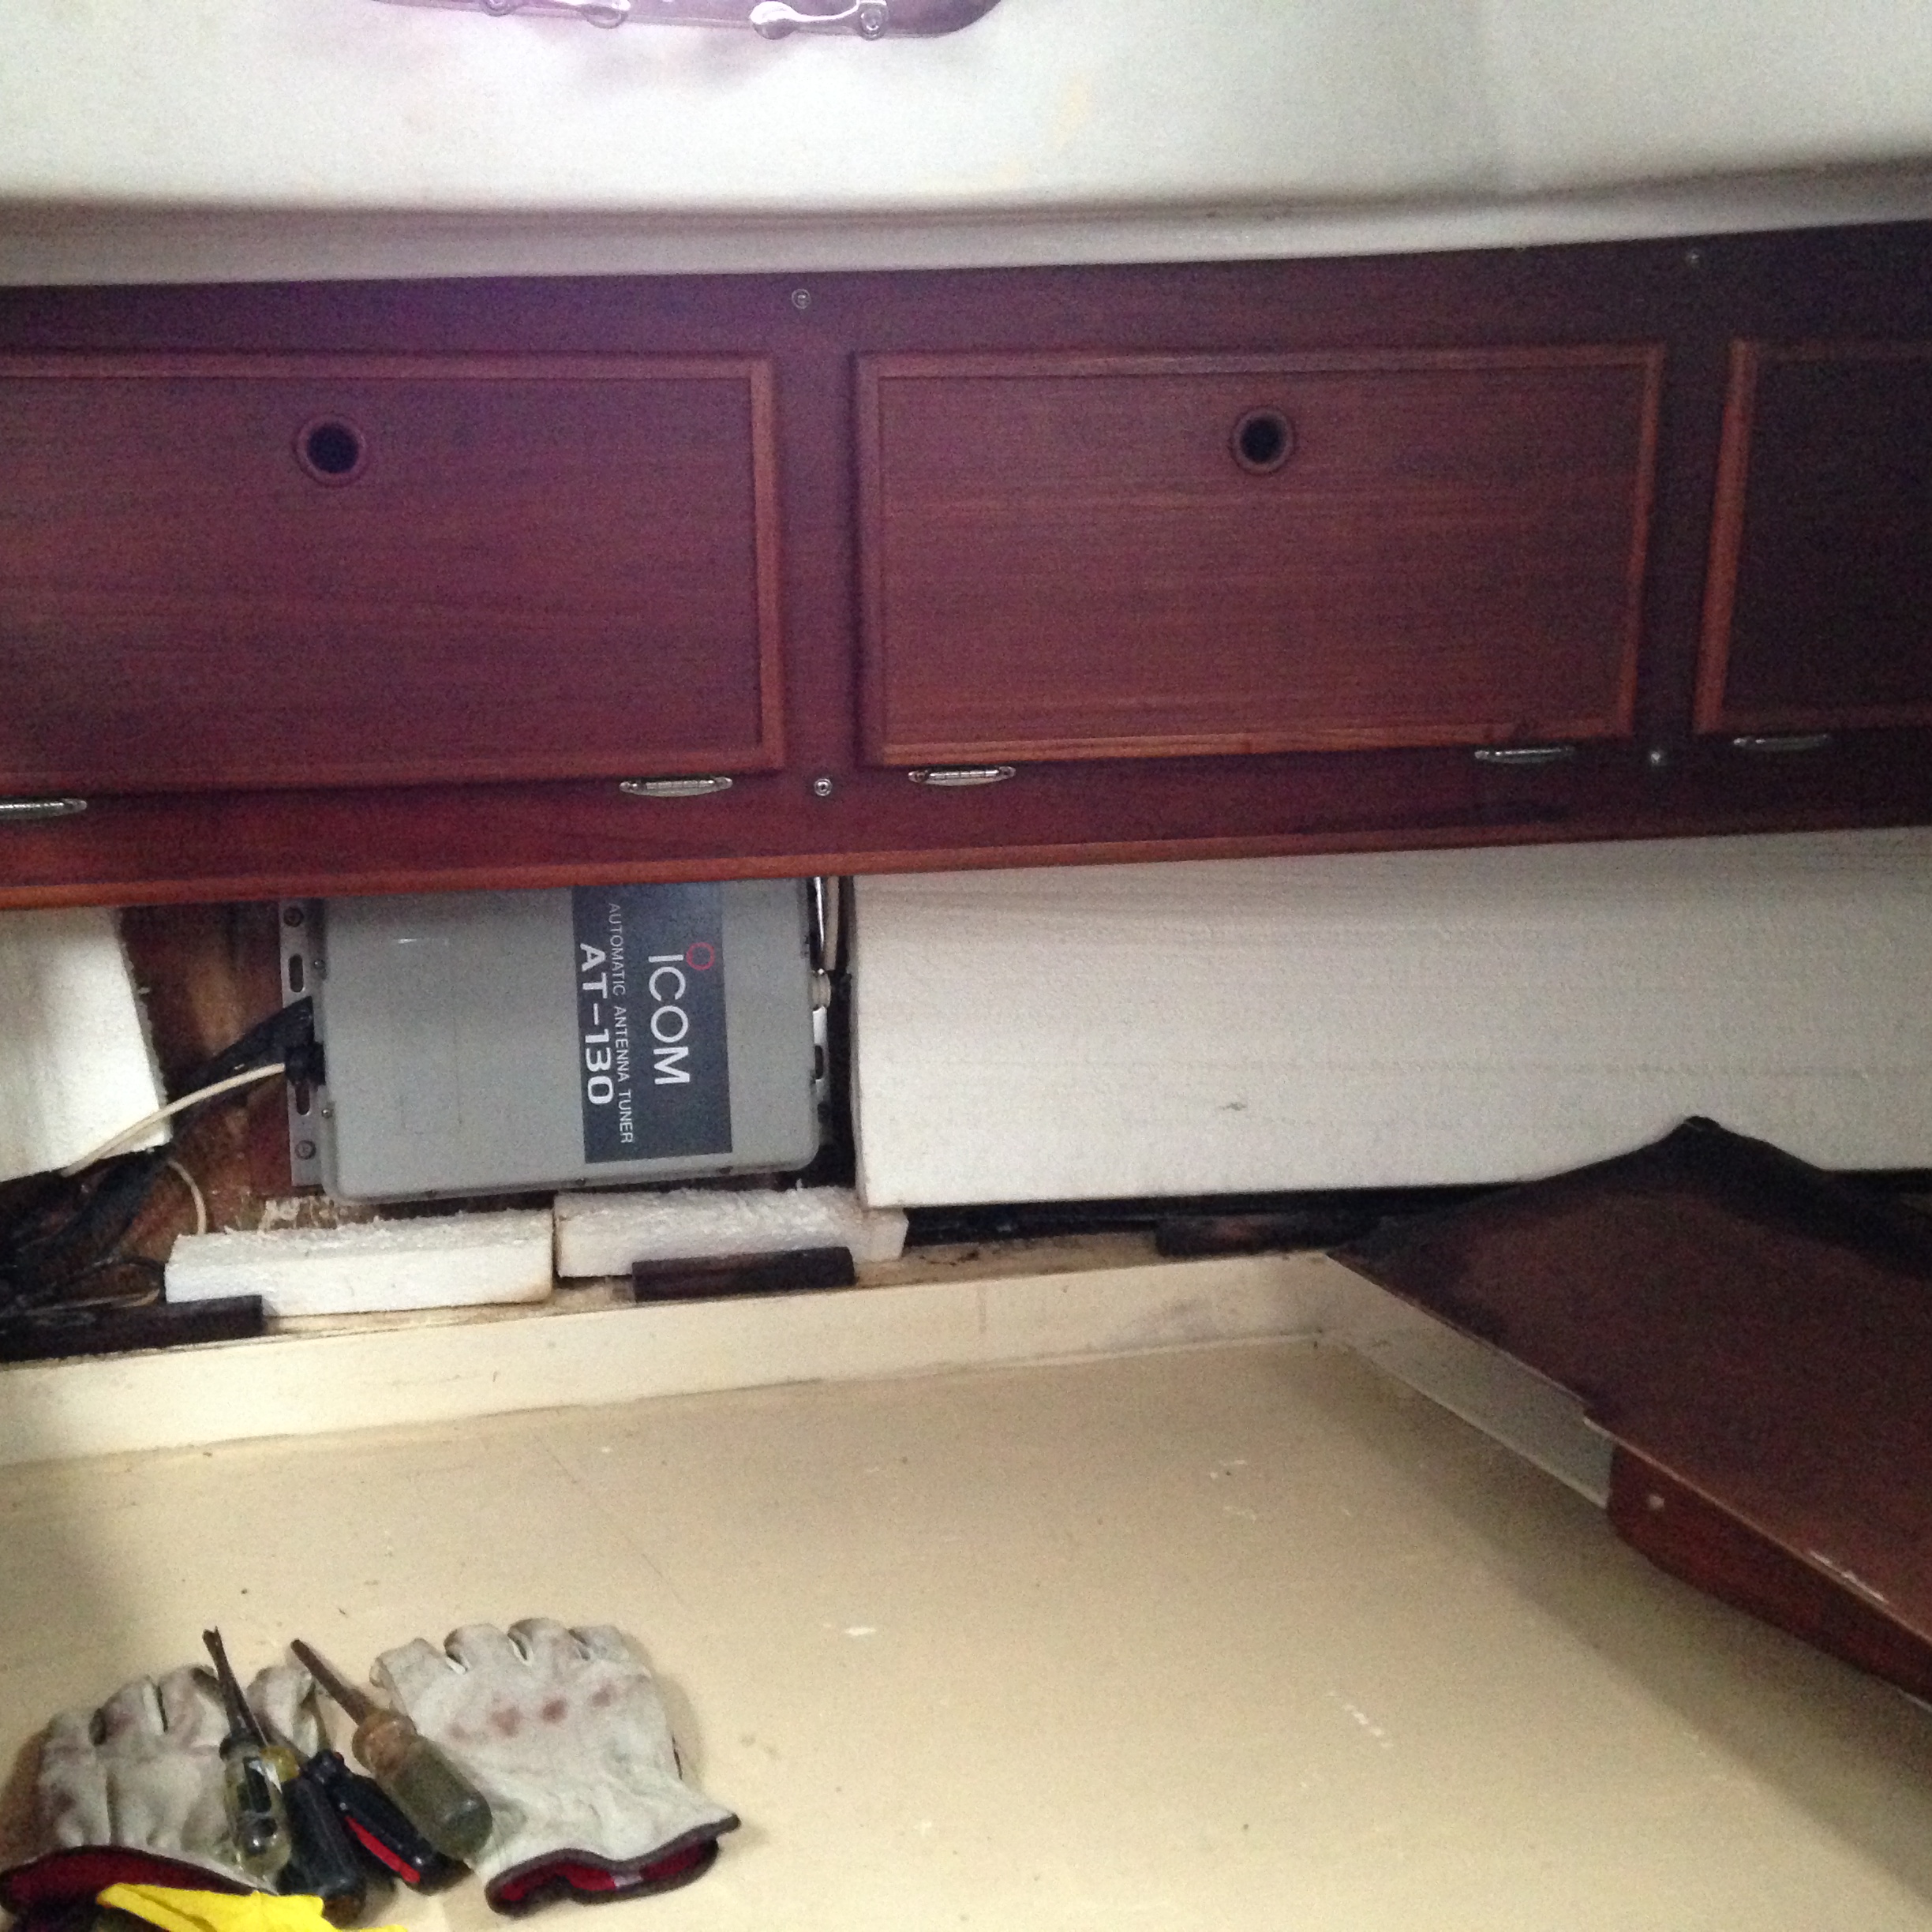
I made some progress today in other areas. I finally managed to track down where the auto tuner for the SSB is. It is behind the panel in the aft cabin.

IMG_0577

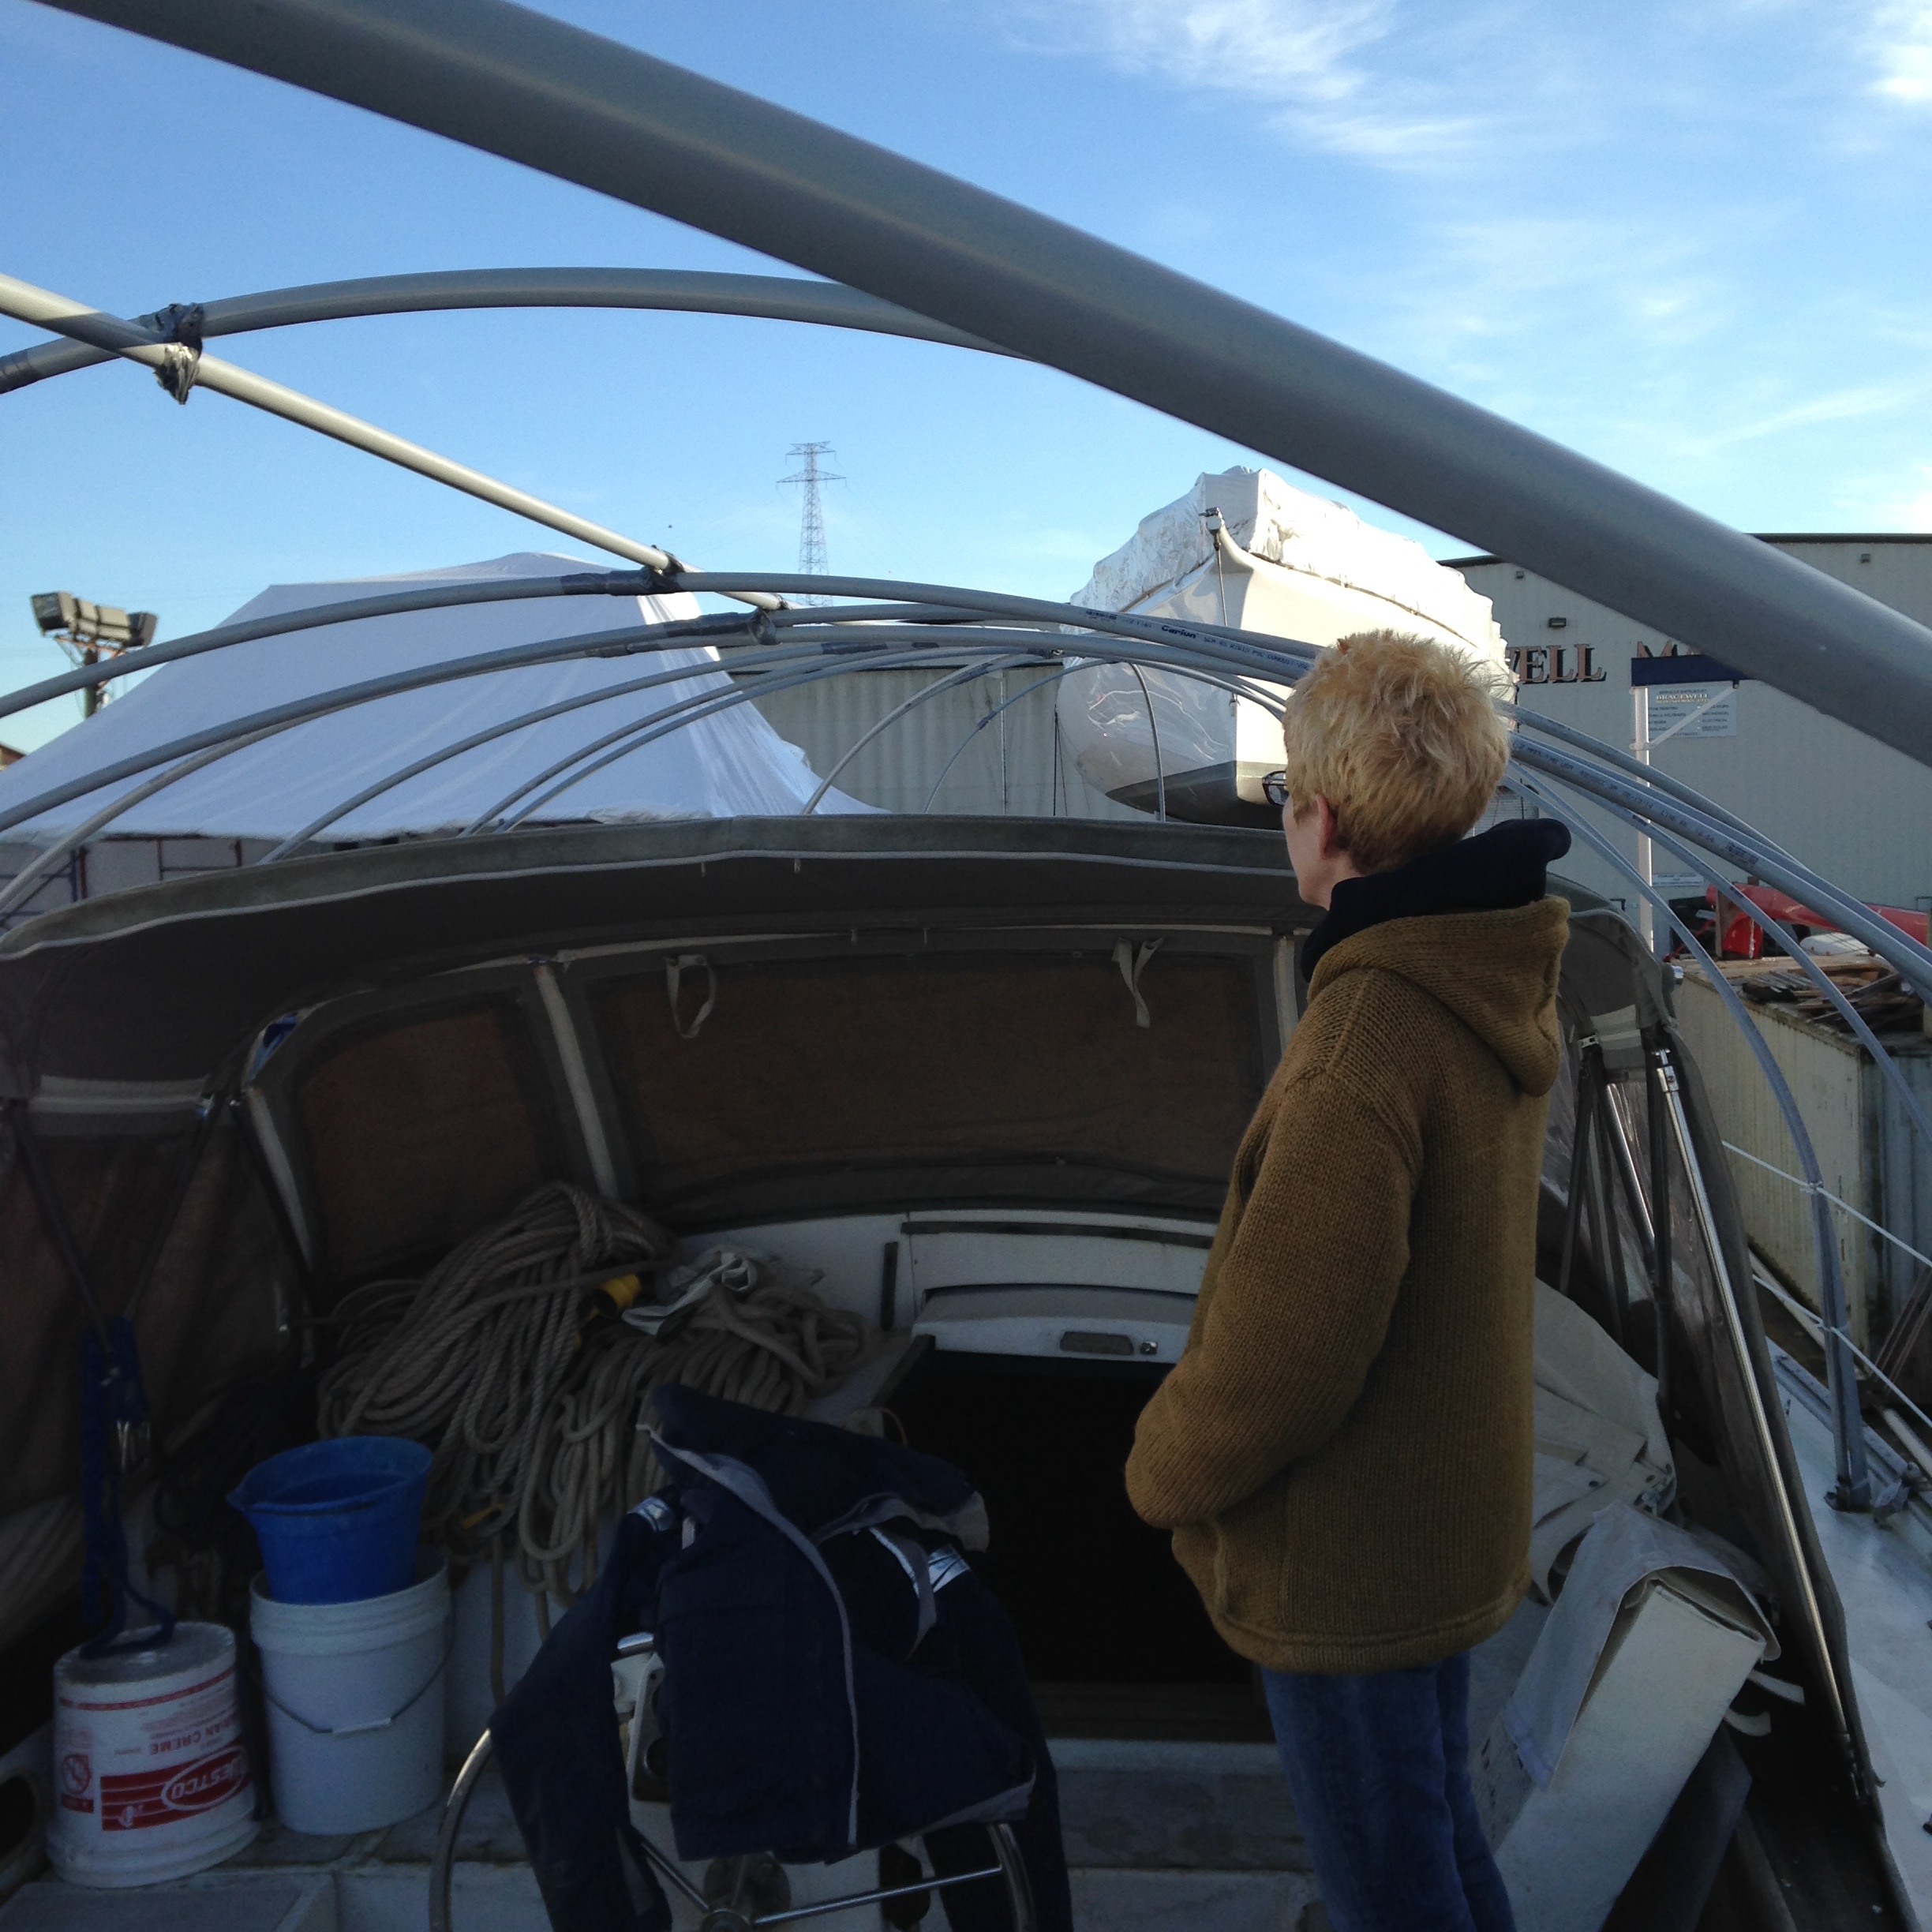
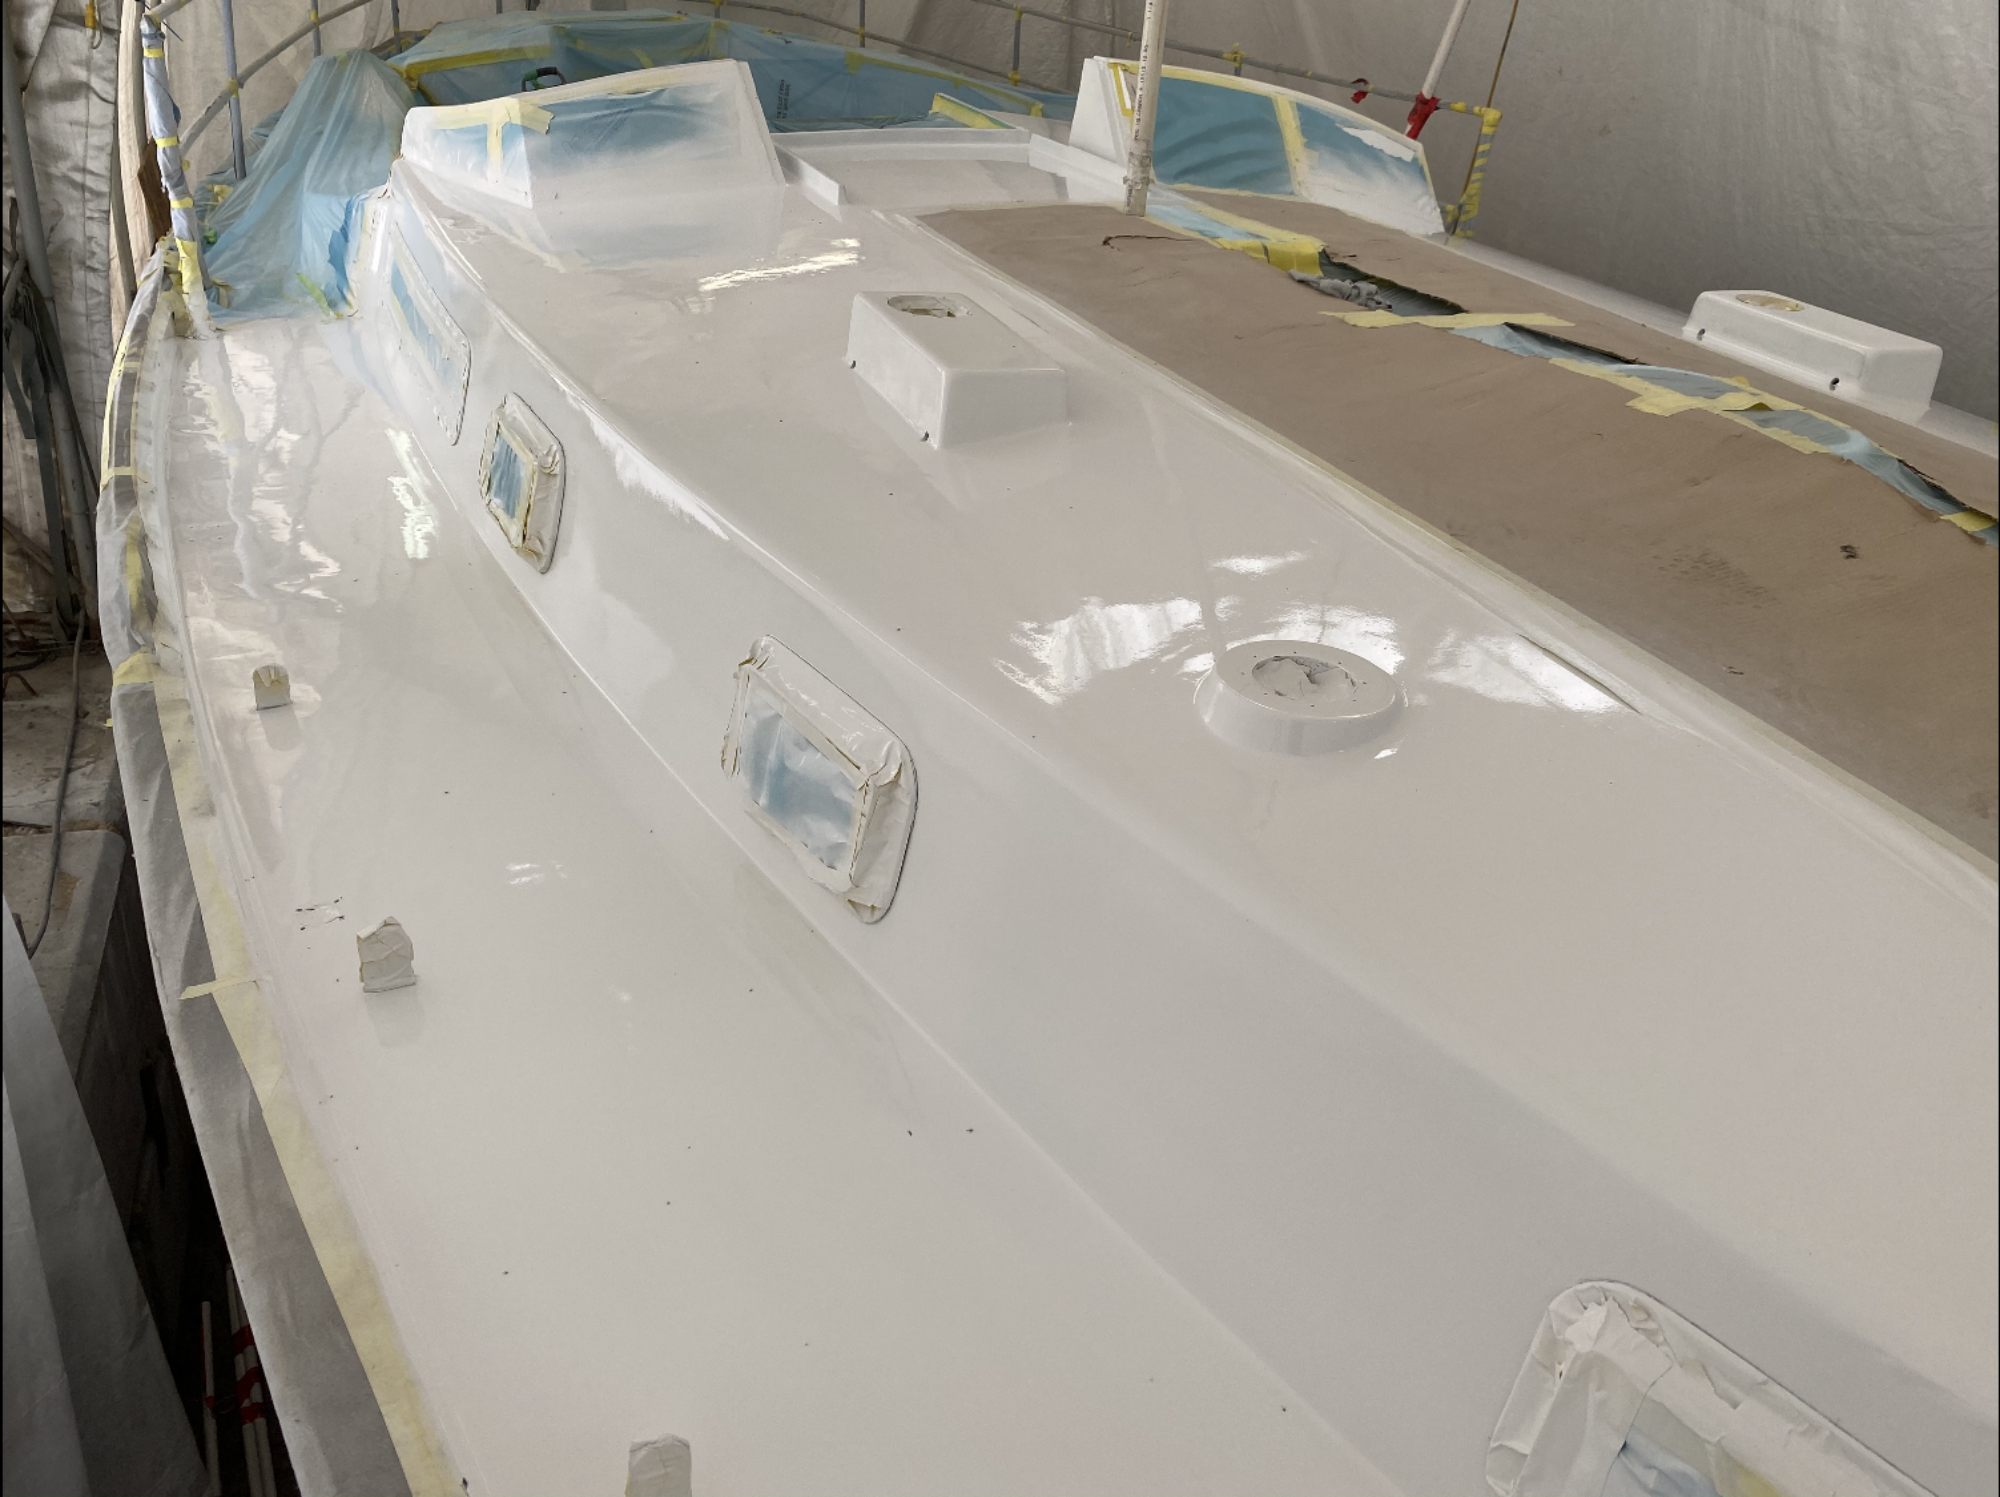
I completed removing all of the stuff from the aft cabin, the nav station, and the vberth as well as both heads. Unfortunately I now have a small mountain of stuff to remove from Akupara so that we can begin to work.

IMG_0581

IMG_0582


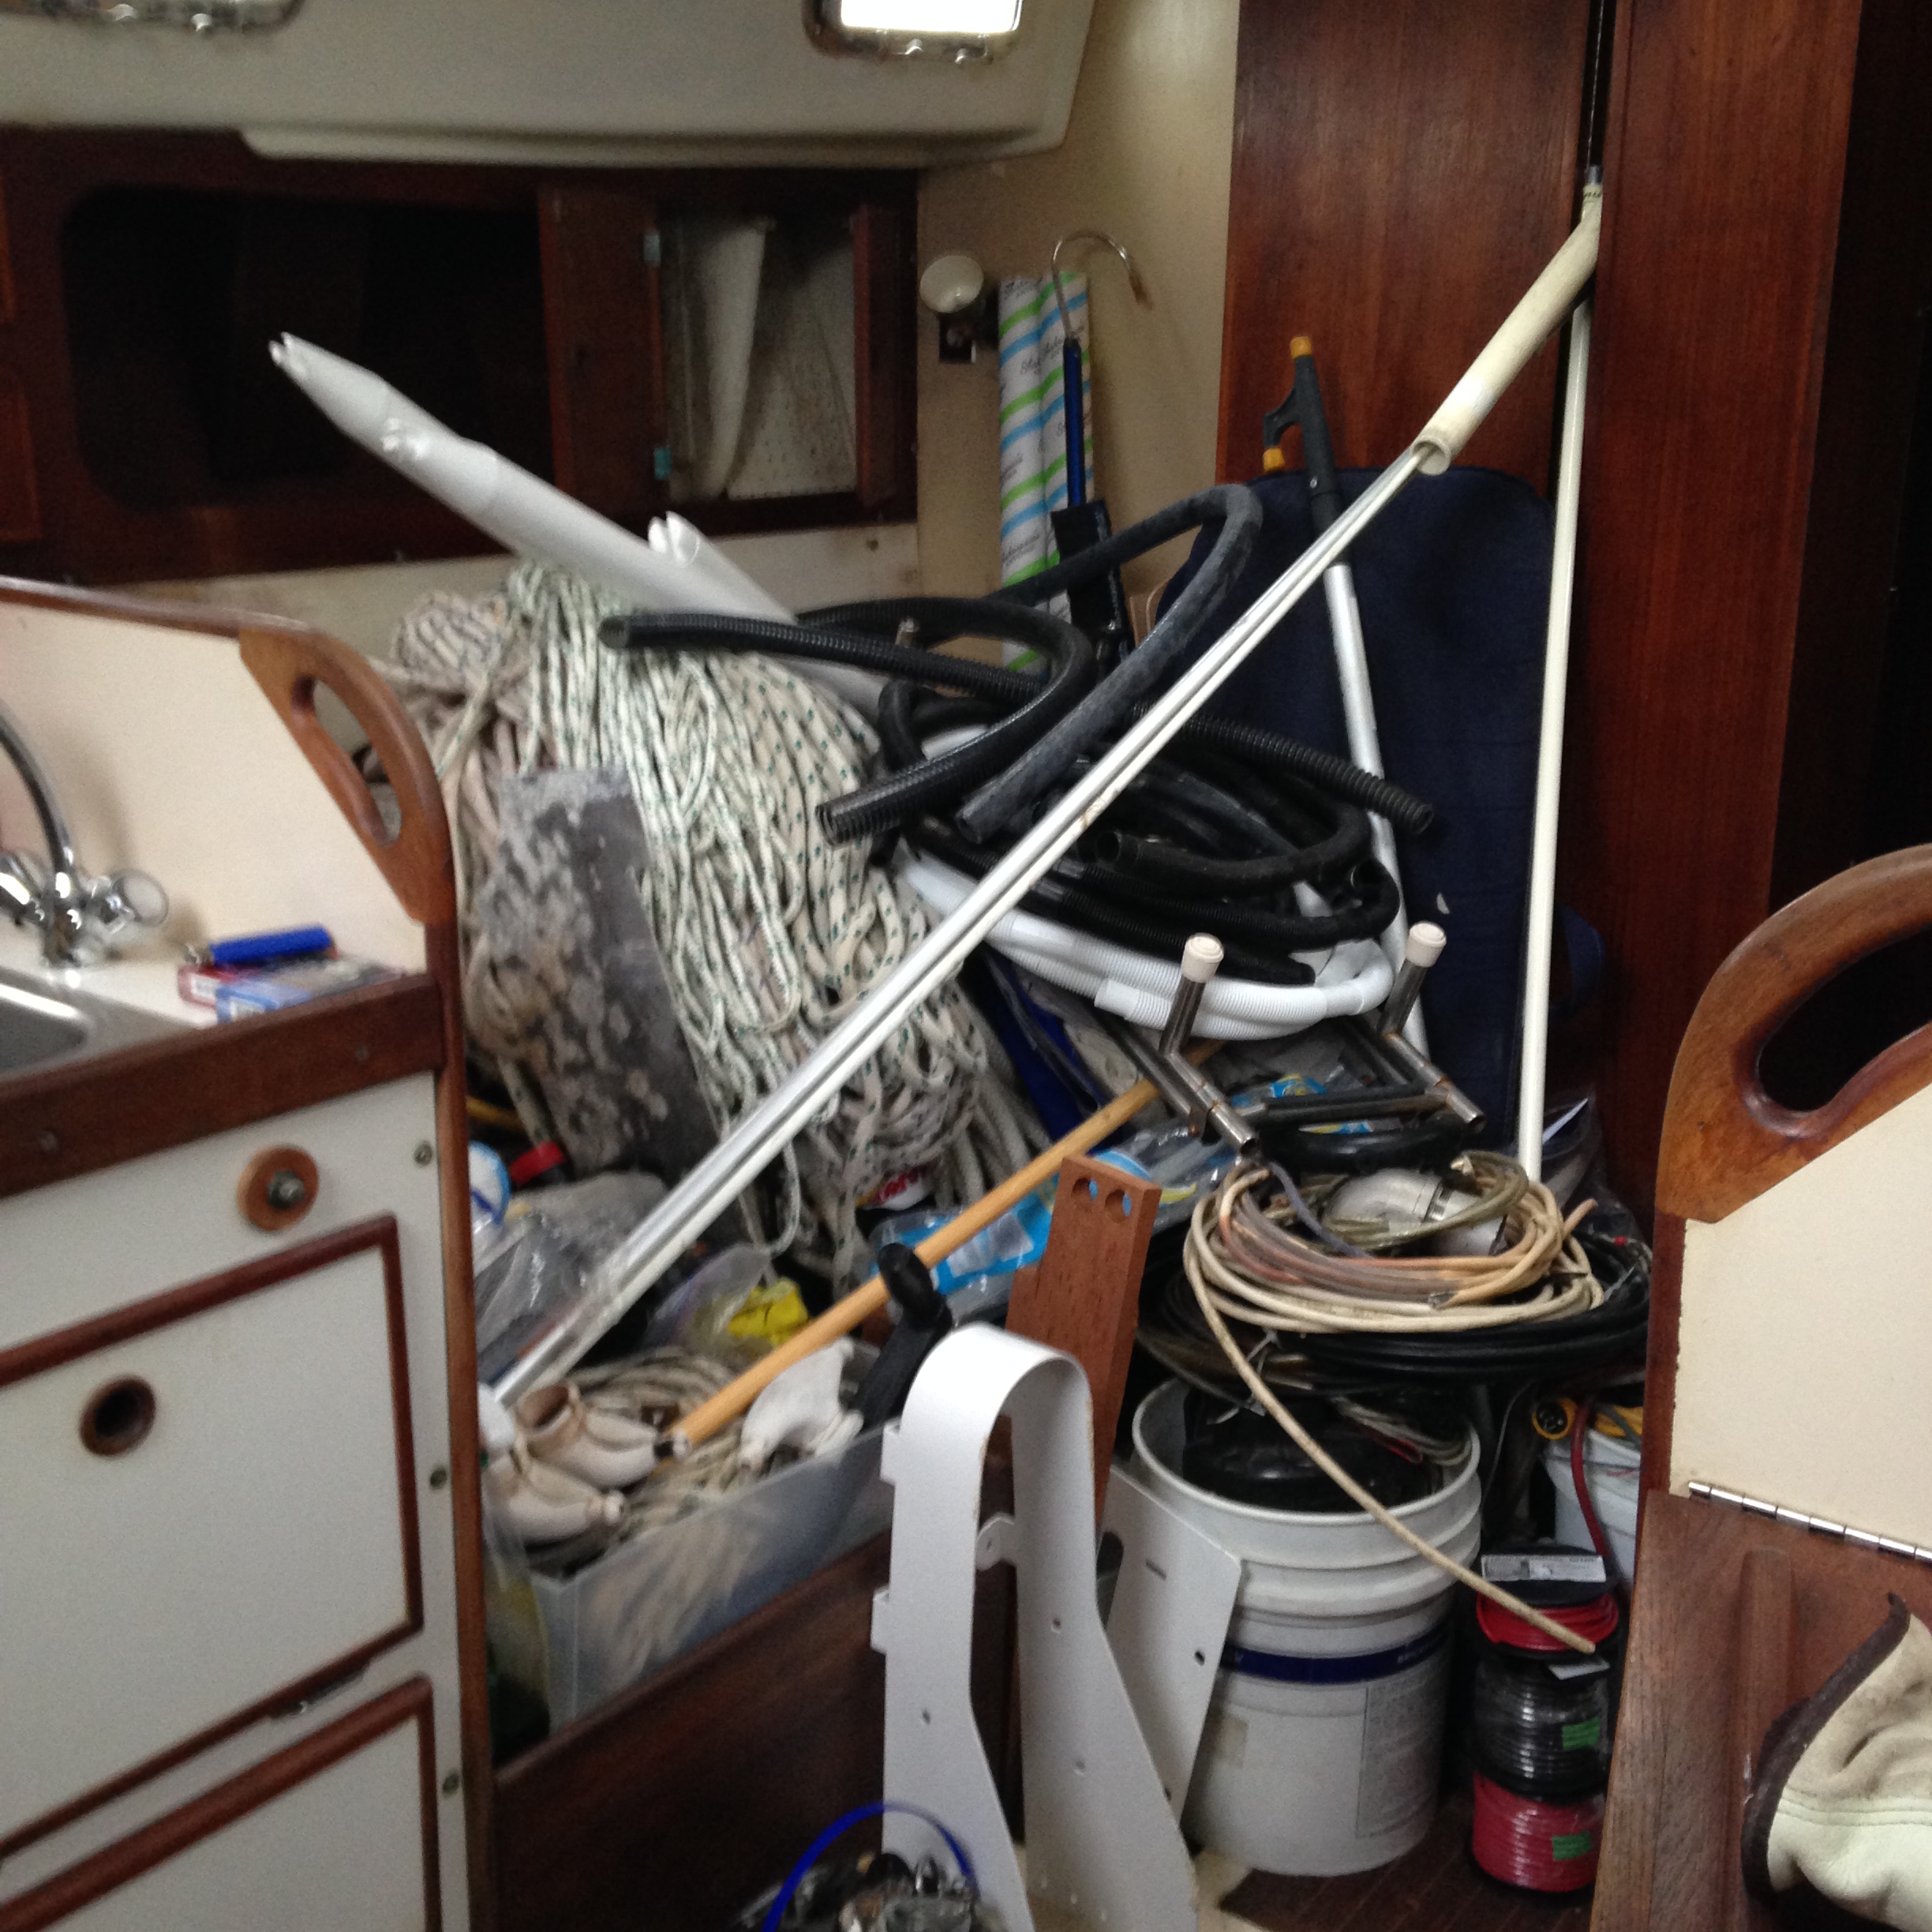
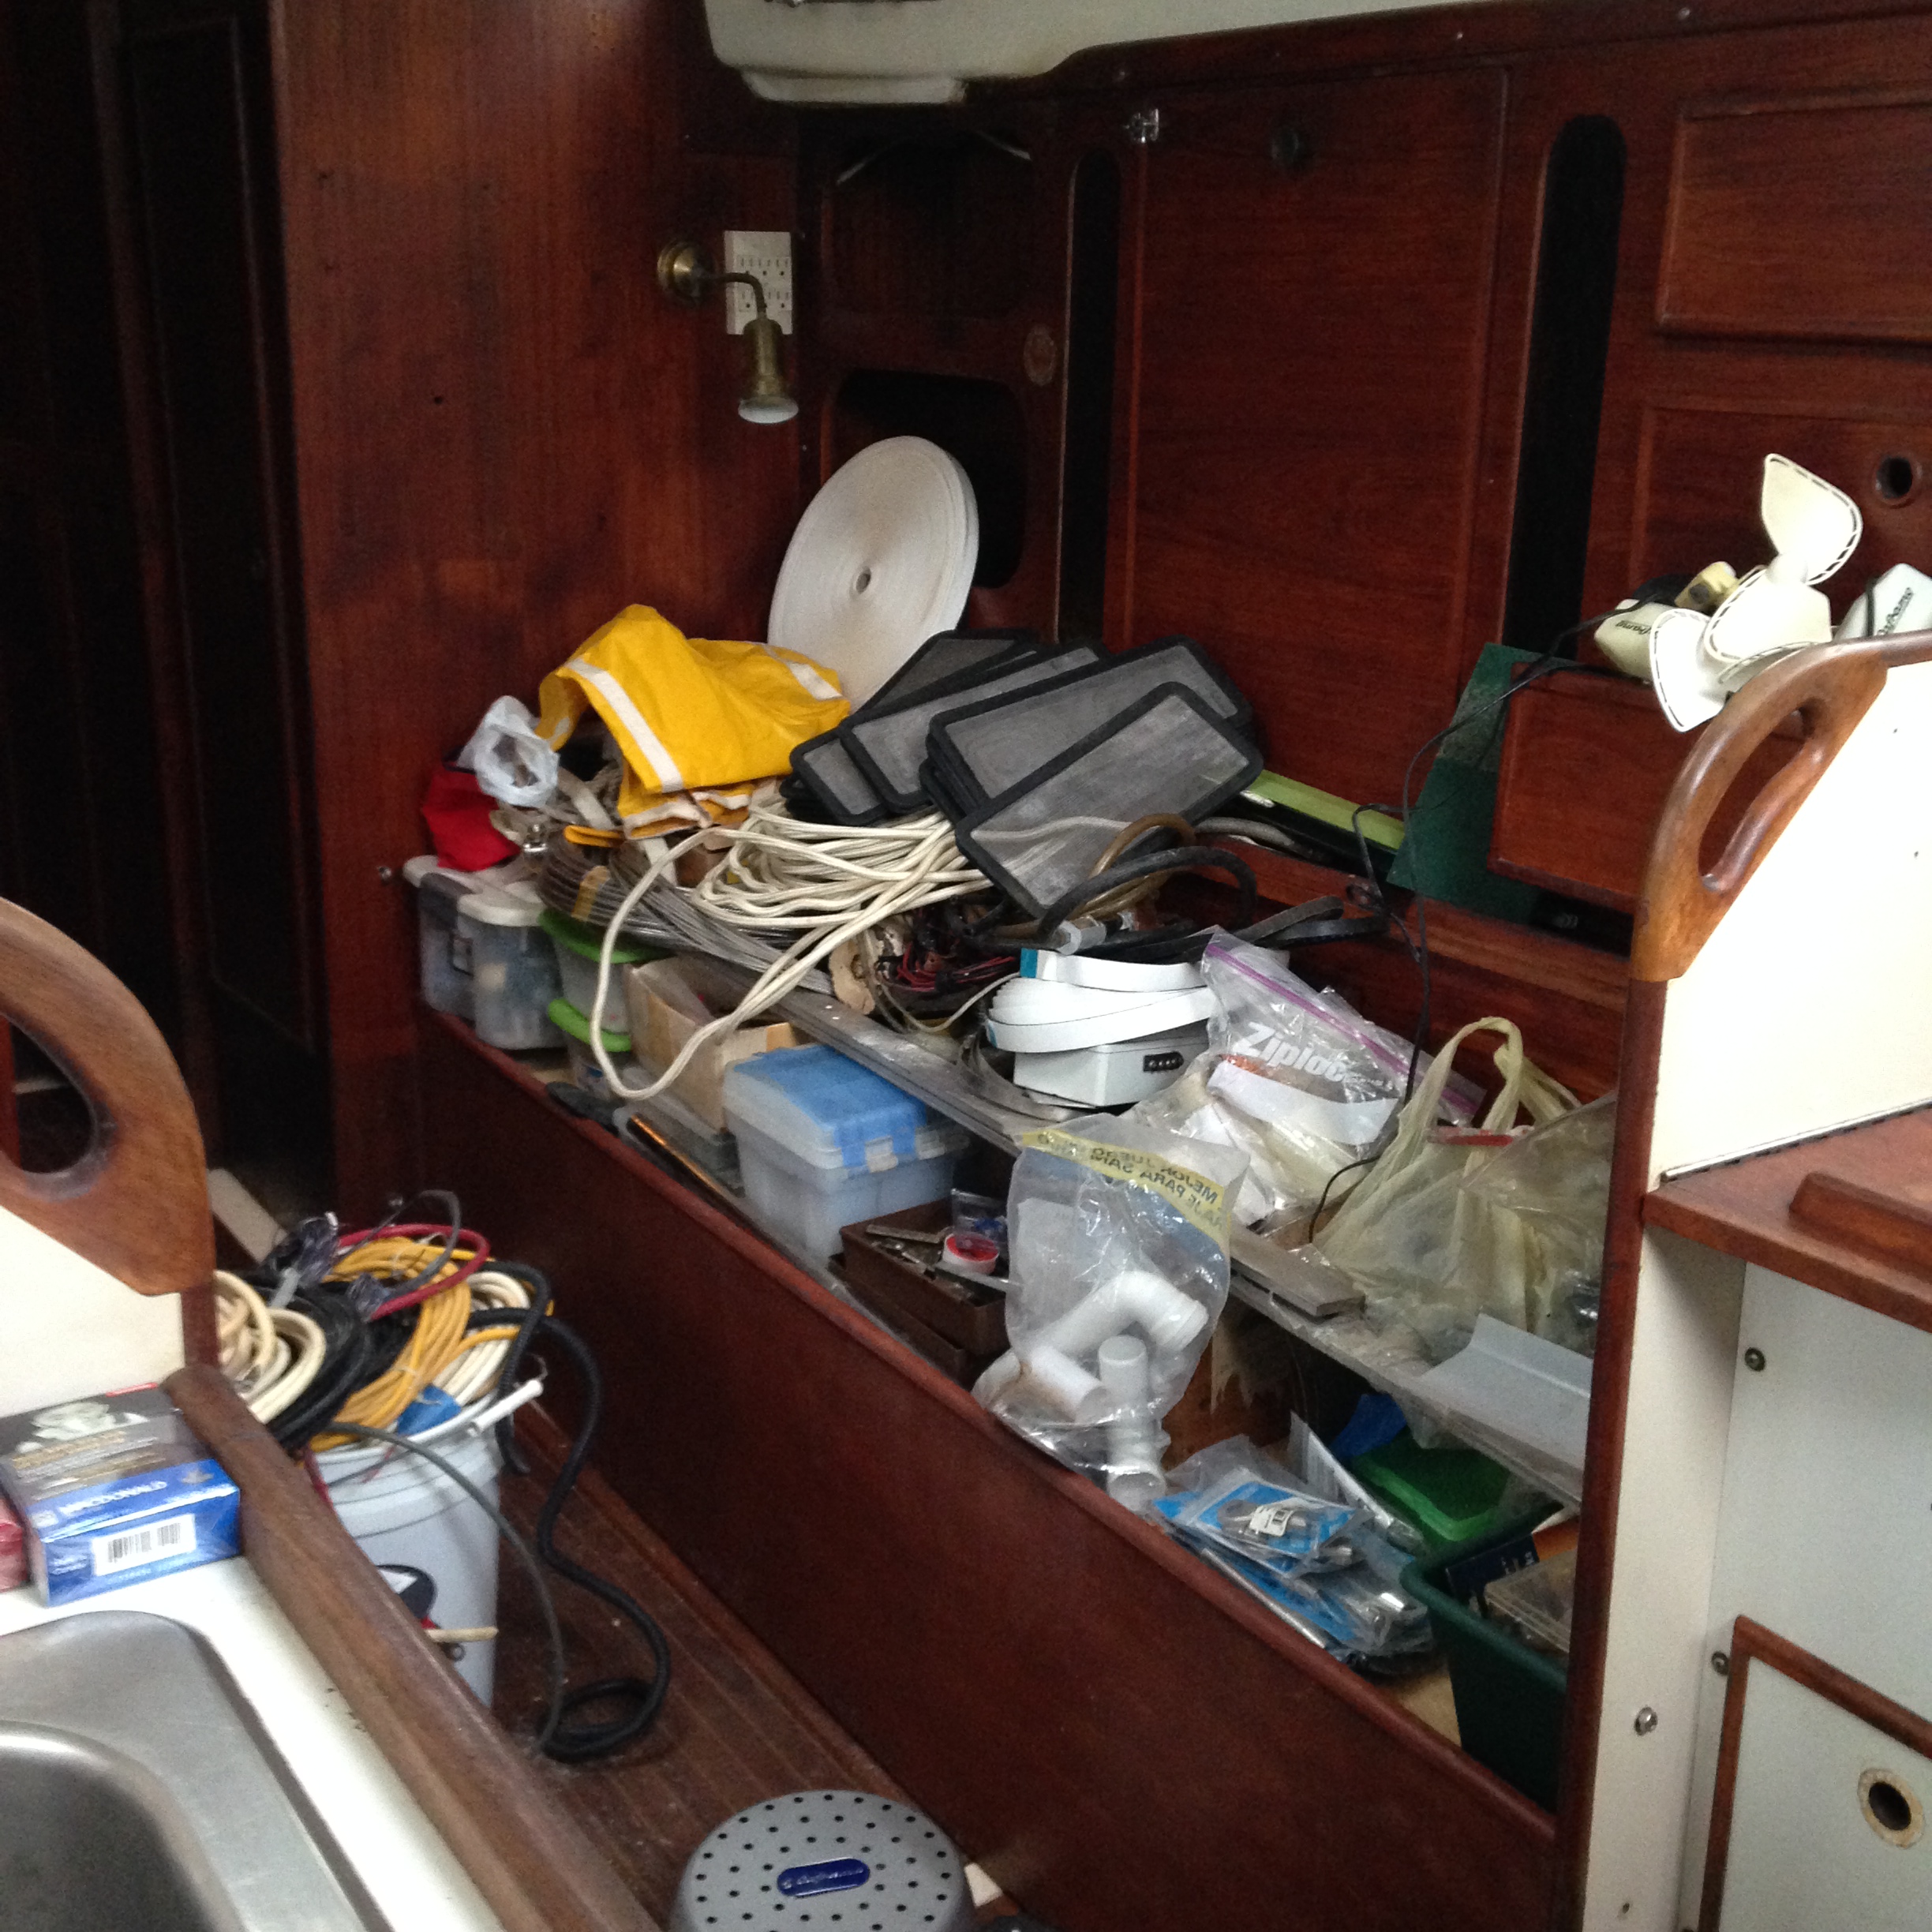
Fortunately I think we have come to the end of throwing things out as well. I forgot to take a picture, but I had another mountain of stuff outside destined for the dumpster.

IMG_0588 IMG_0580

Too much turkey…

IMG_0574It seems I may have overindulged yesterday on turkey and all of the associated holiday goodies. That mixed with a rather long nap, led to heartburn and insomnia. So rather than waster the extra found hours, I started polishing the boat jewellery. It is all in pretty bad condition, or rather I should say it has a lot of patina. We prefer our brass to be shiny, and over the course of an hour, a little progress was made with the help of 3M Marine Metal Restorer and Polish.

IMG_0575

IMG_0576

It’s Christmas already.

Wow, it’s Christmas already!

The admiral keeps asking what I want for Christmas and I keep telling her, we already exchanged our present, a Whitby 42! Last night she told me that I could not put that on my Christmas Wish List because it would not fit under the tree. I begged to differ. I am entirely certain that if I brought the Christmas tree to Akupara, that I would be able to put it on deck and thereby have our Whitby 42 under the tree! 😉

Merry Christmas everyone and have a fantastic New Year!

The Cleaning Continues…

Well we managed to completely empty the master cabin today and the admiral wiped the entire room including the master head down with a javex/water mix. Due to all of the leaks, there was mould starting to grow and needed to be dealt with asap. We have all of our fingers crossed for a sunny warm day so that they can get the shrink wrap on and we can start to repair the decks.

At some point in time, one of the previous owners removed the teak

2014 - 1from the cockpit and covered all of the cockpit with some type of non skid, rubberized, plastic stuff. Well, this stuff has seen better days and is bubbling and peeling and basically looks like hell. In amongst all of the stuff, is a nice big 2 handed scraper with a razor blade on the end and the admiral started in on removing it. She cut away all of the bubbles and eventually will have it all gone. The glue has obviously failed in a lot of places but where it has not, it is about 1/16th of an inch thick. Nothing a belt sander won’t take care of. We are thinking that we will replace it with one of the fake teak products that are on the market.

IMG_0536

In order to make more room onboard, we decided to bring all of the sails home, as well as the brass “boat jewellery” all of which needs to be polished and restored. This will give us something to do during the week.

IMG_0535

Removing all of the sails from the v-berth, also allowed me to gain access to the forward water tank. The screws were all removed from the inspection plate and low and behold, guess what? Yup, more stuff!! The entire forward water tank was stuffed with extra material, canvas, Sunbrella and some kind of netting material similar to what was on the old lawn chairs that we all had as kids.

I also tested the shore power briefly to see what would happen. No fires or hot smelling metal so at least when we are there we will be able to use the outlets for the time being.


The Cocoon

Well sometime after we completed the frame last Sunday, the crew from Prodigy Marine http://www.prodigymarine.ca/aboutus.html followed up by lacing the entire thing together with a type of webbing. This will prevent the shrink wrap from concaving in any of the wider sections between the frames. They are currently waiting for a nice day to perform the actual shrink wrap as it cannot be completed in the rain. It is kind of hard to see in the picture.

IMG_0530

The Dinghy

IMG_0518 IMG_0517 IMG_0516For Sale! ! Aquapro 10′ aluminum rib, with launching wheels and an 8hp Mercury outboard motor. We have no use for this dinghy or outboard as in the beginning of the year we purchased a bran new dinghy and outboard. This one that is now for sale, came with Akupara as part of the package.

The framework

We managed to get the frame up for the shrink wrap that hopefully will be completed this week. It is made from 100 zipties and 30, 3/4 inch electrical conduits. Why shrink wrap? Well, being in Vancouver we get one of 2 kinds of weather. Sunshine or liquid sunshine, the latter being the most frequent. Our plans include removing every deck fitting, every port, and every vent as we need to completely sand, fill, fair and paint the deck to make it nice and shiny and new again.

IMG_0510 IMG_0512 IMG_0513 IMG_0514 IMG_0515 IMG_0521