Those were the words I wish I would have heard before I opened the email quote from La Fabrica.
$9600 for the main salon cushions plus tax. Plus the mattresses.
Wow.
So after I picked my jaw up off the floor and started to really analyze it, it is scary to say but it isn’t all that far fetched. When we met with them last weekend we approached it from the sky is the limit approach with no regard to cost. The best foam, the best upholstery. If you went out and priced 2 custom sofa’s and a chair for your home, what would it come in at? I’ll bet pretty close if not more.
So, we are waiting for the rest of the quote for the mattresses and then we will start to decide how we are going to proceed. We have several options from backing off on quality to reducing the thickness to choosing a cheaper material to buying a sewing machine and doing it myself (yes I have done this before).
In any event, if we went with the full cost option I think we would still come in under our total expected cost for Akupara. I will need to take a close look on the weekend.
Or there is still the option of launching without the cushions in order to meet our new possible deadline but then the answer to the question are you sitting down would be a big no.
Is it a bad thing when the local marine chandlery gives you a brand new hat? I mean is it something they give to all of their customers or is it something that they only give to the customers who spend a lot of money? I was given a Wolff’s Marine hat yesterday, going to have to put some thought into that one…speaking of which, I updated the costs page recently.
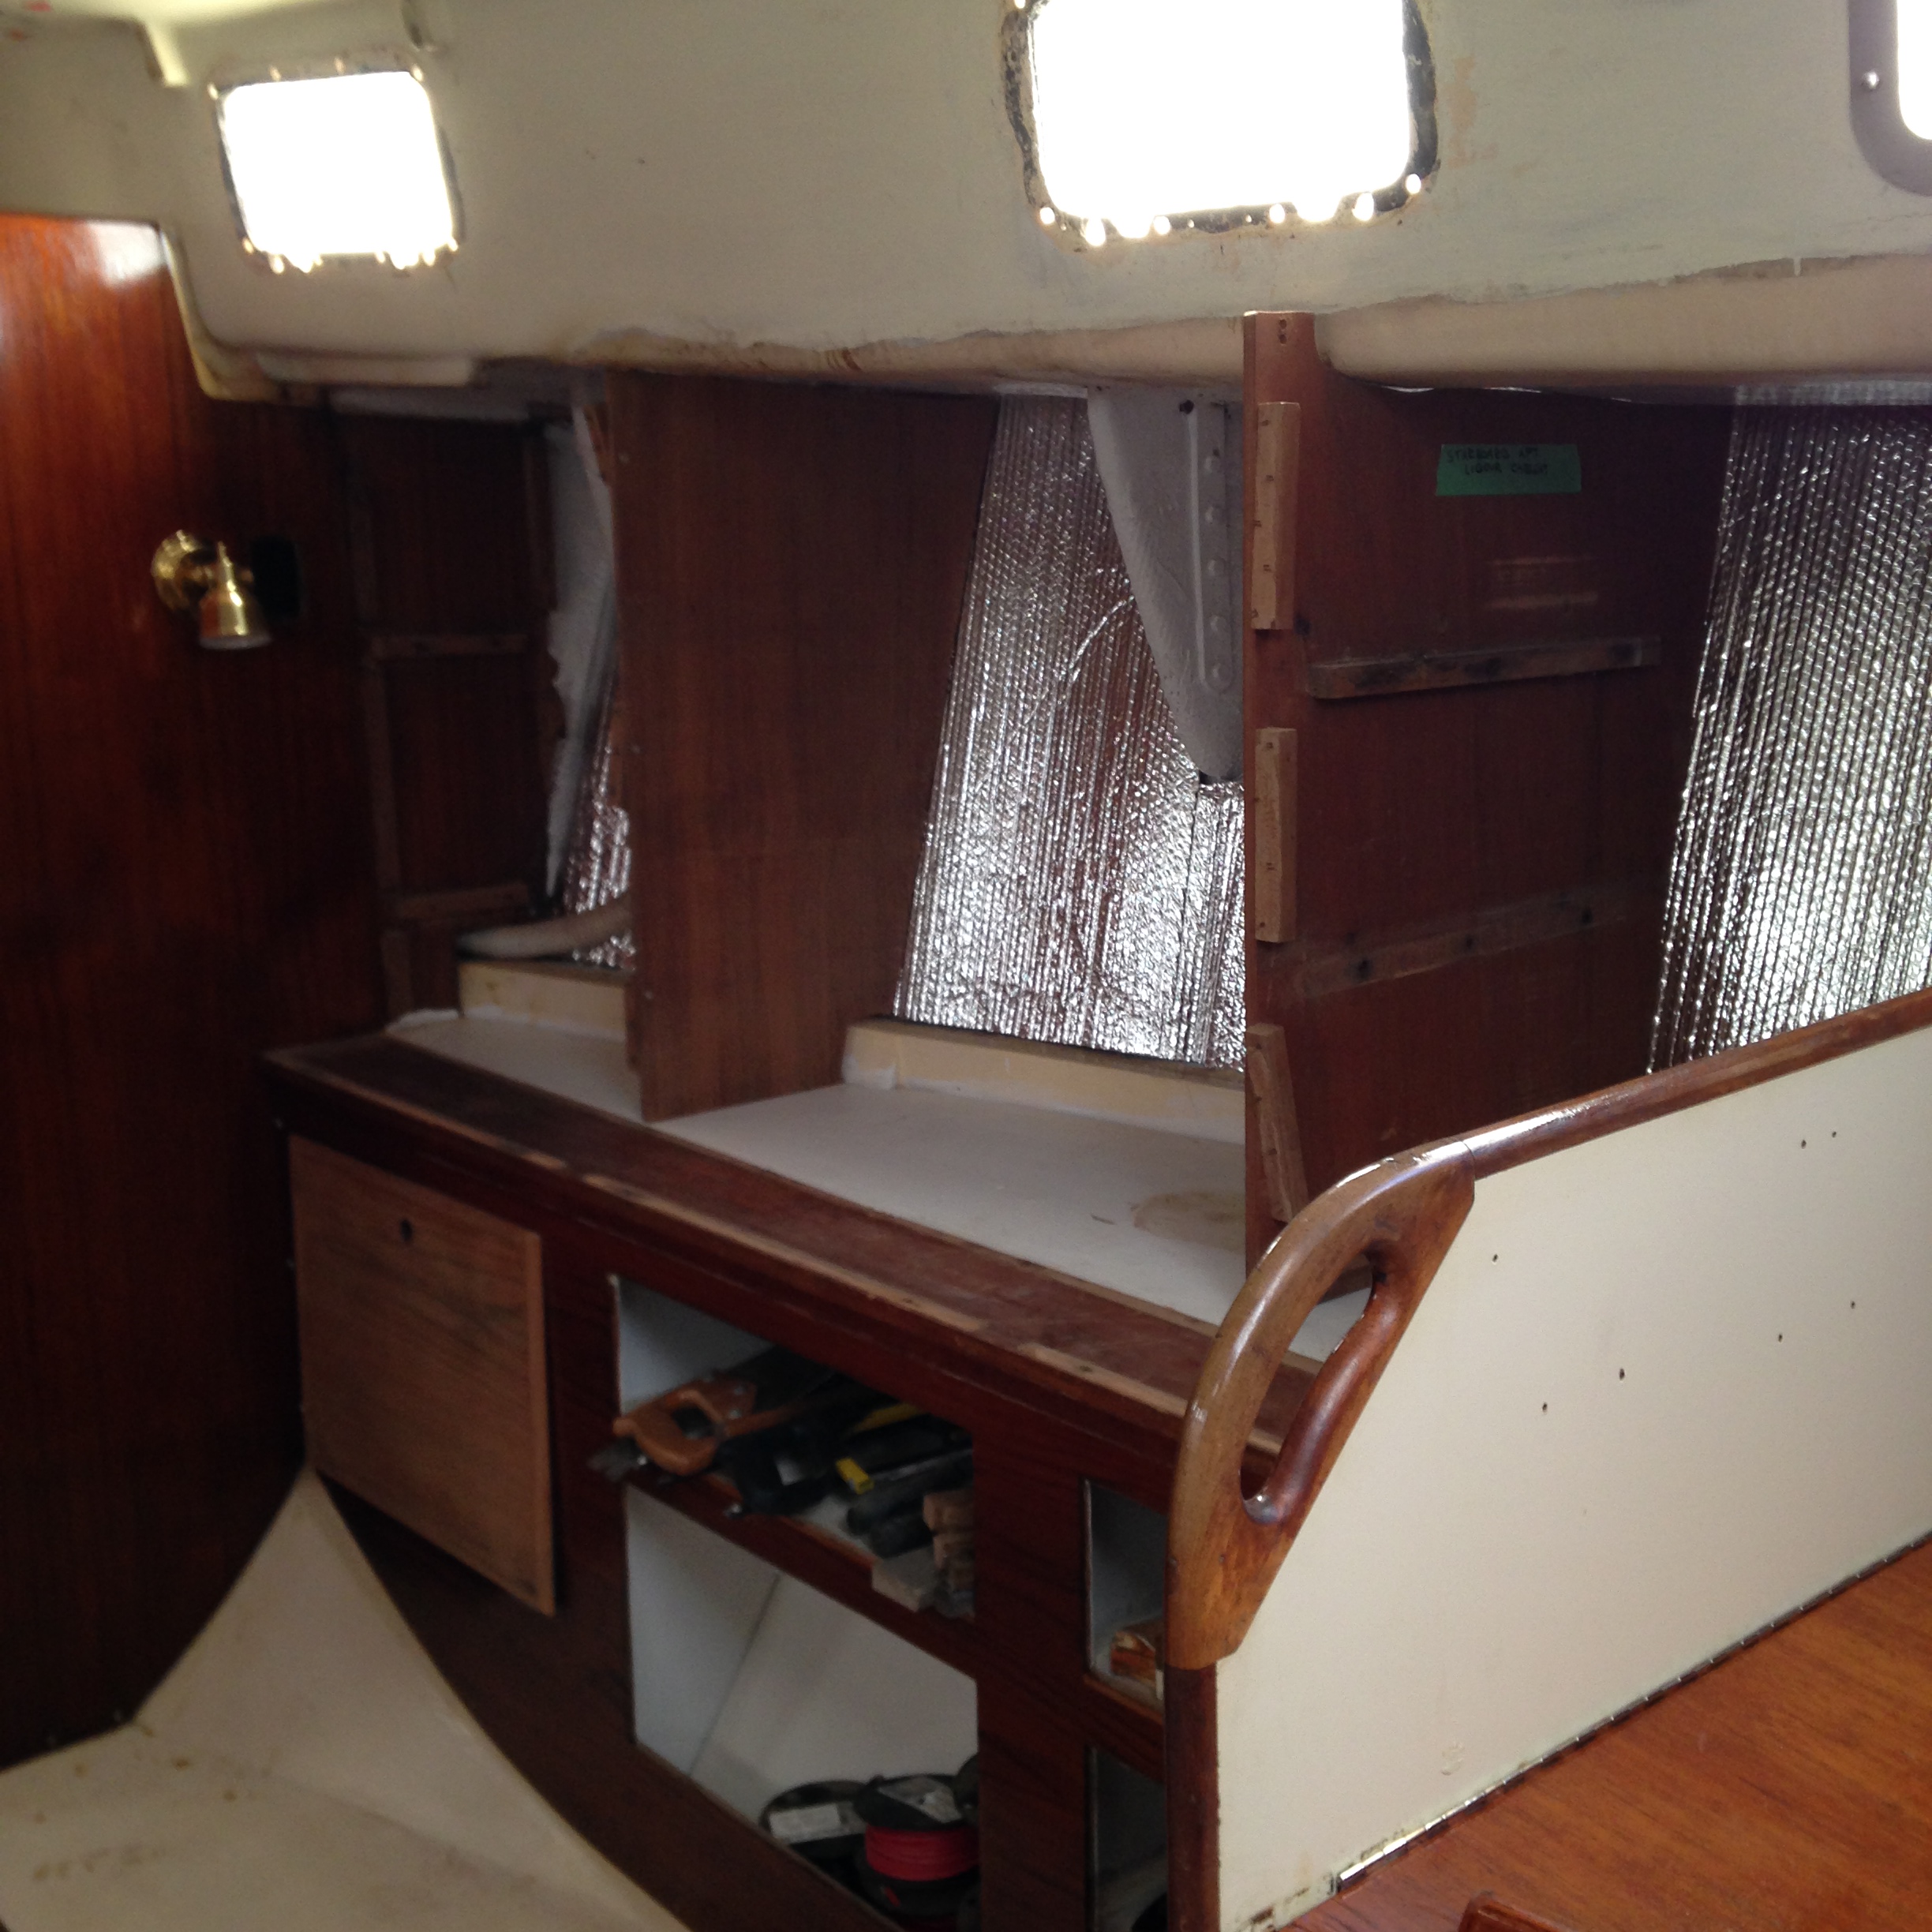
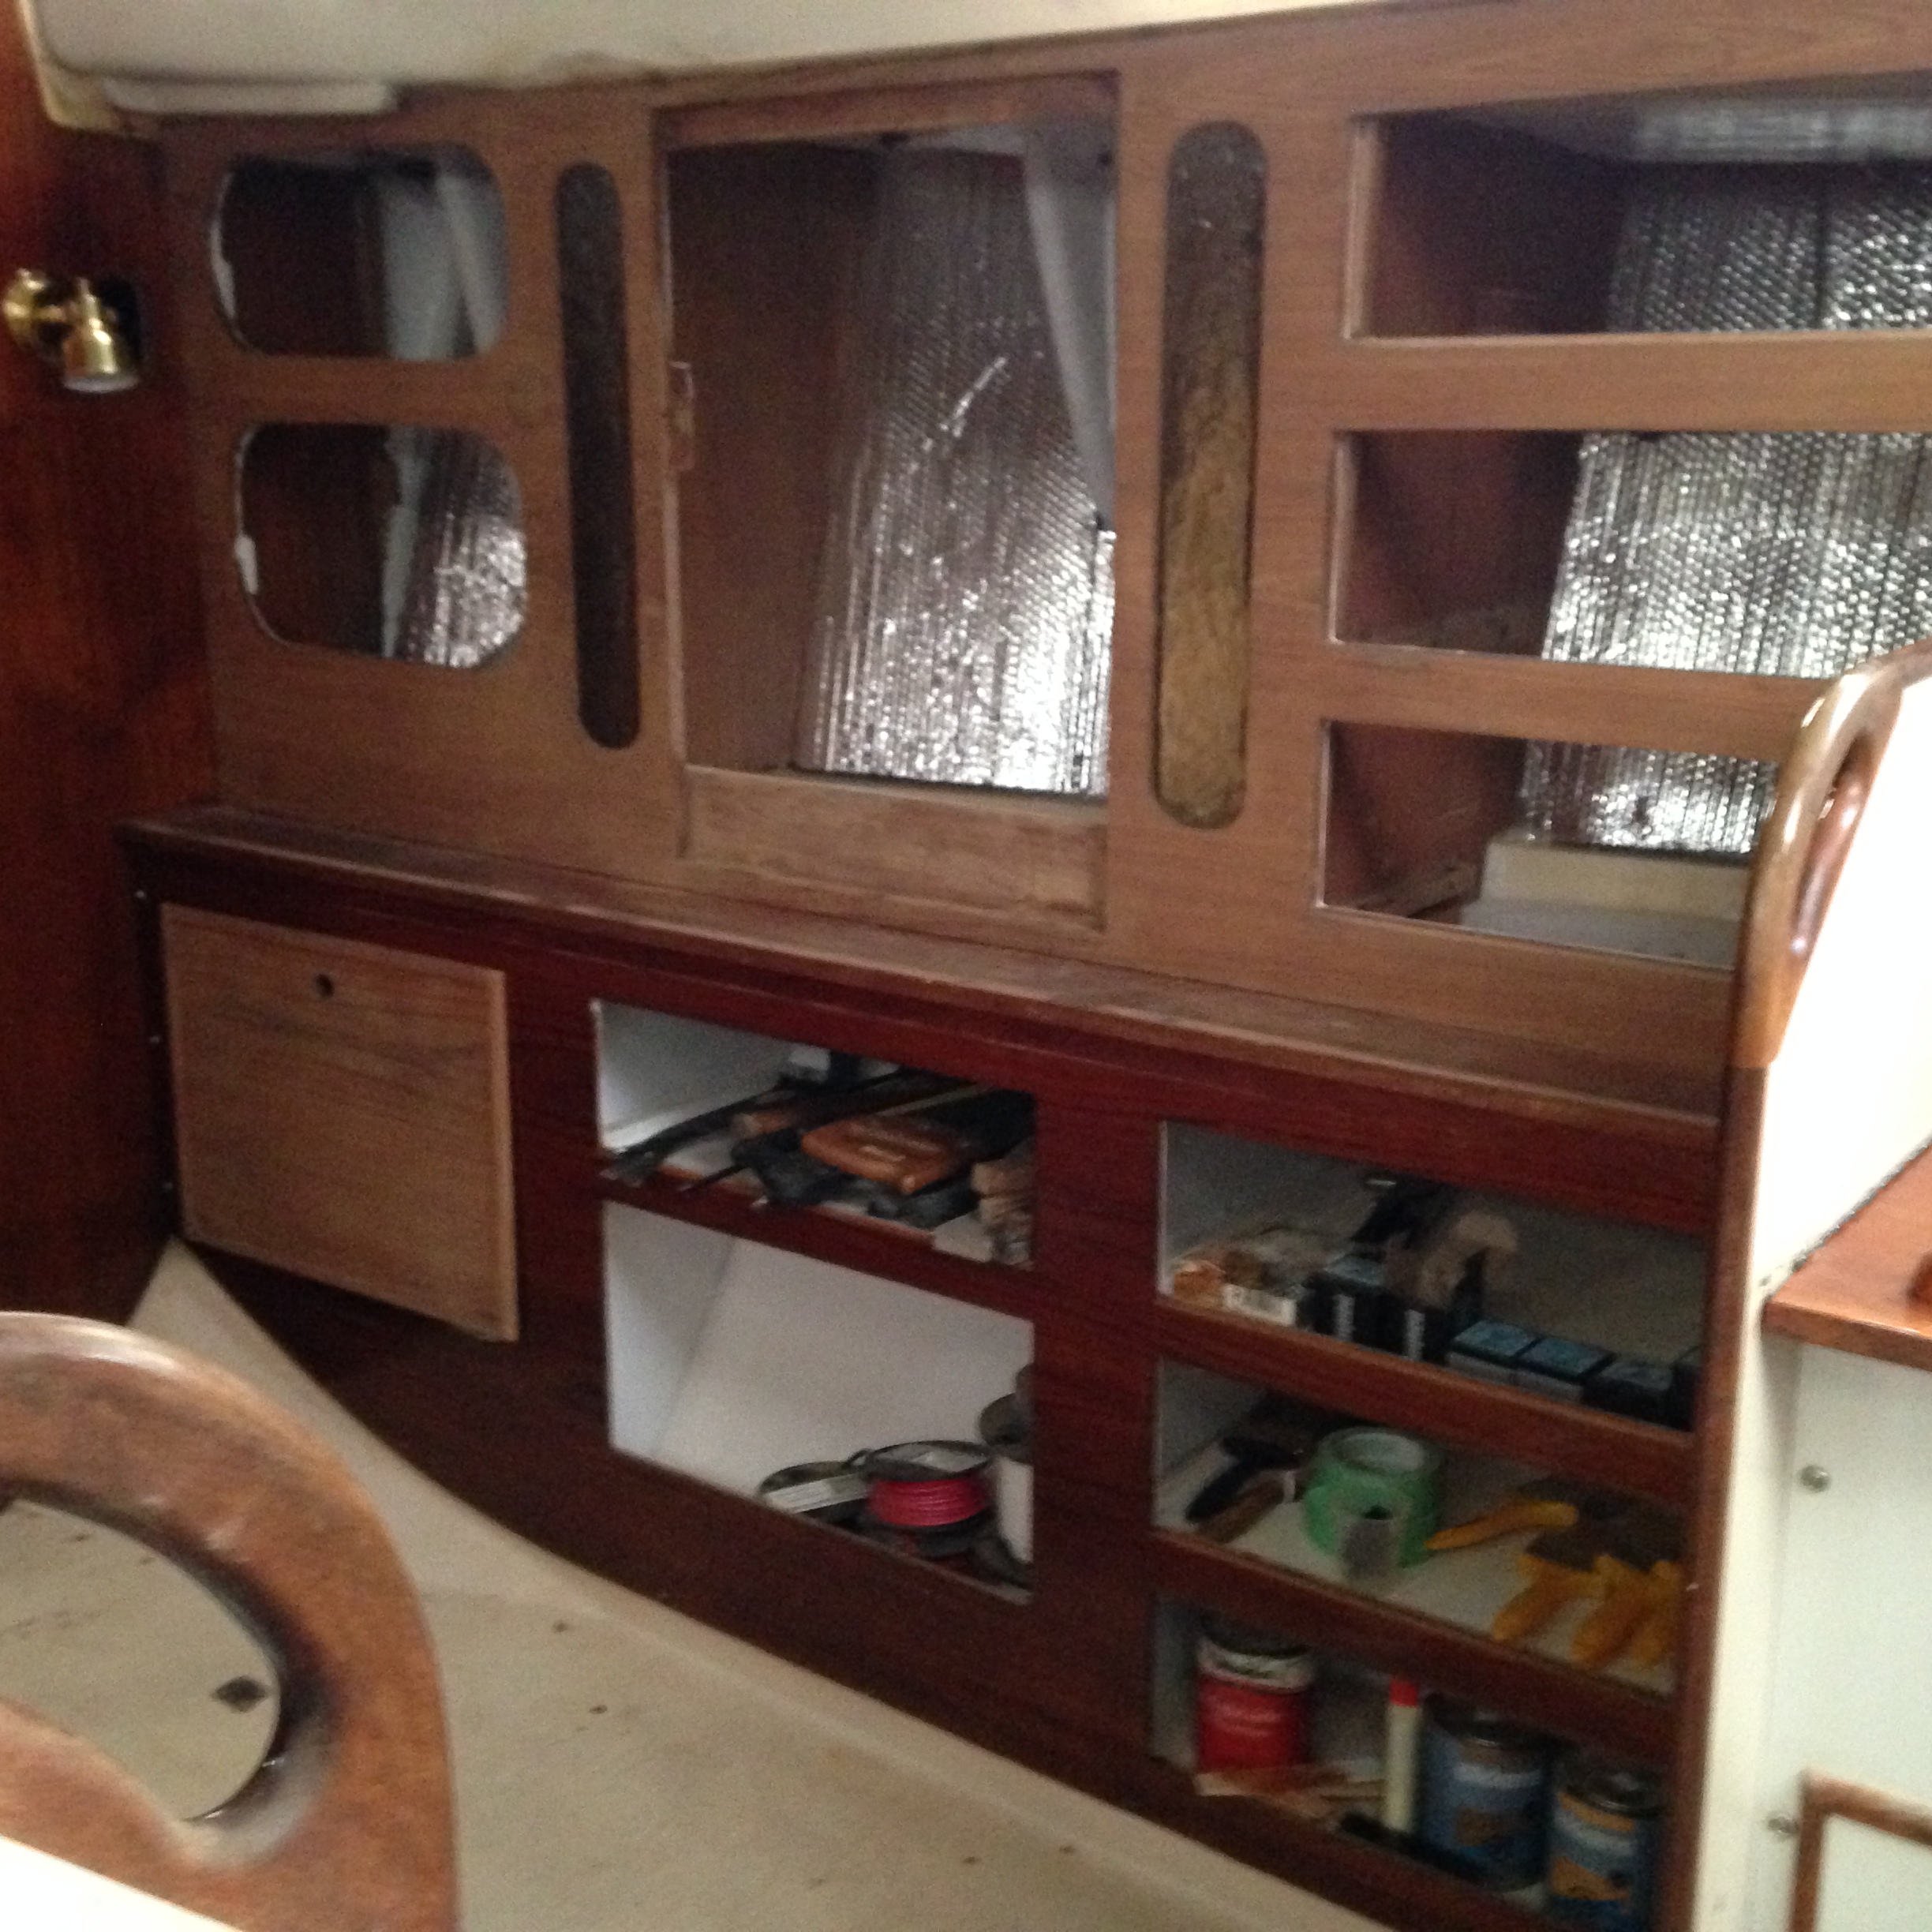
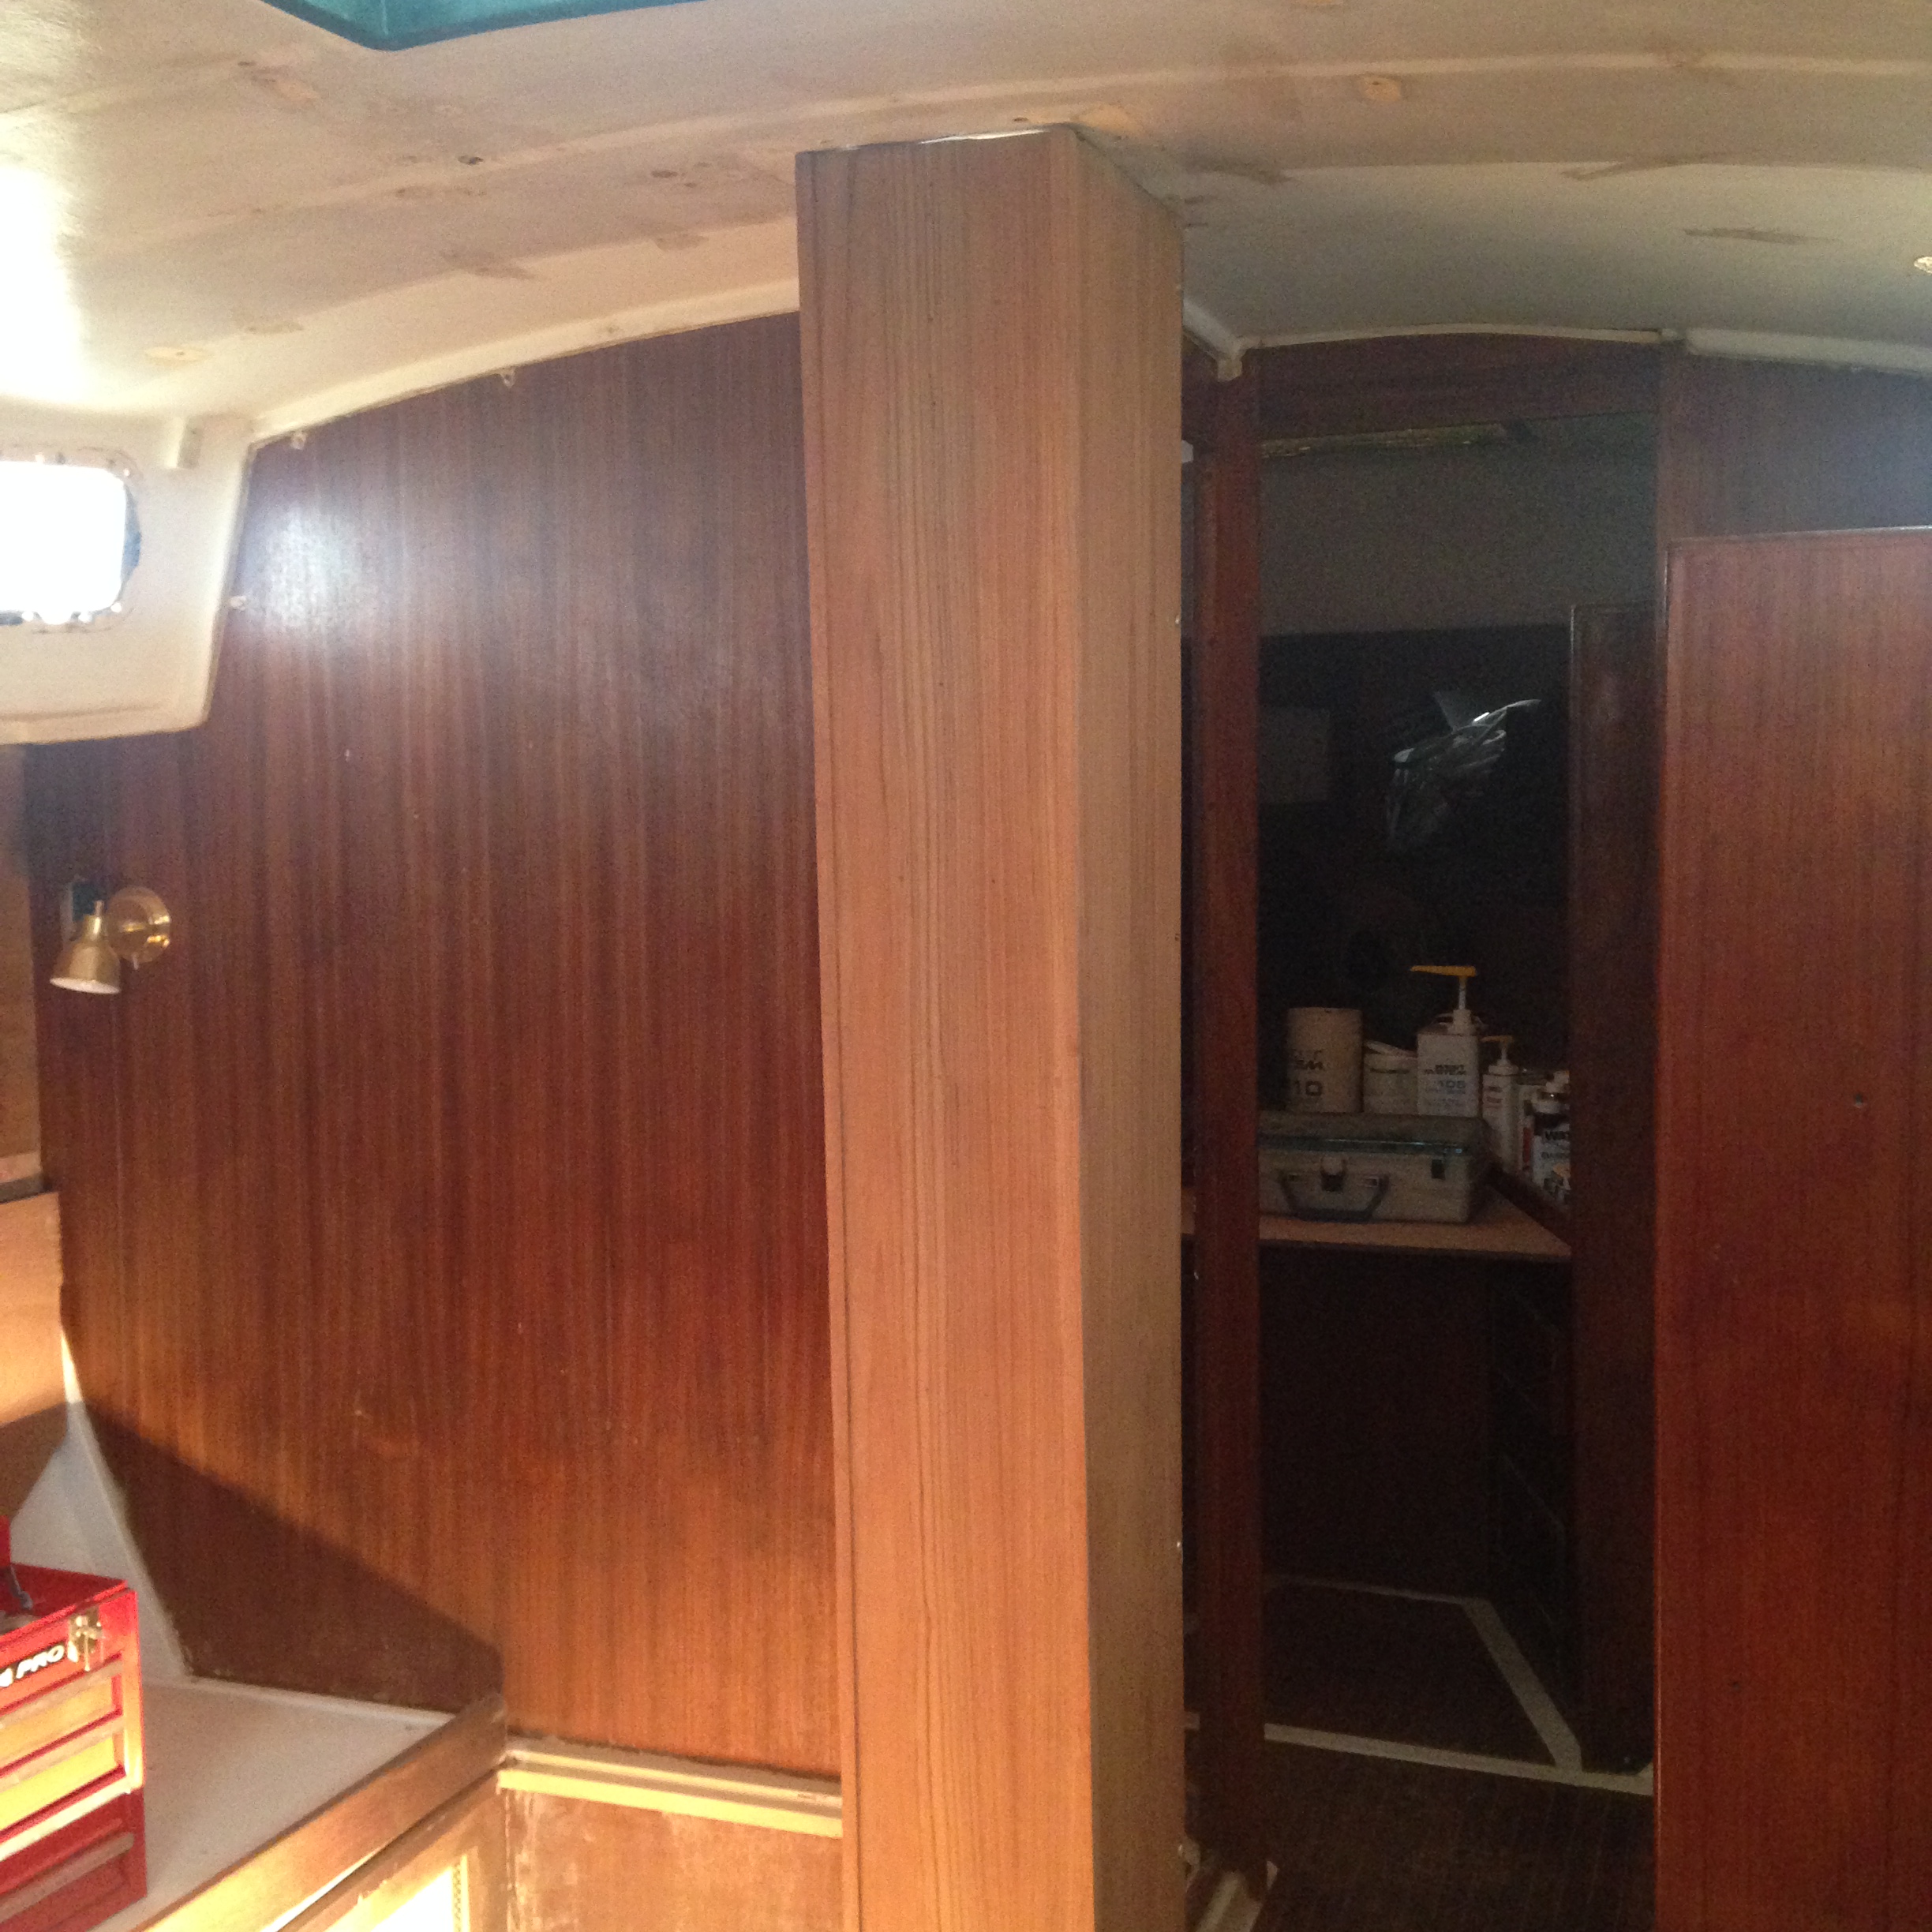
We had a gentleman from http://www.lafabricamarine.com/ down to Akupara yesterday and we took all of the measurements for the vberth mattresses, the main salon cushions and the aft cabin mattresses and also the cockpit cushions since we they were already there. I had brought my laptop and we went through a bunch of pictures I have been saving of interiors we like and also of ones we do not like. It was an interesting process to go through with him. A lot of our decisions were based on the fact that their shop labour rate is $75 per hour. Materials are market price but as soon as you start getting really fancy, the labour costs rise beyond reason of course. So we will wait for the quote which should arrive mid week and make our decisions from there. They have a 3-6 week lead time which will allow us to finish the brightwork inside the main salon so that they can come in and do all of their patterning.
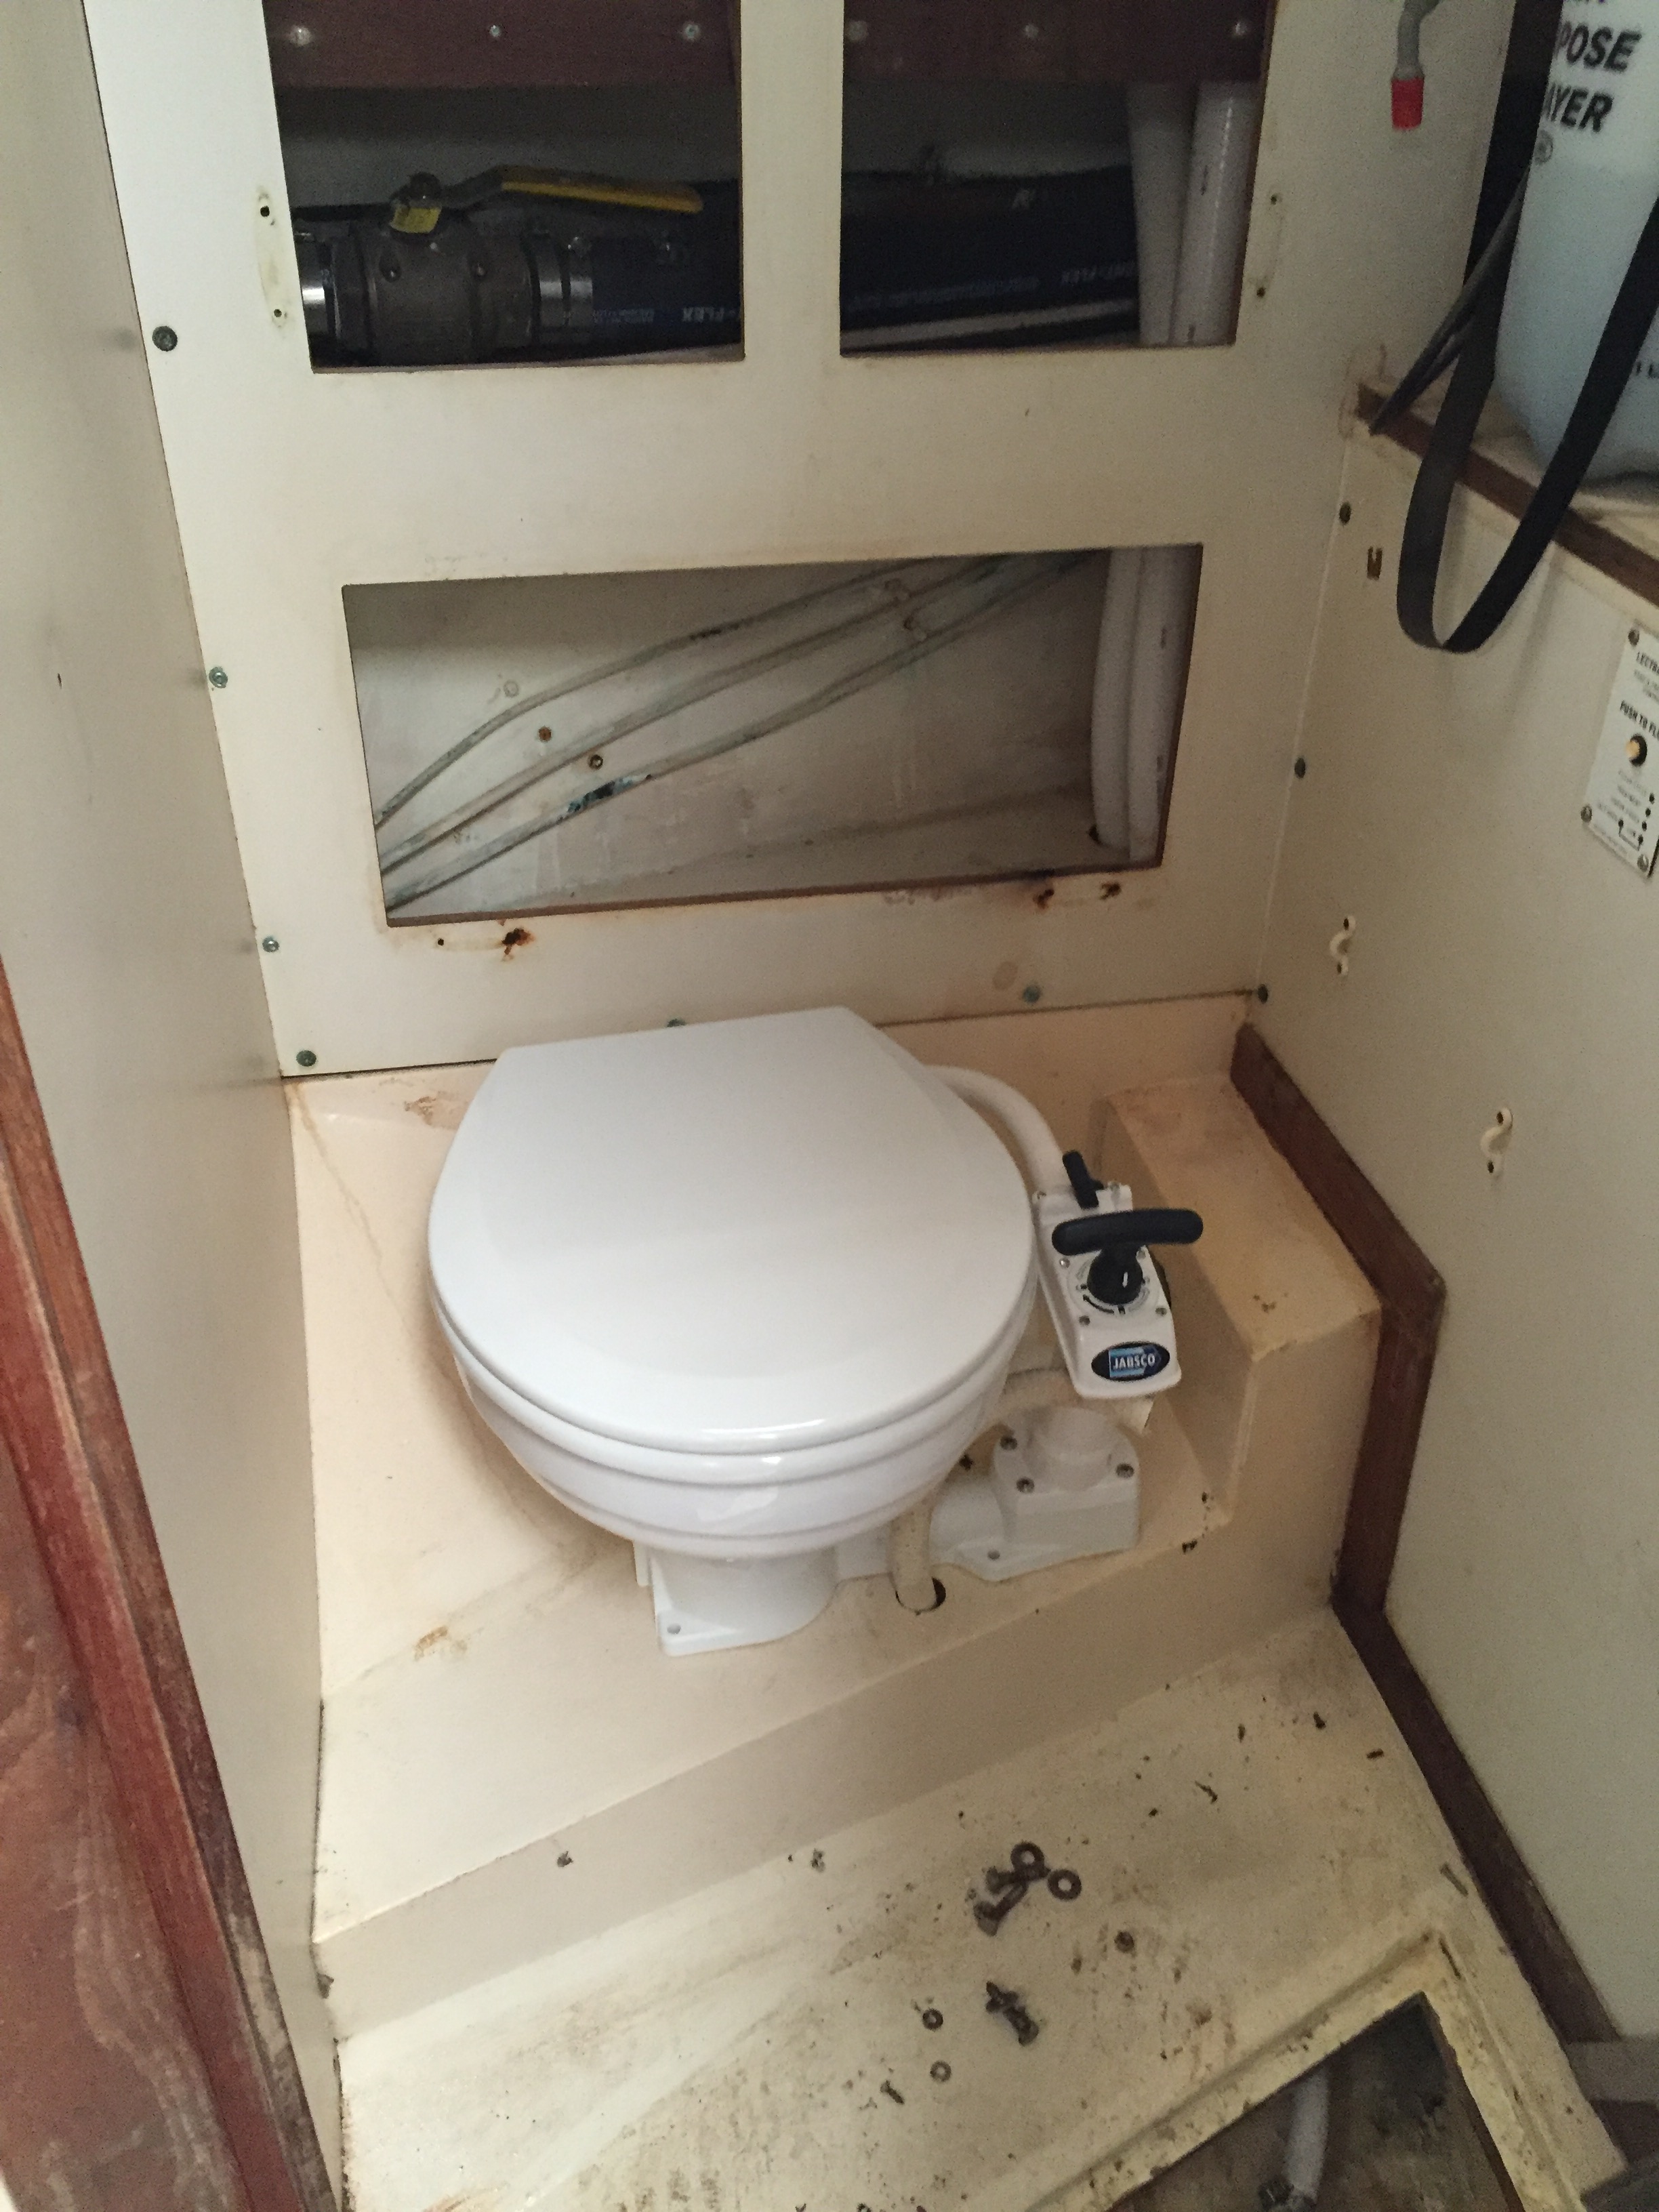
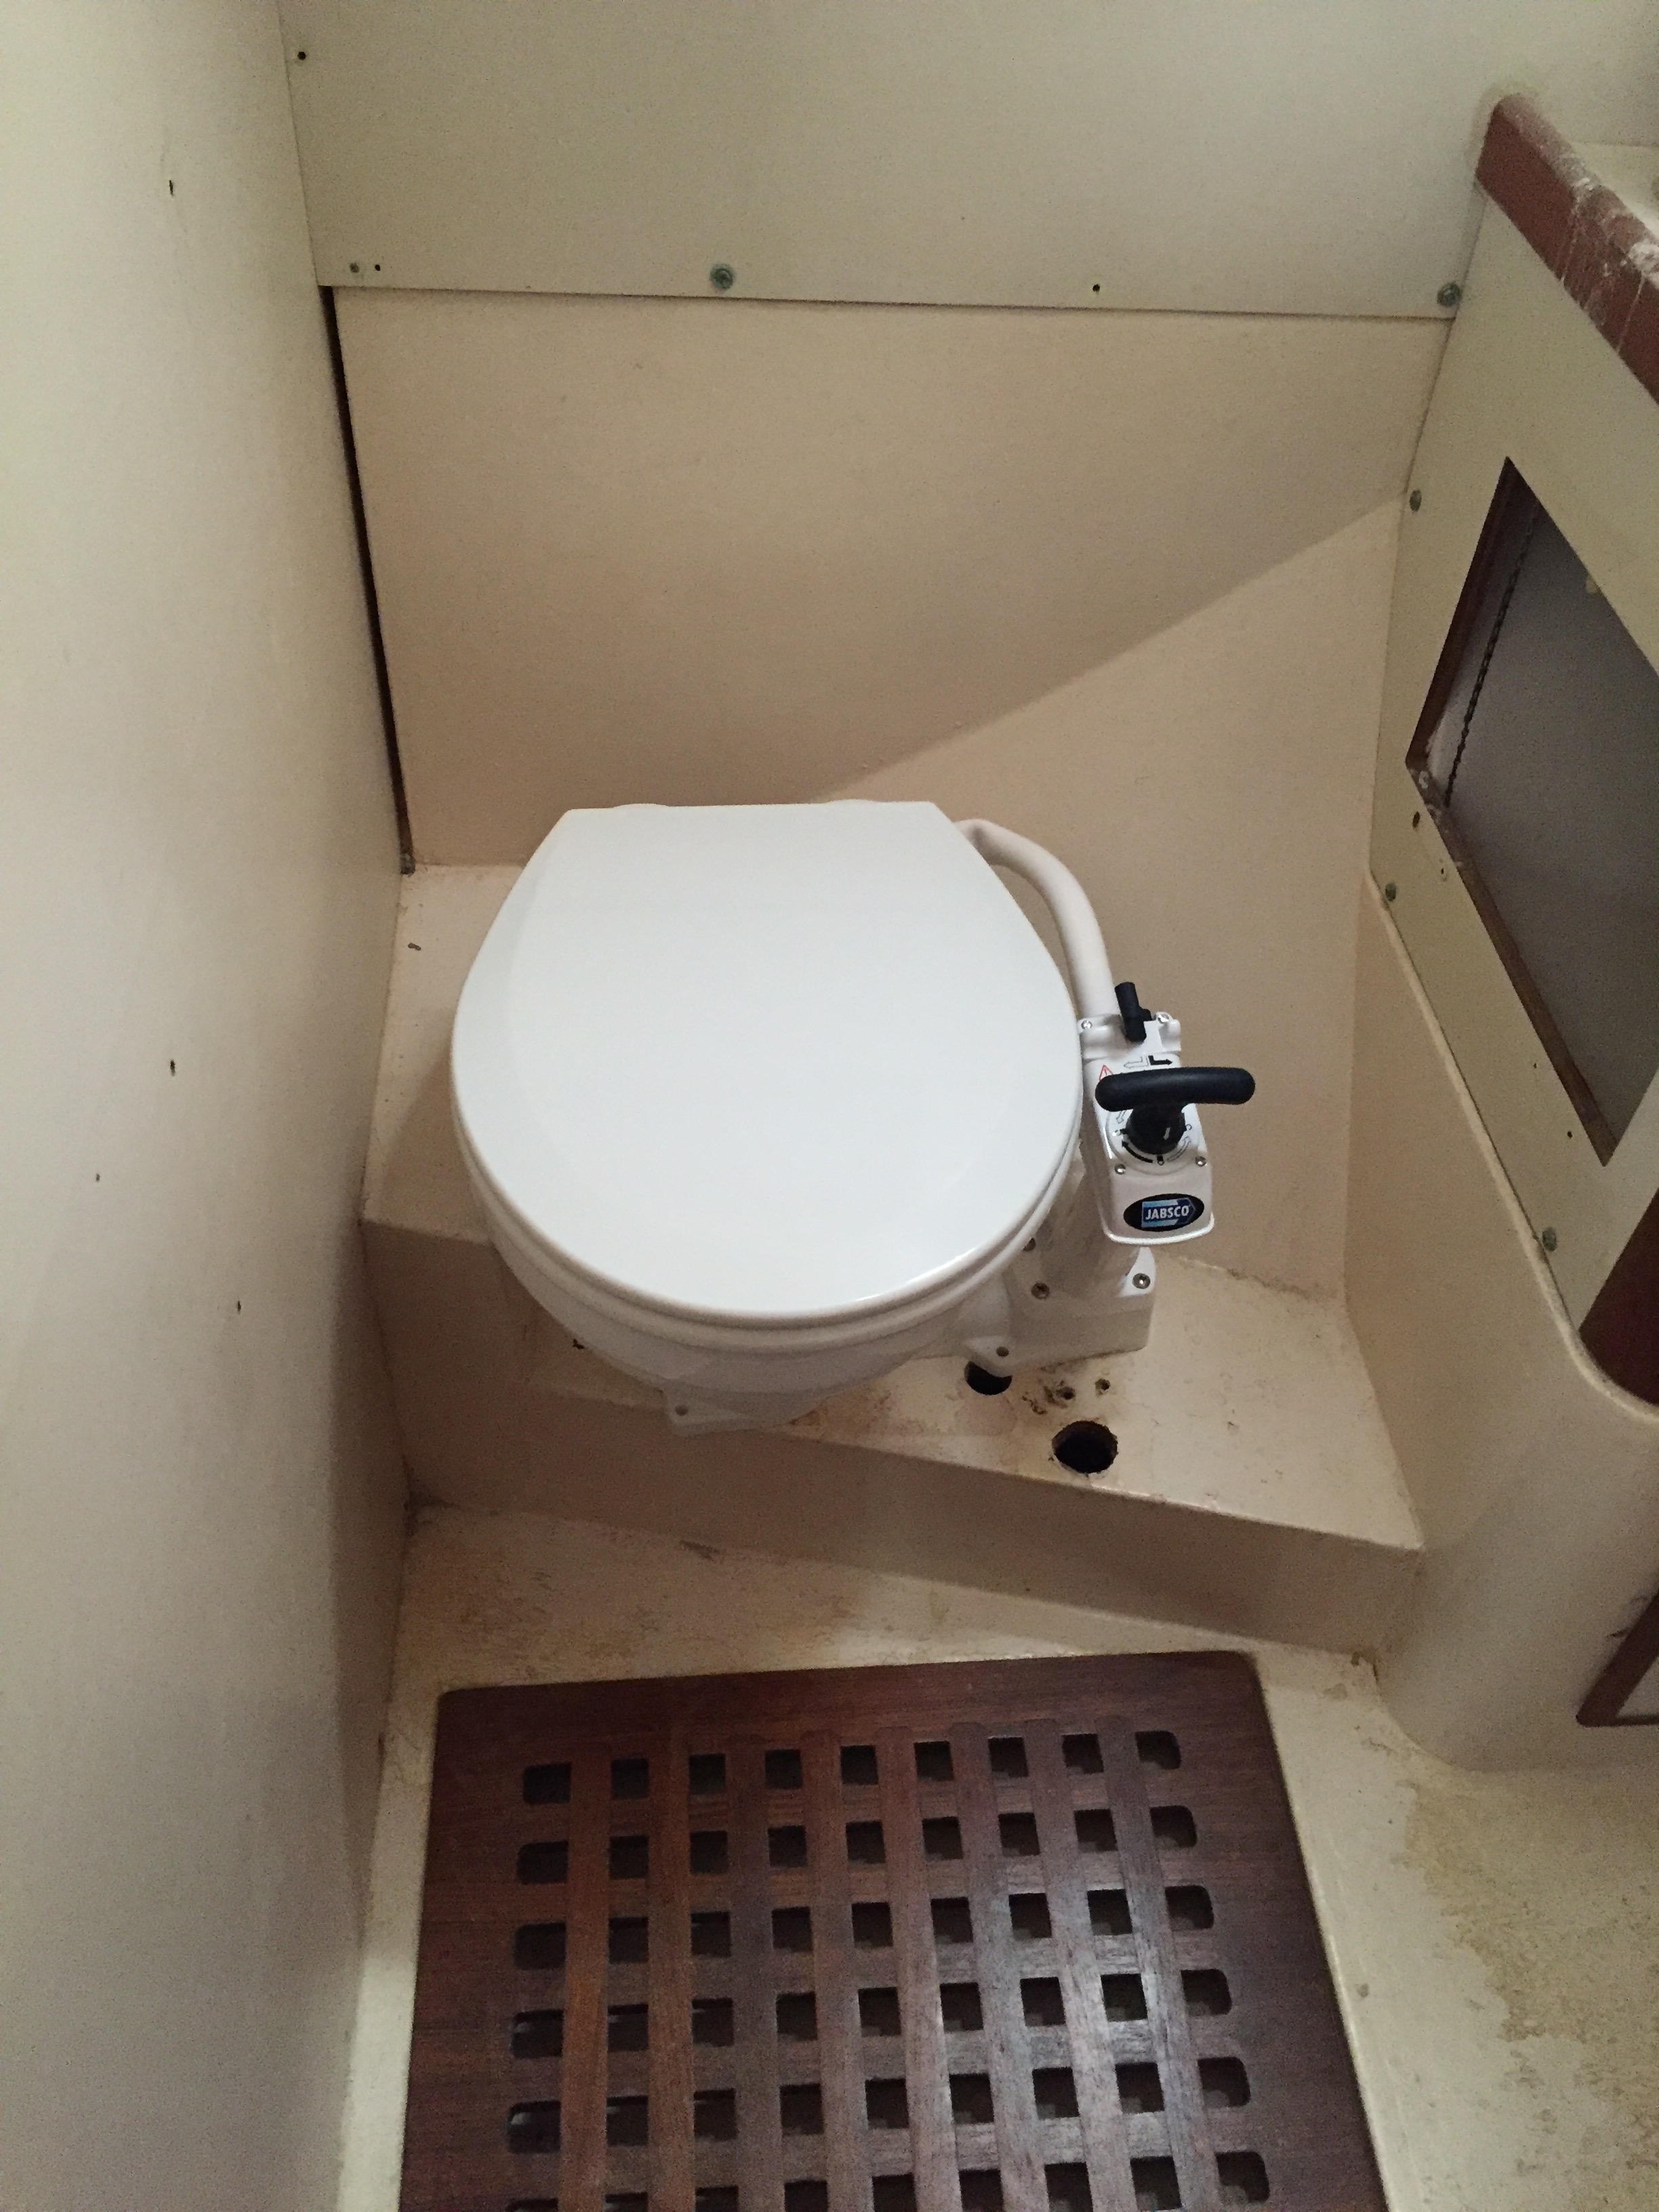
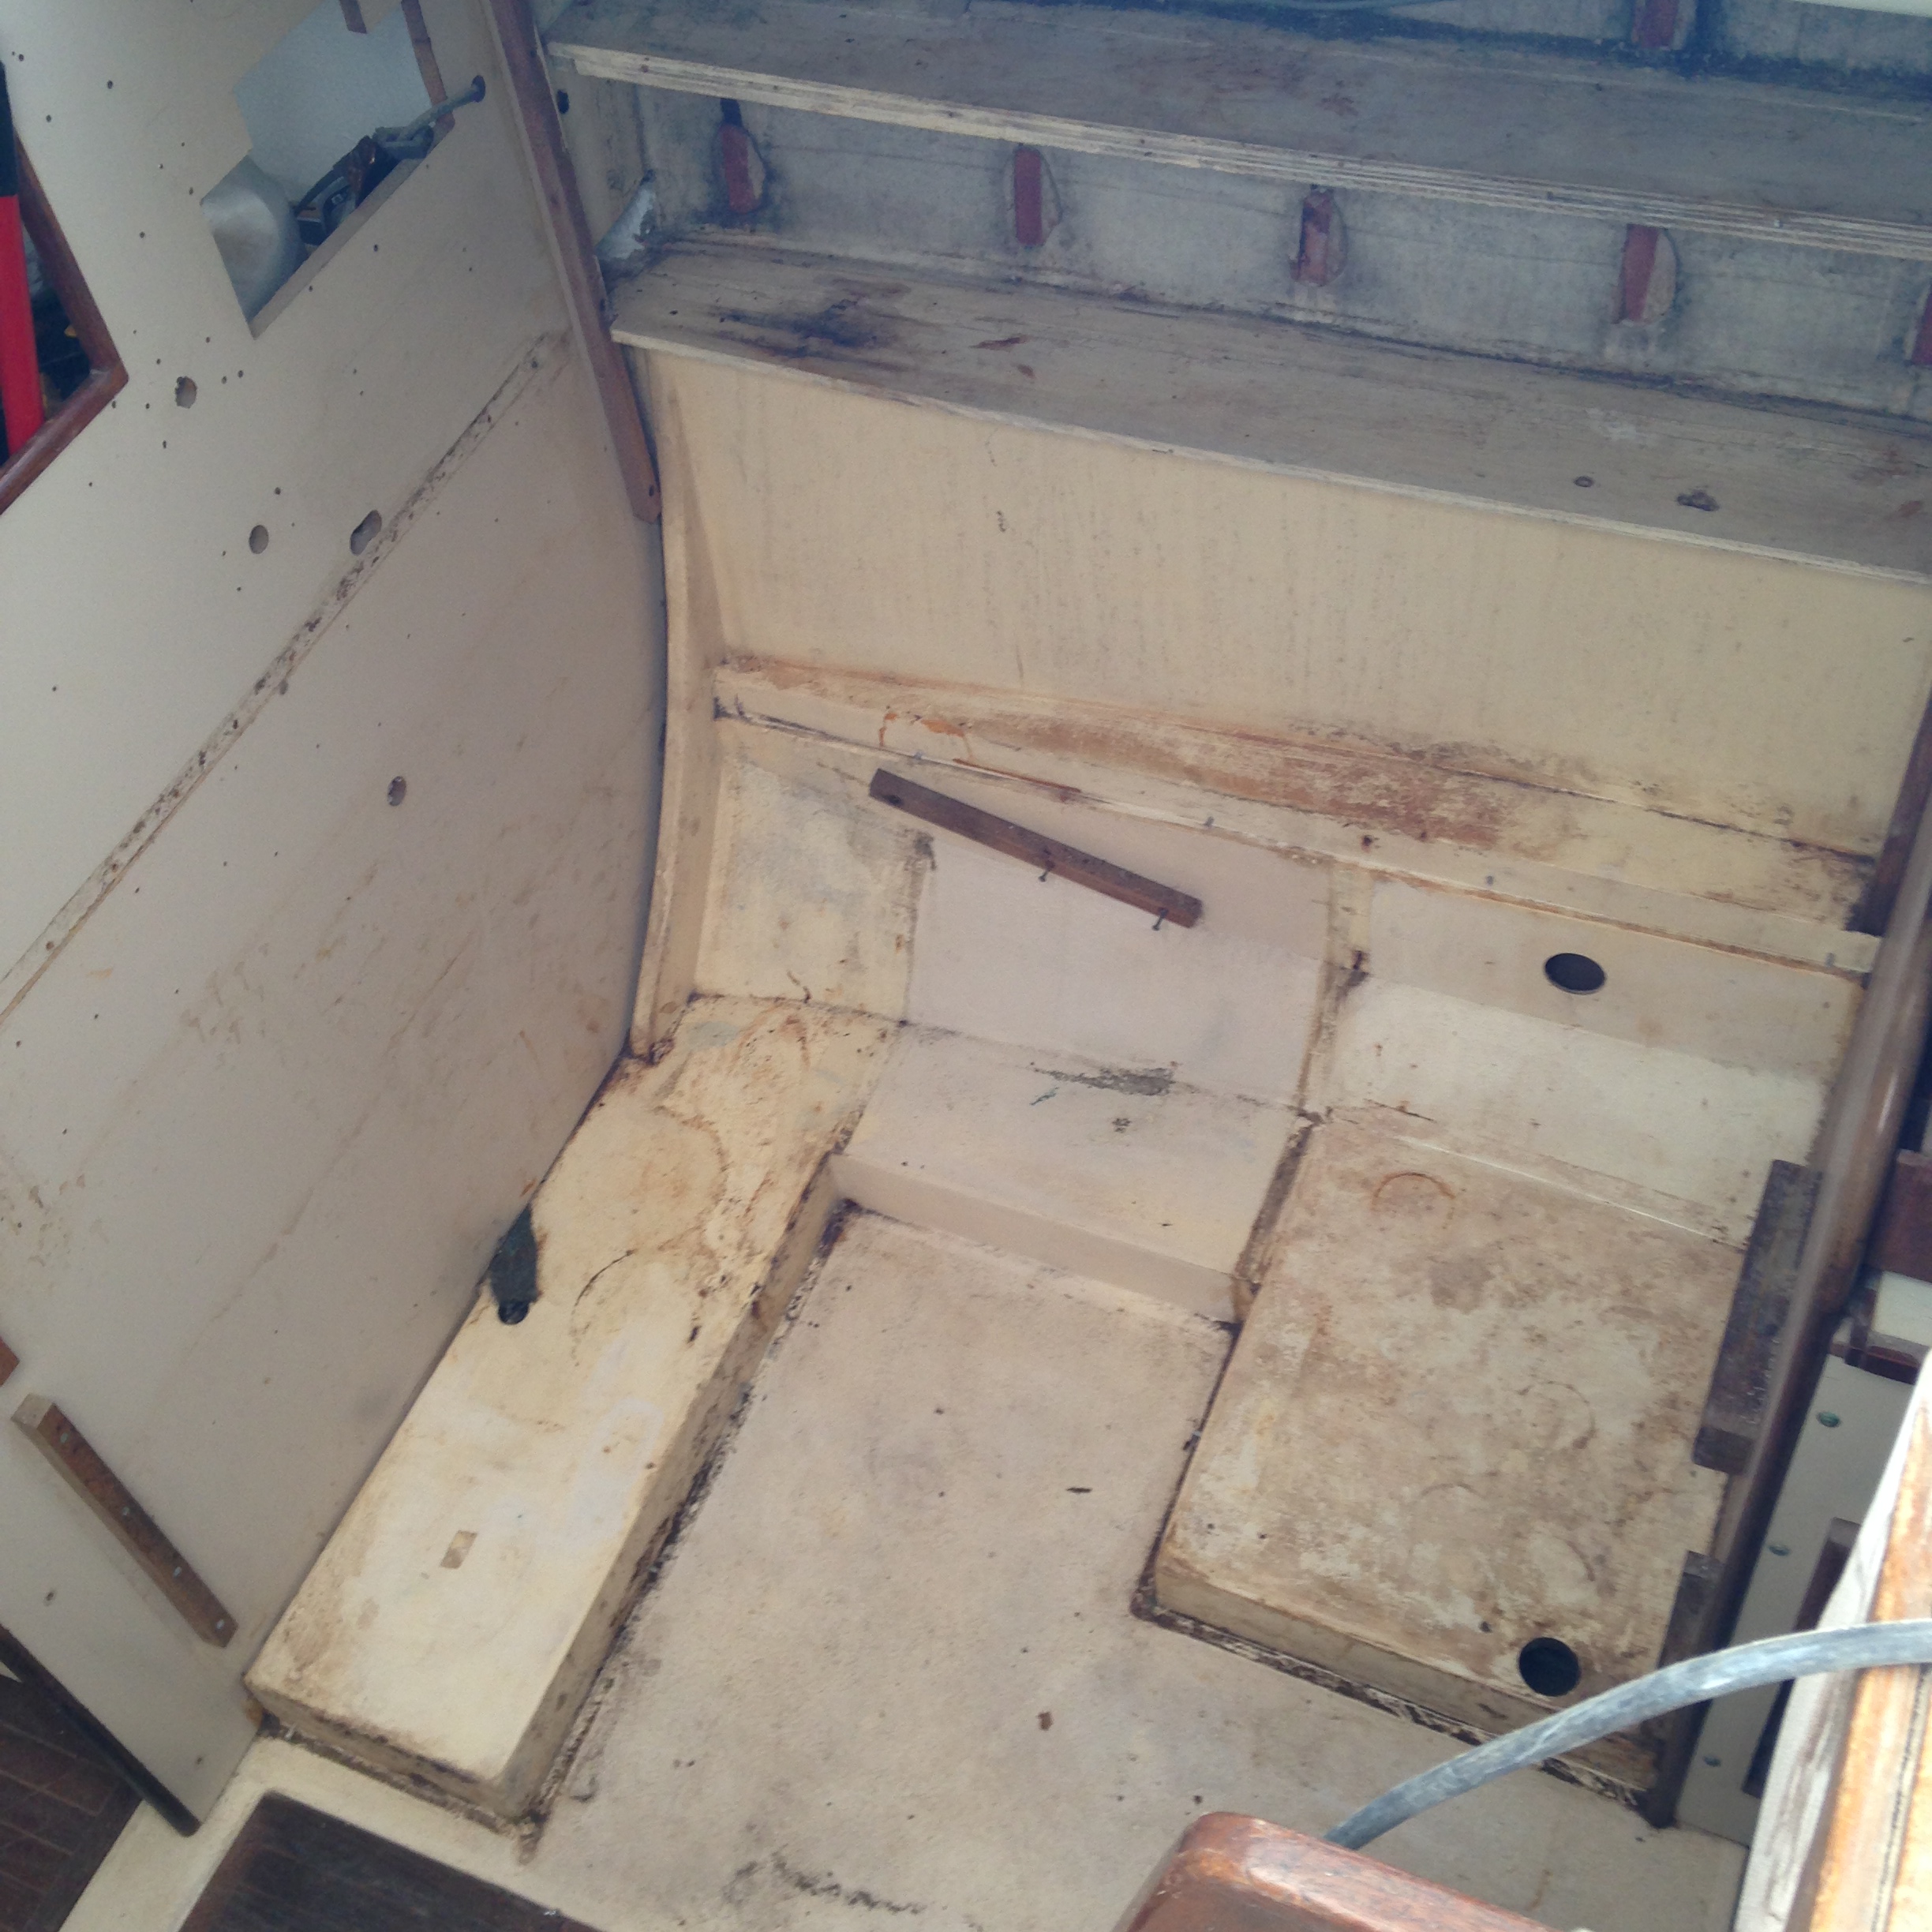
The admiral and one of the crew did a lot of painting inside cupboards and masking of doors as well as giving the foreward head a good cleaning in preparation of starting to put it all back together. I have a bit of glass work to do in order to fill 2 plumbing holes in the platform where the head sits, but I wanted to leave them in case I was able to reuse them. It does not look like it at this point. So they will be filled, faired, and painted.
I also ran into Rob from http://prodigymarine.ca/ and requested that he visit Akupara to provide me with 2 quotes. One to paint the decks and two for a mysterious crack on the bottom of the keel. In reading the previous owners blog, I knew that a repair would need to be made, I am not sure if they ran aground or what happened but the repair that they had paid for needs to be repaired again. I have seen some of Rob’s work and I am confident it will be completed properly this time.
Today I have to help a friend on his boat for a bit, and it is supposed to be a brilliant day, so I think I may just have the time to haul all of the sails out and take a really close look at them to see if they are useable or if they will make good sun shades this afternoon. I do know there is a brand new try sail and storm jib that appear to never have been used but beyond that I have never opened the bags. Should be interesting.
Typically I hate furniture shopping. It always seems like a chore that requires too much energy to complete. Colours and patterns and materials and quality and size and shape and will it fit through the door and will the neighbours like it and on and on.
But. I have to say I am a little excited for tomorrow. In effect we are going furniture shopping. Or to be more precise, furniture shopping is coming to us. We have arranged for a local company to come down to Akupara tomorrow to take measurements, create patterns, discuss colours, material, style etc for all of the new interior cushions and mattresses.
Yes I know we still have a lot of other projects to complete but as the cushions and mattresses are custom made and will take a while to manufacture and we may have a change of the overall plan, we decided to get a start on it. And if they are ready before we are, they can be brought home and stored until they are needed where they will be safe and sound.
We also plan on breaking this up into several steps in order to spread out the cost as much as possible.
So yes typically I hate furniture shopping but this time it is for Akupara and boat stuff is always fun!!
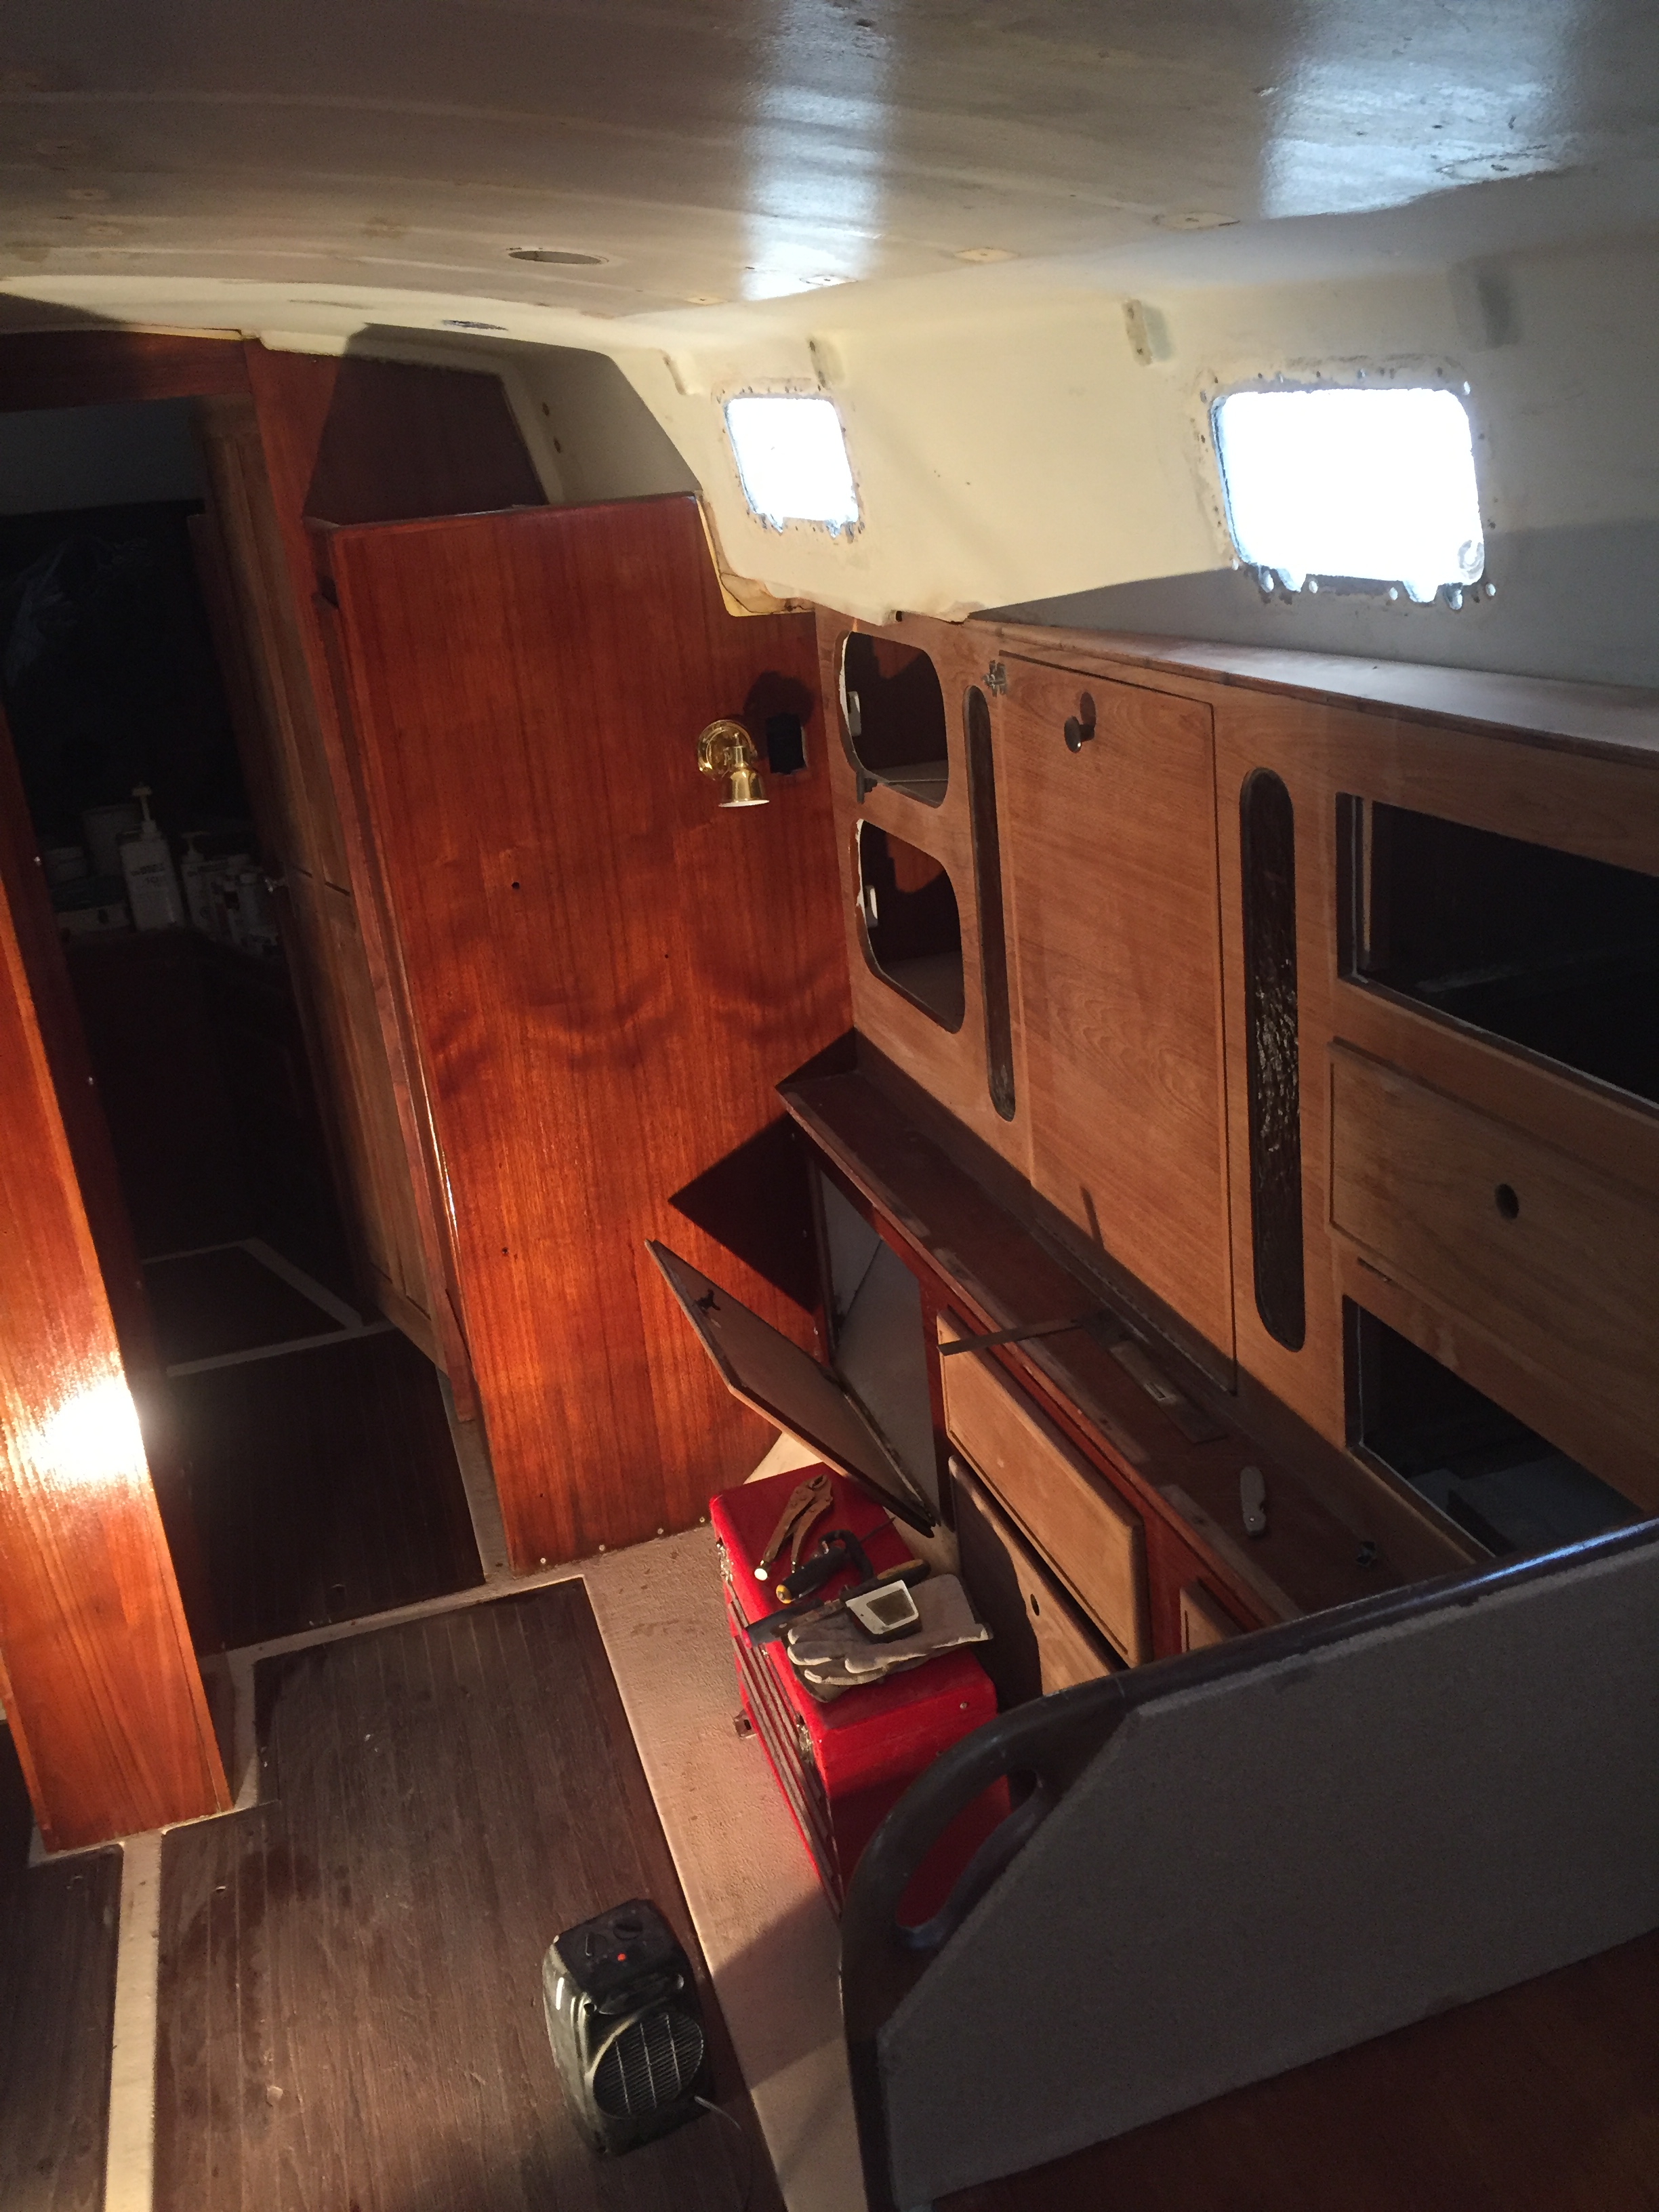
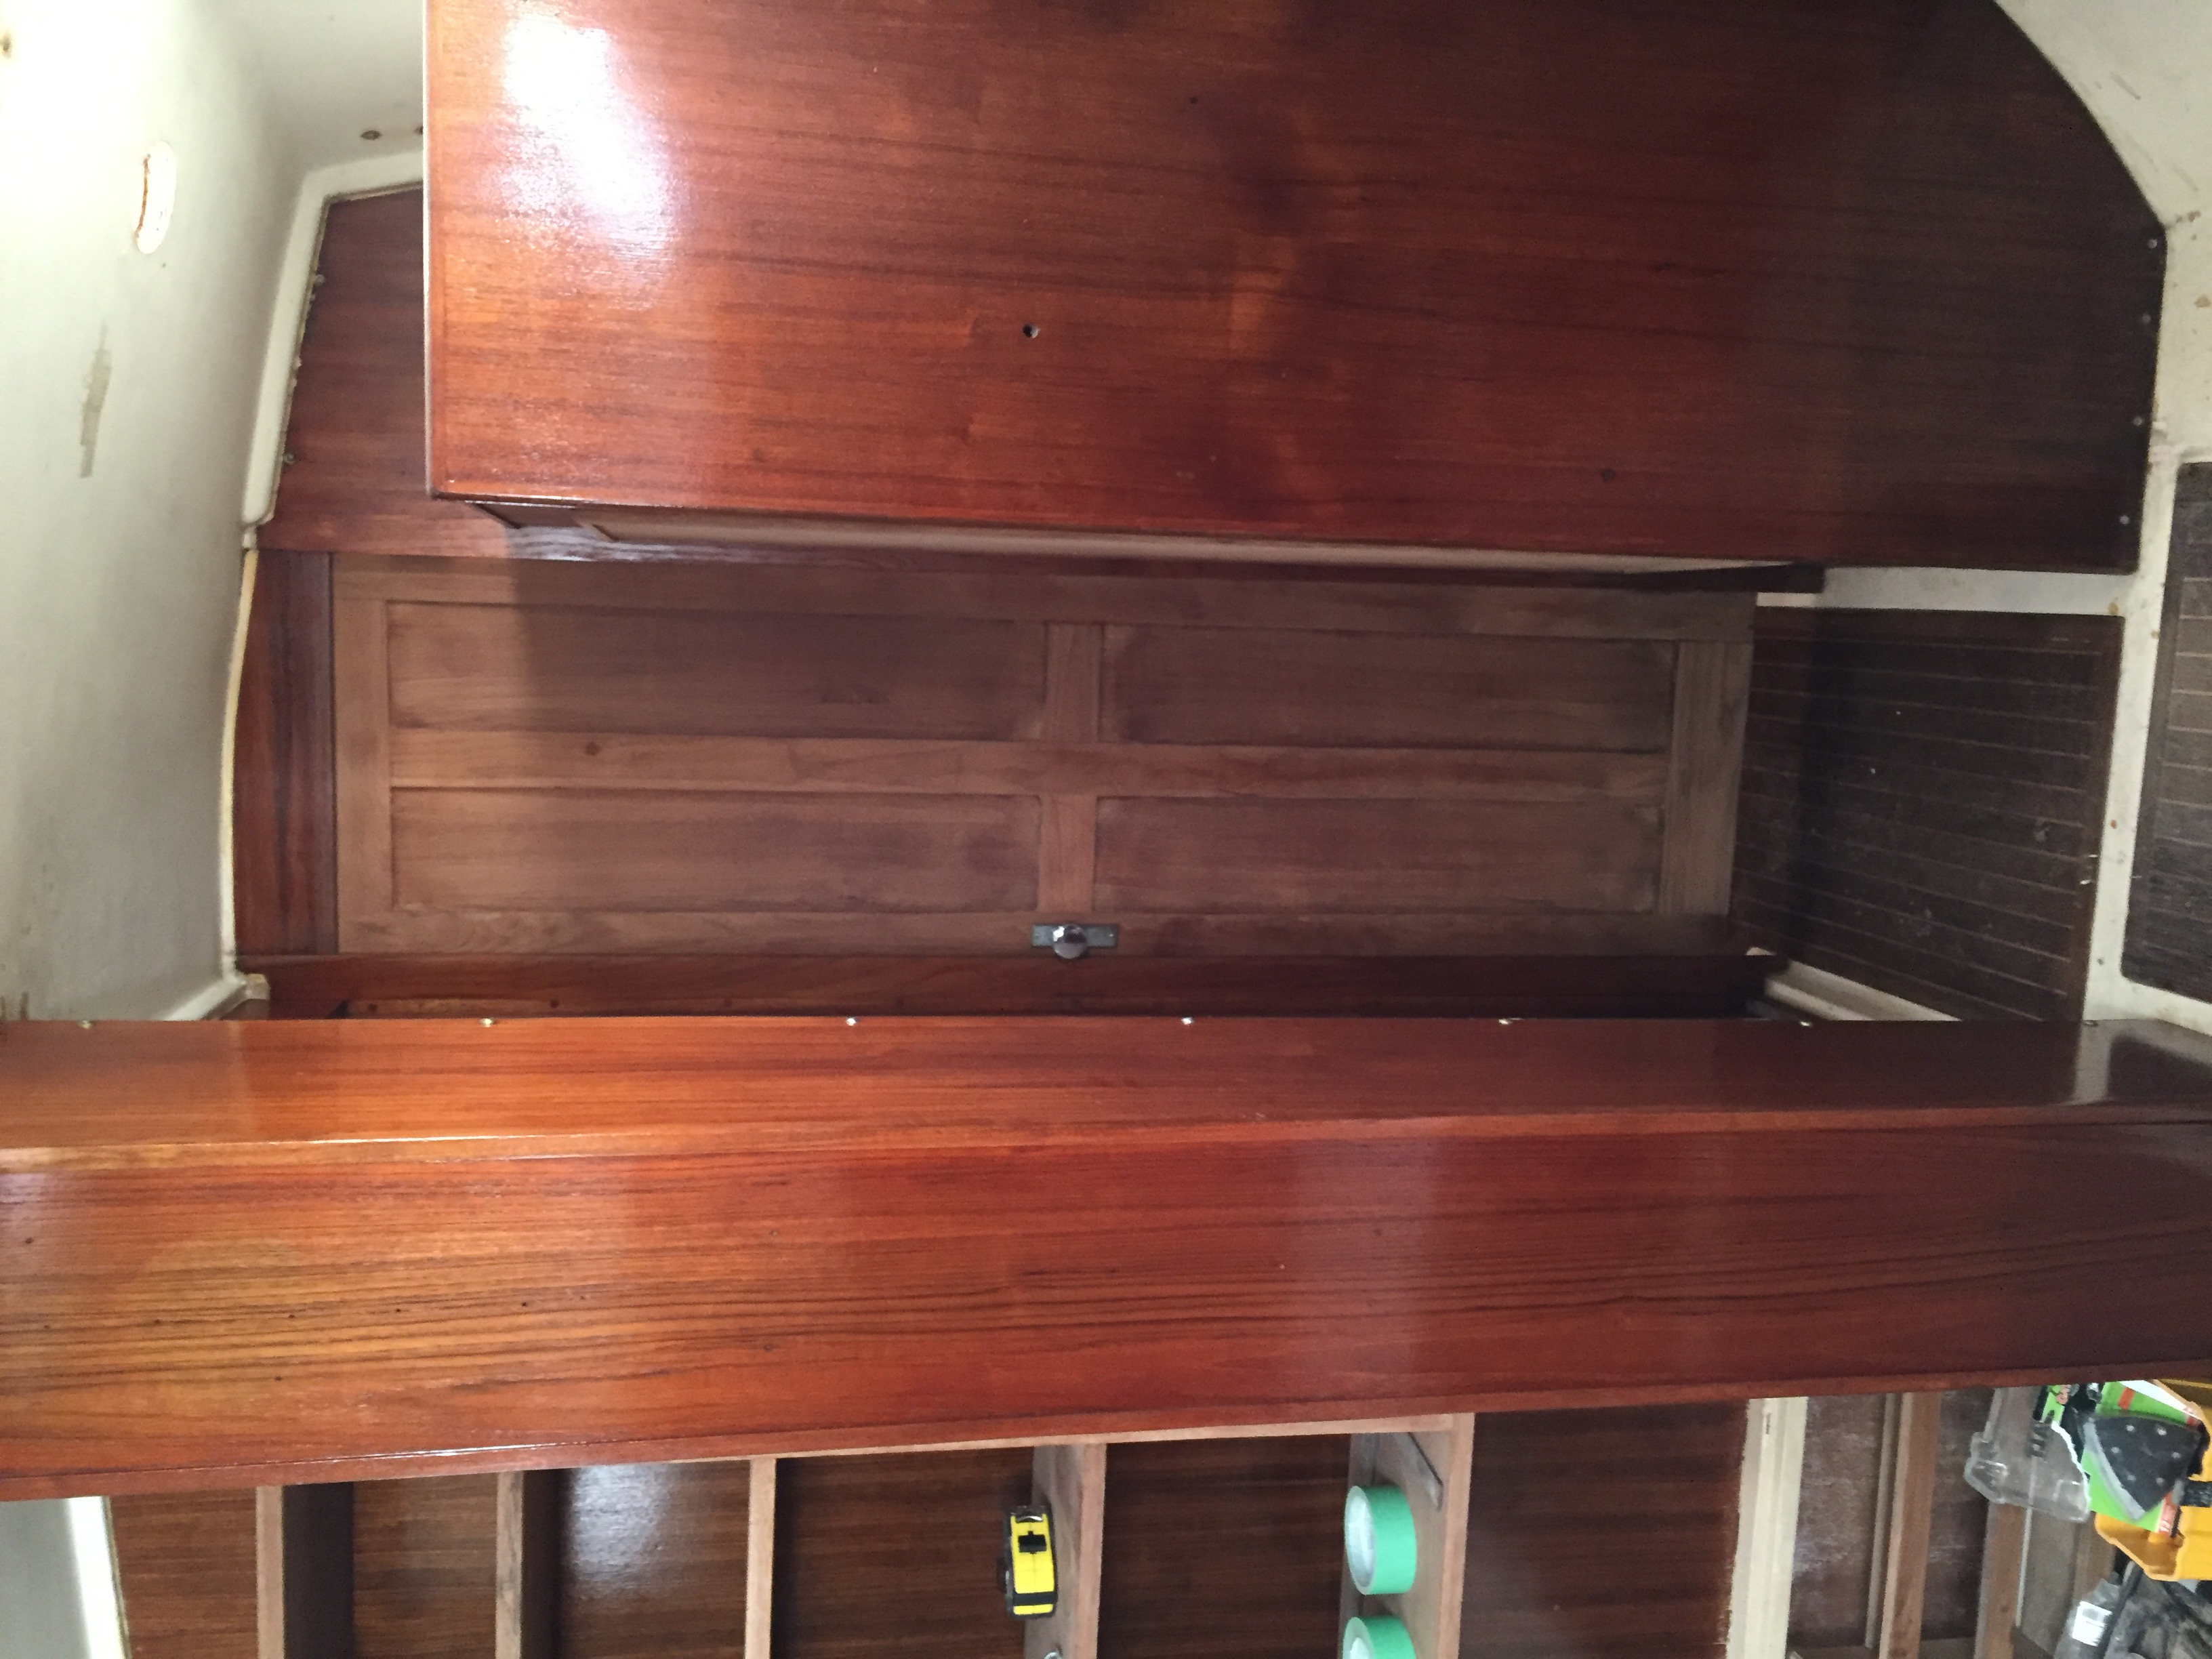
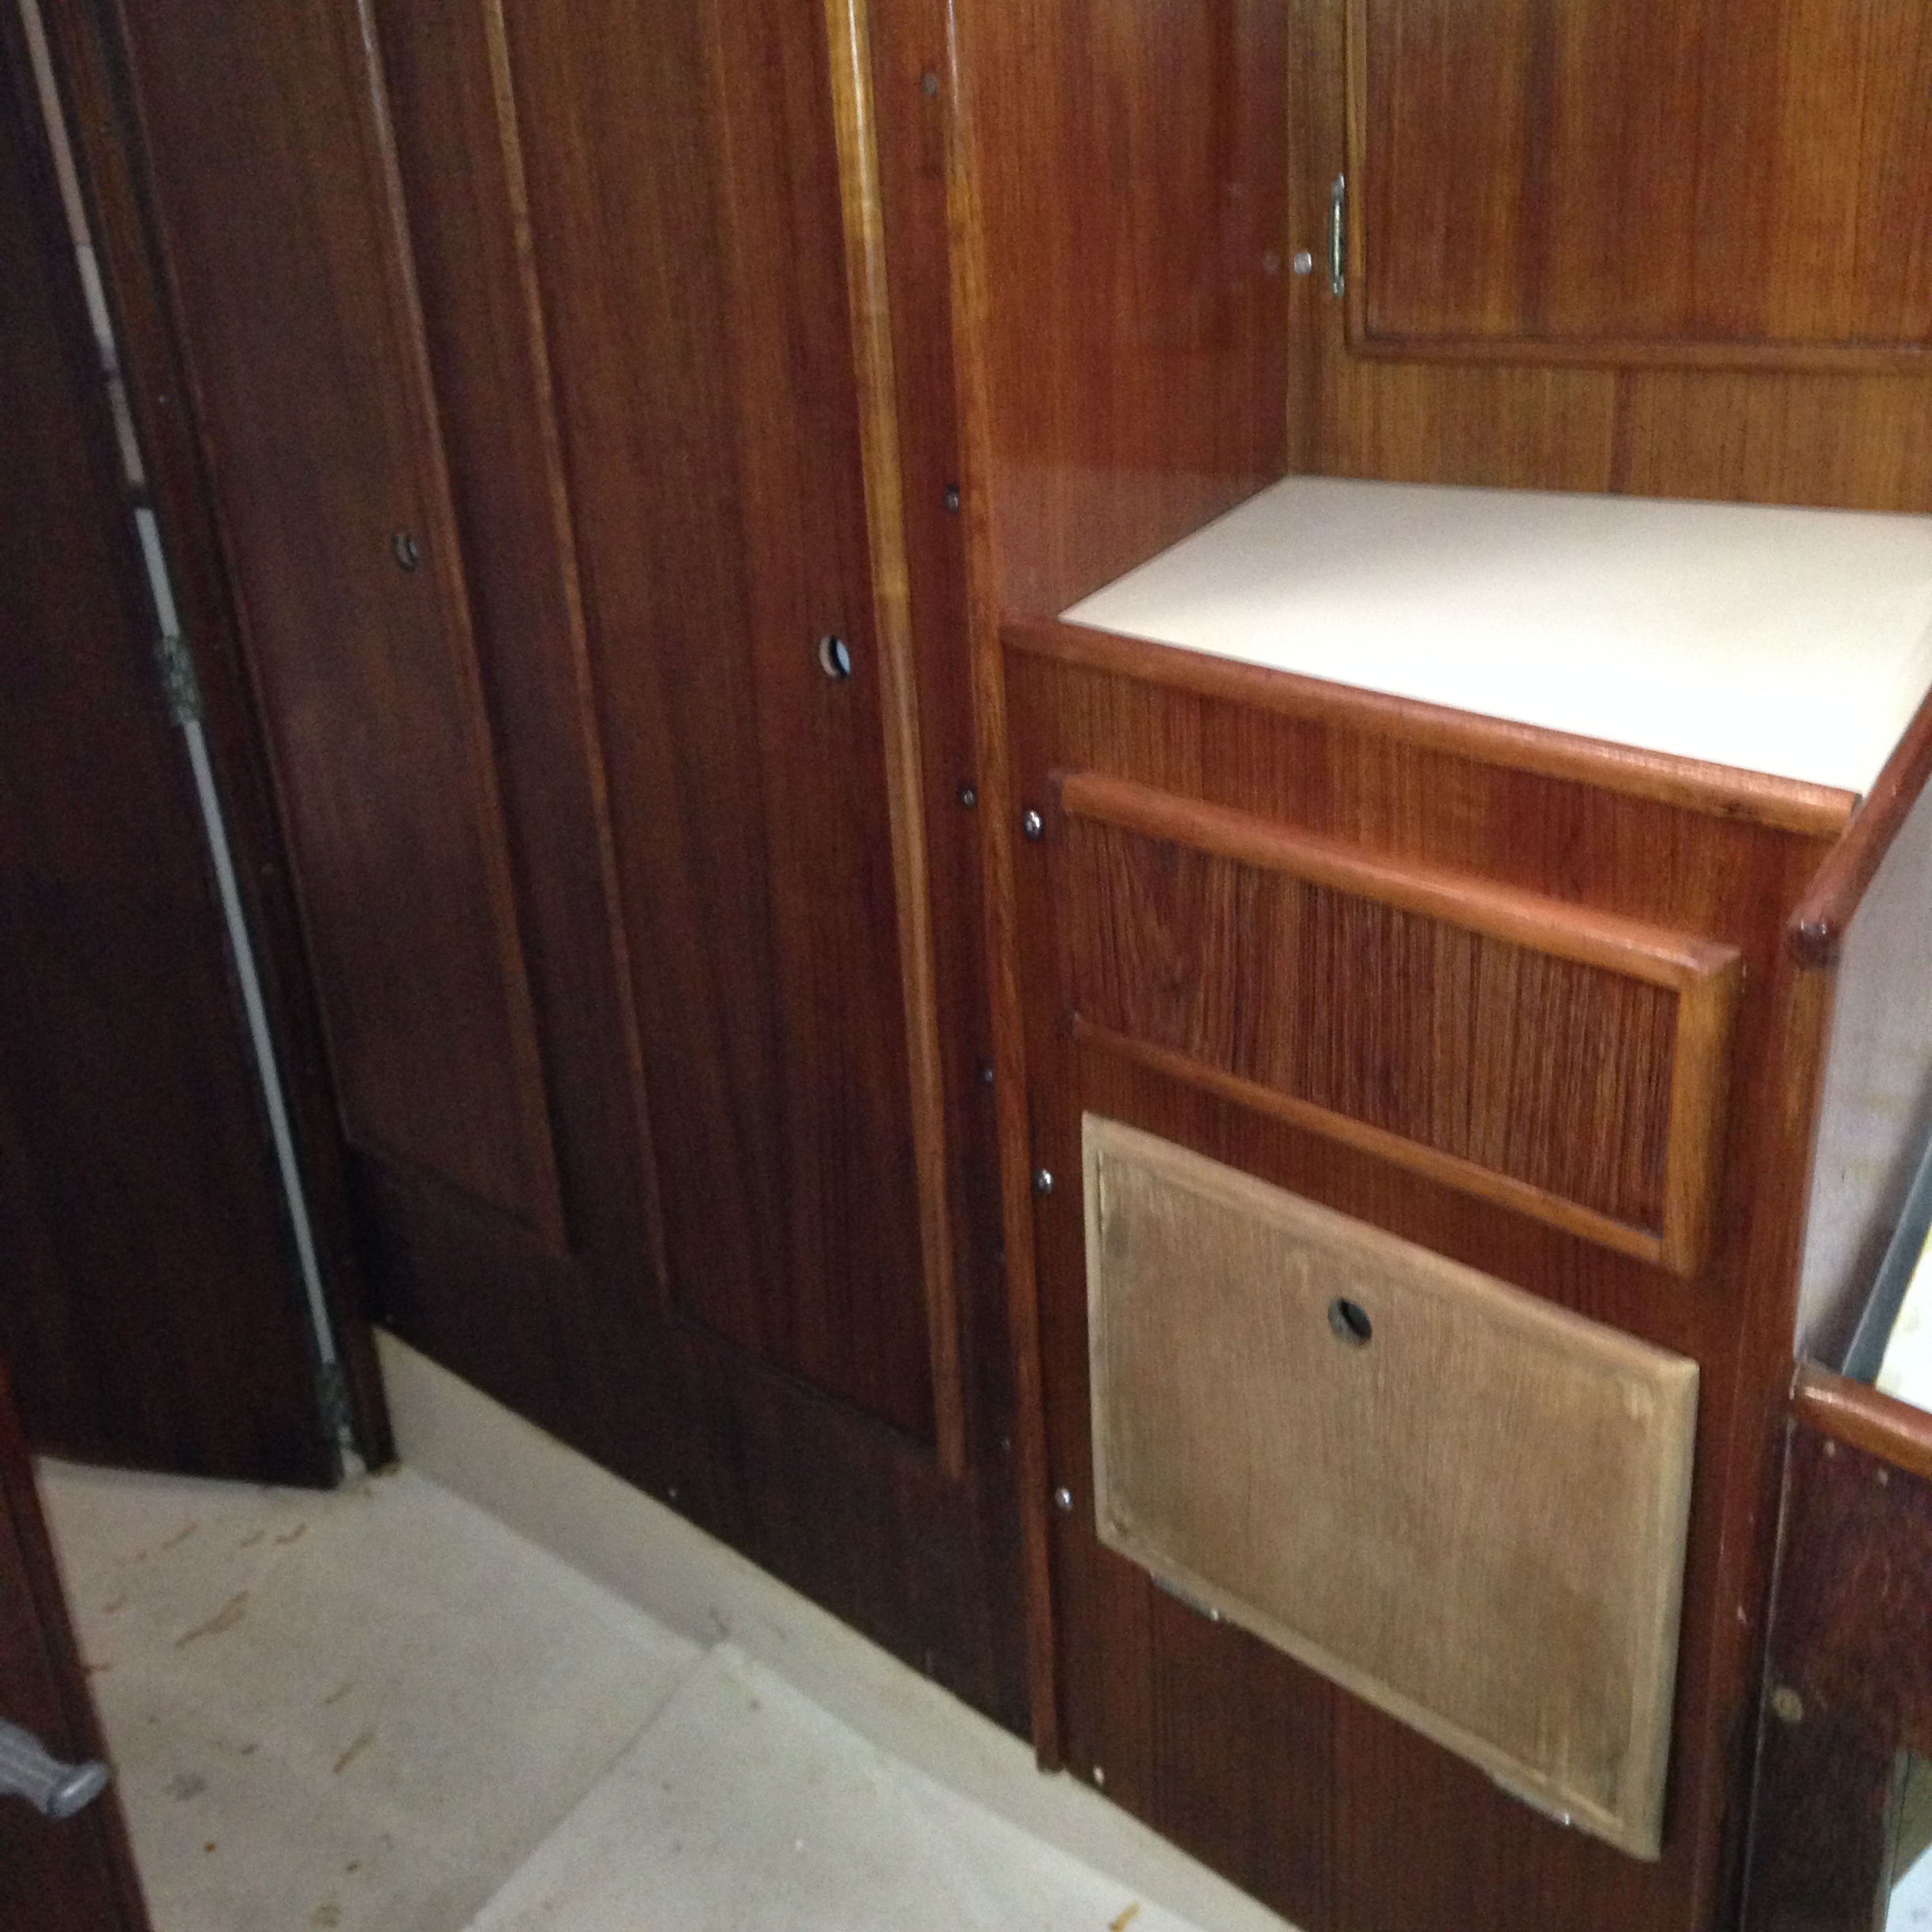
Well, I managed to hang all of the finished cupboard doors, the head doors and a couple I wasn’t even sure where they came from. I did however have to scavenge a few hinges from areas that we have not installed yet, like the chain locker doors. Several months ago the admiral and I were at home depot and thought we had found a replacement hinge for all of the old hinges. They looked almost exact, but once I installed one, it became obvious that they were just different enough to not work. I also learned that there are 2 types of hinges on the Whitby 42. They look identical but one is slightly larger than the other. I am guessing that the larger ones were for the doors but who knows, maybe Whitby couldn’t find the right hinges either!
So added to our list of things to find are a truckload of replacement hinges. If anyone knows where I can find the original hinges new, please, please let me know.
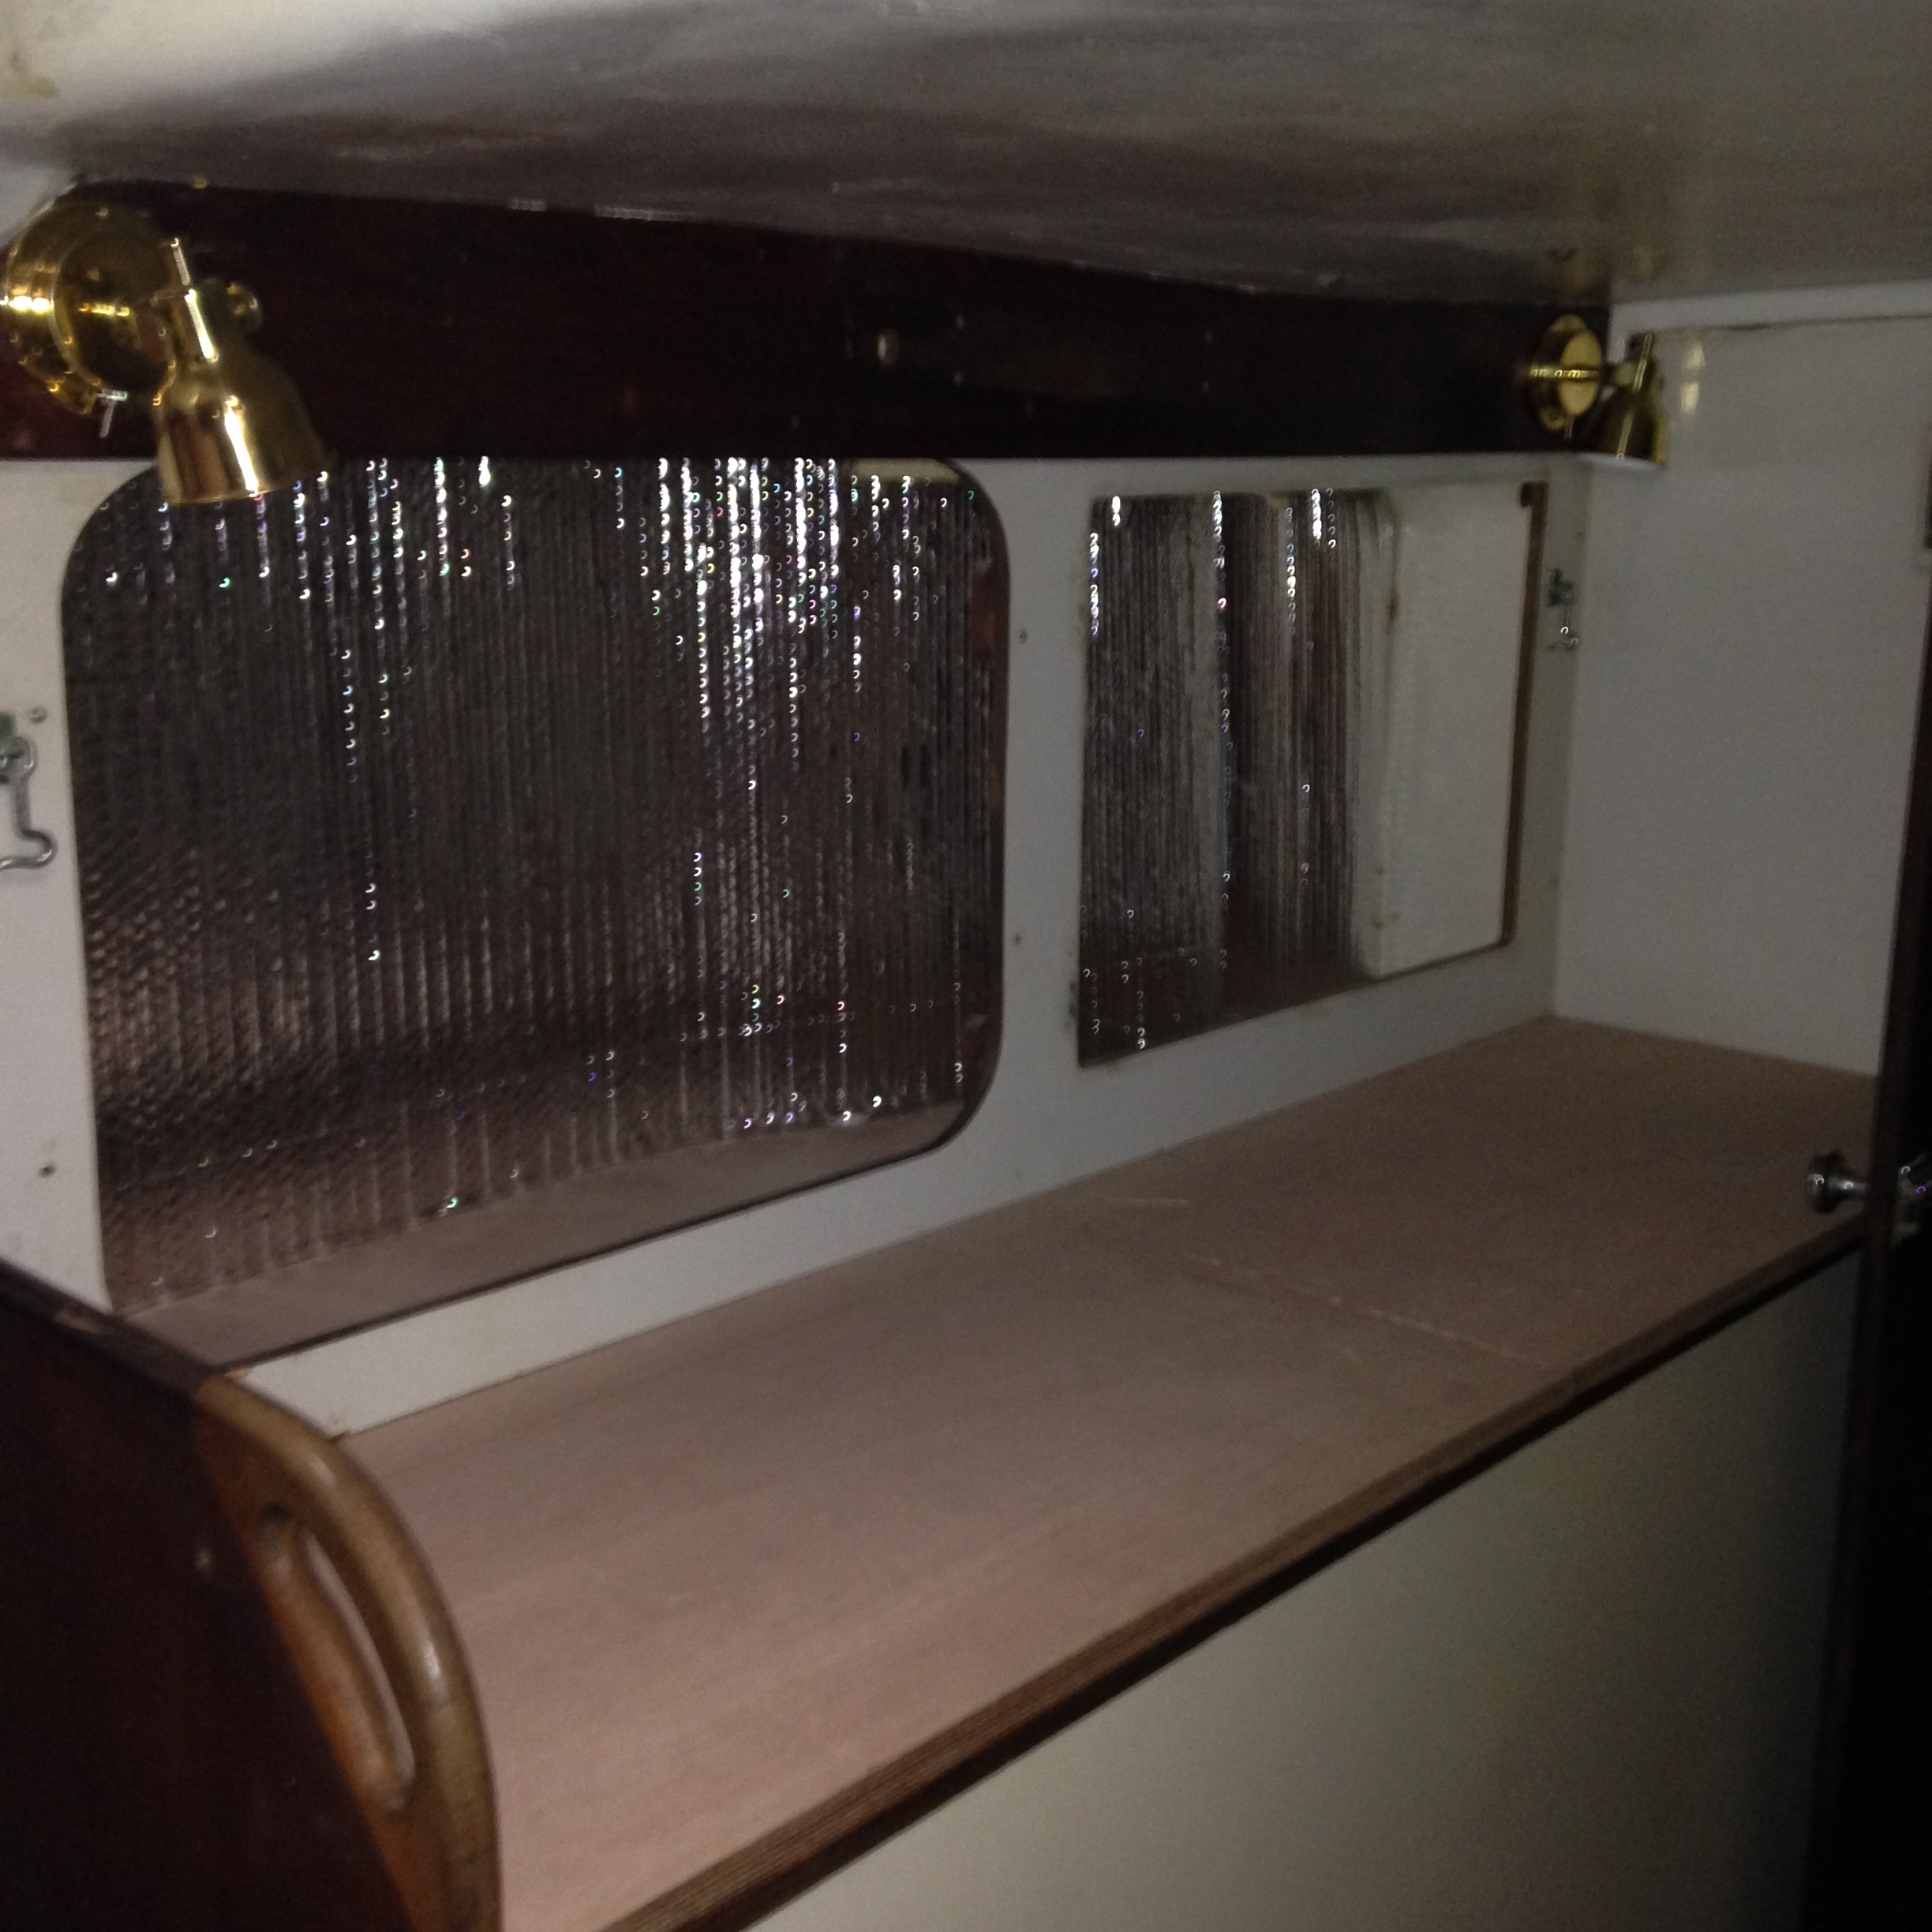
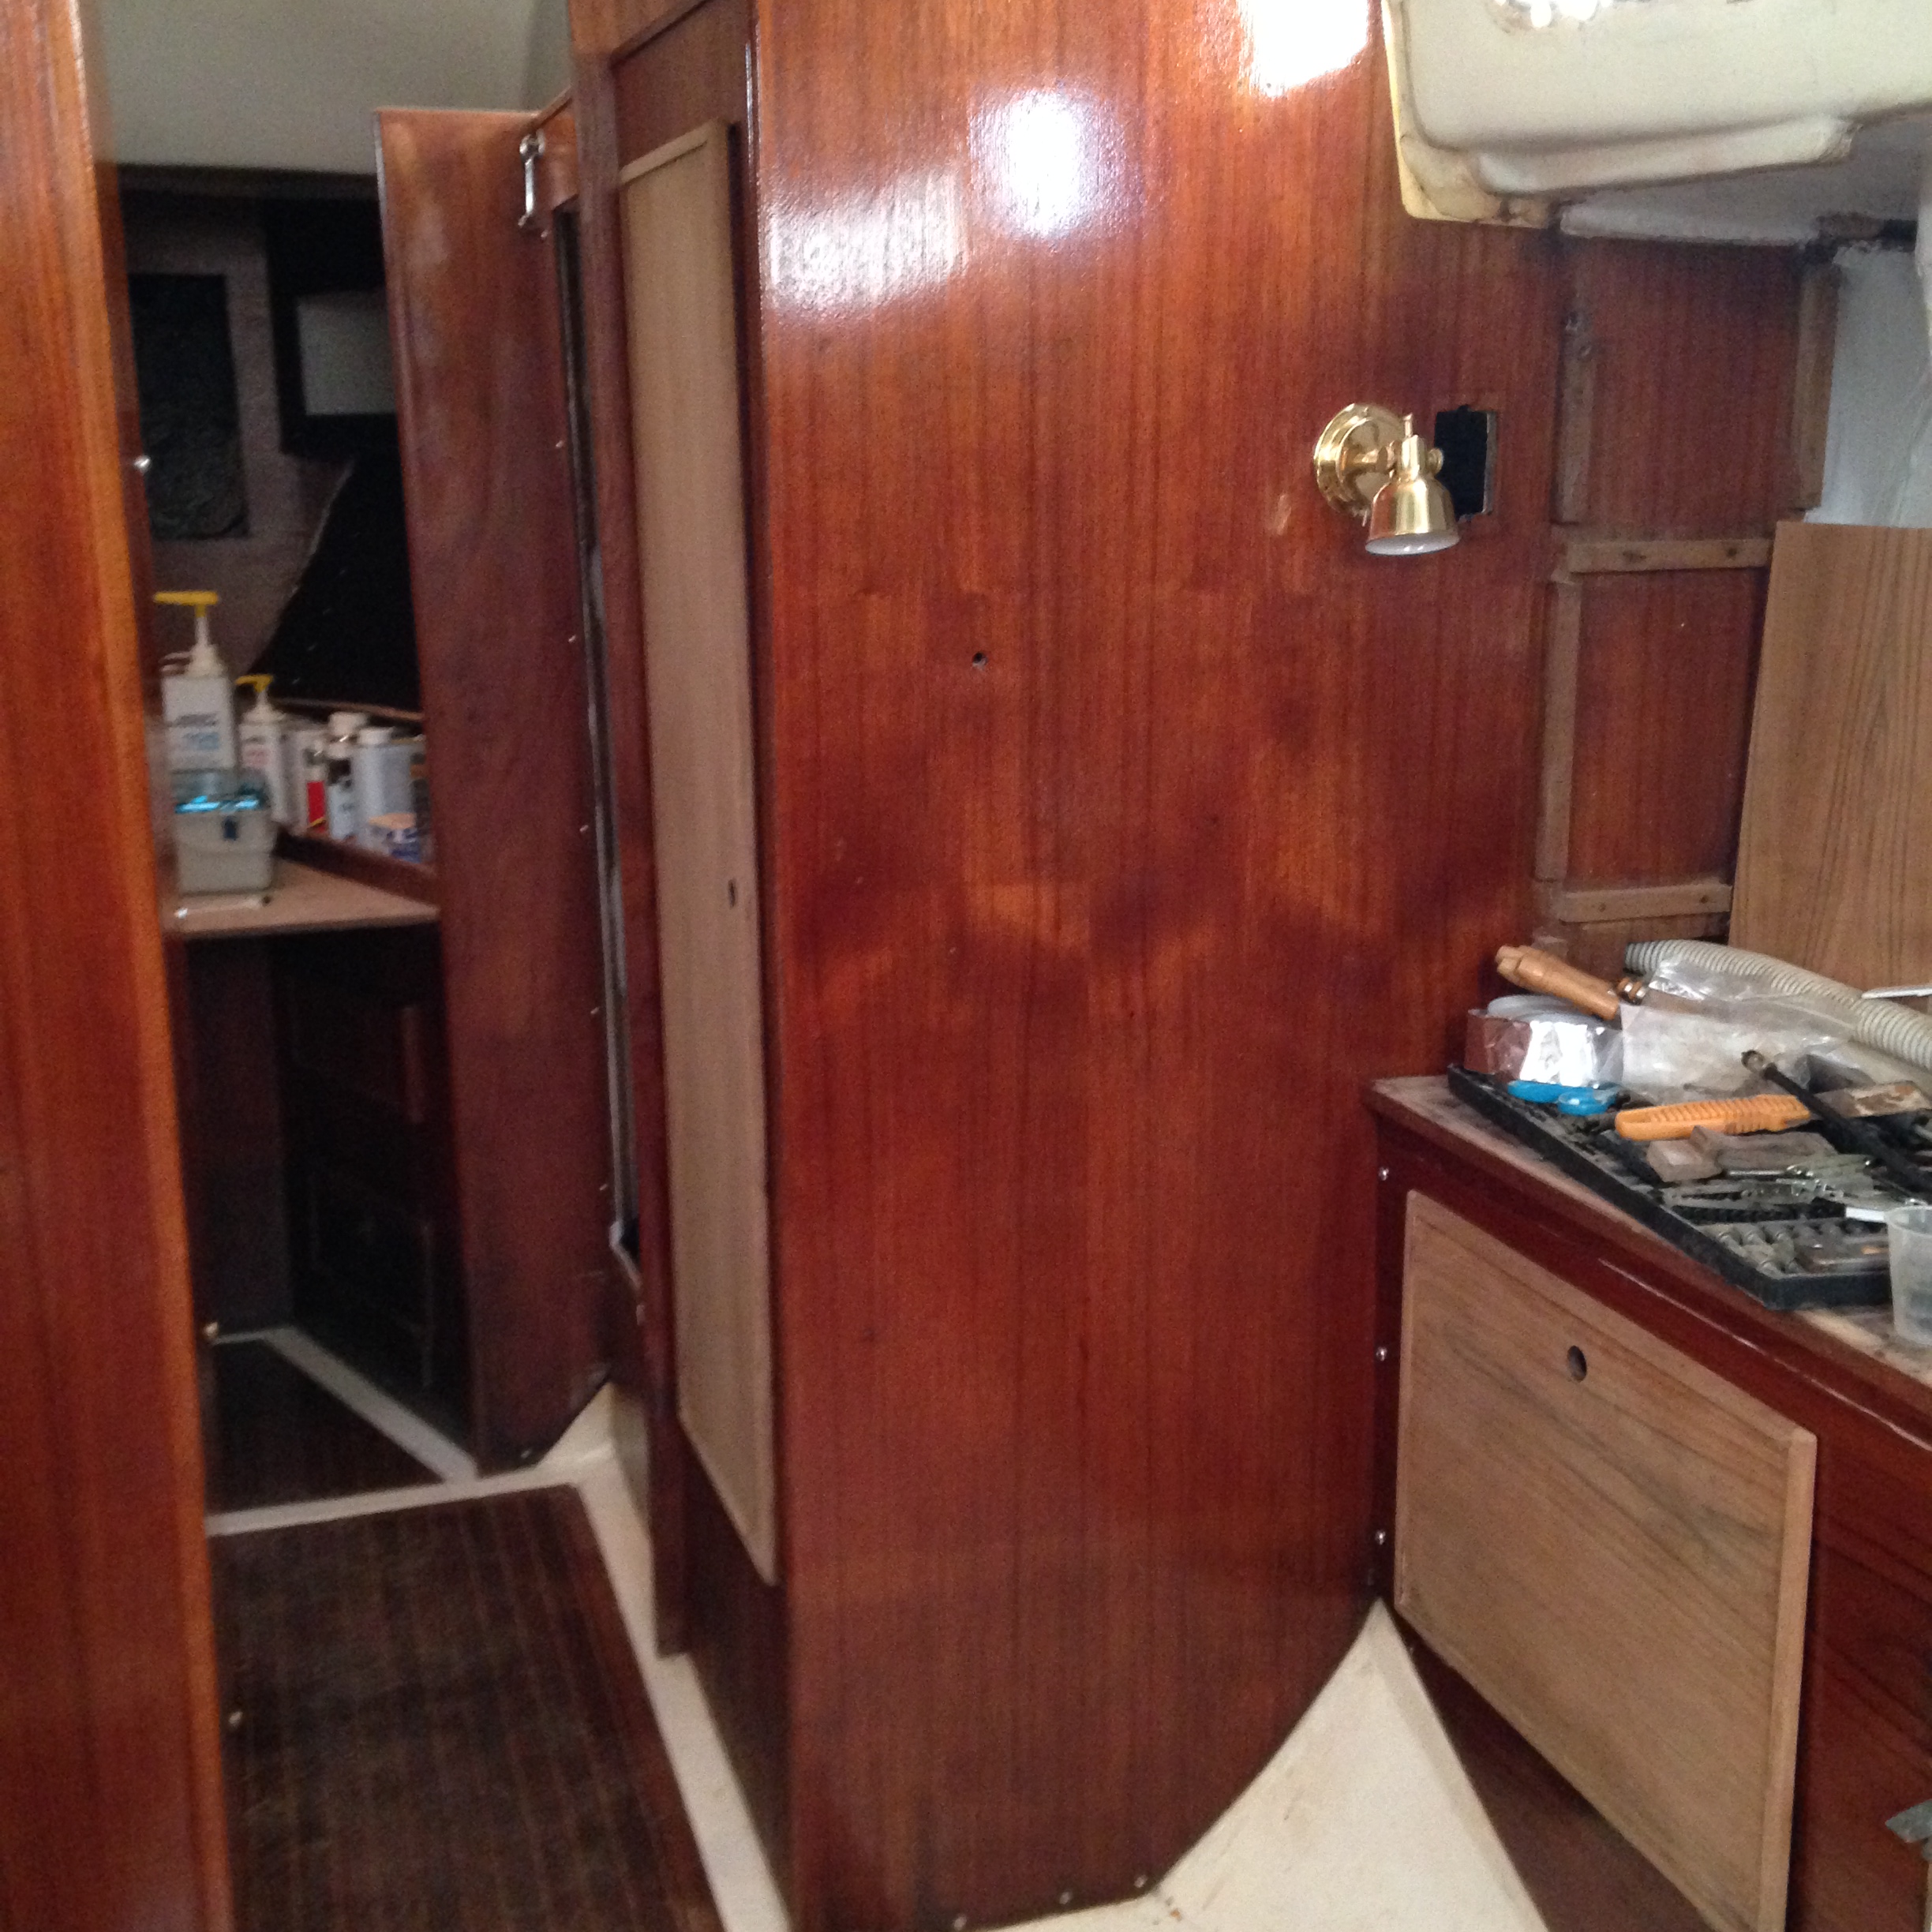
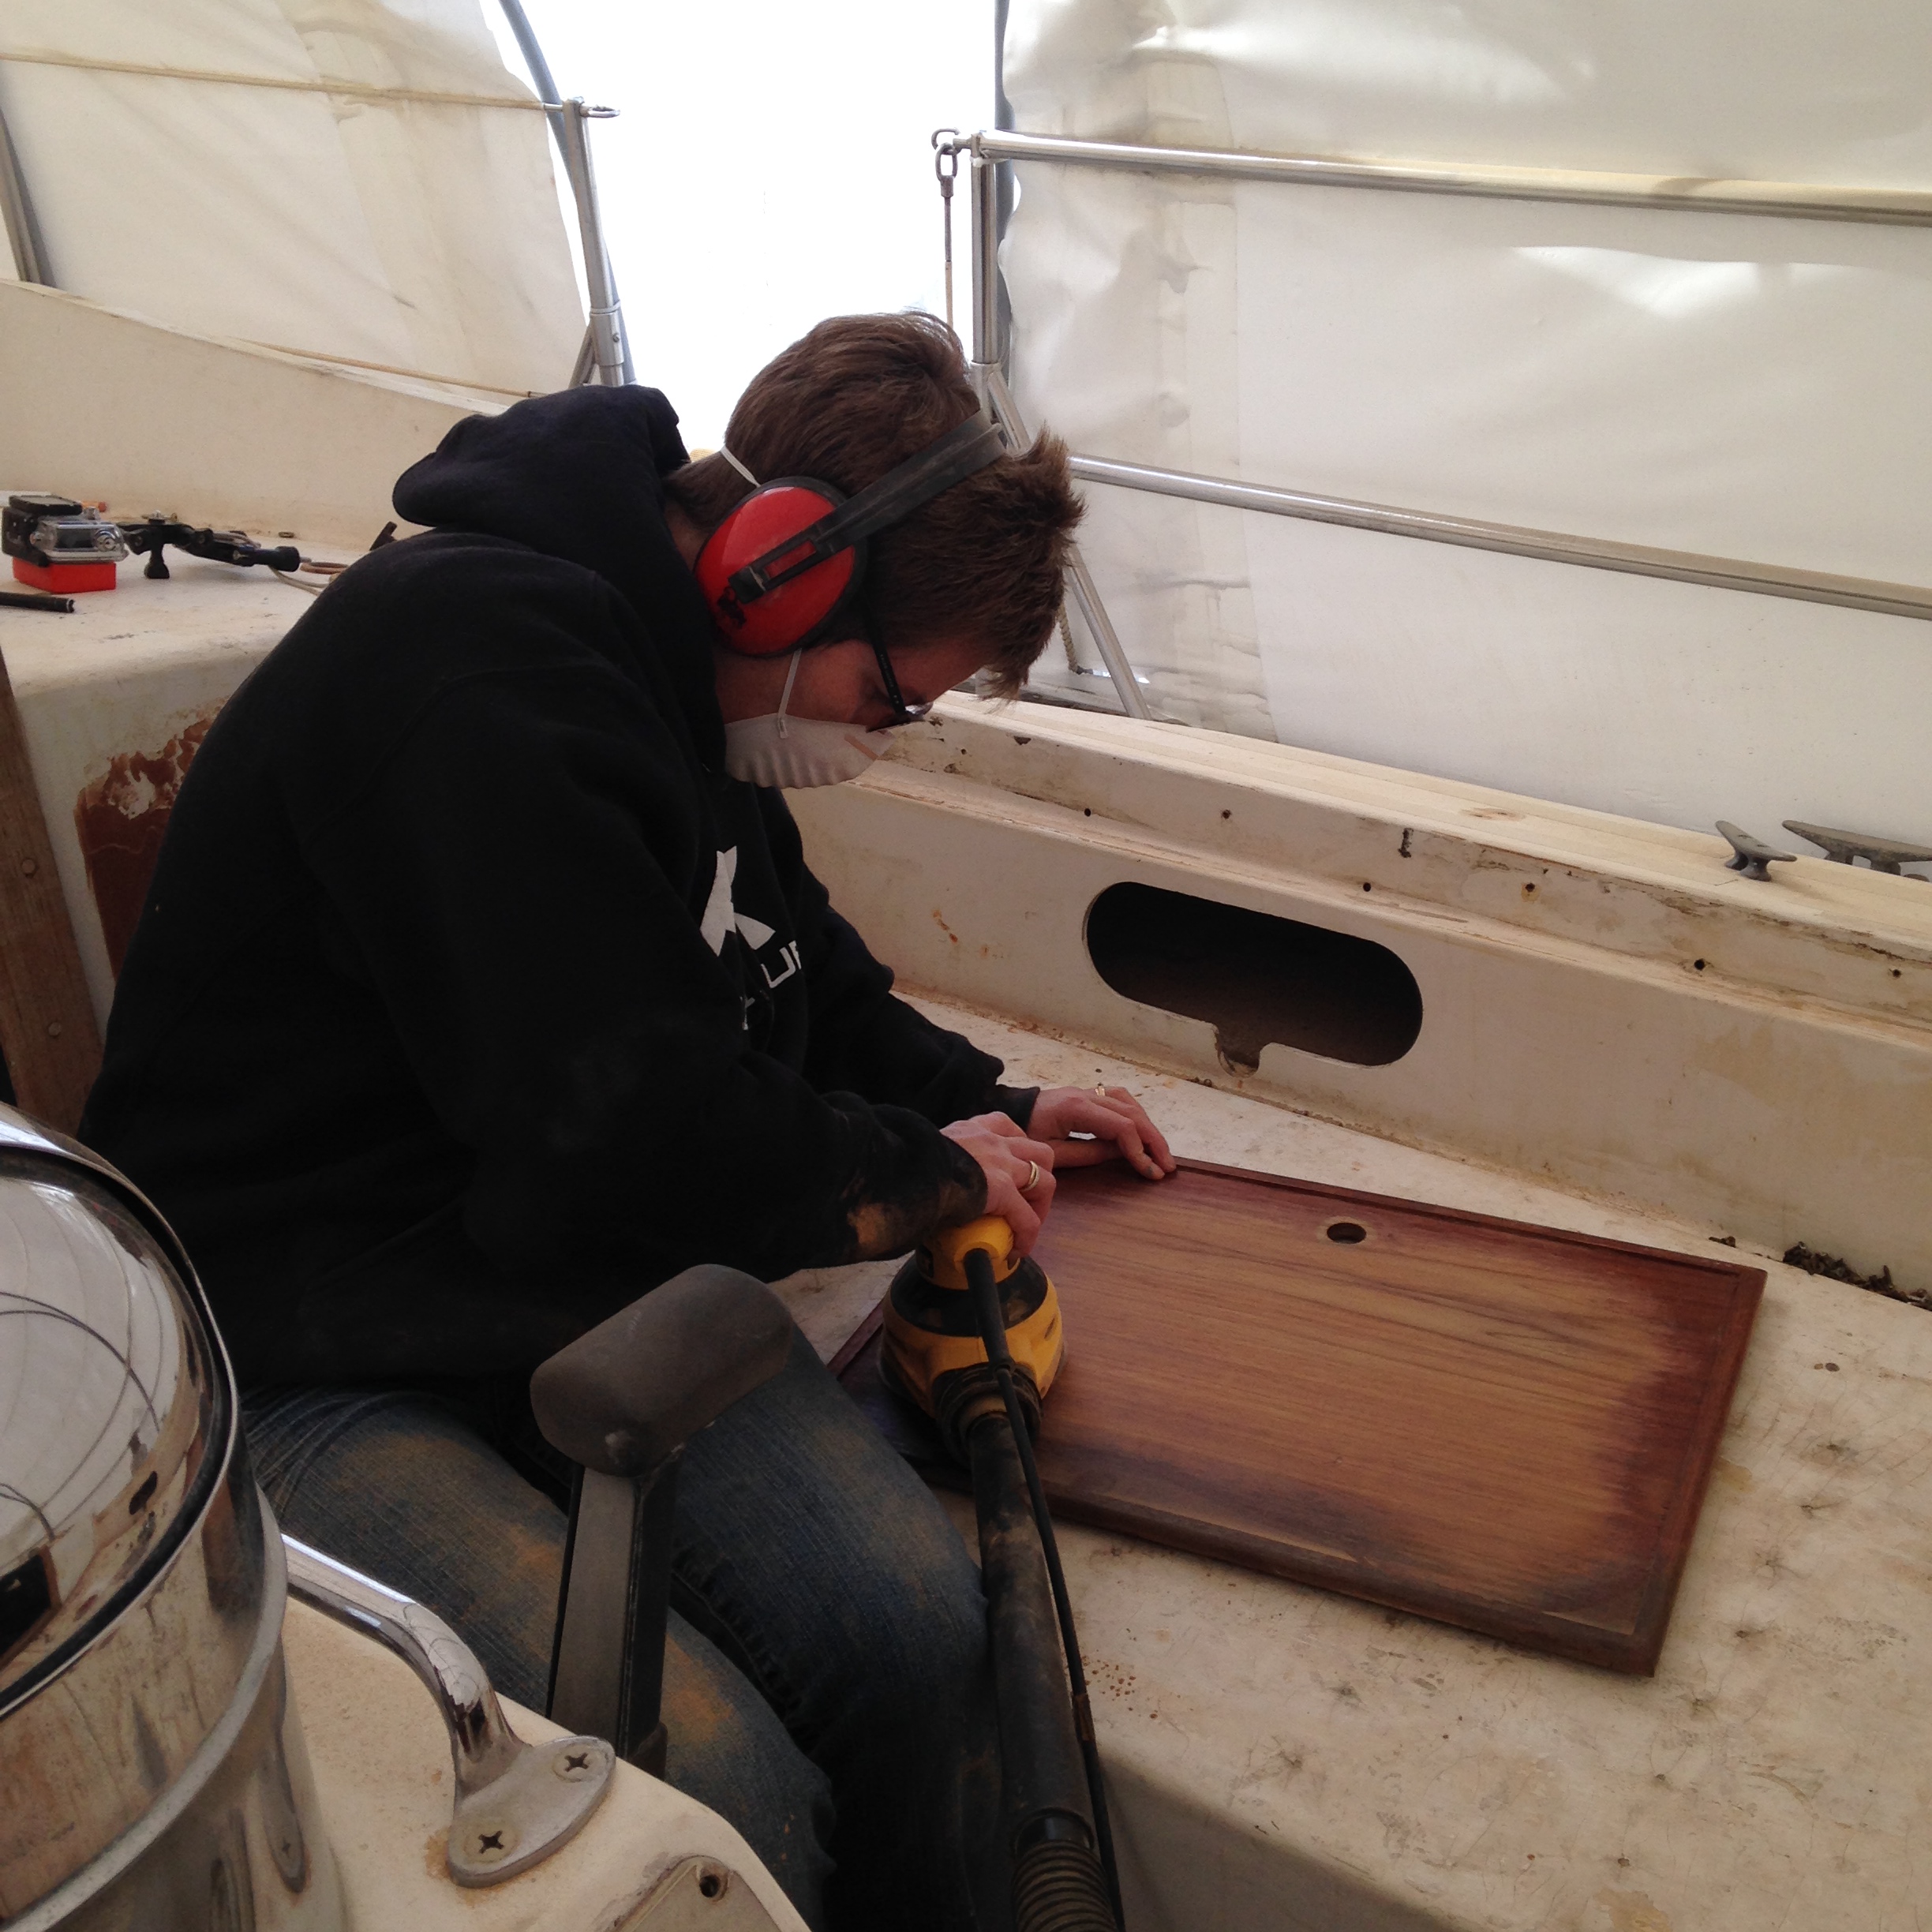
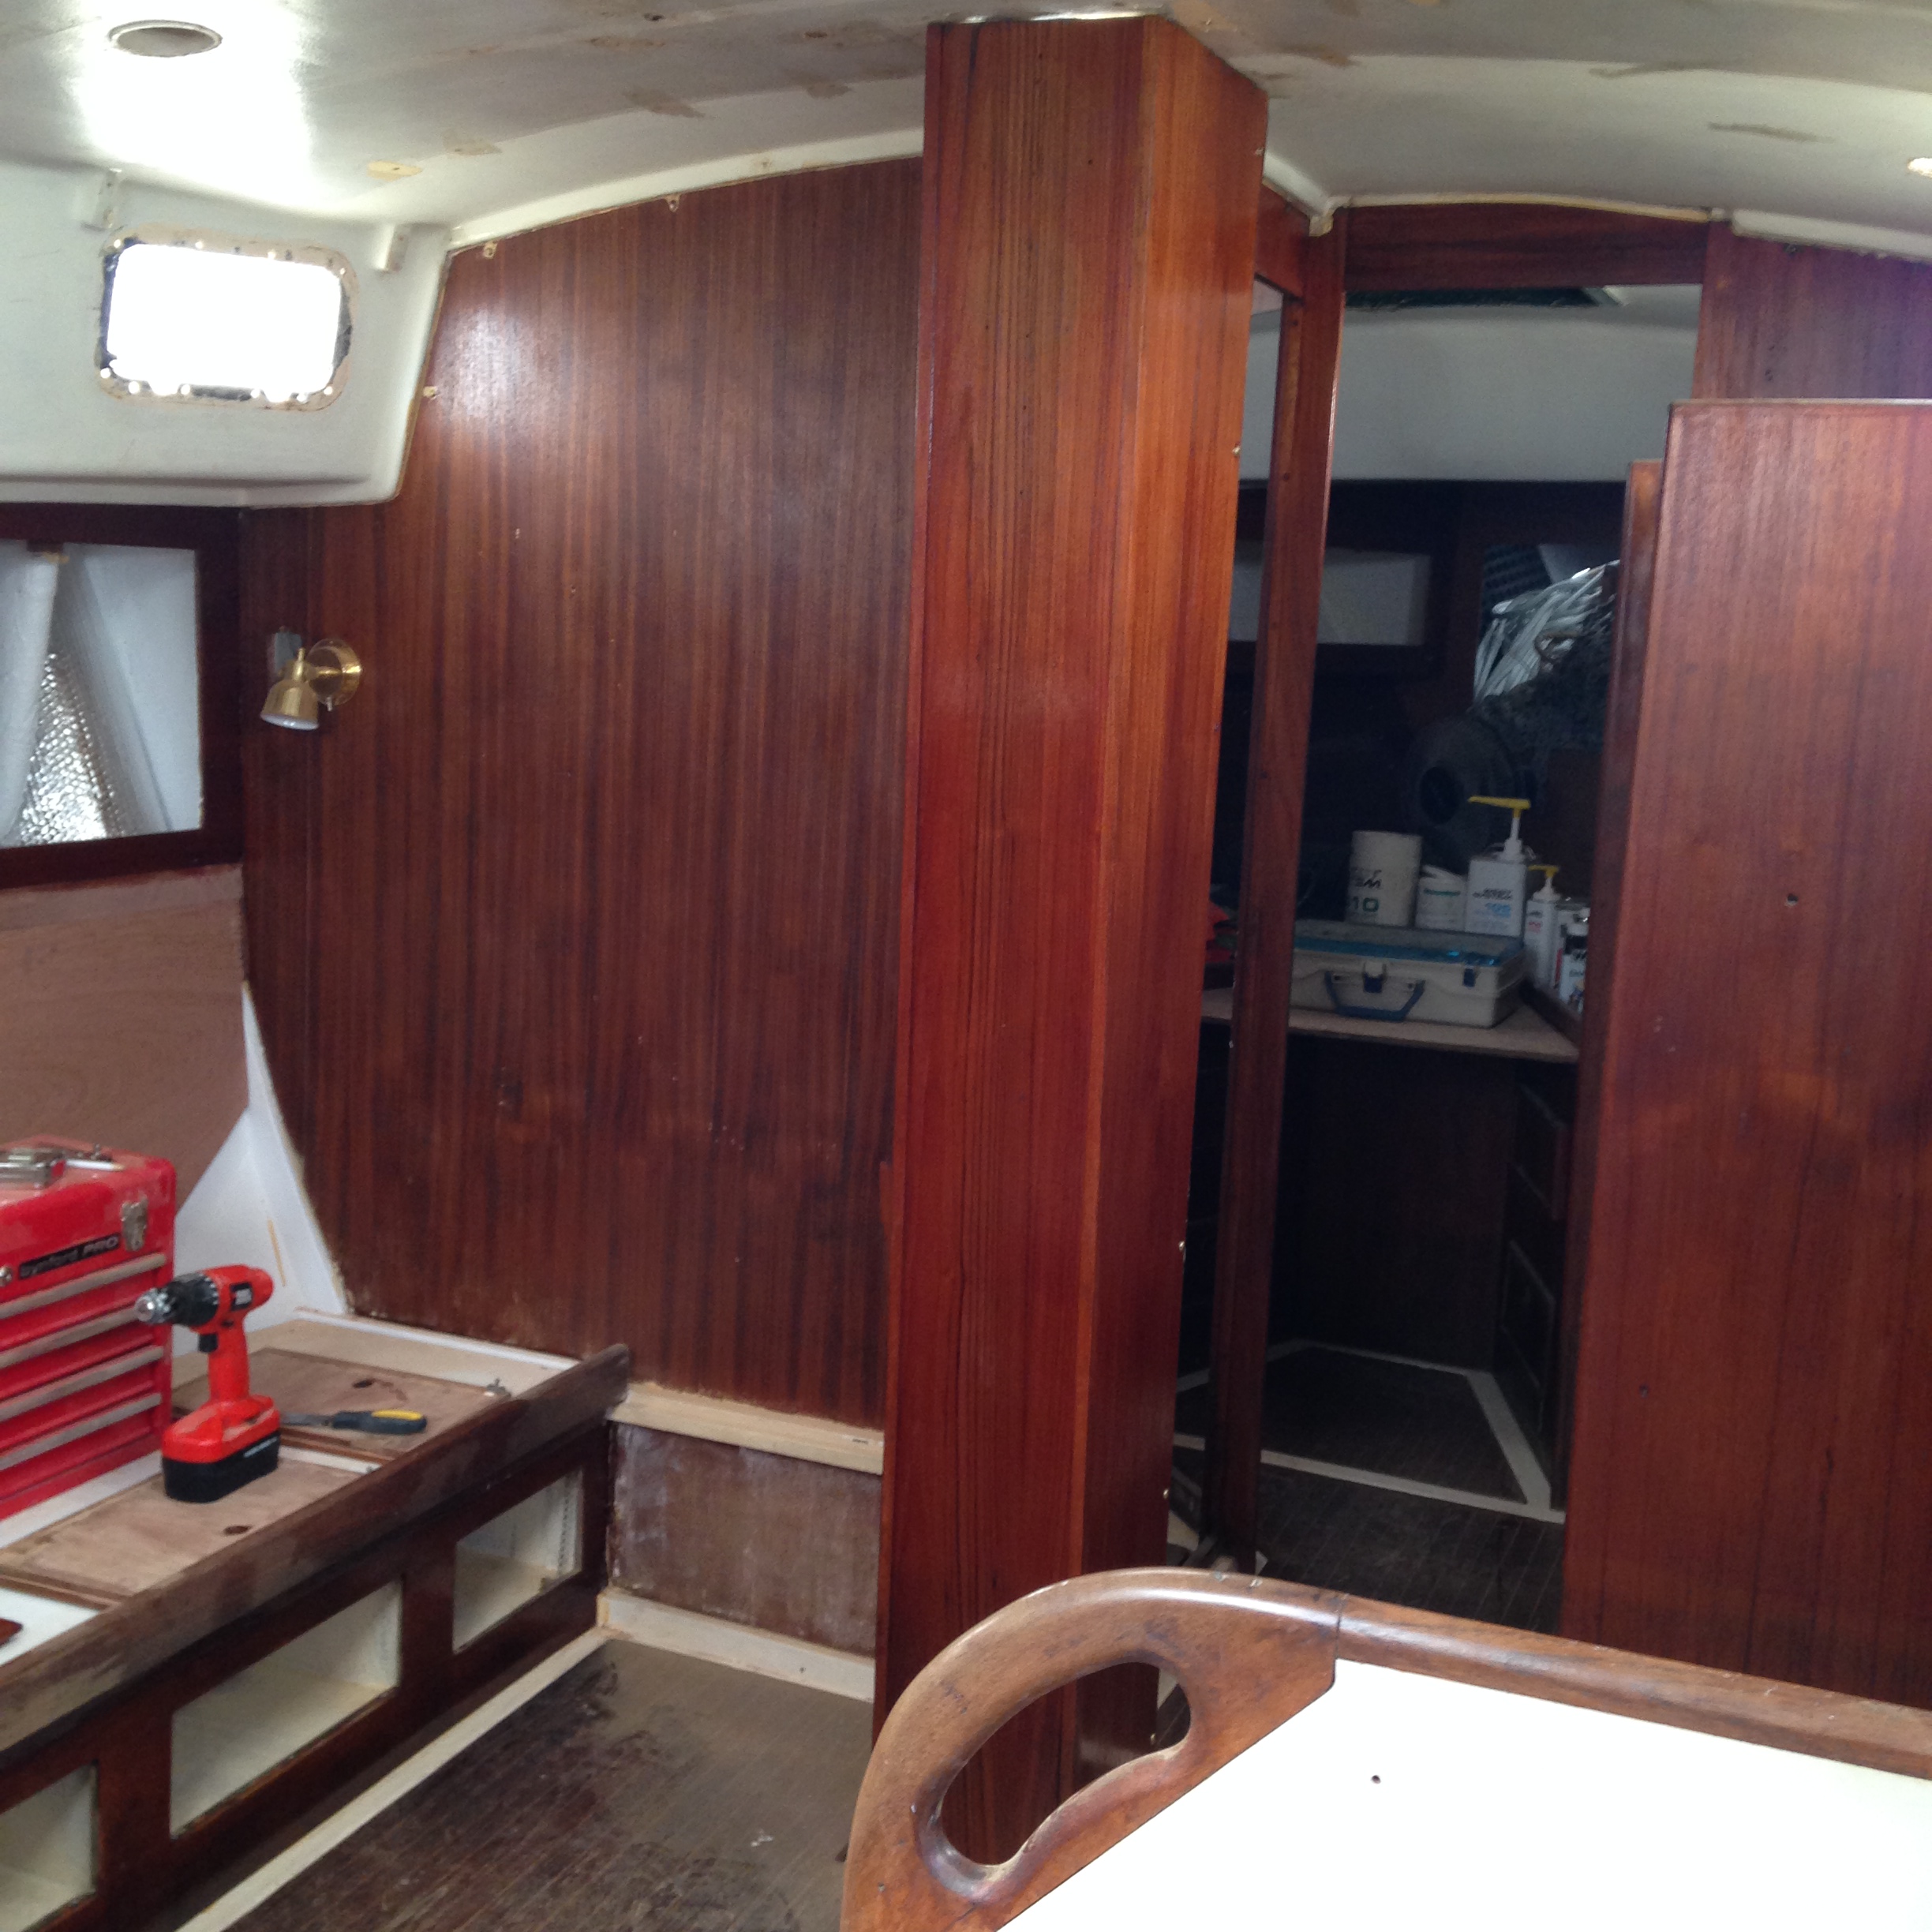
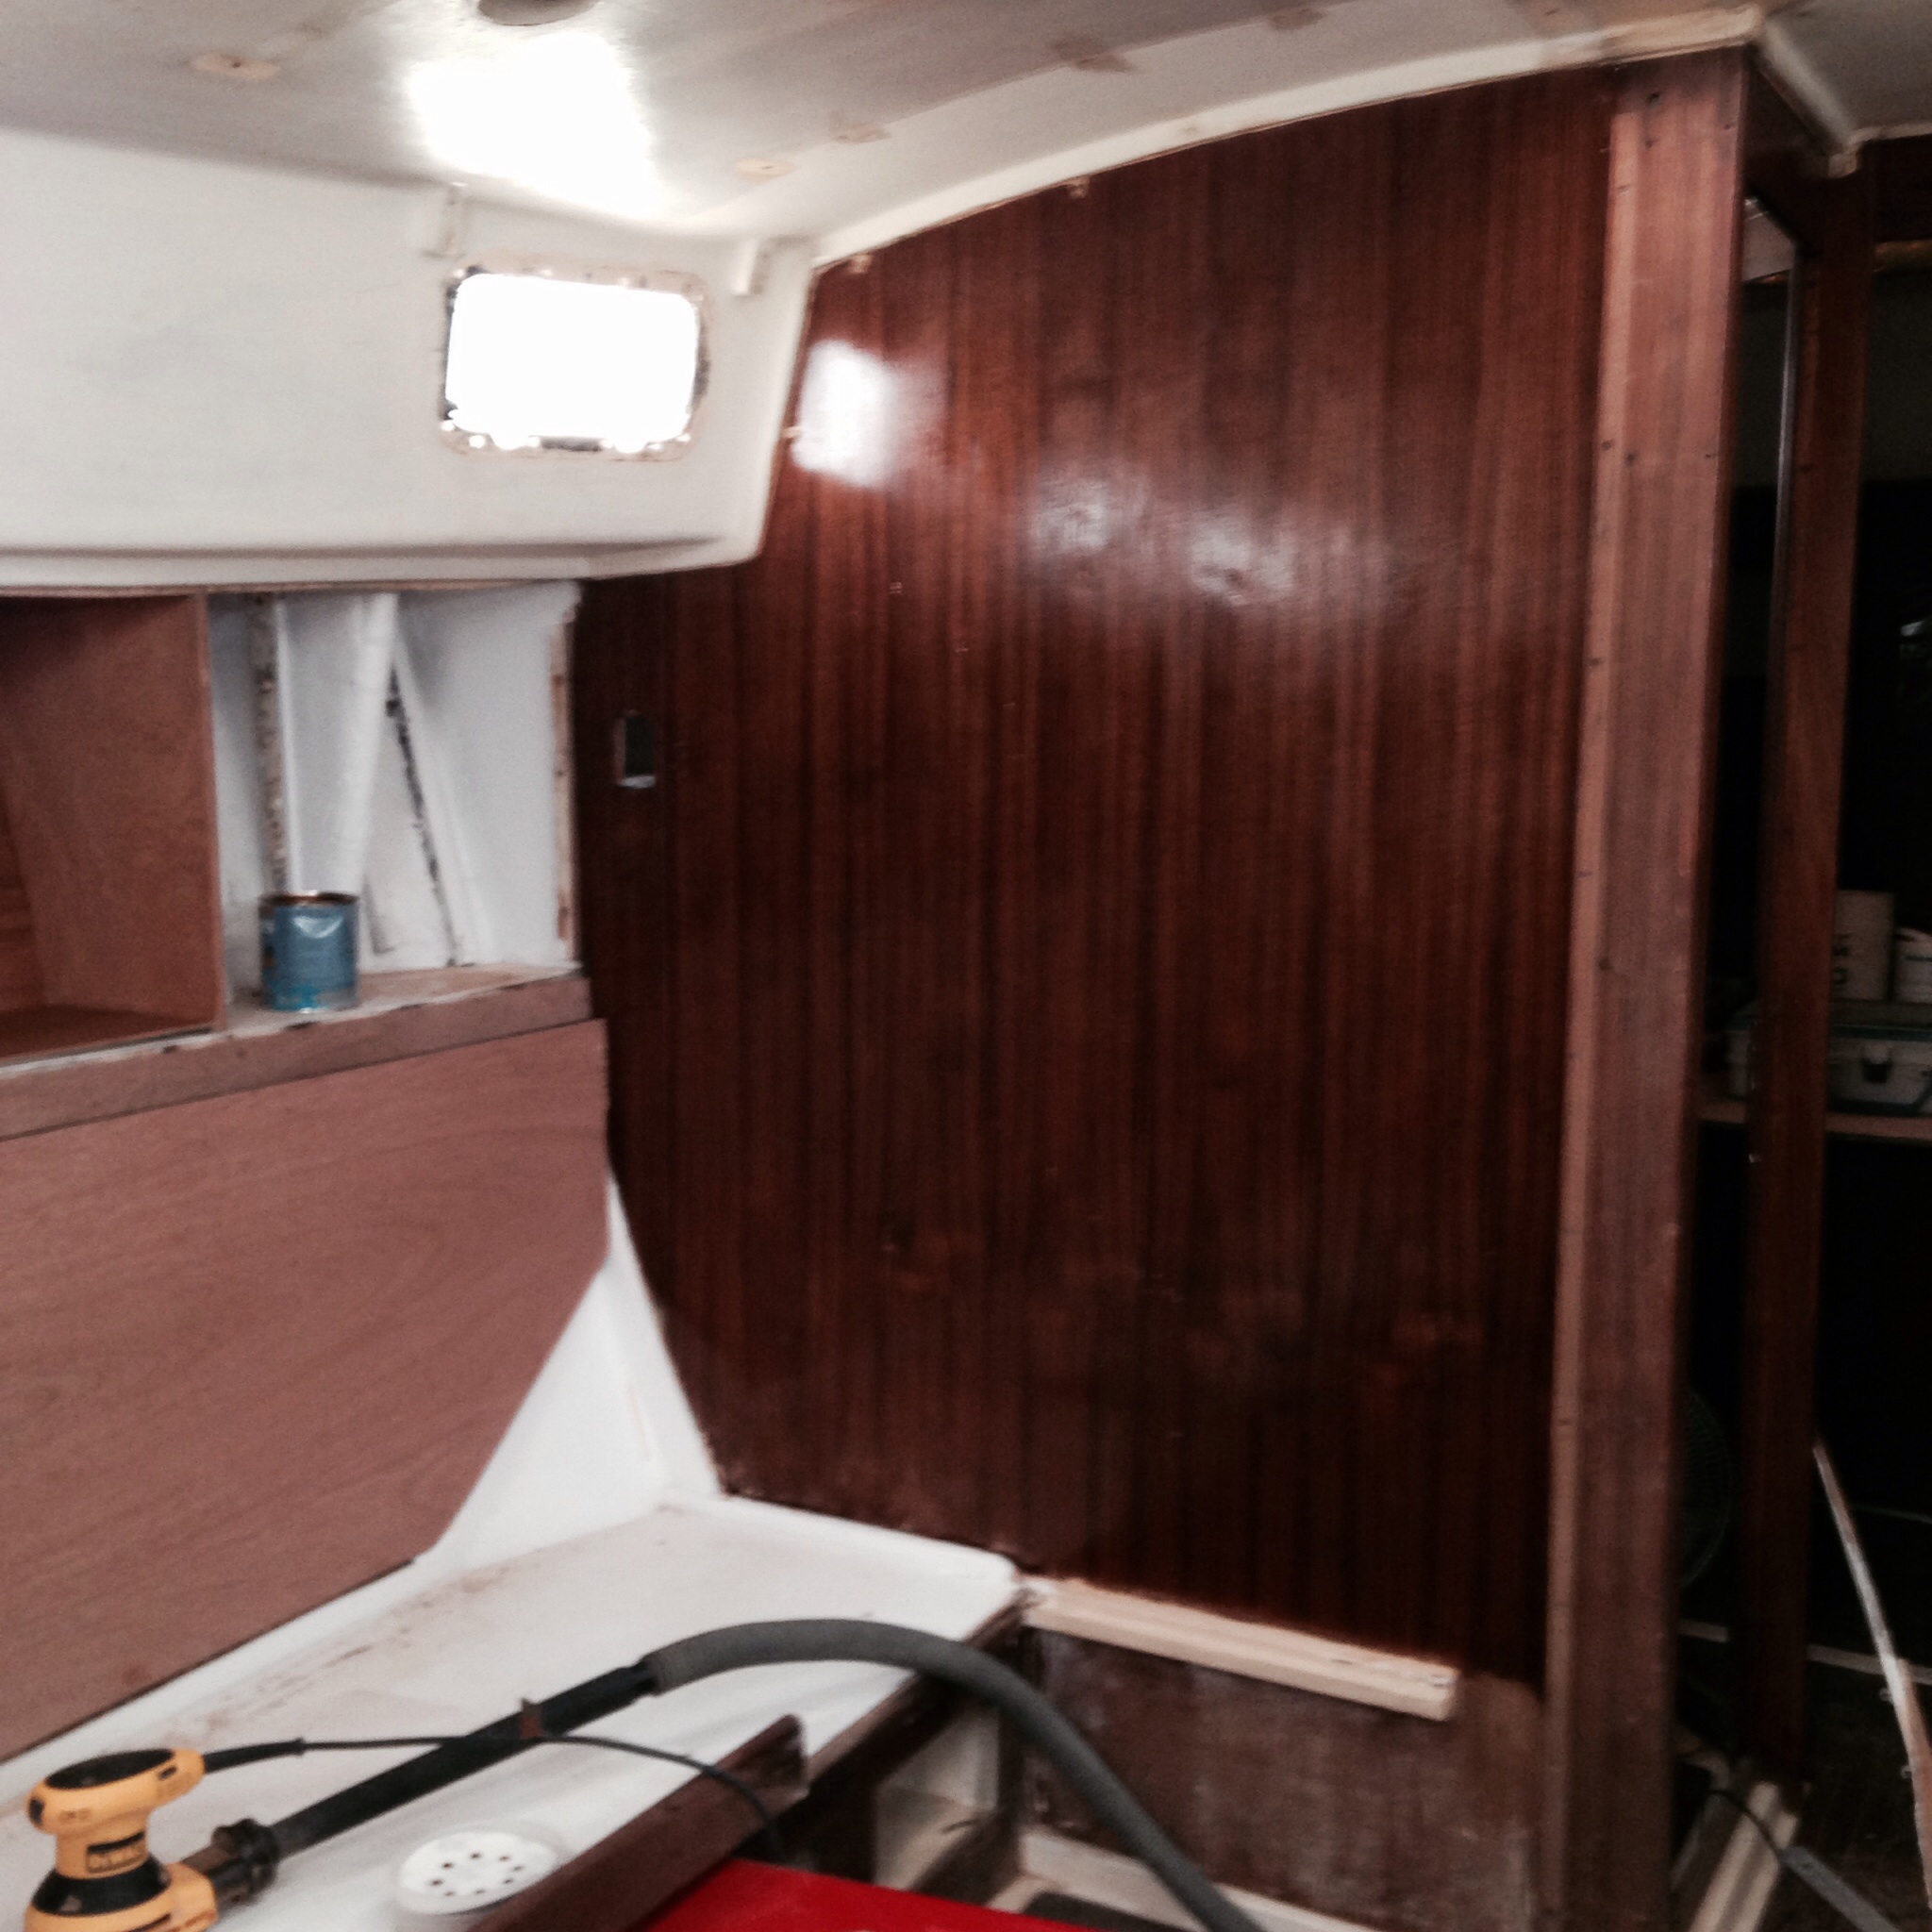
I think the admiral is rather happy as the only wood sanding left now is approximately 5 small pieces in the cockpit and a bunch of little fiddly pieces like trim and what not in the basement. We do need to go back and re-sand a few pieces that I may have gotten wet by accident but I really think with a little focus, we are less than 1 day away from putting this phase of the project to bed. Once the interior liner and sole has been sanded and painted, we will go back and re-sand (polish) all of the interior wood to fix any small imperfections or issues we have created but this will be a fairly quick project as it is more of a polish than a sanding. We will probably follow each other, one with 220 grit and one with 400 grit. Then we will add the final 2 layers of clear Cetol gloss. That should make the interior glisten even more than it does now.
Forward Head door
You can see we still have a fair bit of staining to do in the main salon, but we needed to let the dust settle before we did that.
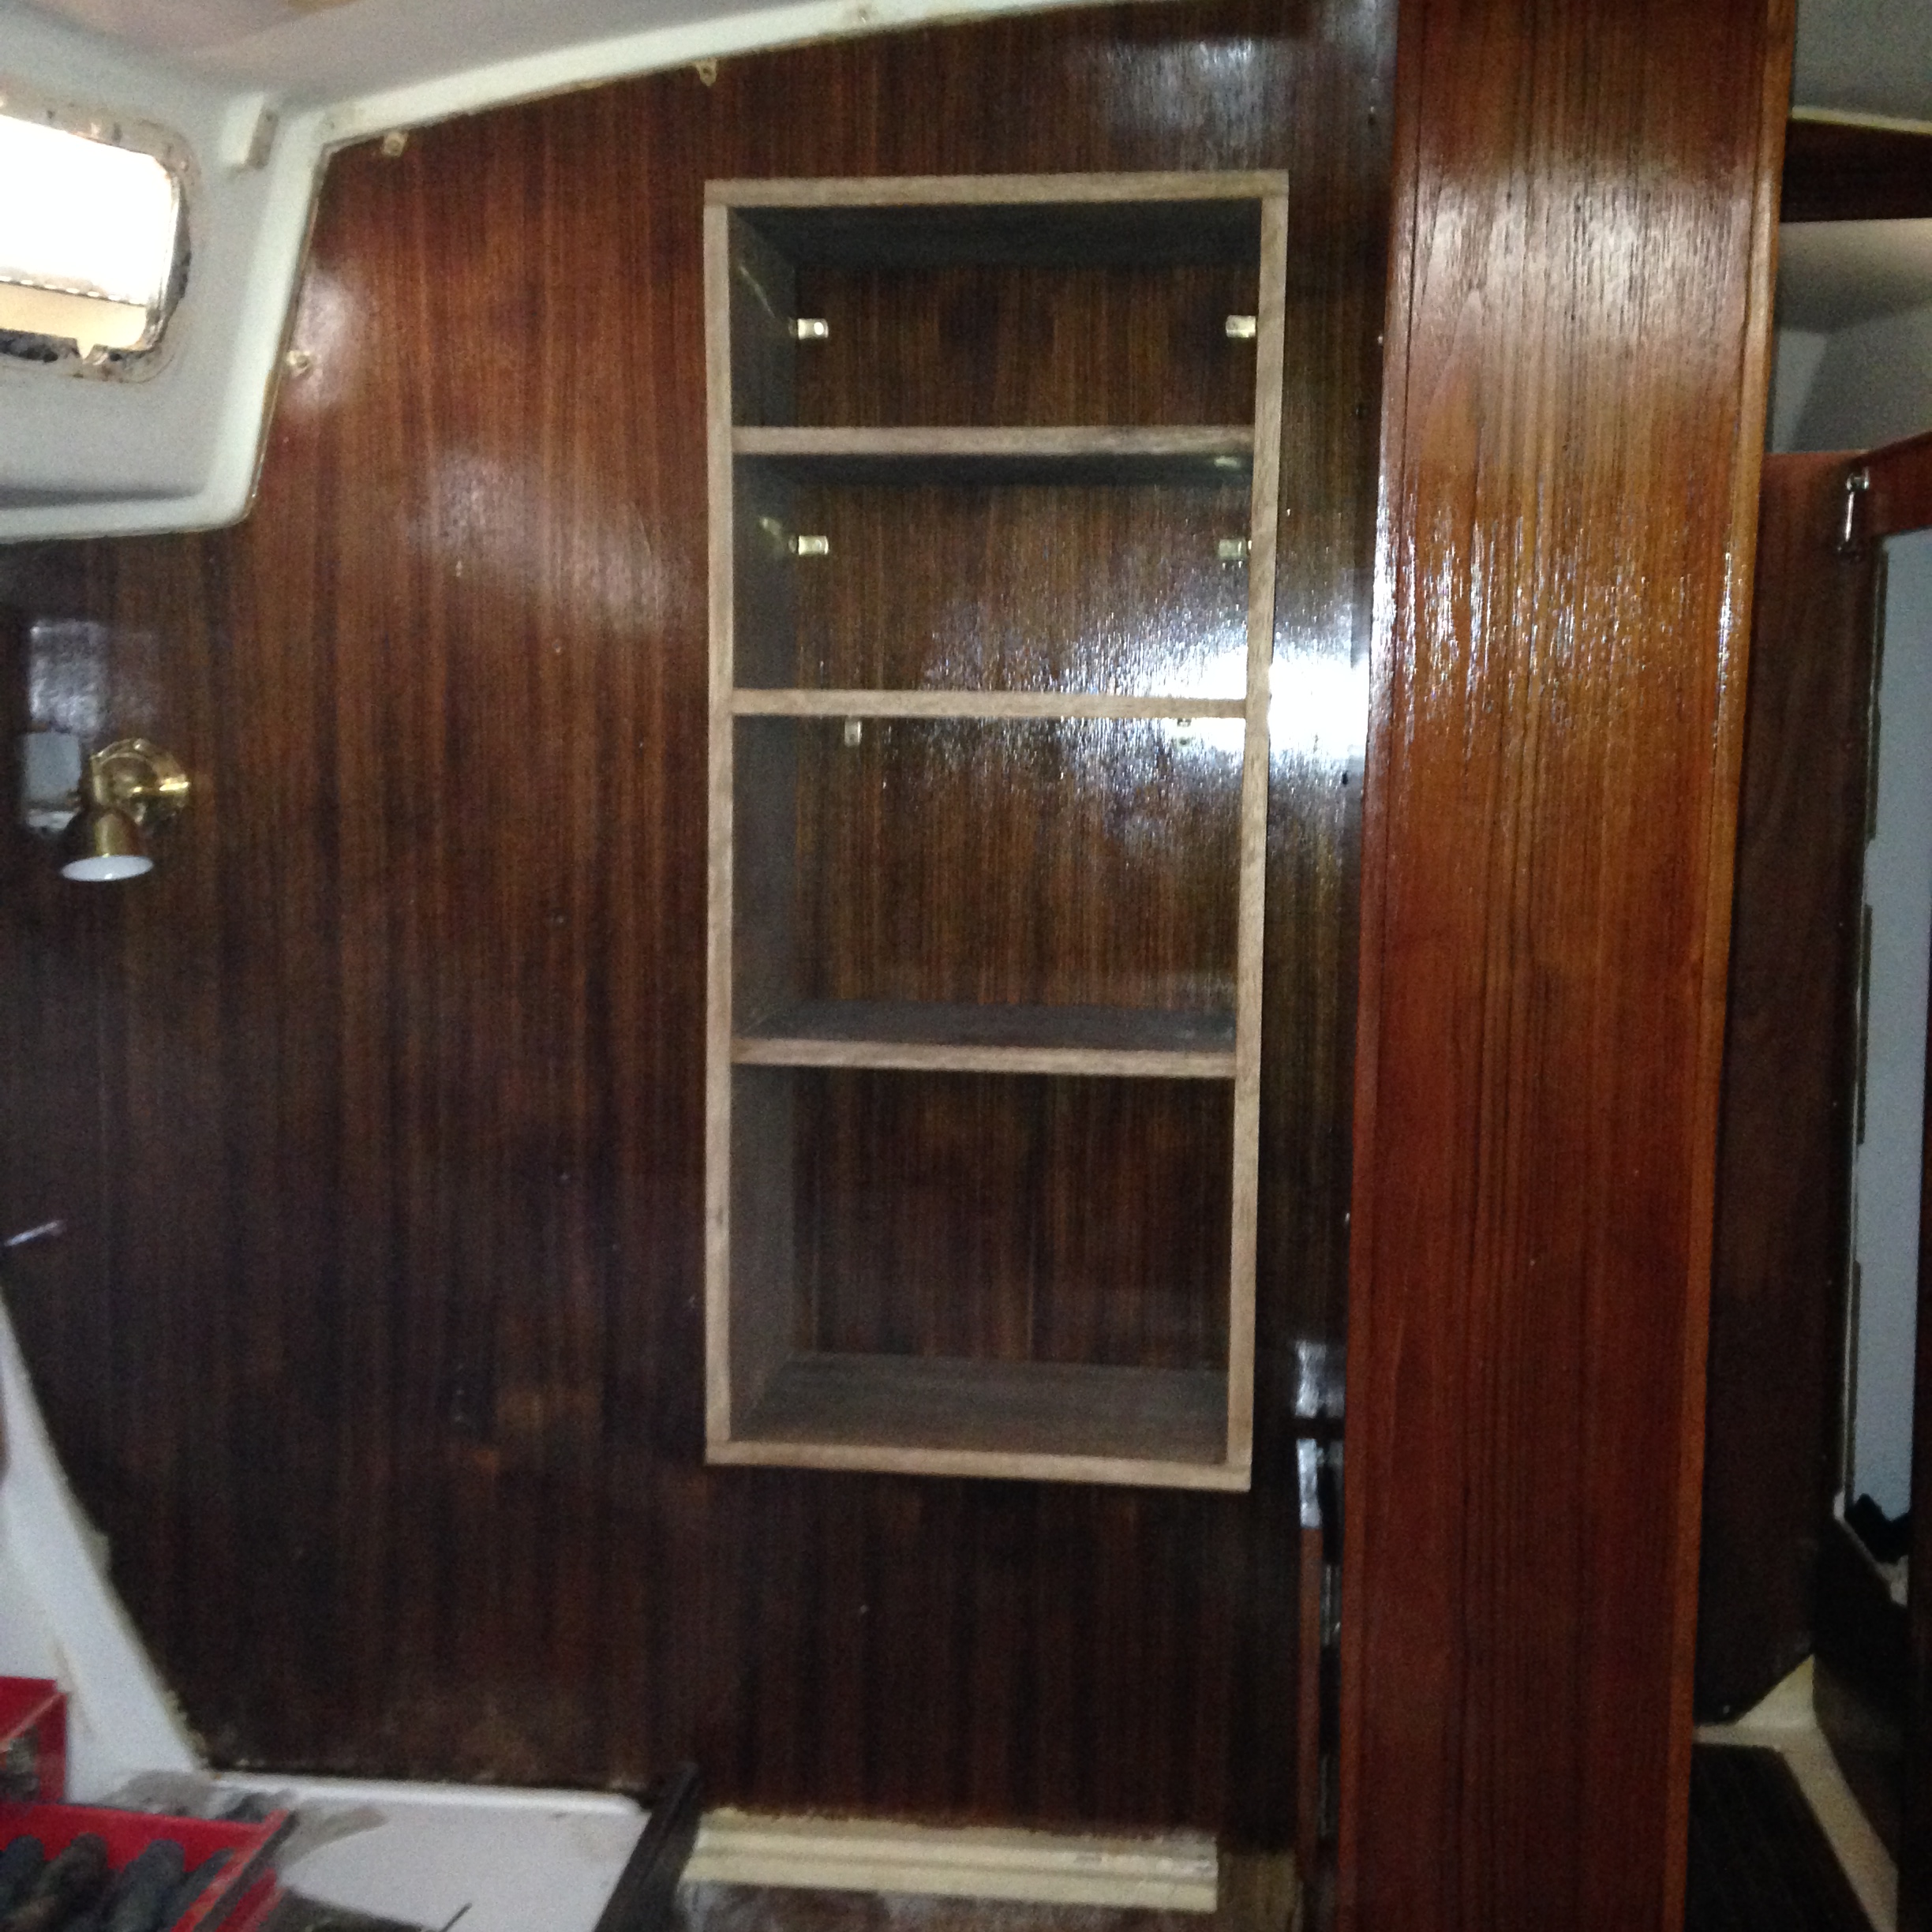
Just needs stain
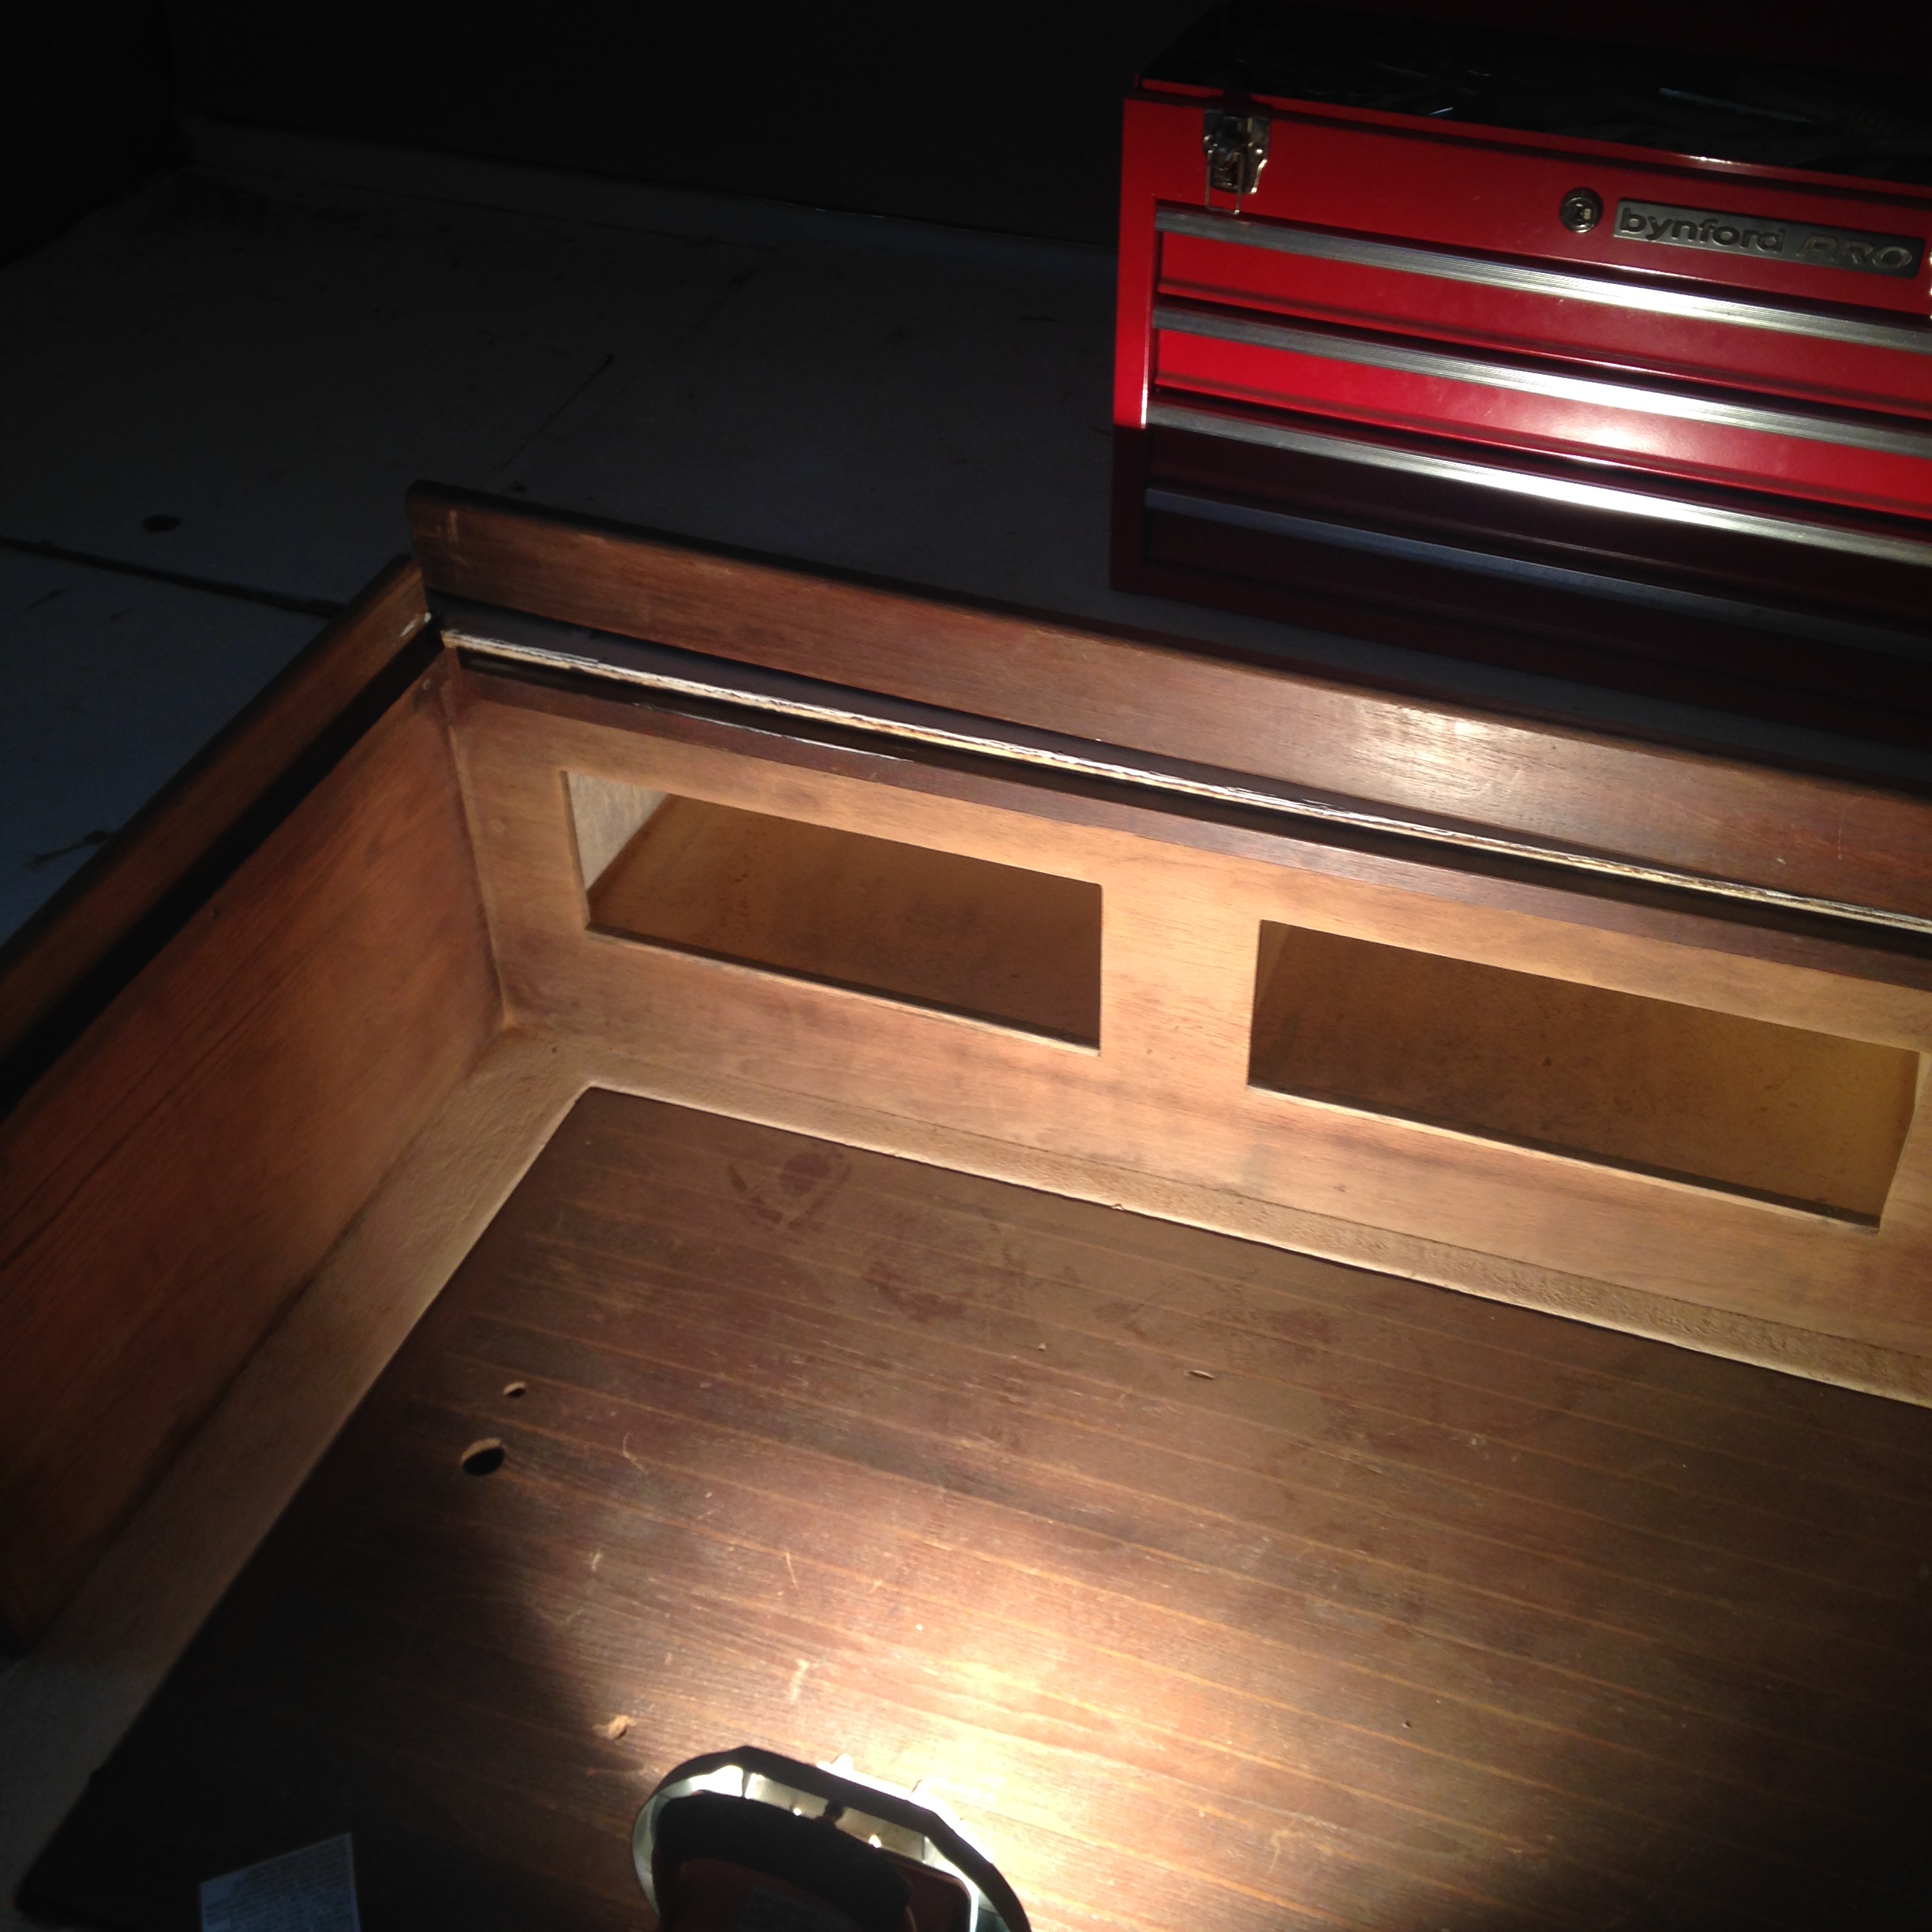
The frame for the main salon cabinet in the picture above still needs to come out one last time as I have yet to shape the backing pieces for the interior of the cabinets and I need to build out the shelves.
I can’t explain the feeling we have of actually being able to see the cockpit even if it is covered in several inches of sawdust and dirt!
The nice thing is that we have completed a Major part of this project and we know that we have an insulated, clean, fresh, dry interior with no lurking surprises behind panels. The bad part is that now we are entering a phase where things will start to cost big money as opposed to sandpaper and sweat.
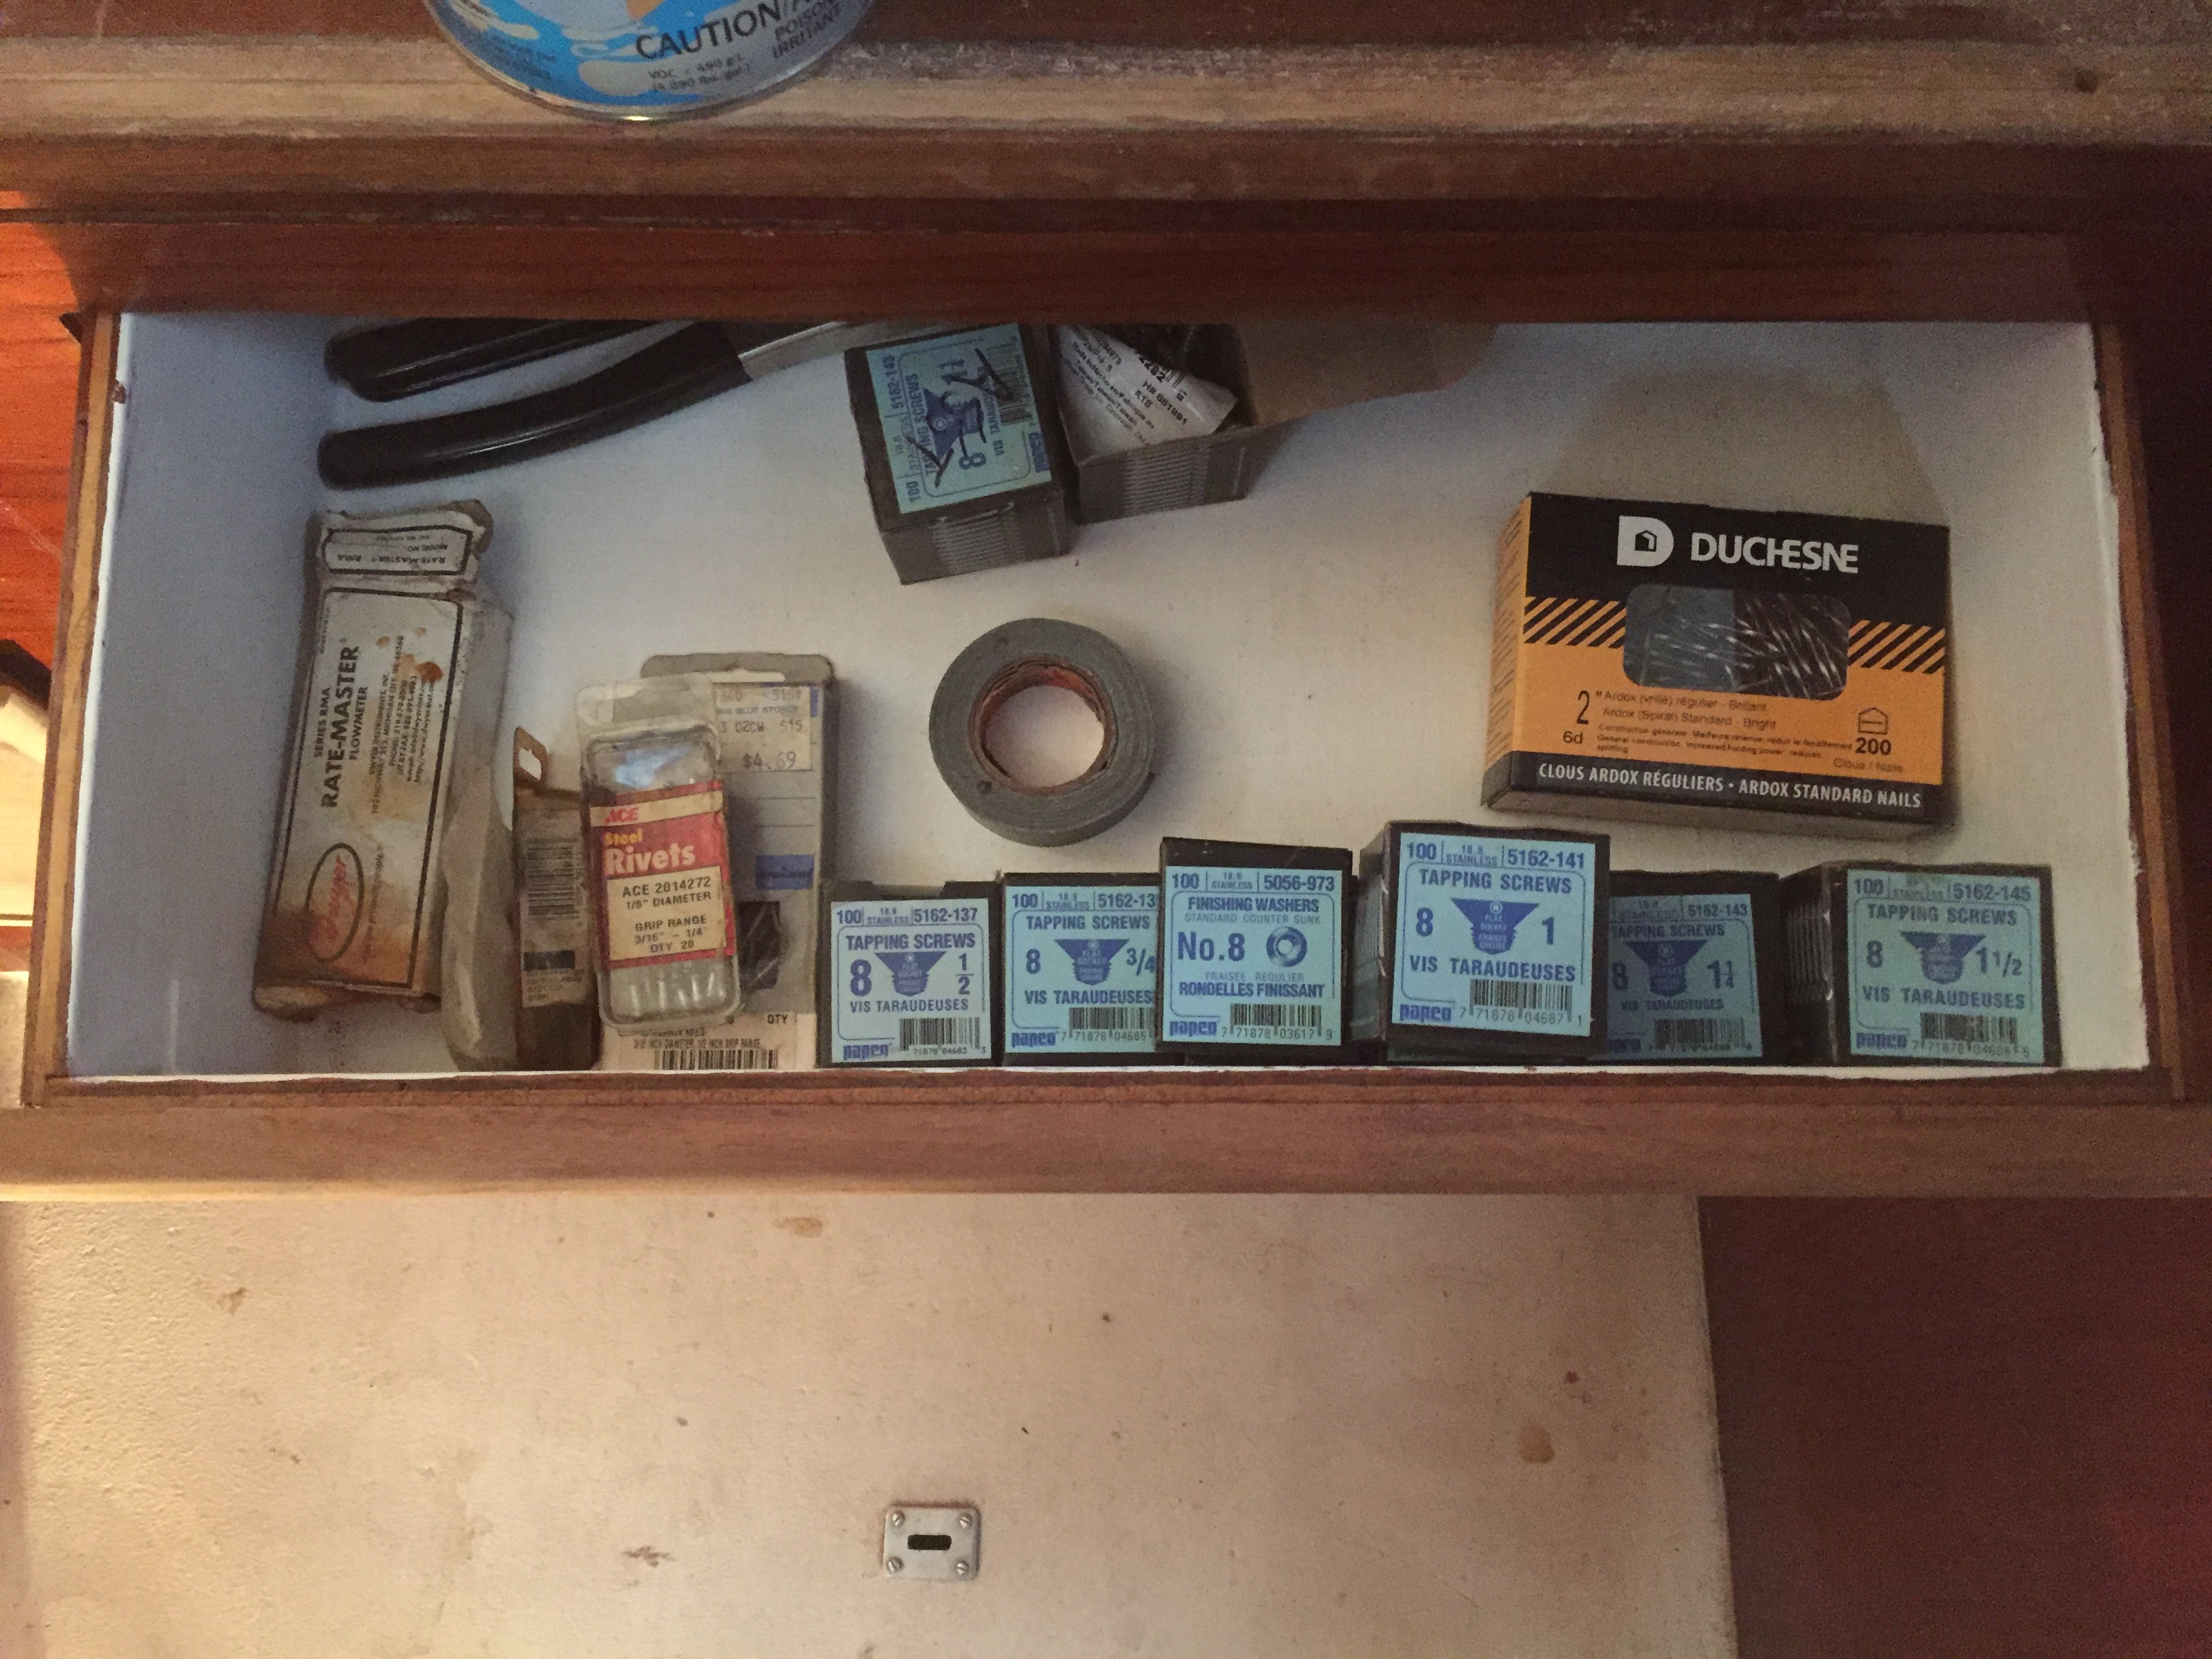
I had a very productive day yesterday on Akupara. I was there for approximately 6 hours and accomplished a lot of little tasks that had been piling up. The admiral over the last couple of months had competed sanding a lot of cupboard doors and drawers but I had not been installing them as I did not have any screws. Now I know that sounds a little funny. I mean there are a hundred stores within 10 miles that all sell screws I am sure but, the problem with all of those stores is that they are newer up to date modern stores. Like Home Depot or Lowes. What these stories lack in my opinion is a couple of really important things, like customer service and in a lot of cases, quality items. So I have been holding off on buying screws as my favourite store, which is about a block away from Akupara, is Wolff’s Marine, but Wolff’s Marine is not open on Saturdays during the winter months. Good for them but bad for me. Wolff’s Marine is an old time kinda store. The kinda store where there is a greasy stained old coffee pot that is always on and the coffee is free. The guy behind the counter knows almost every item in the inventory and precisely where it is in the store. The entire store has a distinct feeling and smell to it that reminds me of going to the hardware store with my dad when I was a kid. Wolff’s Marine has 2 floors of goodies and the aisles are narrow and the shelves go almost to the ceiling. It is a paradise. I am sure that somewhere inside that goldmine is every single part I will need to complete Akupara’s refit times 2. When Wolff’s makes an order for new items, they don’t buy just 1 or 2 to have in stock, they must order in the 100’s. Case in point, I will need 2 new heads, West Marine downtown Vancouver might have one on the shelf, and 1 in the storage room. Wolff’s has 10 piled right to the ceiling. So to make a long story short, ok shorter, Wolff’s Marine is now open on Saturday mornings for the summer again. Hooray! I bought a can of Bilgekote, a can of Cetol, 5 boxes of number 8 Robinson screws and 2 boxes of finishing washers. I bought 1/2, 3/4, 1, 1 1/4, 1 1/2 inch stainless screws and lined them all up inside a drawer like prized possessions.
My screw drawer, all Robertson screws.
It is amazing how happy I was, okay still am! I wanted to hug the guy and tell him how much I have missed him since October. I refrained of course, but I did tell him I would see him every Saturday until October. 🙂
So after buying all of the screws, I hung what seemed like 100 cupboard doors. I also permanently fixed another issue yesterday and that was a leaking chainplate. I had temporarily “fixed” it a while back, but it was still leaking but I had to wait for a day of no rain in order to fix it properly. Now I only have another 9 to go. The gigantic pile of wooden pieces in the cockpit is almost gone now, hopefully today we will see the last of it and I can complete the rough sanding of the decks in preparation for painting the next time we are down.
White paper masks may make you feel like you are in the latest episode of Grey’s Anatomy and that you are performing some kind of life saving operation but let me tell you that they are useless when it comes to stopping sawdust from getting into your nose!
I am sick of sawdust. It covers our clothes, it gets in our nose, it is in our cars, in our beds, in our hair, in places I am not going to mention and it is persistent. We will work all day Saturday and still have sawdust appearing out of nowhere on Wednesday.
But the absolute worst part of sawdust are the dry boogers. For days afterwards it feels like someone has lined your nasal cavities with a thin layer of concrete. We have tried white paper masks and respirators, and almost anything else you can think of to no avail. About the only thing left is peeing in a handkerchief and covering your face with it. (Apparently that is a way to make it through tear gas)
Thankfully, oh so thankfully we are almost done with sawdust for the most part. Our gigantic pile of wood to sand has been reduced to 2 piles, one in our basement and one in the cockpit. Considering these piles required 5 truckloads to move each way, I think we have done an amazing amount of work. Okay it only took a year of sanding on Saturdays, but it is still a lot accomplished.
We have this almost down to a science now. We have all of the “To be sanded” items on one side of the cockpit. Andrea and crew, if they are there, sand in the middle of the cockpit. The pieces then get moved to the other side of the cockpit as they are completed, or handed to me inside to install.
There is also the cut and ready to install pile, where each piece is stacked next to its former self. For the most part these only need the edges sanded wherever I have made fresh cuts.
And lastly is the plywood scrap pile. Not that any of it is scrap and I am sure all of it will eventually be used but a pile none the less.
I find that old plywood has a rather bad smell to it in some cases and any piece that we can replace without major difficulty is being replaced. I also have a strong belief that we have reduced the overall weight of Akupara substantially as 40 year old plywood just seems heavier.
We managed to make a lot of progress yesterday and it feels good to be back in the swing of things.
The admiral and I were both feeling the same way at the end of the day. Thrilled to be approaching the end of the wood sanding, but scared of the next stage which involves sanding the cabin liner and the decks.
Never mind Grey’s Anatomy for those jobs, we are going full Breaking Bad! IF there is anything worse than sawdust boogers it is fiberglass boogers!!!
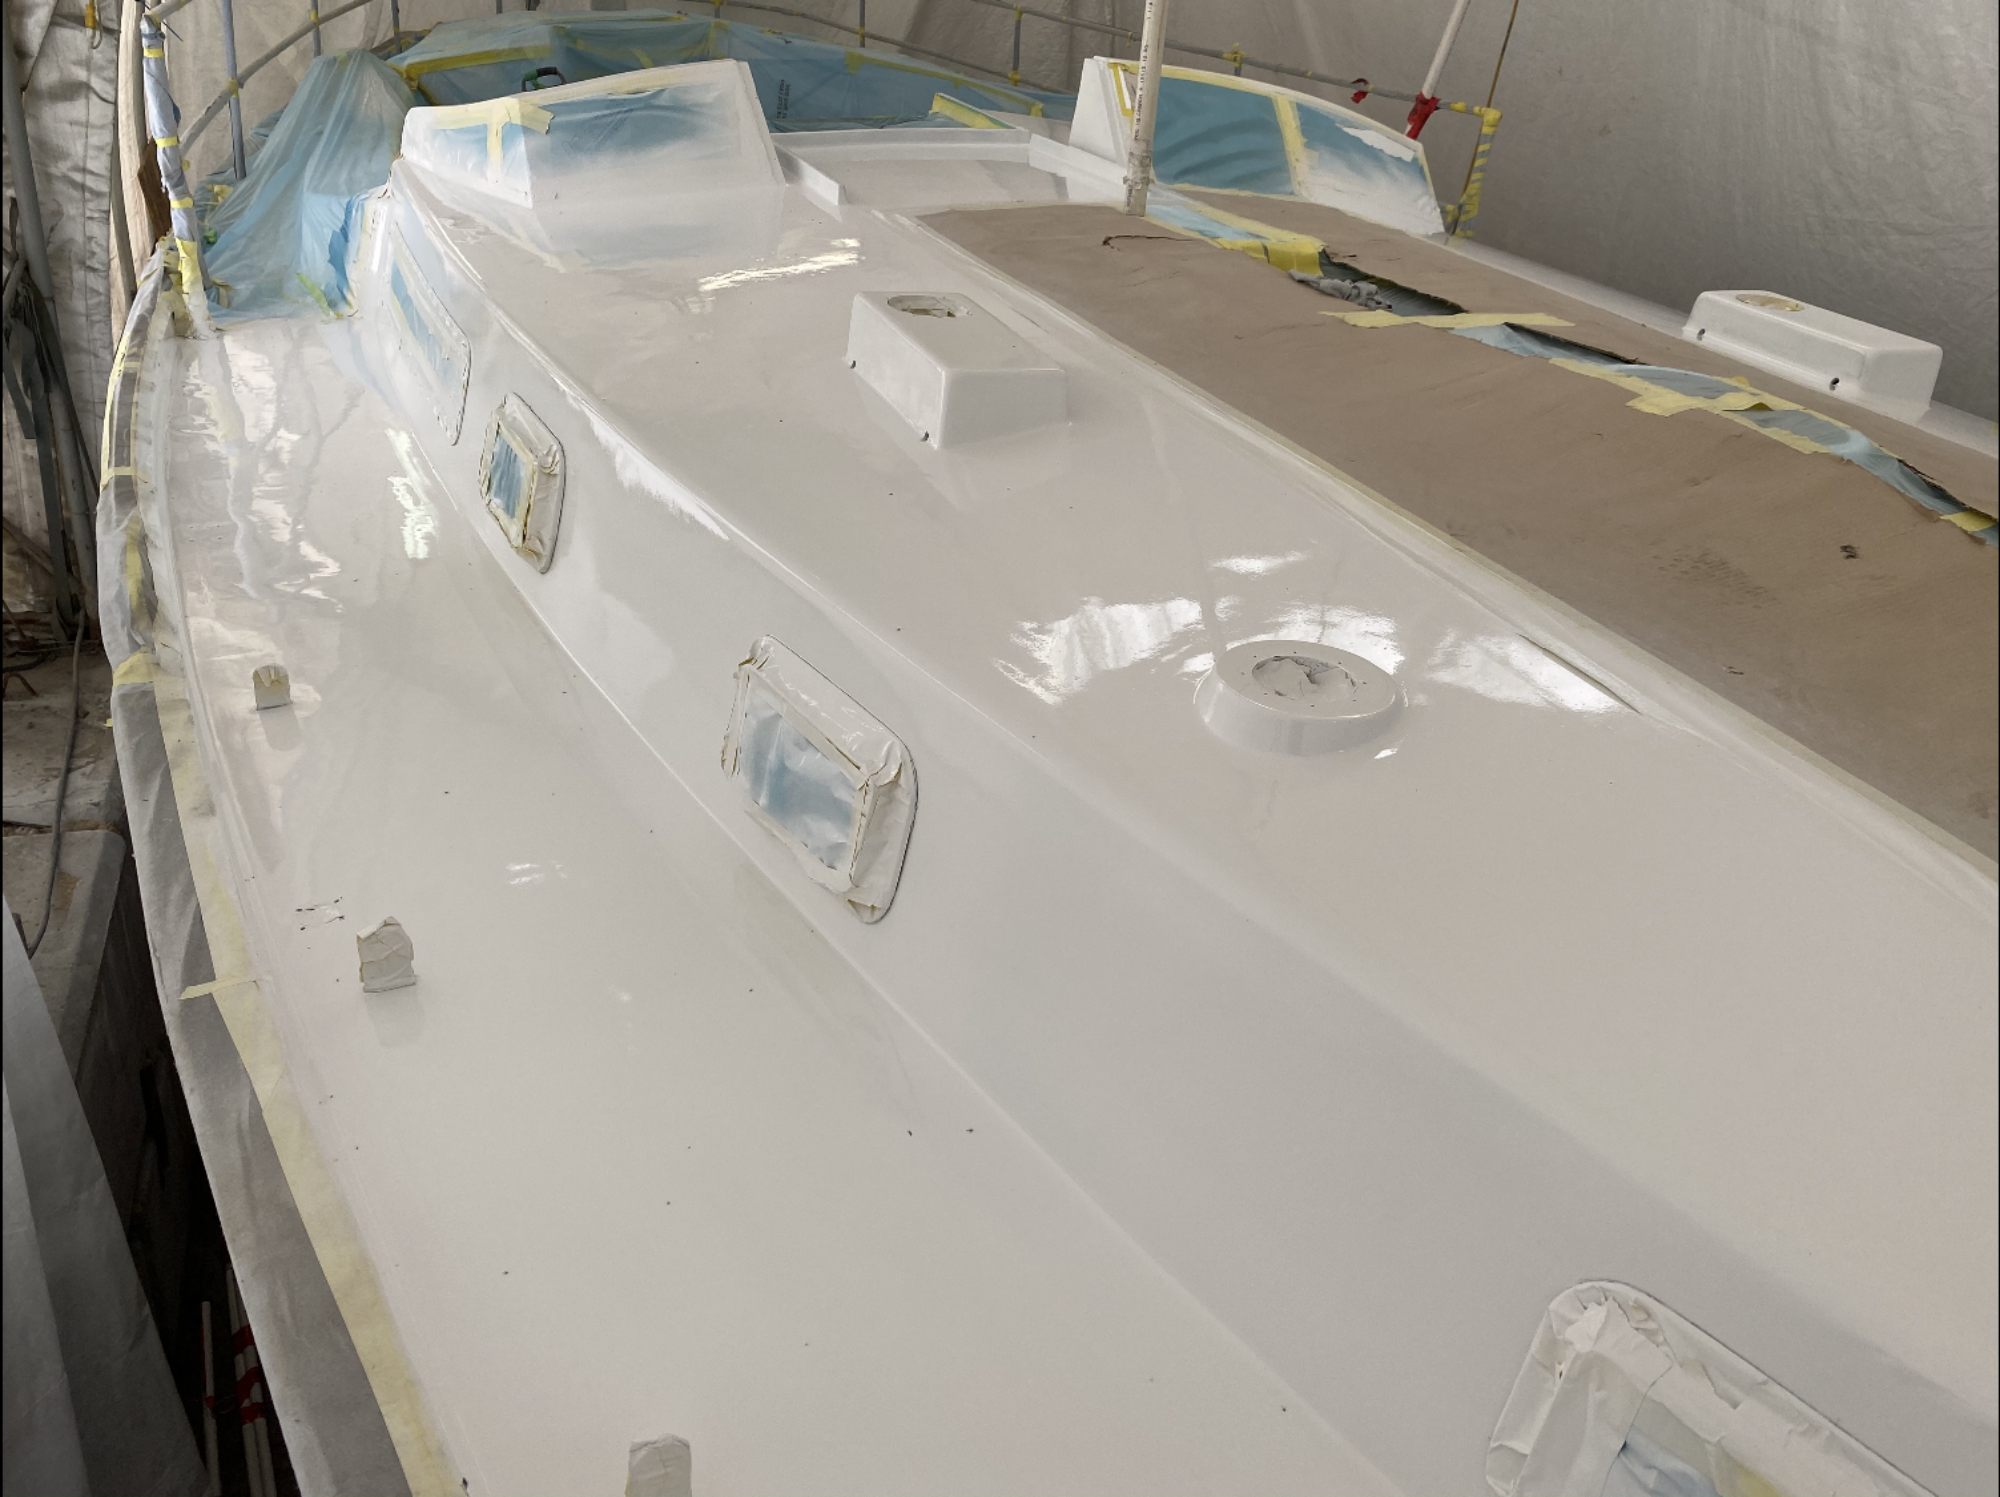
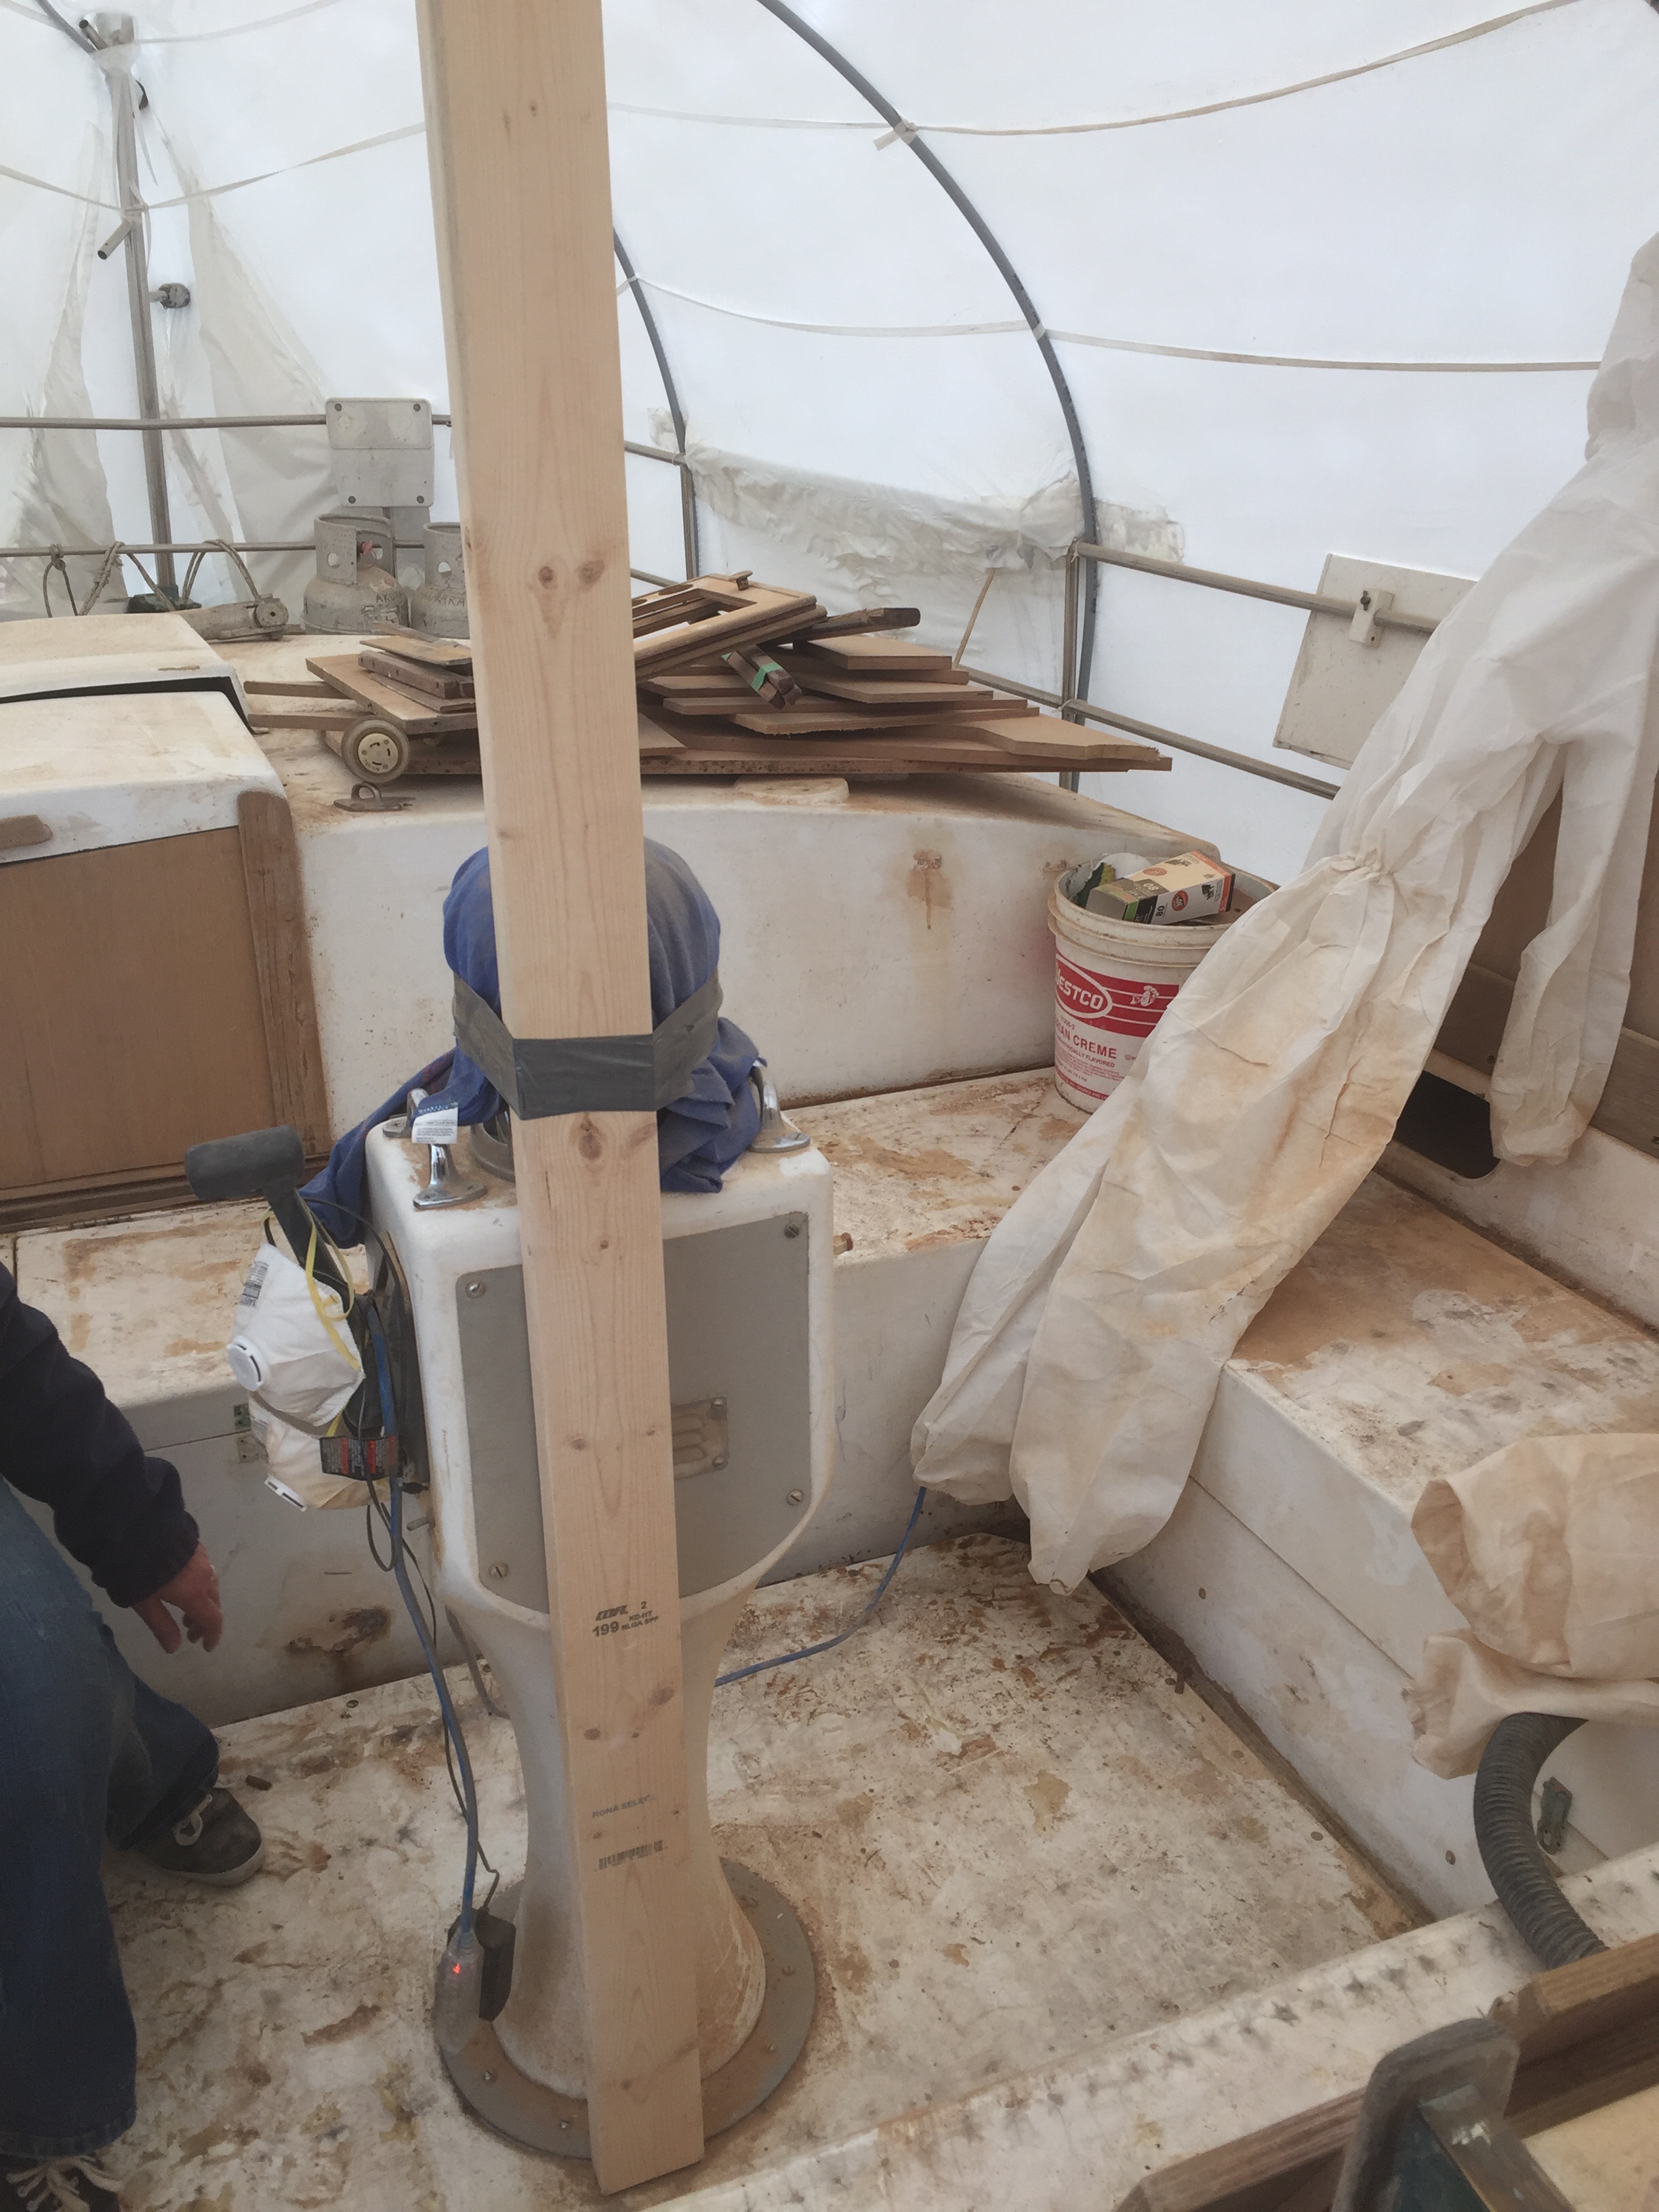
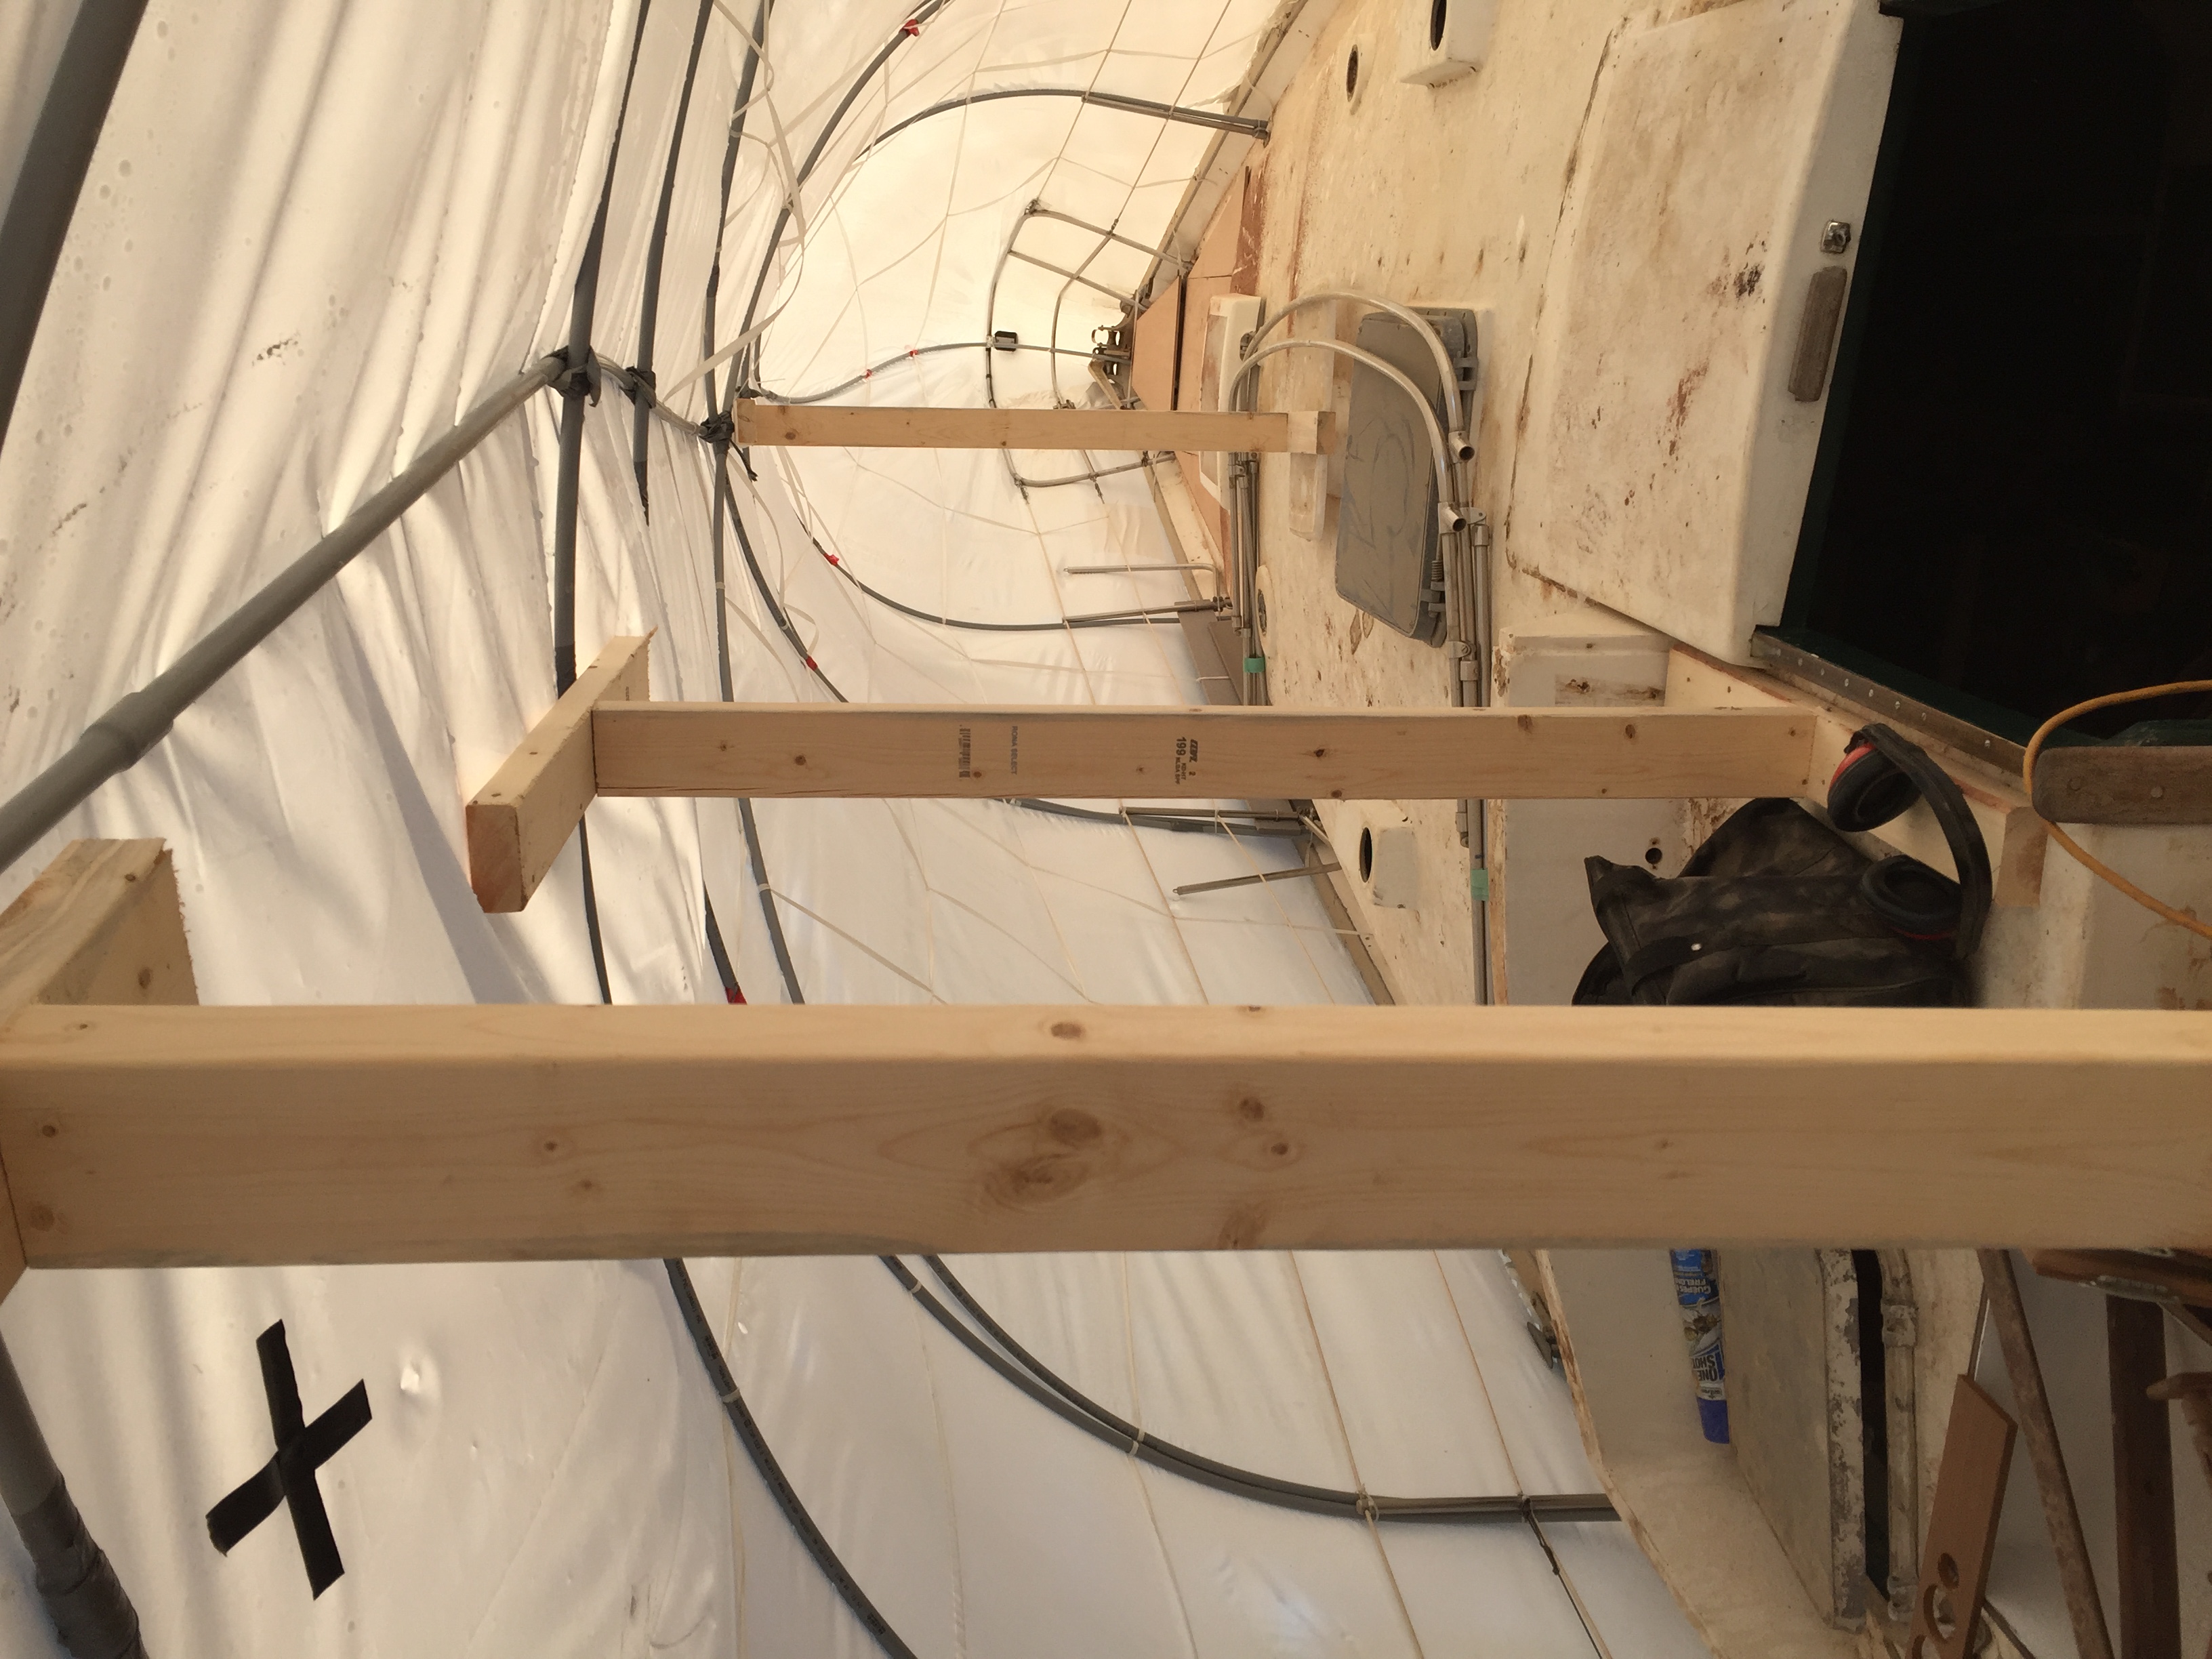
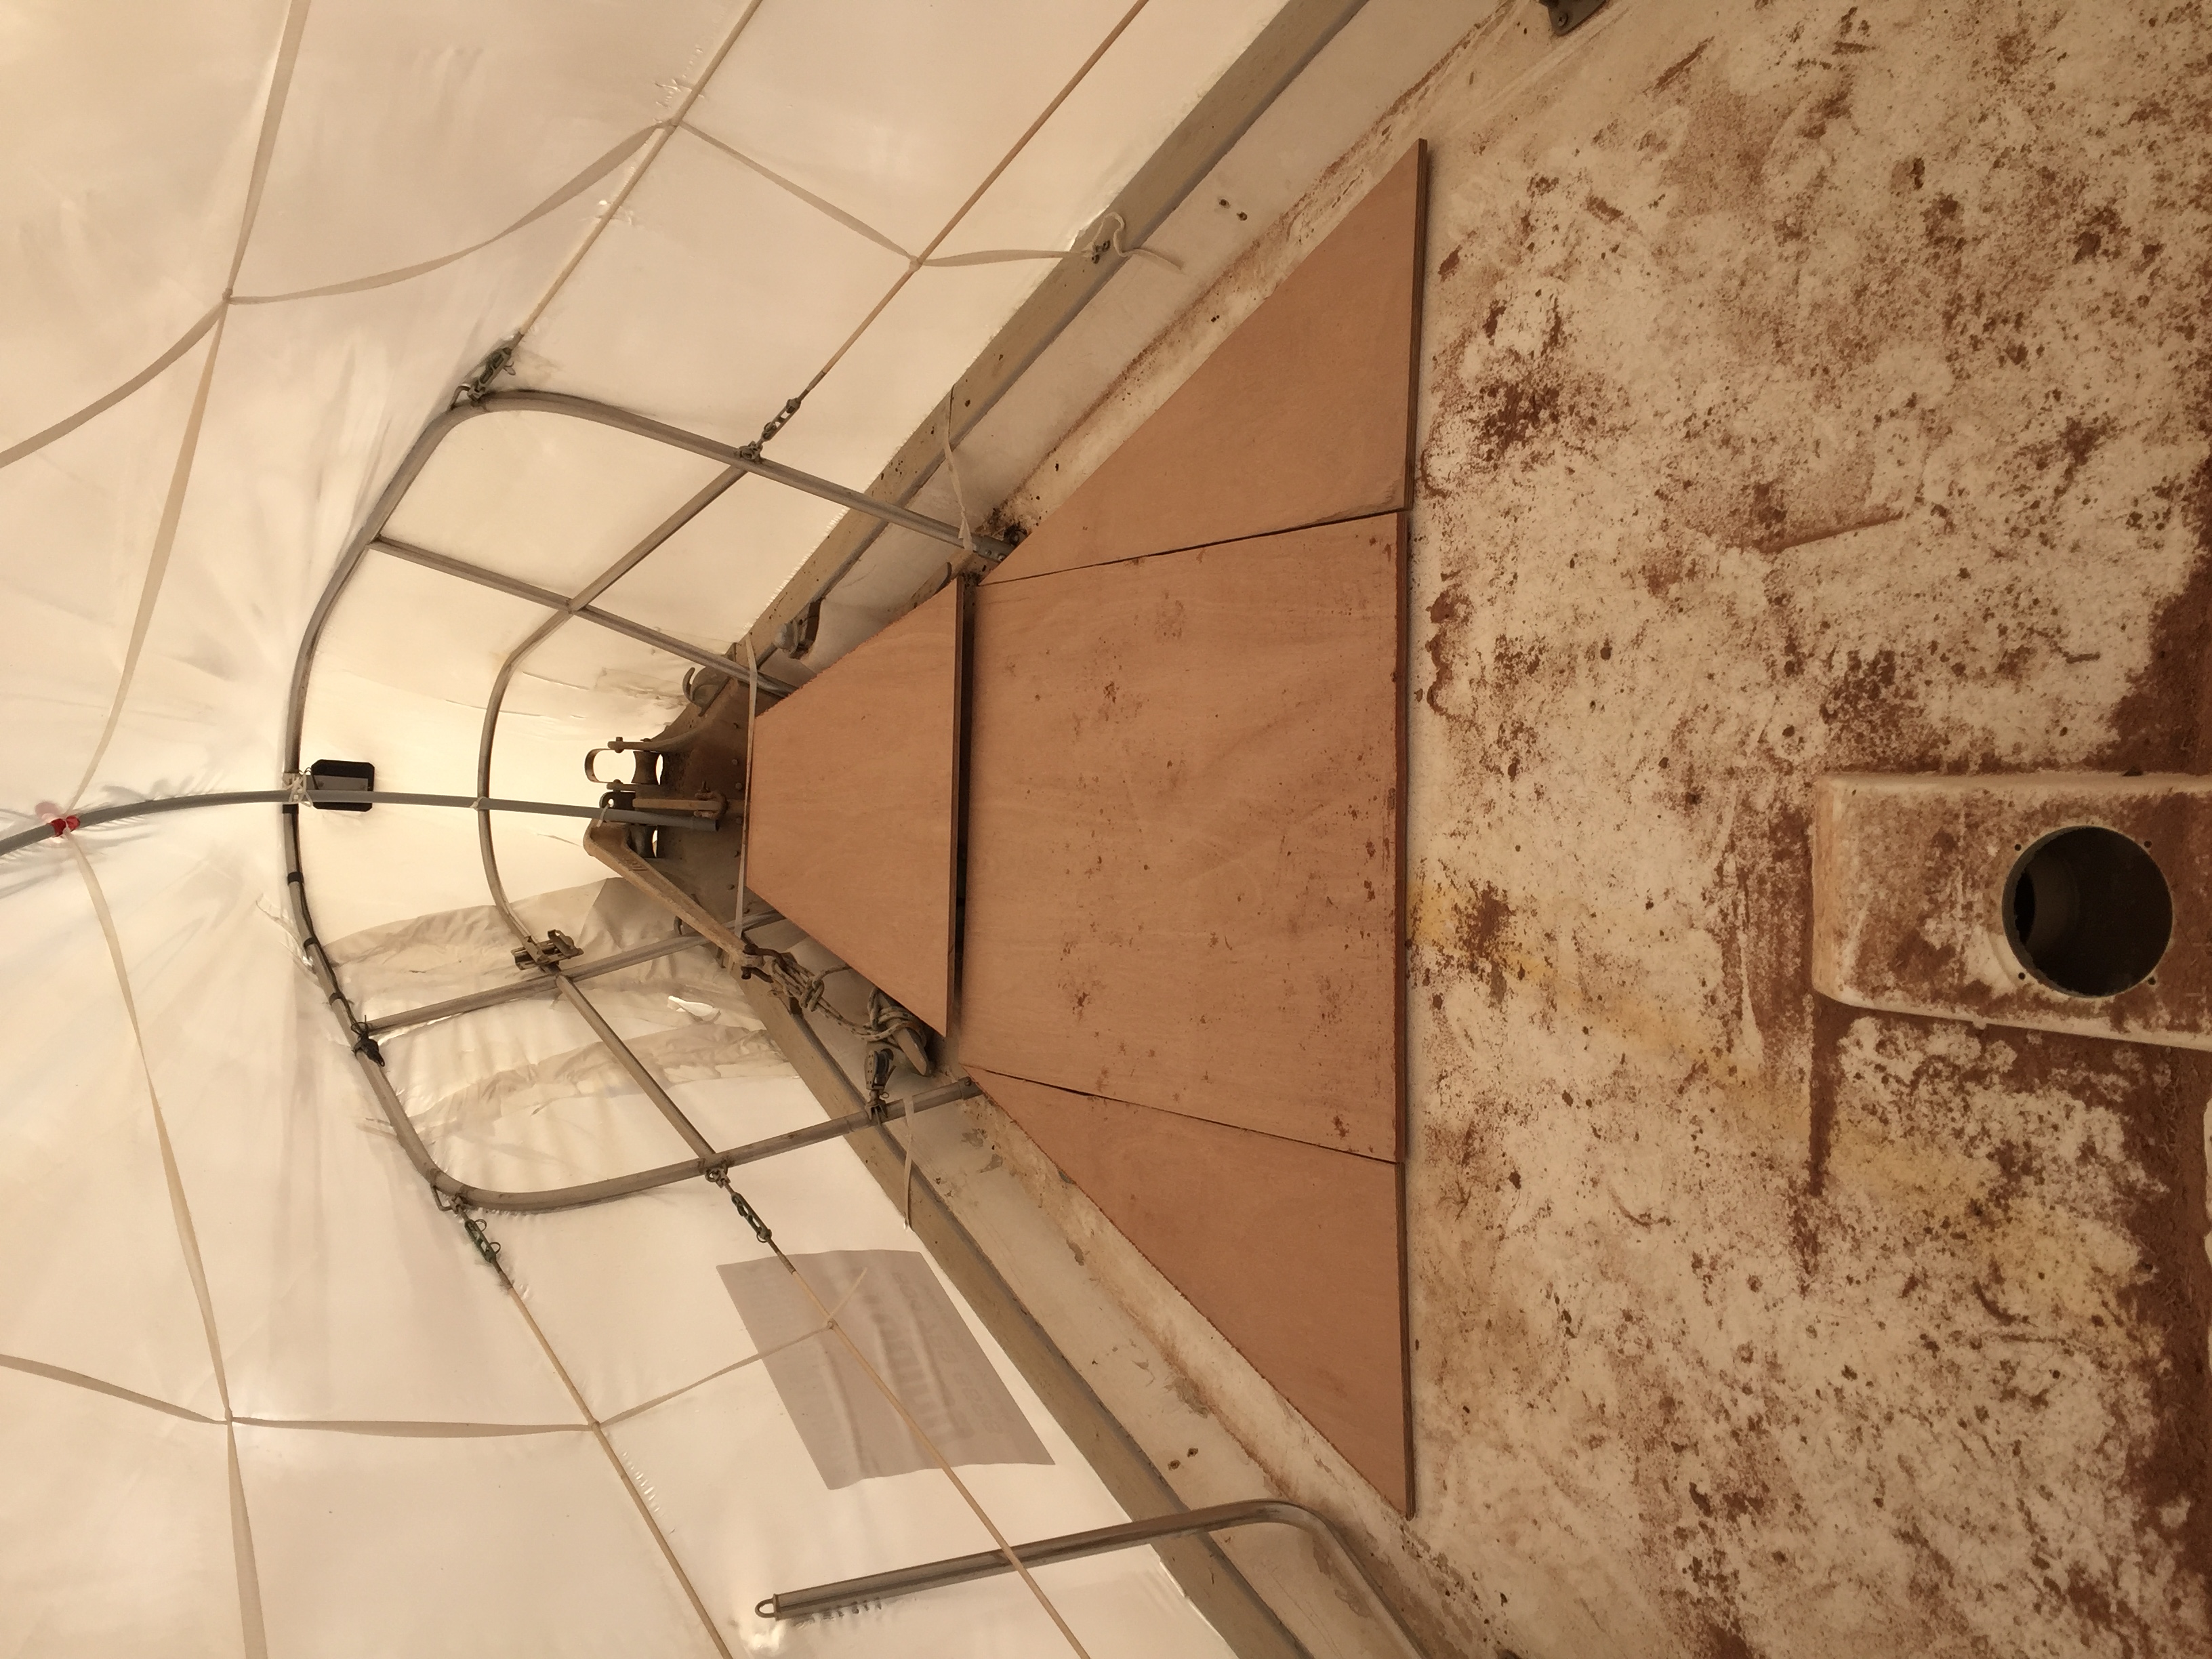
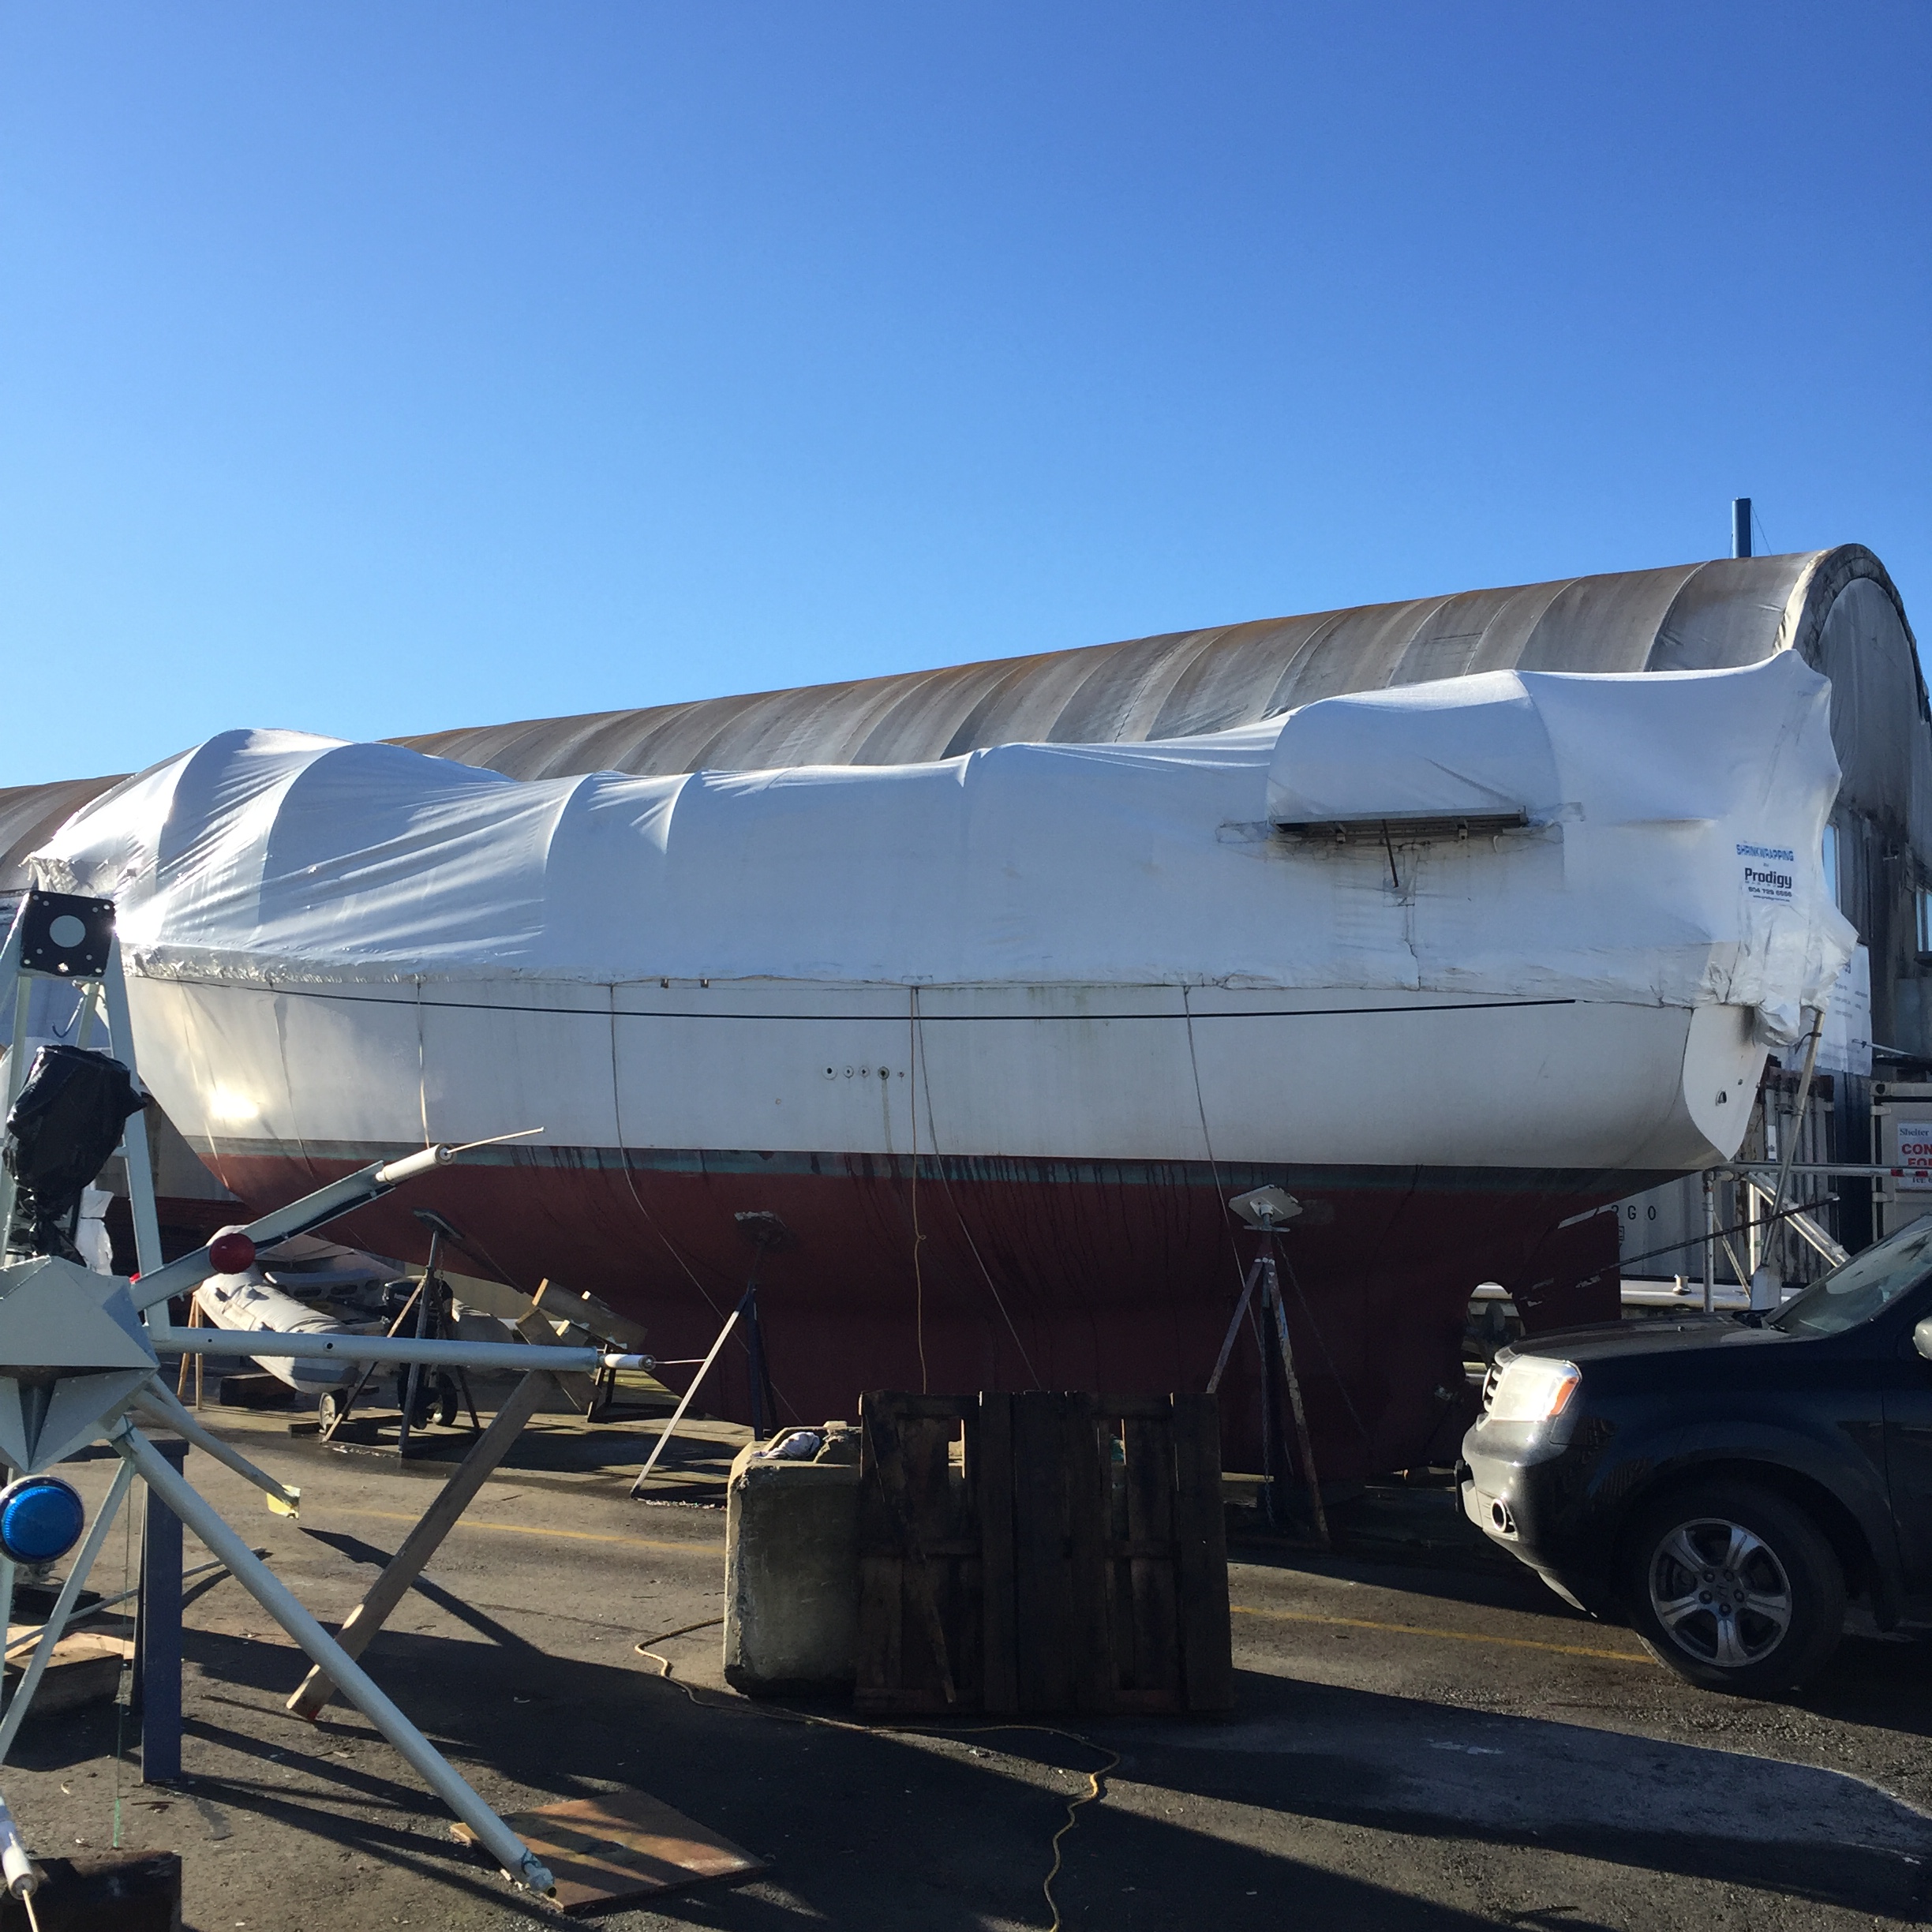
With a little help from my 2×4 friends we have managed to keep the sky up for now! It really did not need a lot of help but these 3 supports will at least keep the center up if nothing else. As you can see in the picture, Akupara’s poor old decks are covered in sawdust. Not long now and it won’t be sawdust it will be gel coat and Fiberglas dust as we transition to sanding the decks.
Deck re-coring
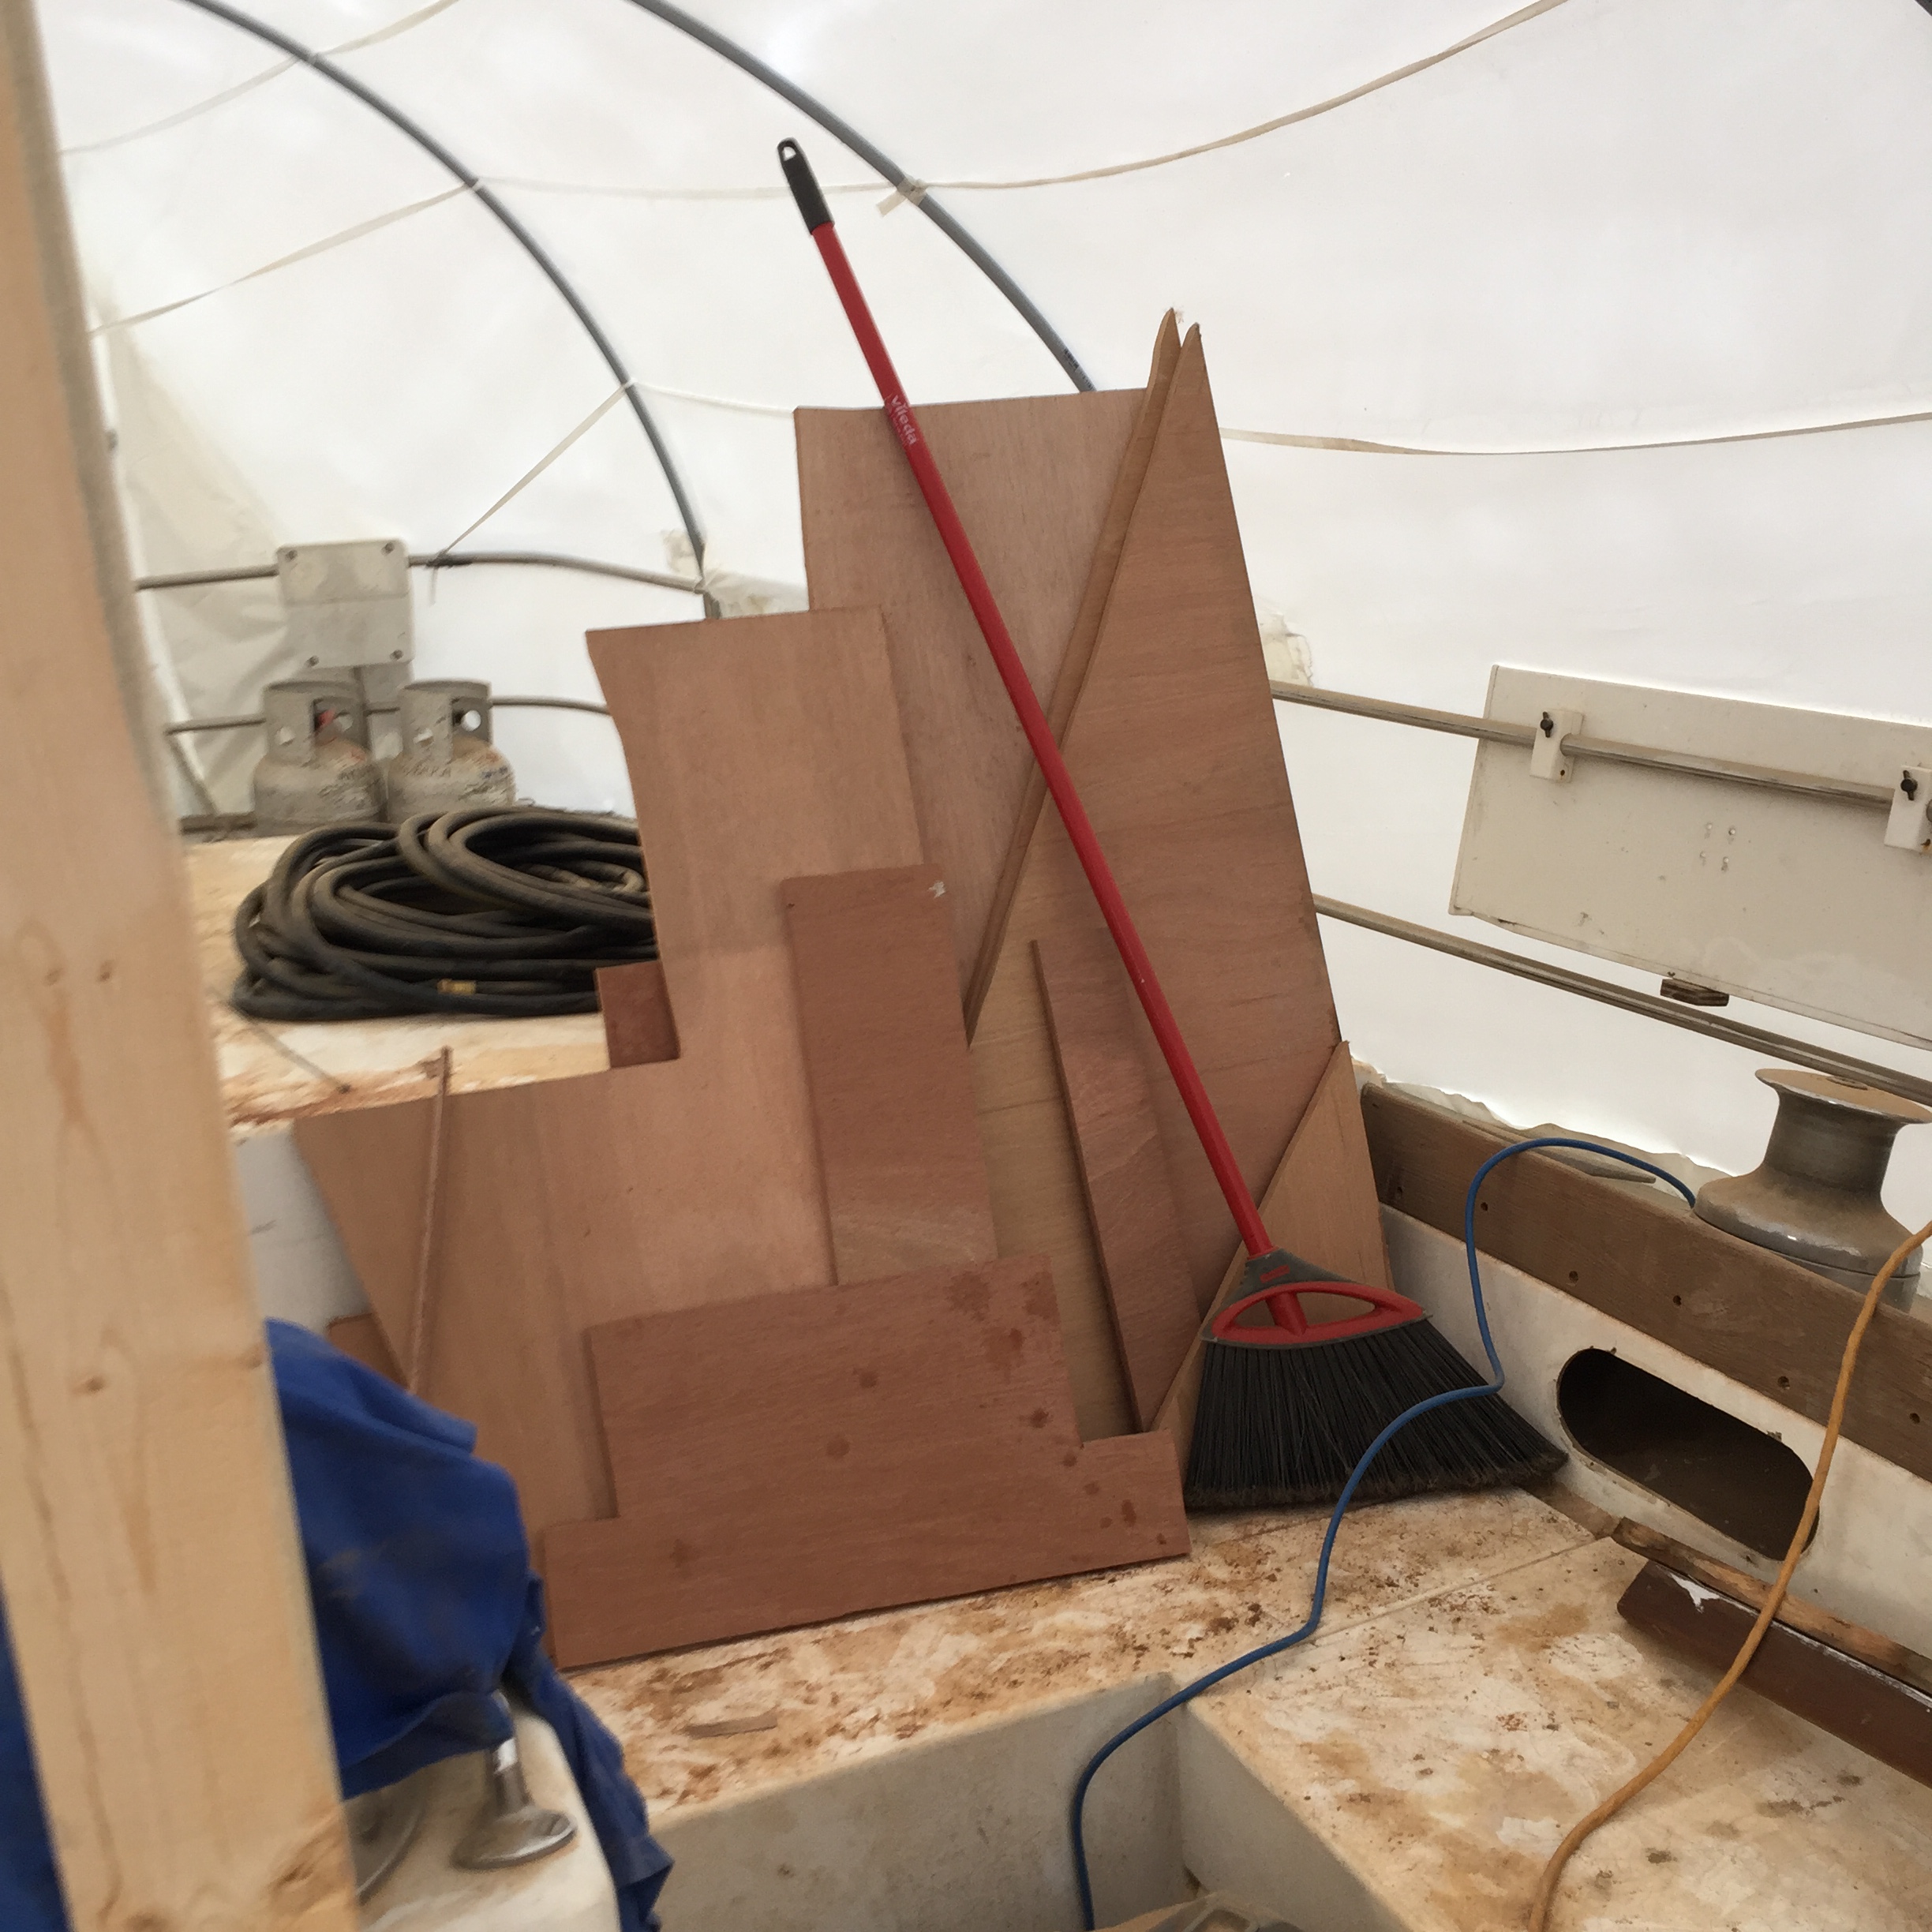
I have started to cut some of the known pieces to do the re core. We have had marine plywood start to accumulate from all of the other projects and the scraps I have been saving for all of the areas we will need to recore. I anticipate having to purchase a couple more sheets for the interior yet so we should have lots left.
Vberth door
I also managed to get the vberth door sanded and hung, only 2 doors left now and we will have no more big pieces left to sand.
Of course we still have a lot of small pieces and trim etc but we are actually coming down to the end of sanding wood. It will be nice when it is finished. Paige has volunteered to come and help us this Saturday so we should make a little extra progress.
Next weekend is the Vancouver Boat Show so not a lot of work will get done. I will write a post about our findings when it is over.
As an aside you may have noticed that we have not been staining any of the pieces we have sanded lately. This is simply due to the temperature inside of Akupara, it is too low. Hopefully it will be a little warmer this weekend and we can get the wood stained.
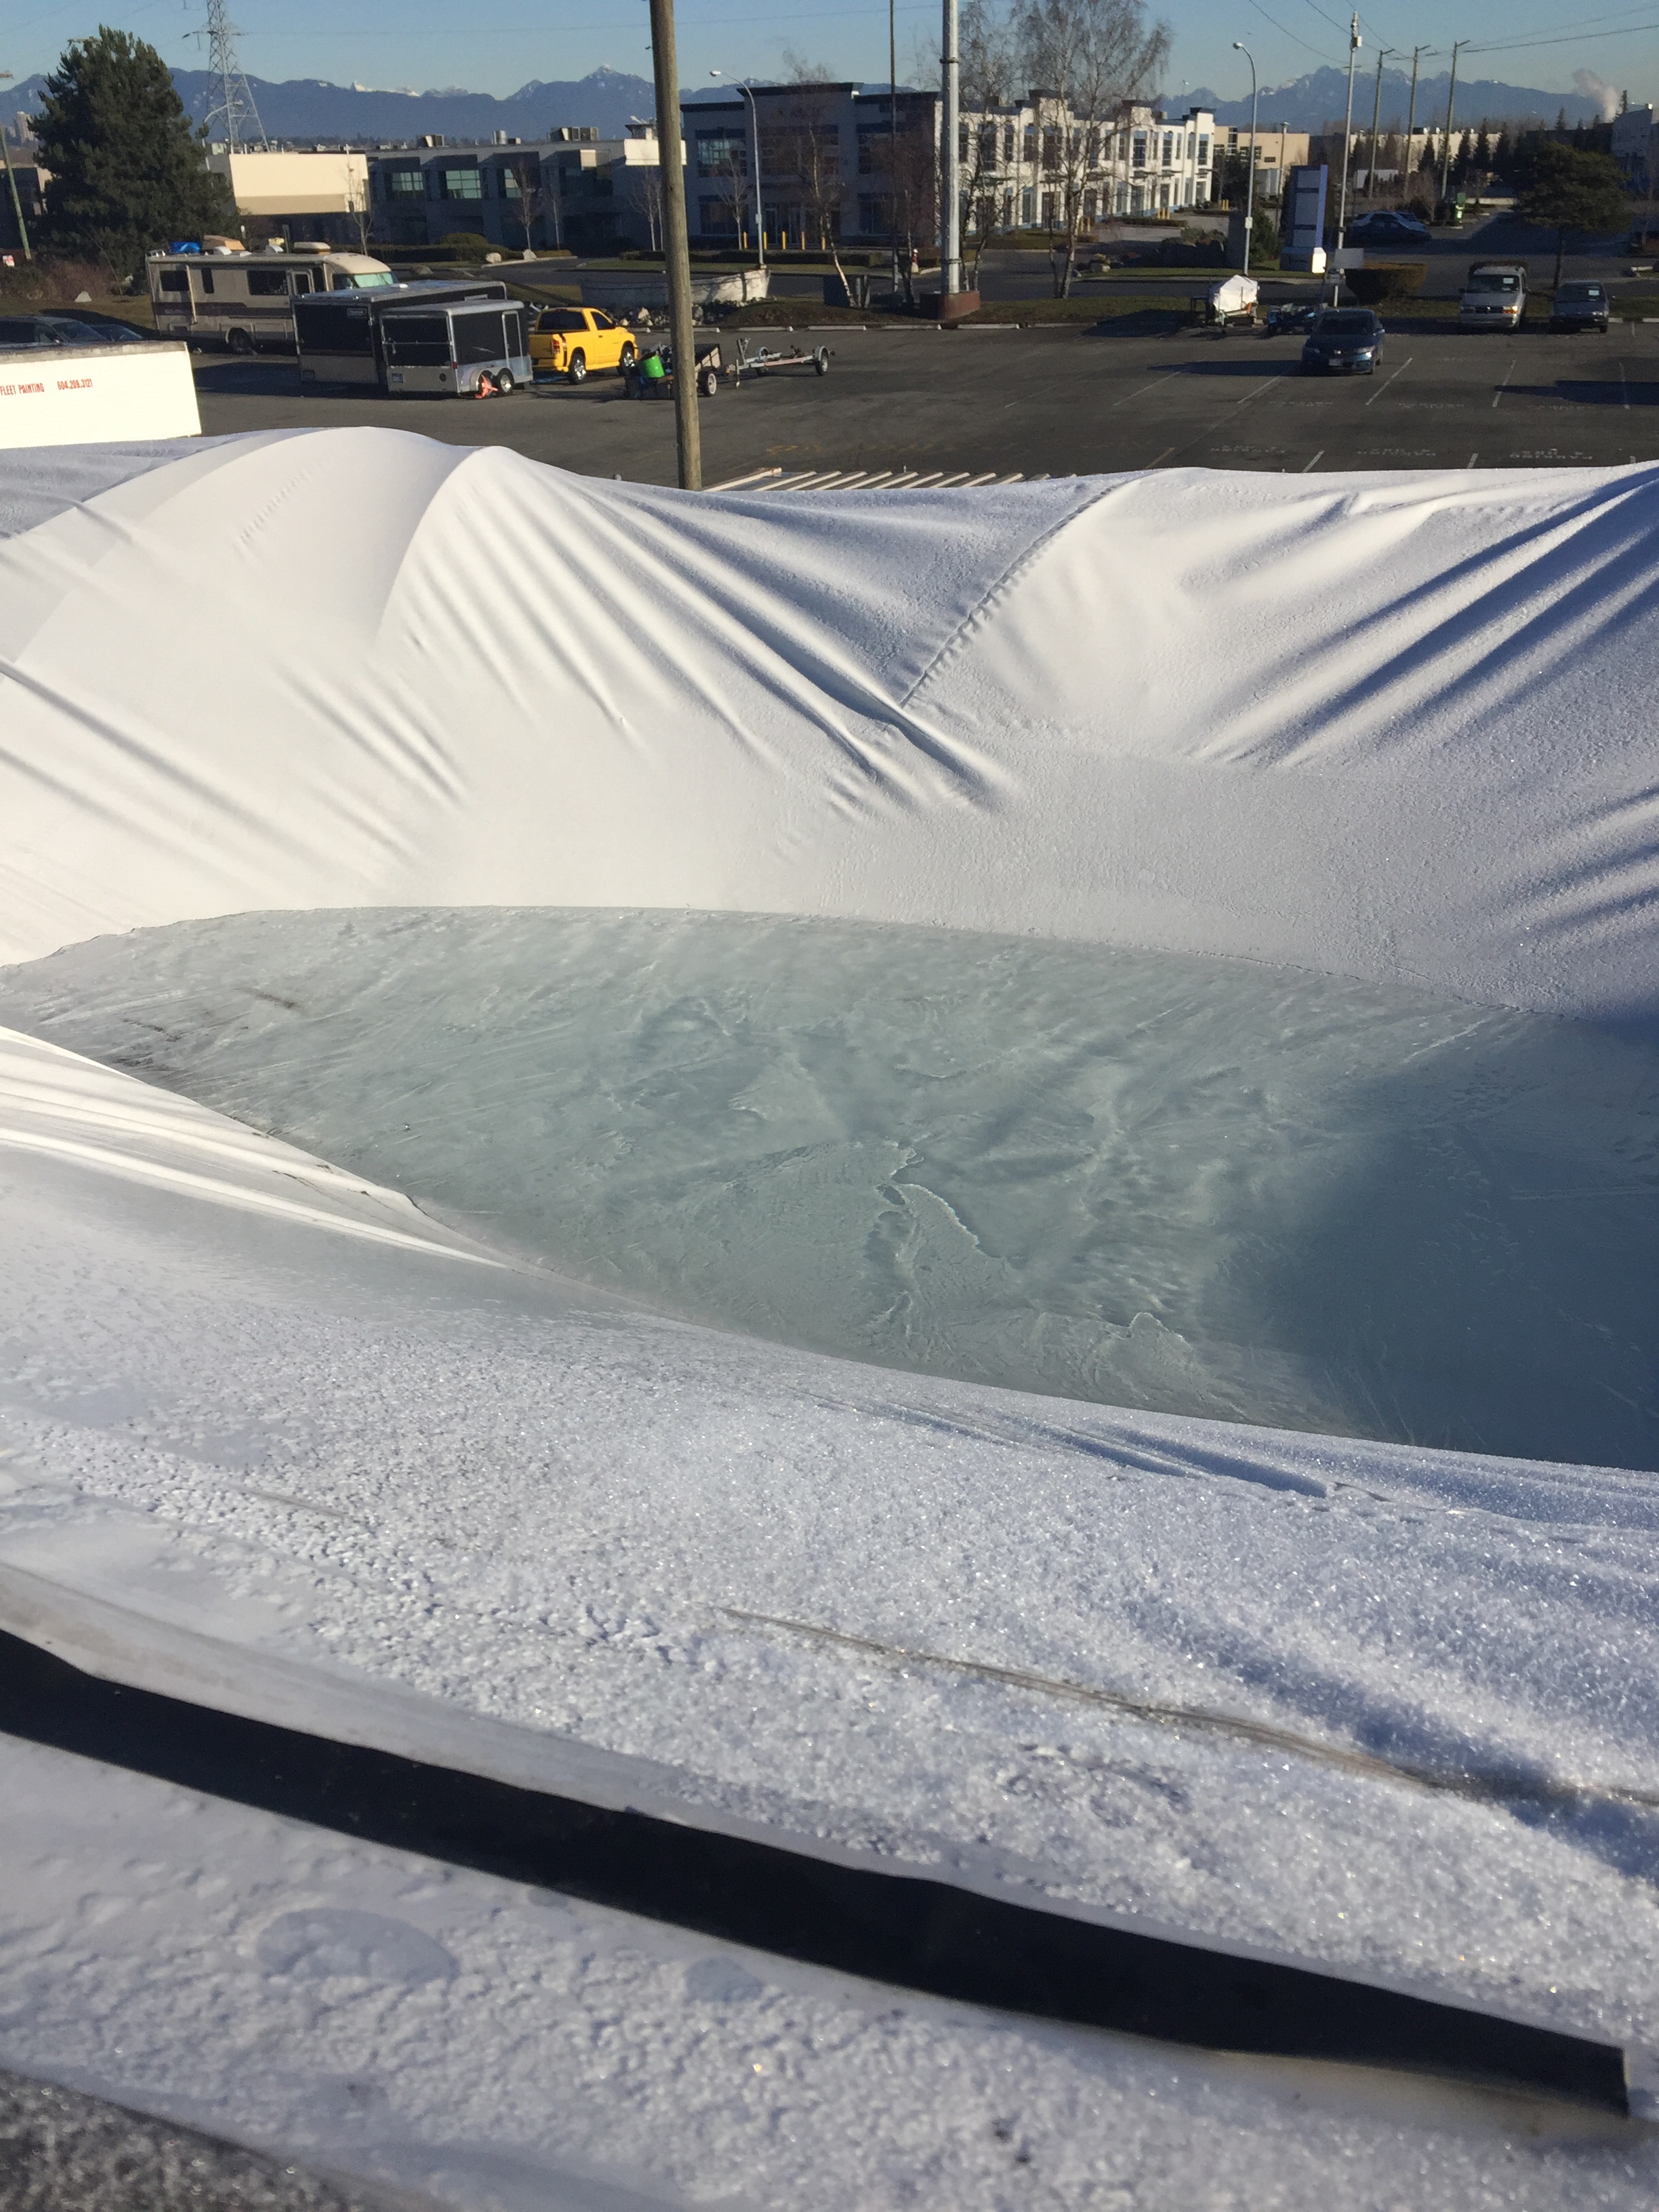
Okay maybe not the sky, but something definitely did not look right as we drove up to Akupara yesterday.
Cover collapse
I knew this was coming but I just did not know when exactly it was going to happen.
The puddle of Ice and WaterThere was a heck of a lot of waterProbably a good thing these drawers were piled here to help take the weight
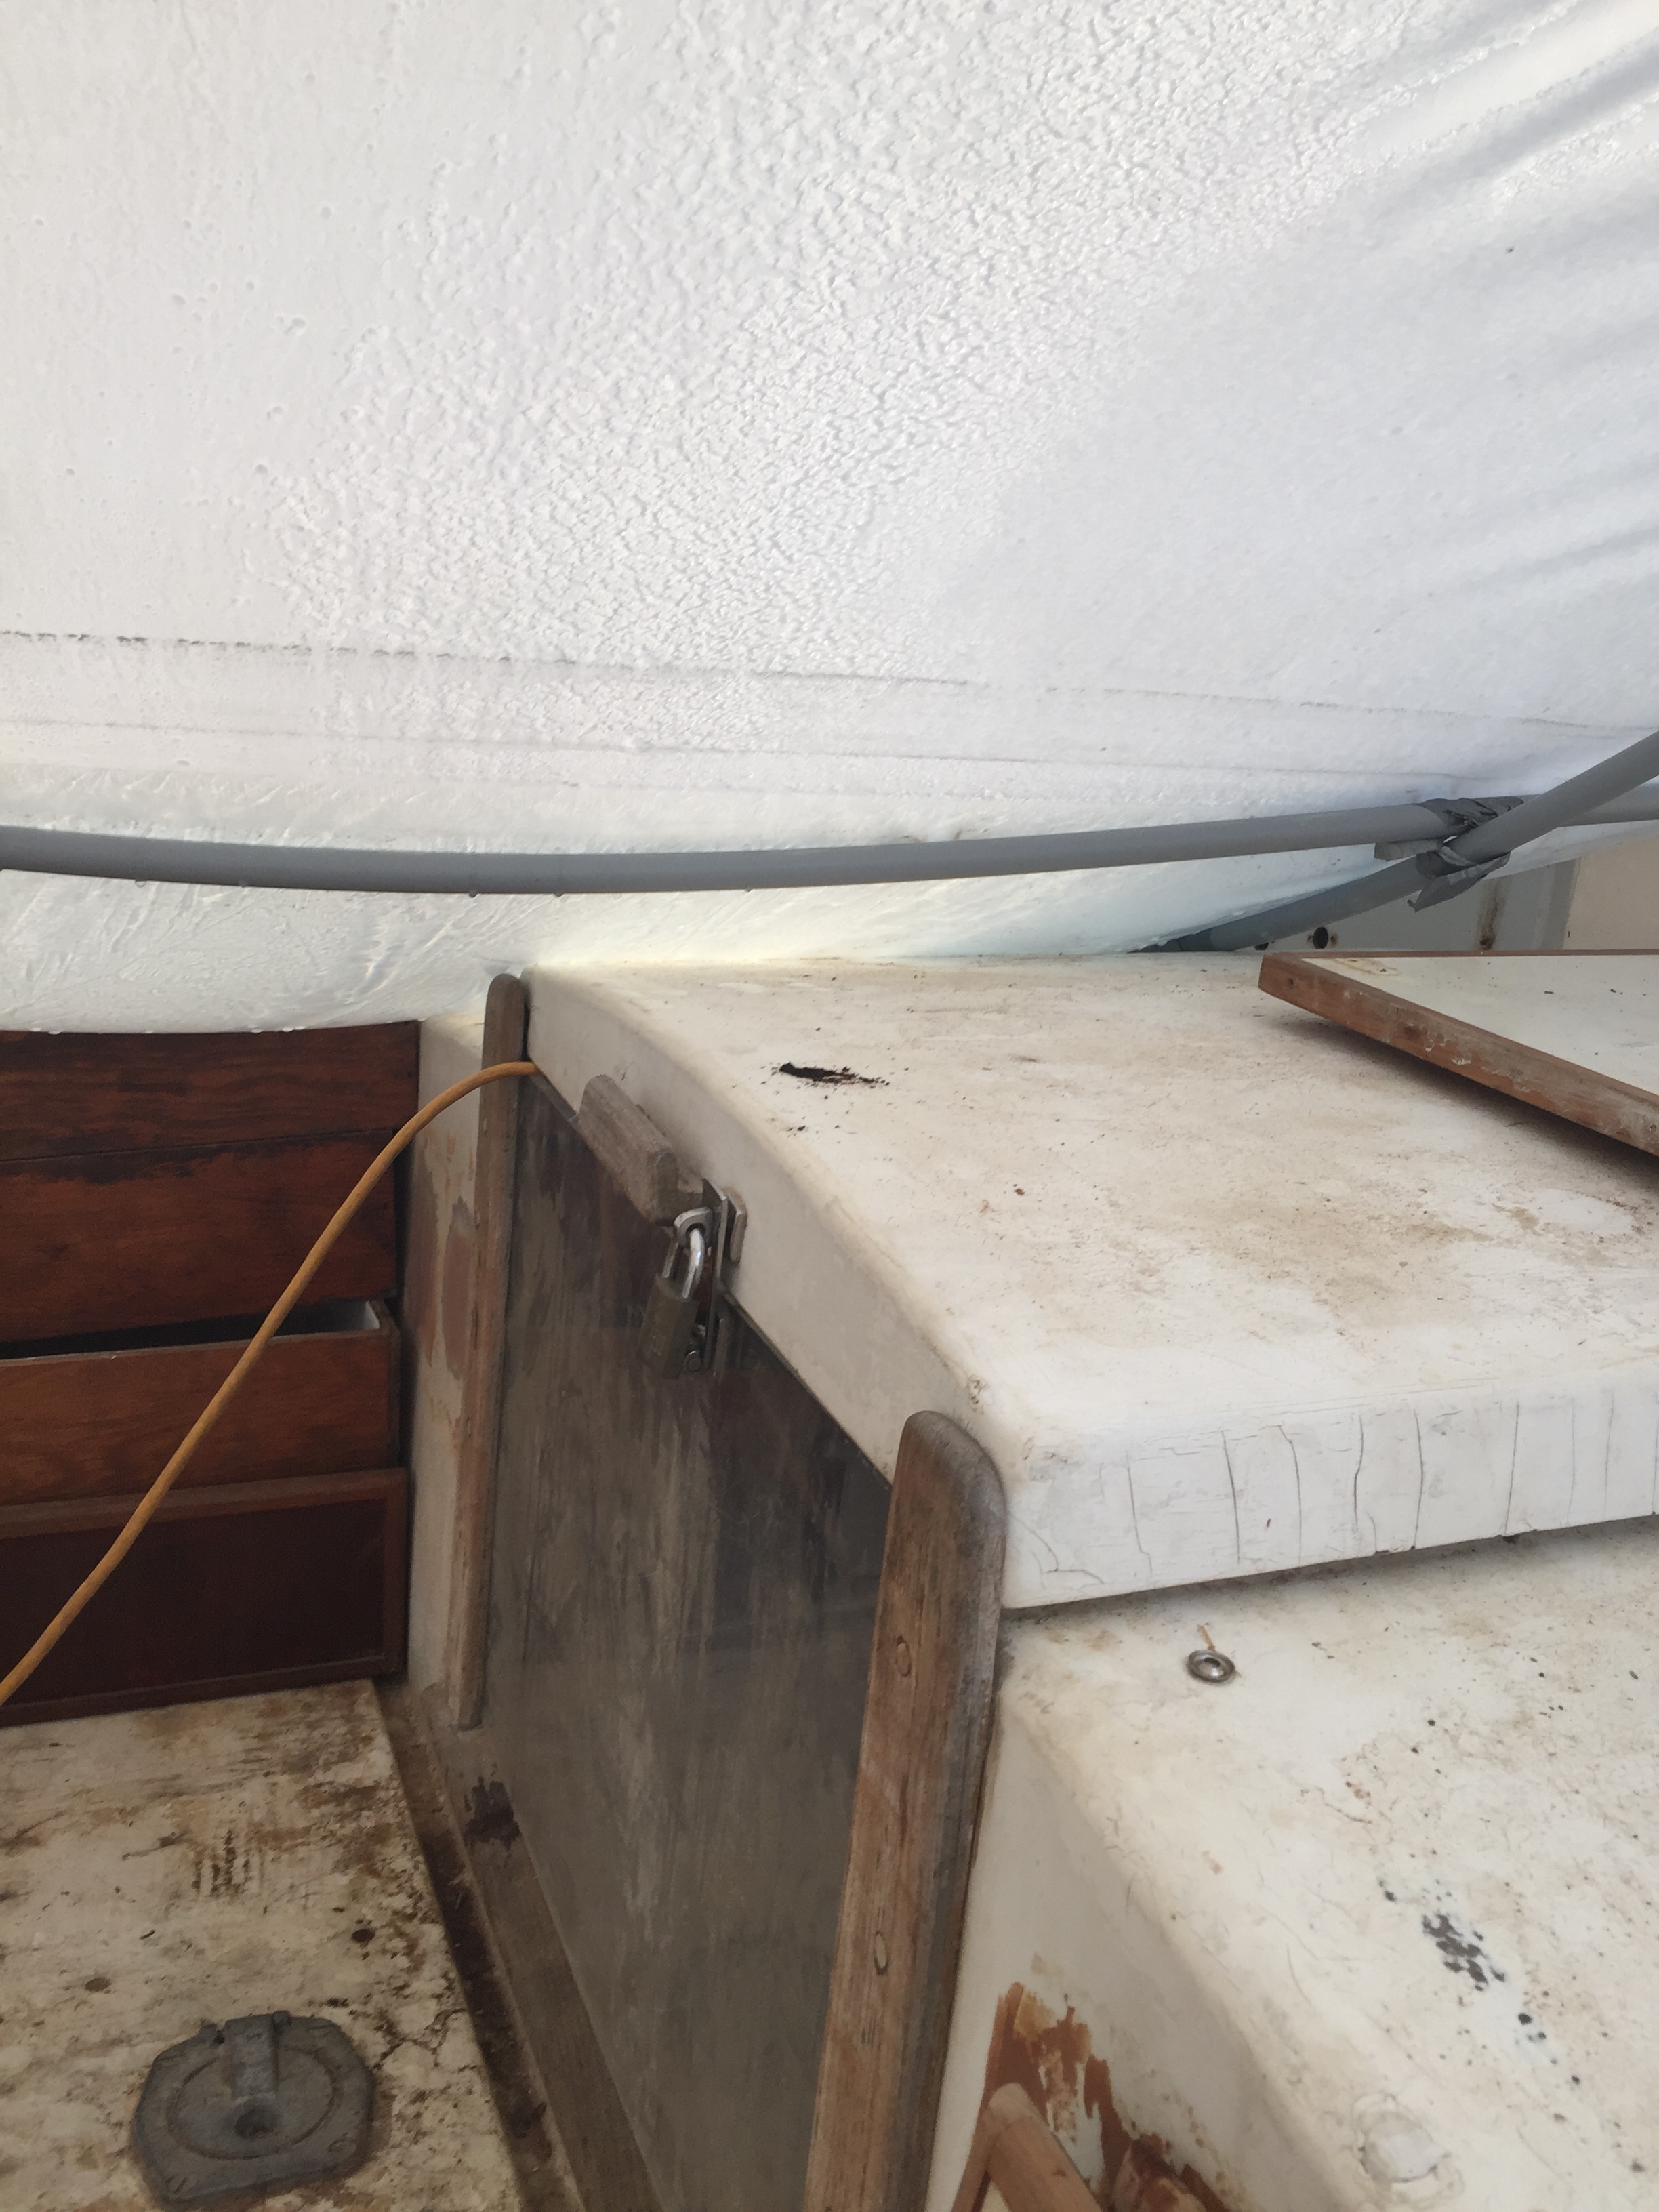
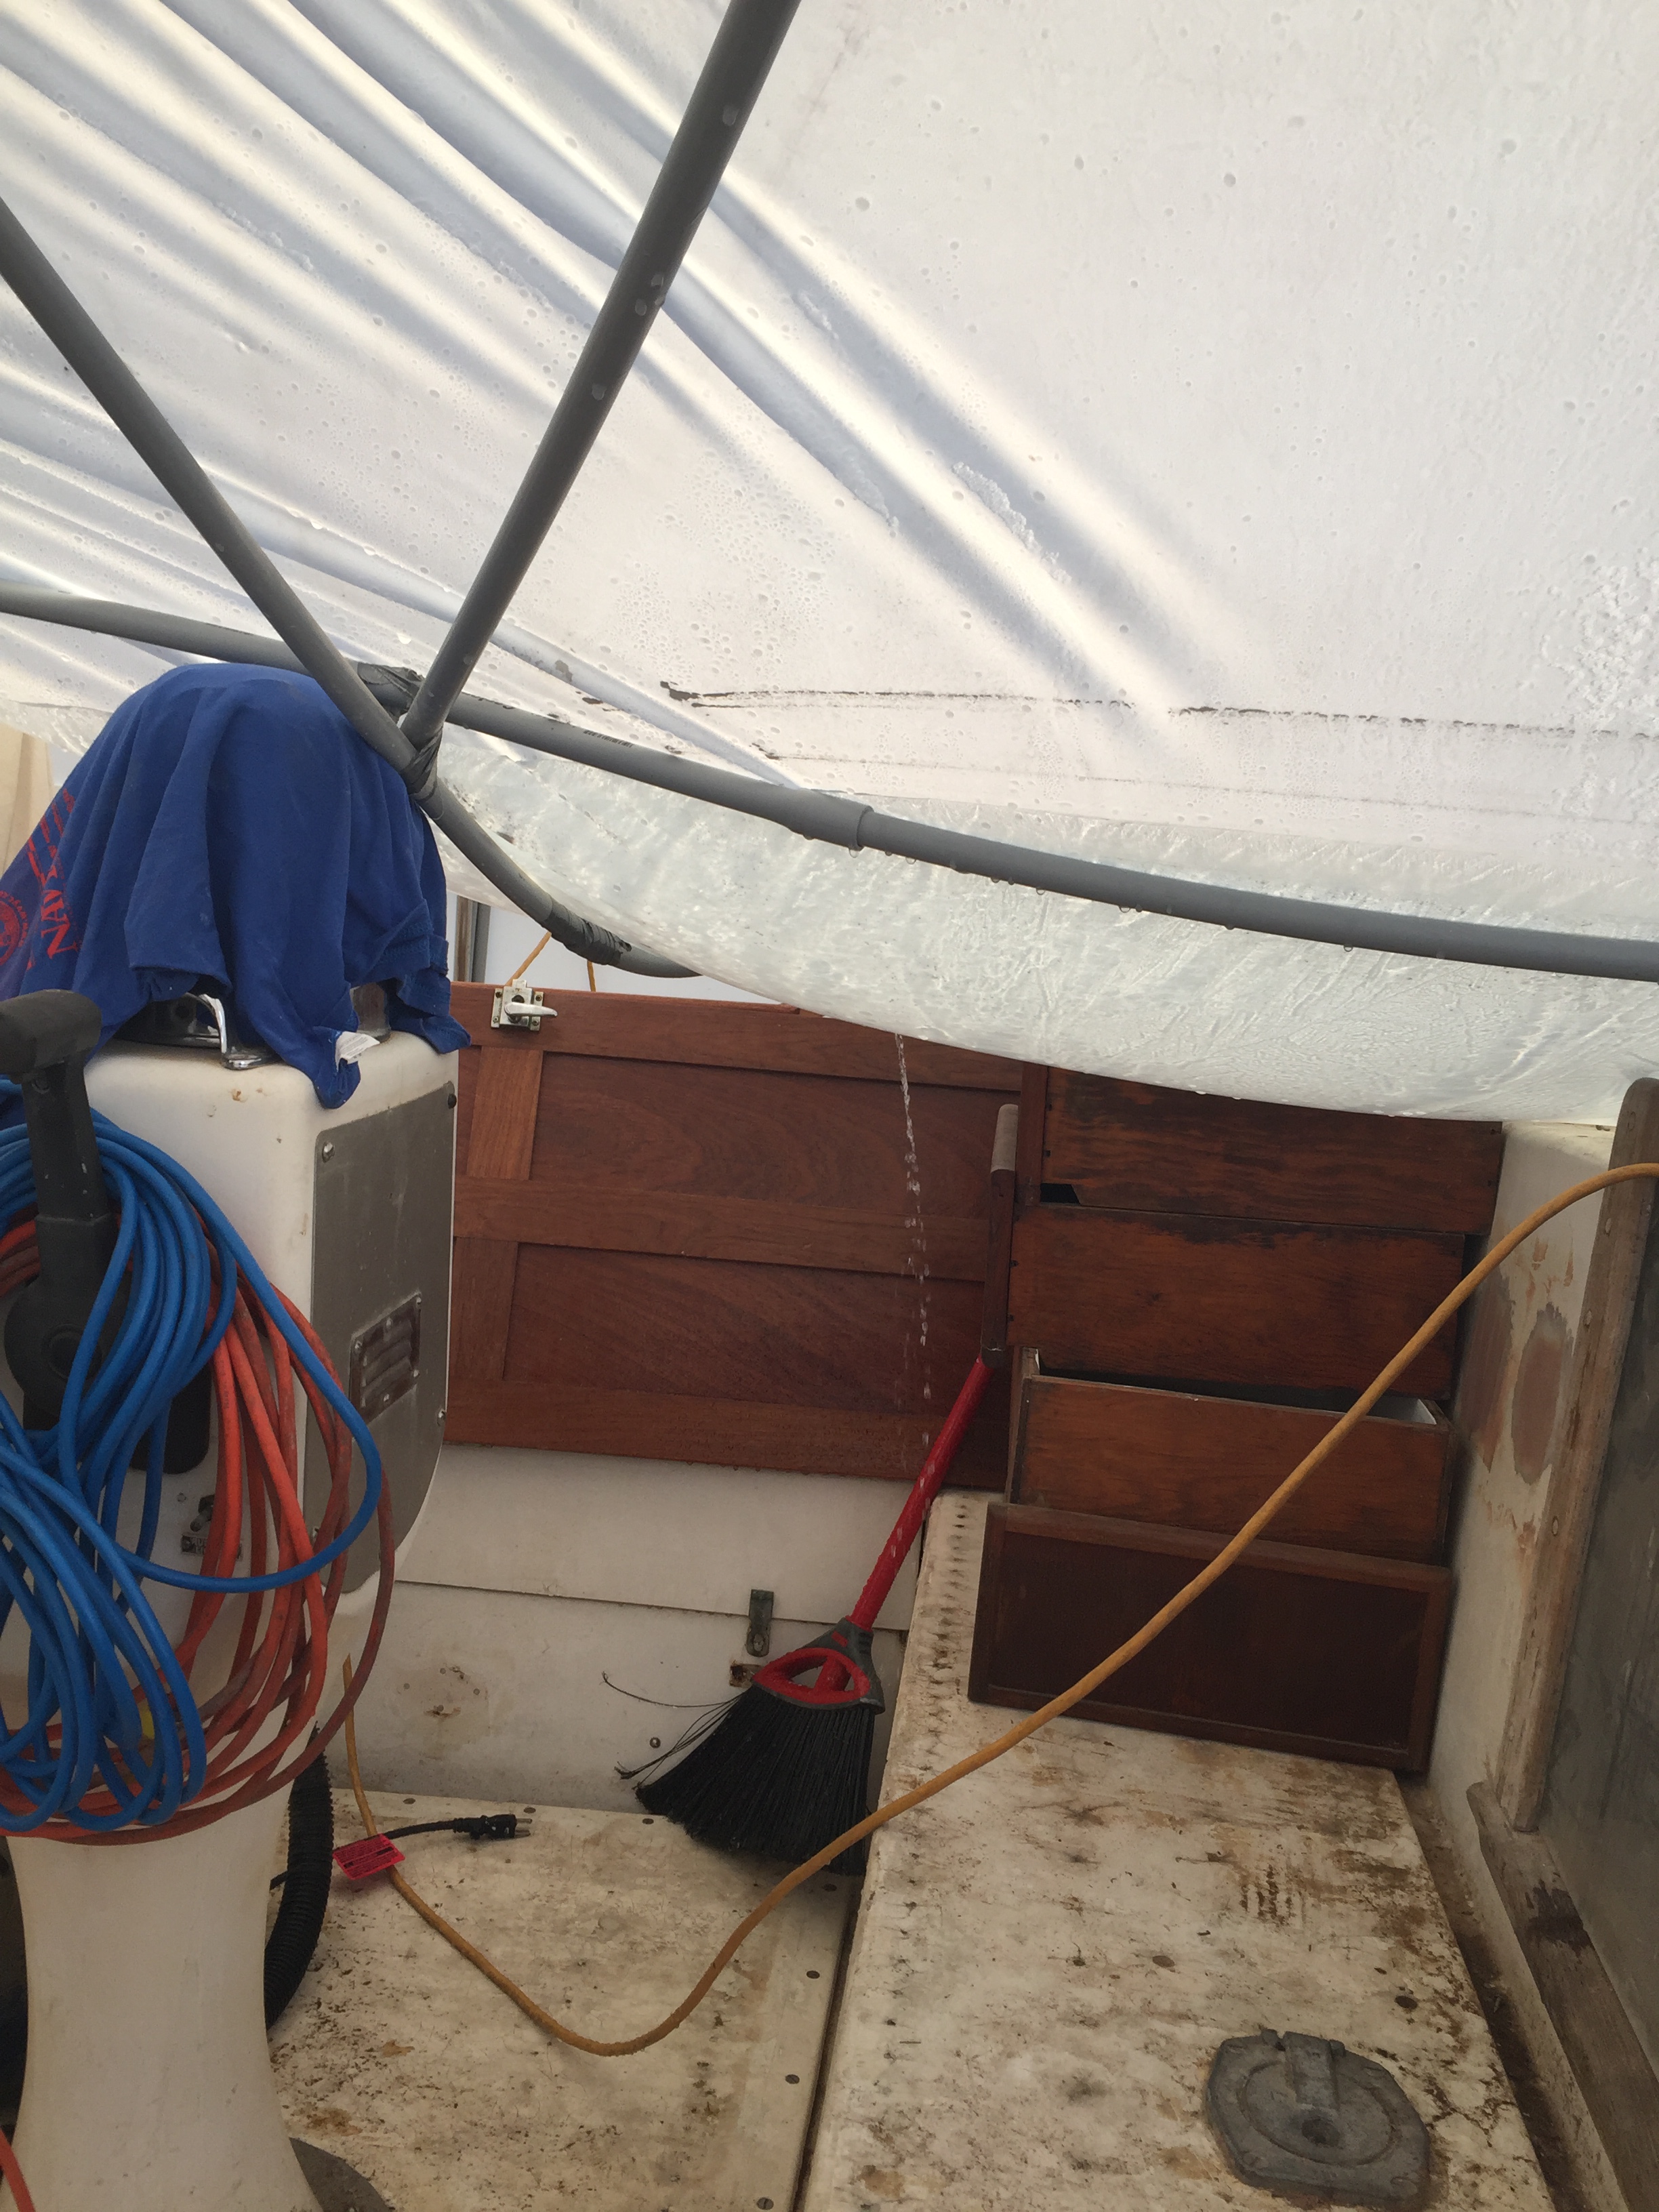
We had a bit of snow last week one morning and obviously it was enough to gather in the low spots on the shrink wrap and as the temperature climbed a bit, it created a depression which continued to collect water when it rained this week. Thankfully the cover collapsed over the main companionway where it rested a little on deck, a little on the drawers that are queued for sanding and on the helm. I had to poke a small hole in the tarp and let it drain into the cockpit. I enlarged the hole to about 1/4 inch in size and after an hour or so, enough water was gone that I could stand up underneath the cover, and push the remainder outwards with my back. There was a layer of about an inch of ice on top of the water that was sent crashing overboard. Today I will have to go back and re-enforce the frame with some vertical 2×4’s and I will attempt to shrink the shrink-wrap a bit with a heat gun to tighten up the loose areas.
I think this is an omen. It is foreshadowing at least. We need to get back to hustling and we need to get the decks completely prepped for paint as I doubt if we would ever see another year out of the shrink wrap and I do not want to pay to have it done again.
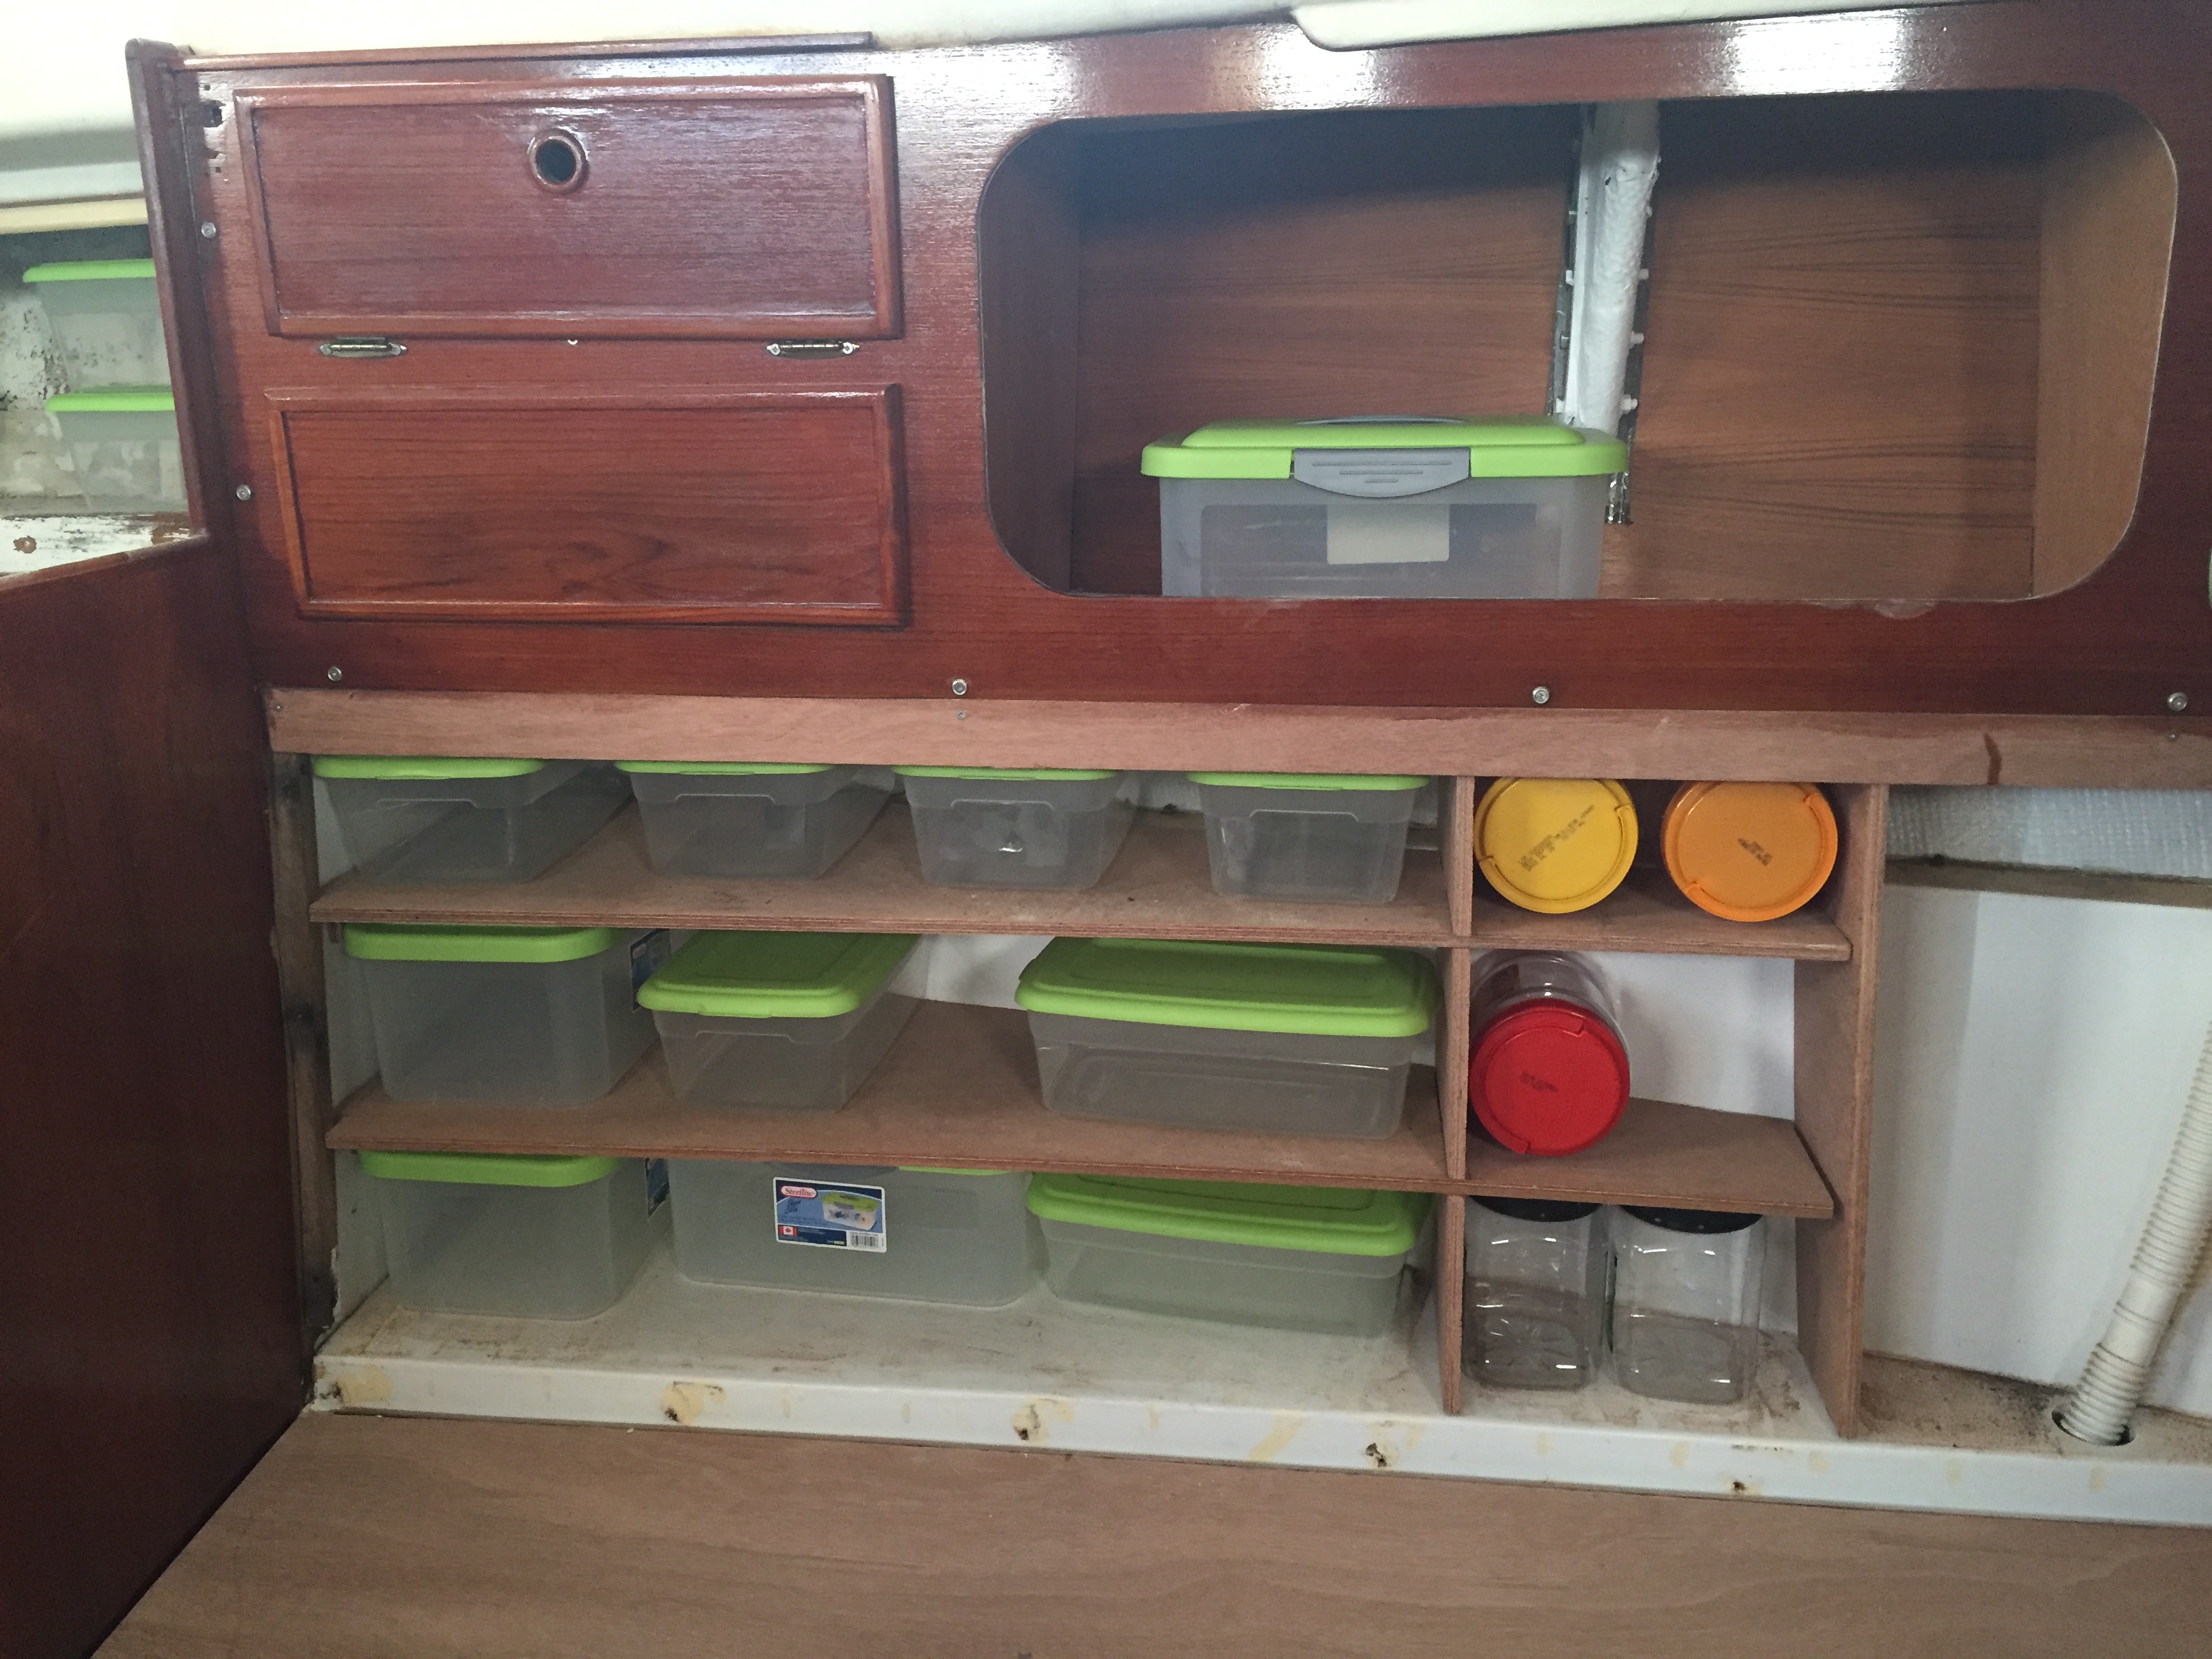
Once the crisis was over and we fixed the falling sky issue, we began to work on the layout of the galley and pantry. Remember a while back I had started into the pantry and then I stopped. My reason for stopping was that I did not want to go and make a bunch of dividers and shelves only to find out that none of our containers would fit, so we brought all of the new containers down to Akupara and played organization for a while trying to find the best layout for all of the storage.
The pantry layout.
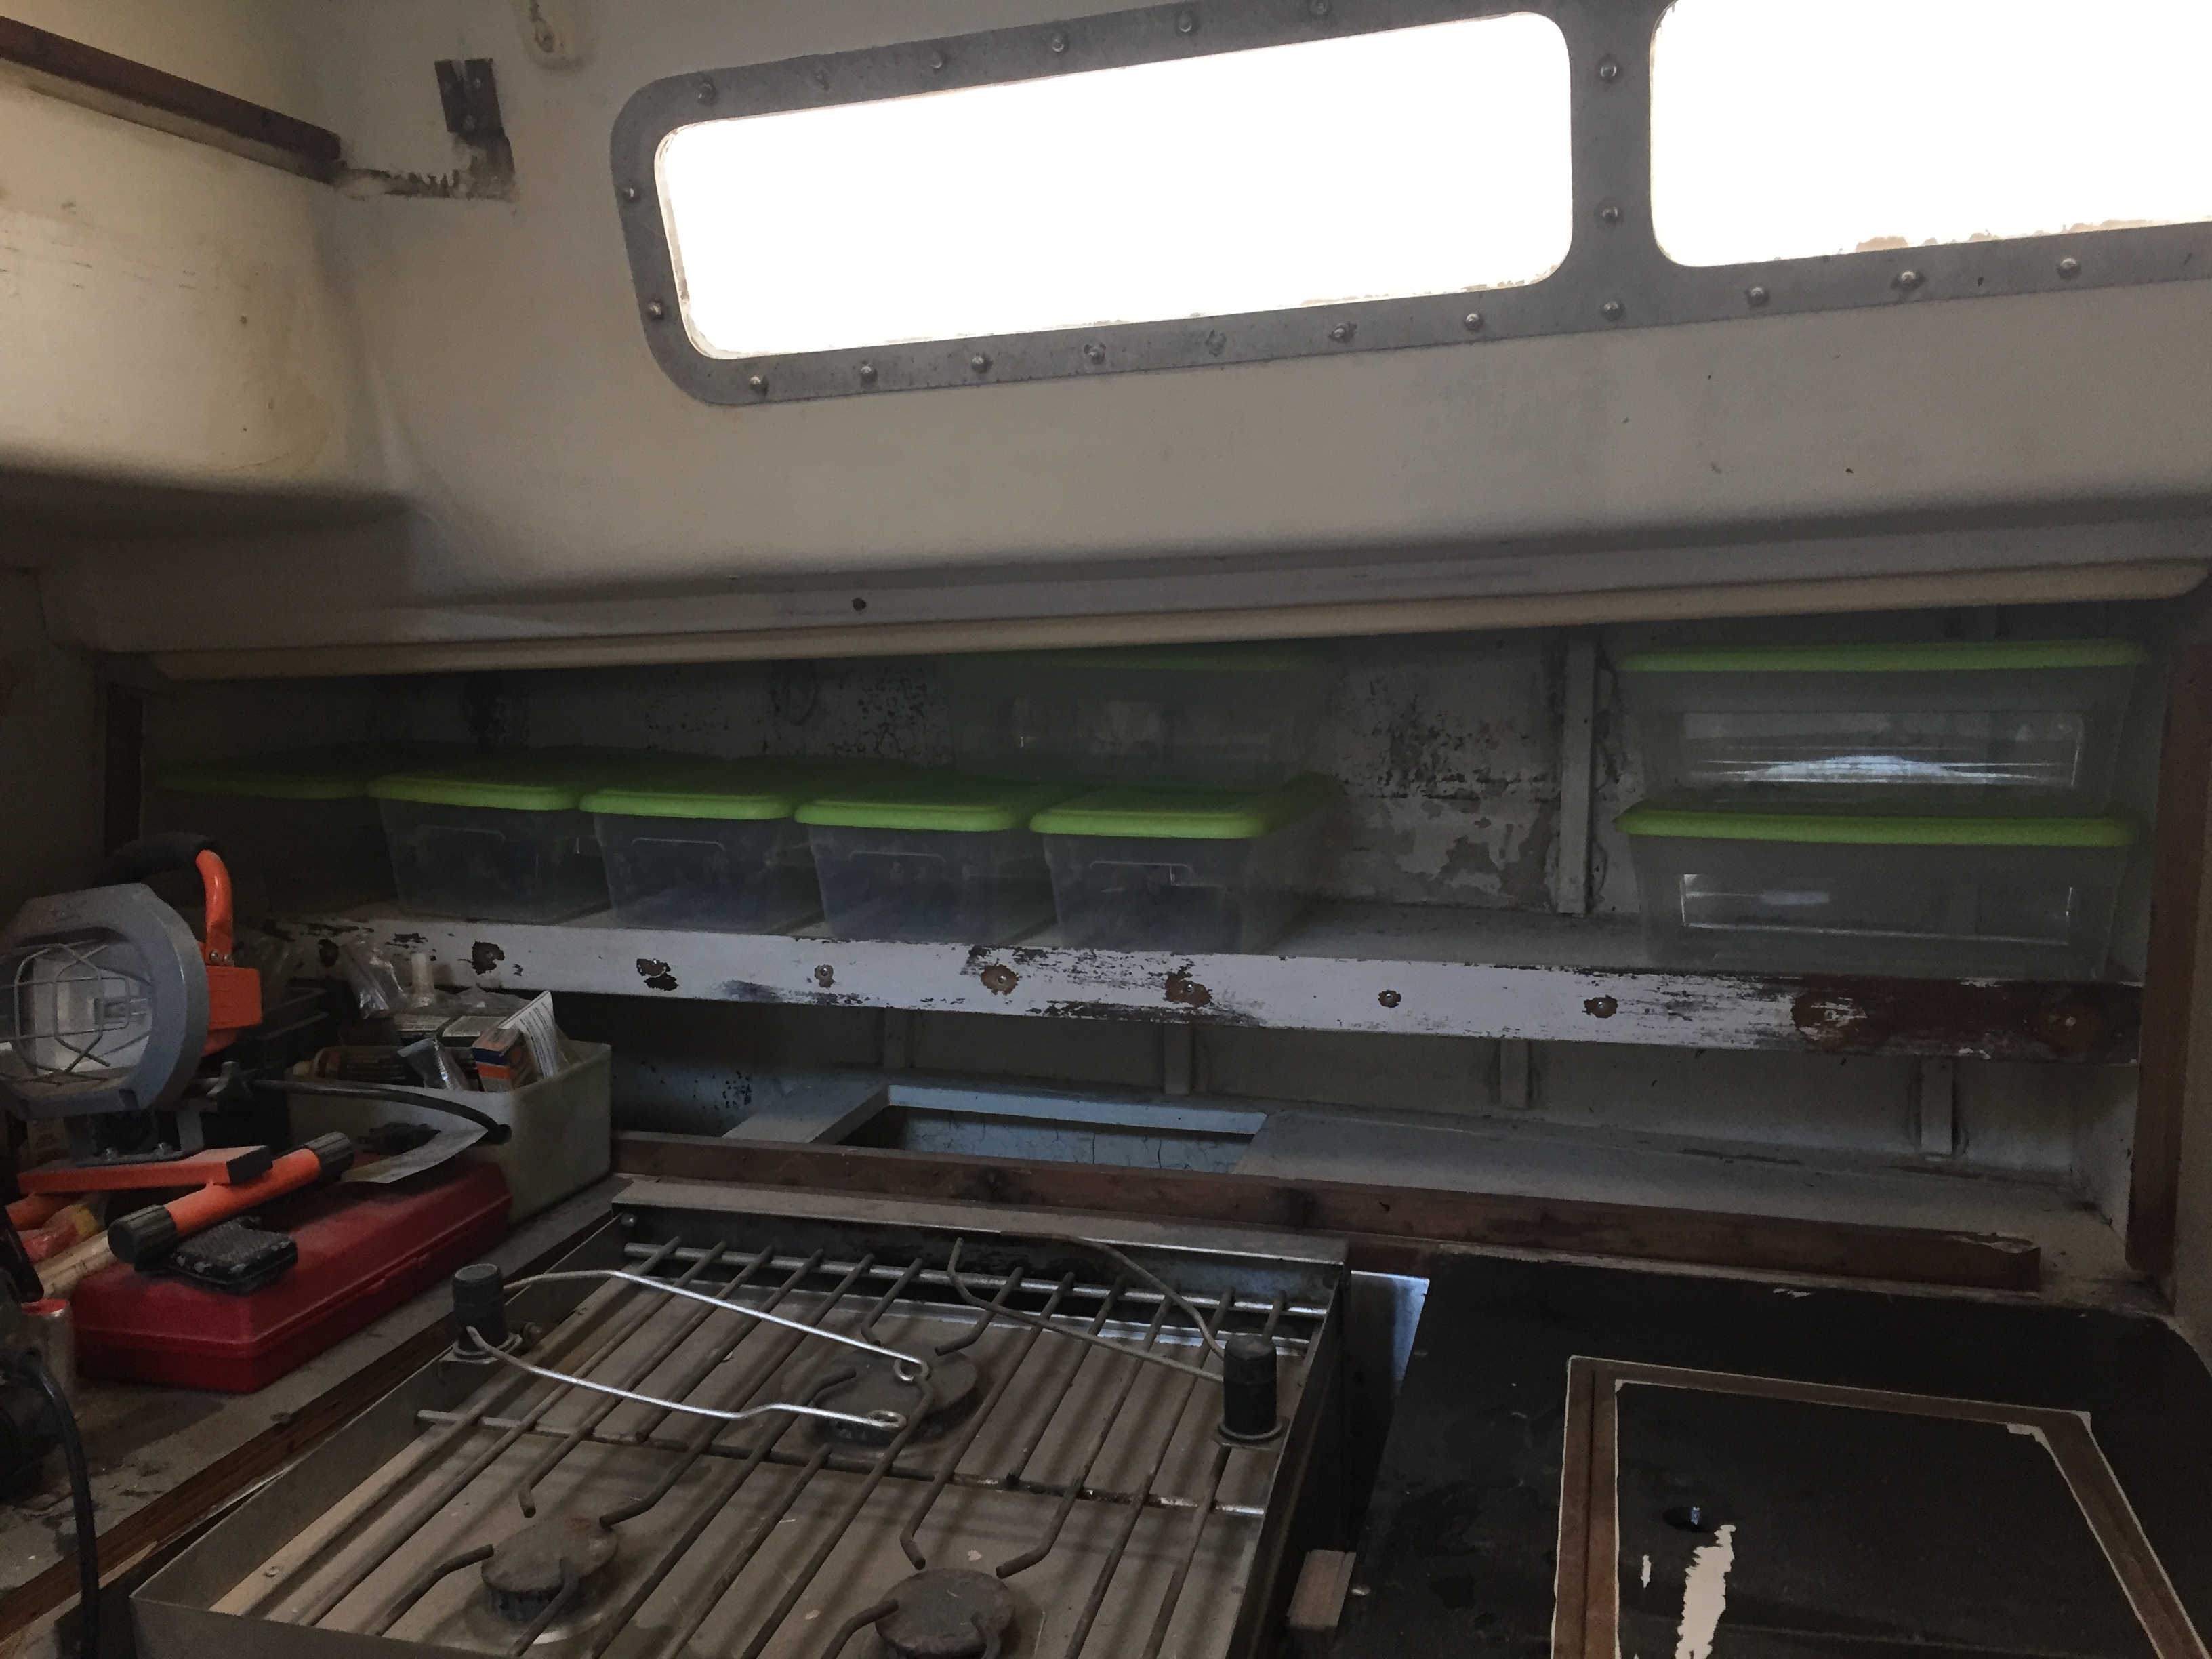
We have been thinking about the galley as well. The shelf behind the stove needs to come out yet, but for the same reason as not finishing the pantry, I wanted to be able to build everything to fit. We have always felt that the height of the shelf was a bit odd and after trying to fit containers etc in, it only reinforced our belief.
Trying to determine the eventual height of the shelf and layout
I think we need to slow down a bit on the galley and come to a final decision as to whether or not we will build in a microwave, dishwasher, coffee maker and where the wine fridge will go. Joke 😉 But in all honesty I think we need to spend a bit more time designing this. One of the major beefs about the layout currently is that anything you put on the shelf behind the stove is almost useless if the stove is on as you need to reach across directly on top of the stove.
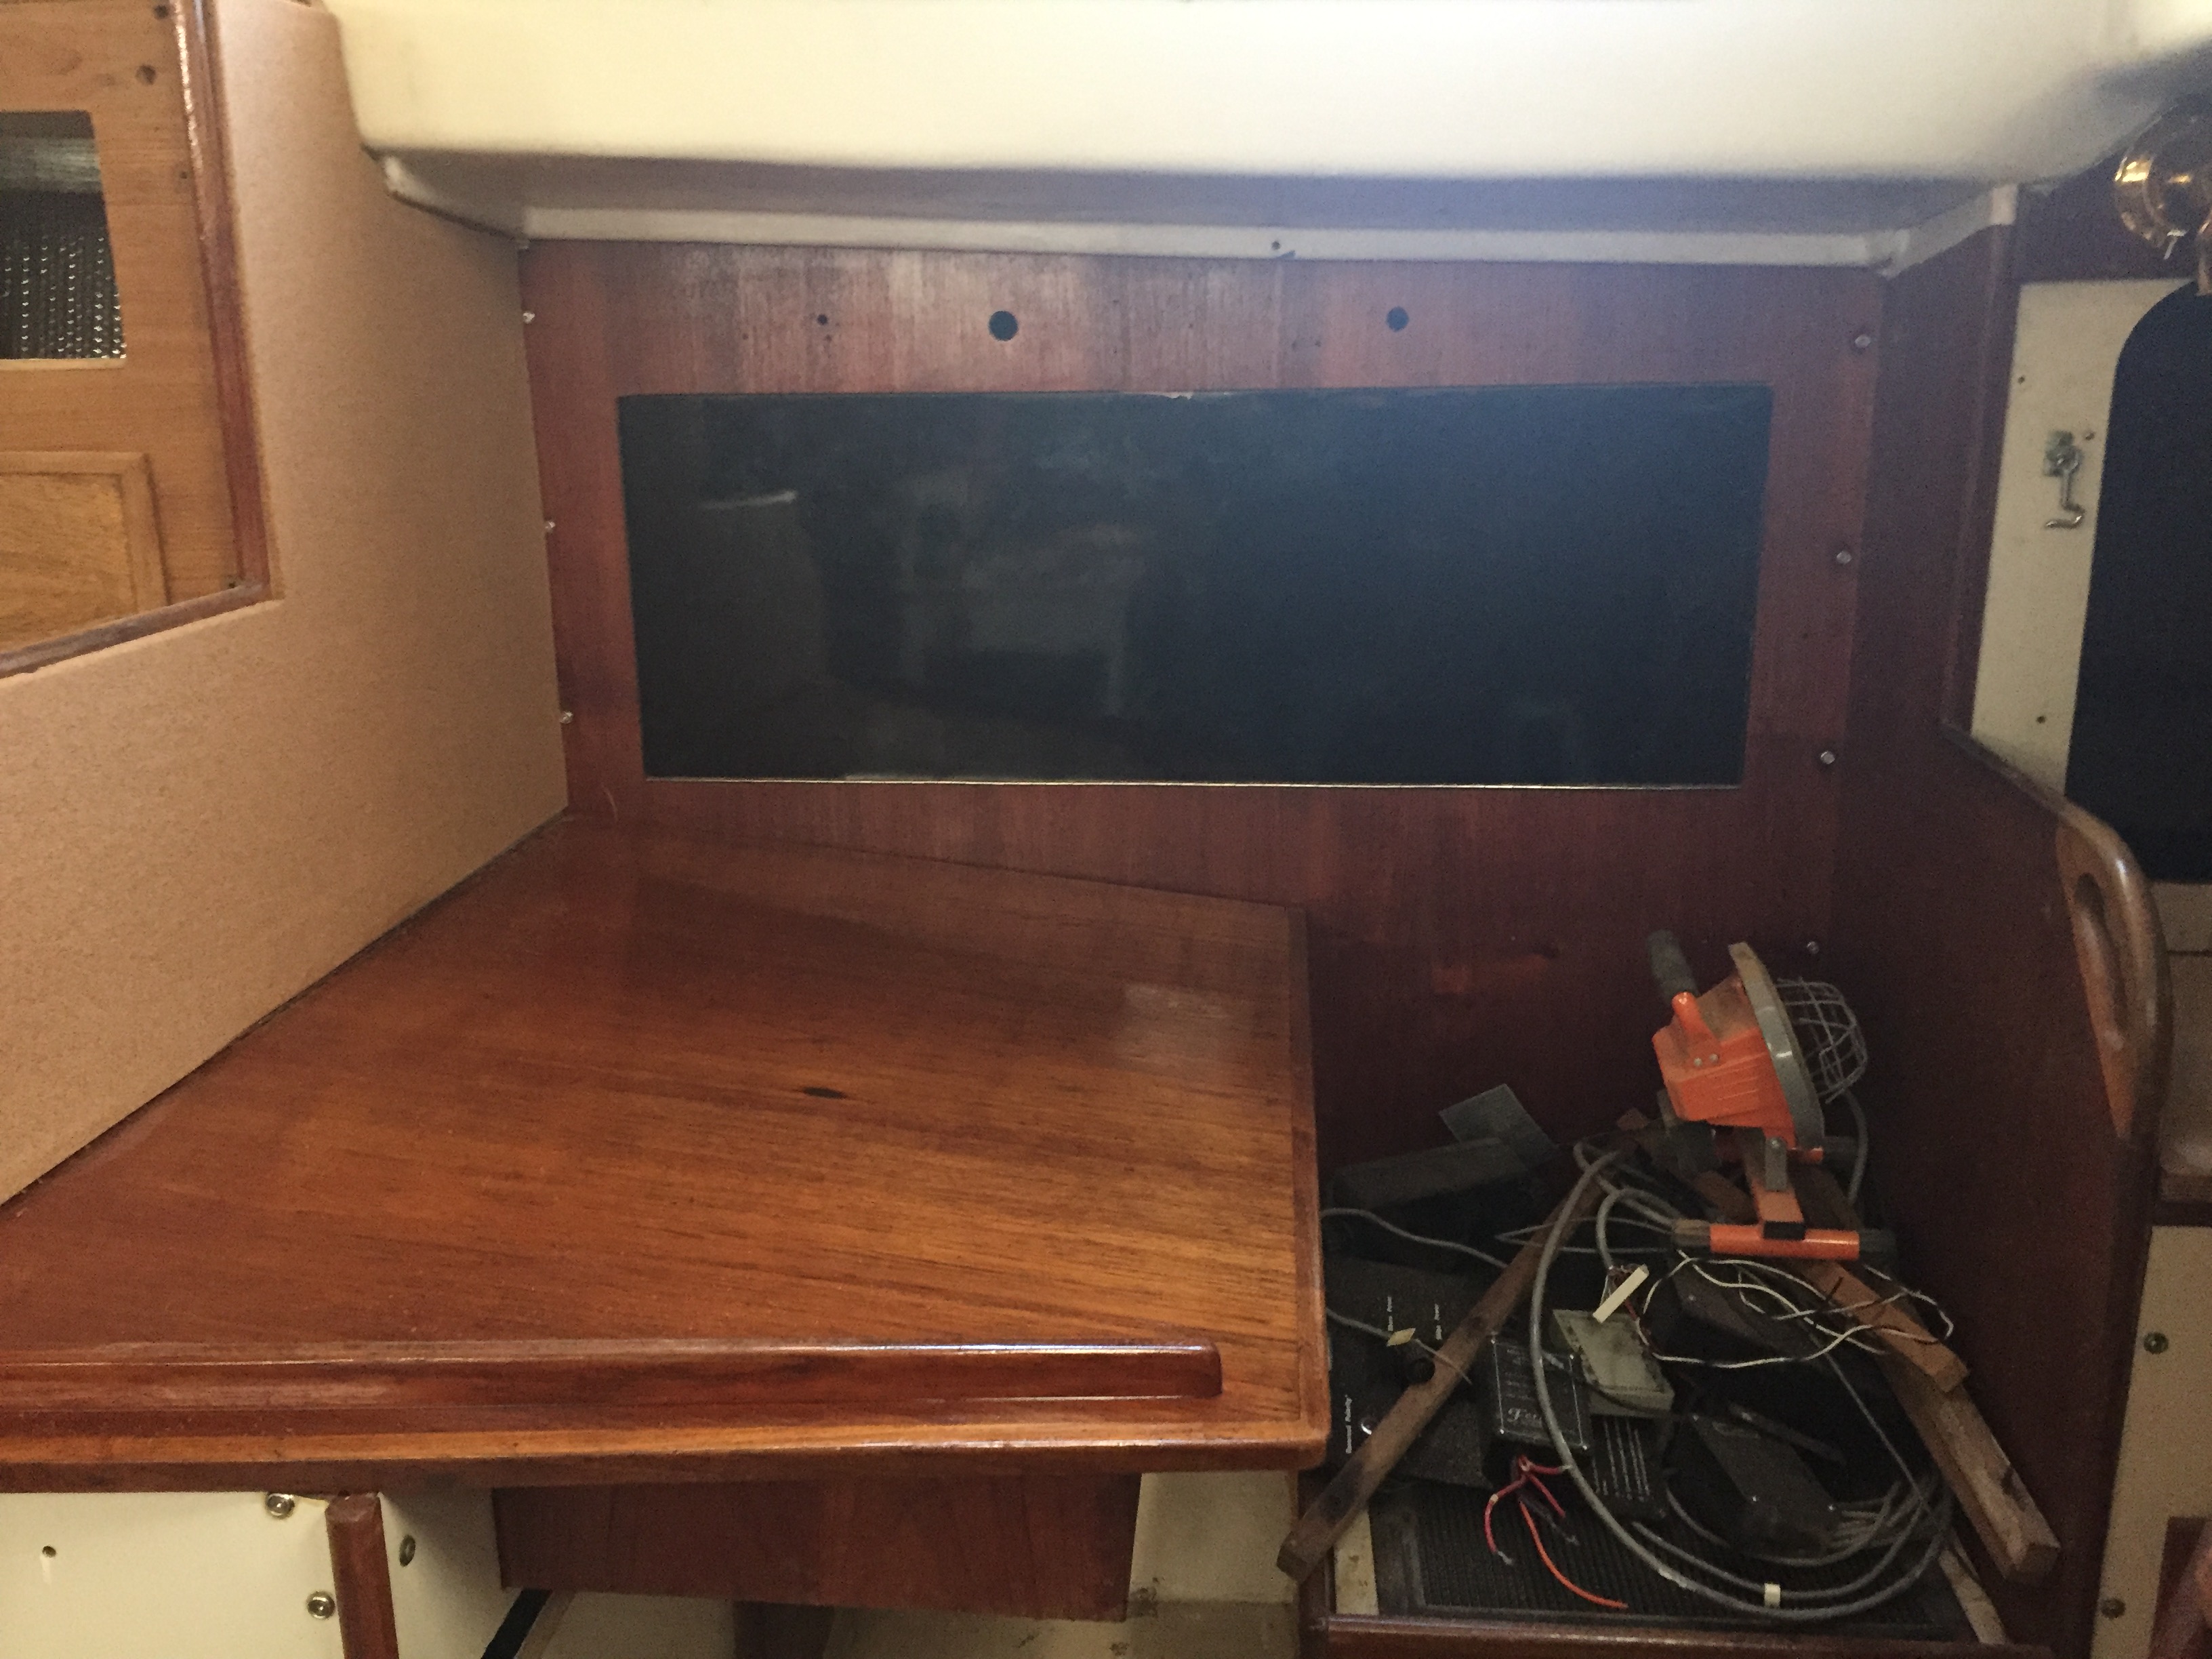
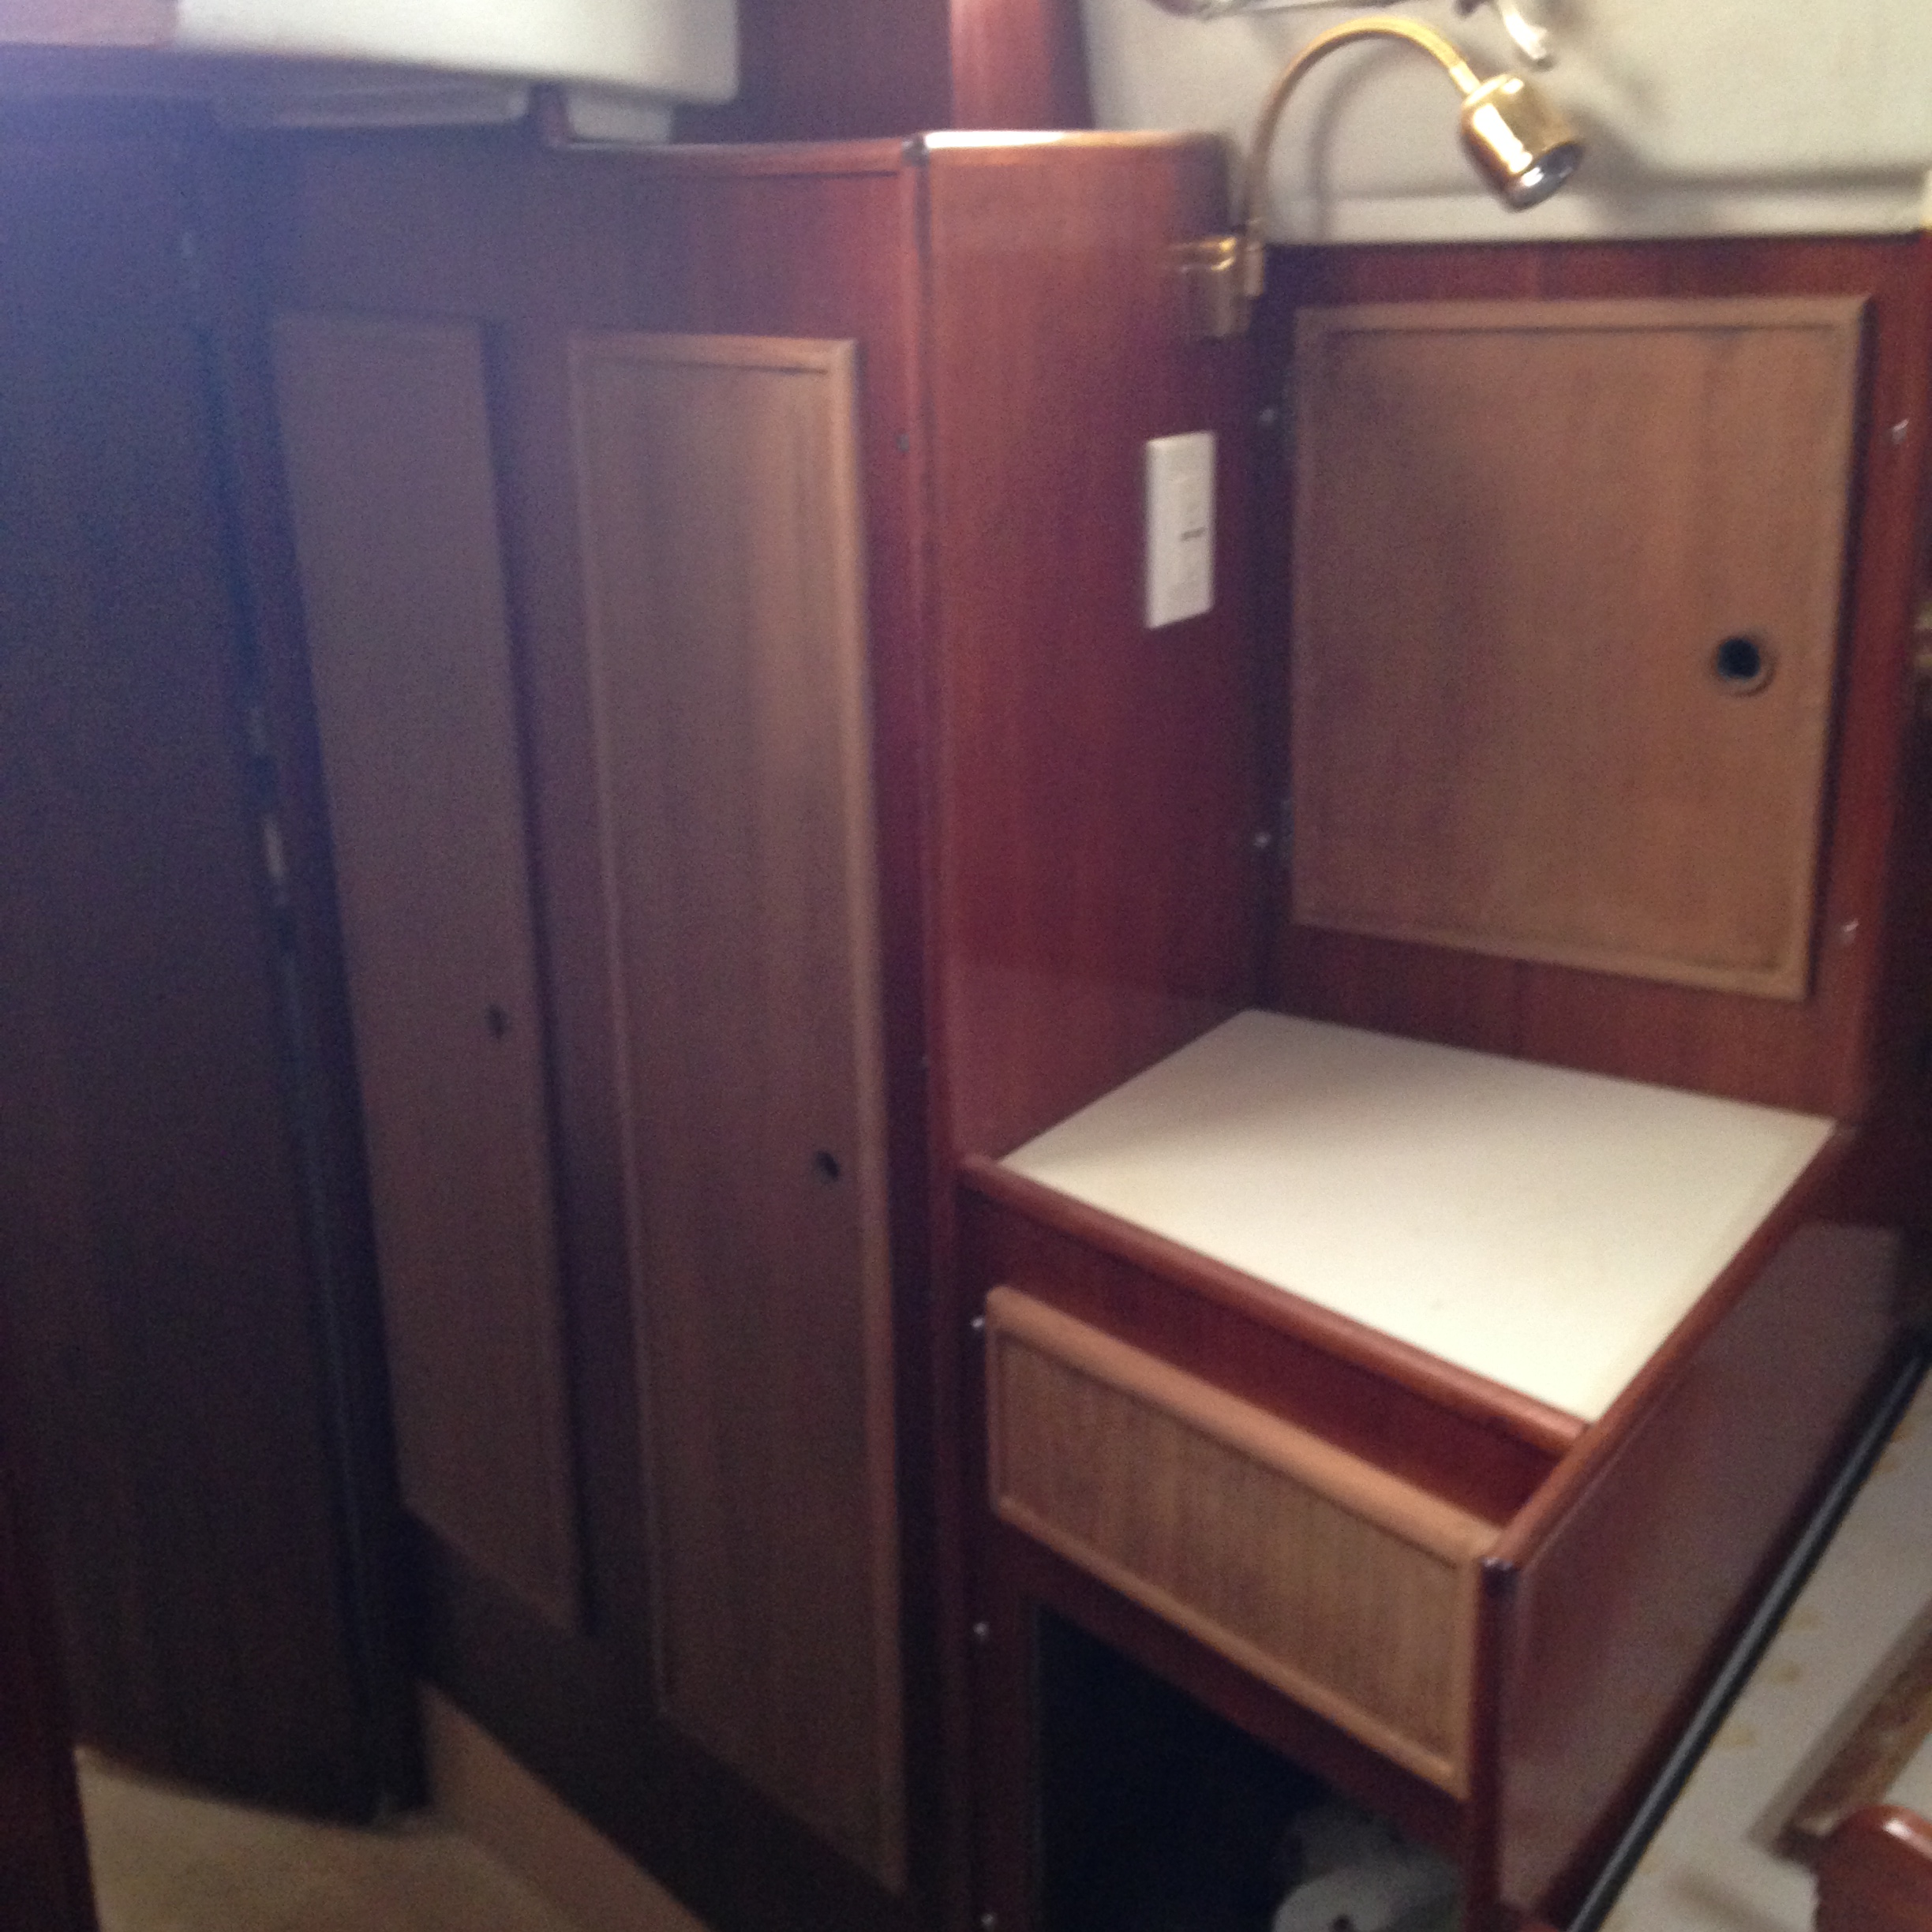
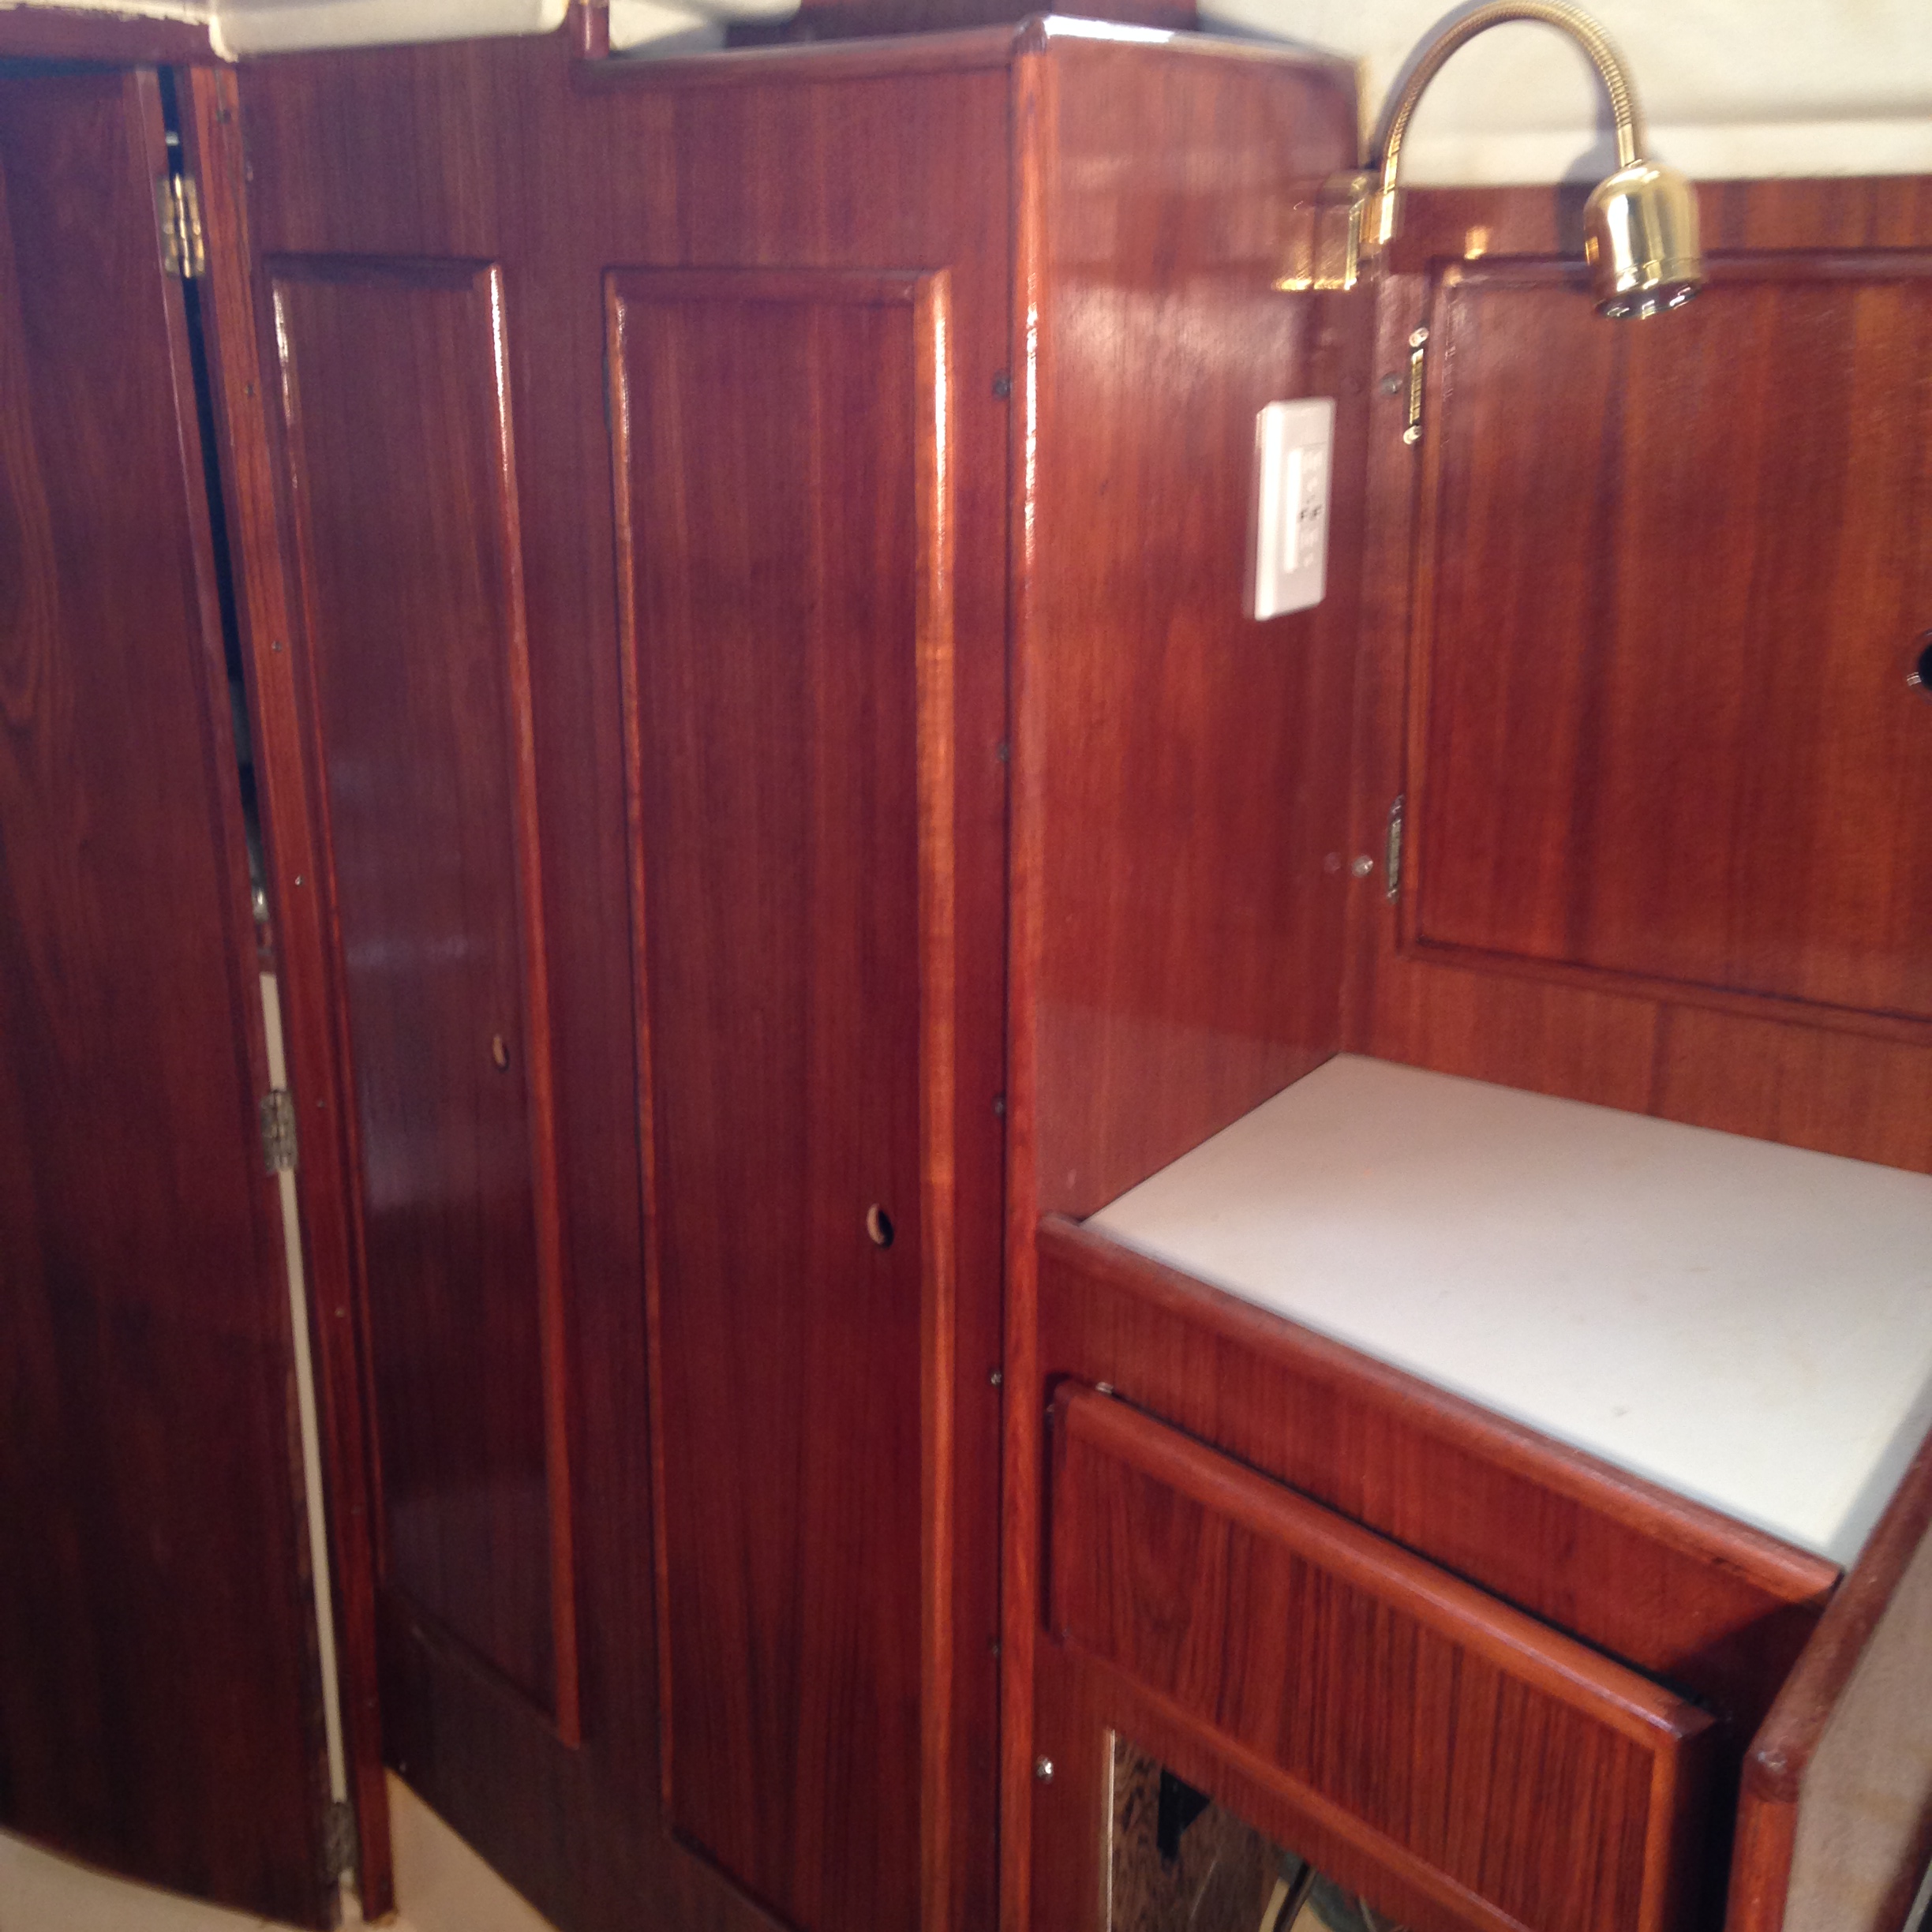
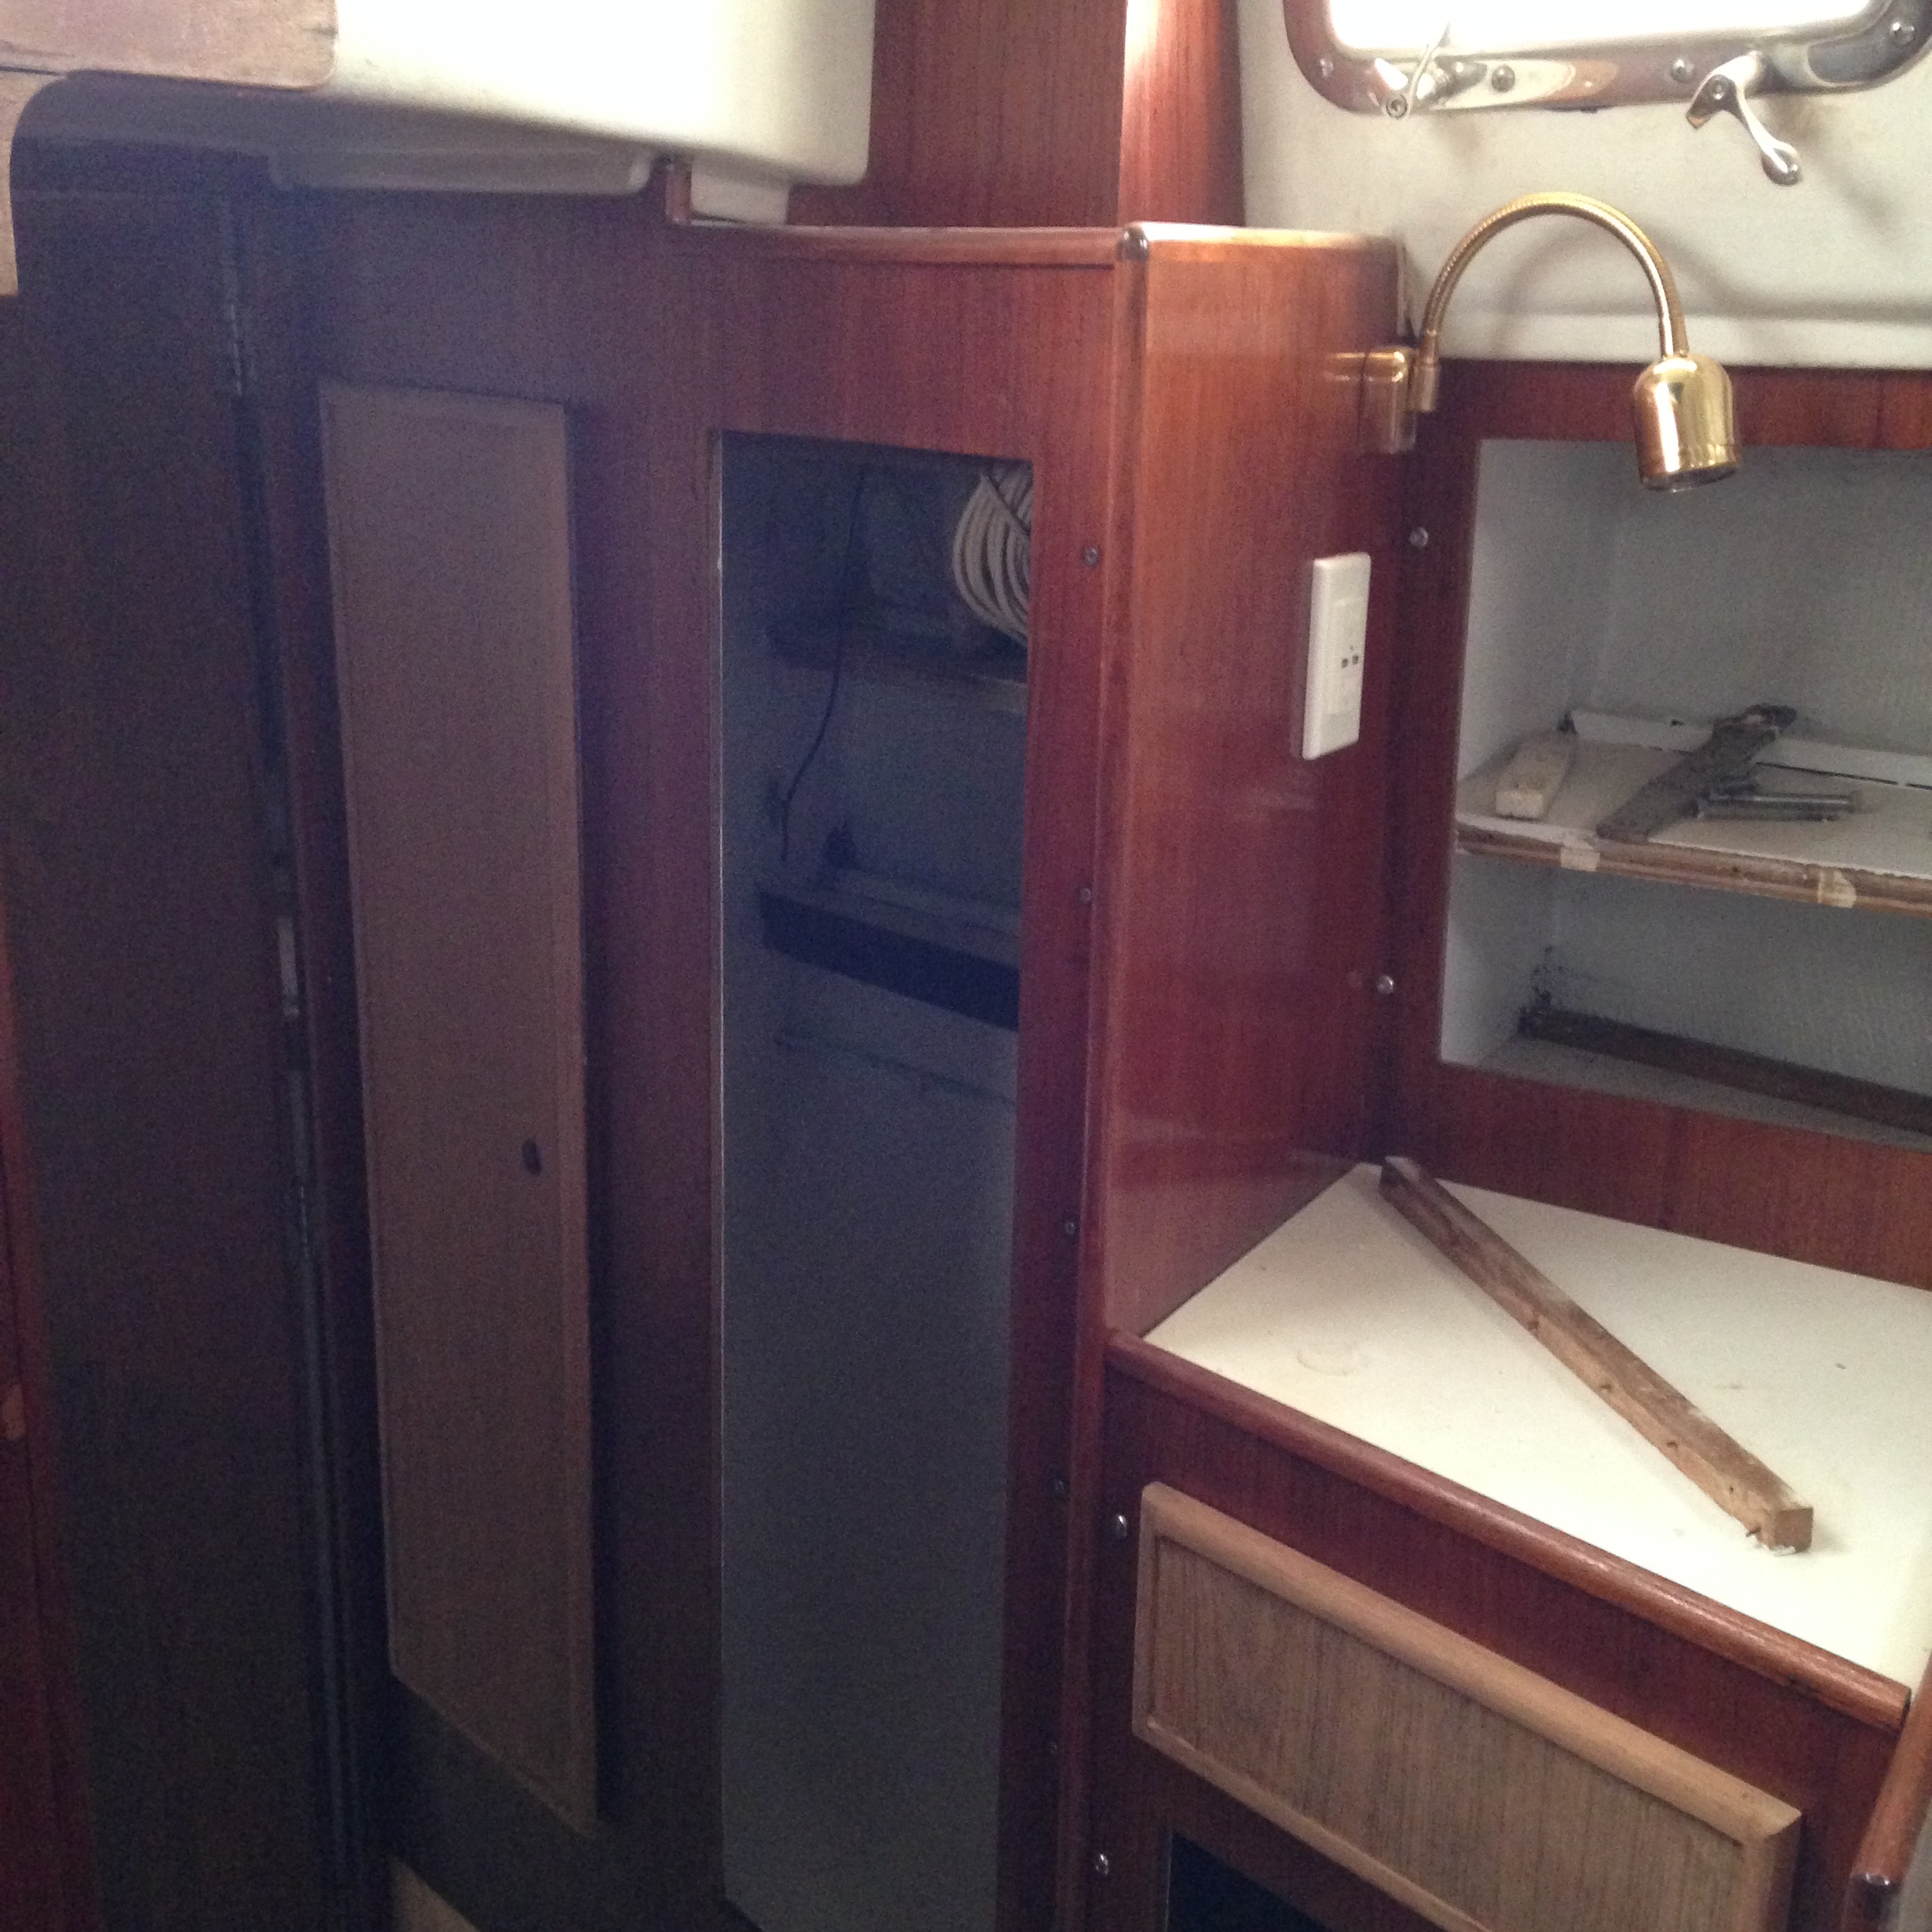
Over the holidays I glued (contact cement) arborite to the panel for the area behind where the electrical panel was, which I have planned as the new spot for the watermaker, and to the new drop down electrical panel and electronics area at the nav station. We brought these pieces with us and I installed them temporarily to ensure they fit. One did and of course one did not so I will need to do some trimming, but overall we are pleased with the black look.
Nav station – hinged electrical and electronics area.Previous electrical panel area and new watermaker location
As you can see in the picture I still need to glue arborite to the tops of the chart locker, tool storage area.
I am still not sure what the official name for this spot is, but I am inclined to just start calling it the hallway.
So all in all we had a productive day, on top of all this, the Admiral managed to get a few more pieces sanded and ready to be stained.
Our basement is slowly emptying out to the point that I was able to create a temporary workbench out of some old plywood I had on top of sawhorses and really start organizing some of the remaining straggling pieces.
I also took a closer look at the booms yesterday and discovered that both the main and the mizzen are rigged with 2 reef points set up for 1 line reefing for each point. This is a nice feature that I do not recall seeing before. On our previous ketch’s, neither had a reefable mizzen.
We are approaching another milestone here soon. We are nearing the completion of the interior wood sanding. I say we, but in reality it has been the admiral performing all the sanding and I do the installation and staining. There are 2 more doors in our basement, 3 drawers, and a bunch of trim pieces. On Akupara there are about 5 drawers, 1 door, and a bunch of trim pieces as well, but the majority of all of the wood sanding is almost done. That was a gigantic job! When it is complete, we will need to move on to sanding of the liner in preparation for new paint and of course the multiple sandings of the deck.
I have begun designing the layout of the navigation station. Of course I really can only design the layout of the instruments and the electrical panel as the actual layout of the furniture is already predetermined.
It got me to thinking of course, what do I need, want, wish to have in the nav station area? Do I want to keep it modern and only have electronics or do I want to go a little retro and include my sextant. All of these questions has led to a list of things and a first drawing of possible layout. The list thus far is:
Pencils, pens, Ship’s Log, Handheld VHF, mounted vhf, charting tools, charts, GPS and plotter, clock, barometer, electrical panel, stereo, quick reference cards, binoculars, sextant, hand bearing compass, notepad, laptop, SSB, depth finder, 2m VHF, EPIRB, SPOT, shortwave radio, weatherfax or printer for laptop, Pactor modem, radar, and engine instruments.
I am sure I am forgetting things but at least I have a starting point. The trouble comes in the layout. On some of our previous boats the placement of some of the electronics made it difficult to operate the dials and or buttons, but having everything directly in front of your face within an easy arms reach is not possible either. And when designing the layout I need to be aware of screen brightness so that one device does not outshine another etc.
I like to think of the Nav Station as the Man Cave. It is command central and everything, within reason, on the ship should be controllable and or capable of being monitored from command central. I should be able to glance at it and know the ships status in a few moments. I hate having to call around for reports from different areas in order to complete the log entries. Yelling to the helm, what is the engine temp and oil pressure. Yelling to the main salon bulkhead, what is the barometric pressure, yelling to the foredeck, are the nav lights on, yelling to the helm, what’s our course, and on and on. All of this information should be within arms reach for whoever is completing the log entry. At least that is my opinion.
So, back to drawing pictures and adding to my list.
Ahhh the life of a boater, if you are not working on it, designing something for it, thinking about how to improve something, repairing something, cleaning something, scrubbing, sanding, staining, drilling, filling, painting, scraping, dreaming, wishing, hoping or planning. You might actually get a chance to sail! But look at the time, can’t go sailing today, gotta go back to work to pay for all of this fun. 😉
If your boat is in the water, remember to schedule some time to enjoy it as well as all of the fixing!
I am going to stand on my soapbox for a minute. As opposed to all of the other times I have as well. We live in a disposable society. We buy things and when we get tired of them we throw them away and our landfills are overflowing. I have heard it said that there is not a beach left in the world that does not have traces of human garbage washed ashore. We are all responsible for this. We say that our generation is leading the way in recycling but we are fooling ourselves. Our grandparents were the ones who recycled. My grandmother as an example used to wash out the plastic bags that milk came in and hang them over the sink on a little line to dry. She would then use them to freeze leftovers in. This was before the days of ziplock baggies. Food was preserved in glass jars and stowed away in a cold cellar that did not require any electricity. The farther back in history you go, the more recycling you discover. Things were simply to expensive to throw them out. We have this all wrong. If we want to make a positive impact, stop buying new things. Find creative ways to use the stuff you already have, and when it isn’t as shiny and new as it was when you bought it, find another use for it. If it is a little worn, turn it into something else, and when that wears away, use the leftovers again.
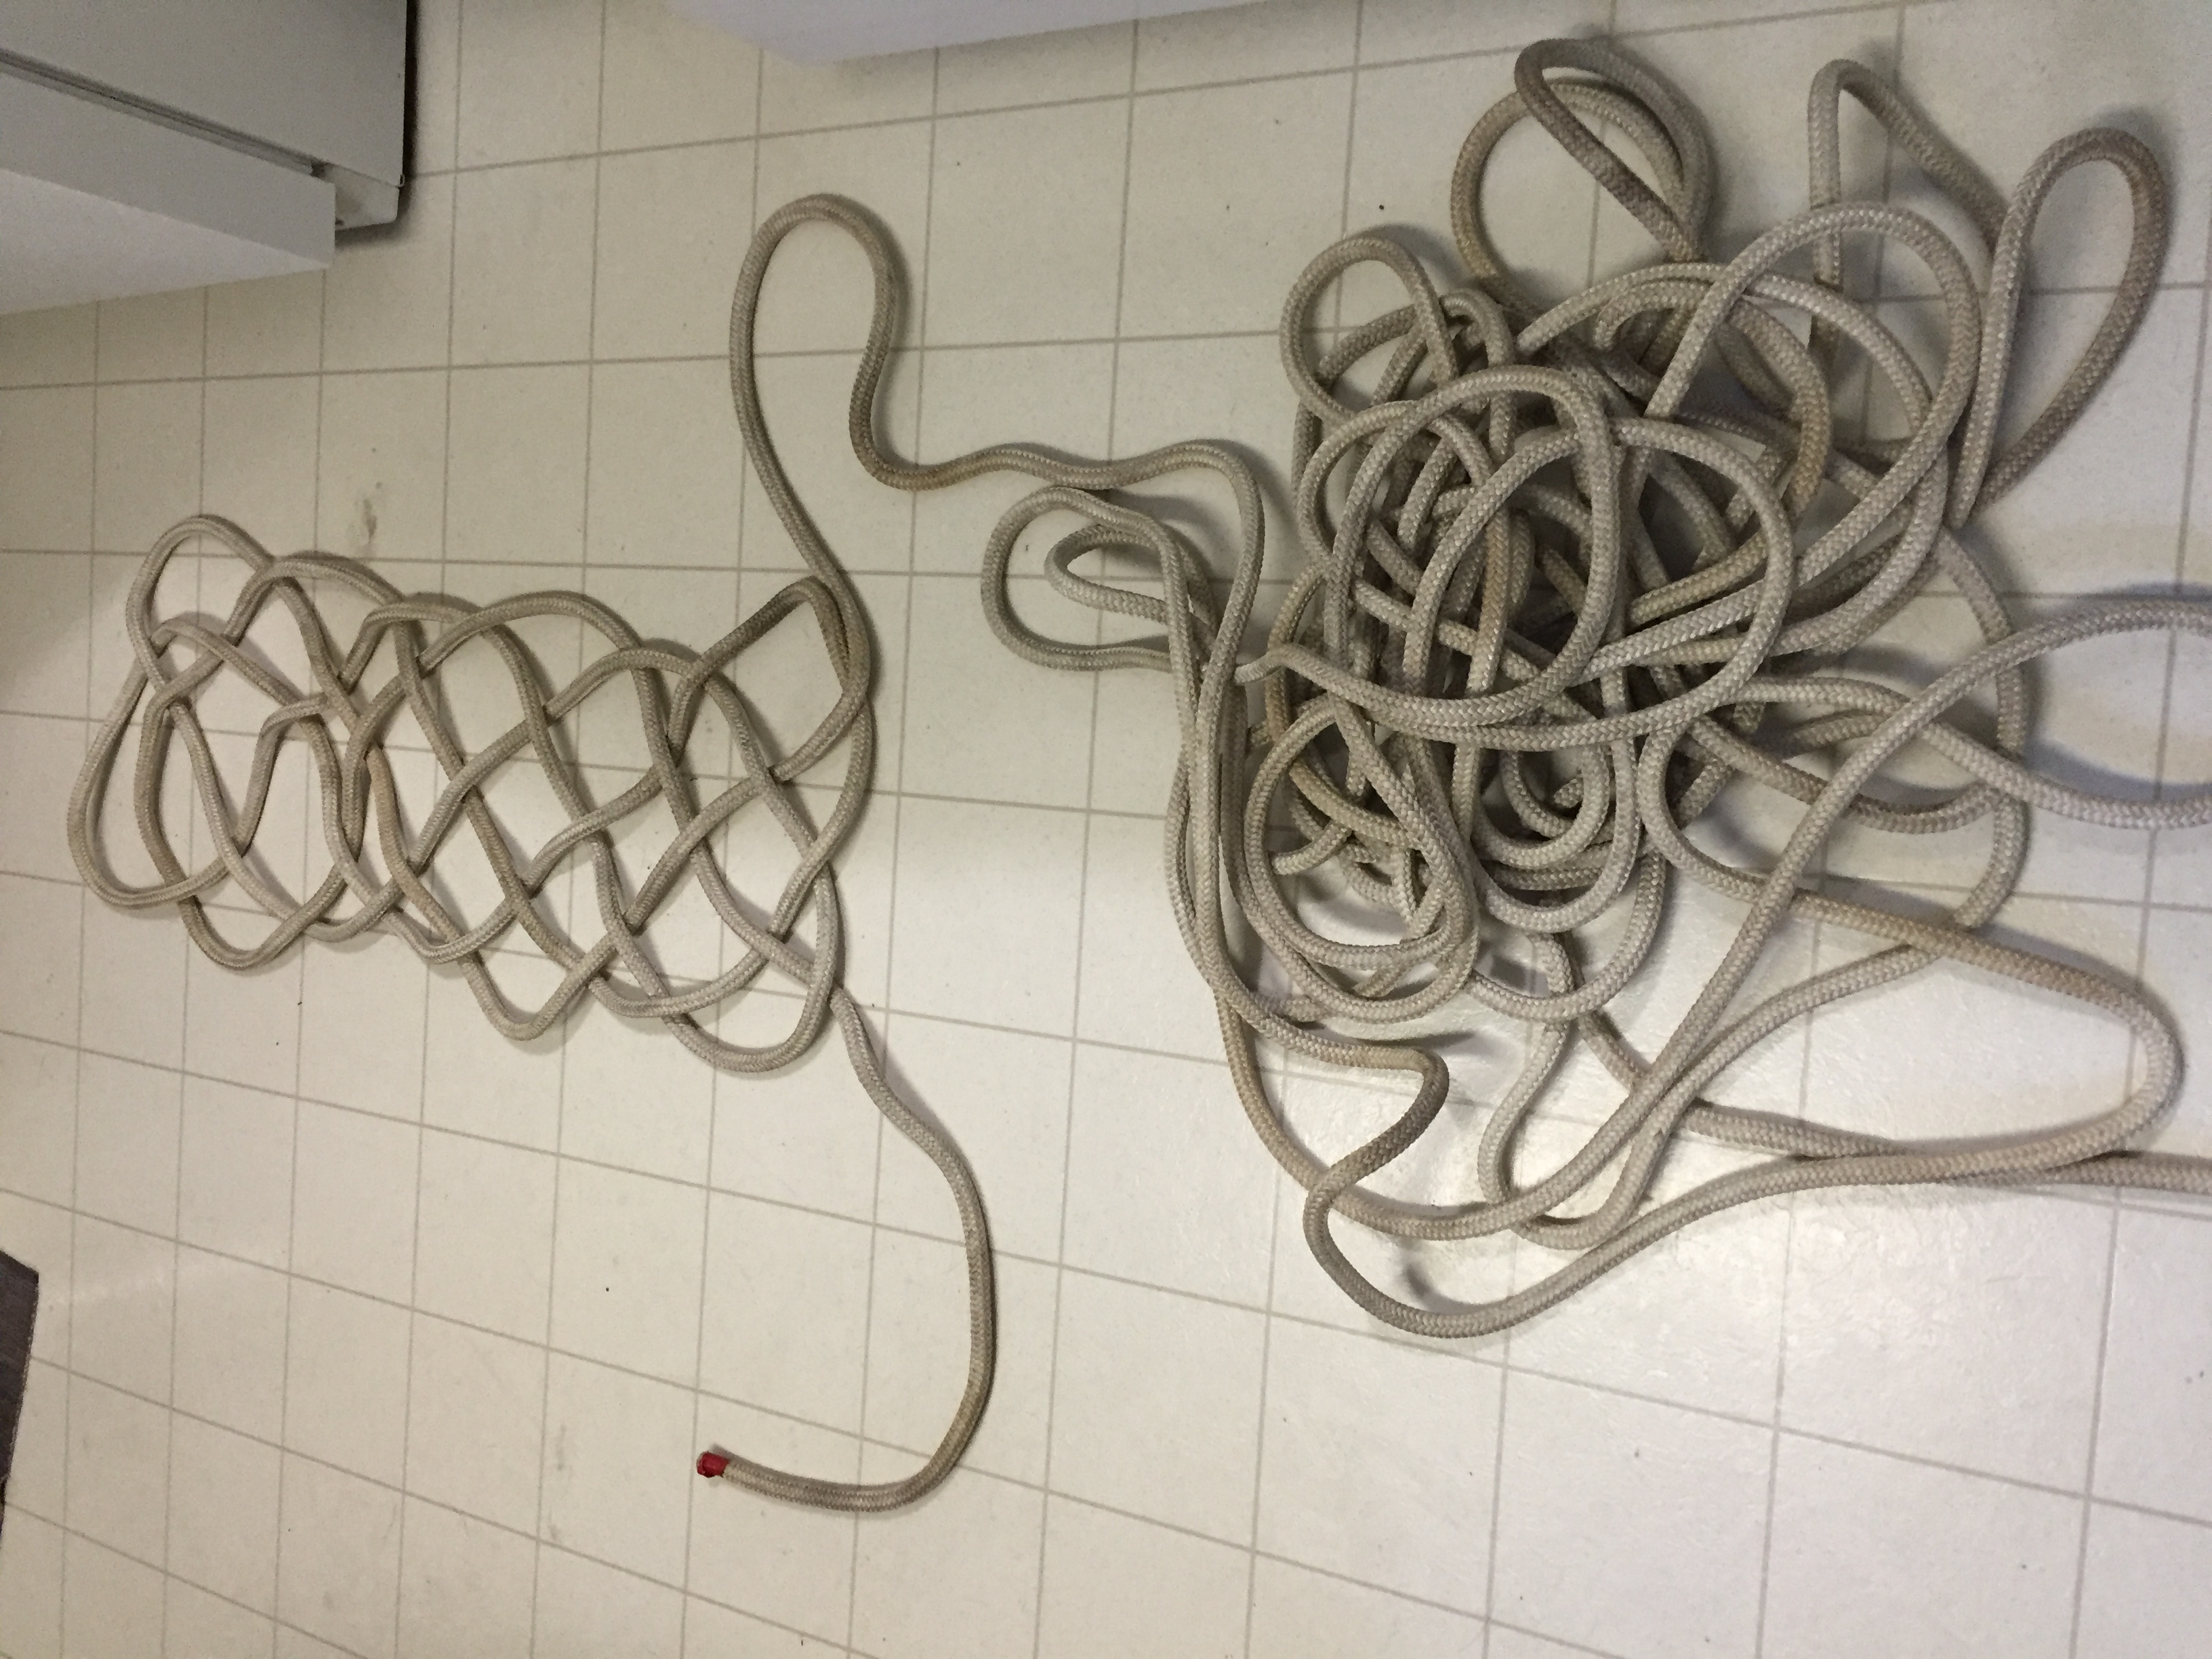
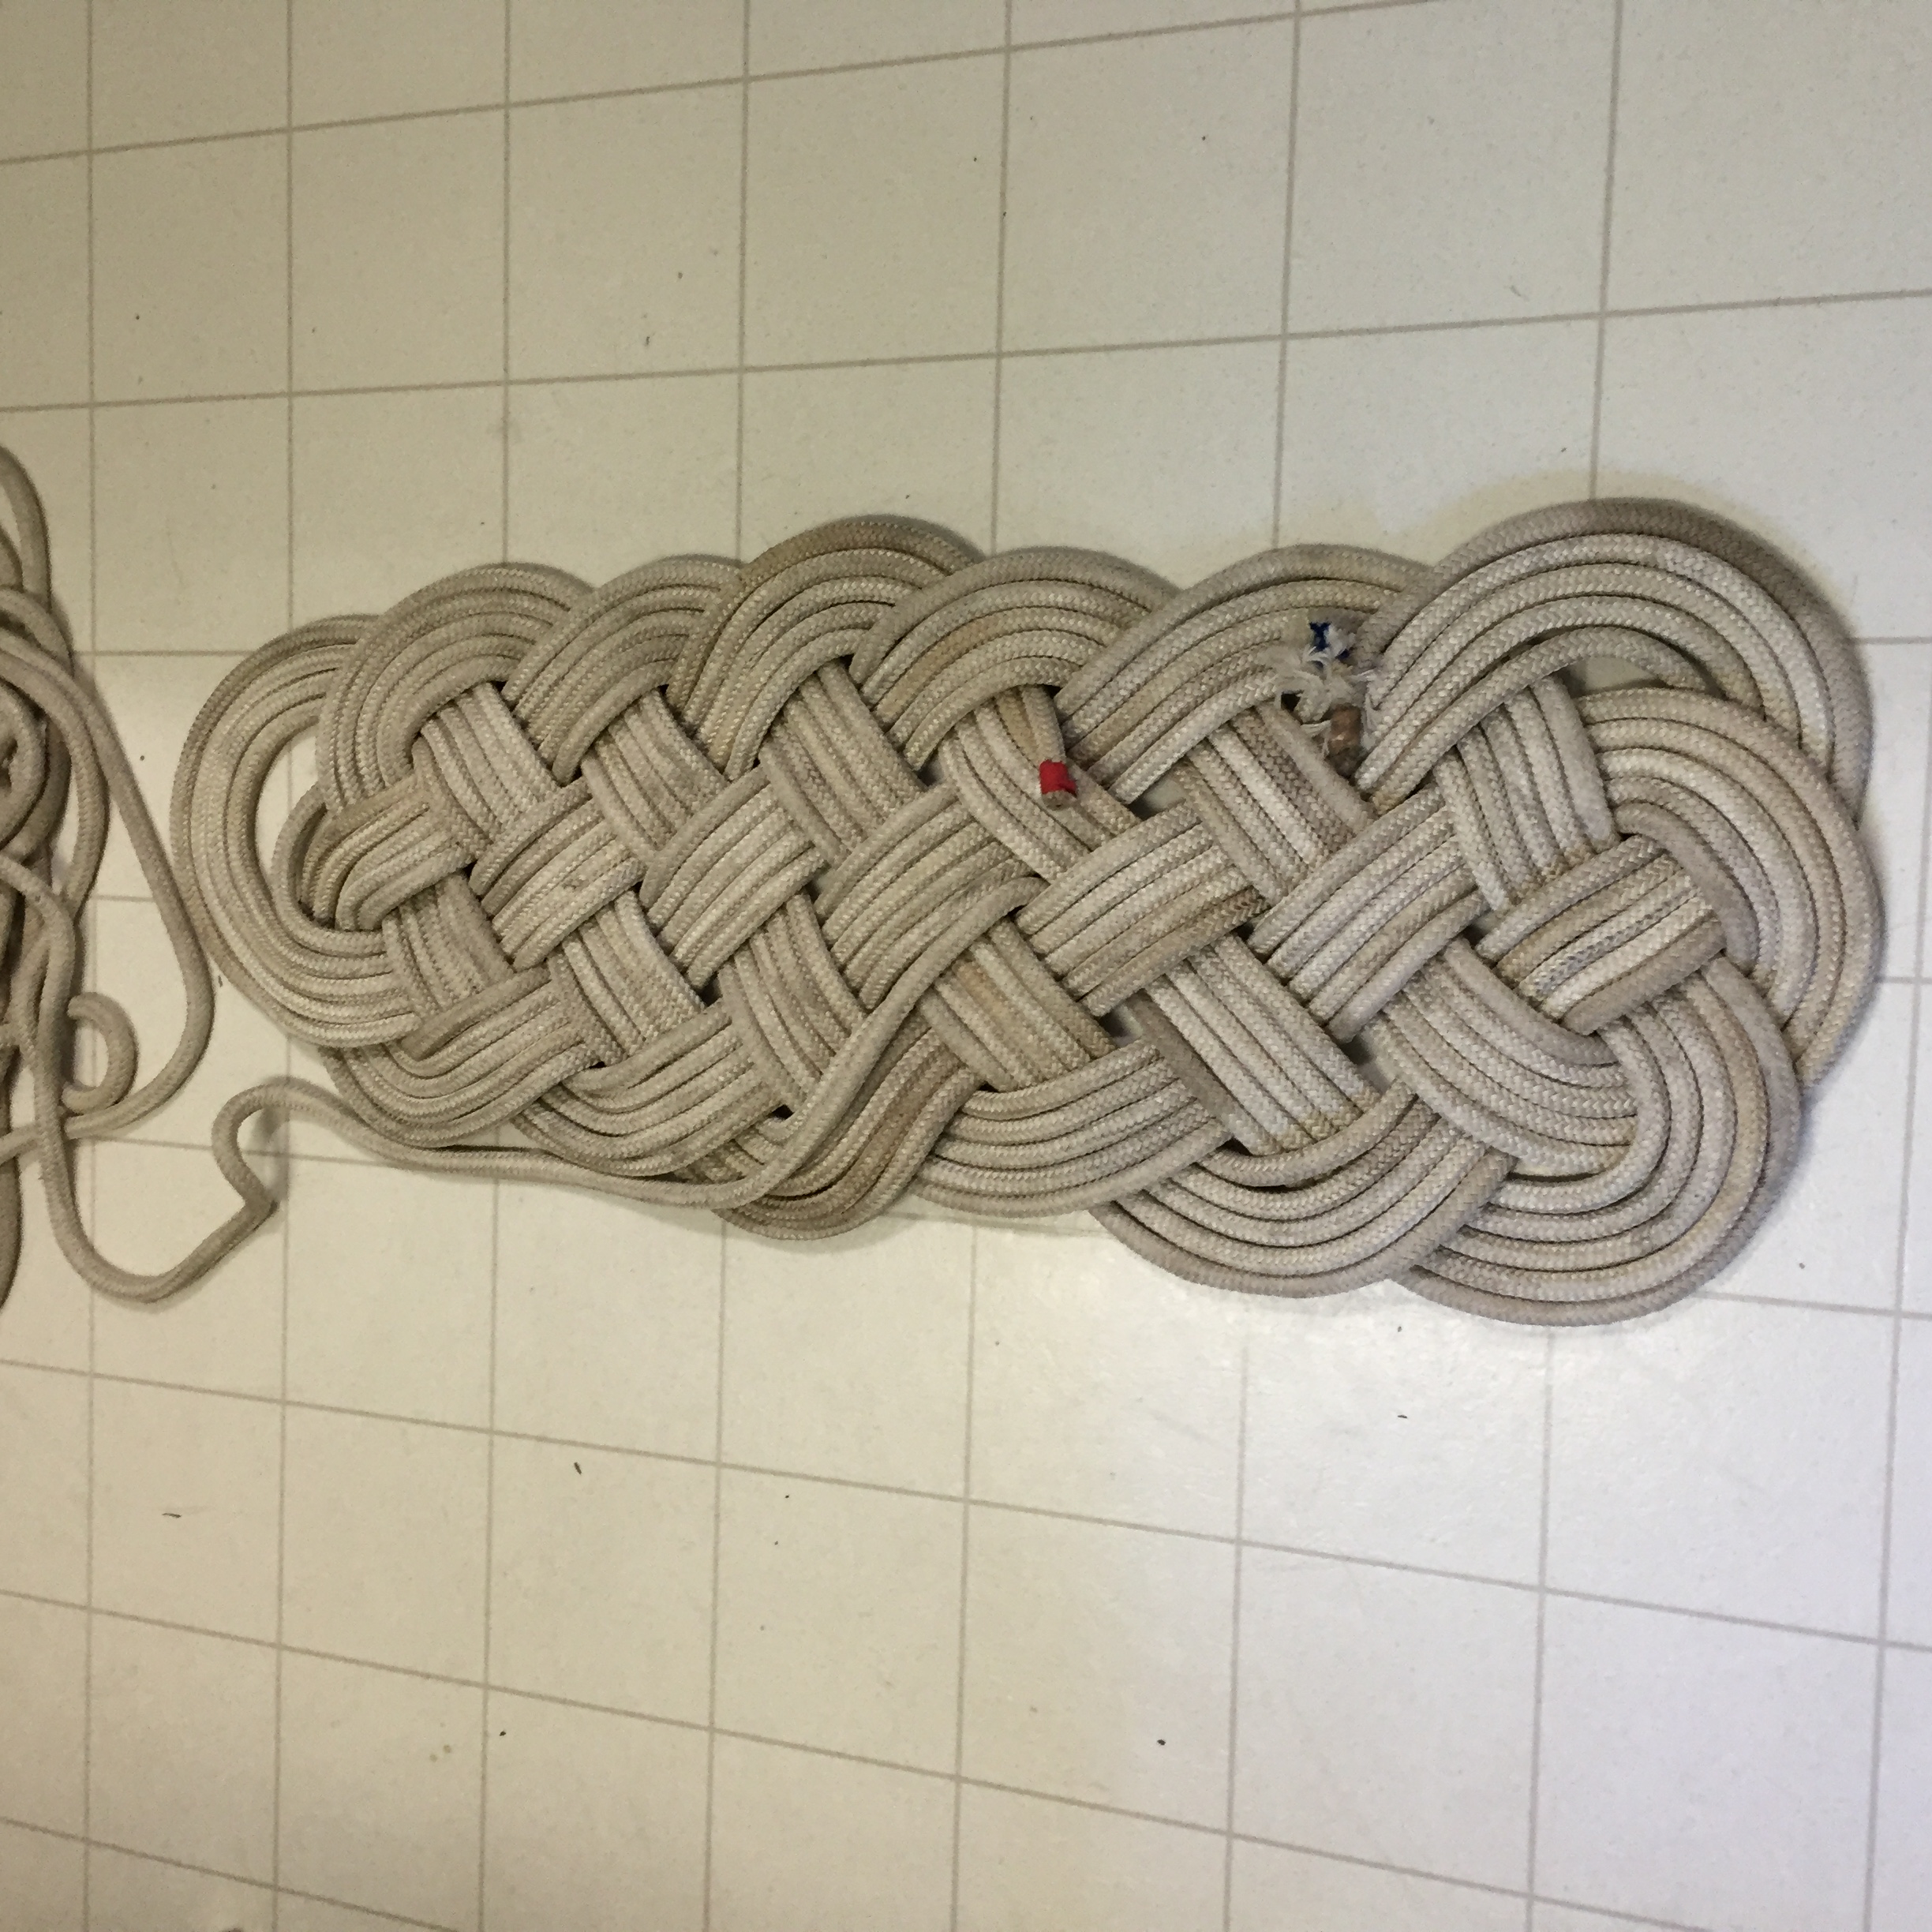
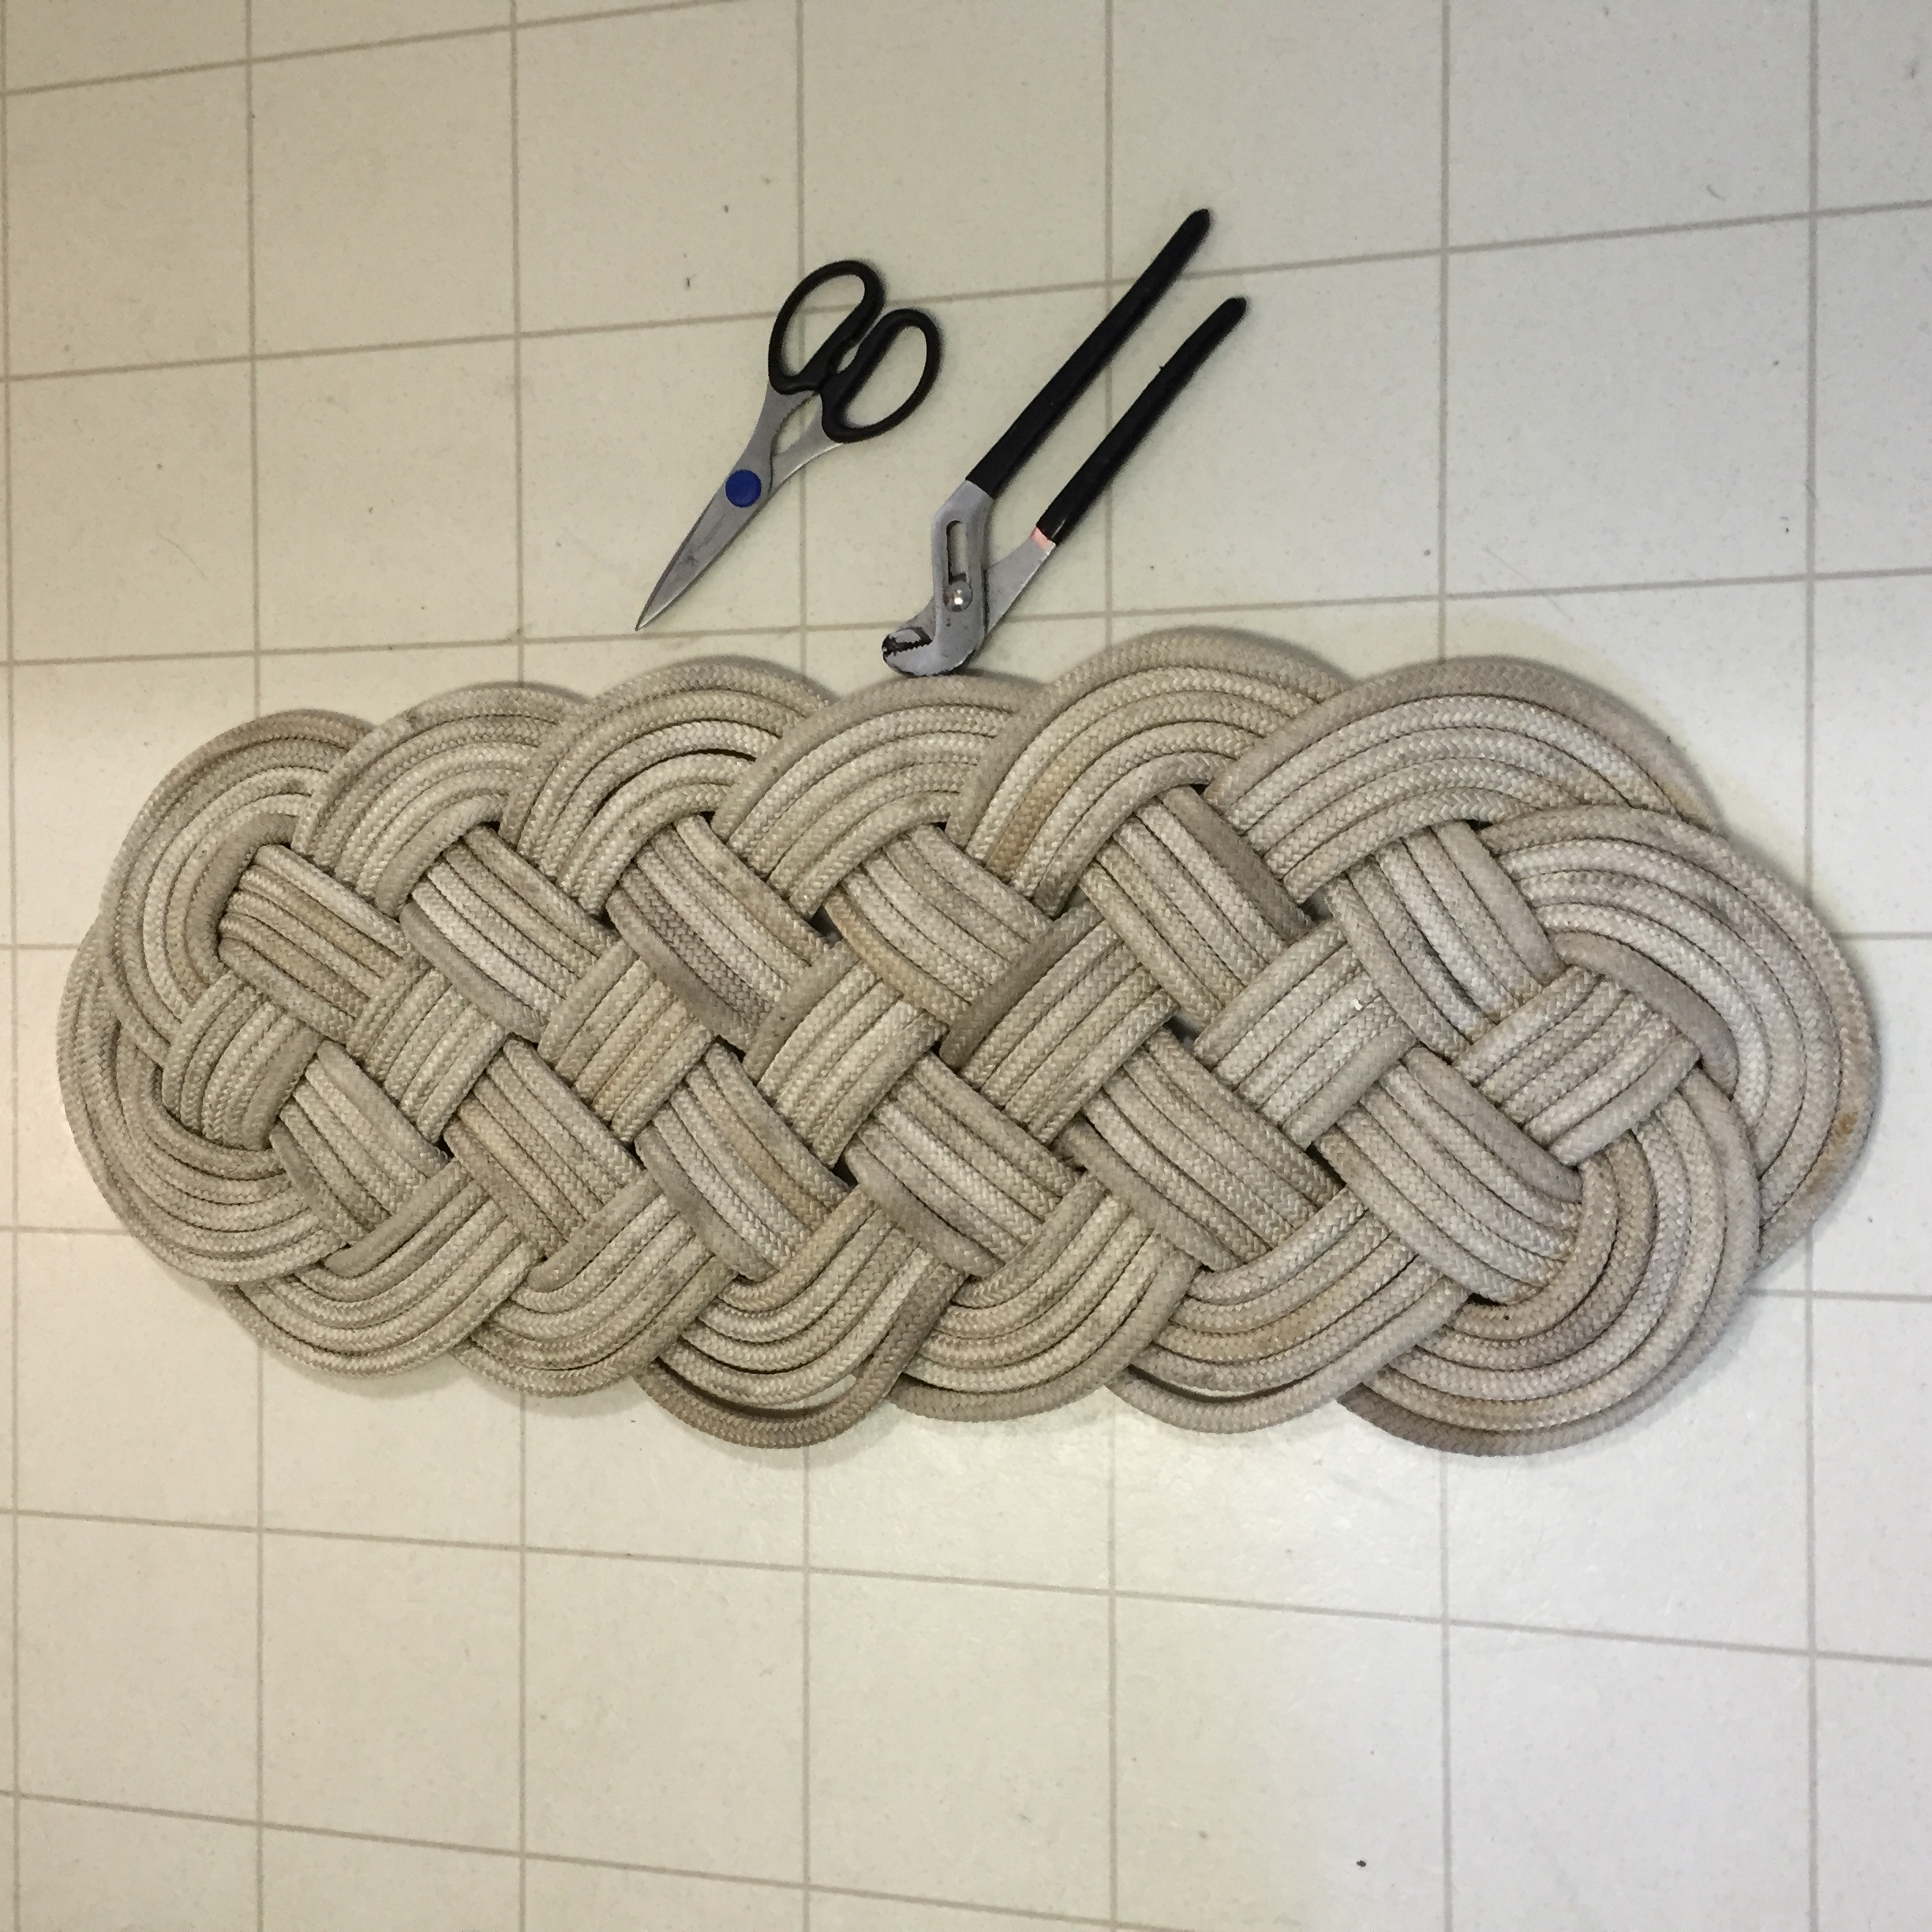
Okay, enough preaching. We have about 16 miles of used rope that came with Akupara. Of course all of it needs to be replaced as it is sun beaten, dirty, frayed and in some cases down right dangerous. And yet we dragged all 16 miles of it home and piled it up in the basement. Why? Because I have another use for it that’s why!
I spent 3 hours today on the kitchen floor, repurposing that old rope, and now we have 2 nice mats for Akupara. Not only do we have mats, but I also contributed to saving the planet a little bit by not going out and buying a fancy dancy Welcome mat from the nearest nautical jewellery store made most likely out of plastic. Ya they may not be perfectly white, and they may take a little while to soften out but, they make great mats! I mean come on, you wipe your shoes on them anyway!
So, my advice. Take 3 hours of your day and use those old sheets that were destined for the back of the rope locker only to be eventually thrown away and make something nice with them. You will be practicing skills that sailors have used for hundreds of years, you will gain a sense of accomplishment, you will end up with something useable, and you will save a little bit of room in the landfill.
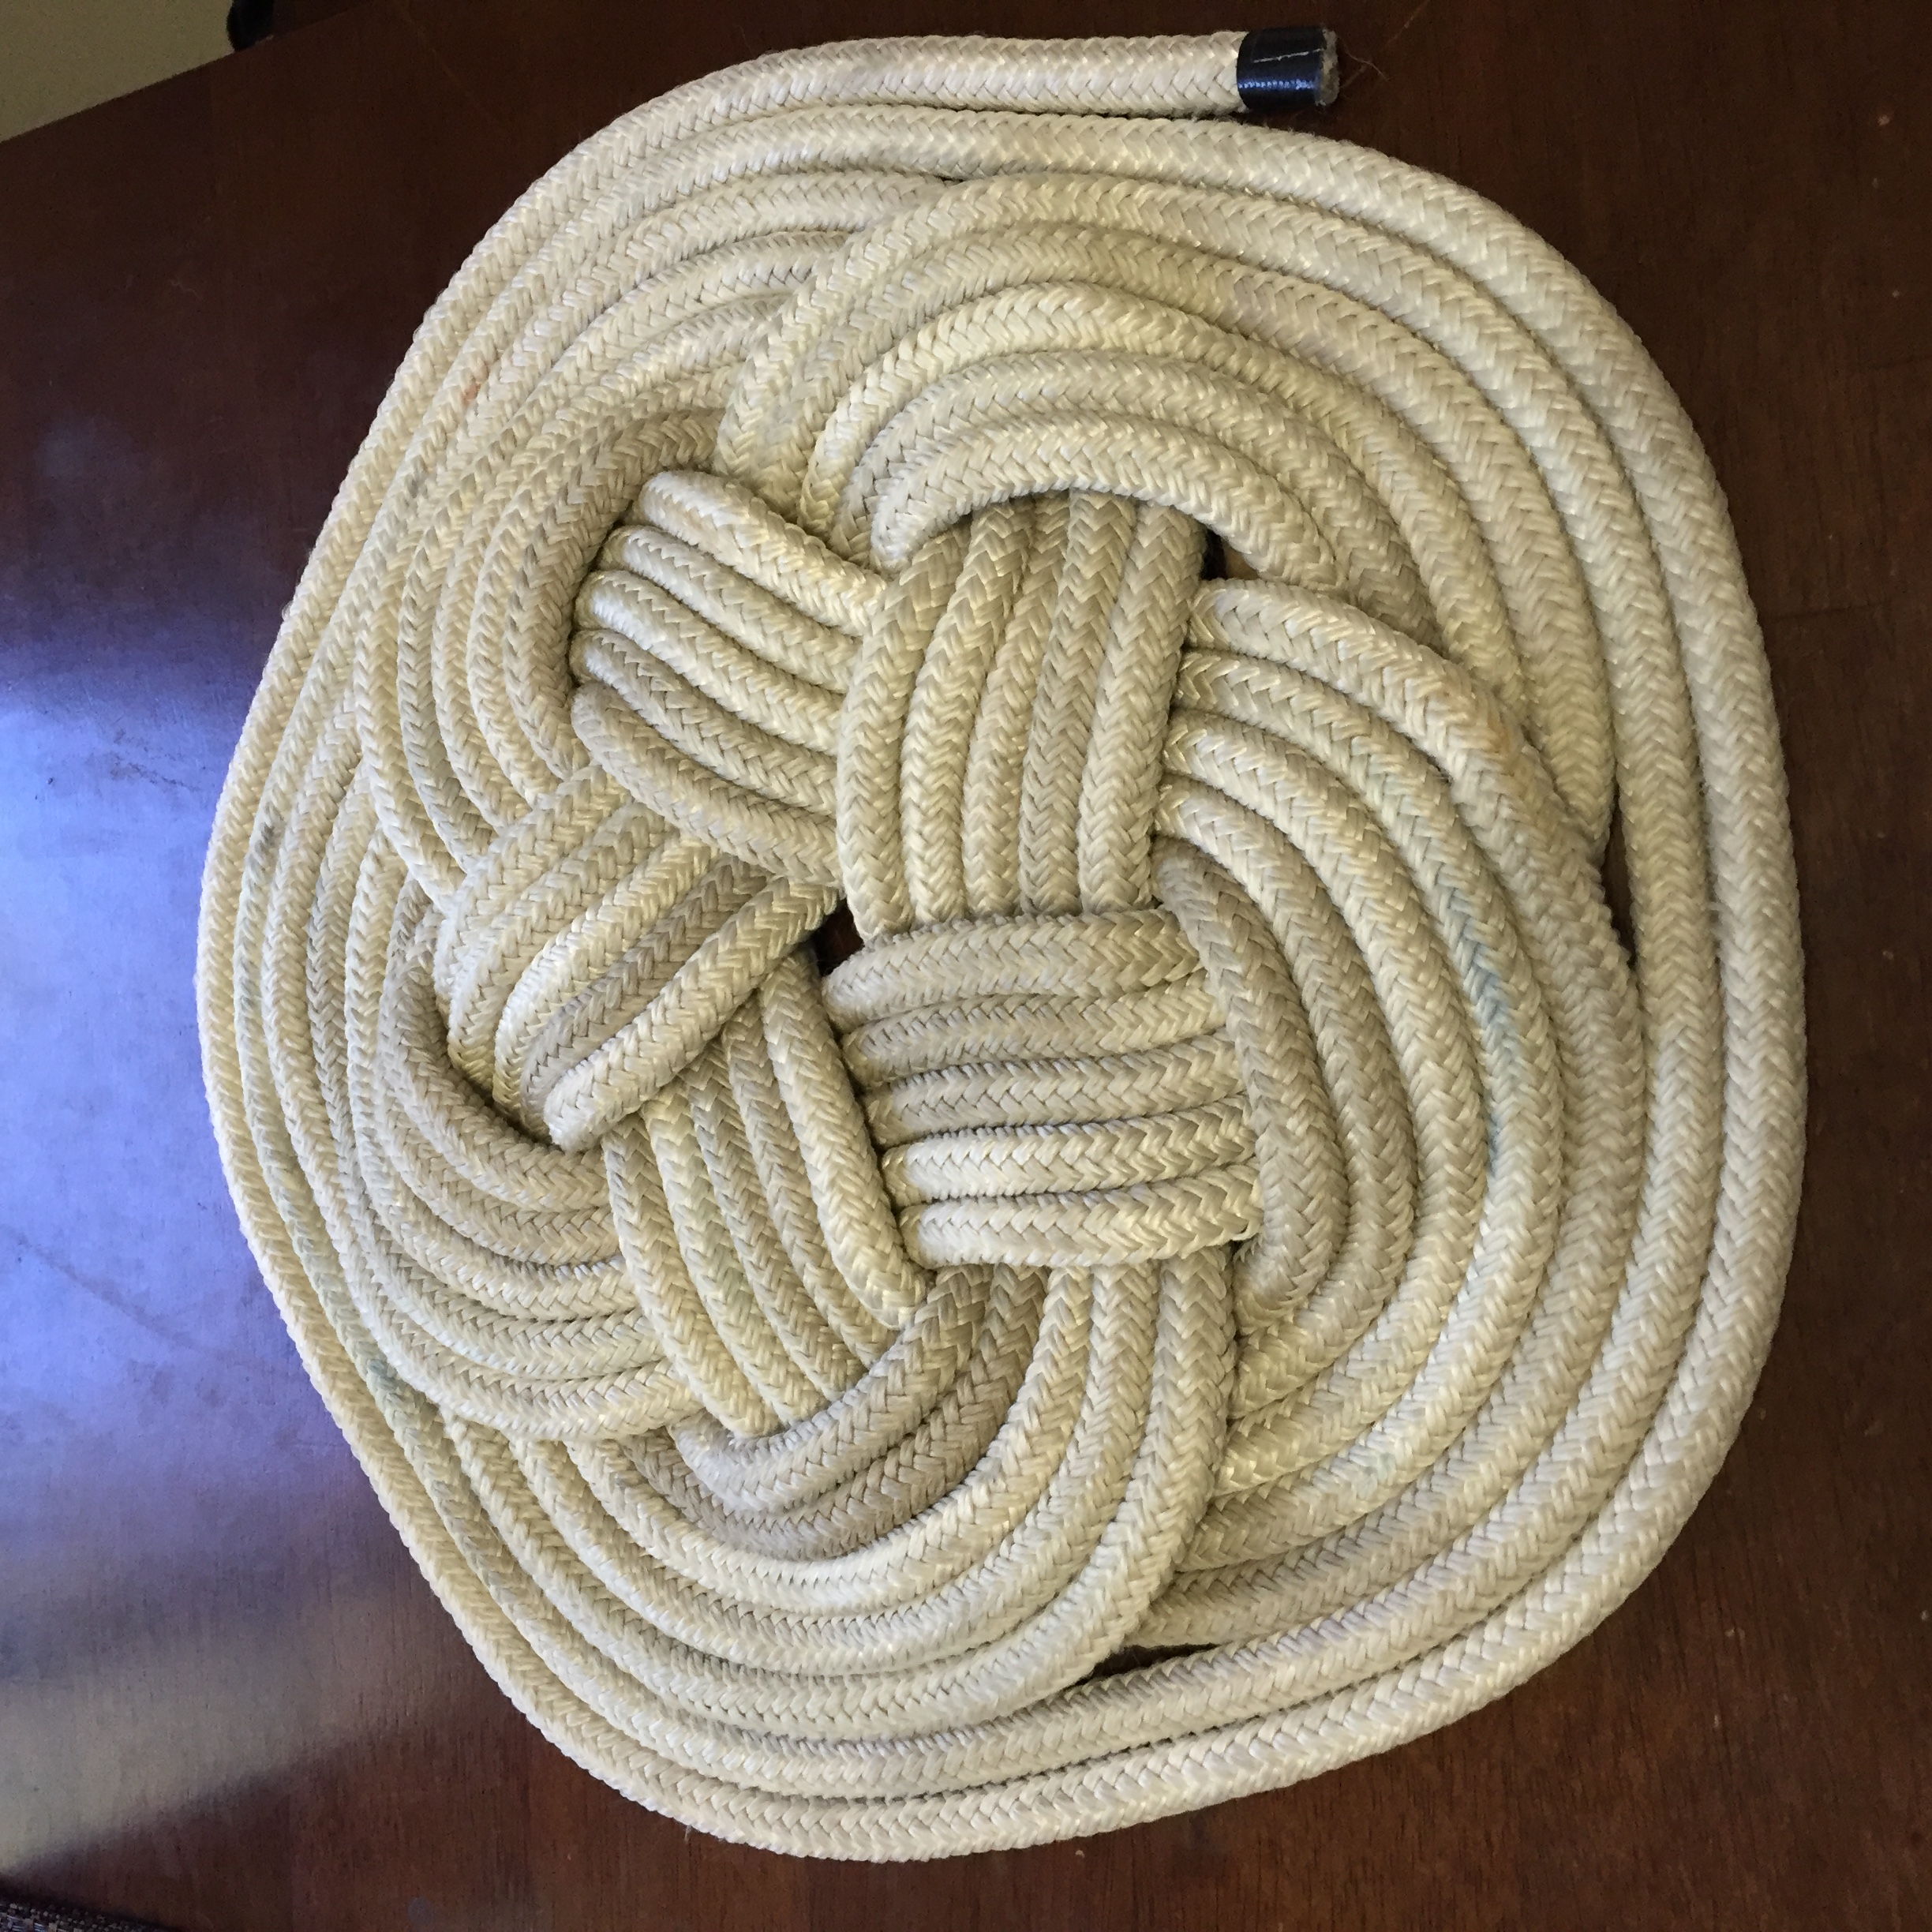
Mats from Old sheetsRopeworkTightening the mat4′ mat for the hallwayAnd from the leftover rope from the big mat, I made a 16′ flat turk’s head mat
Or if you really don’t want to be bothered, but you like the idea, send me your old sheets and I will make them for you, for a small fee of course. That way you will feel better because you spent some money. 😉
After taking these pictures I put both mats in the bathtub and they are soaking in dishsoap and javex to give them a good cleaning.
Have you ever started searching a particular thing, I don’t know, like Arborite as an example, and after a significant amount of time has passed you come out of your daze and realize that you have been watching videos of cats and cucumbers or something stupid. There is no science that can explain the rabbit hole phenomena, it is beyond the comprehension of mere mortals and nevertheless, even though we are fully aware of the possibility of getting sucked into the vortex every time we open our computer, we still end up getting trapped.
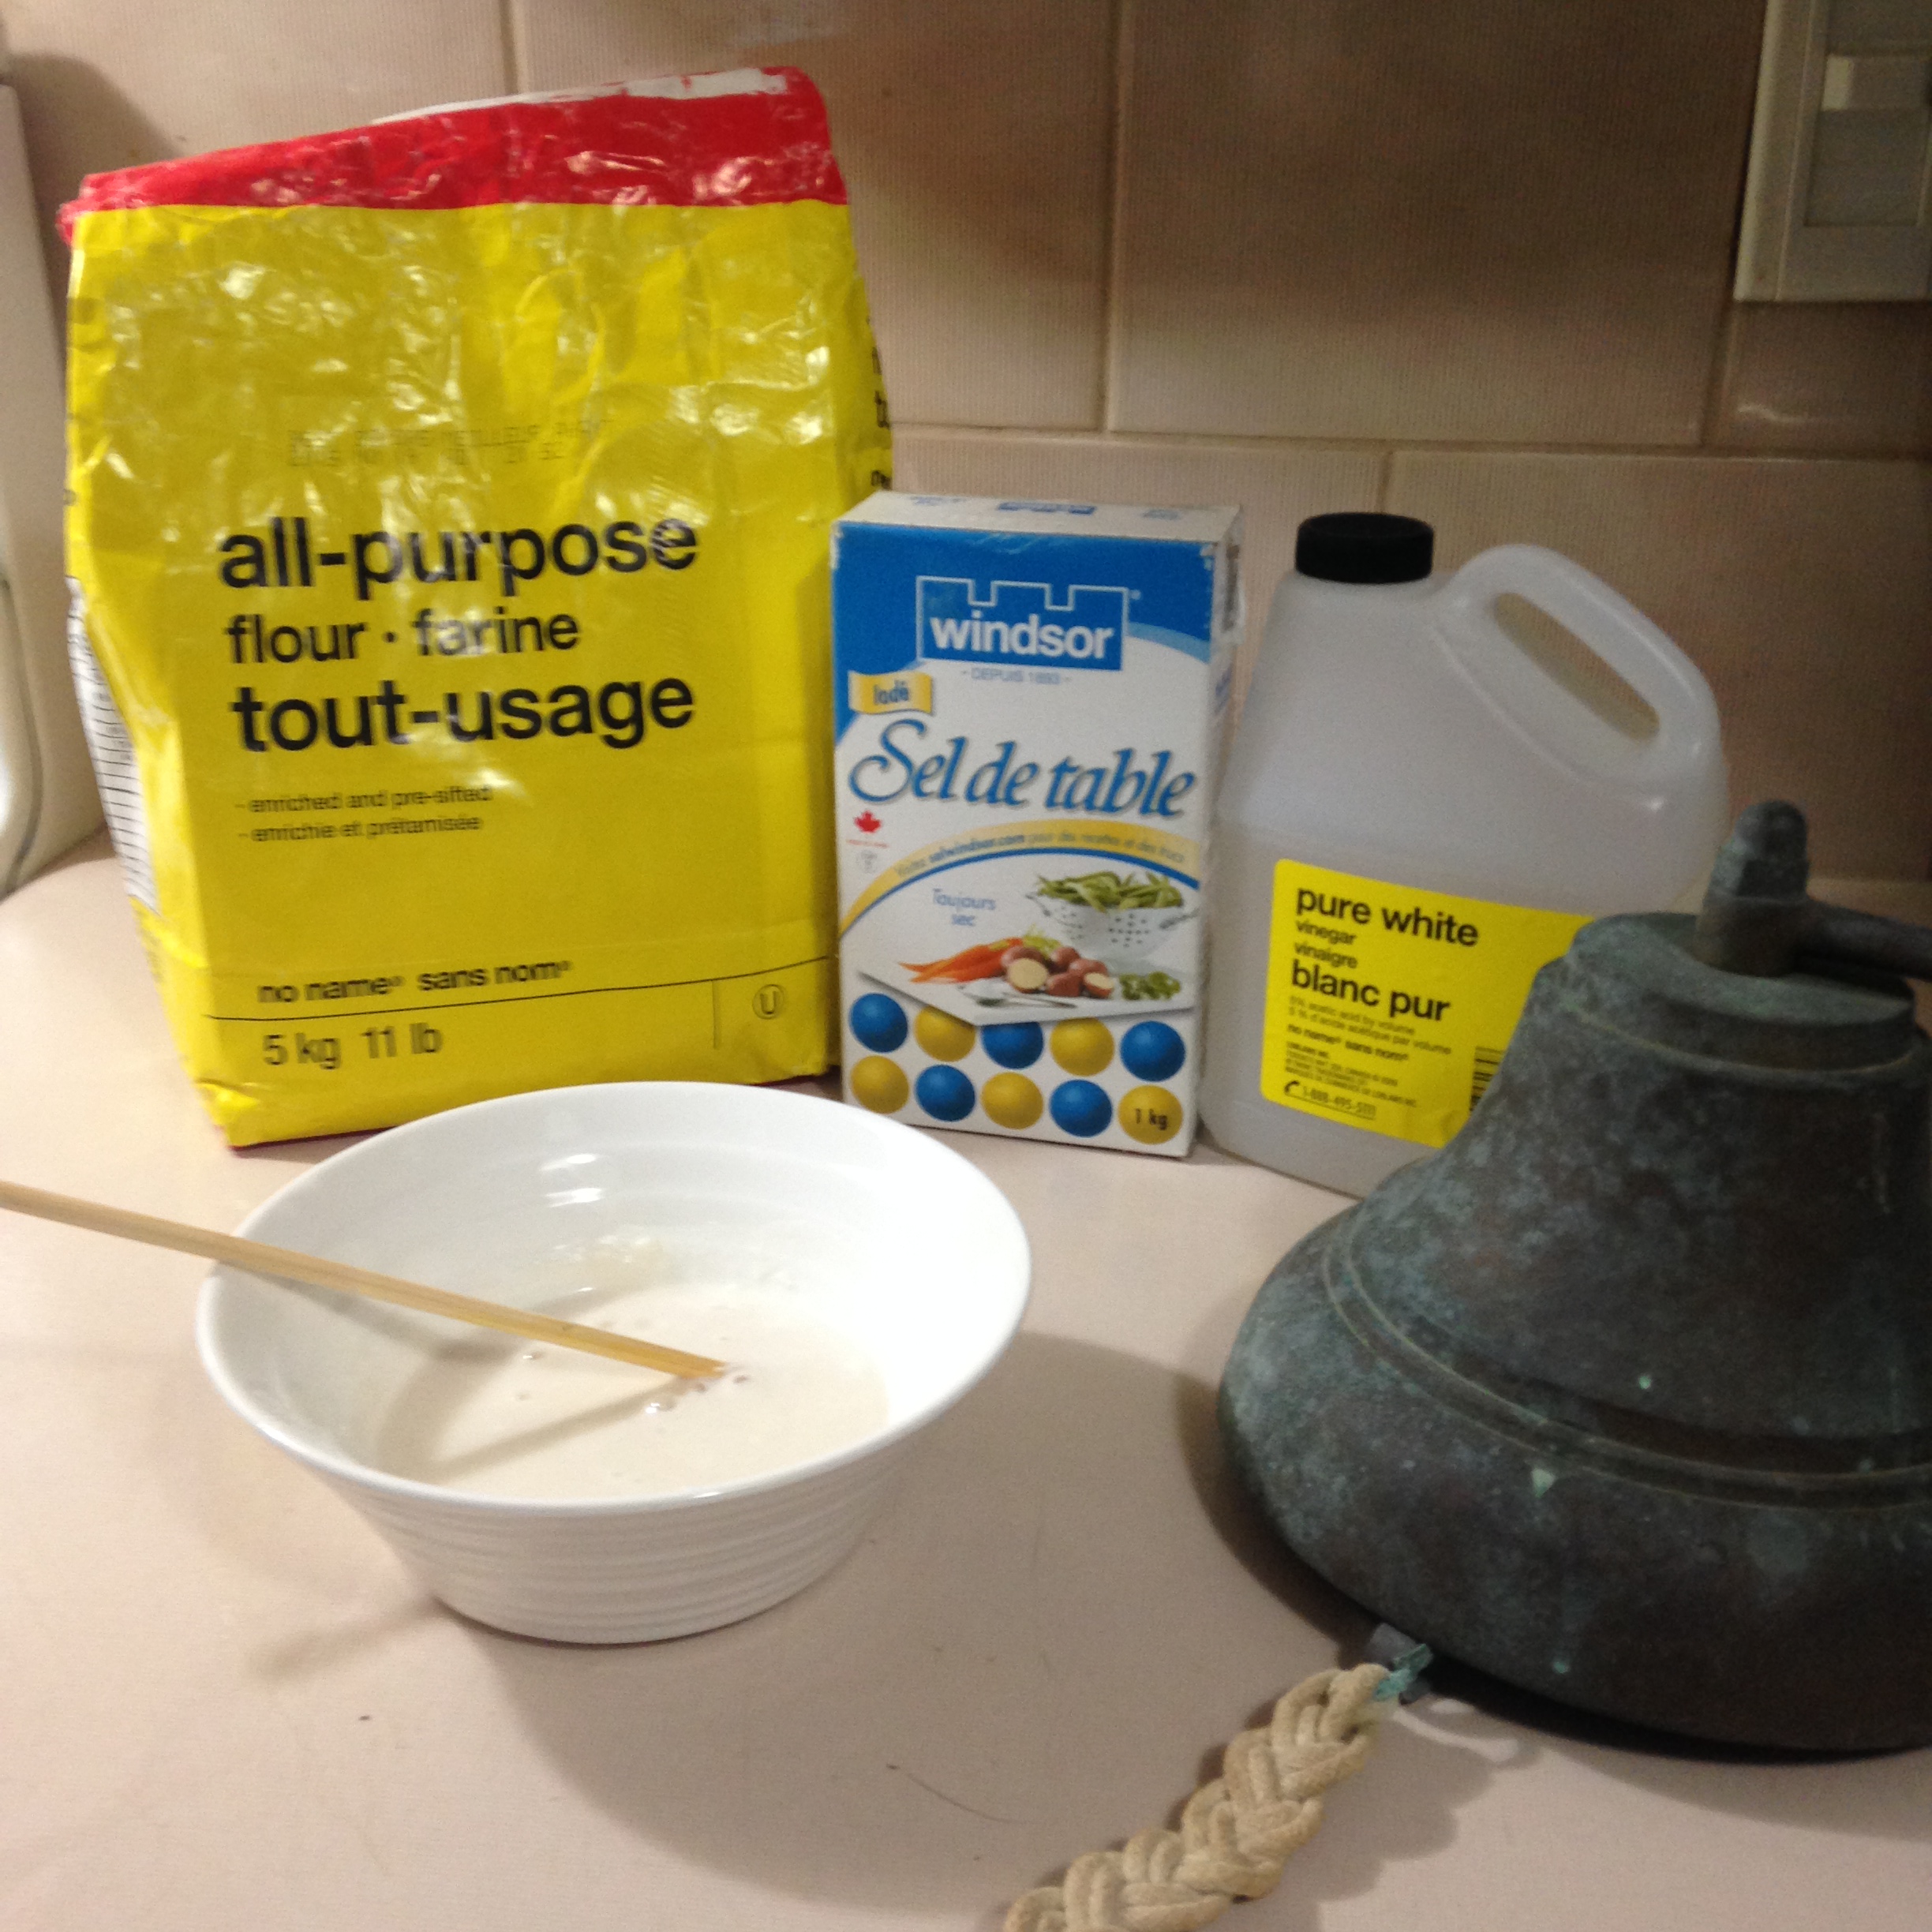
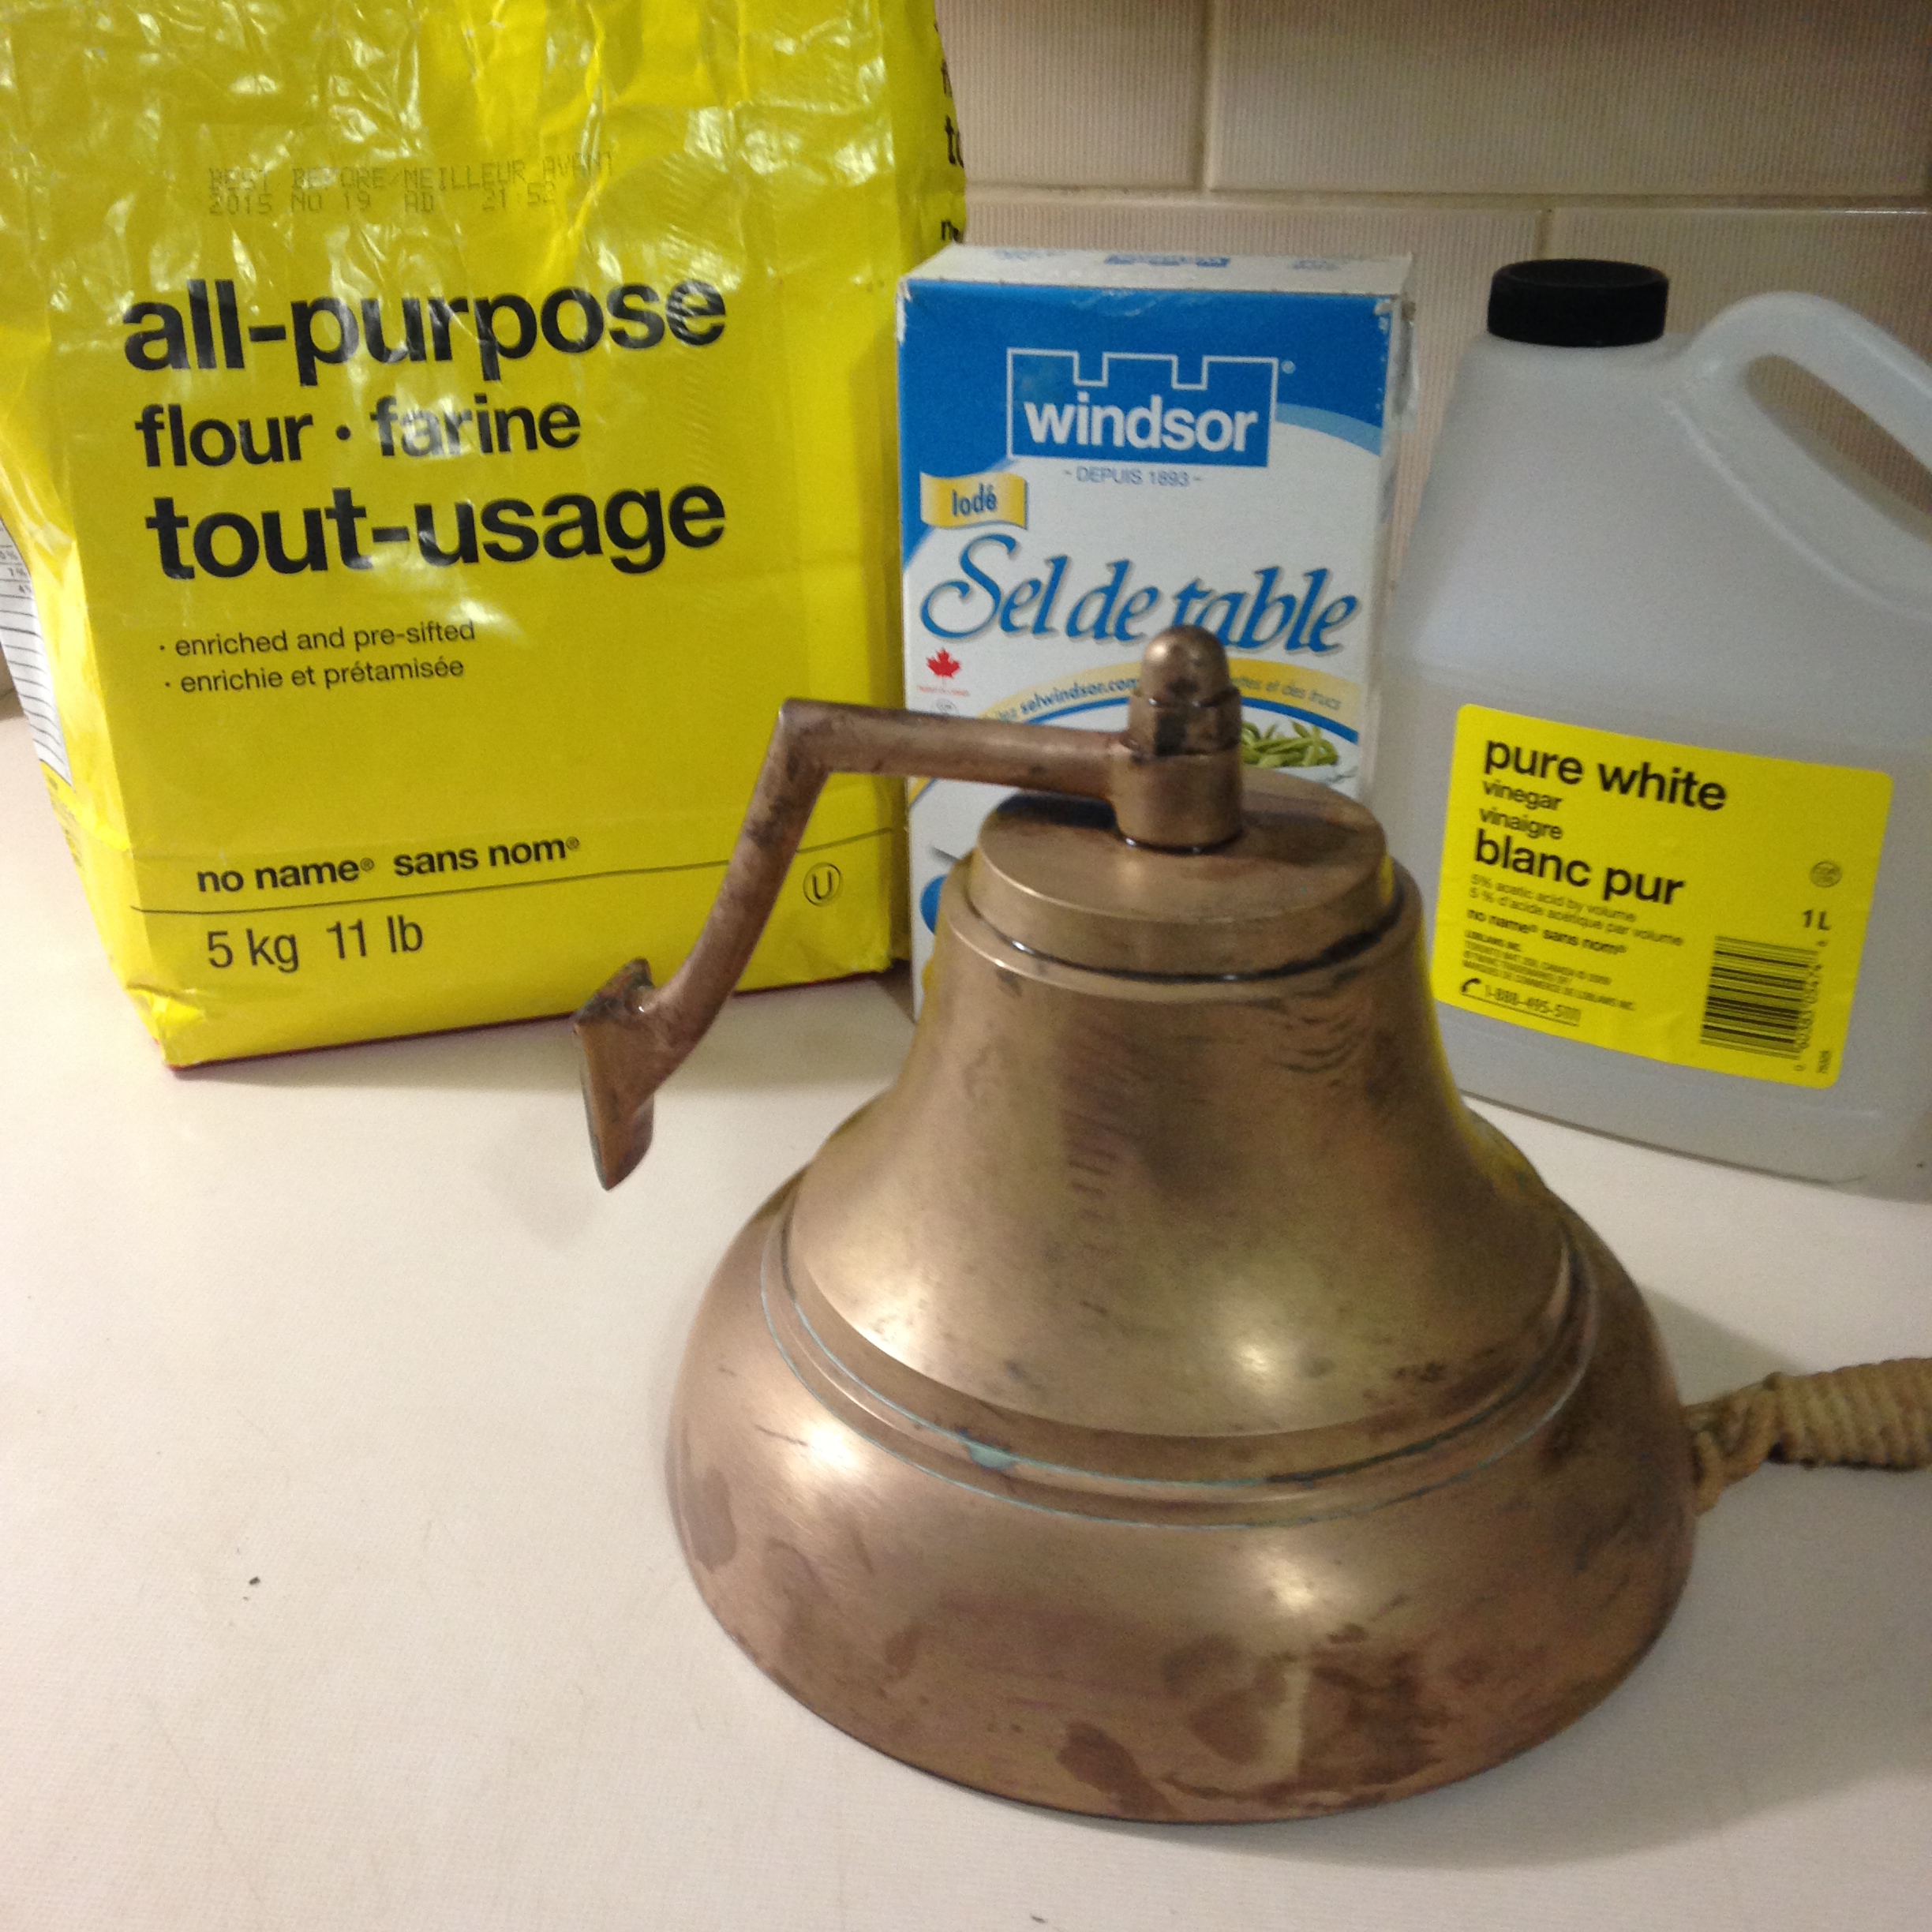
Well occasionally the rabbit hole leads you to mysterious places that are actually useful as opposed to just silly. Case in point, I actually did start googling arborite and ended up watching homemade youtube videos on magic ways to clean brass. I spoke the following words out right. “Bullshit.” The Admiral knew full well where I had been for the last 2 hours, wow had it really bee n 2 hours? Anyway, I decided to try one of these homemade BS solutions to cleaning brass. I diligently went down into the dark recesses of the basement and found the worst piece of brass I have. The ships bell from Akupara. It is old, pitted, tarnished and generally in really poor condition. I of course hung on to it when we were gutting Akupara as it actually has a beautiful tone and I thought someday I might be able to clean it.
I proceeded into the kitchen, where all dirty jobs truly belong, I gathered all of the ingredients as per the instructions and laid it all out on the counter.
The ships bell
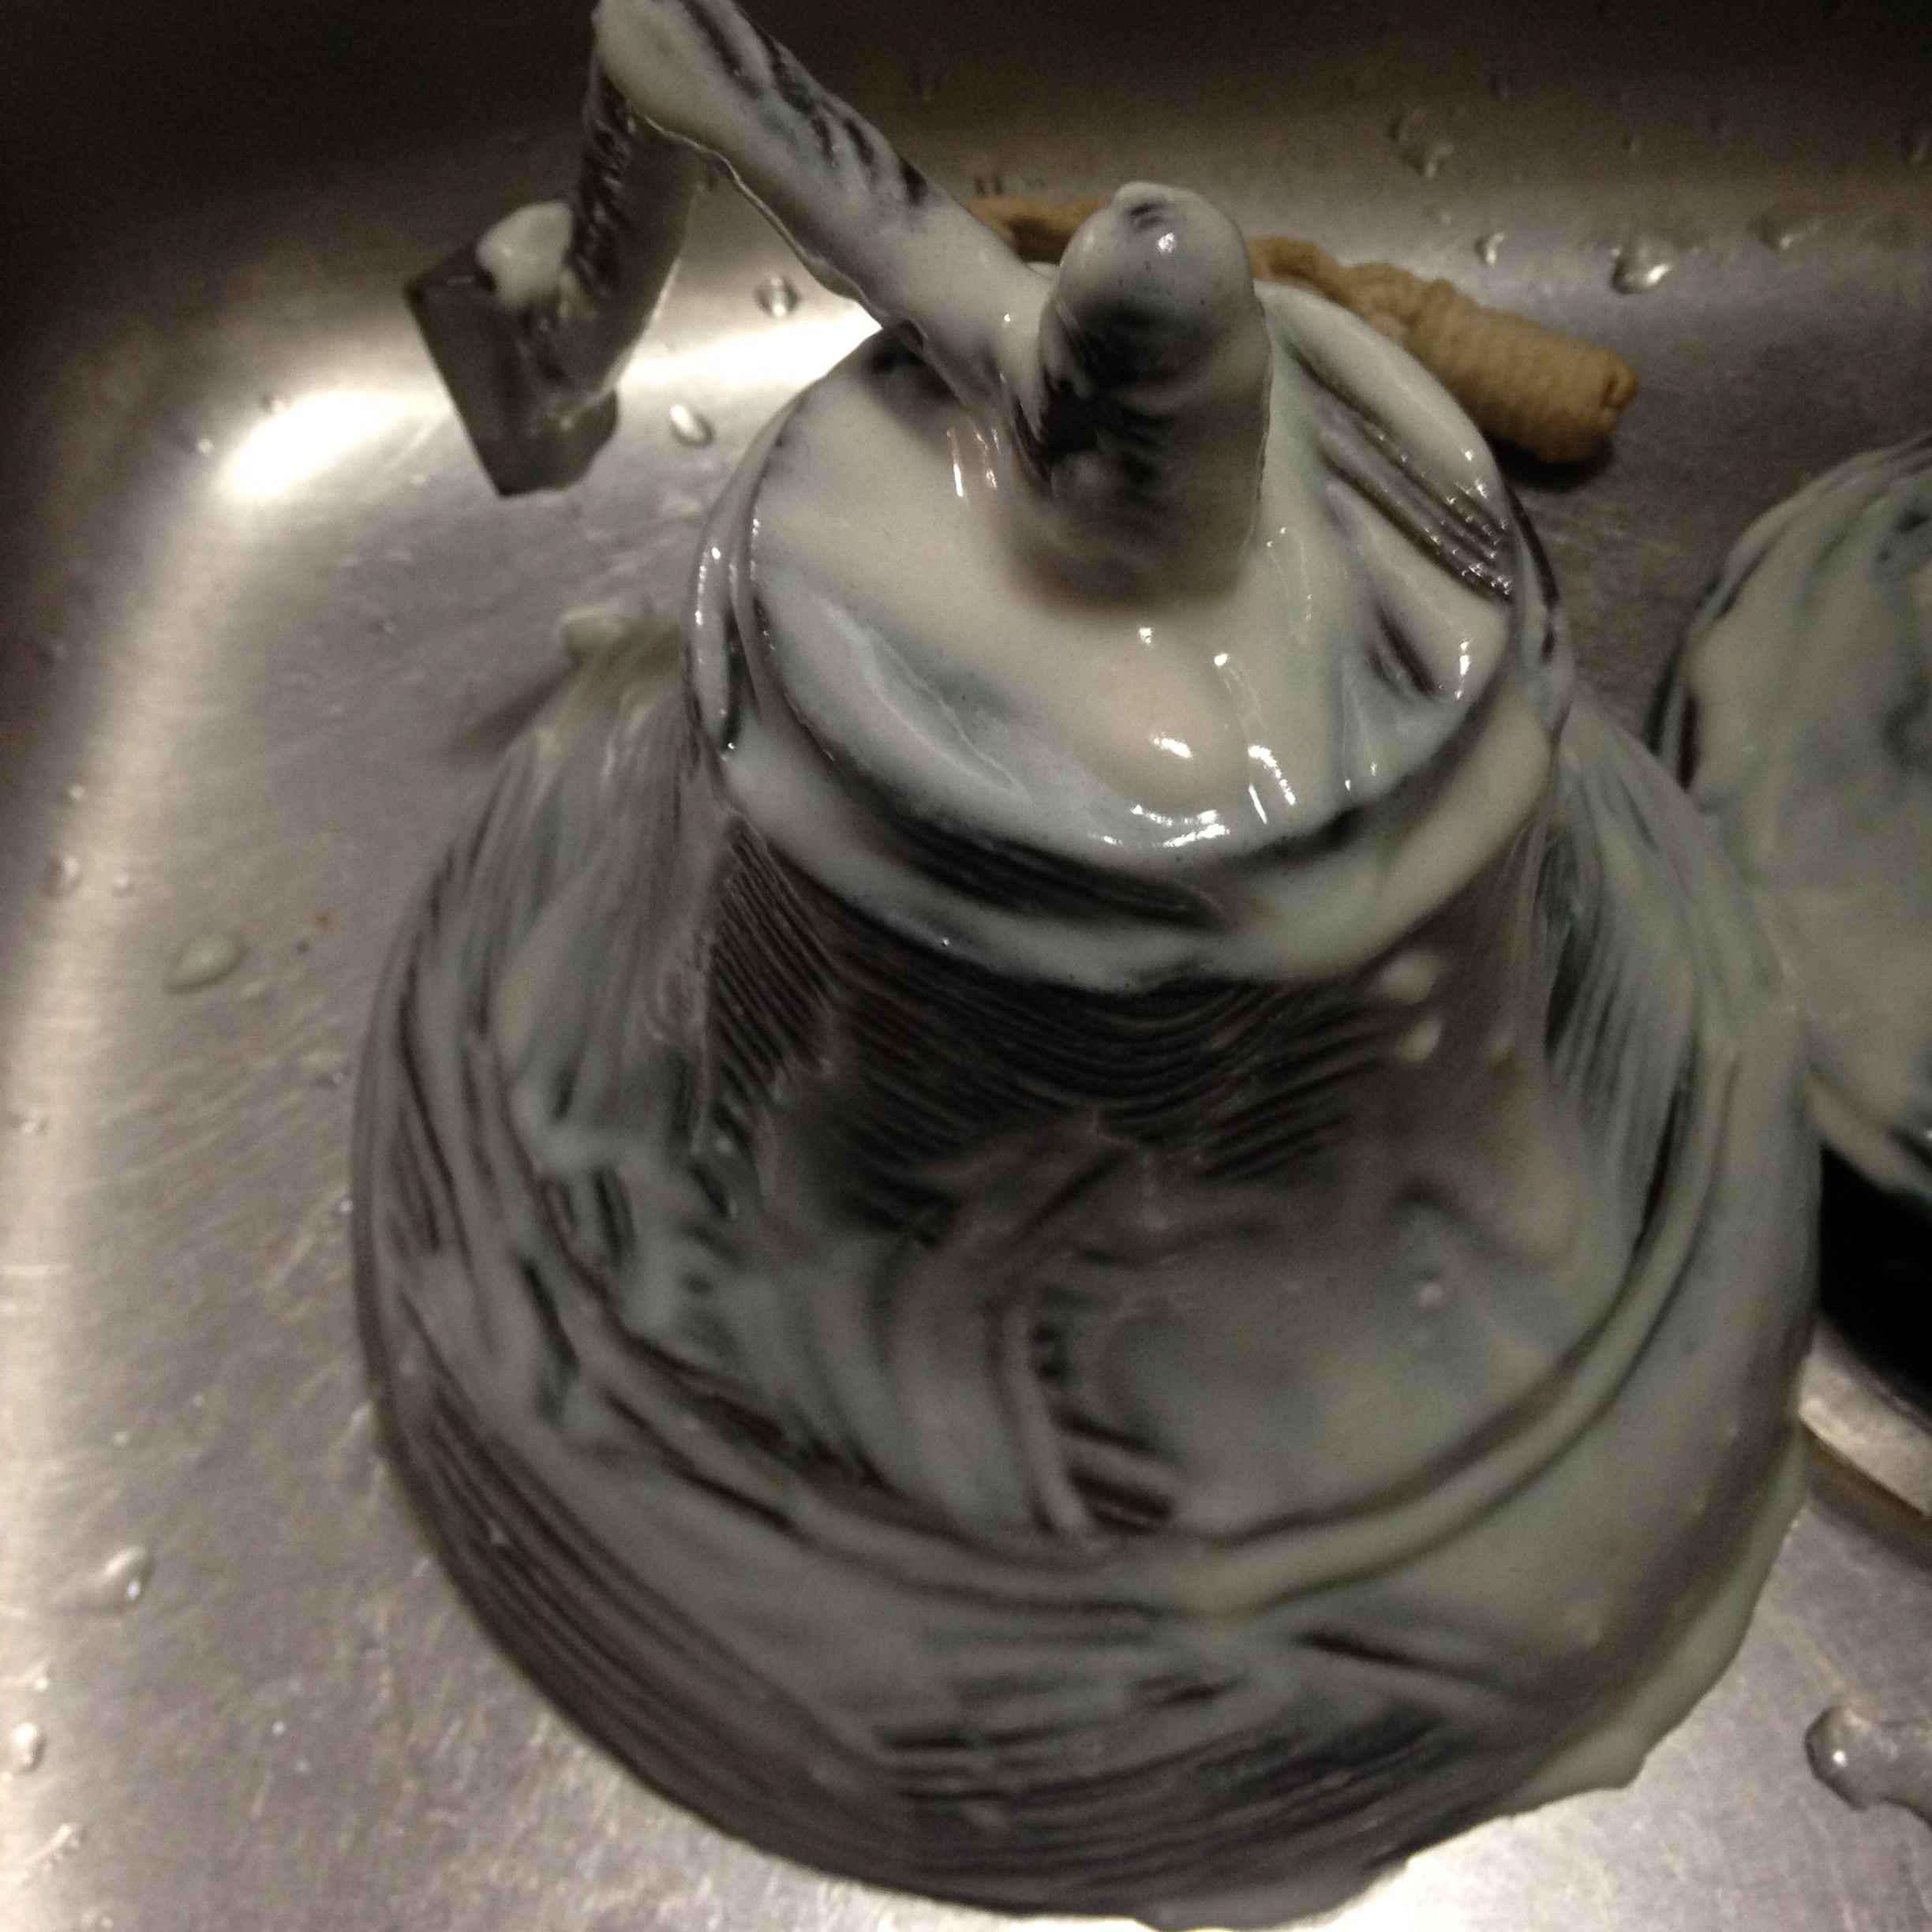
I mixed the ingredients as per the video into a white paste like consistency and painted it all over the bell.
The goop applied to the bell
I let it sit for about 10 minutes and then proceeded to wash it all off with a dishrag, give it a quick dry and put it back into the same position for the Results picture.
Ships bell after one round of cleaning
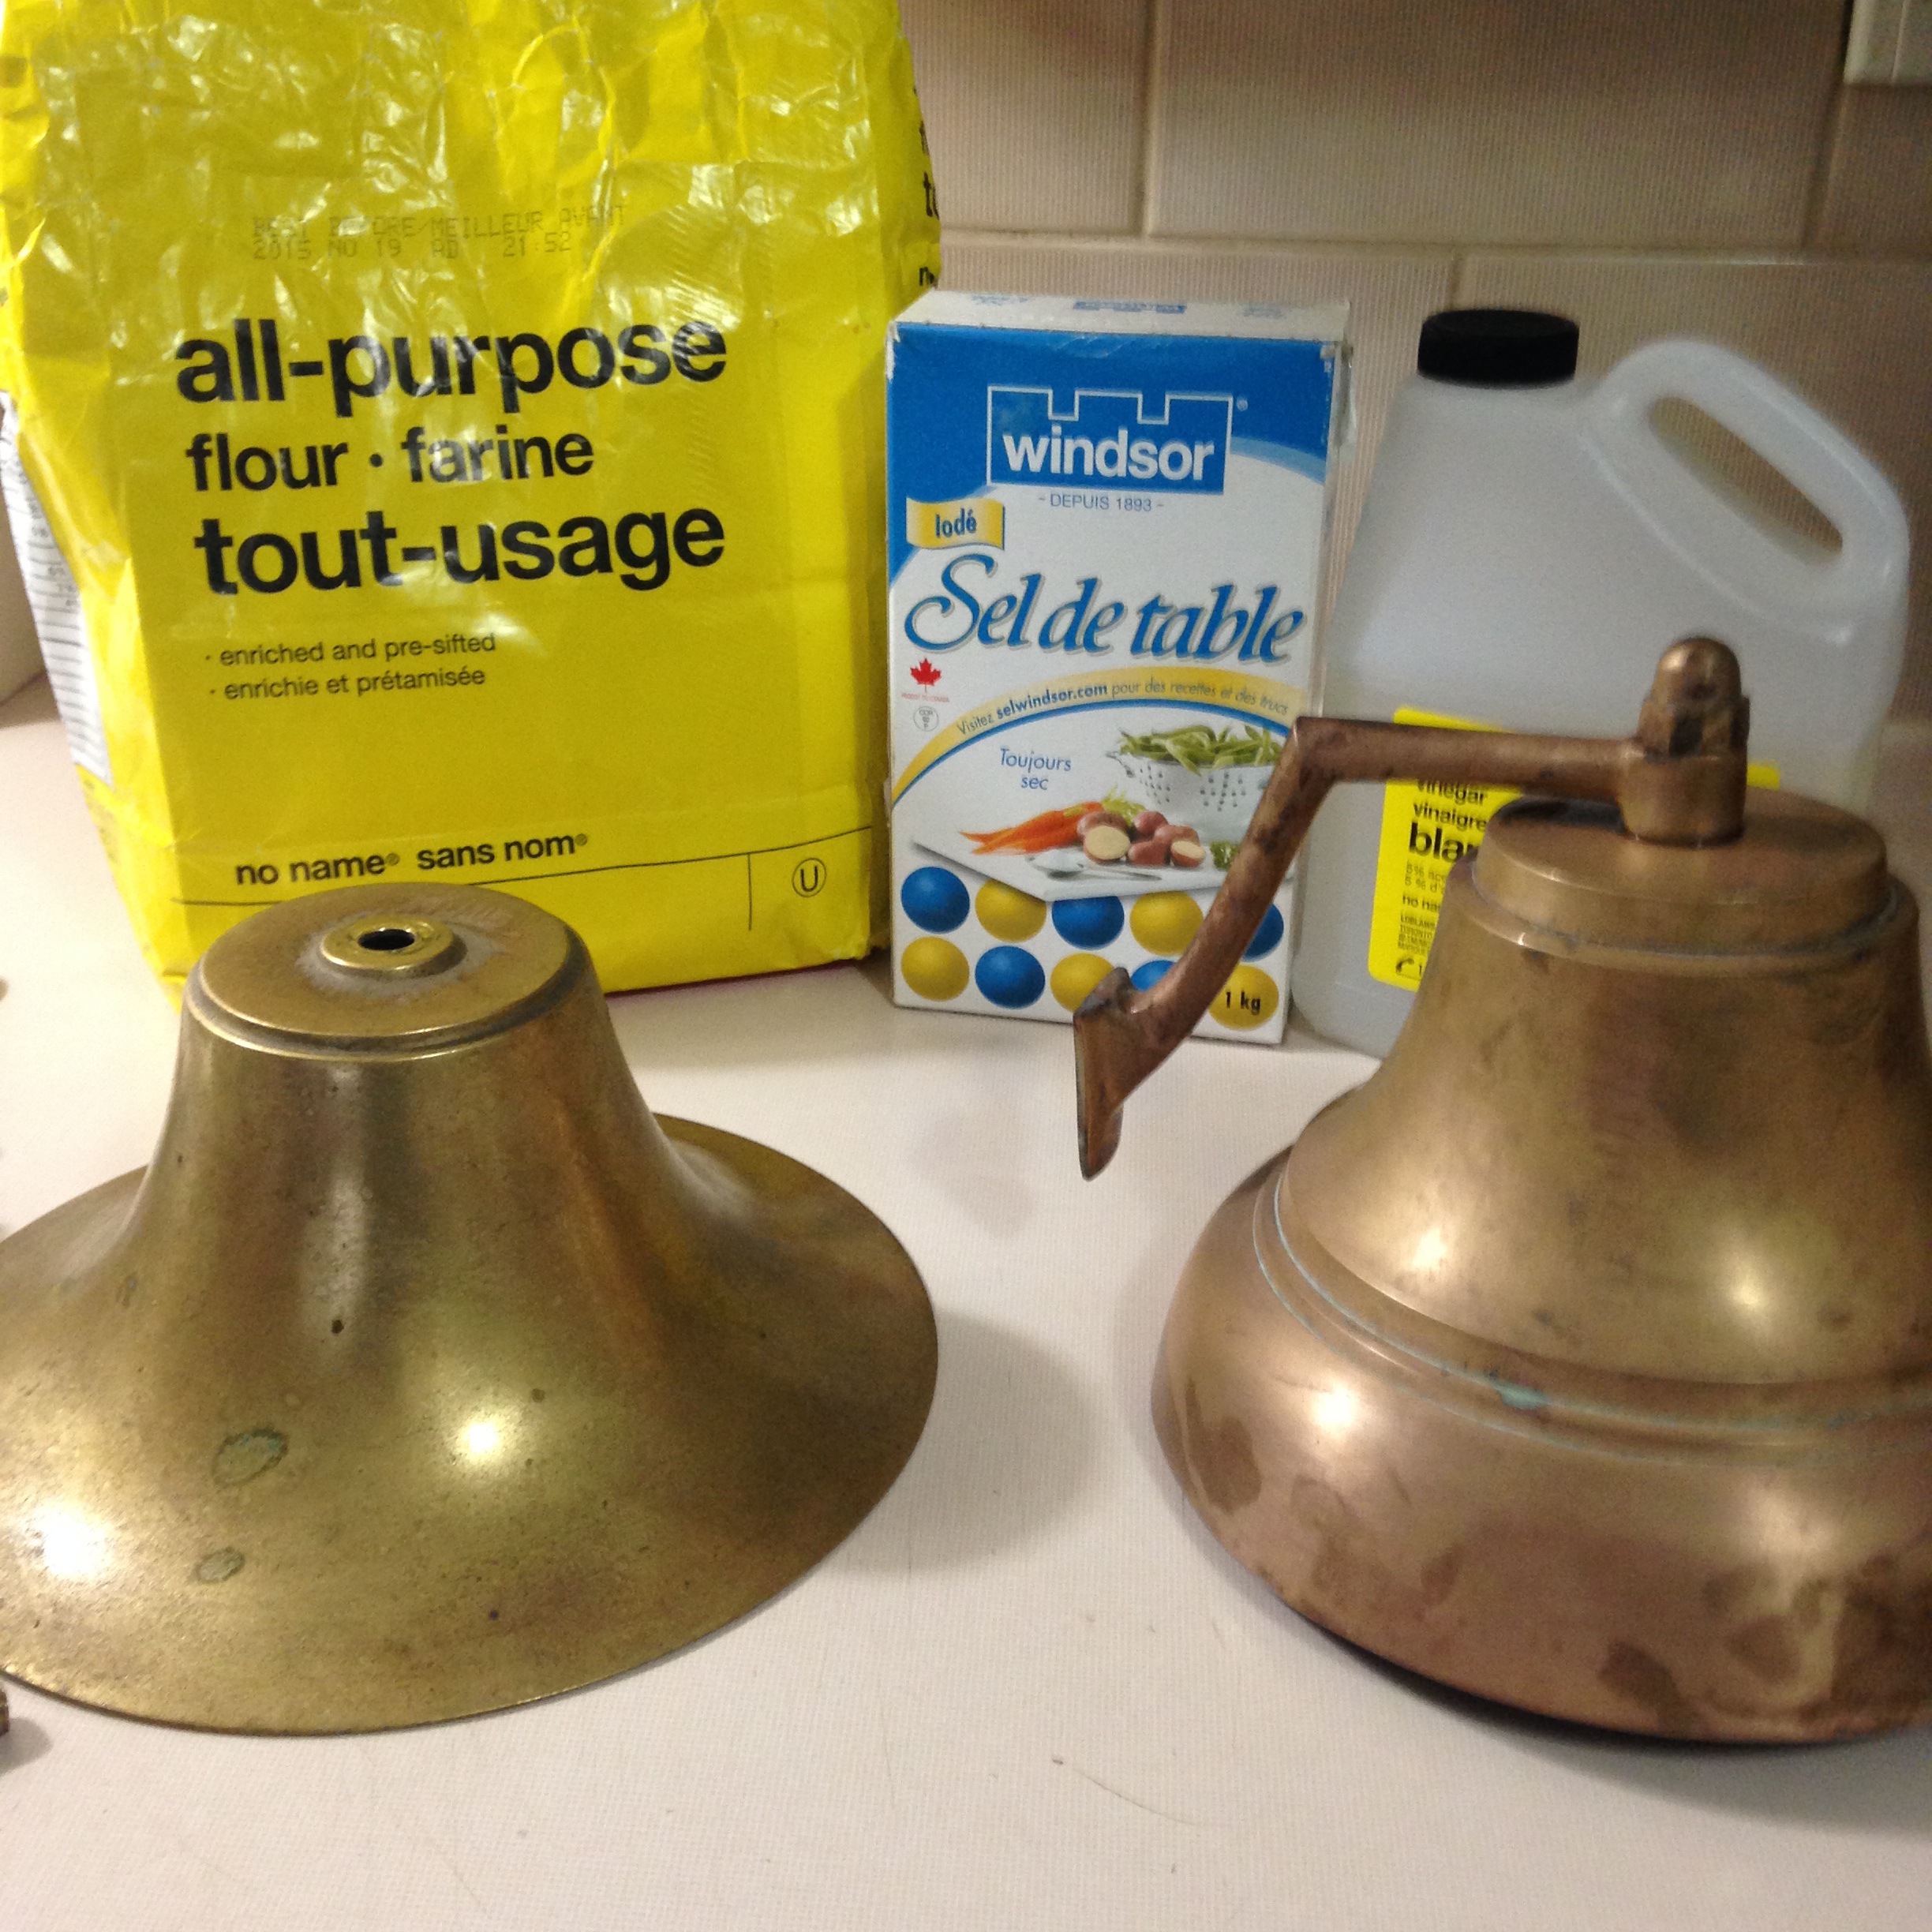
Wow, I was very surprised to say the least. This might actually be working. As you can see in the picture, there are still some bad spots so I thinks to meself, put another coat on it and see what happens. So that is exactly what I did. I was also so surprised by the initial test that I grabbed another ships bell and tried it on that as well.
2 ships bells. The left has not been treated, the right has had one treatment
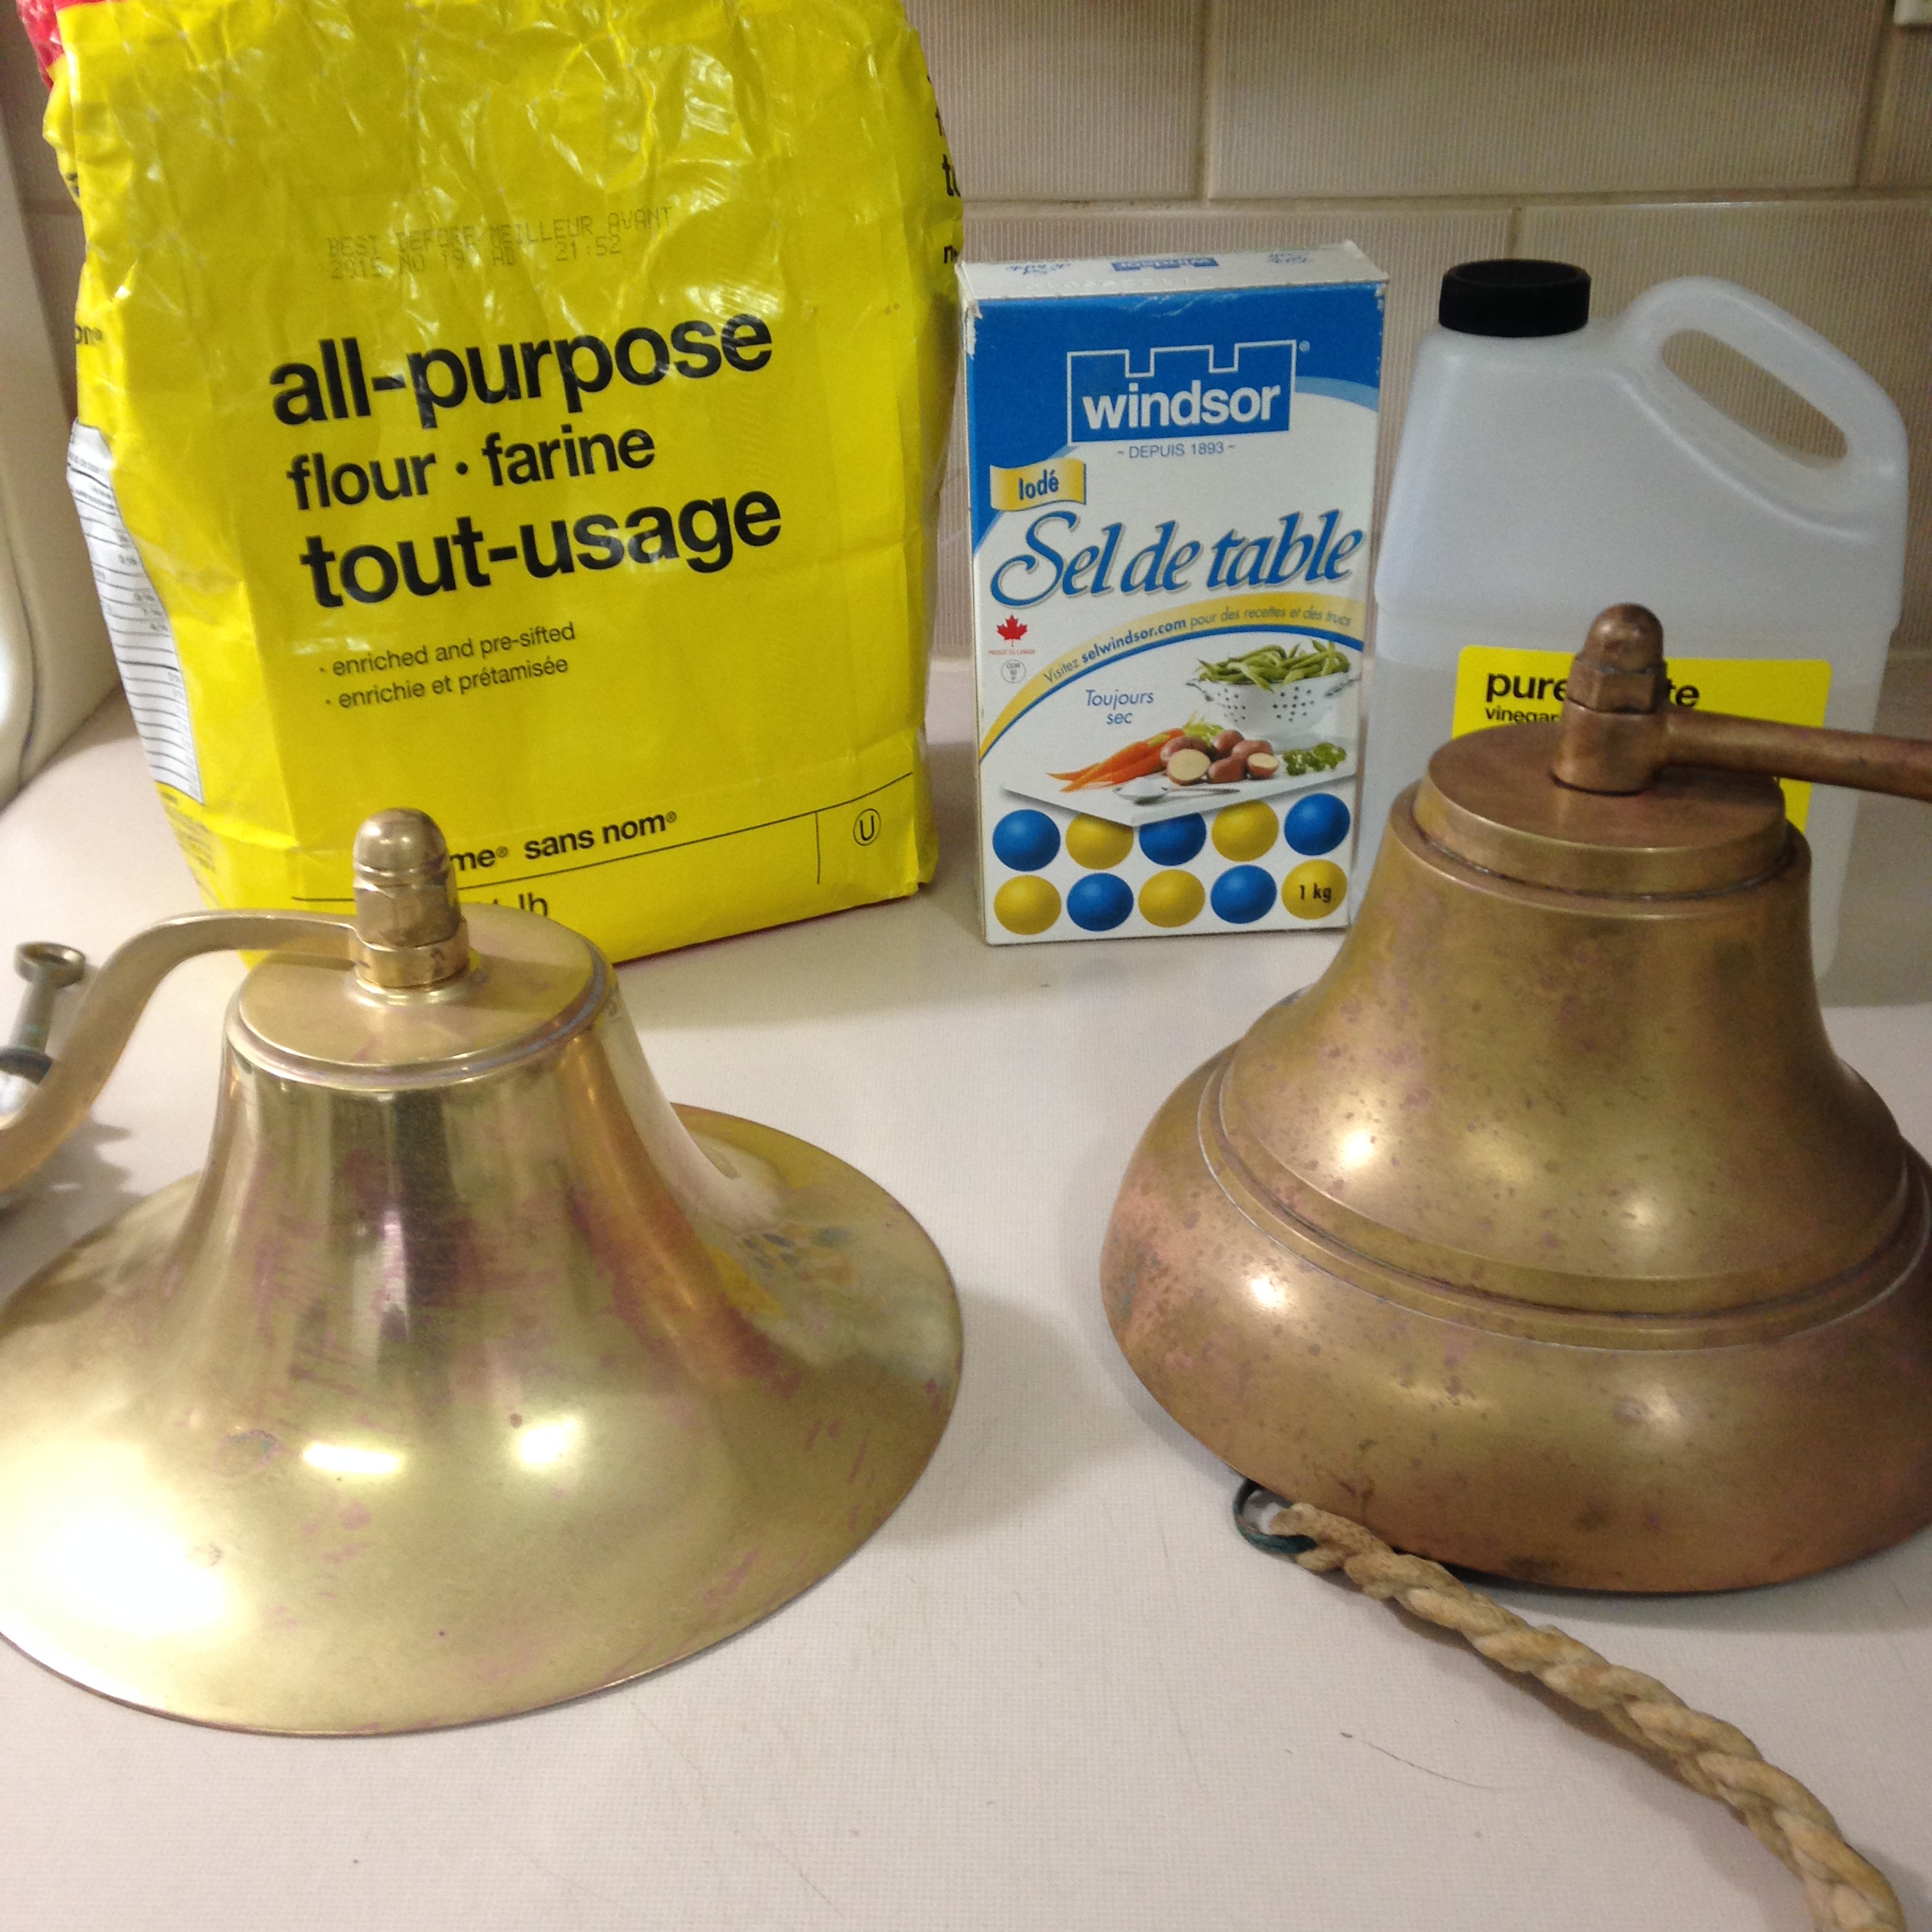
And another batch of mush was mixed up and this time both were painted. I did not take a picture of both as they were undergoing the magic, but the results are below.
Ships Bells
So why 2 bells you ask? Well, it is a long story but I will tell it to you. Many moons ag, the Admiral and the crew pitched together and purchased me the ships bell on the left in the picture. This ships bell has been on several of our boats now, it is not engraved so I don’t think I am breaking any major voodoo rules. When we sold Kismet, I mounted the bell outside of our front door. My uncle always had a big brass ships bell on the door to his house as well. I bet it is still hanging there. Anyway, the part of the story that I skipped is that there really is not a lot of room on small boats to have these types of luxuries so on Mara our Alberg 30, the ships bell was actually mounted in the head and so the tradition started that, the ships bell is rung every time there is a deposit made, if you get my drift. I know it’s gross, but hey, you have to laugh. So, coming back to Akupara, since we have 2 heads, it is only fitting that we have 2 ships bells. That way, all aboard will be notified regardless of which head is used.
The final pictures I am posting are totally misleading. I am not sure what I did to my camera, or if I changed the lighting conditions or what, but believe me when I tell you, the ships bell is not silver as it appears in the picture, it is still brass in colour.
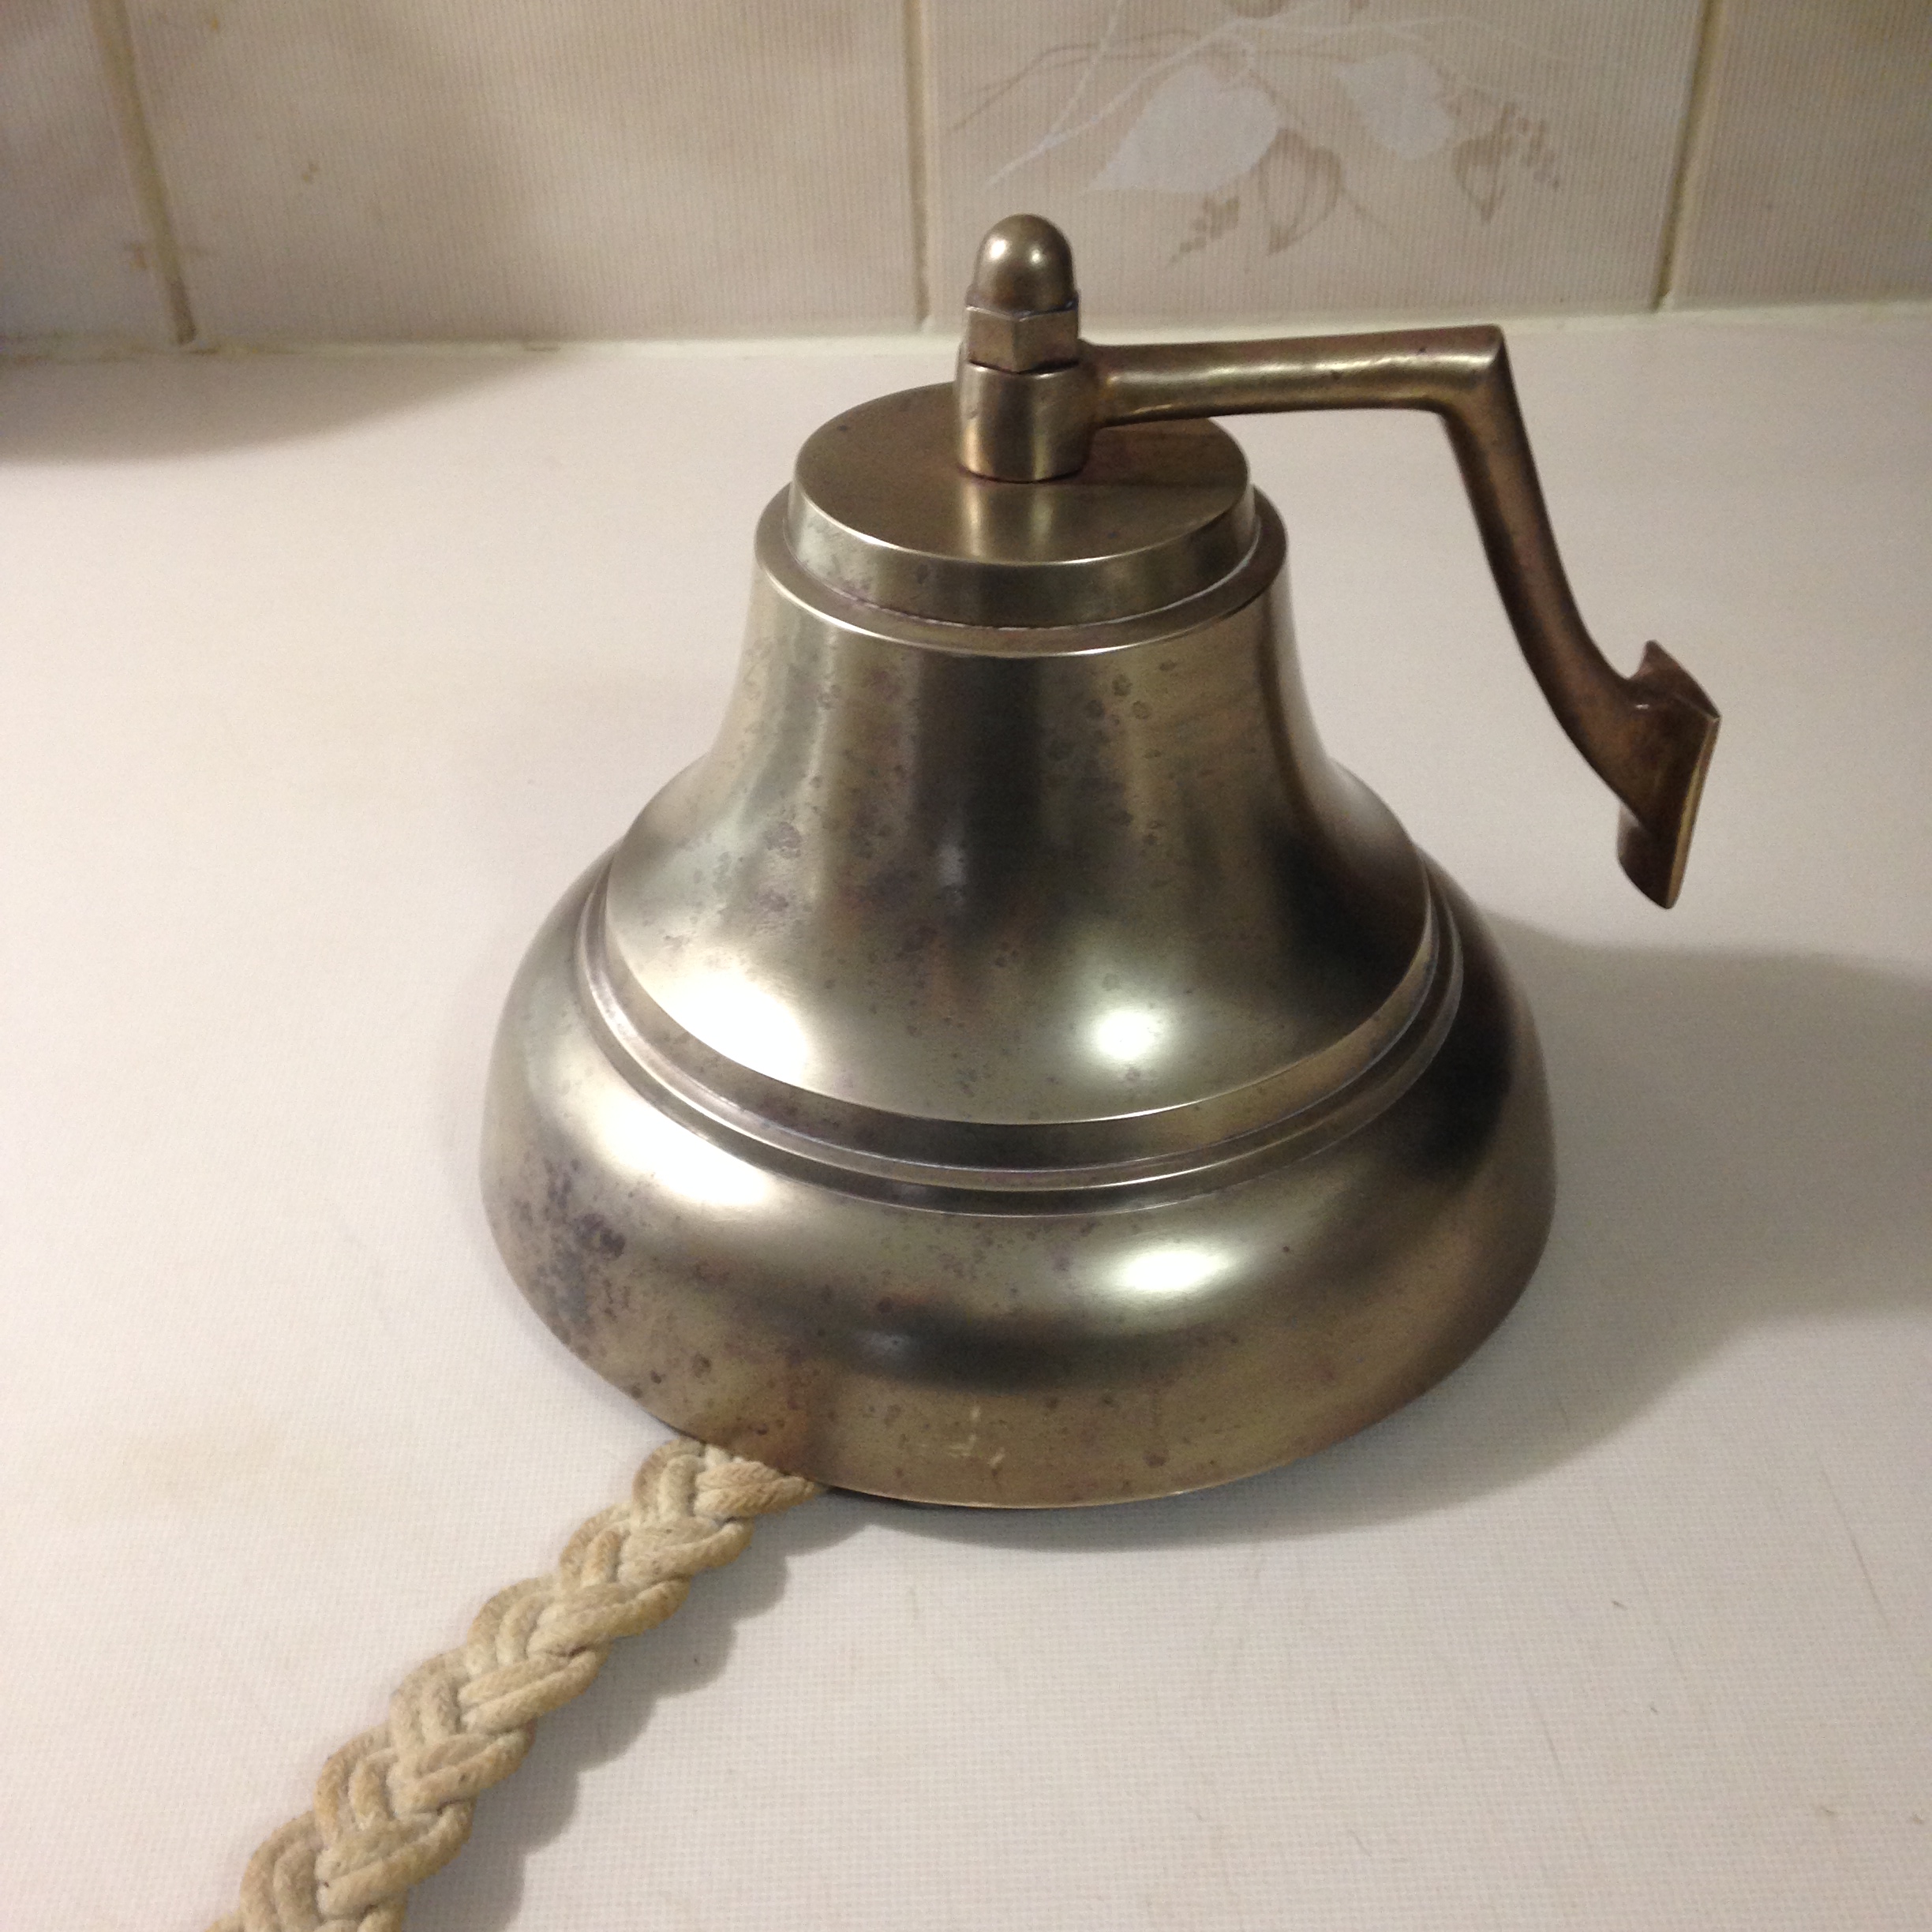
After the final magic session of goop, and the picture above, I gave the bell about a 20 minute polish with a little bit of Brasso just to see if I could get the shine to come up. It came up a lot but of course would be a lot better if I had a mechanical polisher to do the job for me.
The polished ships bell
So, the magic formula is flour, salt and vinegar. I took 3 handfuls of flour, free poured the salt, and mixed in vinegar until I thought it was the right consistency to paint on.
The 2nd batch I mixed up, I think I could have used a bit more vinegar but it worked either way.
So, in the end, sometimes the rabbit hole can lead to good places, now, where was that cat video again?
For those of you out there who are going to tell me that I am ruining the finish, or changing the electro static variables of the molecular structure or….I don’t care, it’s shiny! 😉
Little by little we are reassembling Akupara’s interior and at the same time emptying out our basement. We are down to one more load of wood to bring back and it is all fiddly bits. There is still a plethora of drawers and things to sand on Akupara but the Admiral is getting a lot closer to having it all completed.
We have one more wooden area inside Akupara to sand and refinish and that is underneath the main salon companionway ladder, the back of the nav station and the little bit of wood in the hallway.
We are almost at the point of masking and taping it all off with dropsheets and giving the interior liner a rough sand before priming and painting it. Once that is complete we can complete all of the interior trim.
We have cut the insulation for behind the watermaker, made a new top and hatches out of 3/4 marine ply and dry fit everything.
The new home for the watermaker
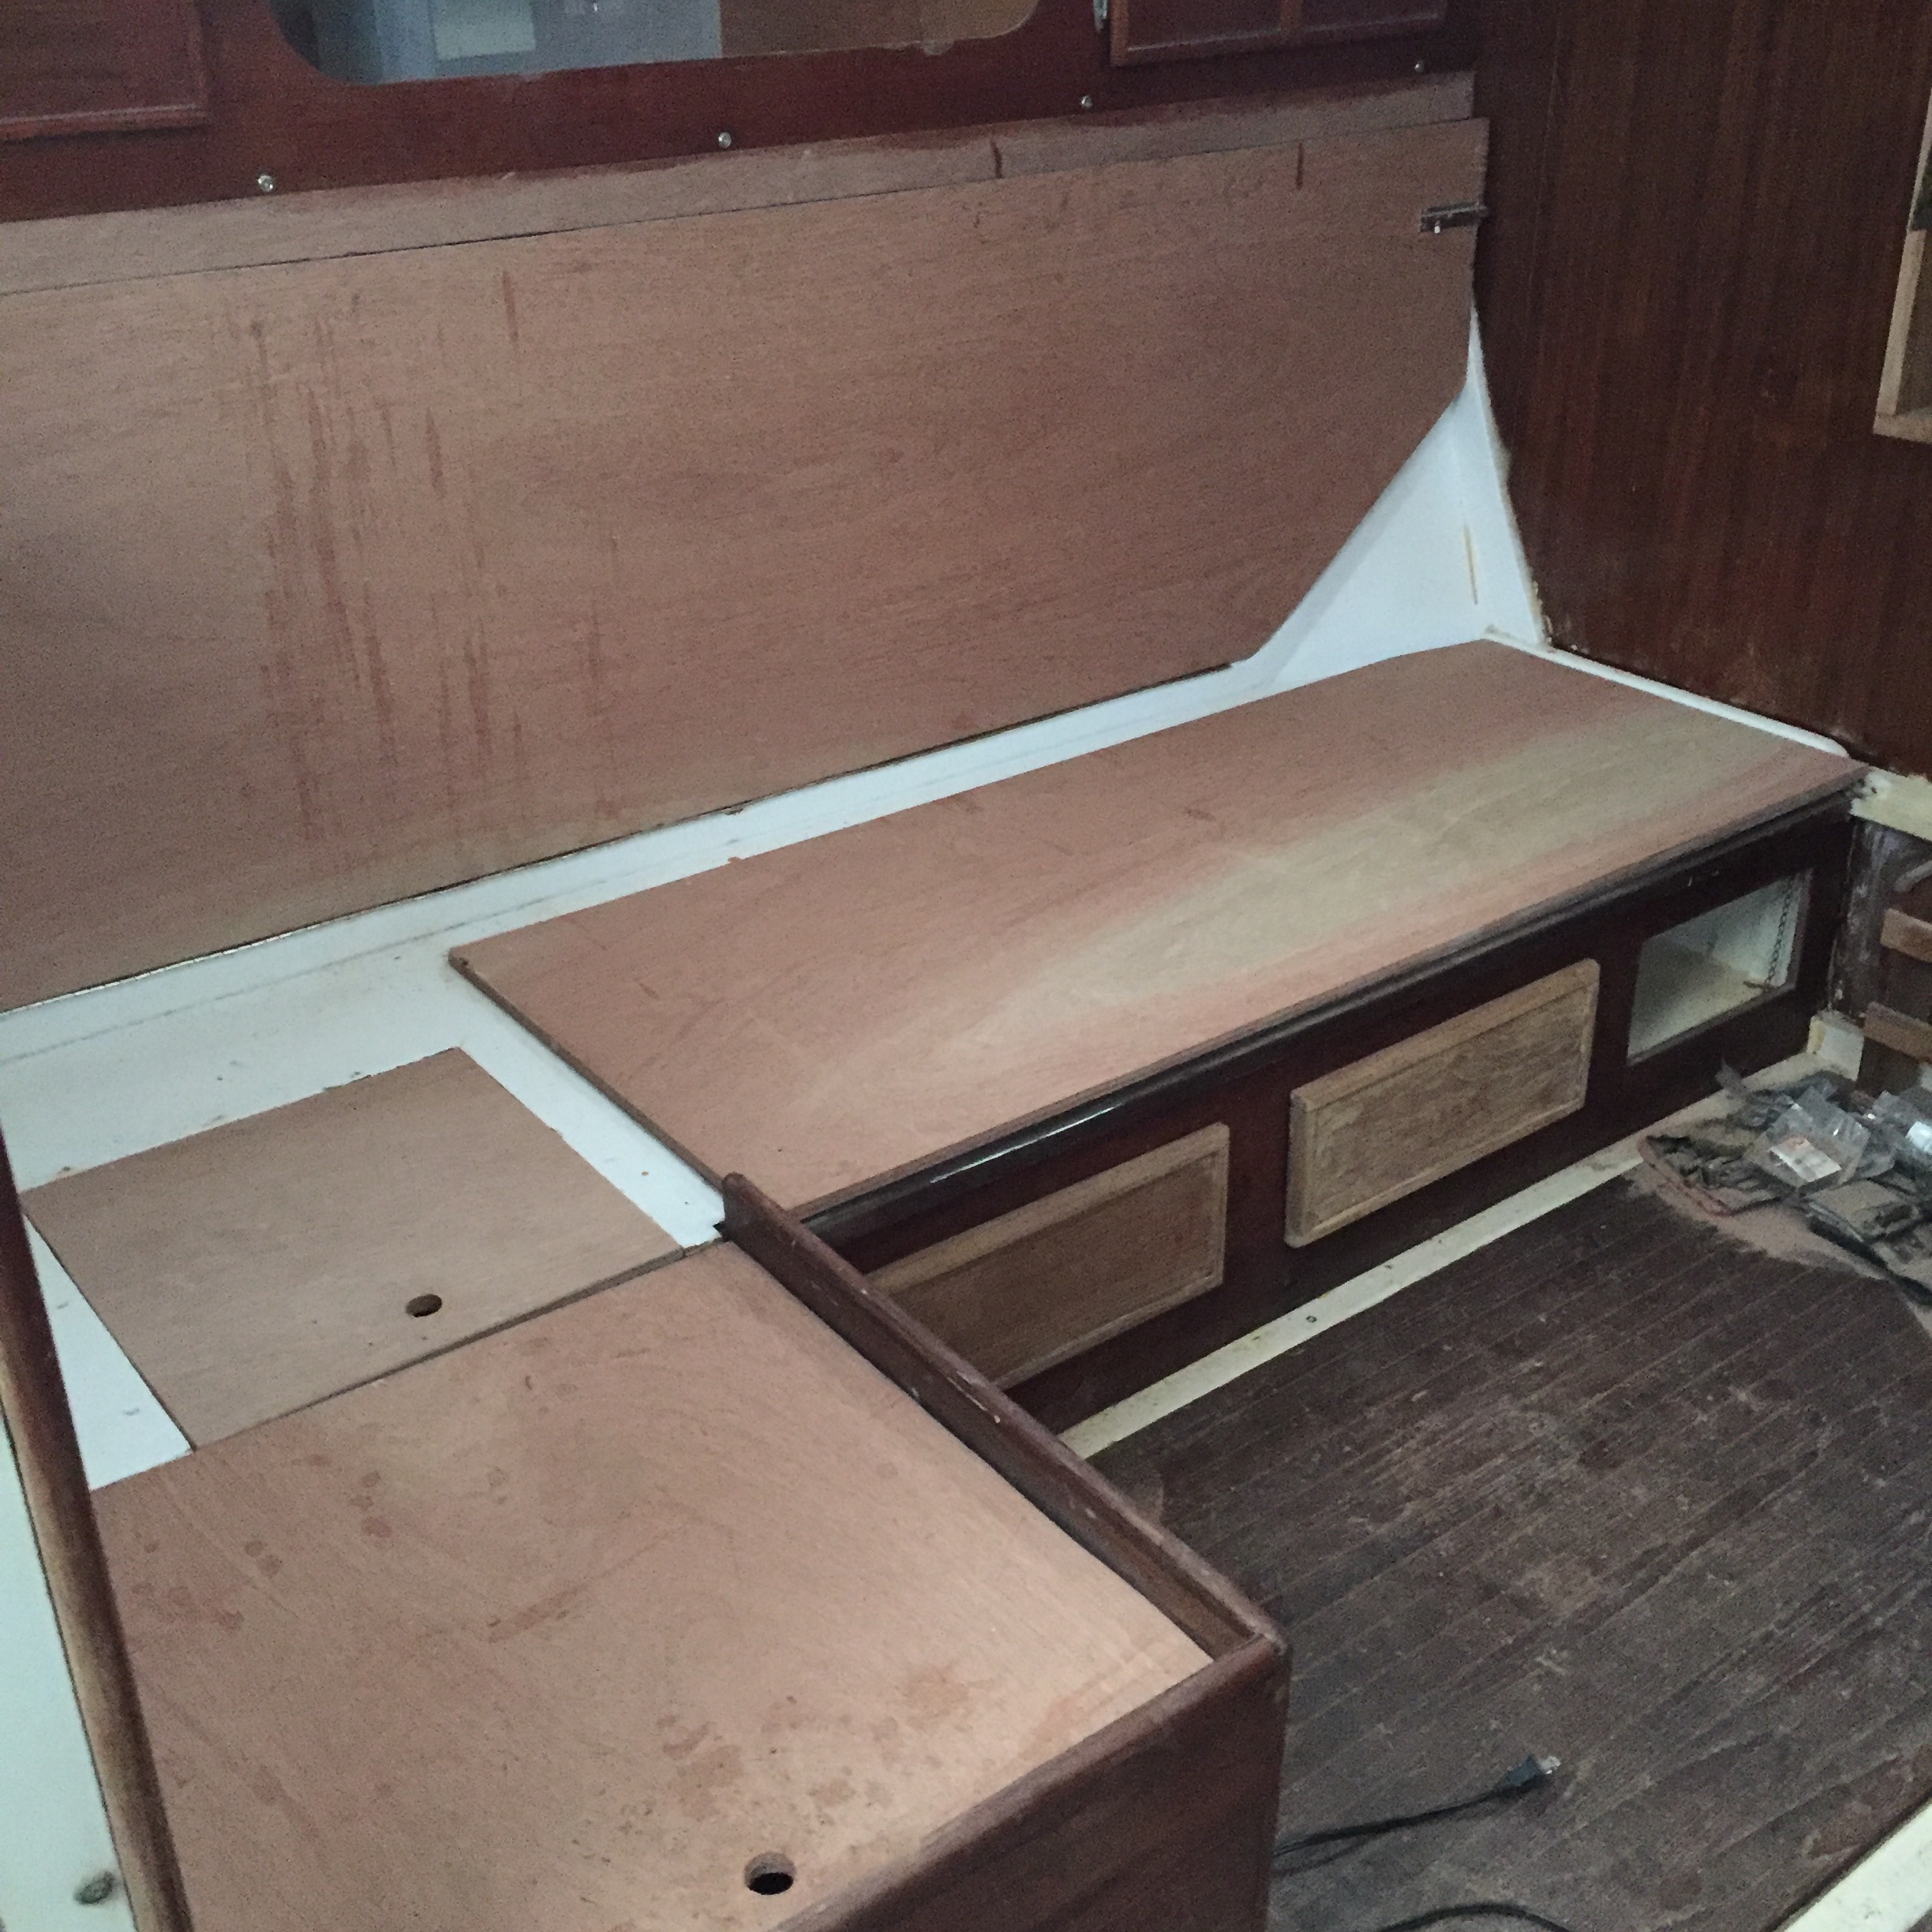
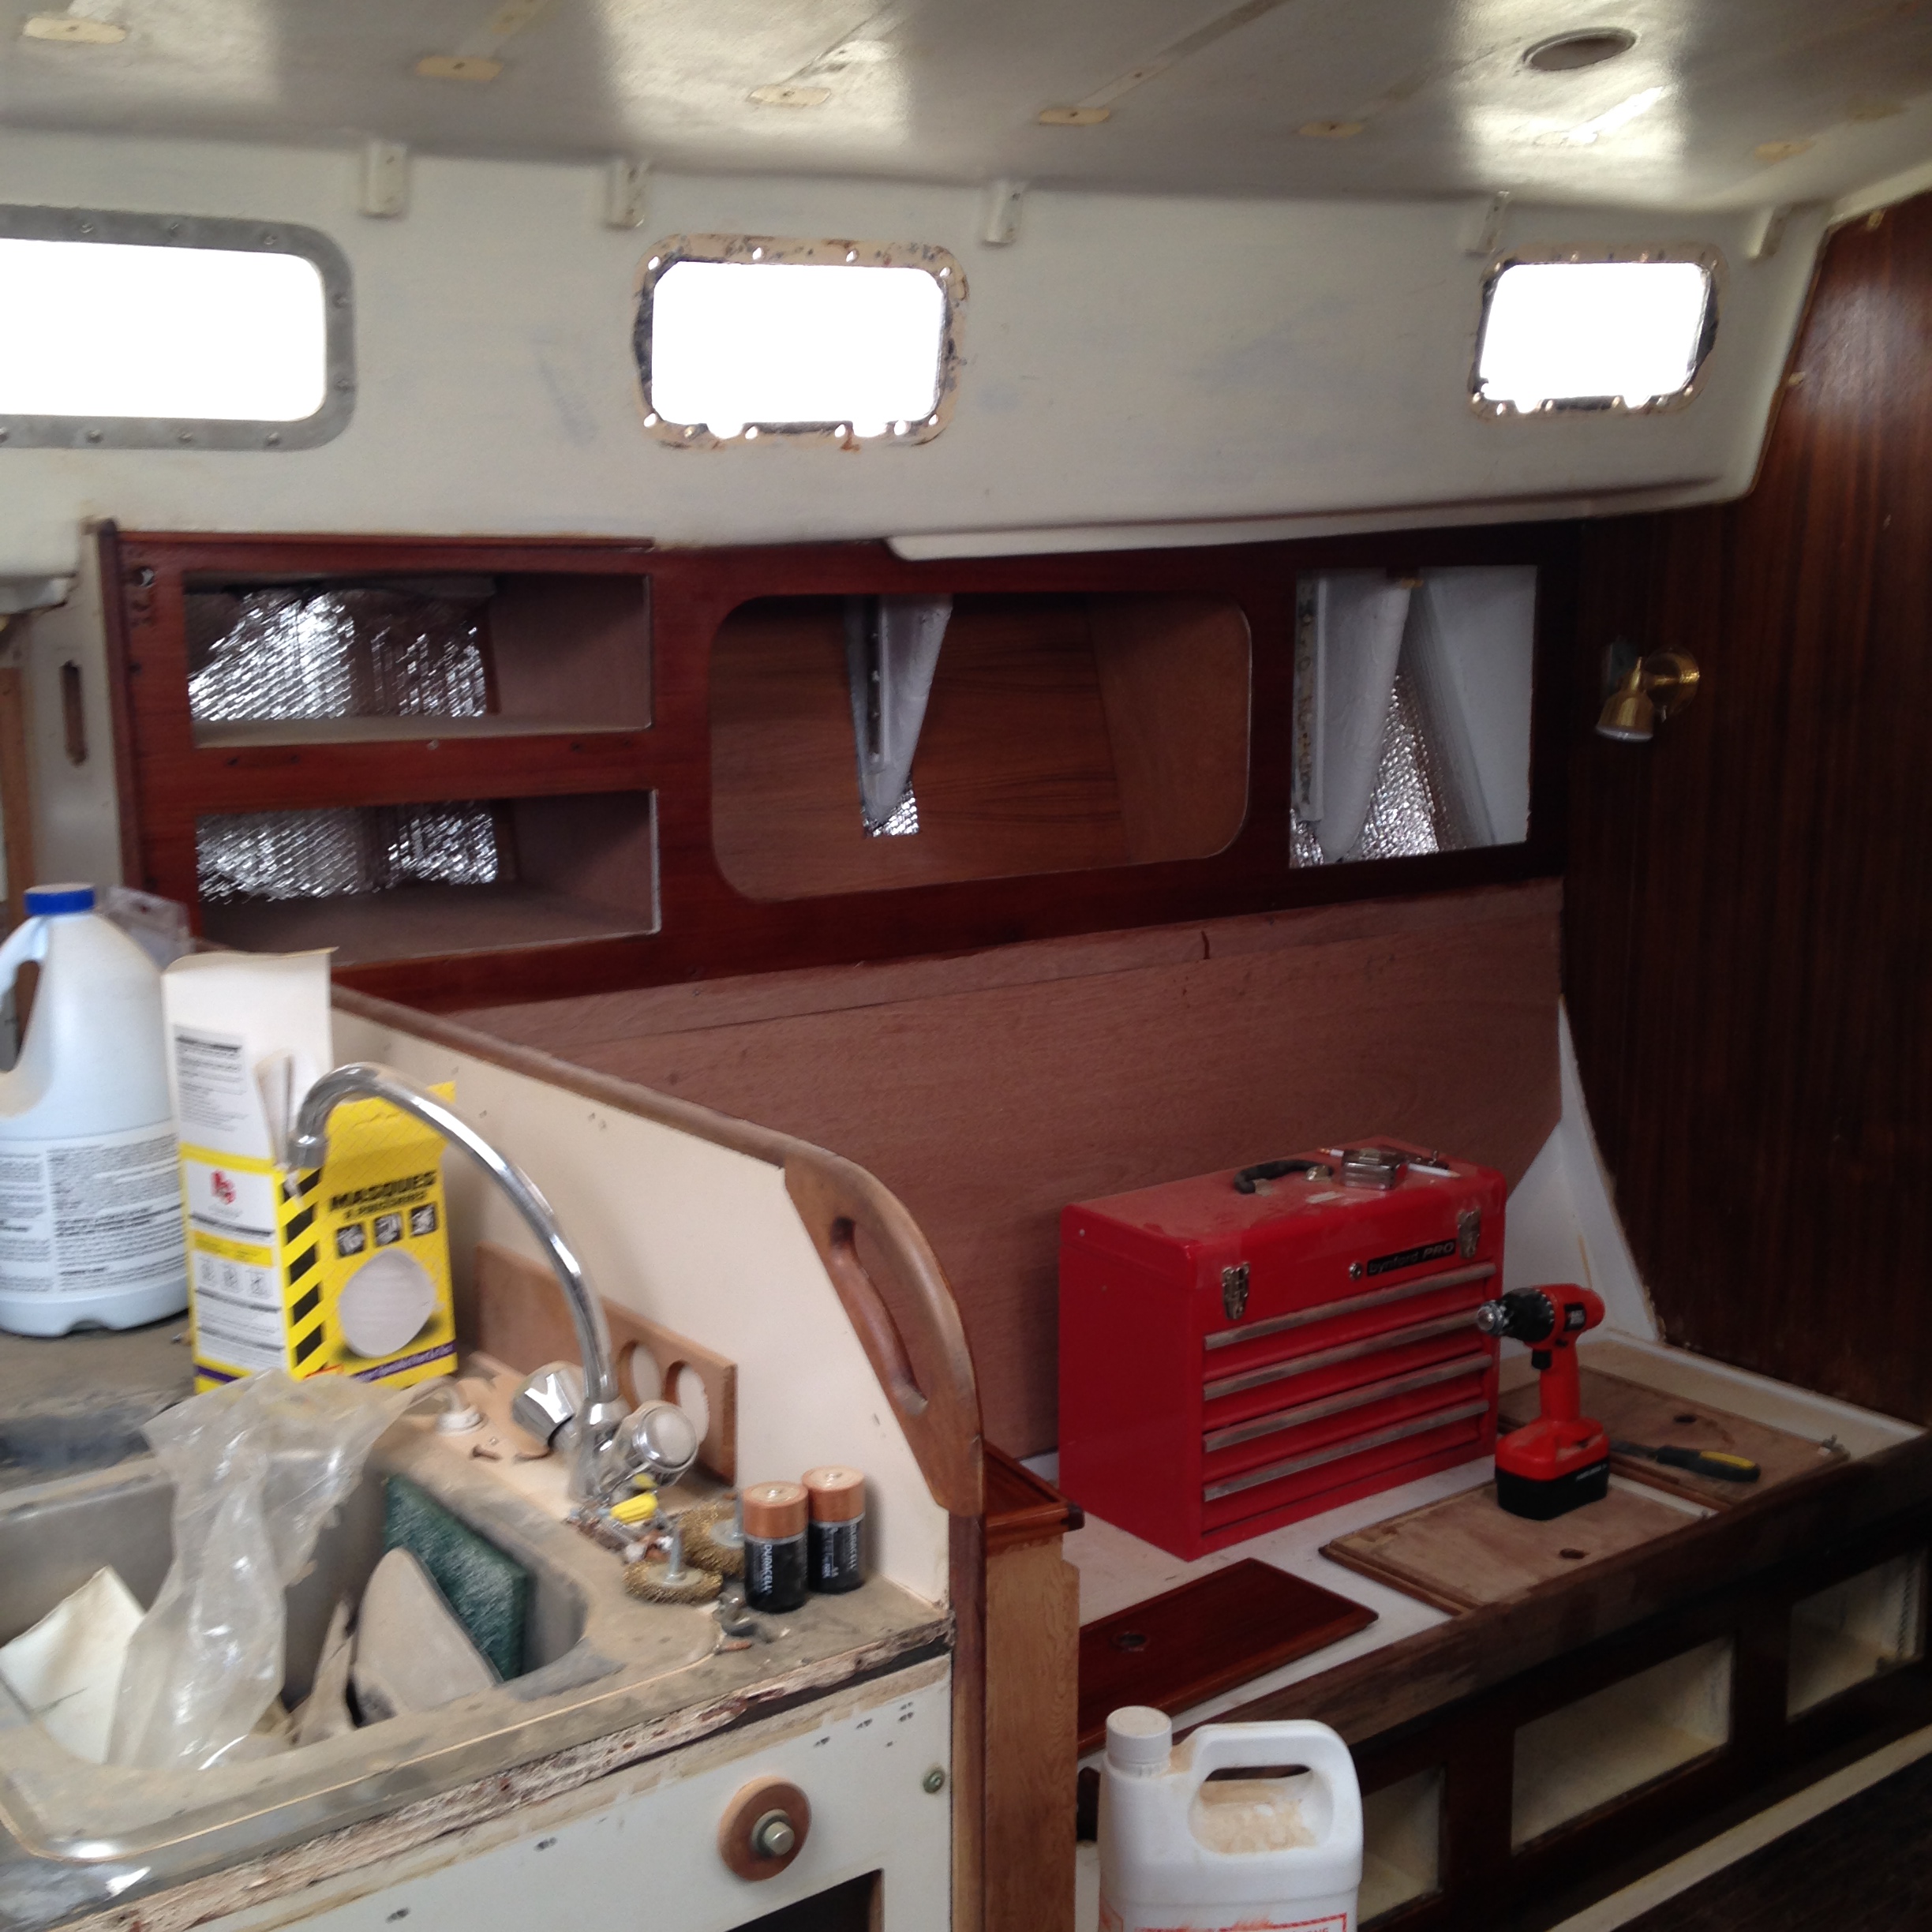
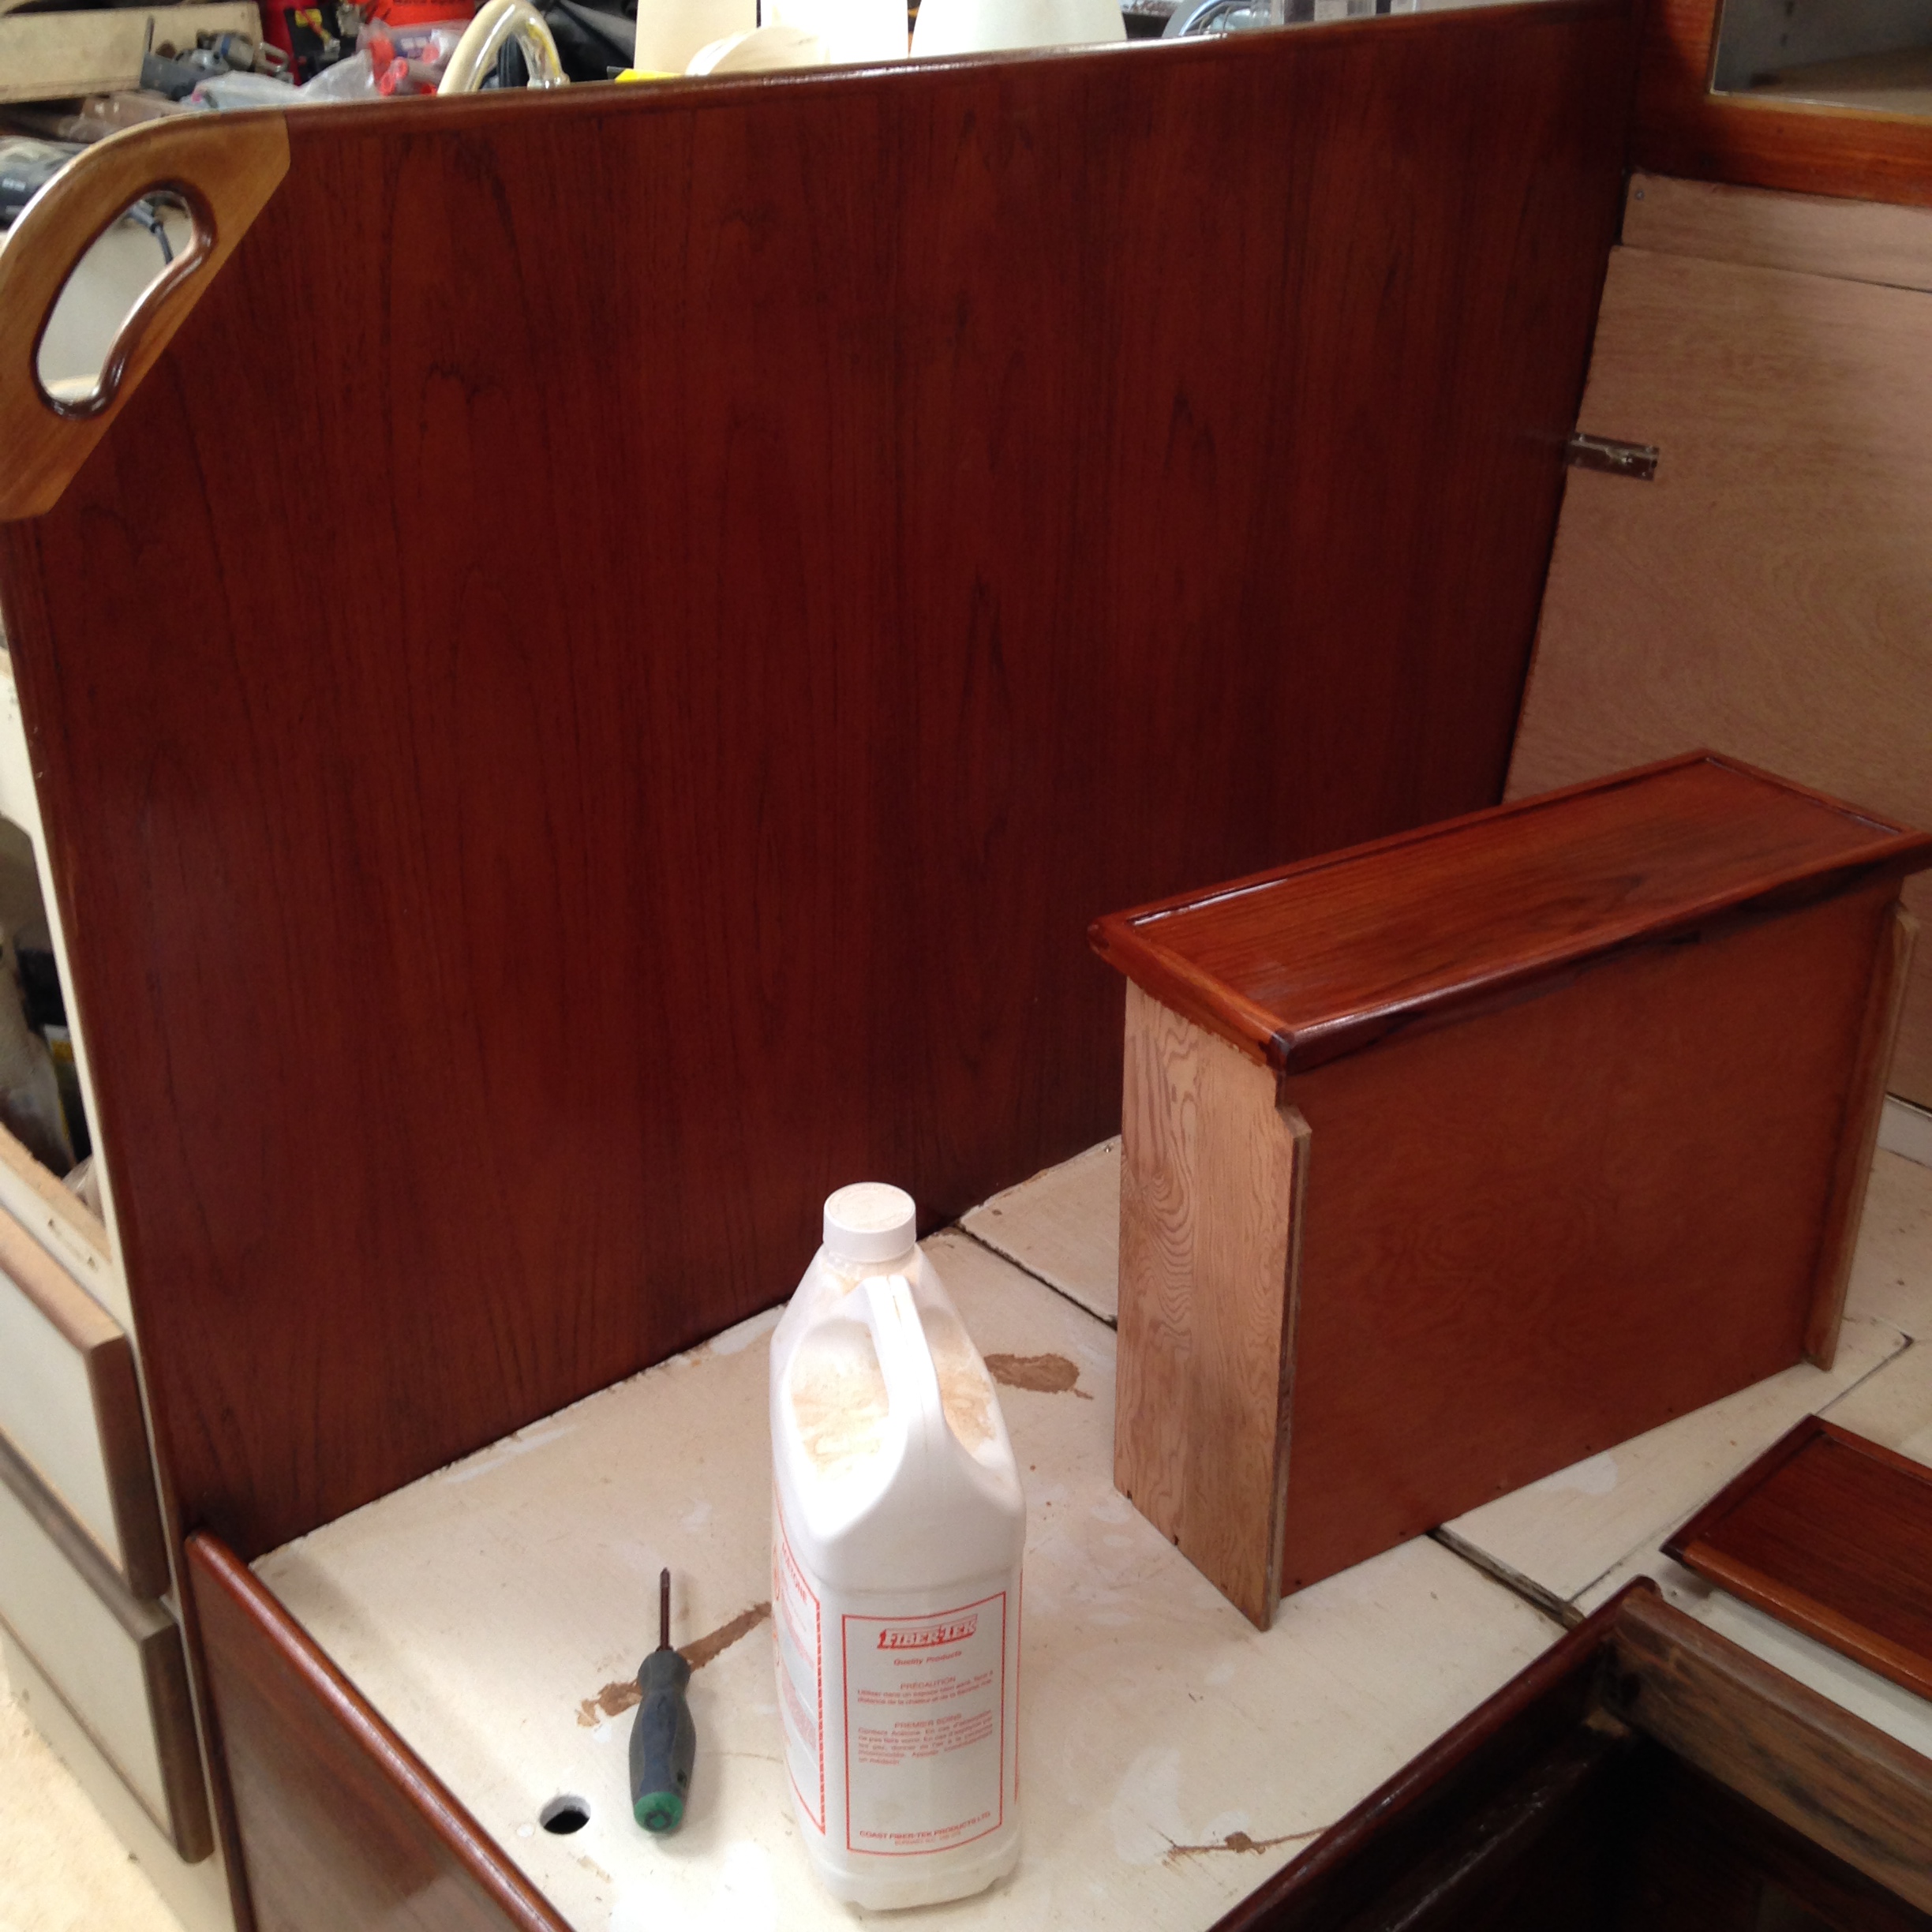
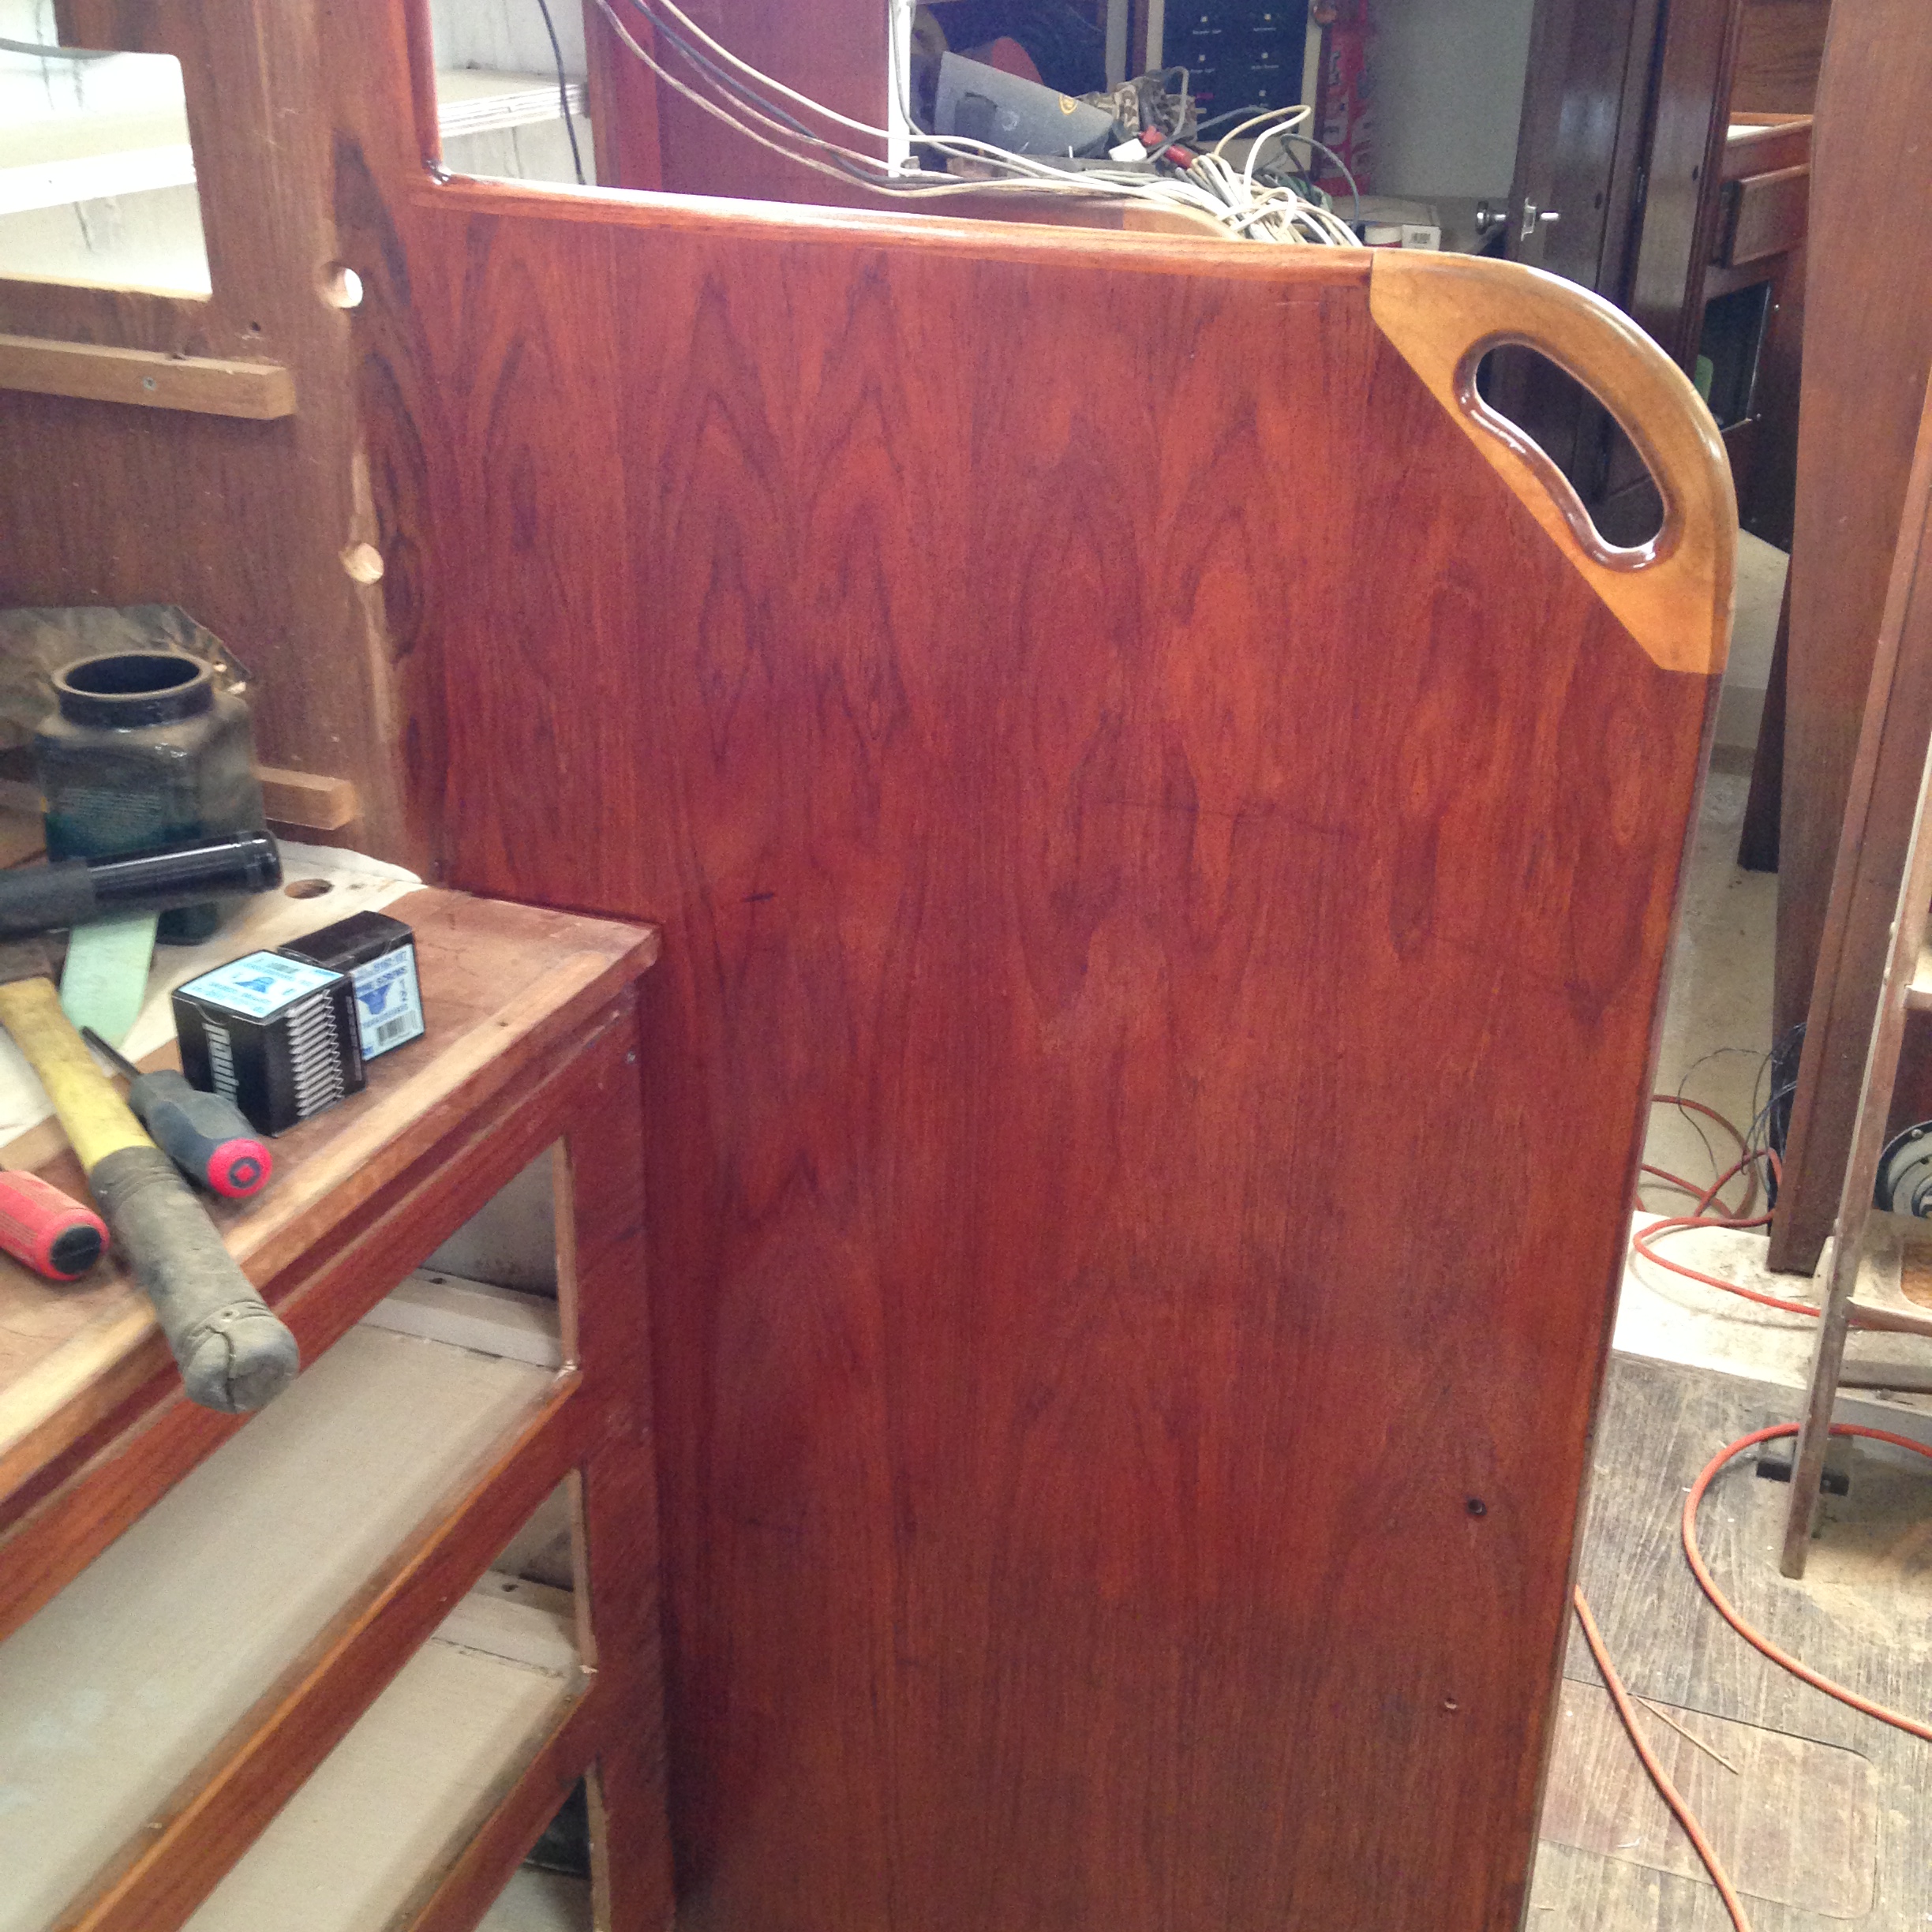
We have also sanded and hung the dishrack/bookshelf in the main salon. Currently it is held on with little wee angle brackets which was how we originally found it. I will definitely be beefing this up for sure. I do not want a cabinet full of fine china to come crashing down 😉
The dishrack
We have also temporarily reinstalled the last big panel. I had to do a little bit of epoxy repair work where the fold down bar hinge attaches so the admiral will have a little more sanding before we can permanently install it. As well, I need to buy yet another sheet of teak plywood for the back of the cabinet and then build in the shelves again.
The bar will soon be open
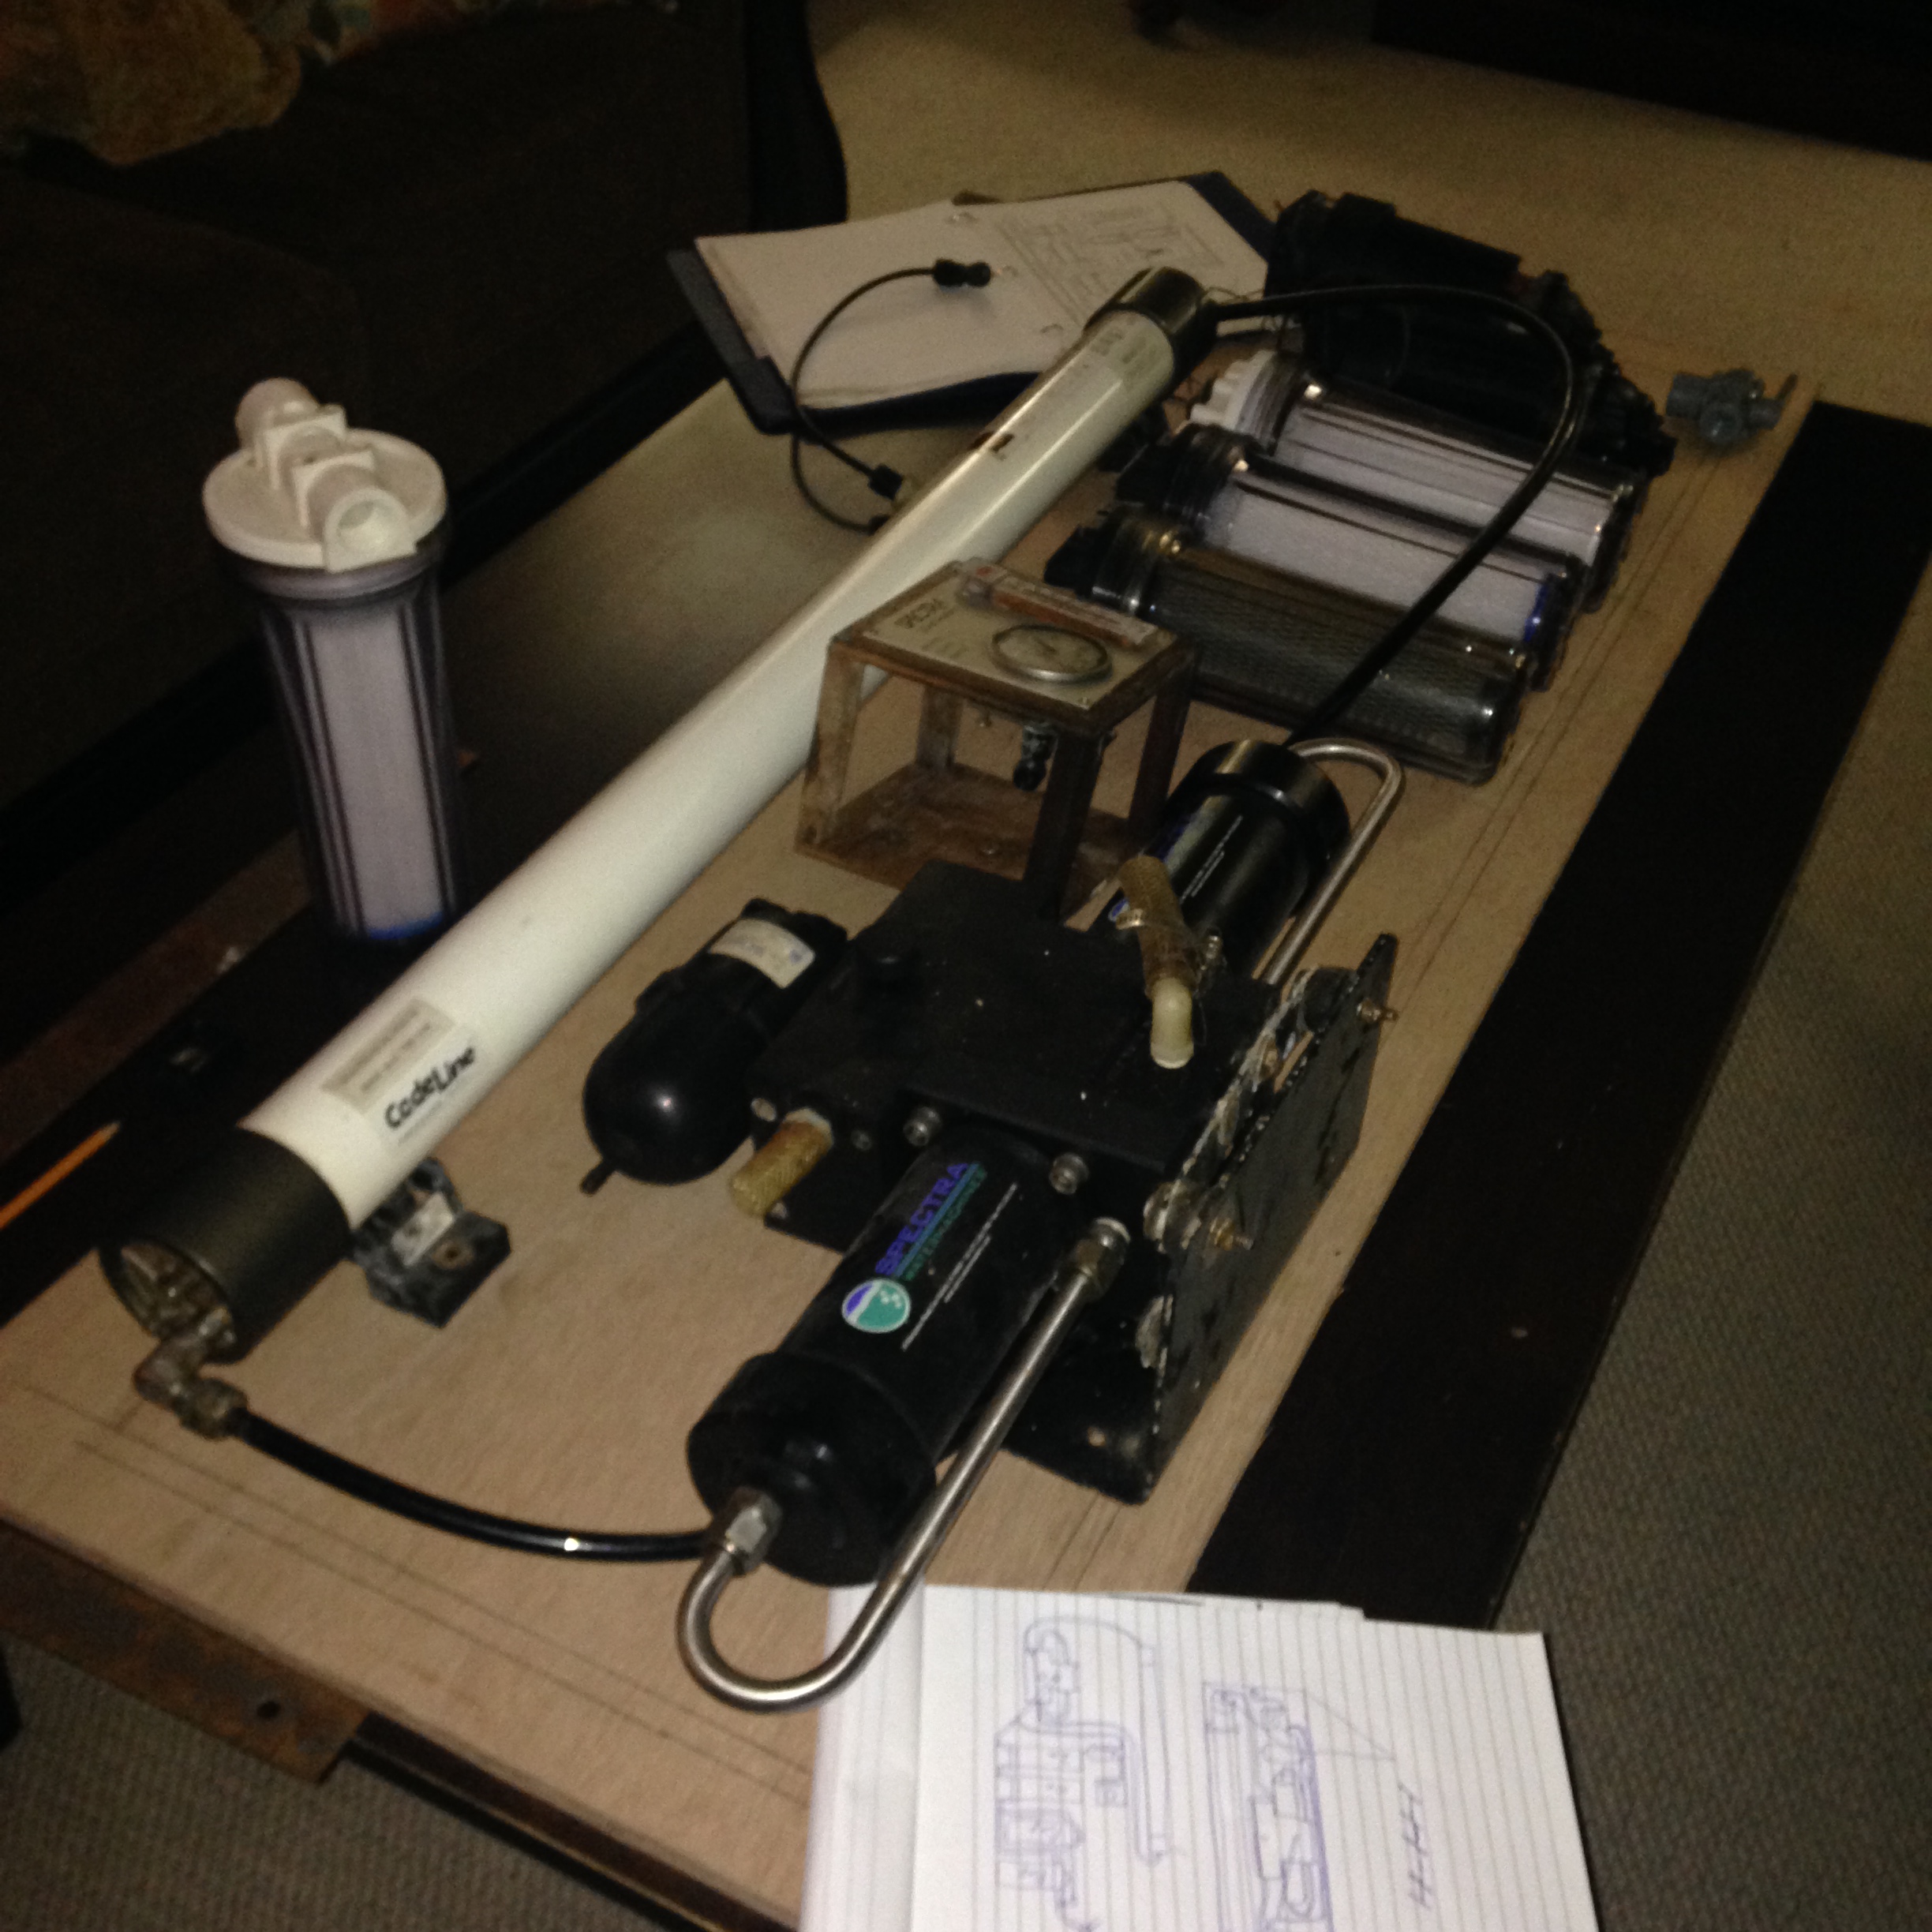
I am still working on the exact layout of the watermaker and the grumblings around the house are indicating to me that I should probably hurry up a bit. Apparently having a watermaker on the coffee table is not a good thing. I don’t really understand this because it gives me great pleasure to have it there. I can rearrange, and tweak the placement, and visually plan out the routes for the hoses and all the while I am getting more and more familiar with each piece and how the entire magic little system works and I marvel at how ingenious it is and I think about how the sailors of old would drink stagnant water from old barrels for months on end and what they would have given to have one of these little miracles, okay I get it, I will hurry up.
Spectra Watermaker layout
I think very soon we will be starting work on the galley and the heads or another way to look at it, we are down to 4 rooms left to complete. Galley, 2 heads, and last but not least, the engine room. Of course I am skipping all of the little details like electrical and plumbing, and rigging, and ok are we ever going to be done? 😉
Well after hitting the lumber store and buying 2 more sheets of marine ply, 1 – 1/2′ and 1 – 3/4″ we made our way down to Akupara. The Admiral spent the day sanding and I did a bit of reorganizing, cut the insulation for the starboard wall, began to reinstall the starboard cupboards and as the Admiral finished the last major panel, we went ahead and installed it temporarily. It needs to come back out in order to finish the shelving and the back panel but it was a feeling of accomplishment to at least get it in for now.
We have lined up our work for this weekend. The Admiral will continue to sand, for some strange reason she likes it, so I will not complain, and I will resume cutting the new shelving and installing everything. Hopefully we will be able to get a couple of coats of cetol on as well.
Starting to think about what I will tackle next as the Admiral continues to sand, I have lots to choose from of course but as I mentioned, I think it will be the installation of the watermaker. 🙂
Starboard main salon insulationStarboard main salon cabinet
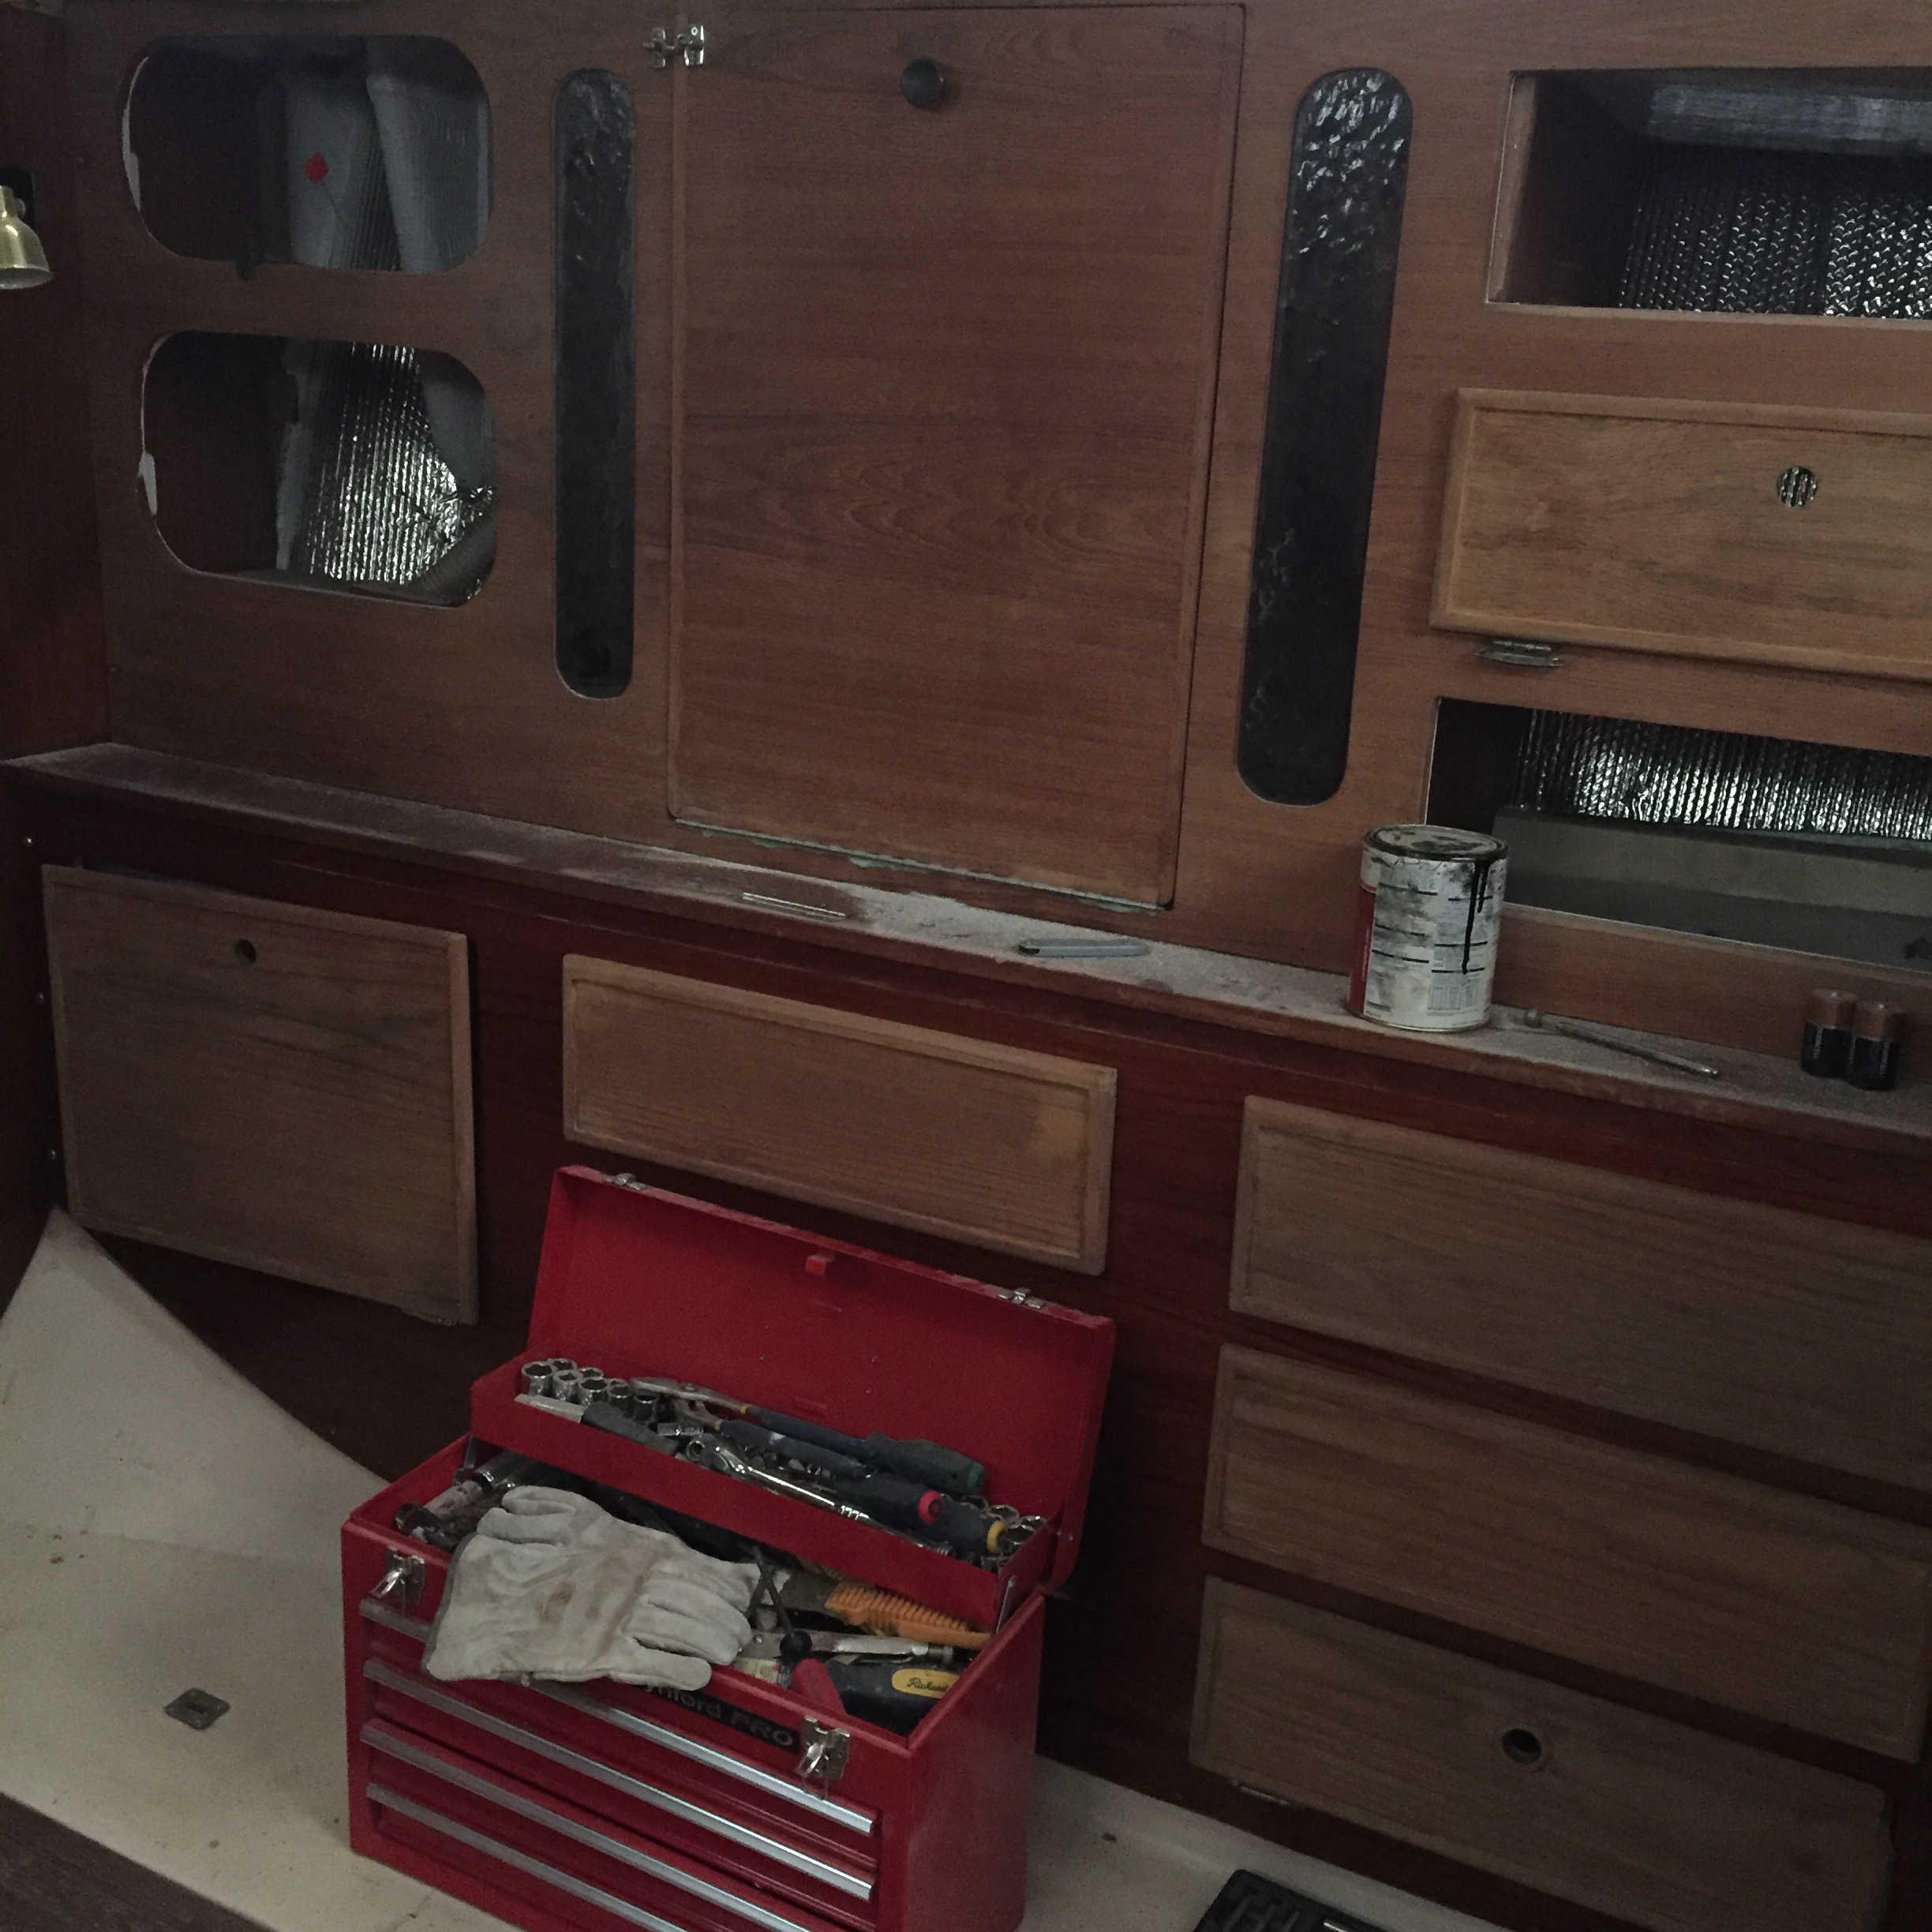
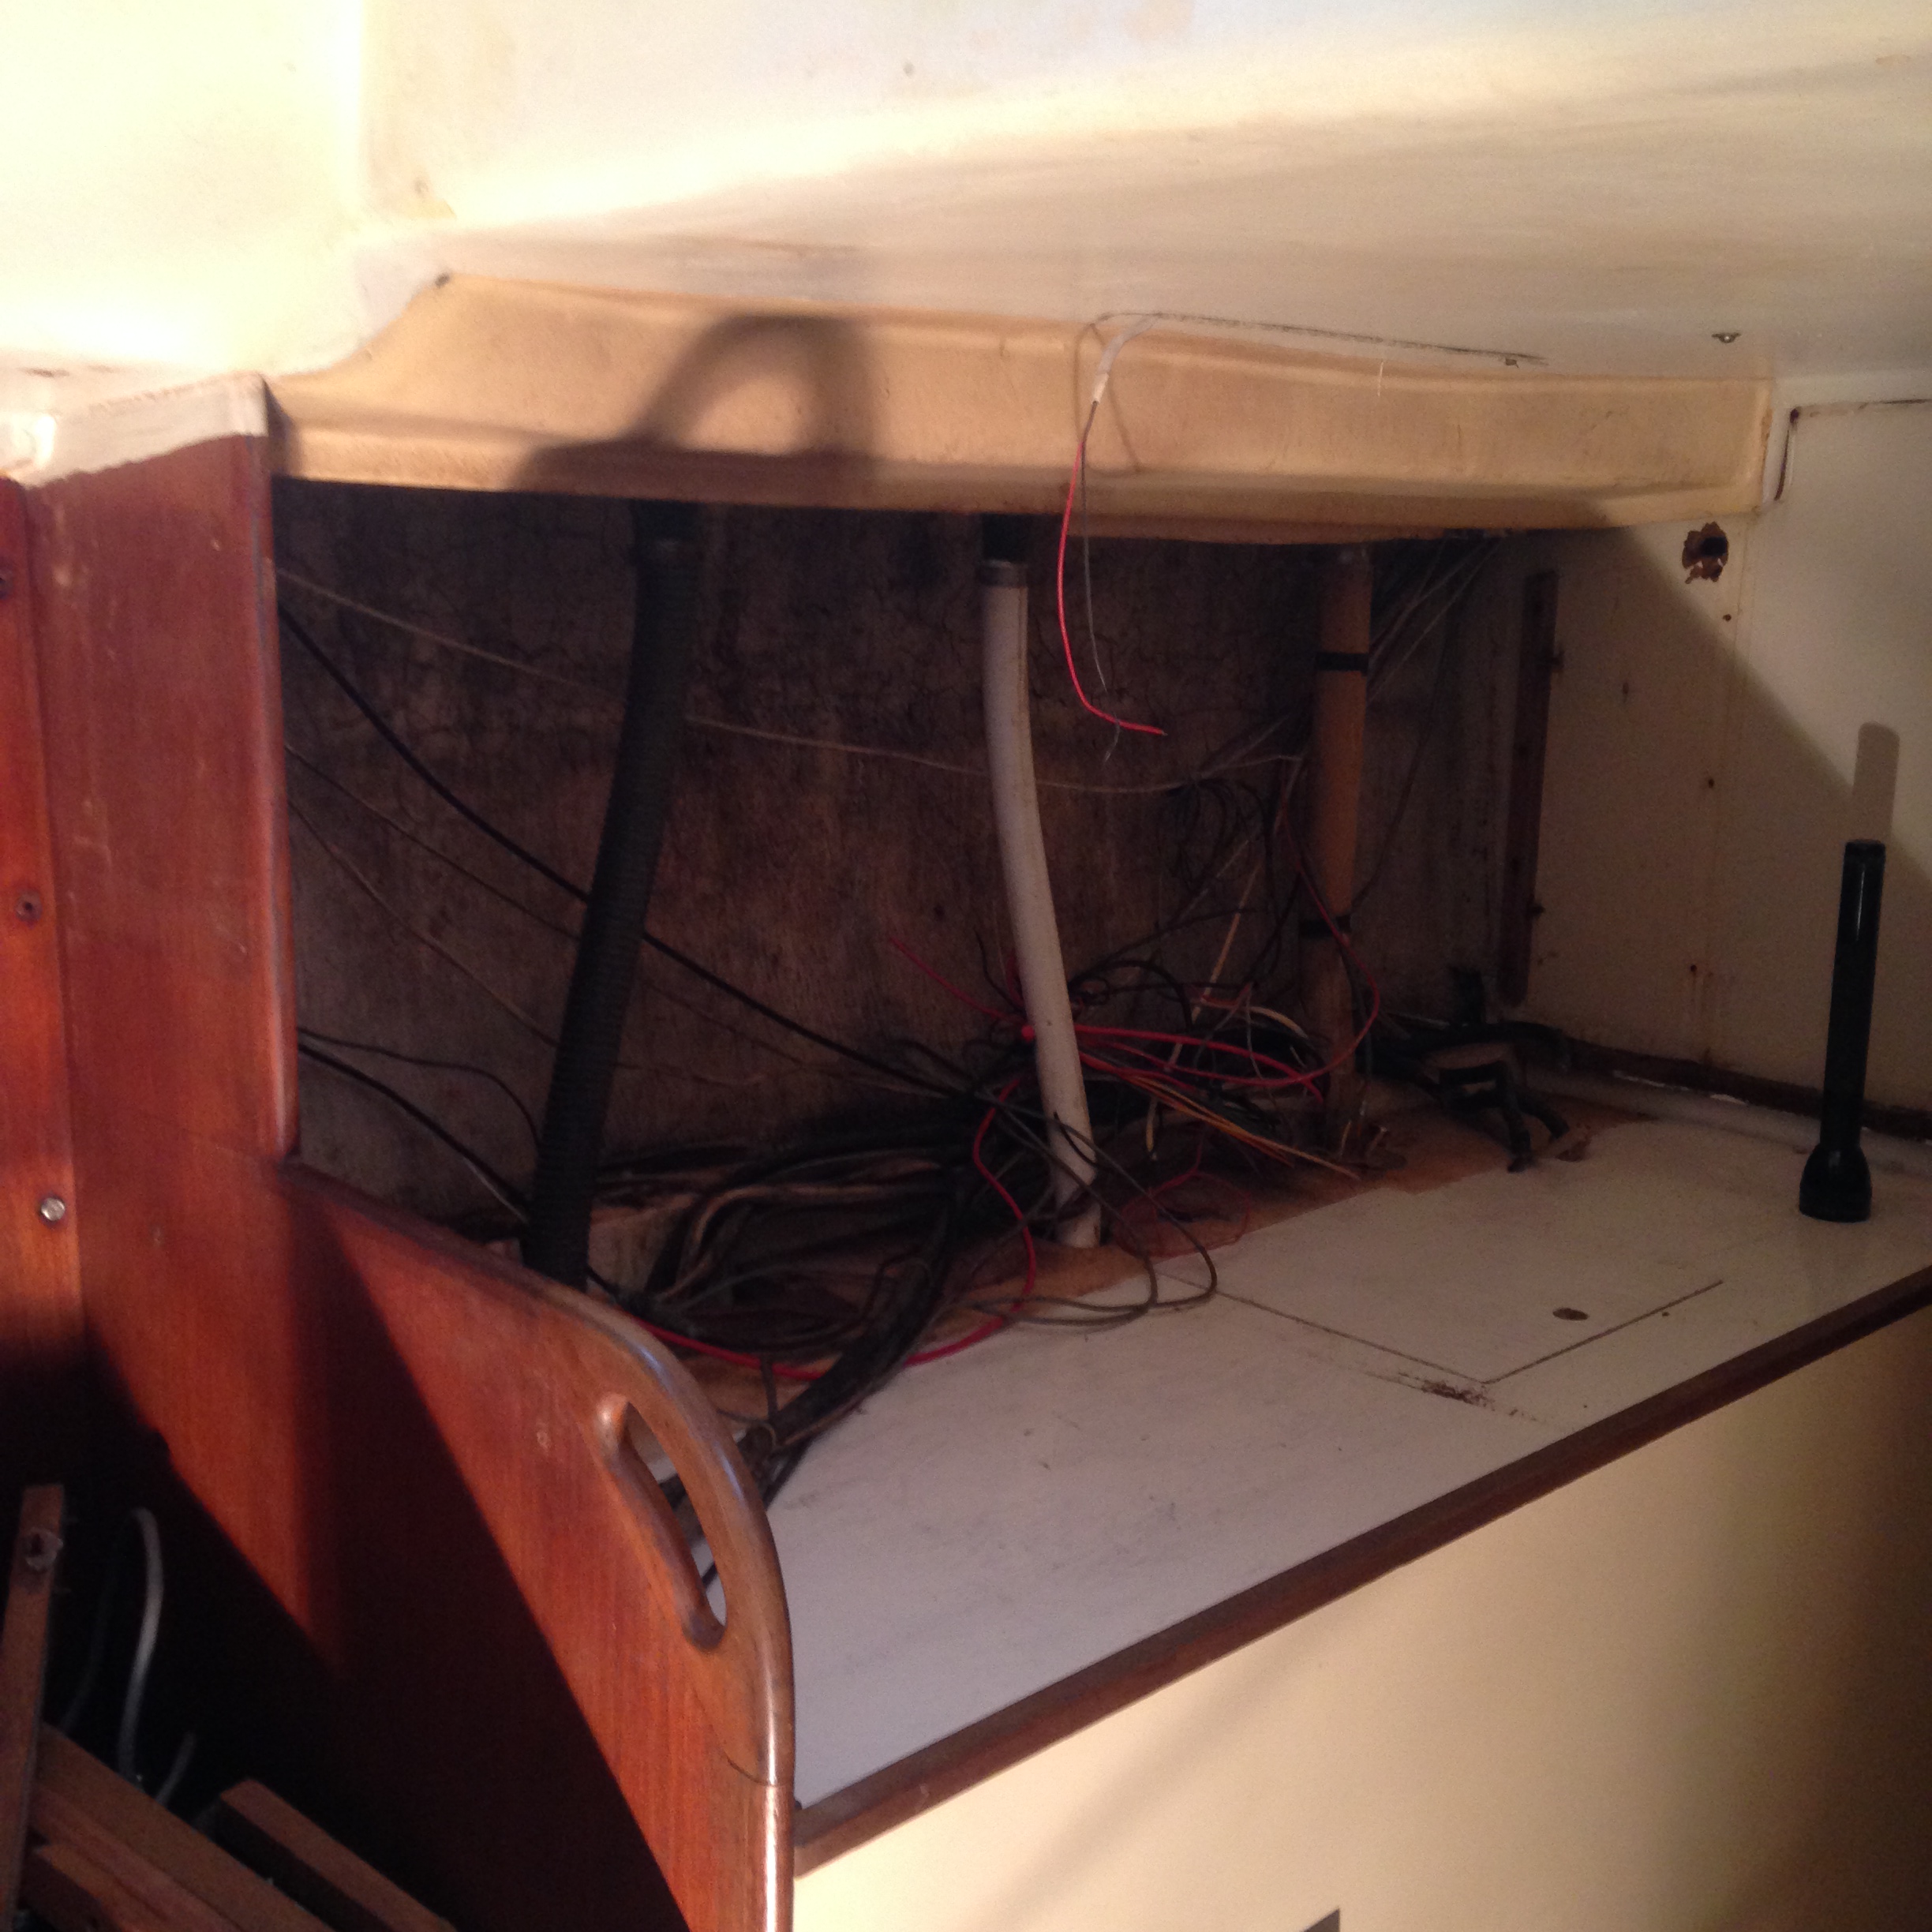
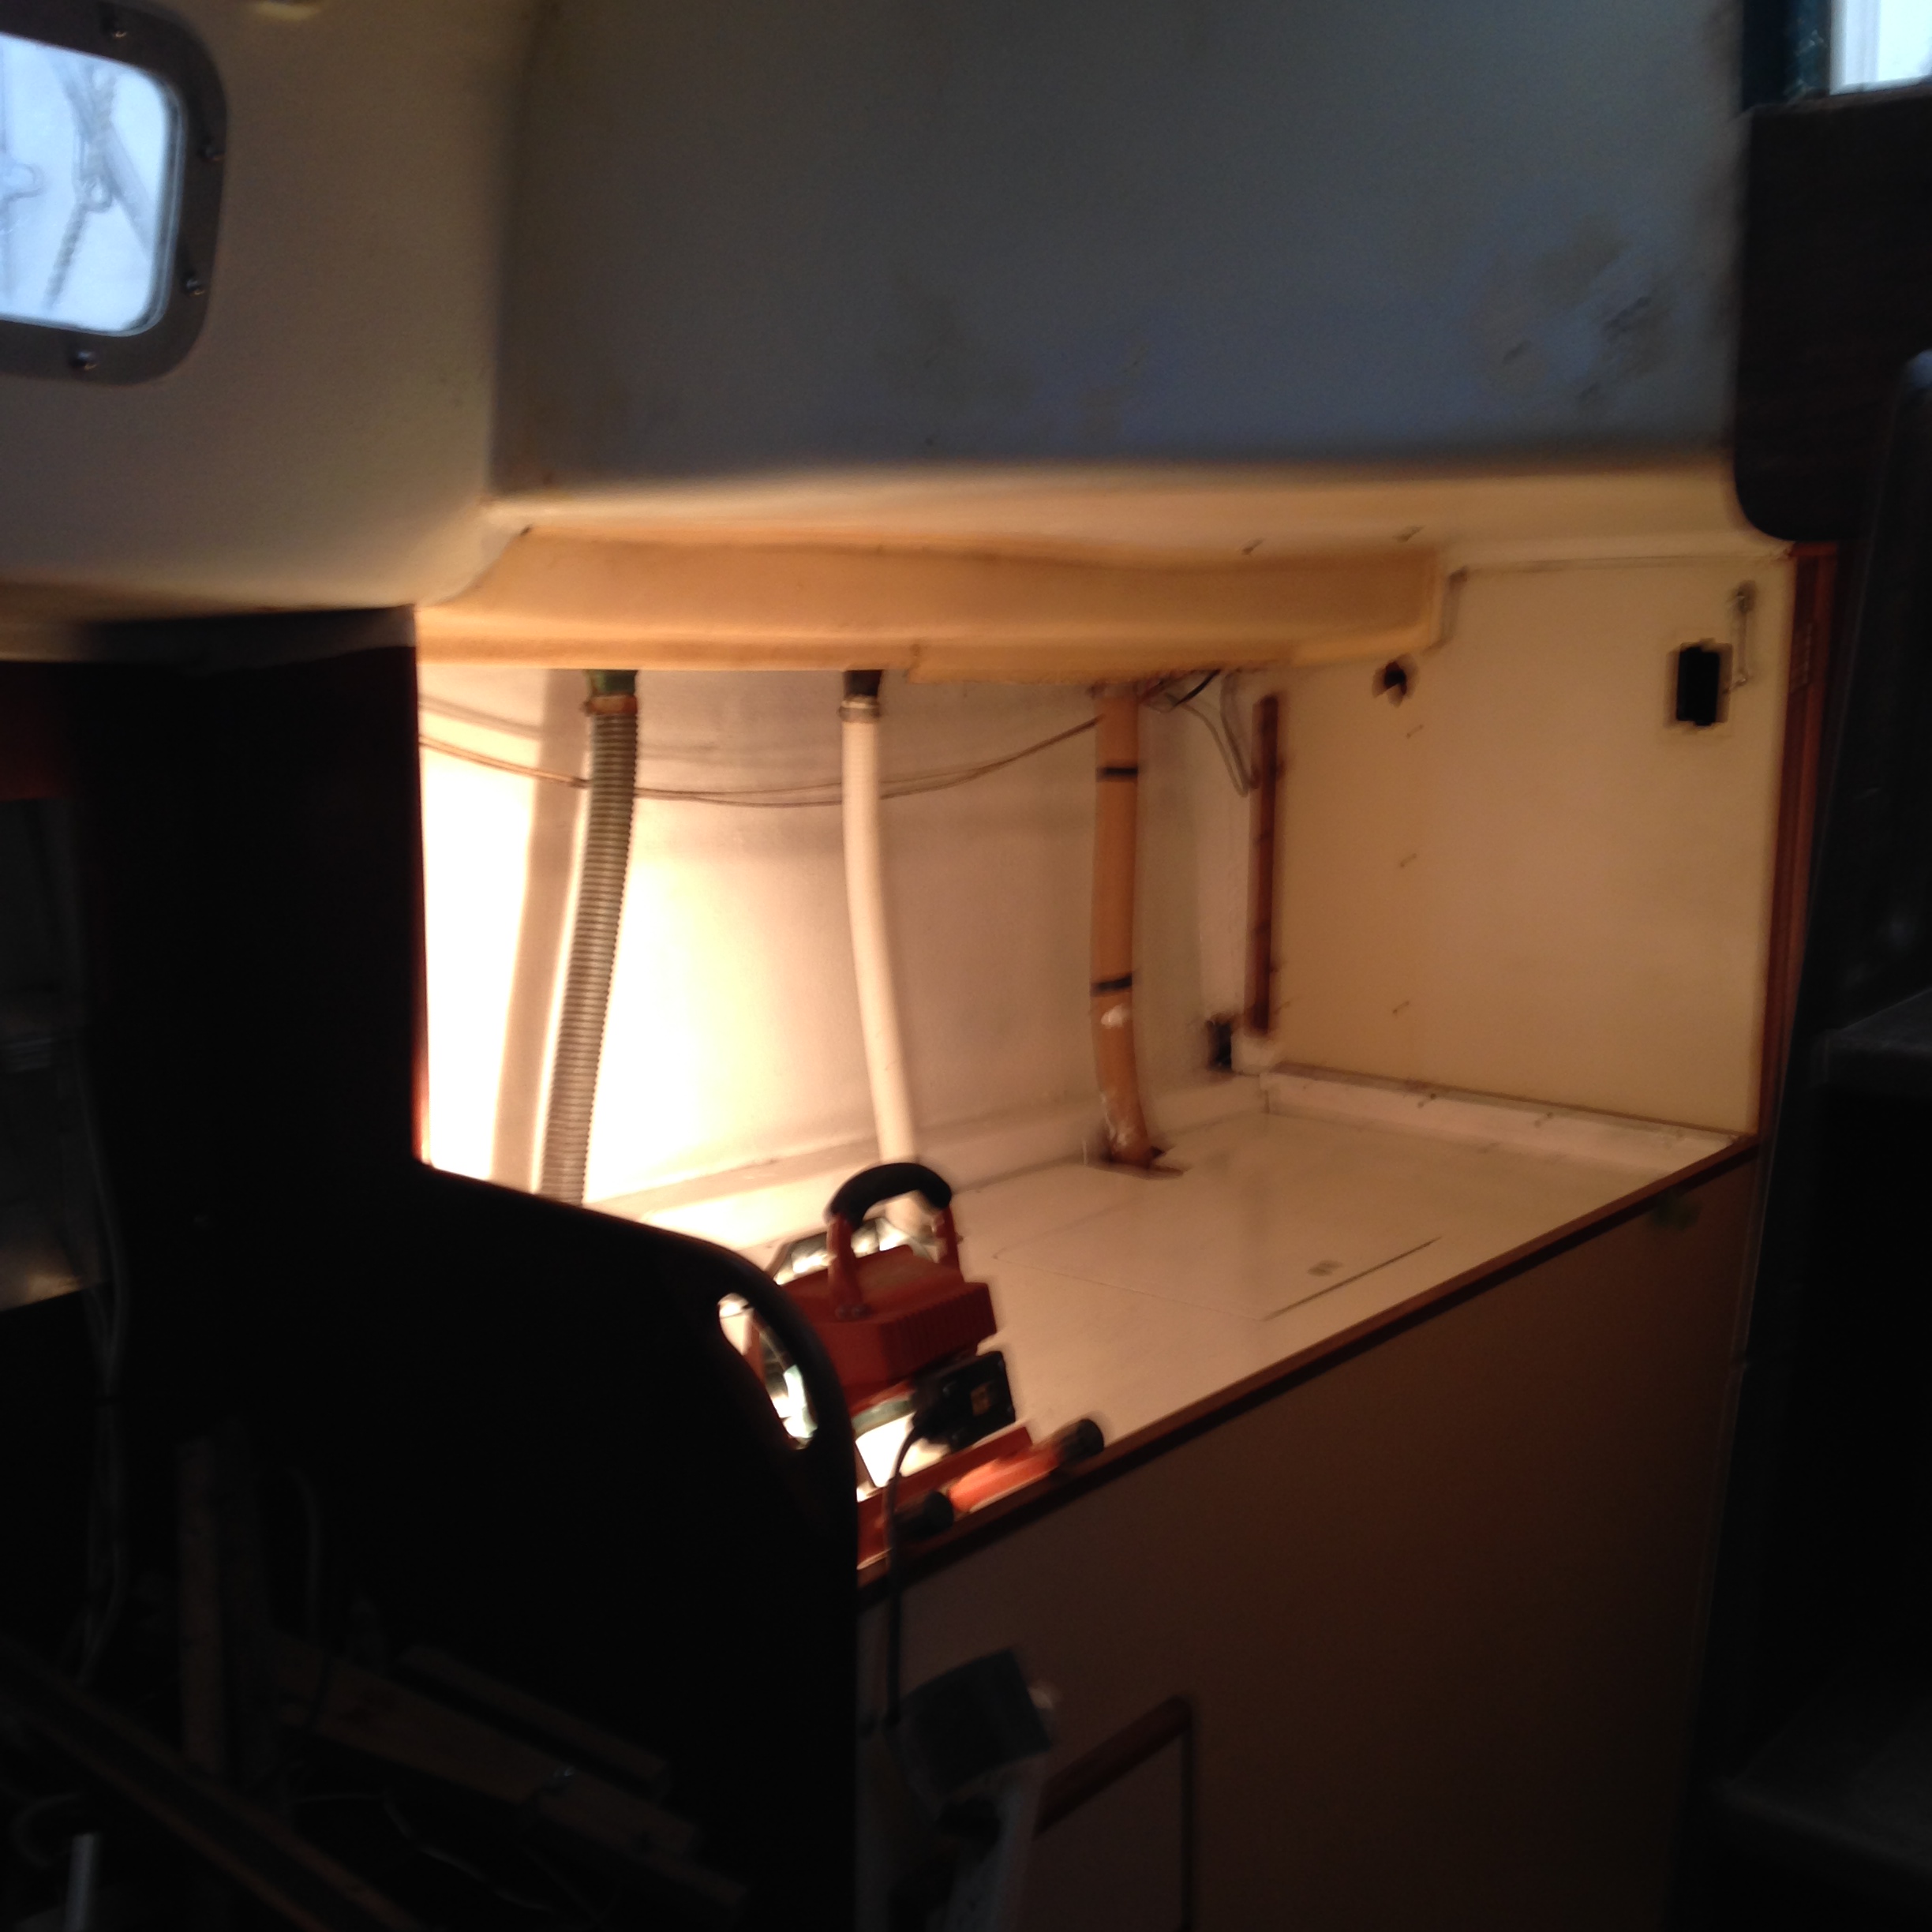
The electrical panel and all associated hidden wiring is now in a dumpster on its way to the 12v electrical graveyard. For some reason this area has taken me a while to get to. Could be the 2700 other priorities but who knows. Yesterday I decided I had put it off long enough after a bad start at sanding. I had gone down to Akupara with the intent of working on sanding and staining but it just wasn’t working out for me so I changed jobs. Since sanding was not an option, I chose to tackle the workshop/chartdesk/electrical panel area/hallway. I ripped out all of the old wood and discovered another mouldy wall. Hopefully we are getting to the point of not finding any more of these. Anyway, today I scrubbed all the mould off, painted the inside of the hull and the surrounding area and set about cutting a new backboard. I have been toying with the idea of what I am going to put back here as I want the electrical panel at the nav station. I have had 2 ideas. The first was to use the new found space as a storage area for all of my cases of spare parts but after measuring and planning and placing and trying it just would not go. So, on to plan 2 which was actually plan 1 but I had to go through at least the process of trying the spare parts cases. Plan 2, which was actually plan 1, is to use this area for the watermaker. The admiral will attest that I spent about a month with all of the little bits and pieces of the watermaker on the livingroom coffee table. It was the perfect place to lay it all out and move pieces around trying to make it fit into the allotted space. It was time well spent as the final layout is about the exact same size as the space I now have.
As I have mentioned previously, when we purchased Akupara, the watermaker was tucked into a non accessible spot in the back of the engine room. Any thought of changing filters or performing any kind of maintenance was quickly put to death.
With the new location, every piece will be accessible from a comfortable standing position which as we grow into old age, will be much appreciated. I don’t think a lot of people realize just how often the filters need to be changed until after it is too late.
For some reason I am really excited to get this are complete! We will not be using the watermaker any time soon, but to have it tucked away all neat and organized and CLEAN makes me very happy!
Other than that I accomplished a lot of little small jobs this weekend. Things that are just small and fiddly that take an exorbitant amount of time. I hung a few cupboards and closet doors and changed out a whole bunch of screws and added finishing washers. I cut a 3/4 piece of plywood to start filling in the hole from where the PO had the SSB. I organized all of the pieces of marine ply I had left. I organized all of the wood that still needs to be sanded and installed. I made about 4 trips to the garbage bin with little things I have been collecting as I come across them. There was a lot of tools left aboard and in our initial cleaning I did not want to throw them out. Now I am getting tired of moving them every time I need to do something so I am ridding myself of anything that is in less than pristine condition. Slowly of course, but a little is better than none.
So as an aside, yesterday the Admiral came with me as I left for Akupara. I had to stop at the store to buy sand paper and once we were on our way, the Admiral feigned illness. Out of nowhere she claimed to be nauseous and could not continue on our way. So being the gentle kind loving husband that I am, I turned the truck around and brought her home where she proceeded to spend the rest of the day on the couch watching Netflix.
Did I mention that we were basically having a monsoon with water running down the streets and sidewalks?
So yesterday, she did mention that she was going to come with me today, but somehow at 8am when I announced I was going to head out, there was no arguing or wait for me’s or hang on I’m coming or I will meet you there. Nope nothing.
Something tells me that she somehow had a miraculous recovery and perhaps a bit of guilt reared it’s ugly head as tonight when I returned home, I was greeted with a complete turkey dinner with all of the fixings.
Hmmmm, suspicious?
Here are some random pictures taken over this weekend.
Fresh PaintNew panel to mount water makerTest fit to check clearancePlugging cut outs in Nav stationOne more cupboard door2 more doors to stainAnd you thought I was joking.
Well it has been a rather strange month again. We made it down to Akupara last weekend but did not get a lot accomplished other than to check on her and try to get our heads back in the game. We are so close to finishing all of the major interior wood that the last few pieces are getting to the point of being painful. Once they are completed we will need to make a decision as to what to attack next. We have many options of course but I think for the time being we will continue to complete the interior. We still have to sand the cabin ceiling to get rid of all of the old house paint, and there is still all of the electrical and plumbing. Of course we have not attacked the galley yet, but I think that will be the final interior job. Something about having construction dust in a new galley is just not appealing.
The Vancouver boat show is coming up in January and I would like to have the interior renovation complete so that we can move on to other things like what I mentioned above. Sometimes there can be some good deals at the boat show and other times it just seems to be the same old thing.
A few items from our shopping list are: new seacocks, 12v and 120v wire, electrical panel, 2 heads and associated plumbing, and perhaps a diesel heater. On Kismet, we installed a Planar Air Heater. They work on exactly the same principle as the other big name air heaters but cost 1/3 the cost. We absolutely loved it! We could go down to Kismet in the winter time after she had been left all week and in under an hour, the interior temperature would be close to 80. We have never had forced air heat aboard a boat before and let me tell you, once you have had it, you use it more than you can possibly imagine even in the summer. Typically I am the first one to wake in the mornings and I would get up, make my coffee and sit out in the cockpit to enjoy the sunrise. The admiral is the next up but if I timed it right. I would turn on the furnace about 15 minutes before she got out of bed and she loved it. Just enough to knock the damp early morning chill out of the boat. It extended our season and our comfort aboard in the off months was greatly increased. For 1/3 the cost of the big names I thought I would take a chance and I am very glad I did. I have heard of less issues with these units than the big names. Friends of ours also installed one, after fighting for years with an older big name brand and they love theirs as well. Even if you only got a year out of it and had to buy one 3 years in a row, you would still be farther ahead than the big names which from what I have heard, start acting up in under 3 years.
And the final icing on the cake. Here in Vancouver, the distributor actually delivers the entire unit and any extra parts that you may have purchased right to your front door!
If you have ever thought about having one, for about $1000 plus your installation time (I installed mine in 1 day), you can have the luxury of turning on the furnace as well. 🙂
check them out if you are in the Vancouver area. http://www.planarheaters.com/
Not a lot to say from last weekend except, sanding, staining, sanding, and more staining so I will keep this post short and just give you the pictures from last weekend.
pre CetolAfter CetolFirst coat of Cetol on Mast box
There are some things in life that are satisfying and some that are not. Sanding is one of those things that I think falls into the satisfying category. You take an old weathered piece of wood and with minimum effort (most times) you end up with an almost new piece of wood. It is fantastic!
Of course that only holds true when you are only sanding one or two pieces. After the 457th piece is sanded and you still have another 457 pieces to sand, it starts to fall into the unsatisfying category. Actually just the pain in the ass category.
Believe it or not, we are actually coming close to being finished with the sanding of wood. I think there are 3 doors, about 10 drawers, and 1 major panel and 1 small panel left to sand not to mention all of the little pieces of trim. Our basement is almost free of Akupara’s interior!
We are trying to drive this to completion and I have to say that the admiral and the crew have been exceptional when it comes to being persistent with this. Hopefully, fingers crossed, that we will have all of the wood sanded and stained by the end of next weekend. So 4 more days of work.
Then the real sanding will begin. This sanding is not going to be fun. It will involve a lot of paint dust, and fiberglass dust and generally be very nasty as we sand all of the interior liner where it is visible in preparation for painting and of course I keep skirting the issue of sanding the decks, but I really do not think that will be as bad as the interior. At least we will not have to hold the sander above ourselves with everything falling in our faces.
So, we did manage to complete the sanding of the majority of the main salon, there is one small bulkhead left at the nav station, and eventually the table will need to be completed, and the admiral finished a few more cupboard doors and a drawer or two. I ran out of Cetol Natural Teak so we did not get a chance to stain any of it.
I mentioned before that at some point someone had painted the main bulkhead. I hate this look and a while back decided that I would strip it. This left me with an interesting issue. I was unable to get the paint out of the grain. We spent many hours trying to discover a secret as to how to do this without ruining the teak. From brass wool to toothbrushes nothing worked. We resigned ourselves to having to add a new layer of veneer.
Yesterday I decided that since we were going to re veneer it there was no worry of damaging it so I have it one last attempt with the sander. 6 hours later I managed to remove 95% of the paint from the grain and we have now saved the original veneer. Although it is not perfect I am pleased that we could save it.
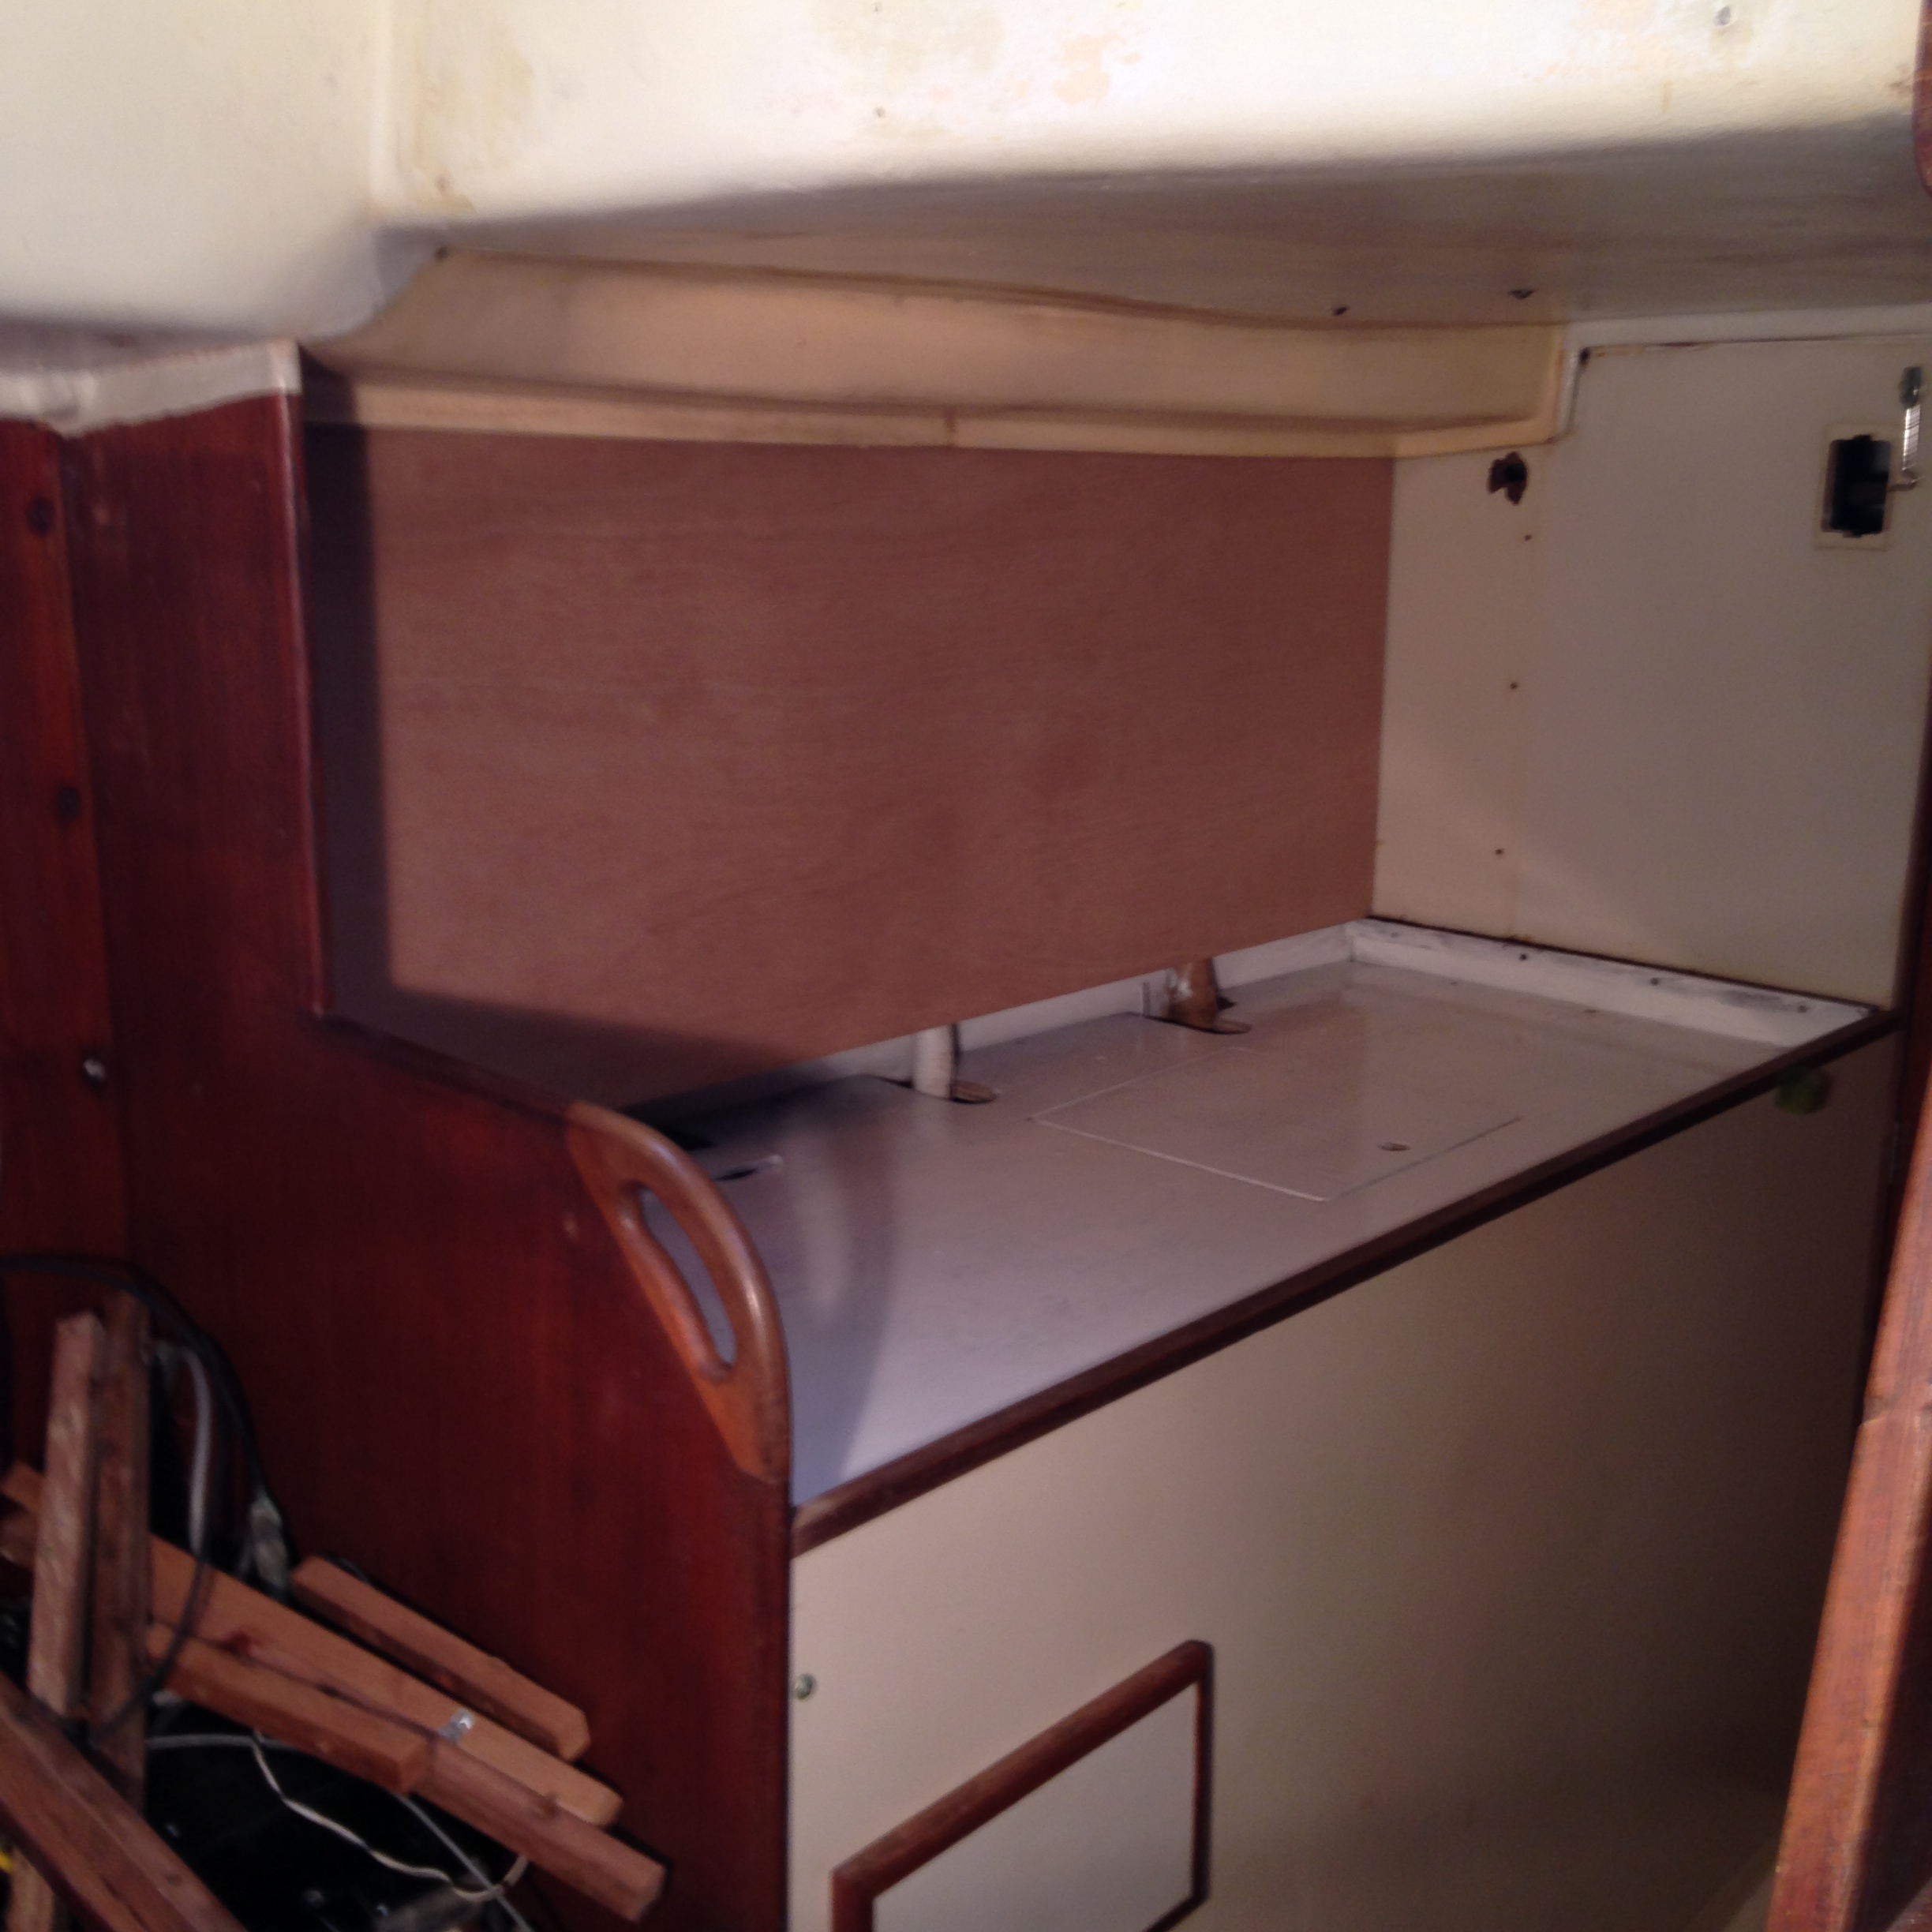
Once there was a nav station, now there is a big hole.
I have considered 3 avenues for the nav station and I will try to explain my reasoning for each. Option #1 was to remove, paint, fix and replace everything exactly as it was. Option #2 was to remove, paint, fix and rebuild the nav station to be starboard facing, so that when you were sitting there, you were facing to starboard as opposed to forward. Option #3 is pretty much like option #1 however with a major difference. Move all of the electrical panels, controls, monitors, and whatever else to the outboard side and fill in that 8″ of cupboard.
So option 1 seems like a very good idea. Simple easy and quick. However it does not make any improvements to the overall design. Option 2 also seems like a good idea. I would end up with a larger nav table, I could increase the storage area under the new desk for chart storage and I think it would flow a little better, but then I would lose my den. Ultimately I have decided to go with option 3. I will reuse as much of the existing layout and cabinetry however I will relocate all electrical to this area. It will be the nerve hub of the ship, the command central so to say. From here I can sit in the Captains private reserved area, play with my radios, turn switches and flip dials, all the while barking commands to the rest of the crew that are all salty like, “you there, you scallywag, run and fetch me another mug of grog.” And then the admiral will give me that look, and the crew will mutiny and I will turn back to my flipping of dials and turning of switches. But in my head, I will be commanding a great crew on a great old sailing ship as we battle our way round the cape. Or the end of the damn dock at the marina, but you get the point.
Okay, seriously, I do not like facing outwards as I do not feel that you would have the same sense of security of being able to jam yourself into a little cubby and I do not like the idea of an aft facing nav station as I think dealing with the motion of a boat offshore is difficult enough without having to anticipate and compensate for the motion in reverse. And I have always thought that the nav station should be the command central. This is where we will make log entries, this is where we will plot positions etc so it needs to be functional. Again on Kismet III we had a beautiful matching stainless clock and barometer mounted on the forward bulkhead. It looked great, very nautical and all that. From my nav station, I would have to get up, make my way to the forward side of the cabin, read the barometric pressure, make my way back to the nav station and record it. Of course typically I got distracted half way through this and had to make multiple trips. I am partially joking here, but how would this have worked offshore if there was a crewmate sleeping in the main salon, and you were dripping wet, the boat is at 40 degrees heel as you come down the face of some monstrous wave, and now you have to walk back and forth with a headlamp on…I think you get my point. The clock and the barometer should have been at the nav station. Not only to make it easier, but I think typically if something is easier, it is probably safer as well. My end goal is to have every piece of information that I need readily available in one spot.
So after cleaning, scraping, and painting, I have started replacing the cabinetry as it was prior. I hope by now that everyone realizes that all of the interior is removable and I am only dry fitting everything. Most of it will come out at least once more to run electrical wires etc.
I have always loved the idea of these black panels that you see on some of the more modern yachts that have an outline of the boat and little led’s that light up to indicate different things. If anyone knows where I can have one made, please send me a note. An example below:
I am not so much interested in this particular electrical panel, just the idea of the outline of the boat.