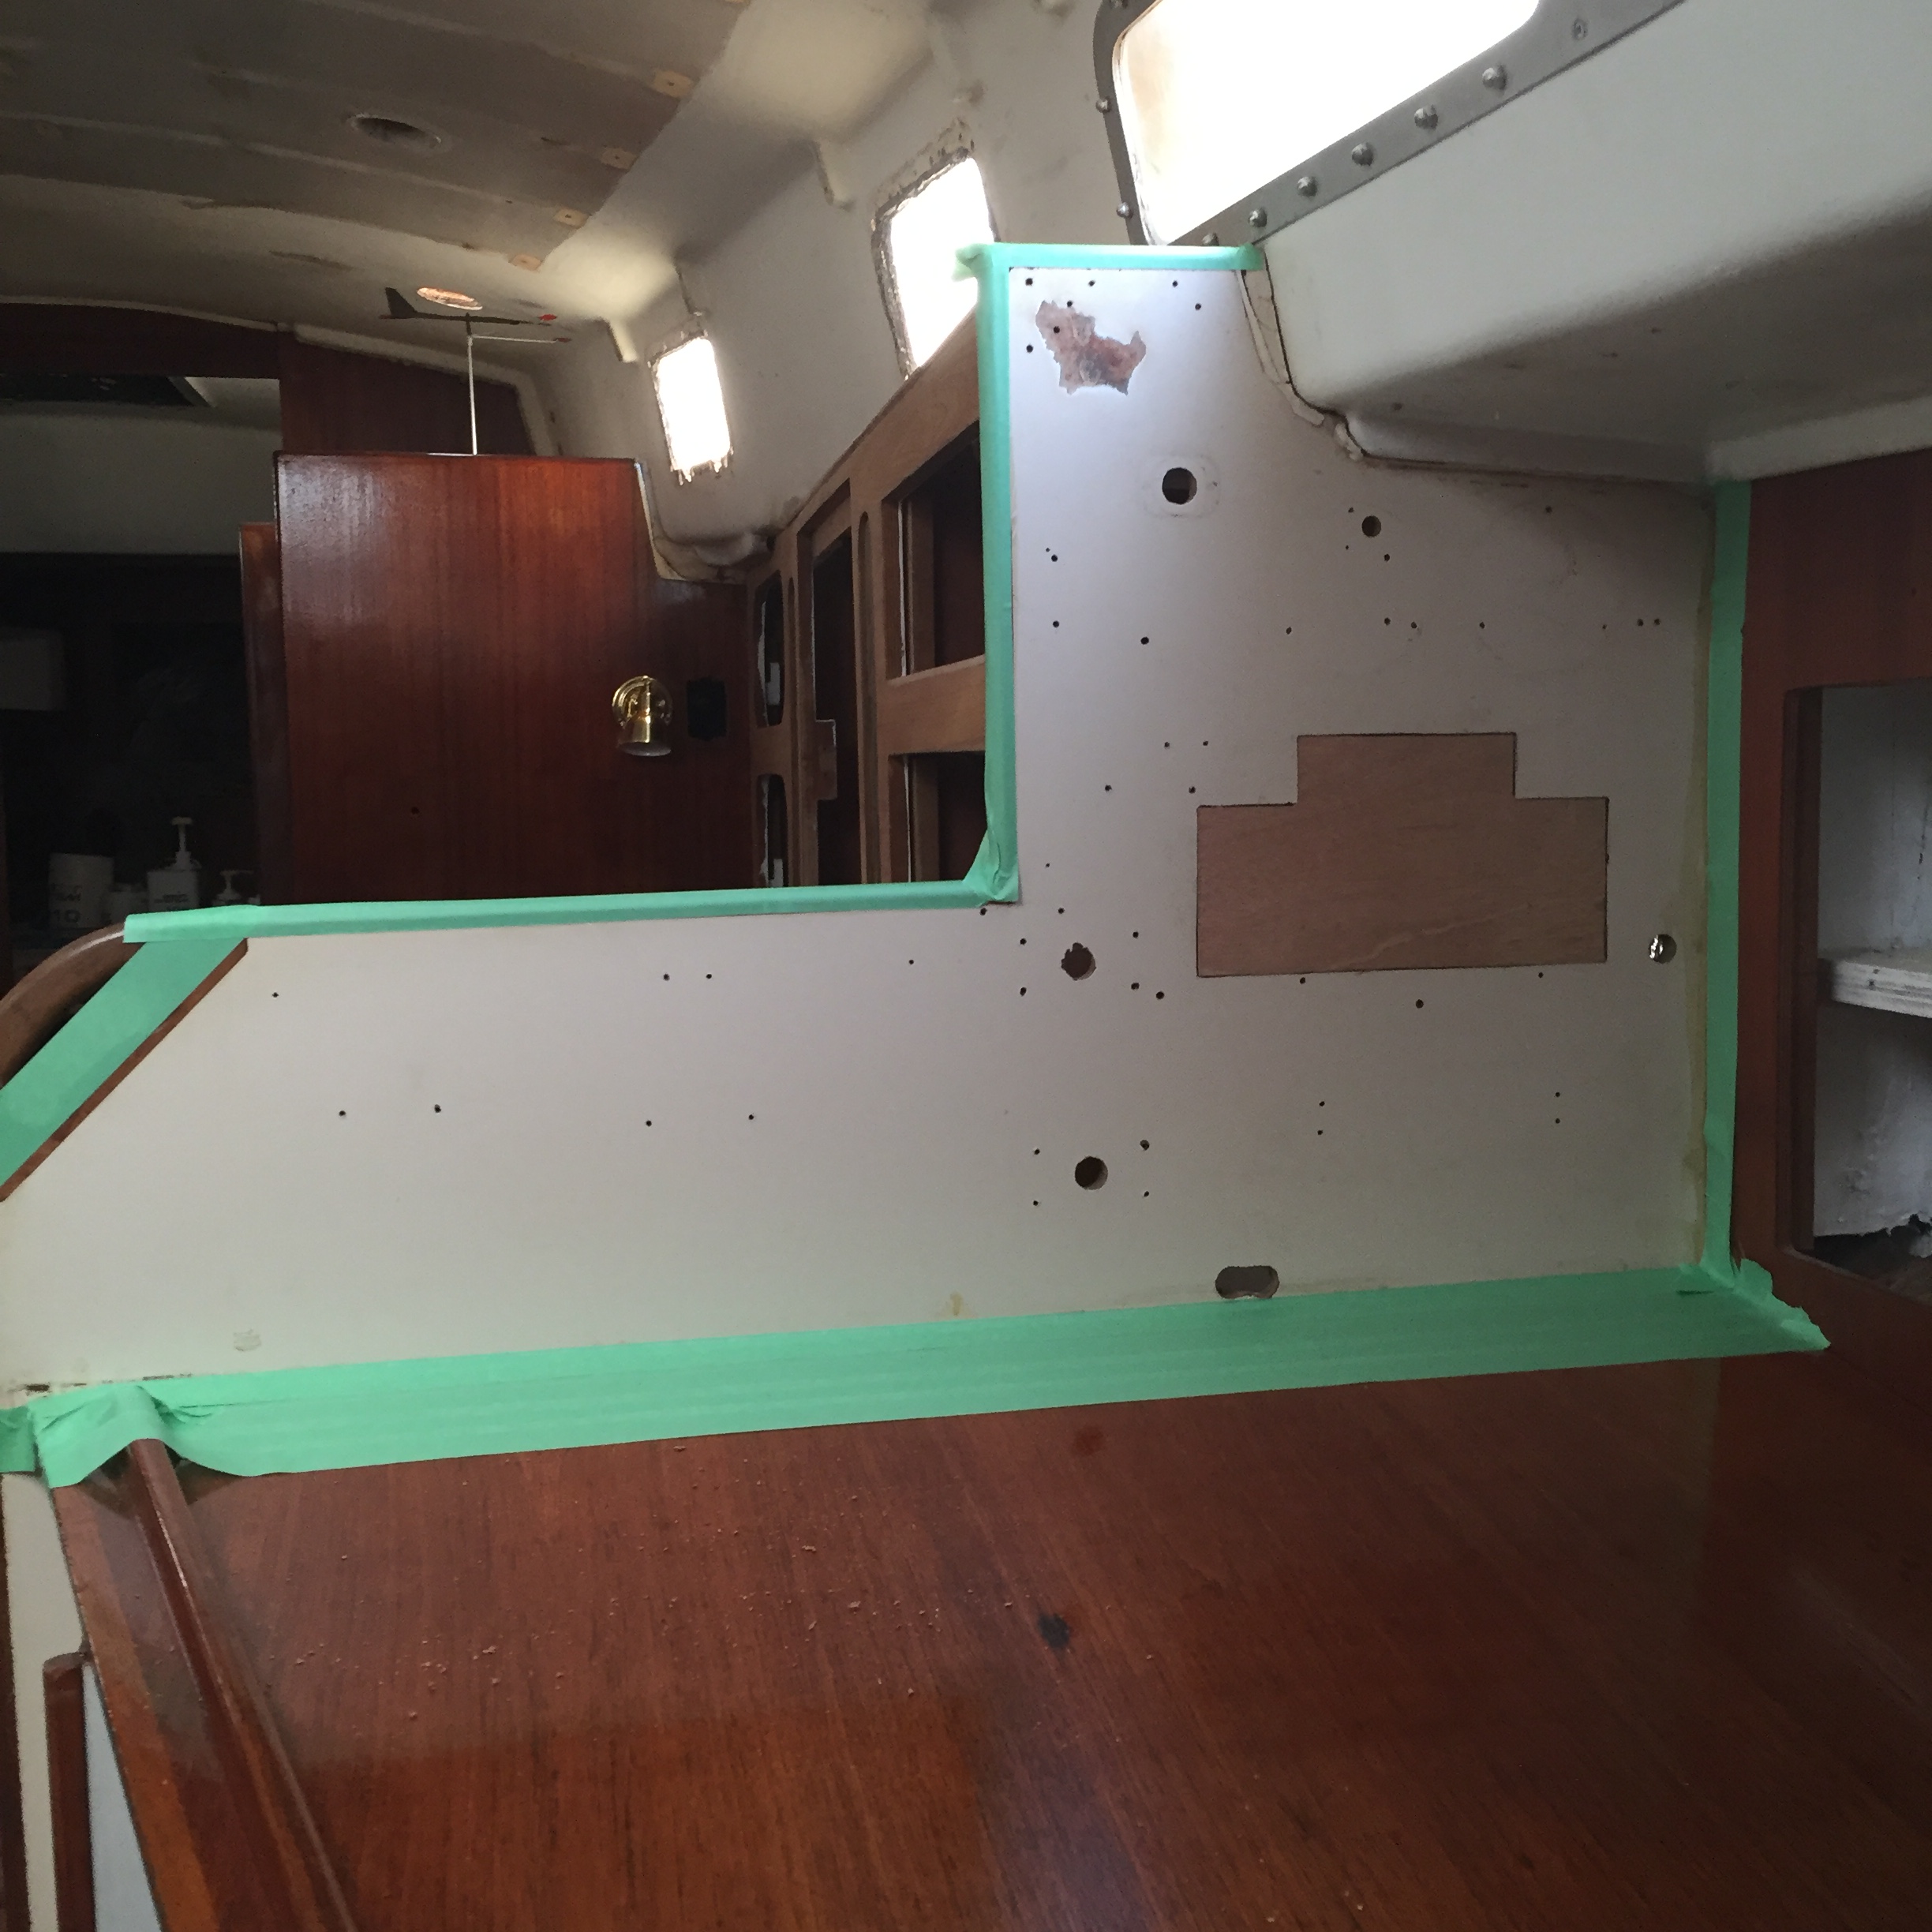
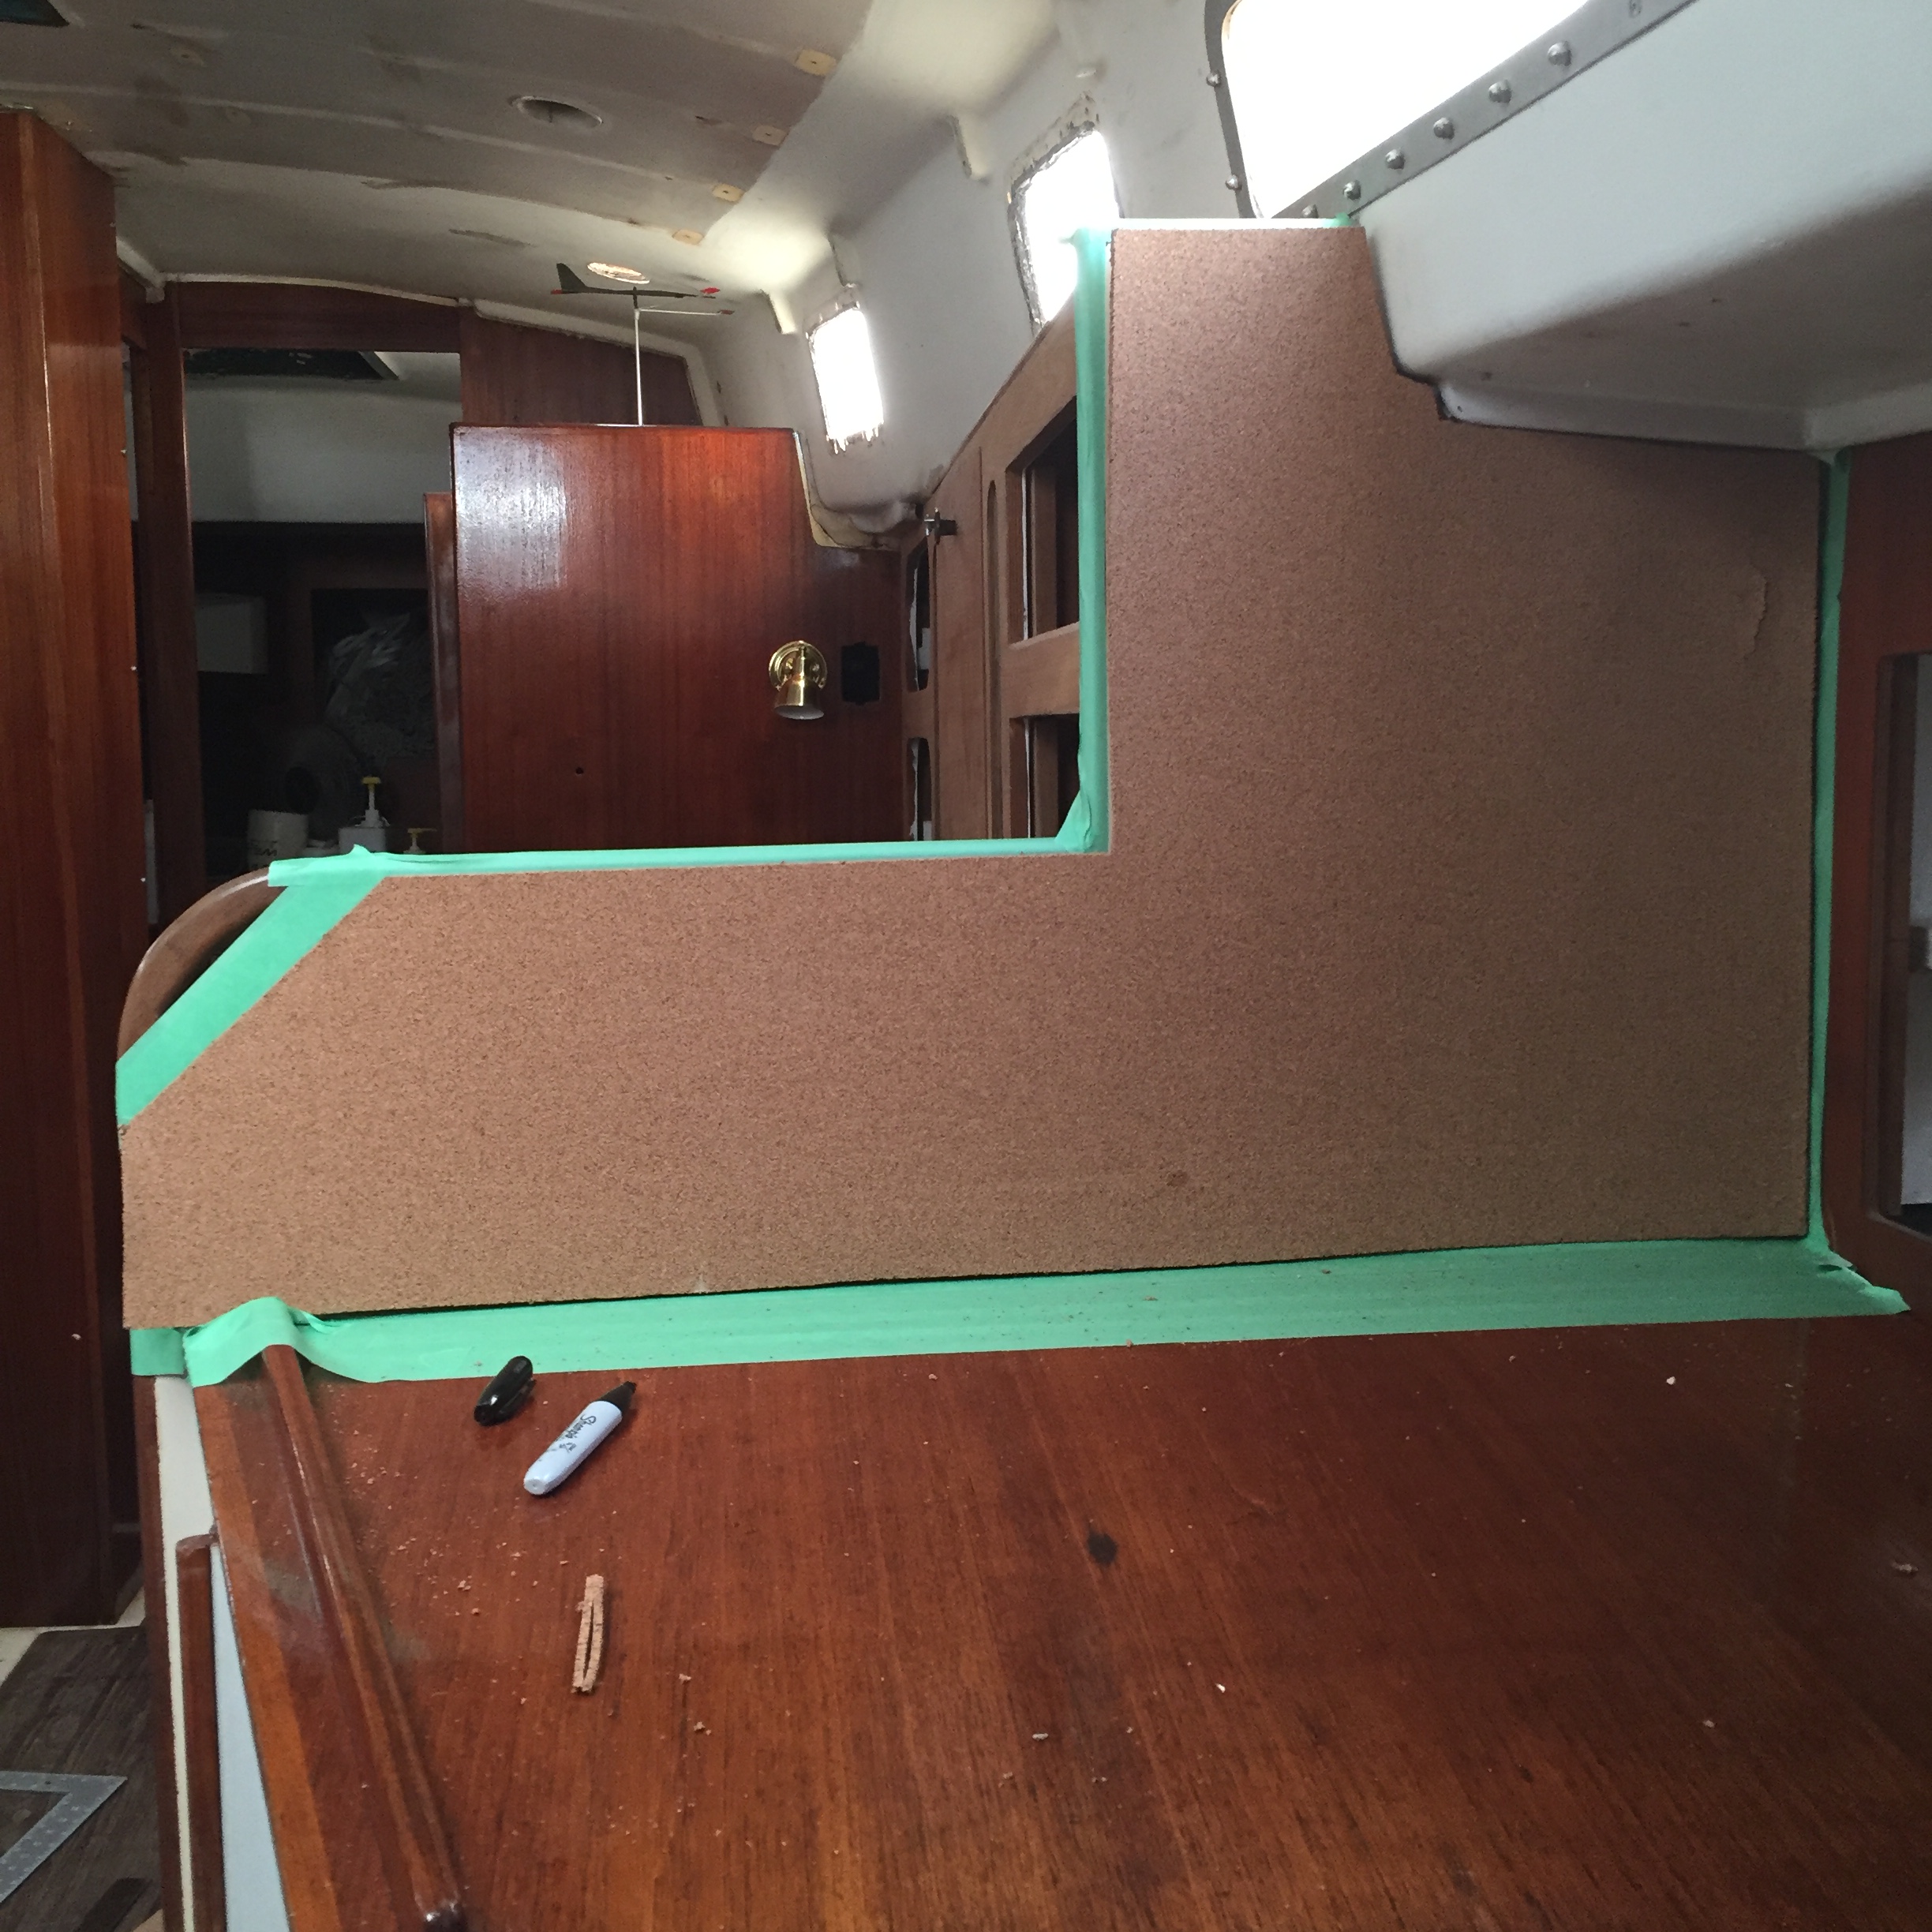
For some time now I have been trying to find a solution to the nav station forward bulkhead. Over the last 40 years people have drilled holes and cut holes and screwed into it and generally made a huge mess of one of the first things you see as you enter Akupara. I have had this particular solution in my mind and finally decided to bite the bullet and give it a try.
Of course something that should be fairly simple turned into another 5 hour job but hey, it’s a boat, that’s what happens!
Off to the local Lowe’s store to buy the needed supplies. Now this is not the first time I have looked at the availability of cork in the lower mainland, and I knew what I was getting before I got there and knew what had to be done in order to make my idea work.
Let’s step back for a minute. I do not actually have a pushpin handy and I have not purchased any to actually measure, but all of my mind is telling me that the actual pin part of a pushpin is longer than 4mm and the only available thickness of cork material is, yup you guessed it 4mm. Considering the area has arborite on it, the odds of pushing a pin in far enough to hold something well in my mind, are very low.
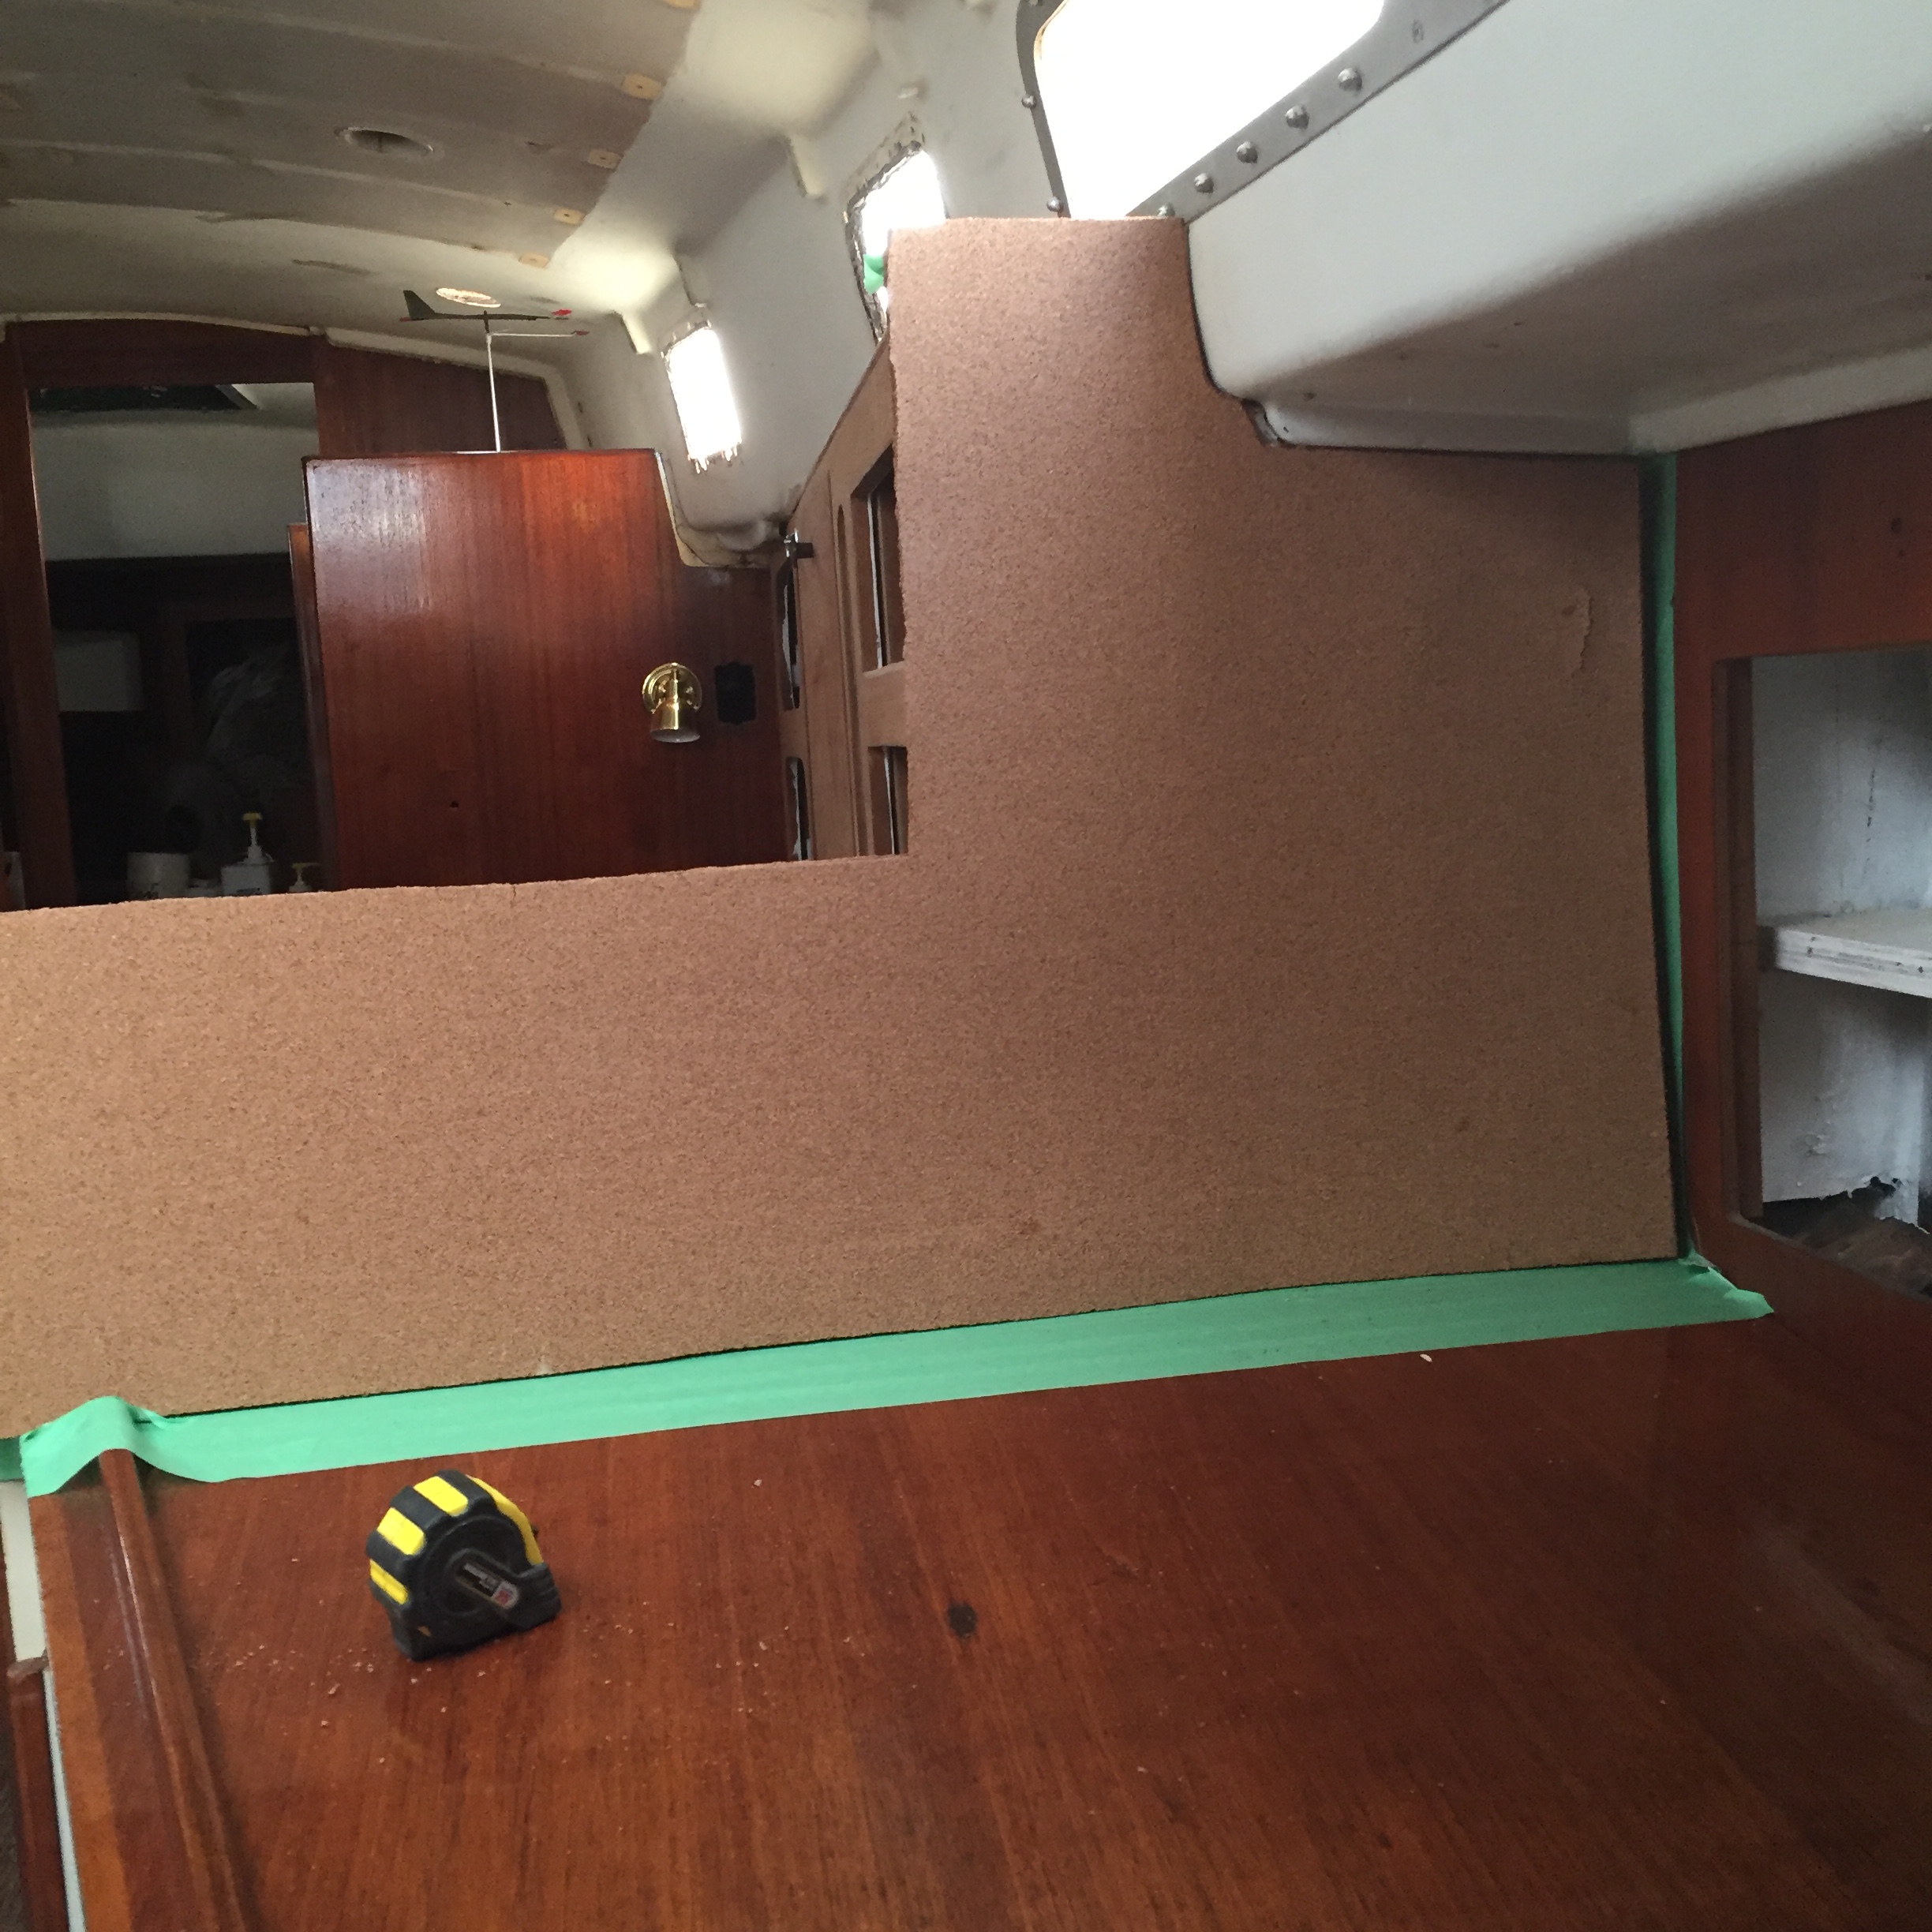
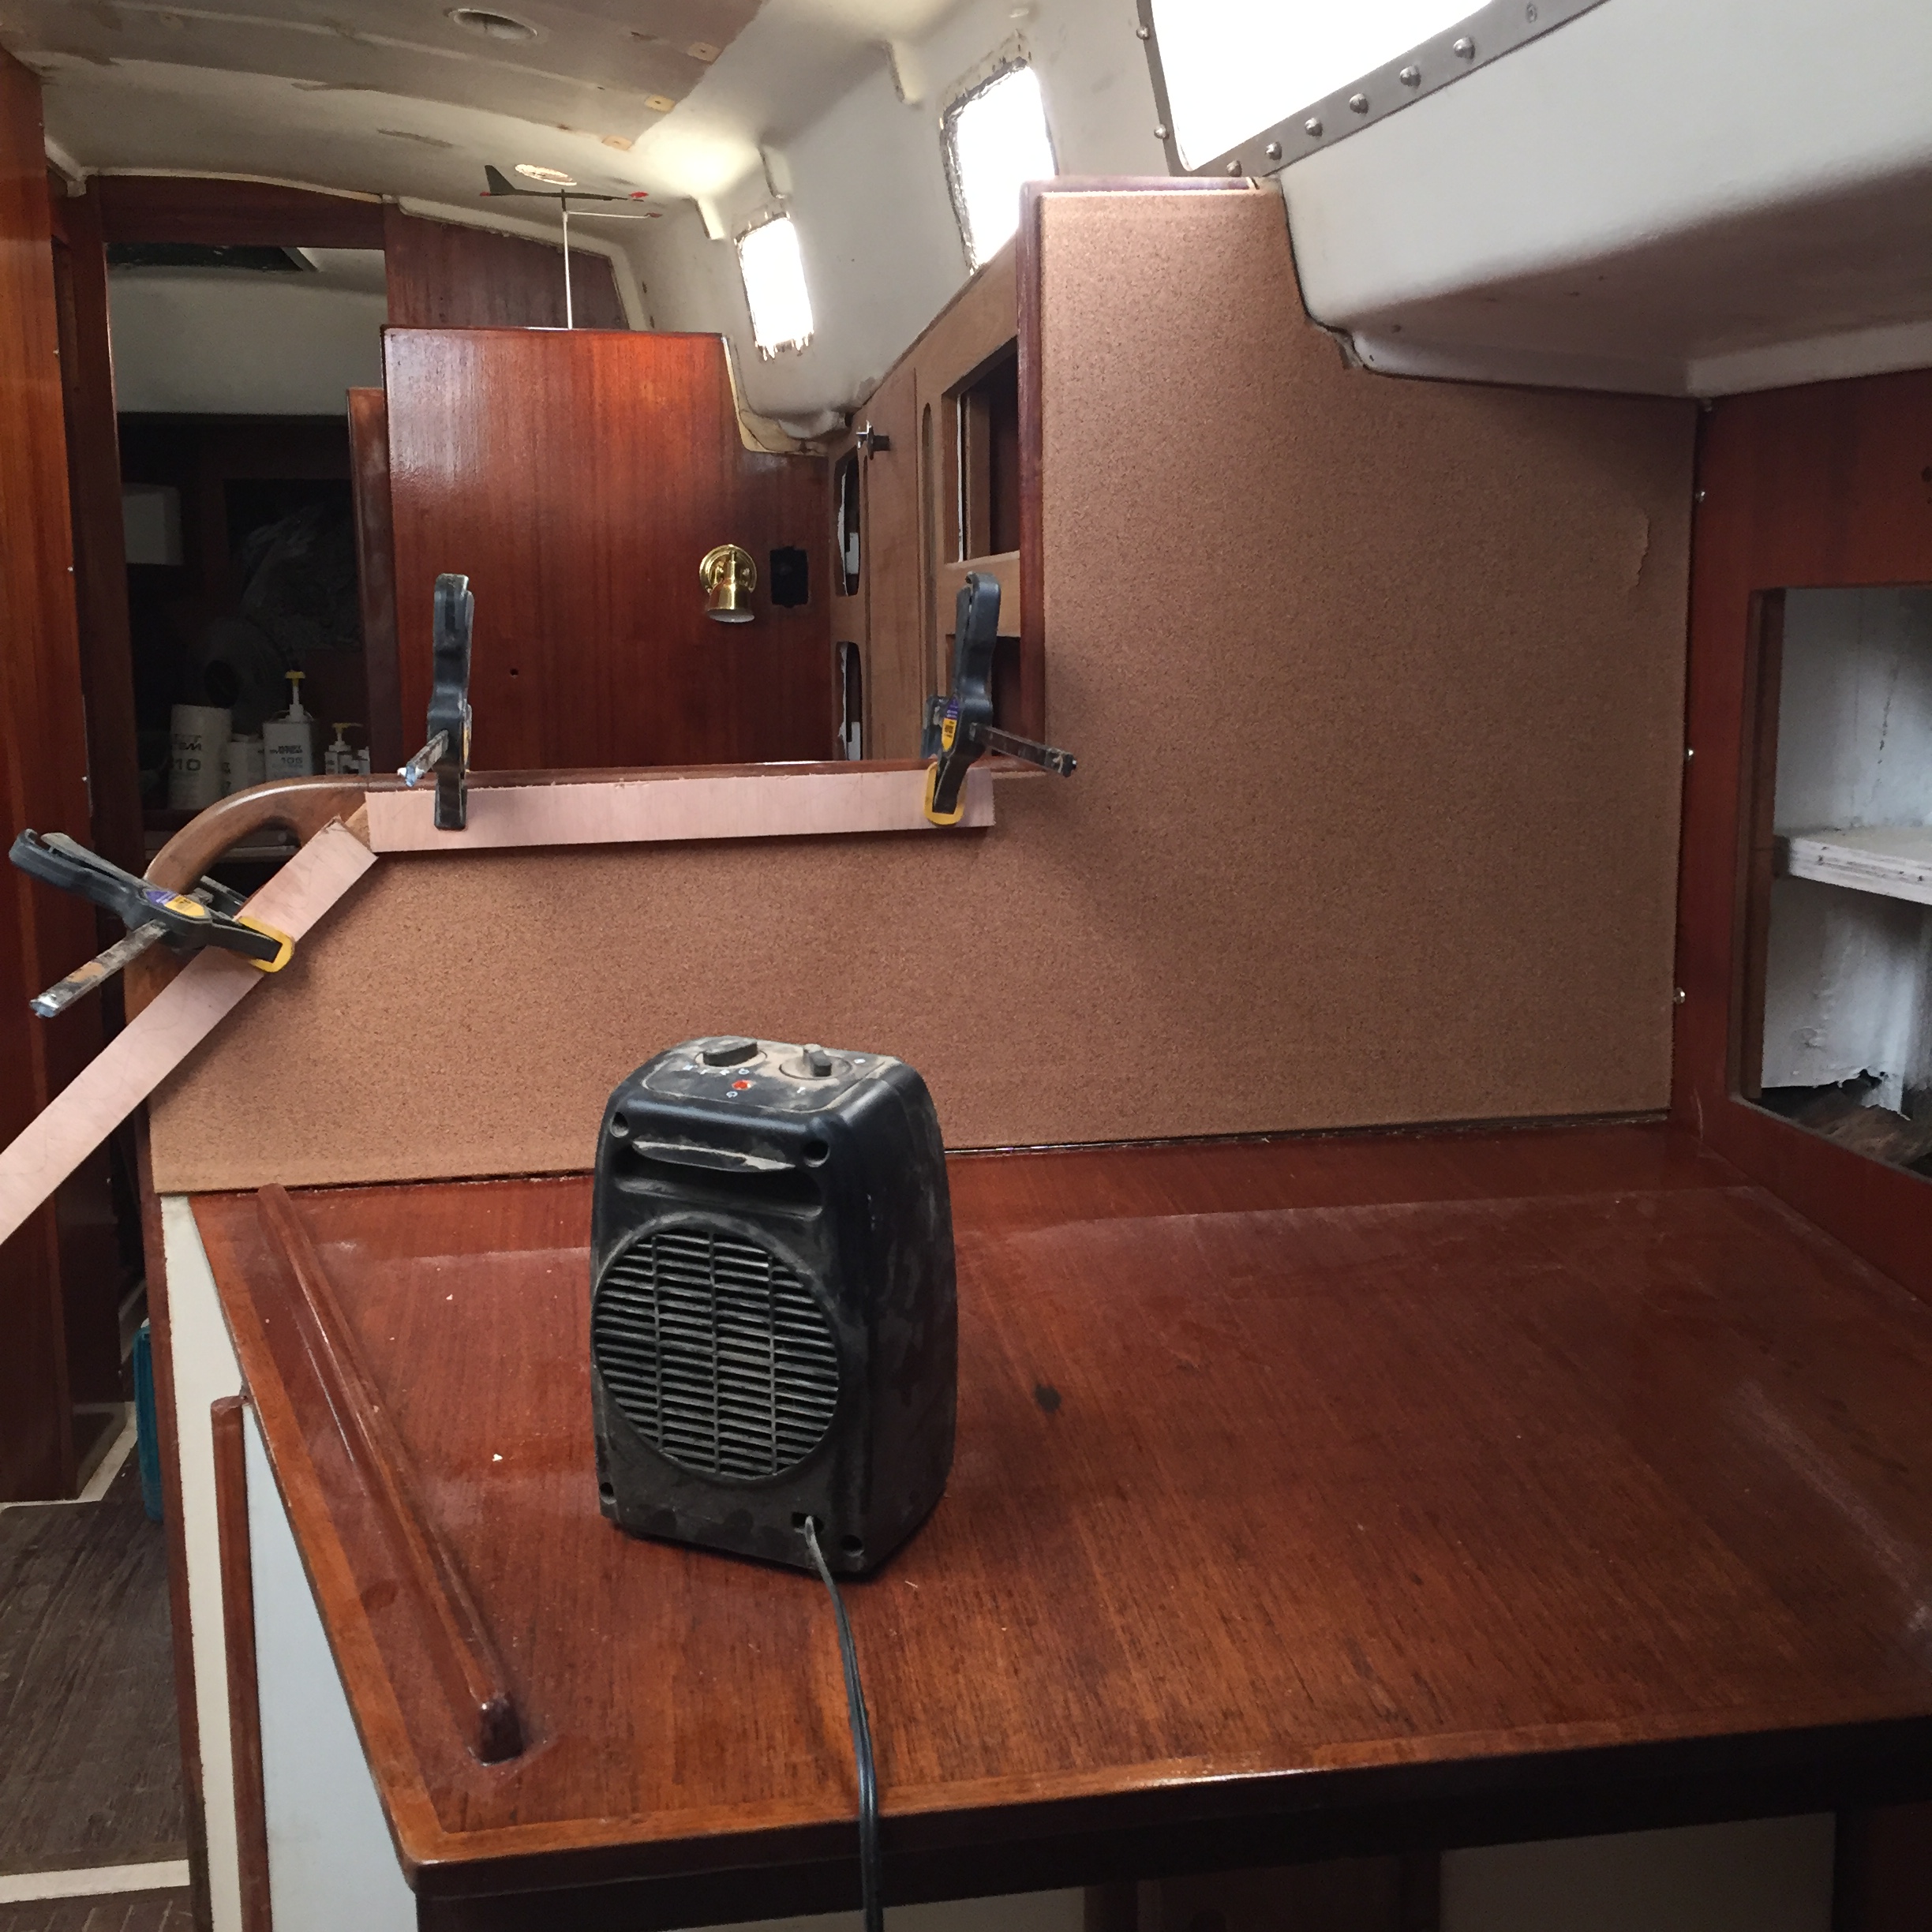
This meant that I needed to cut two pieces the same size and glue them together before gluing it to the bulkhead.
 Amazing how little space there is to work inside, but I got it done, barely. And I only have a few spots of contact cement that need to be removed from all of the surrounding areas.
It is a fairly basic plan. Cut two pieces of rolled cork to fit the space exactly. Glue them together with Contact Cement. Sand the area that is going to be applied to. Glue the piece in place and voila, you have a newly refinished bulkhead, and a corkboard.
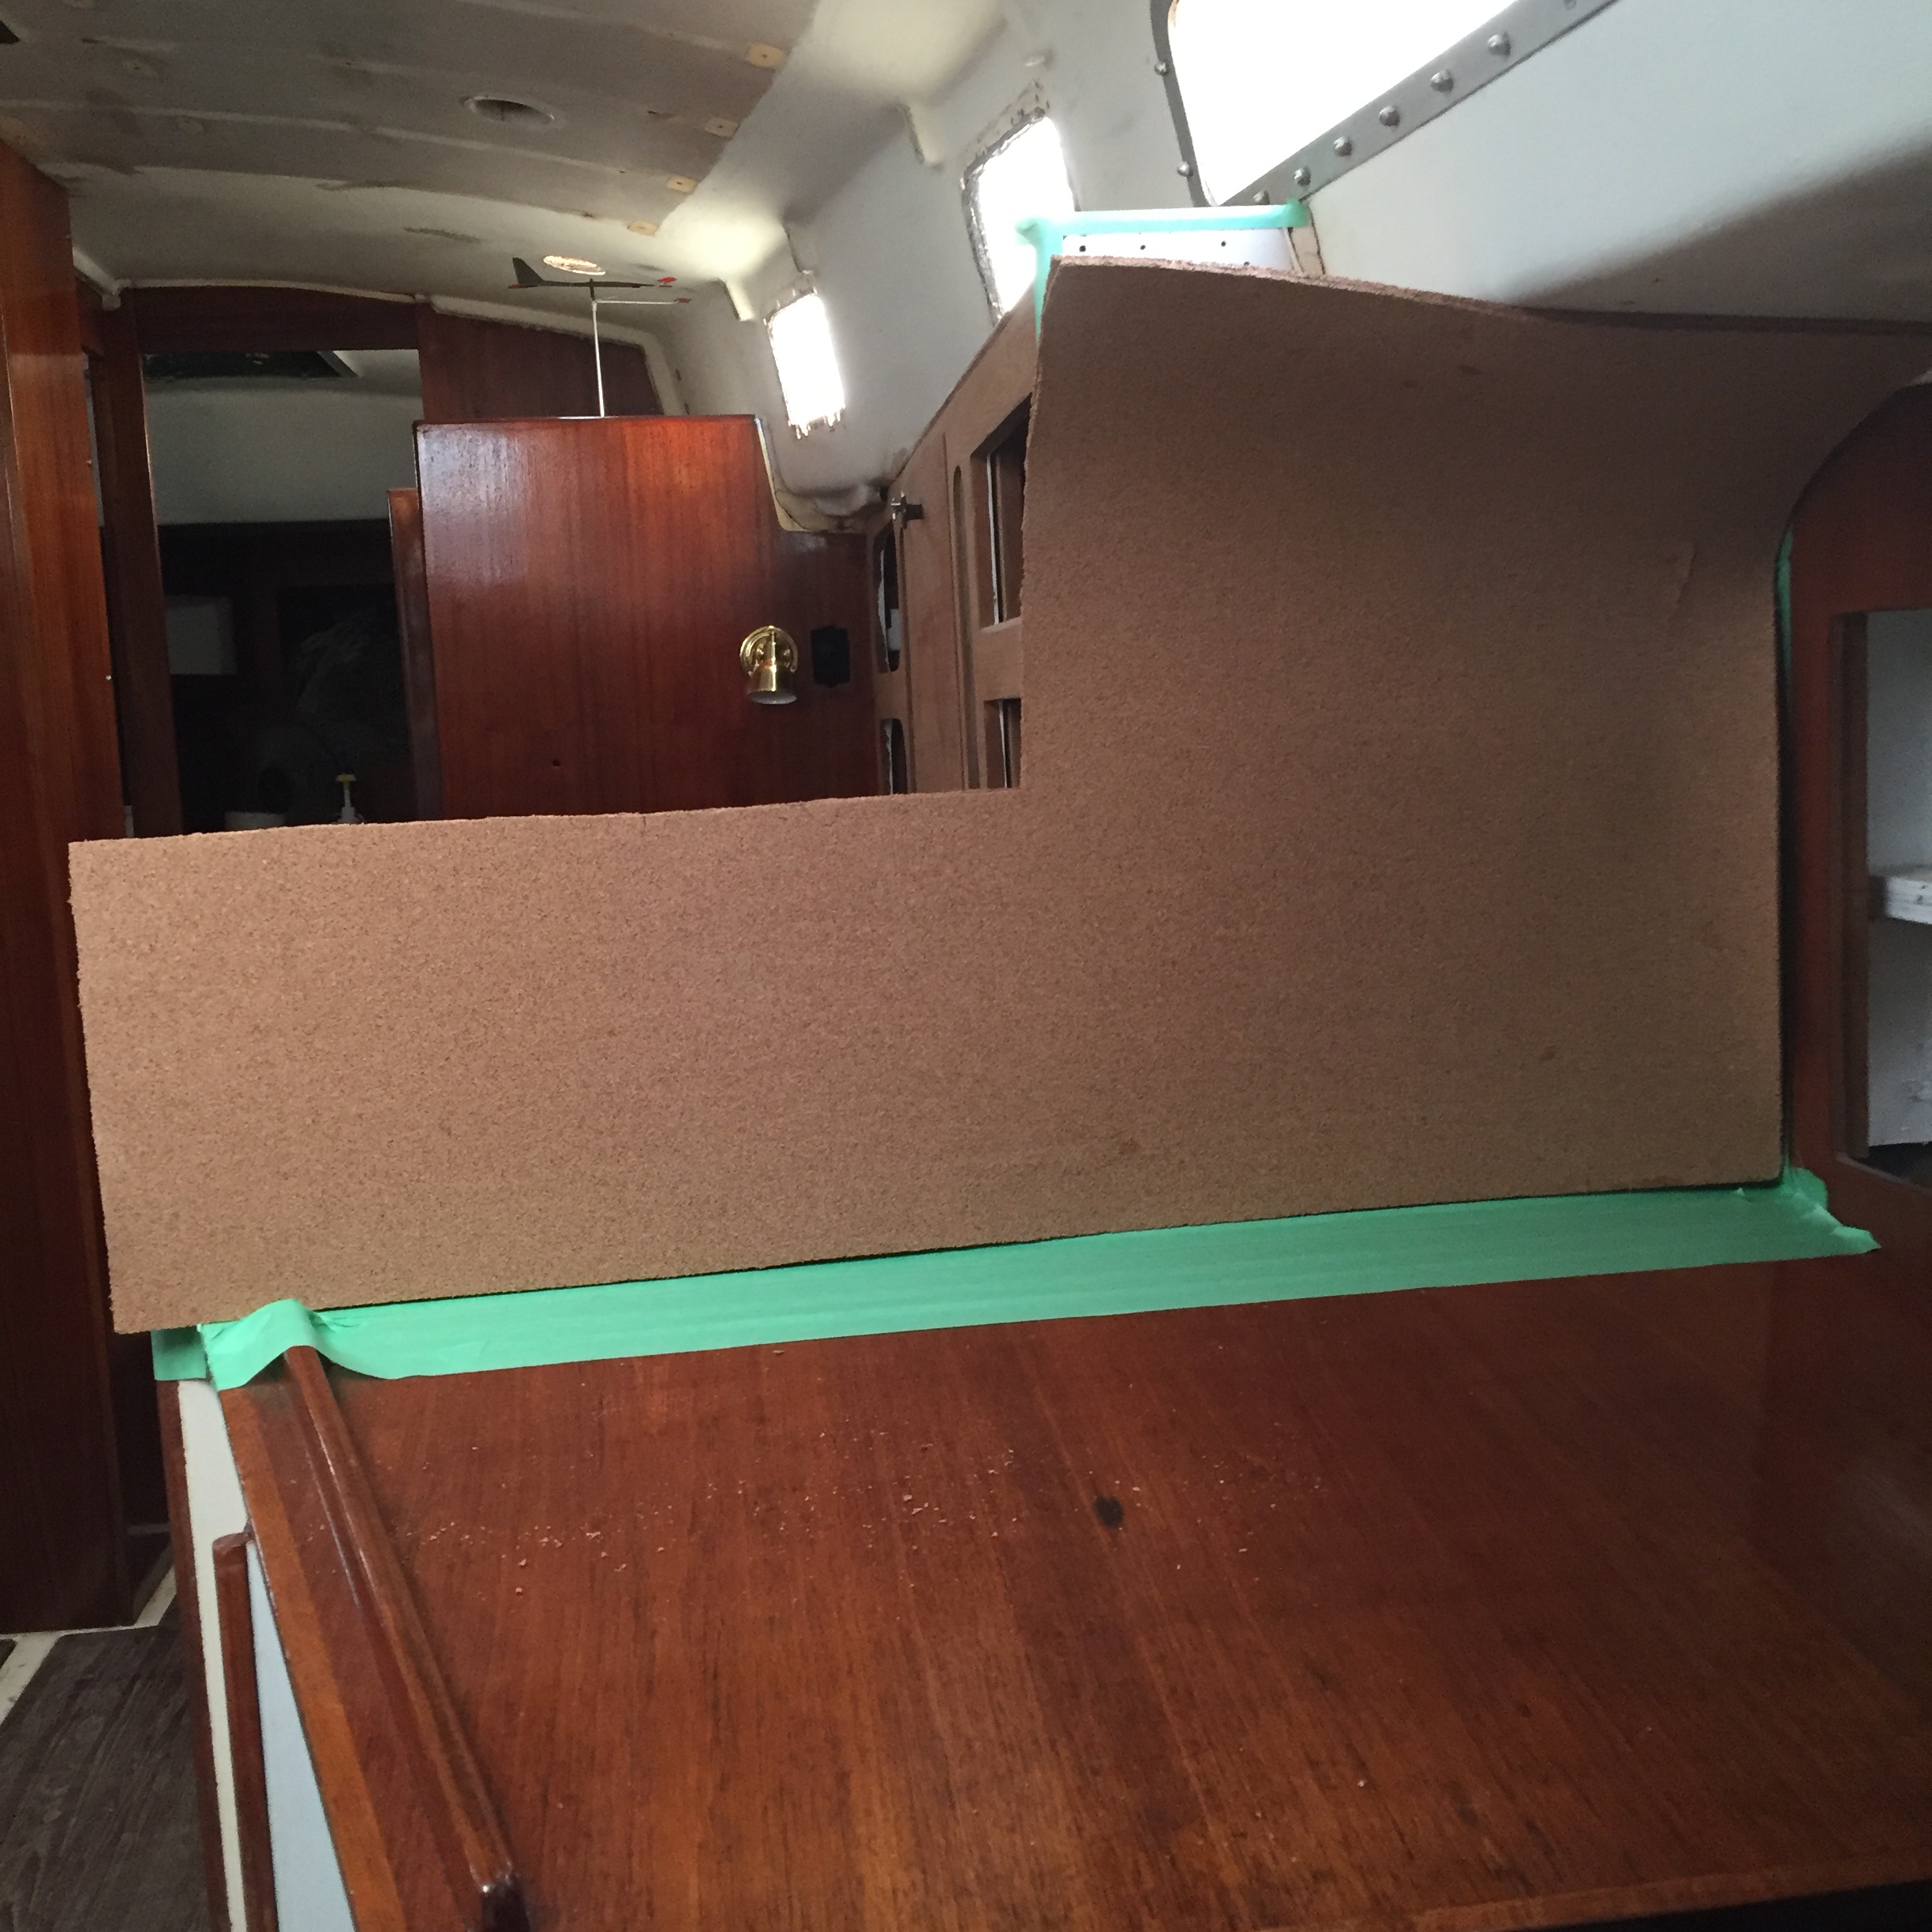
And it was a simple plan, I just did not include the number of times I would need to move it back to the floor in order to cut it. Okay to make a long story short, I was very careful to get as exact of a fit as possible and possibly could have taken it a little bit too far, but the end result is pretty cool.
Now while I was going through all of this I also decided that I was going to add one layer to the dressing table in the aft cabin as cork is also a non skid and as you know, it also is covered in that arborite/formica stuff.
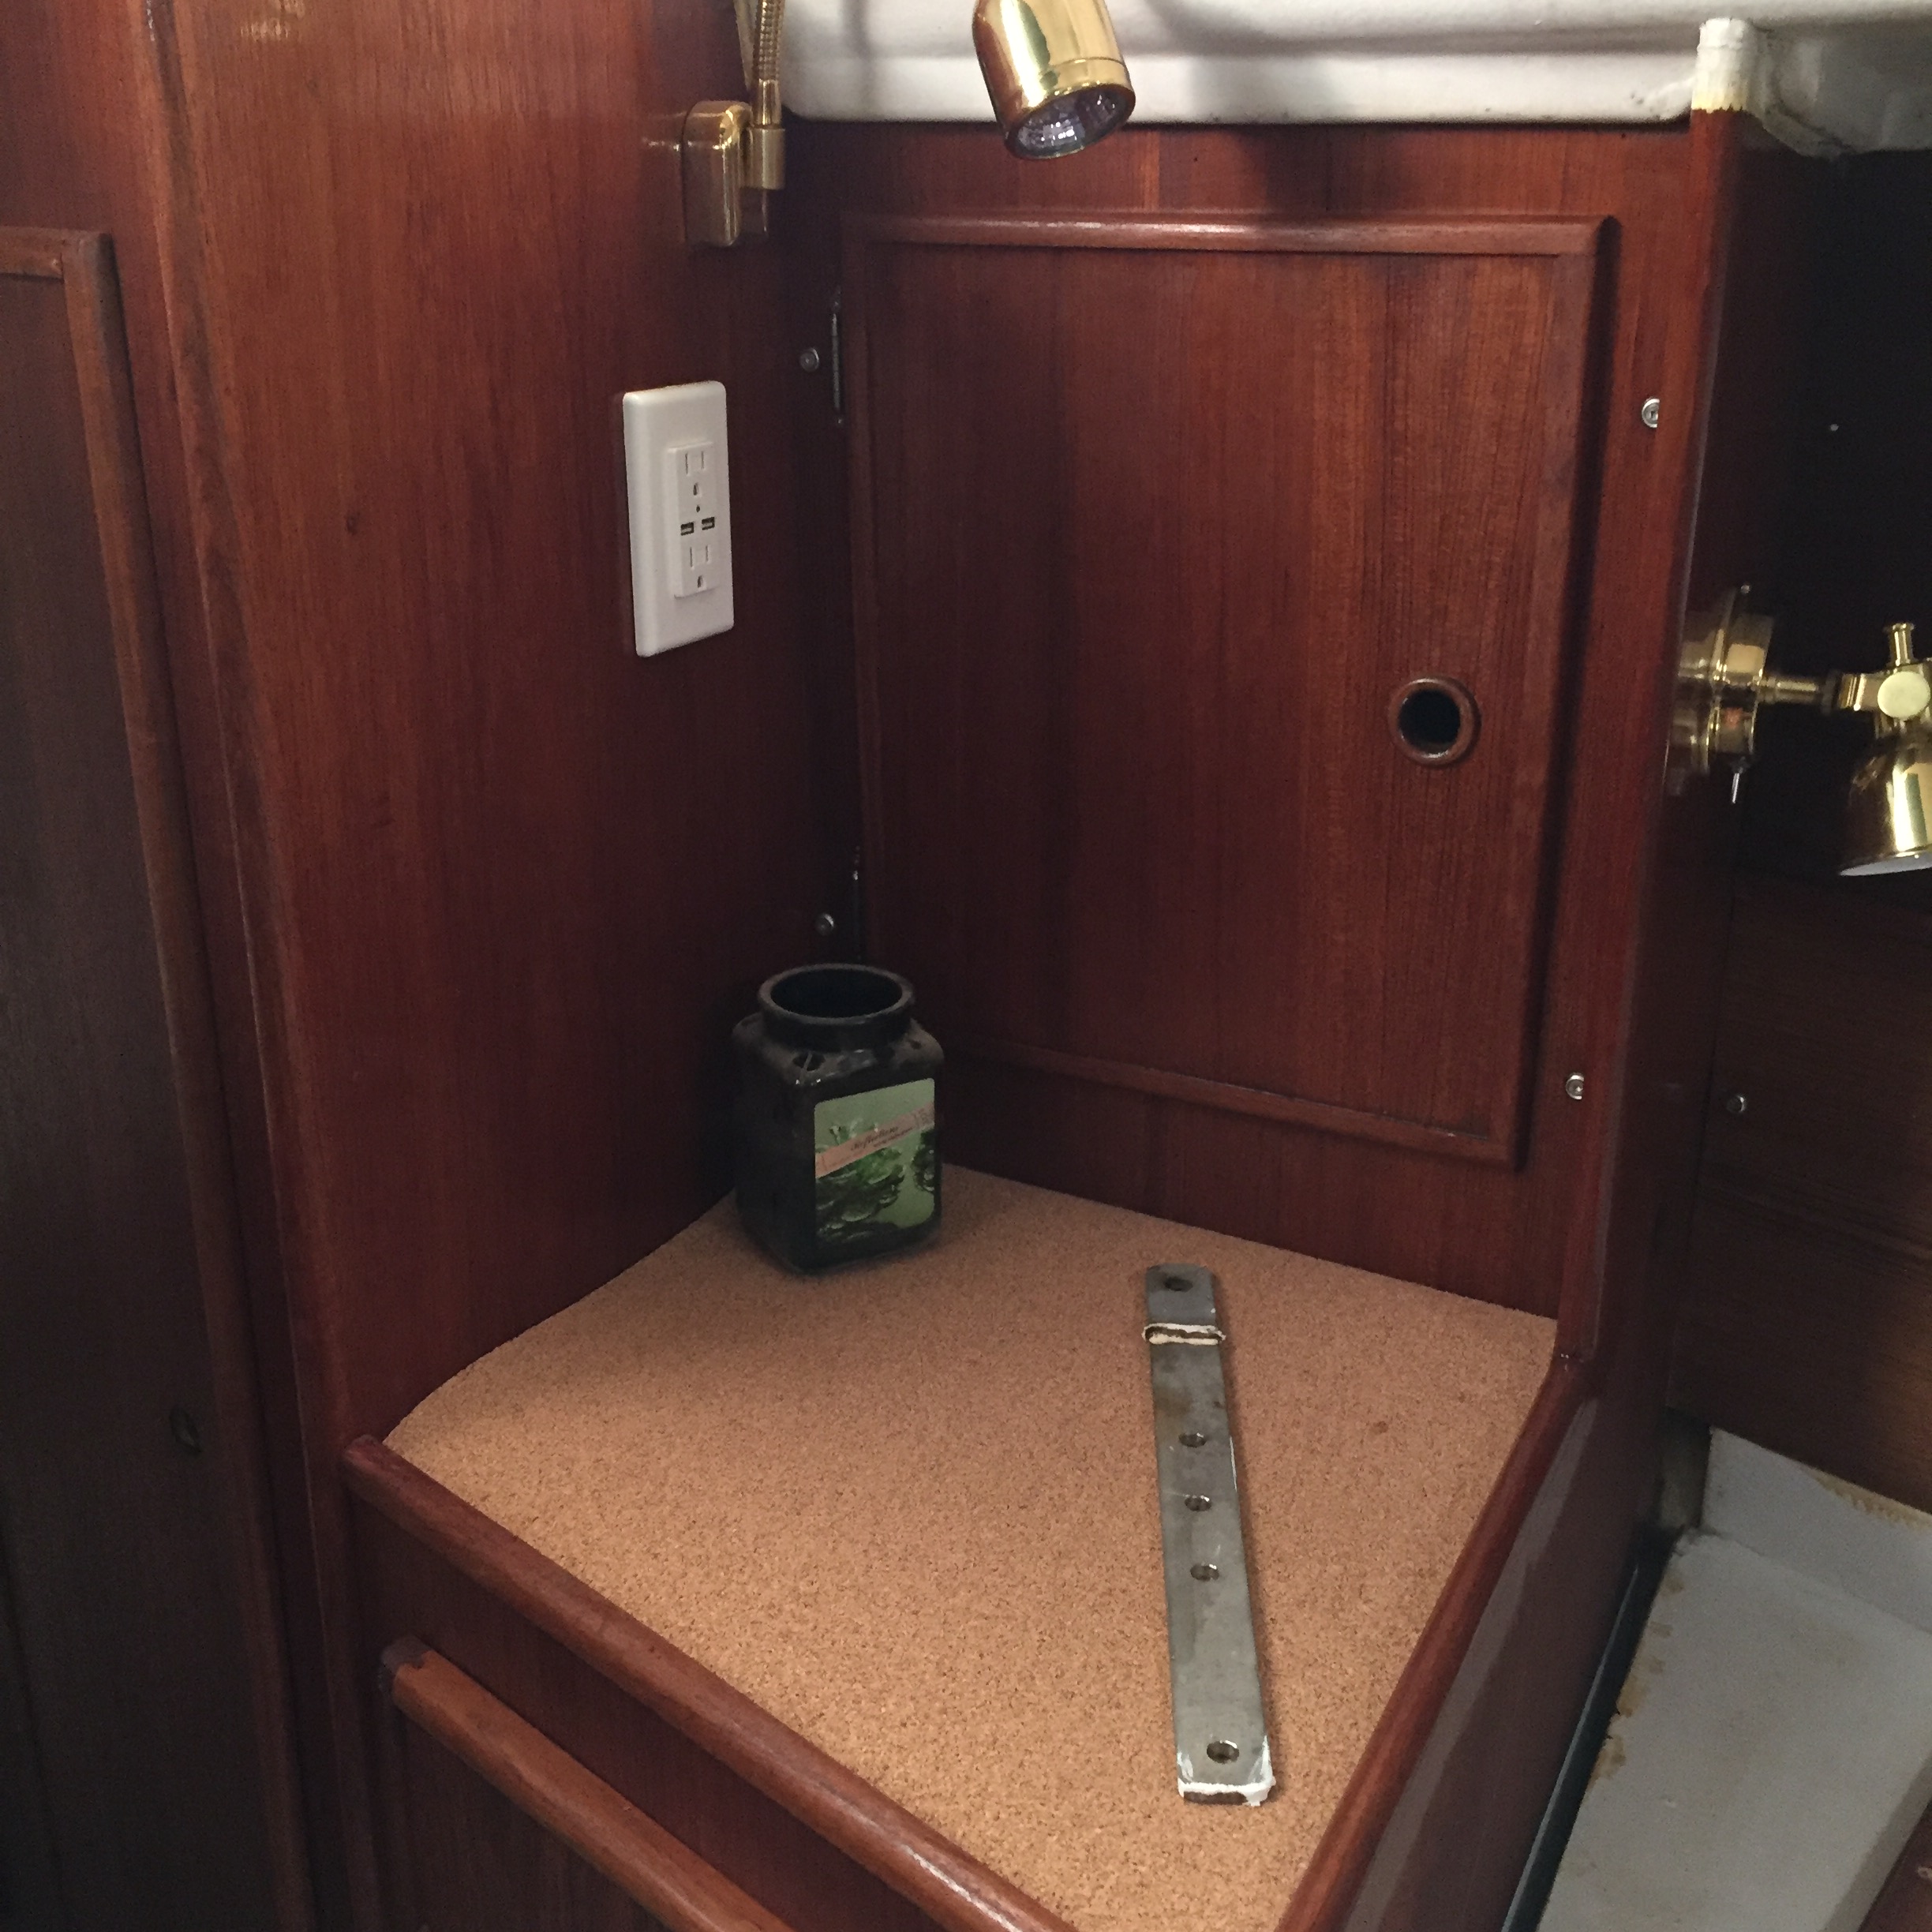
This cover in the aft cabin has yet to be glued down but I think it looks great!
And the final product in the nav station….
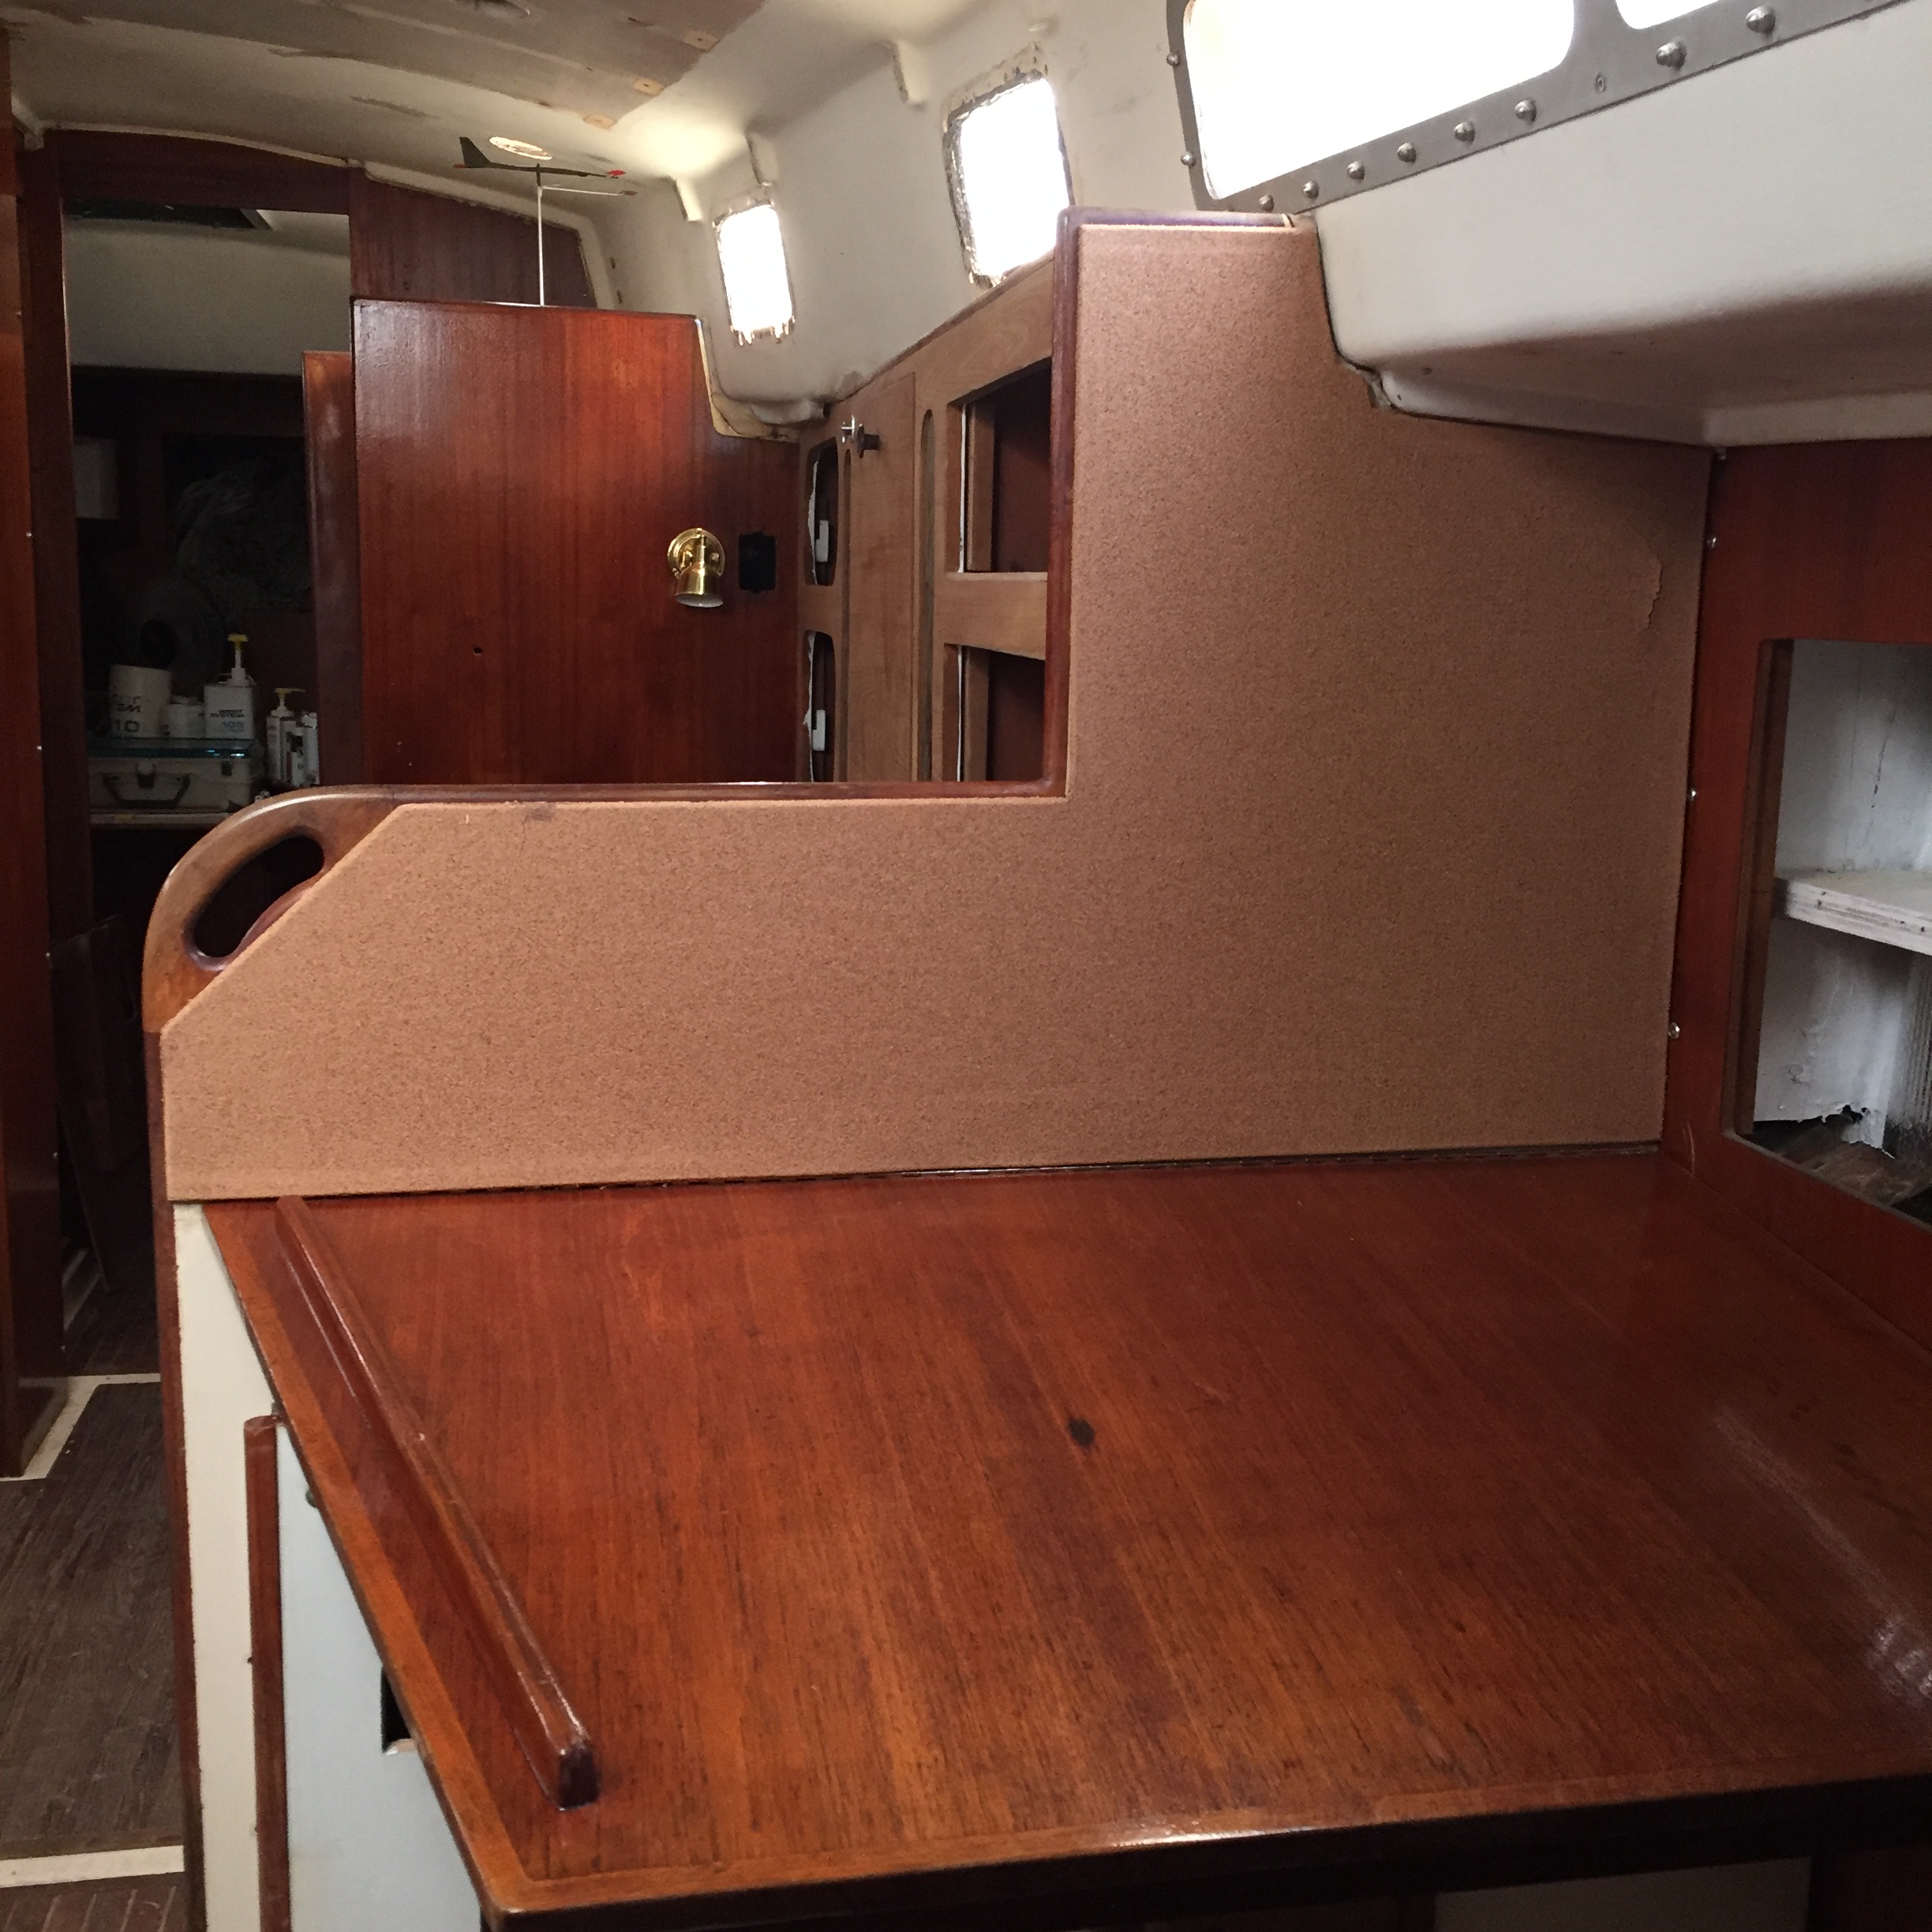
I have lots of little pieces left over that I am sure I will find uses for, but I also want to try different stains on them as I may want to give the cork a bit of a different colour, but I think it is an inexpensive, relatively small job, that anyone can do in an afternoon to give new life to a tired old surface. Damn, starting to sound like one of those home fixer upper dudes….
A few things you may not have known about cork:
It is a wood product and will accept stains and paints.
It can be cut with scissors or a sharp blade.
It is sandable. I sanded all of the edges by hand to give them a nice 1/4 round edge.
It works great with contact cement.
It is a sound insulation.
You can stick things to it with little pins. 😉
Now, what else can I glue cork to?