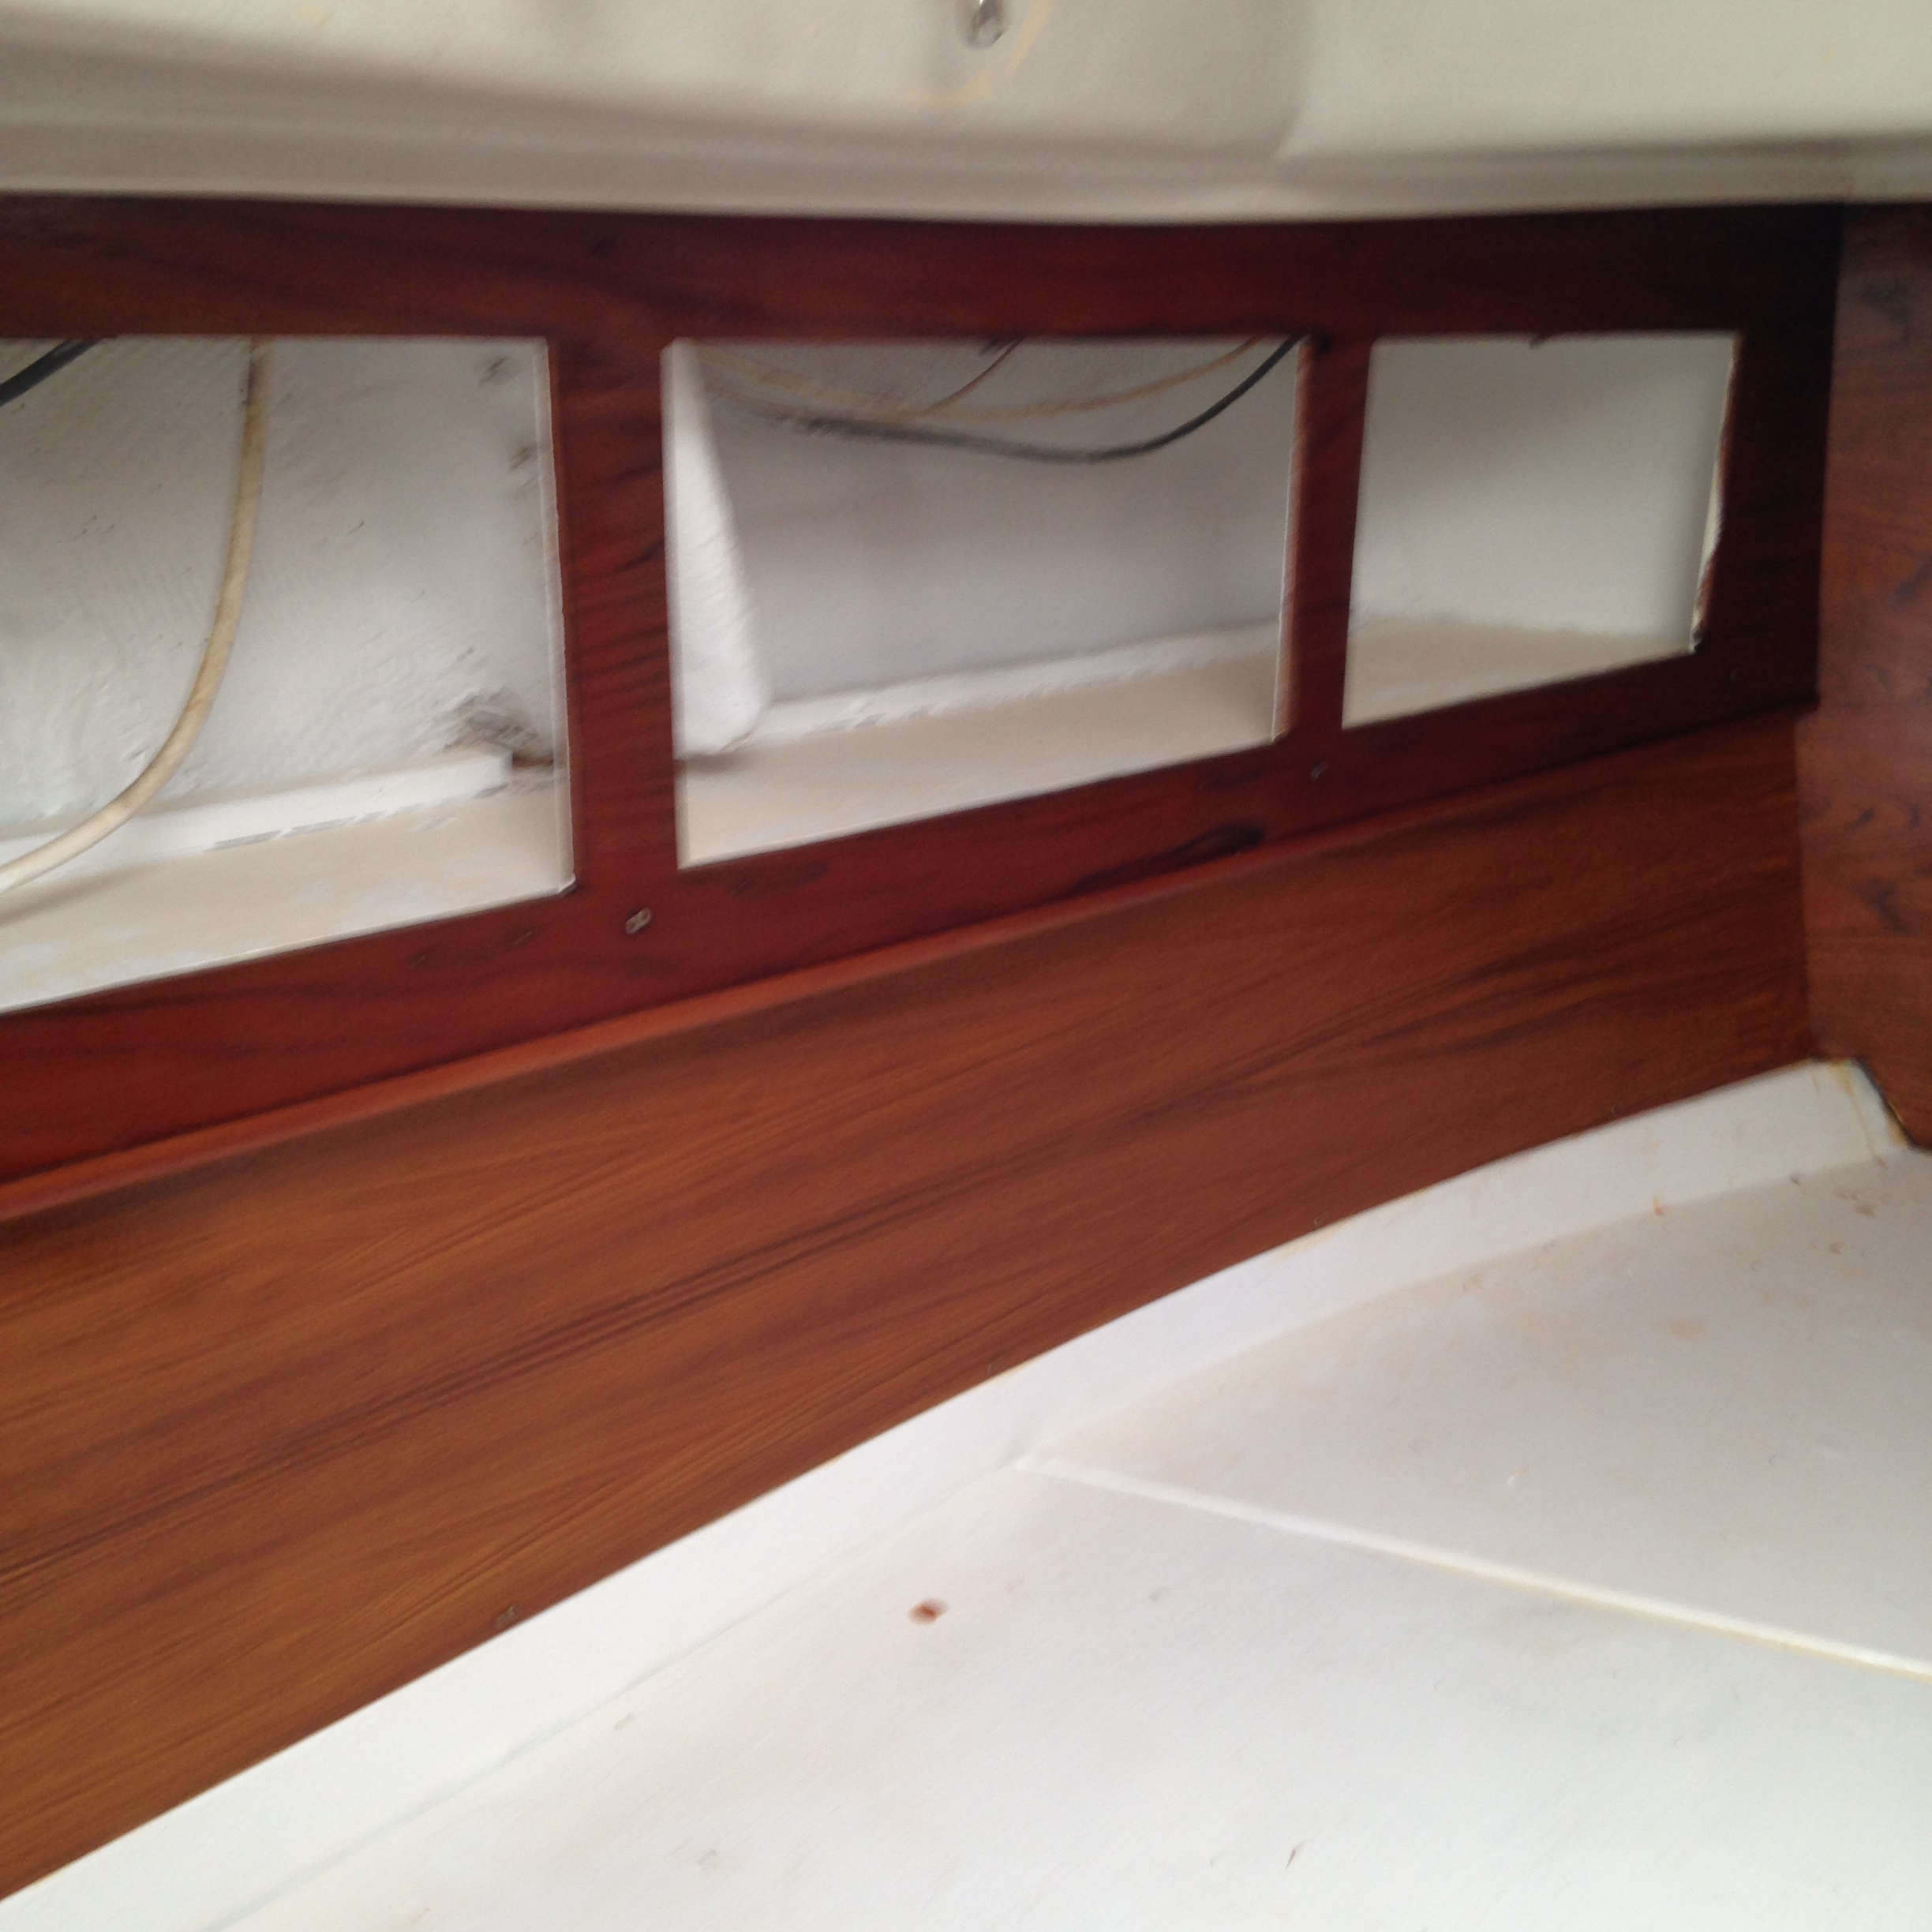
The two worst interior panels on all of Akupara were the two bottom ceilings in the aft cabin. They had suffered the most damage and unfortunately would not be salvageable so yesterday we set about replacing them.
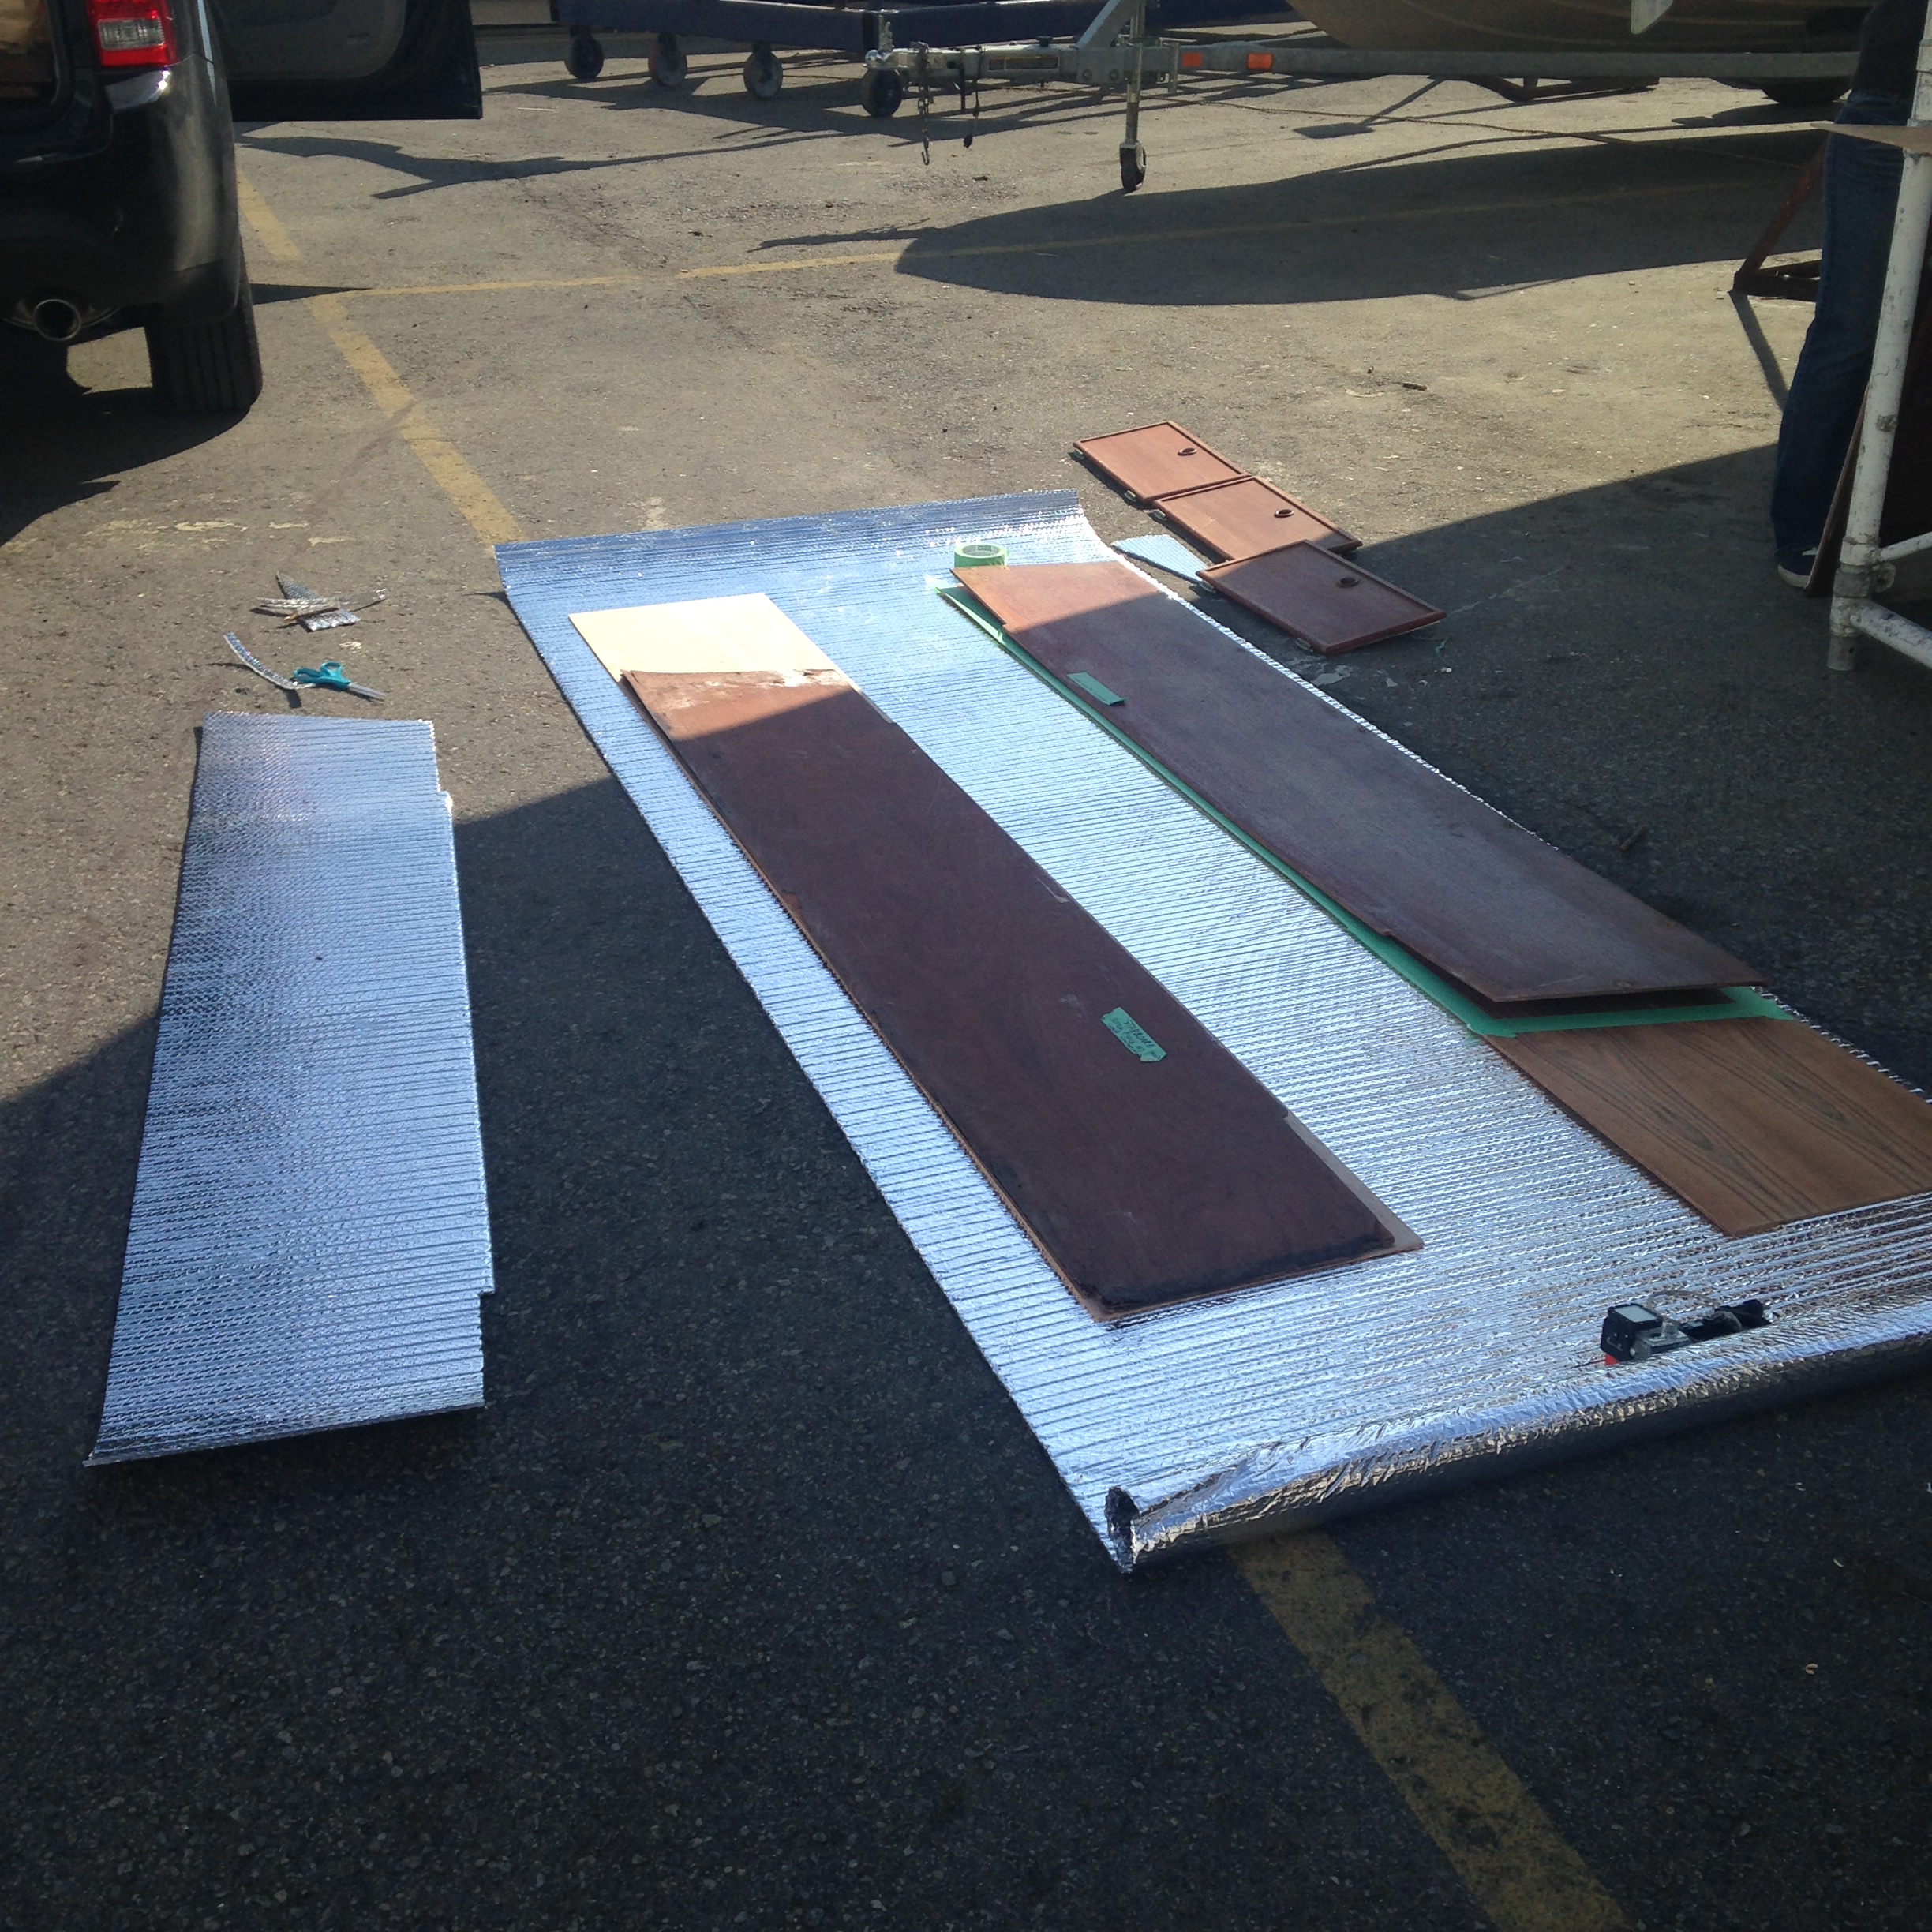
In Vancouver it is pretty much impossible to find real Teak Marine plywood. Perhaps this is the case everywhere and I just do not realize it but either way it is fairly frustrating. So I broke down and purchased Teak plywood that is not marine grade and hopefully if we take the proper precautions it will last. Obviously we are planning on removing ALL ,which we have almost completely finished, and that will help to preserve this plywood, but I will take it a step further and once the visible side has completely dried and is therefore protected, I will remove the panels and paint the backs with epoxy. So why did I purchase the non marine teak ply? Simple, to make it look as close as possible like the originals.
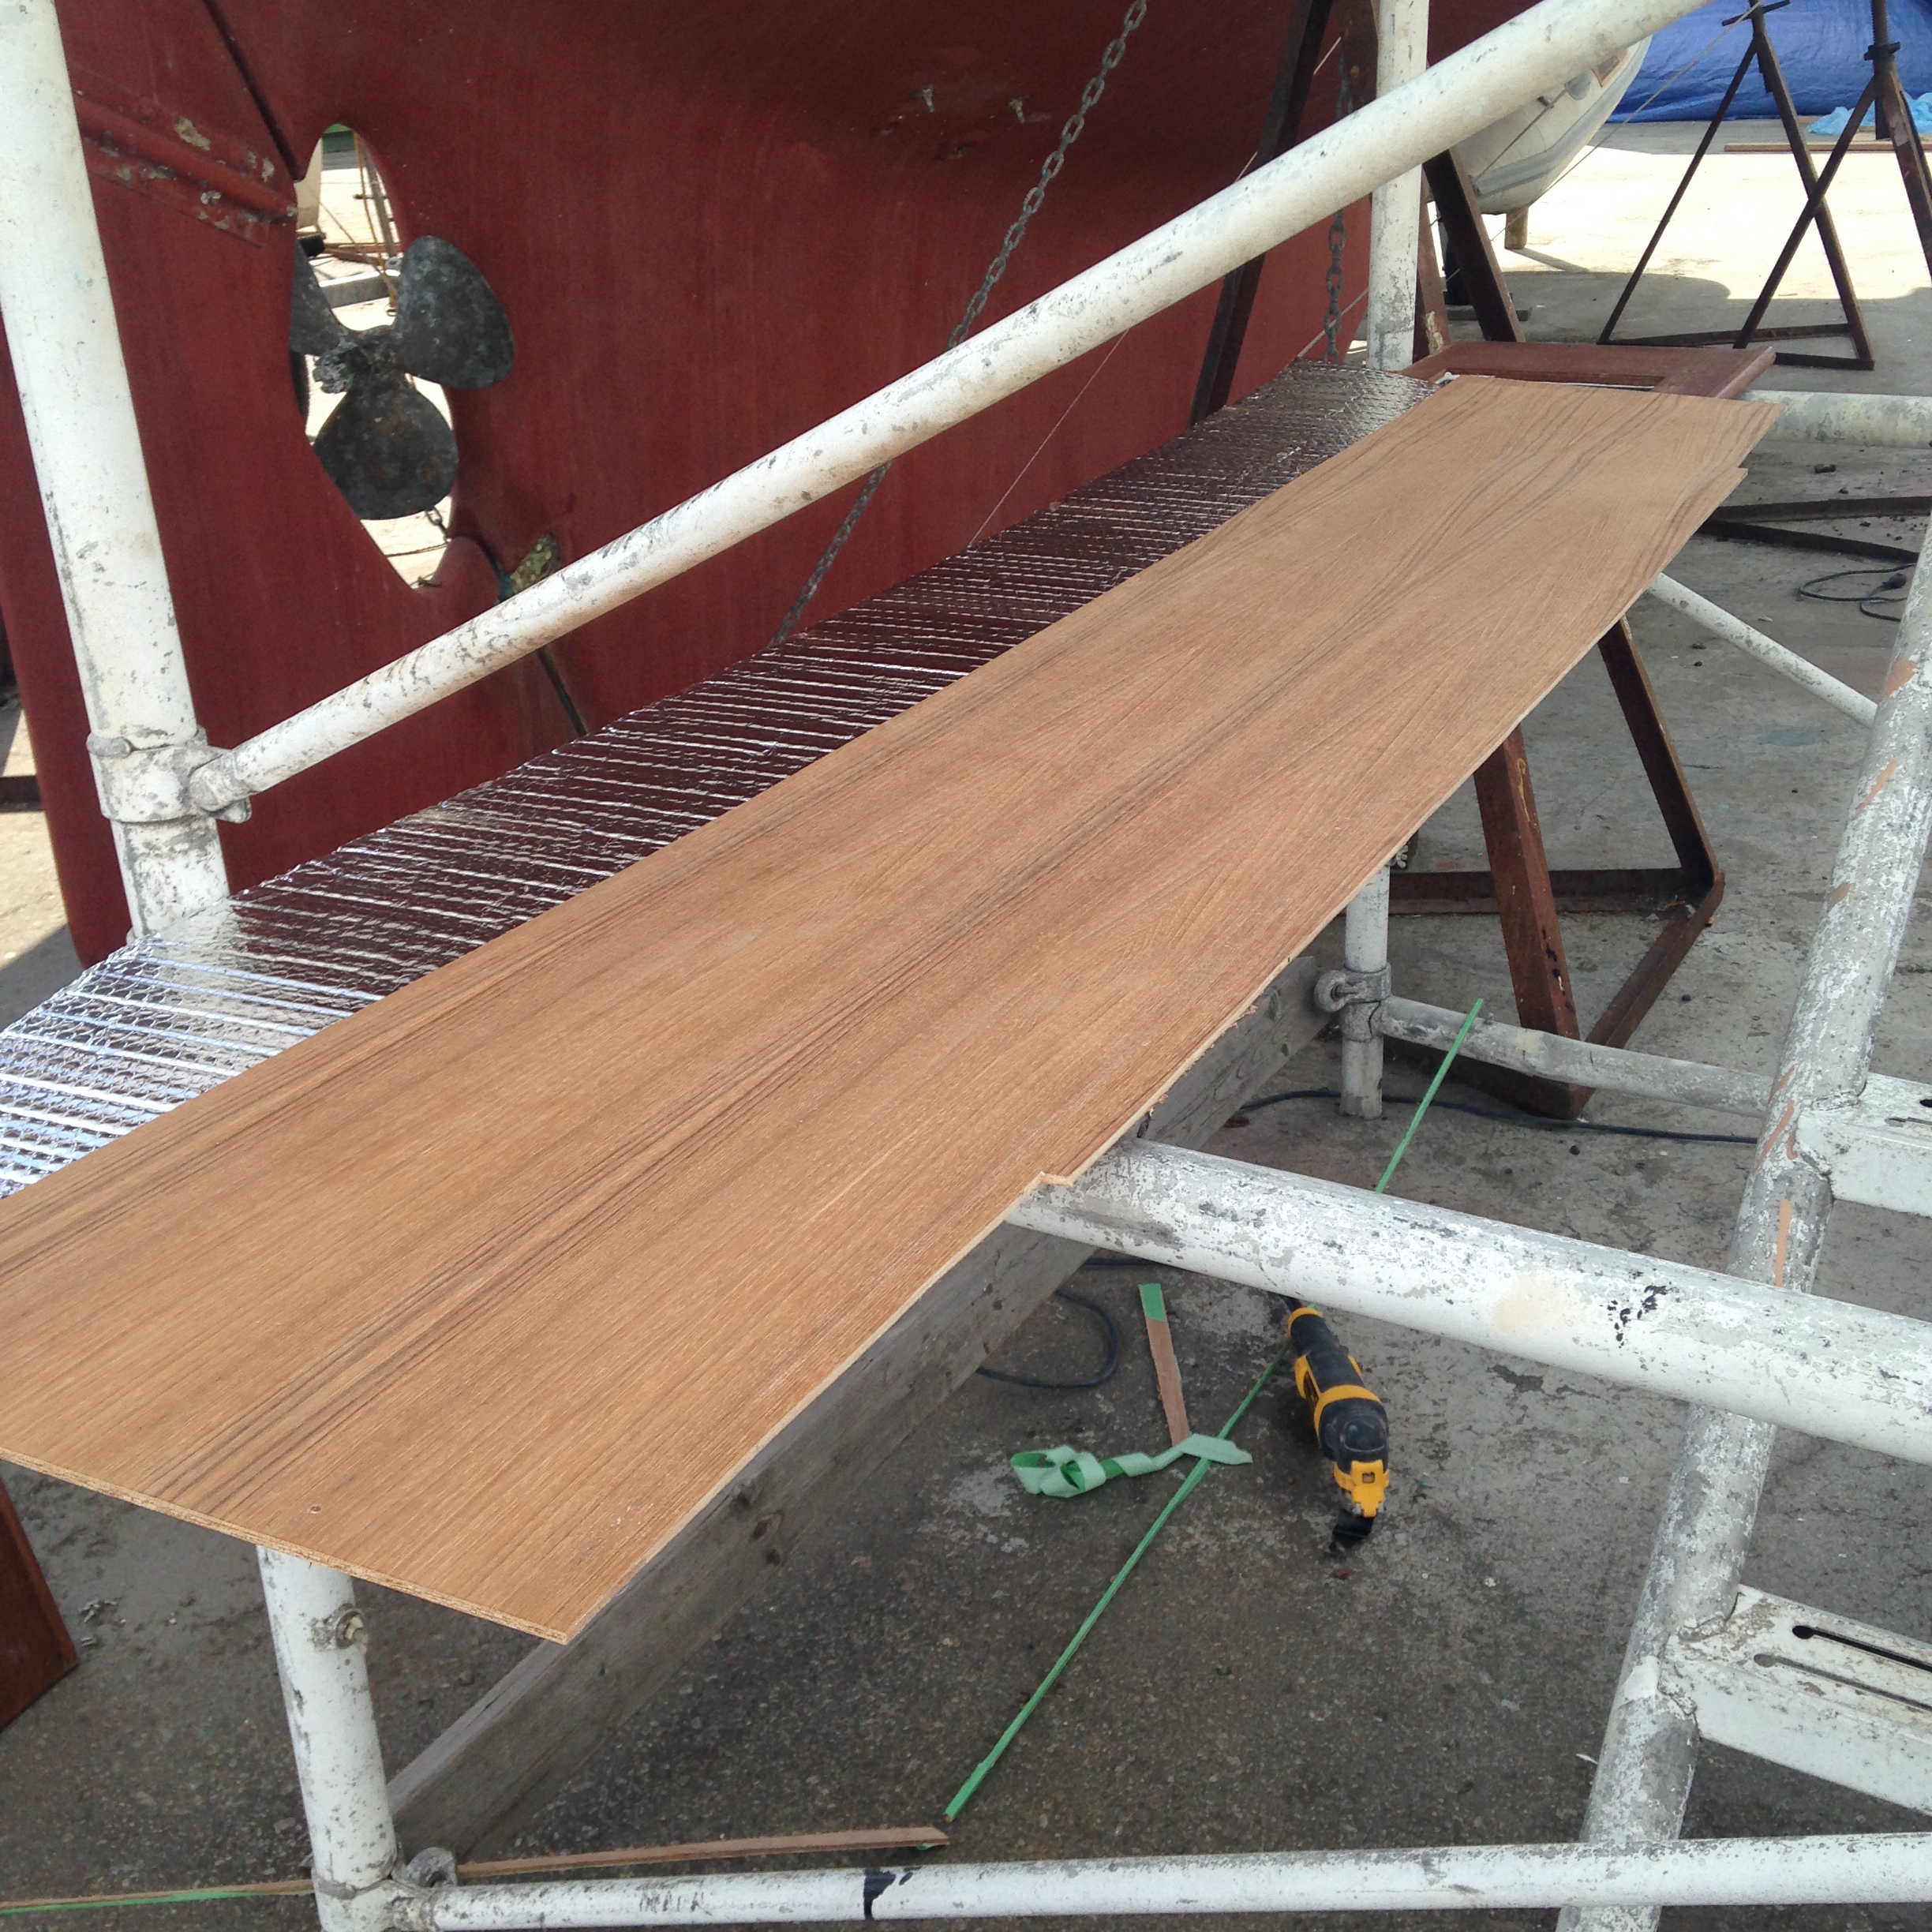
 The teak veneer is so thin that there is no way it can ever be sanded, but it turned out fairly close in looks to the aft bulkhead but not the cupboard face. In the previous picture you can see the silver foil bubblewrap that acts as both a moisture barrier and adds some insulation. It is cut to fit and installed behind the panels as well just like in the vberth.
We are getting closer. At least we feel like we are getting closer. Once we have all of the cupboard doors and the drawers sanded, stained and installed, we will have the woodwork for at least the vberth and the aft cabin complete. This is giving us a strong sense of accomplishment and although we still need to sand and paint all of the interior fiberglass on the ceiling which will be a big dirty job, we need to feel like we are getting somewhere and this is allowing for just that.
I am anxious to get started on the main cabin. It will be a slightly different approach as we are replacing the majority of the interior wood for the cabinets and shelving and hopefully it will go a bit faster. The original plywood that was used was 1/4 inch and over 40 years most of it has sagged and some of it has suffered water damage as well so it will simply be replaced. We kept all of the old pieces to use as templates so it is only a matter of tracing them on new plywood and cutting them out.
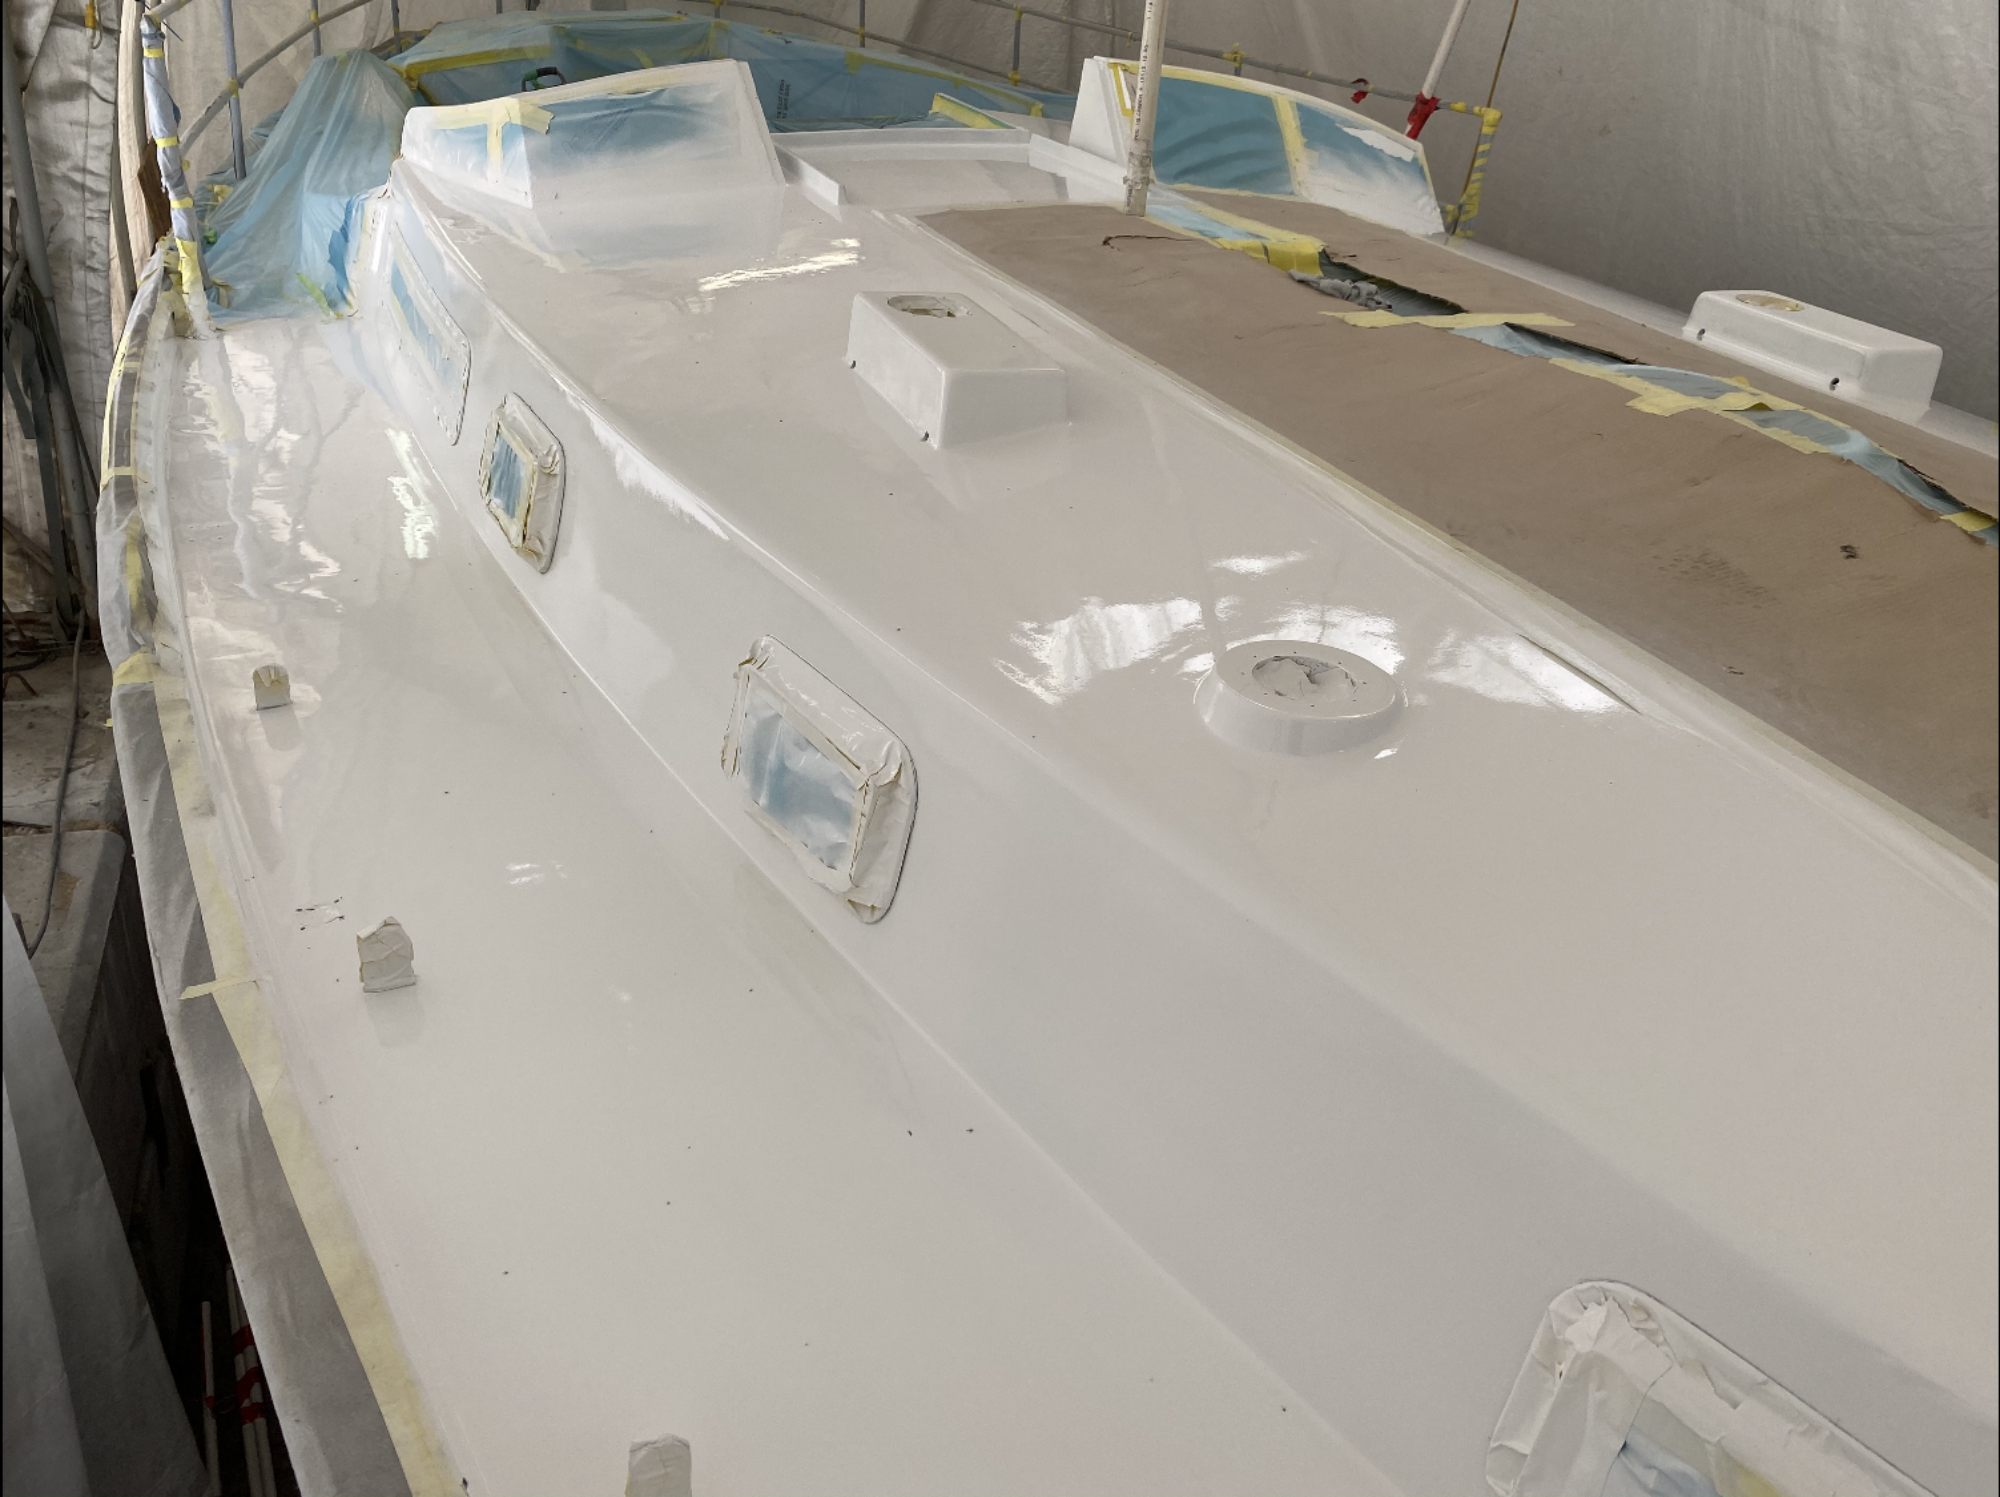
We still have a the giant job of sanding and painting the decks but we met a great young couple yesterday who just had the decks on their Bayfield 32′ sanded and painted. Wow what a nice job. It truly gave us inspiration to keep working. So I think the plan for now is to keep moving in the direction of completing the interior cabinetry, and making any repairs necessary on the inside as we go along. The electrical and plumbing can be added at any point so I am not all that concerned with that aspect. Once the interior is complete, and the weather cools off a bit, we will get back to re-finishing the decks. I do not want to have a beautiful new paintjob and then ruin it by dragging and moving all kinds of other parts all over it. This will also allow for the re-installation of deck fittings over the winter where we can take our time and make sure they are installed properly.
dddd