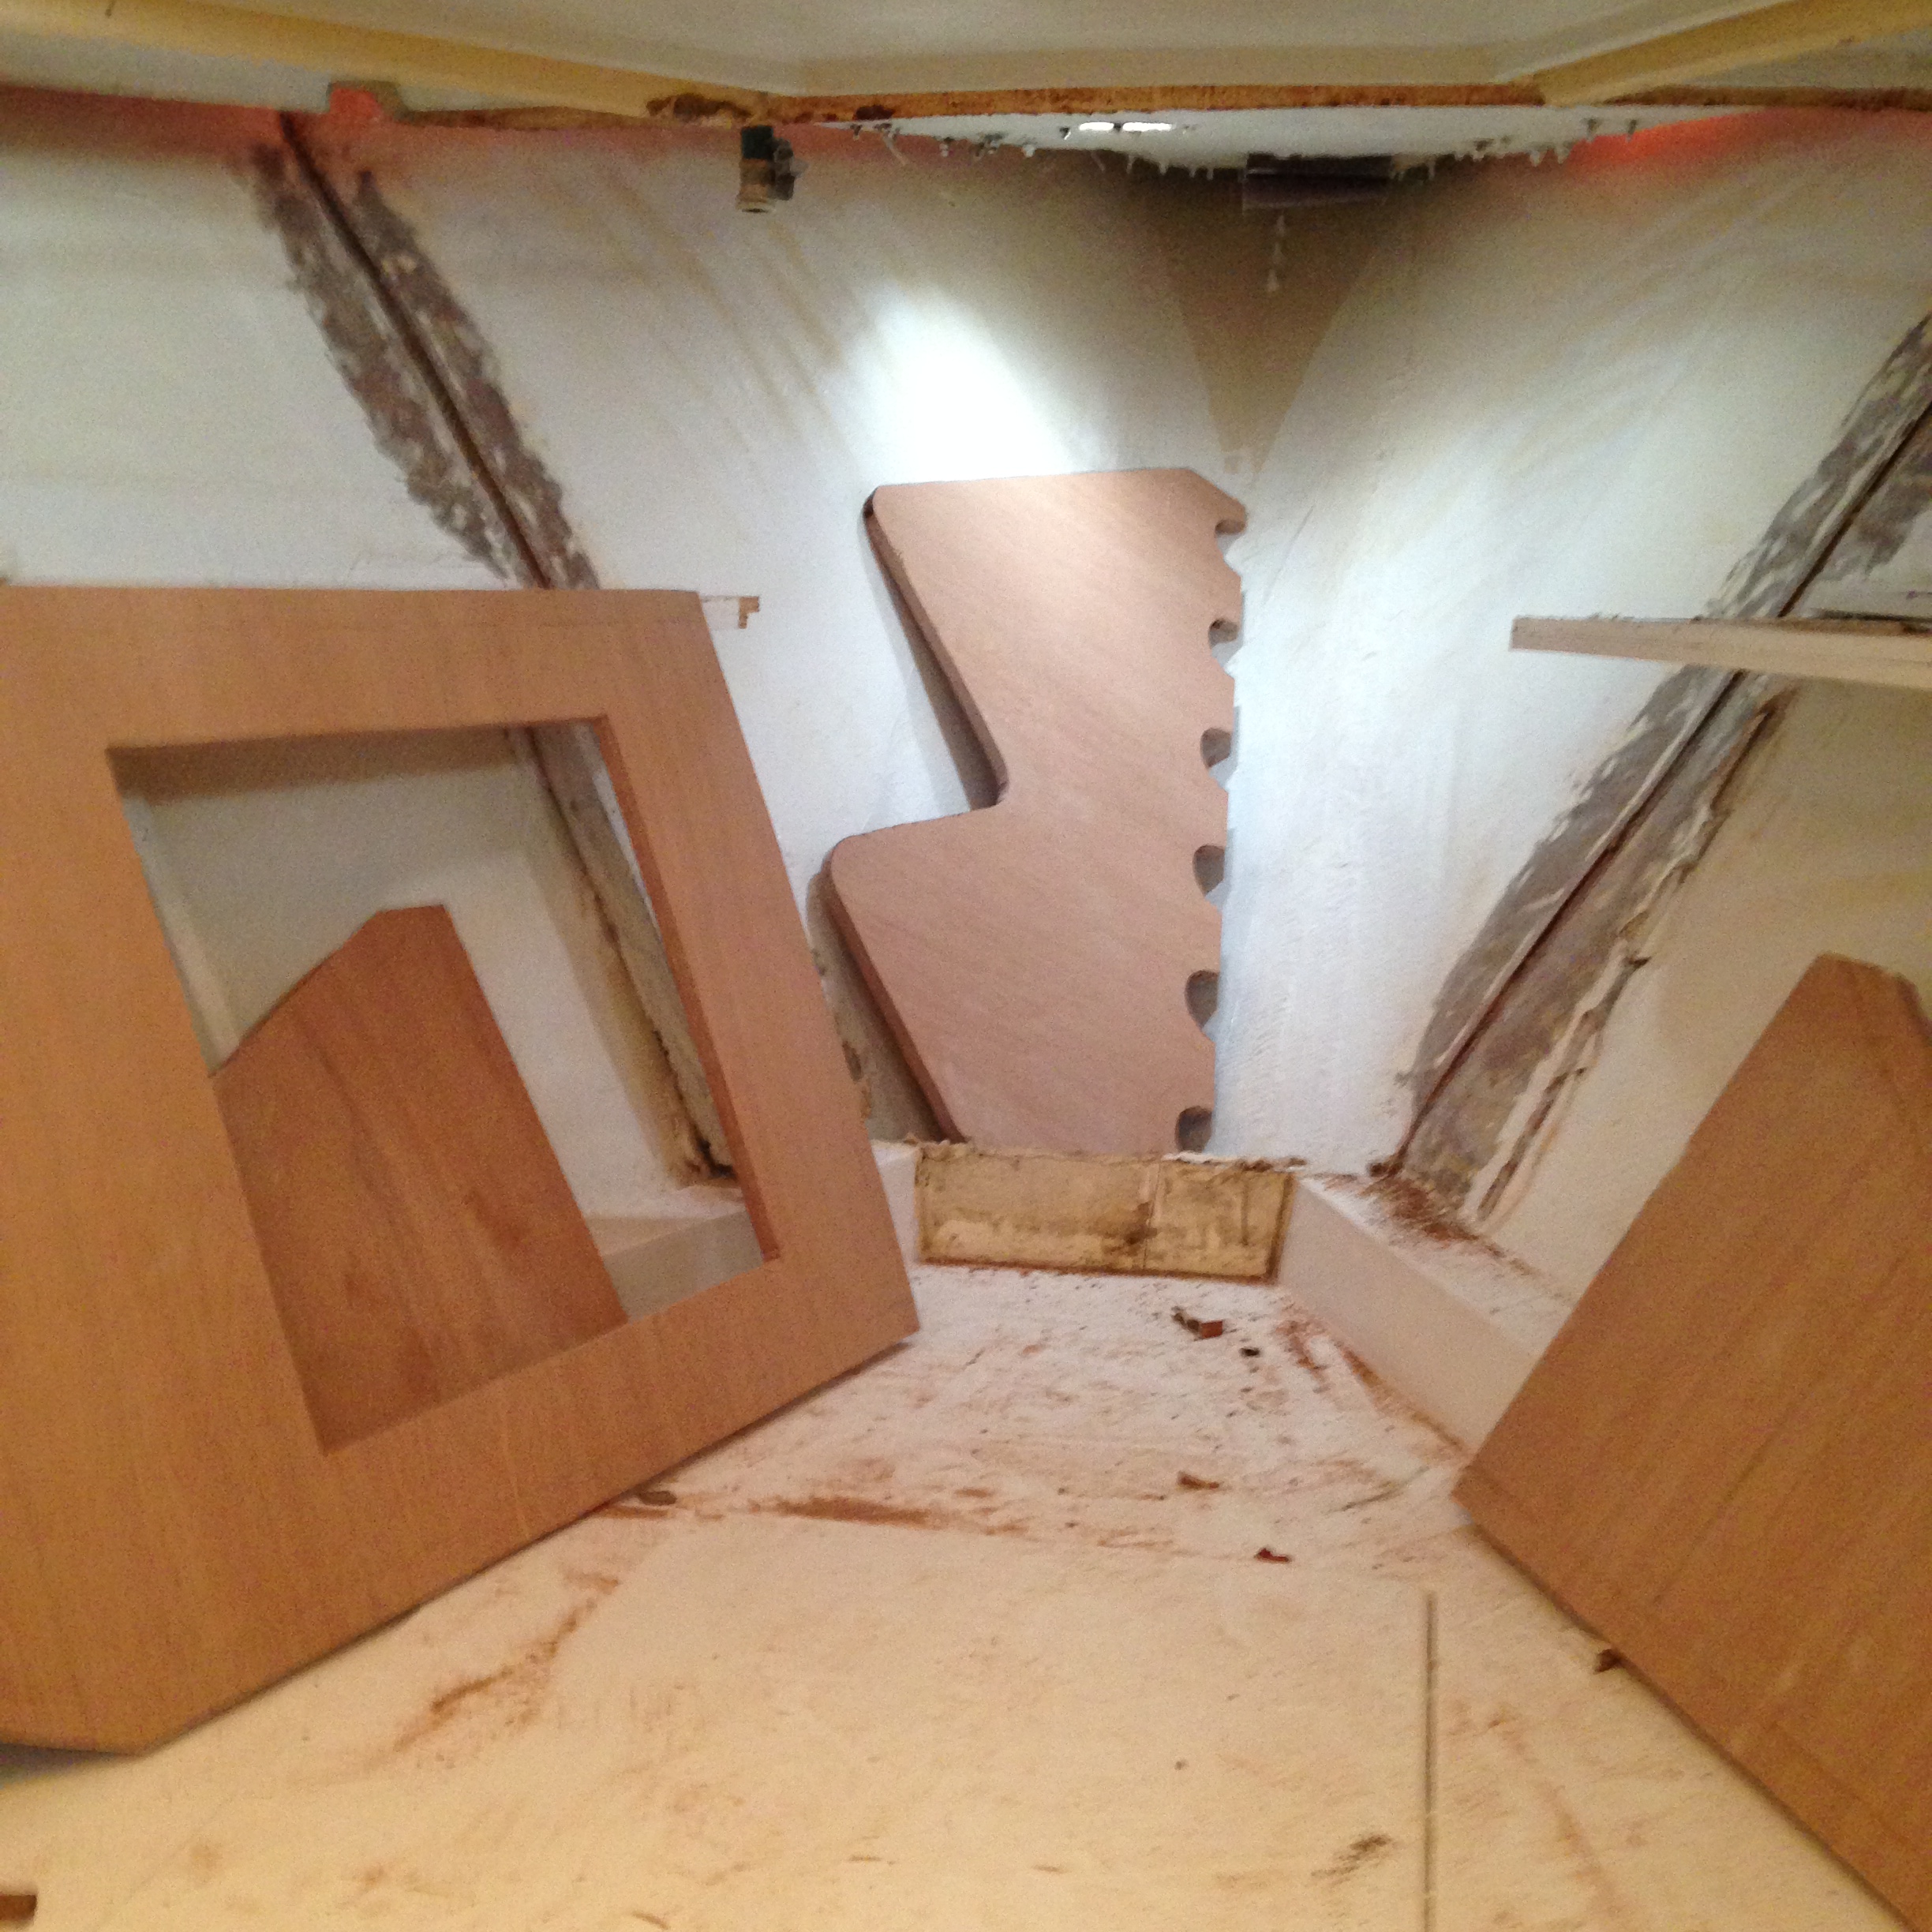
True marine plywood is bloody expensive, that’s all I have to say. BUT, when you feel the difference in the weight of marine ply and standard ply, and when you are cutting it and there are no voids, you begin to realize why it is so expensive. So I started the morning with a grinder in hand and went to town on the area where the old bulkhead was attached cleaning a patch about 5 inches on either side of where the new bulkhead will be. This will allow for a good clean surface to glass the new bulkhead in. Of course that means that I spent the rest of the day somewhat uncomfortable due to the itching but hey, no itch no gain. I also cut out a new anchor locker divider that I will glass in place. I cut half circles all along the bottom so that any water that gets in there, has a way of escaping and it should help let air circulate, thereby avoiding the giant ball of anchor chain rust hopefully. This picture was taken after the next step but you get the idea.
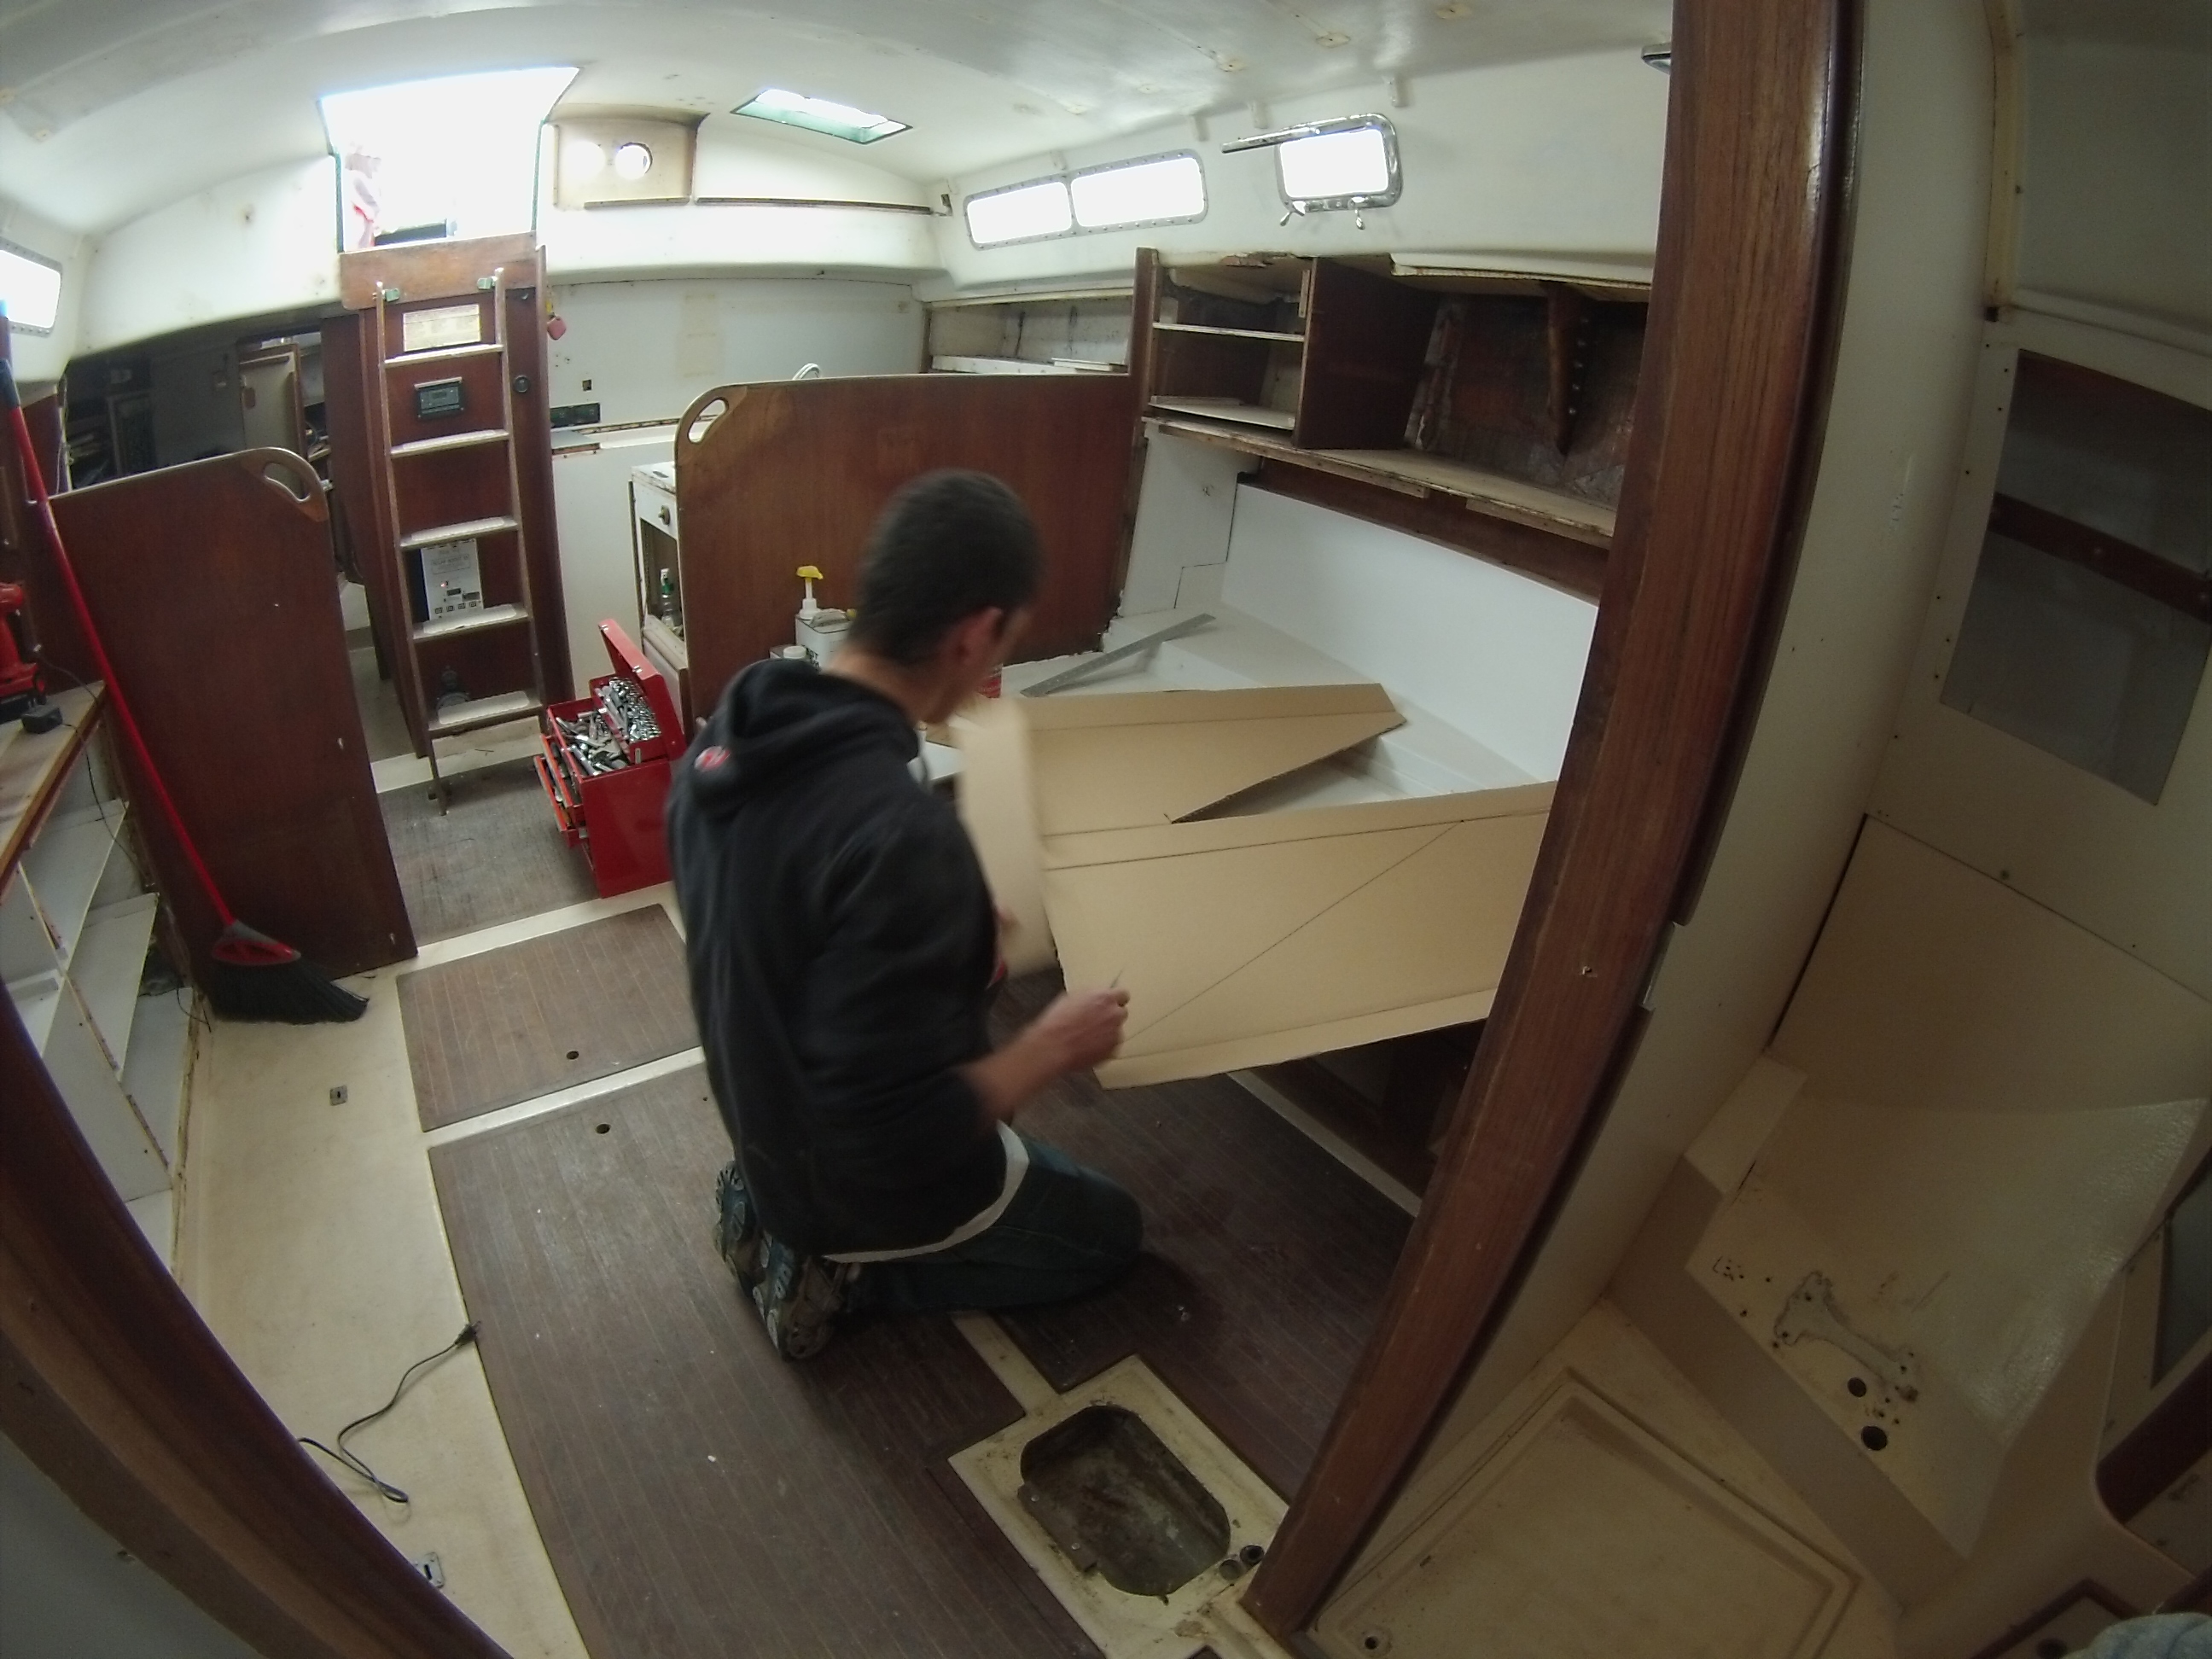
Nest step was to cut a cardboard template so that I could transfer it to the marine ply outside. The rest of the crew arrived with the Admiral around this time and Graeme came to lend a hand once again.
So Graeme and I finished the pattern, took it outside and no sooner did we get there the skies opened up and we had a torrential downpour which turned into hail. We grabbed the marine ply and brought it up on deck with us under the shrinkwrap where we were able to complete the rest of the cuts. The sound in there was deafening. None of us could hear each other speak so it turned into a bit of a break.
While we were busy cutting and fitting the new bulkhead, the Admiral and August and Paige were on deck removing more fittings, grinding previously filled holes, and apparently goofing off just a bit….
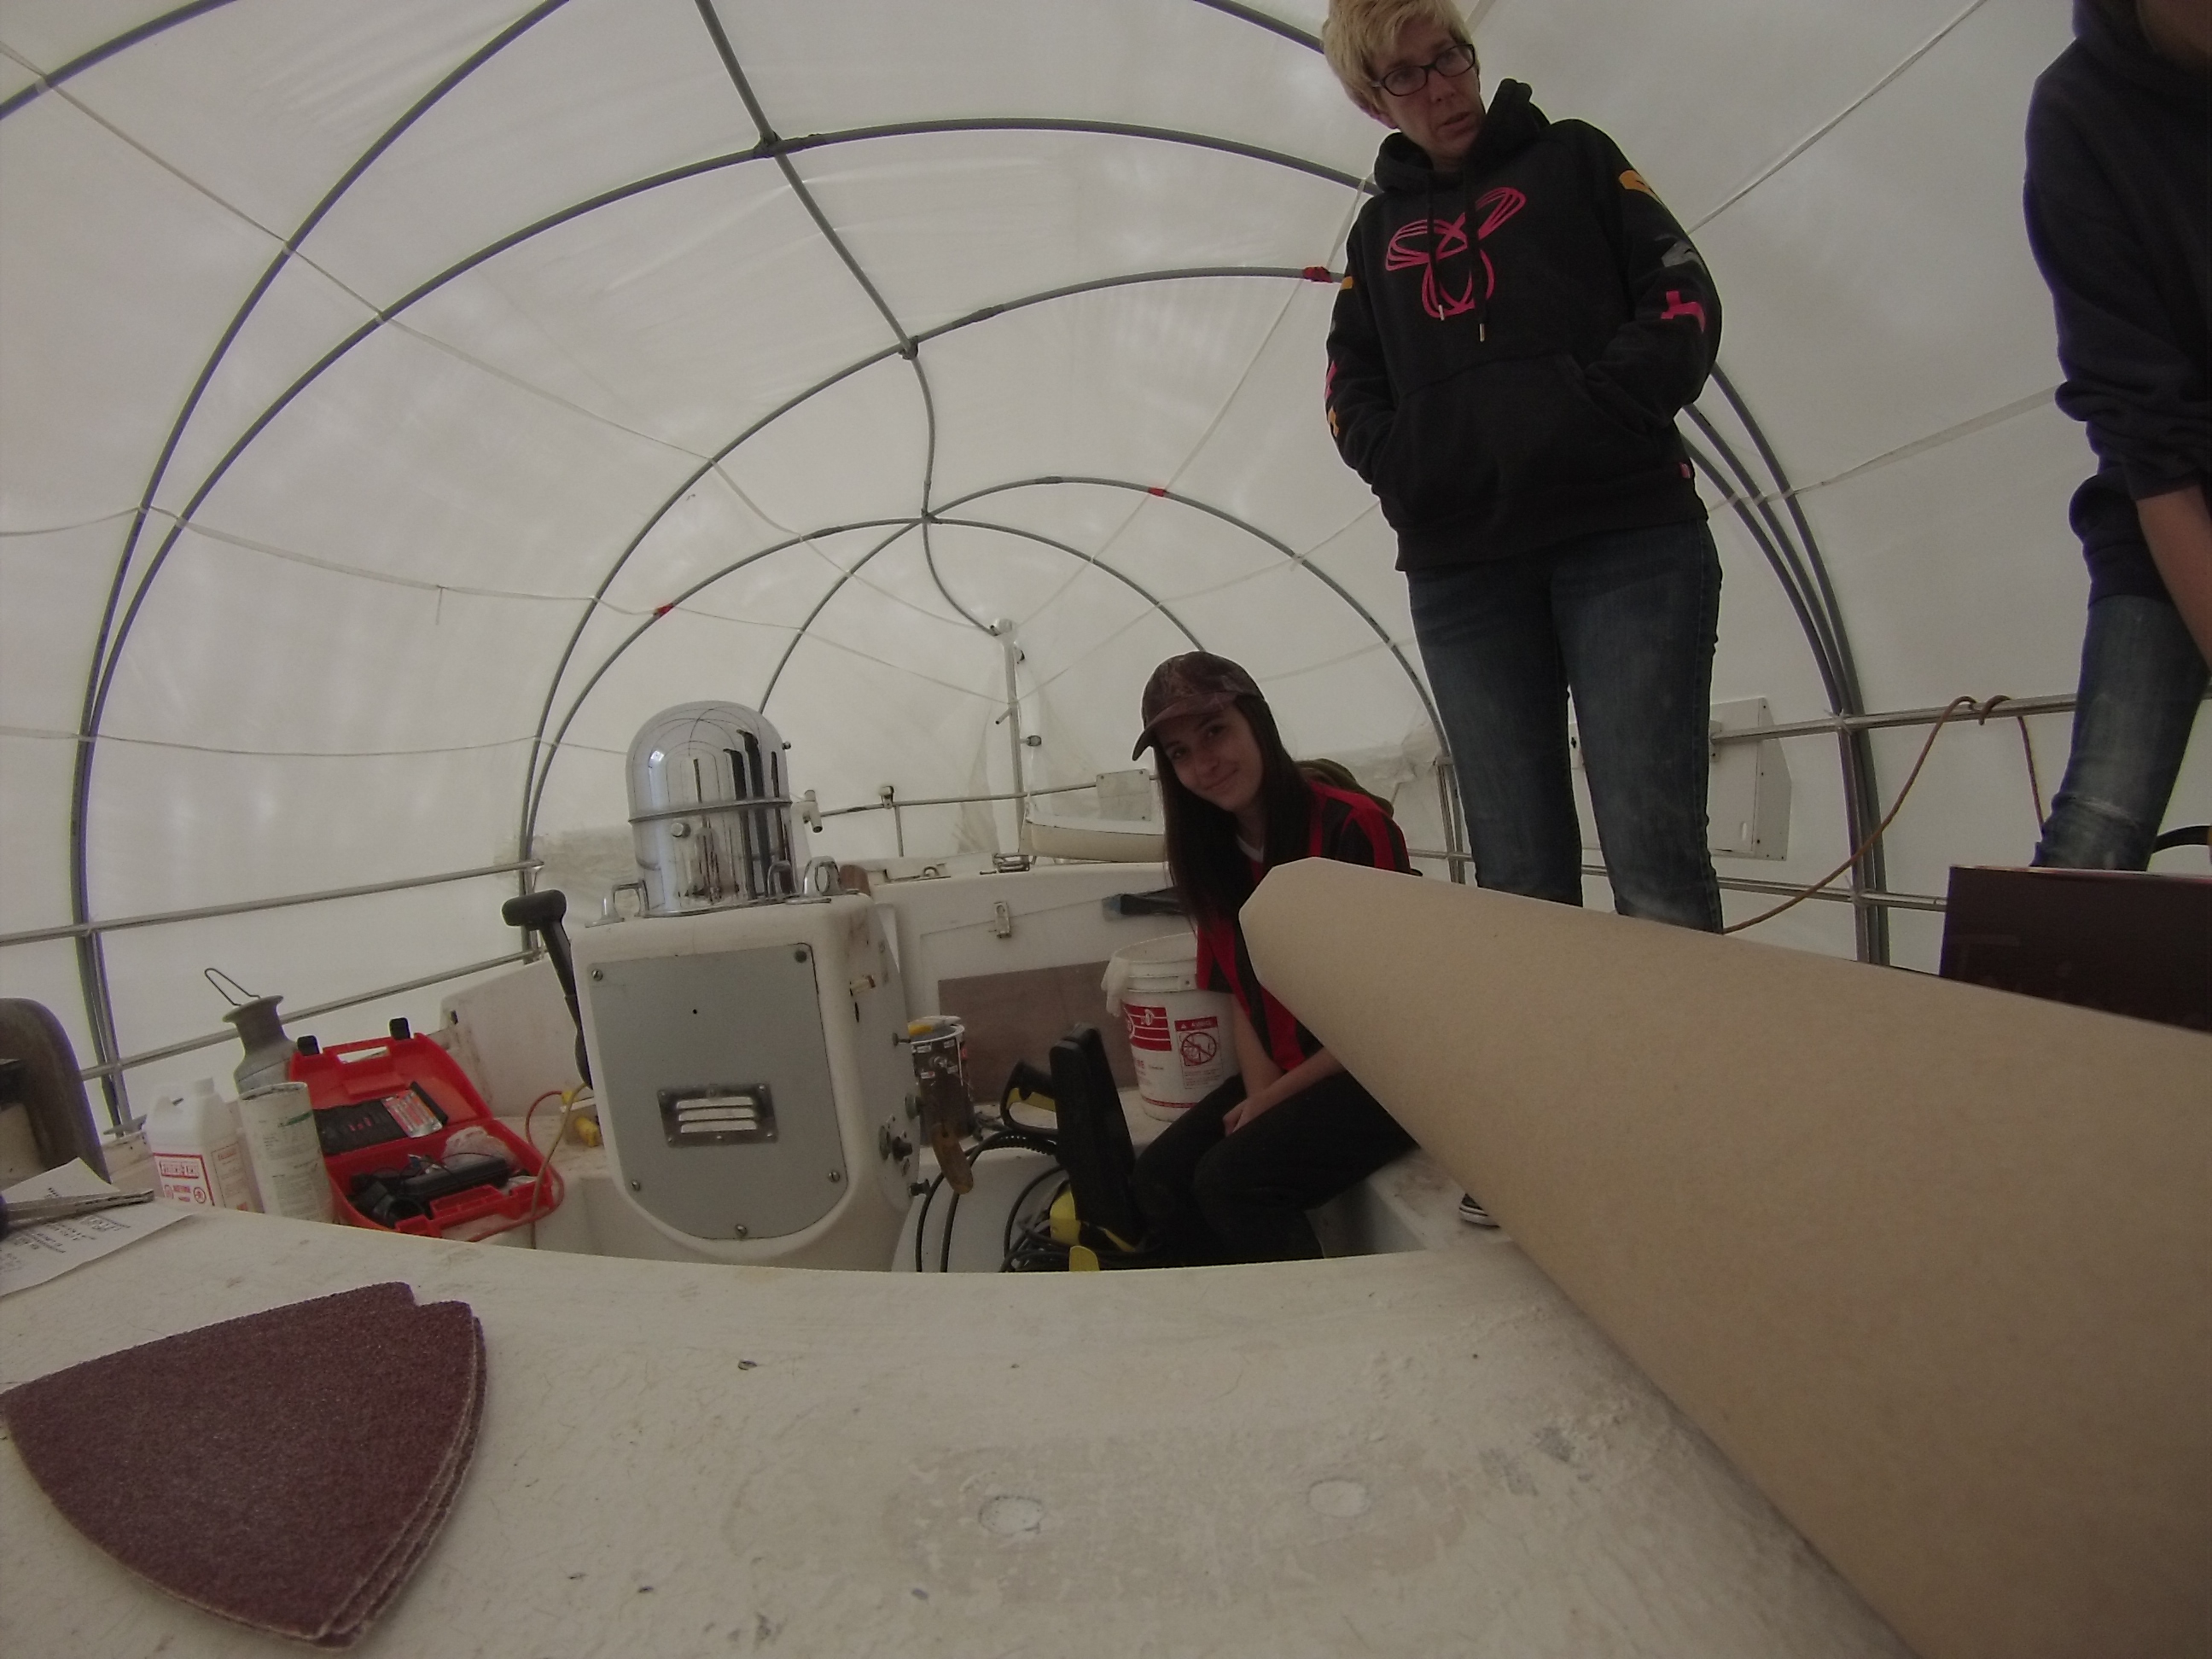
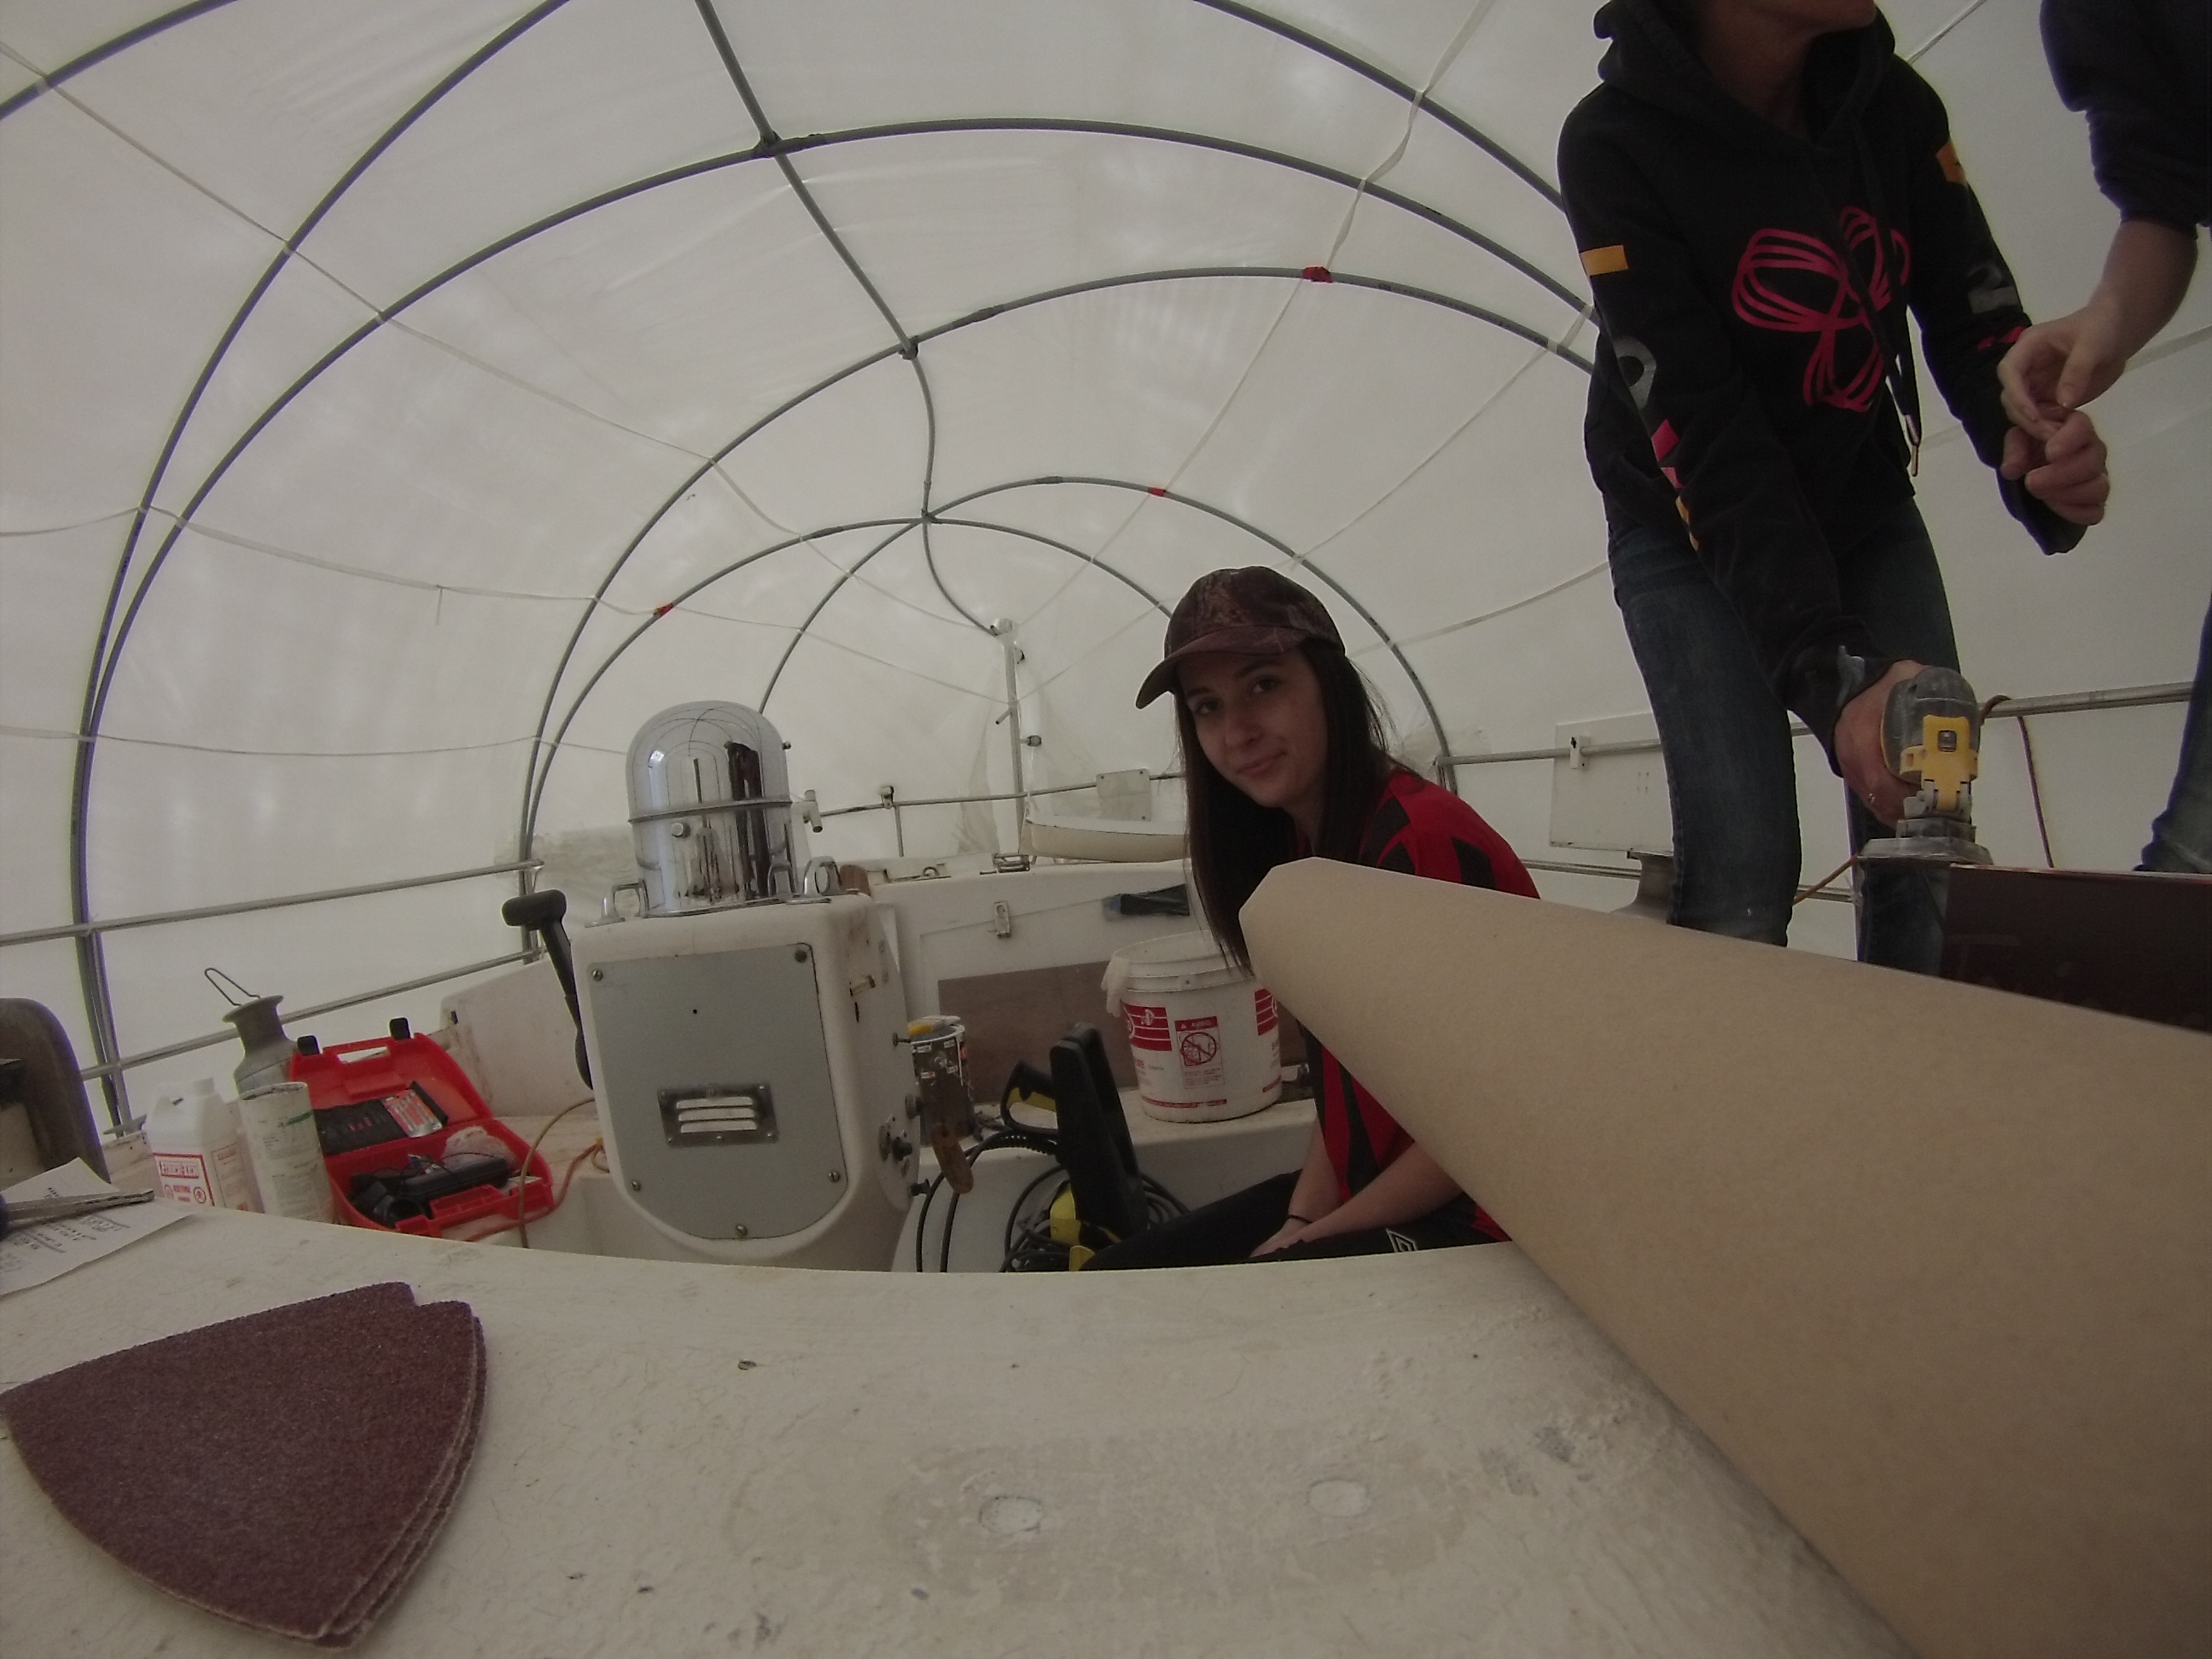
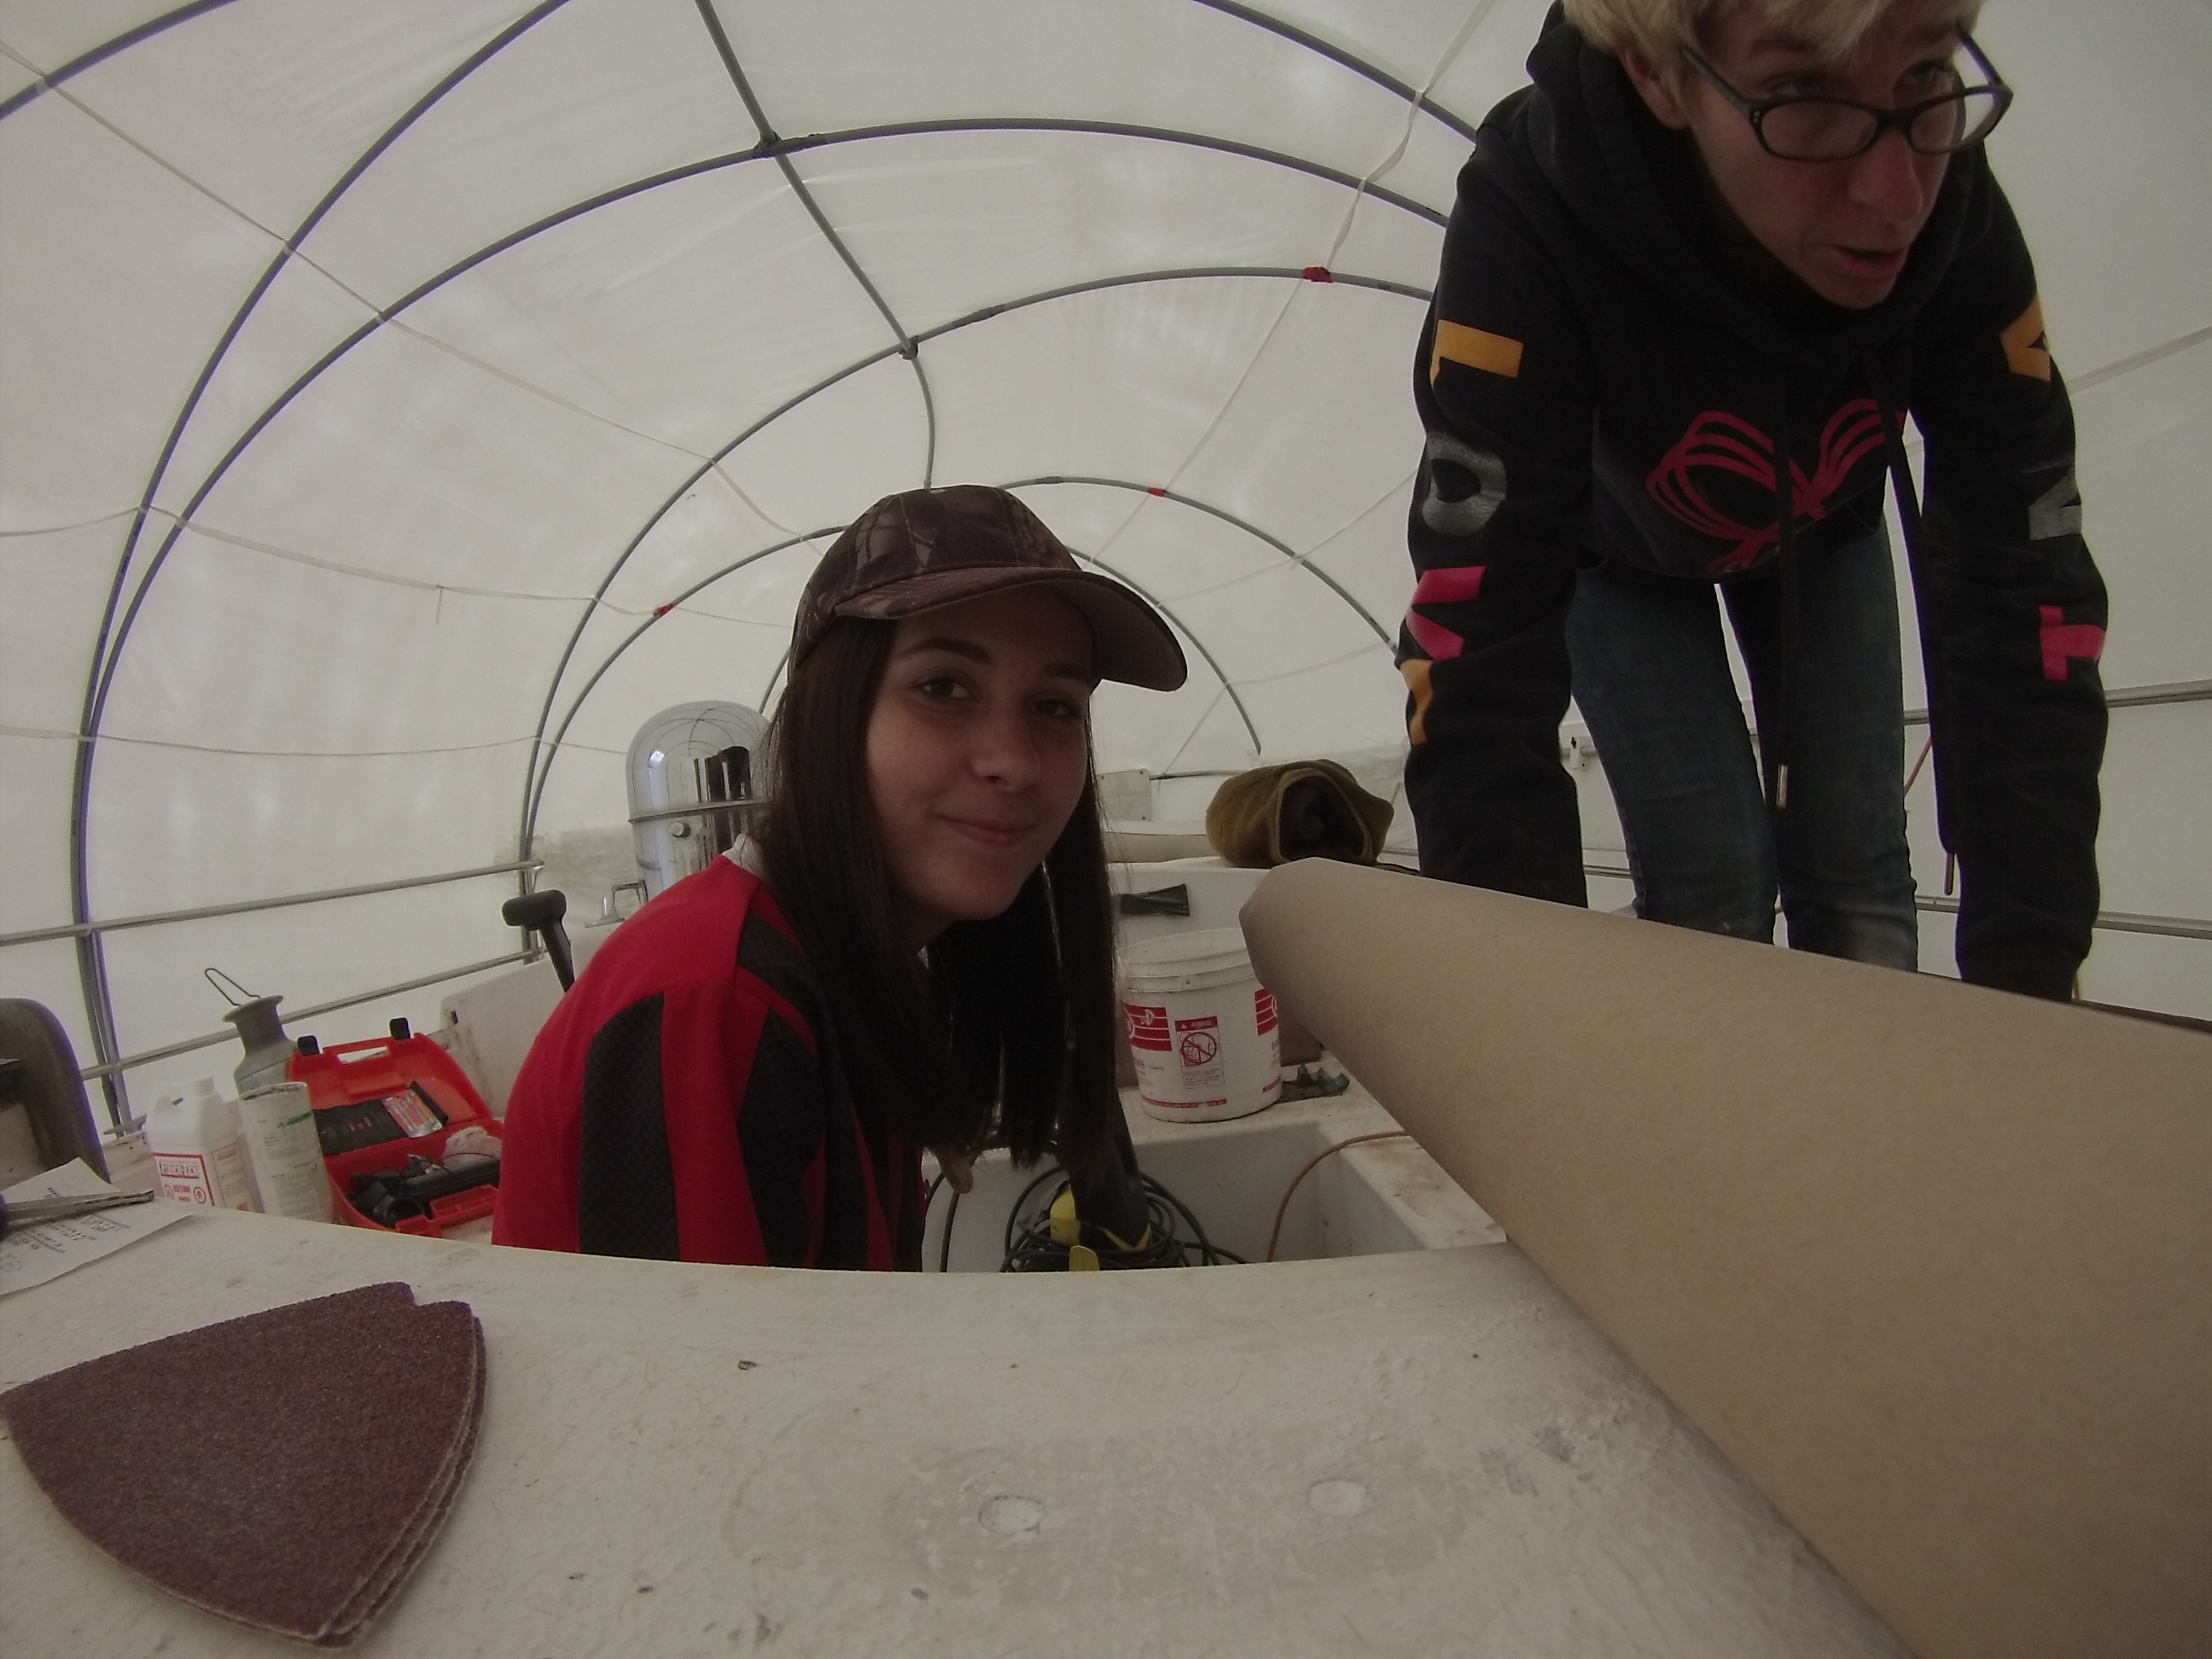
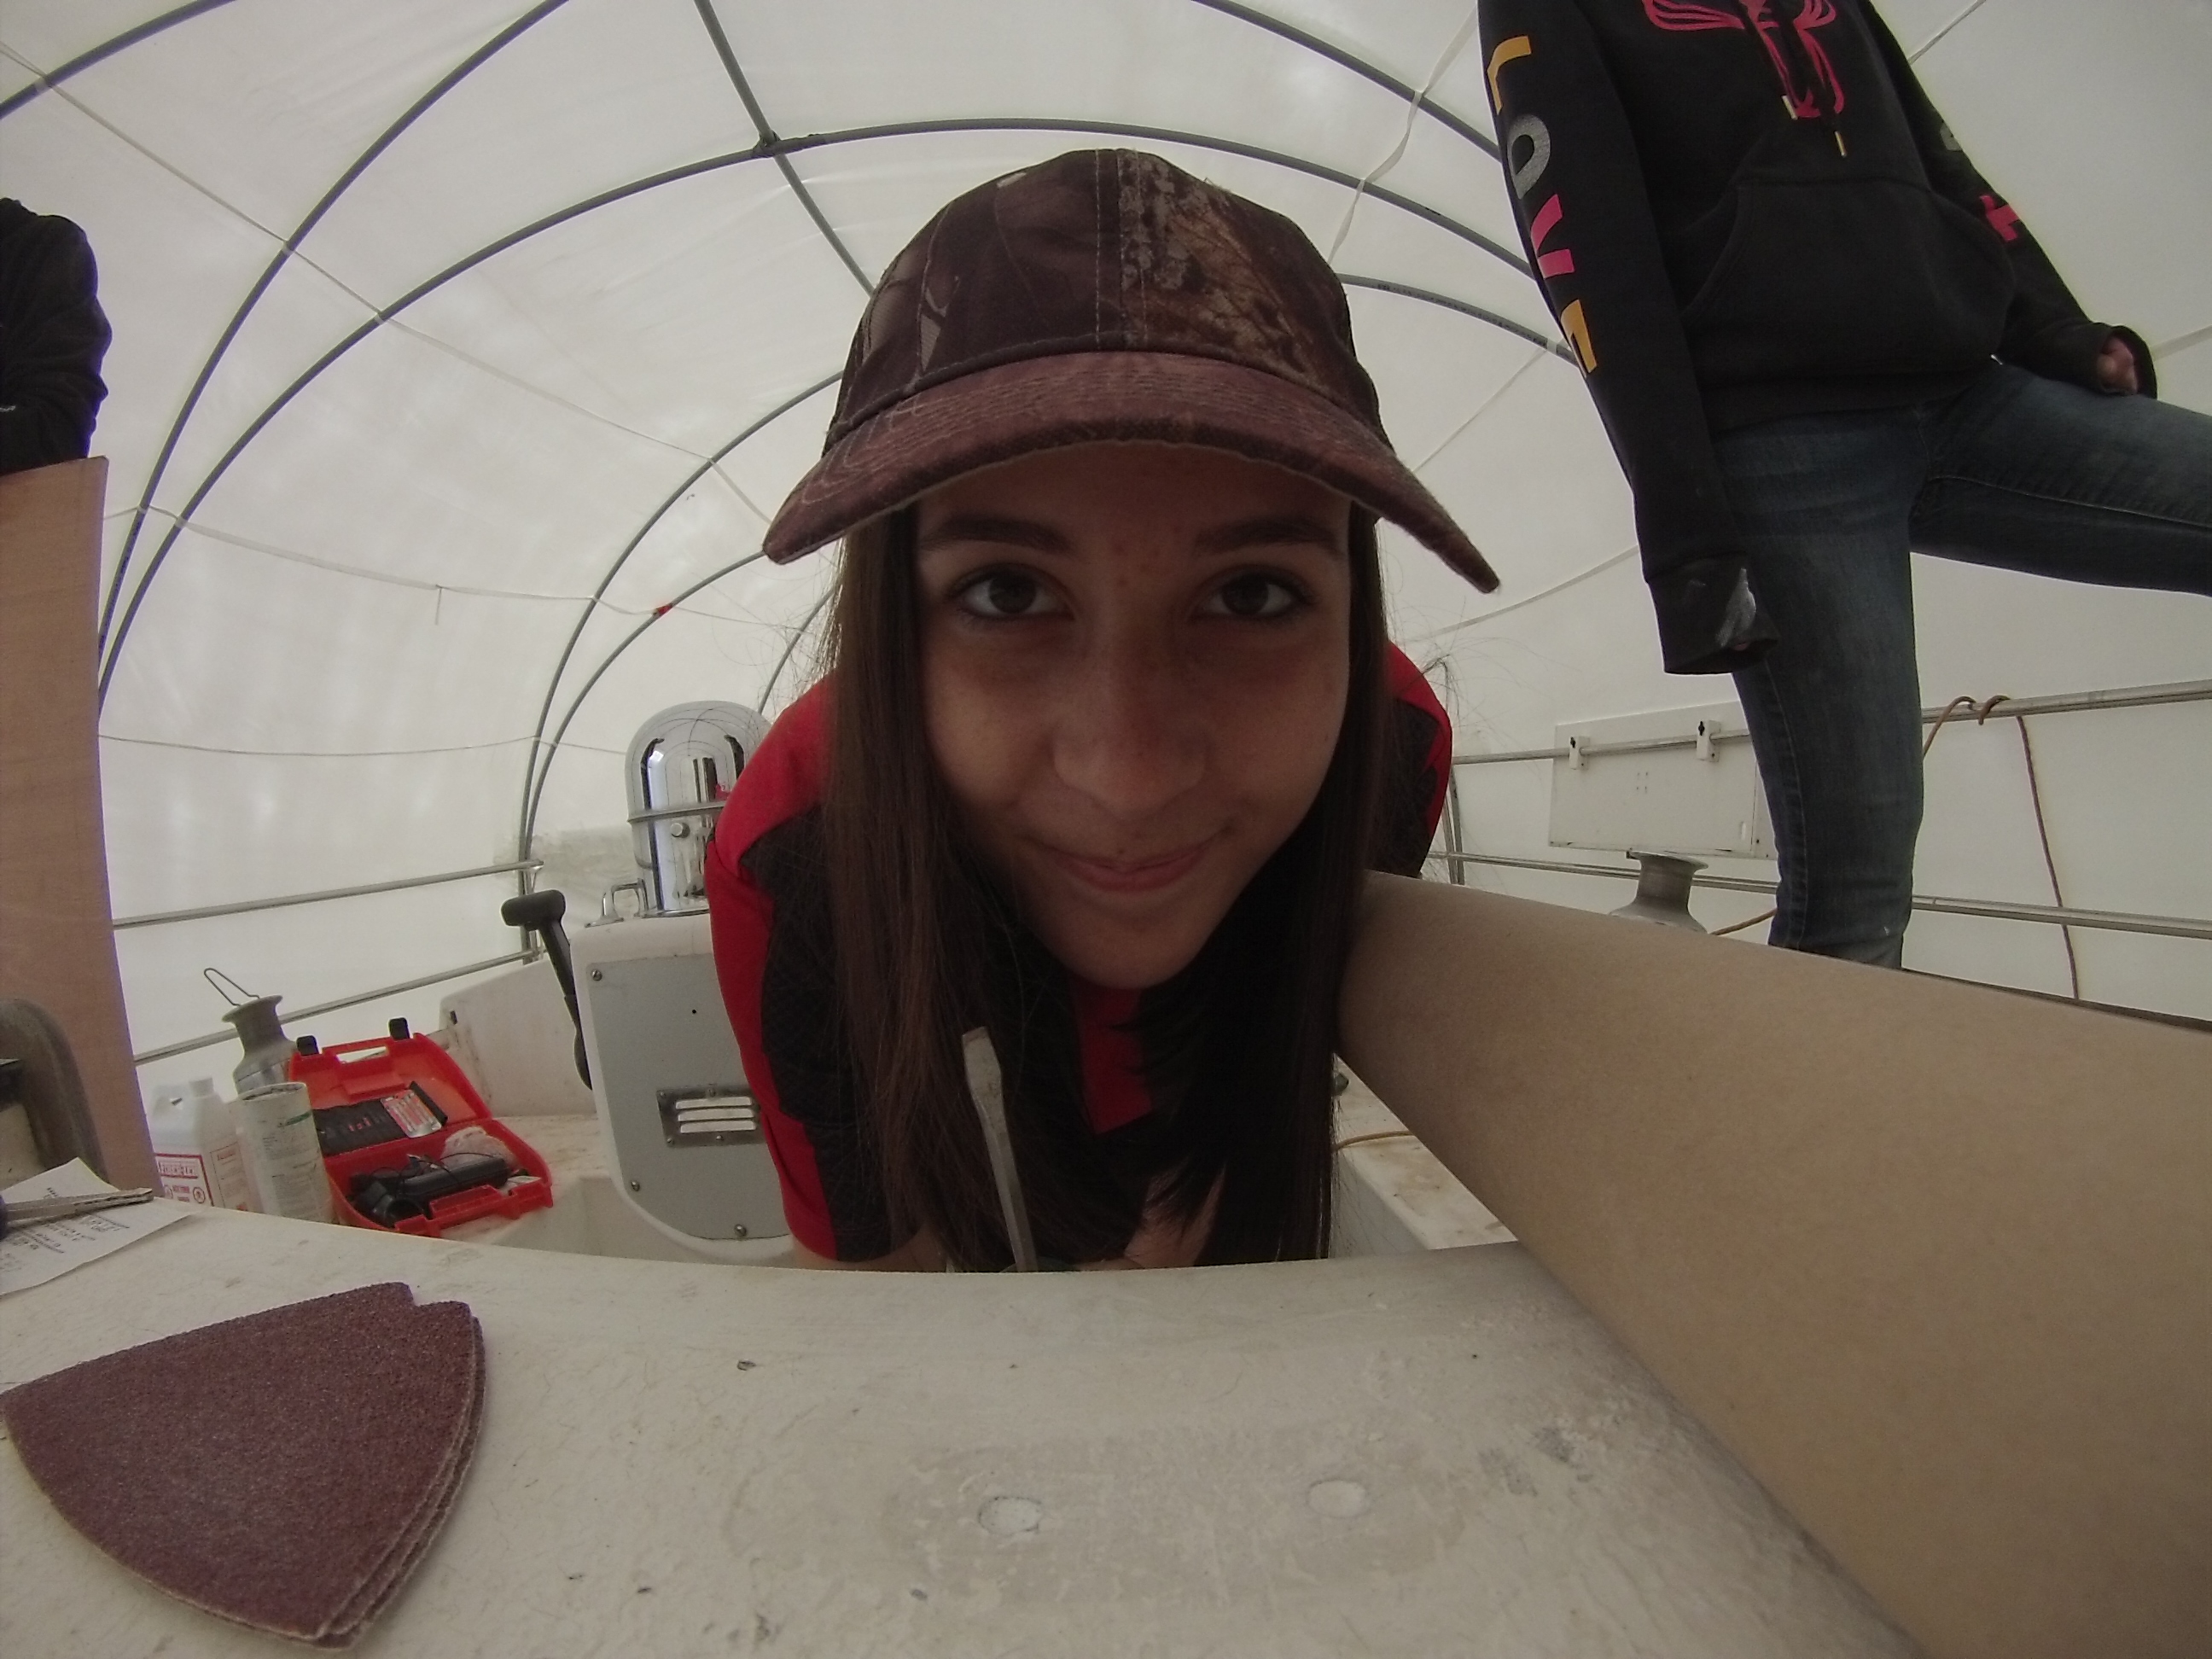

The way that I get the majority of the pictures is with my GoPro camera. I set it to time lapse on a 60 second interval and just let it go. Obviously someone figured out the timing.
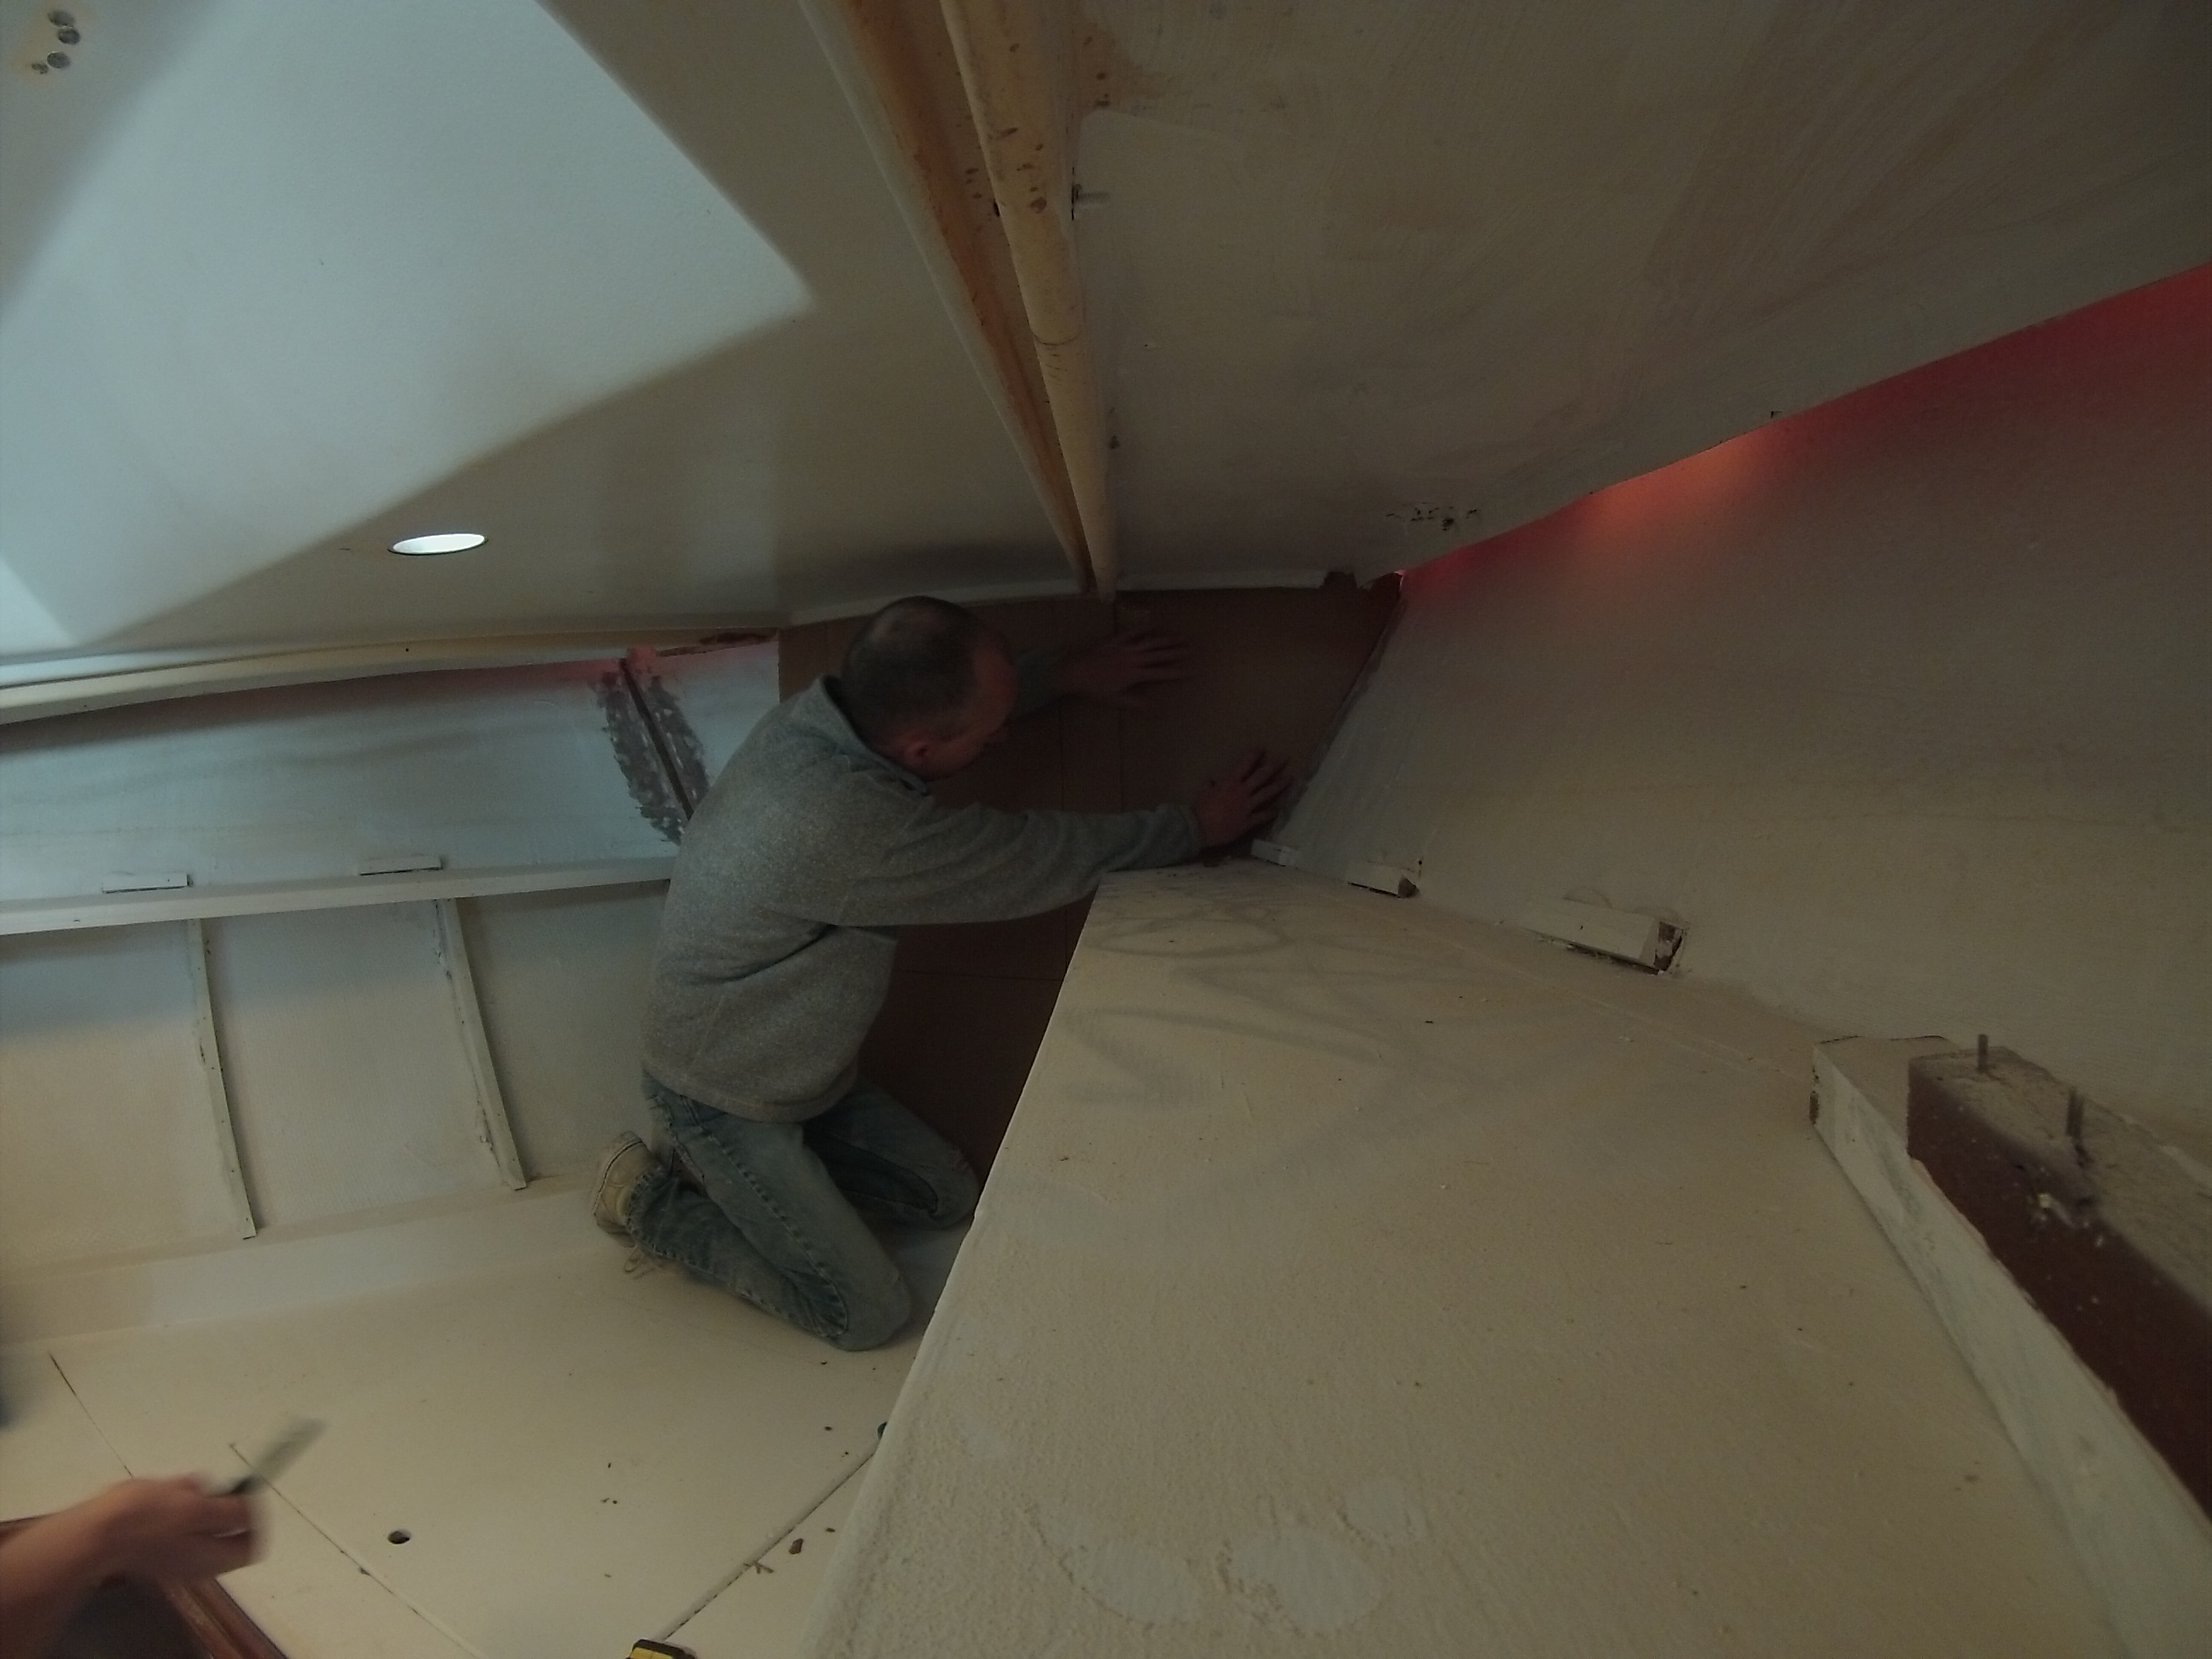
Since I did not remove the shelves in the v berth, I am not able to replace the anchor locker bulkhead in one solid piece so it is being made out of 3 pieces. I will epoxy it together and reinforce the joint with another layer of ply once I have it fit perfectly.
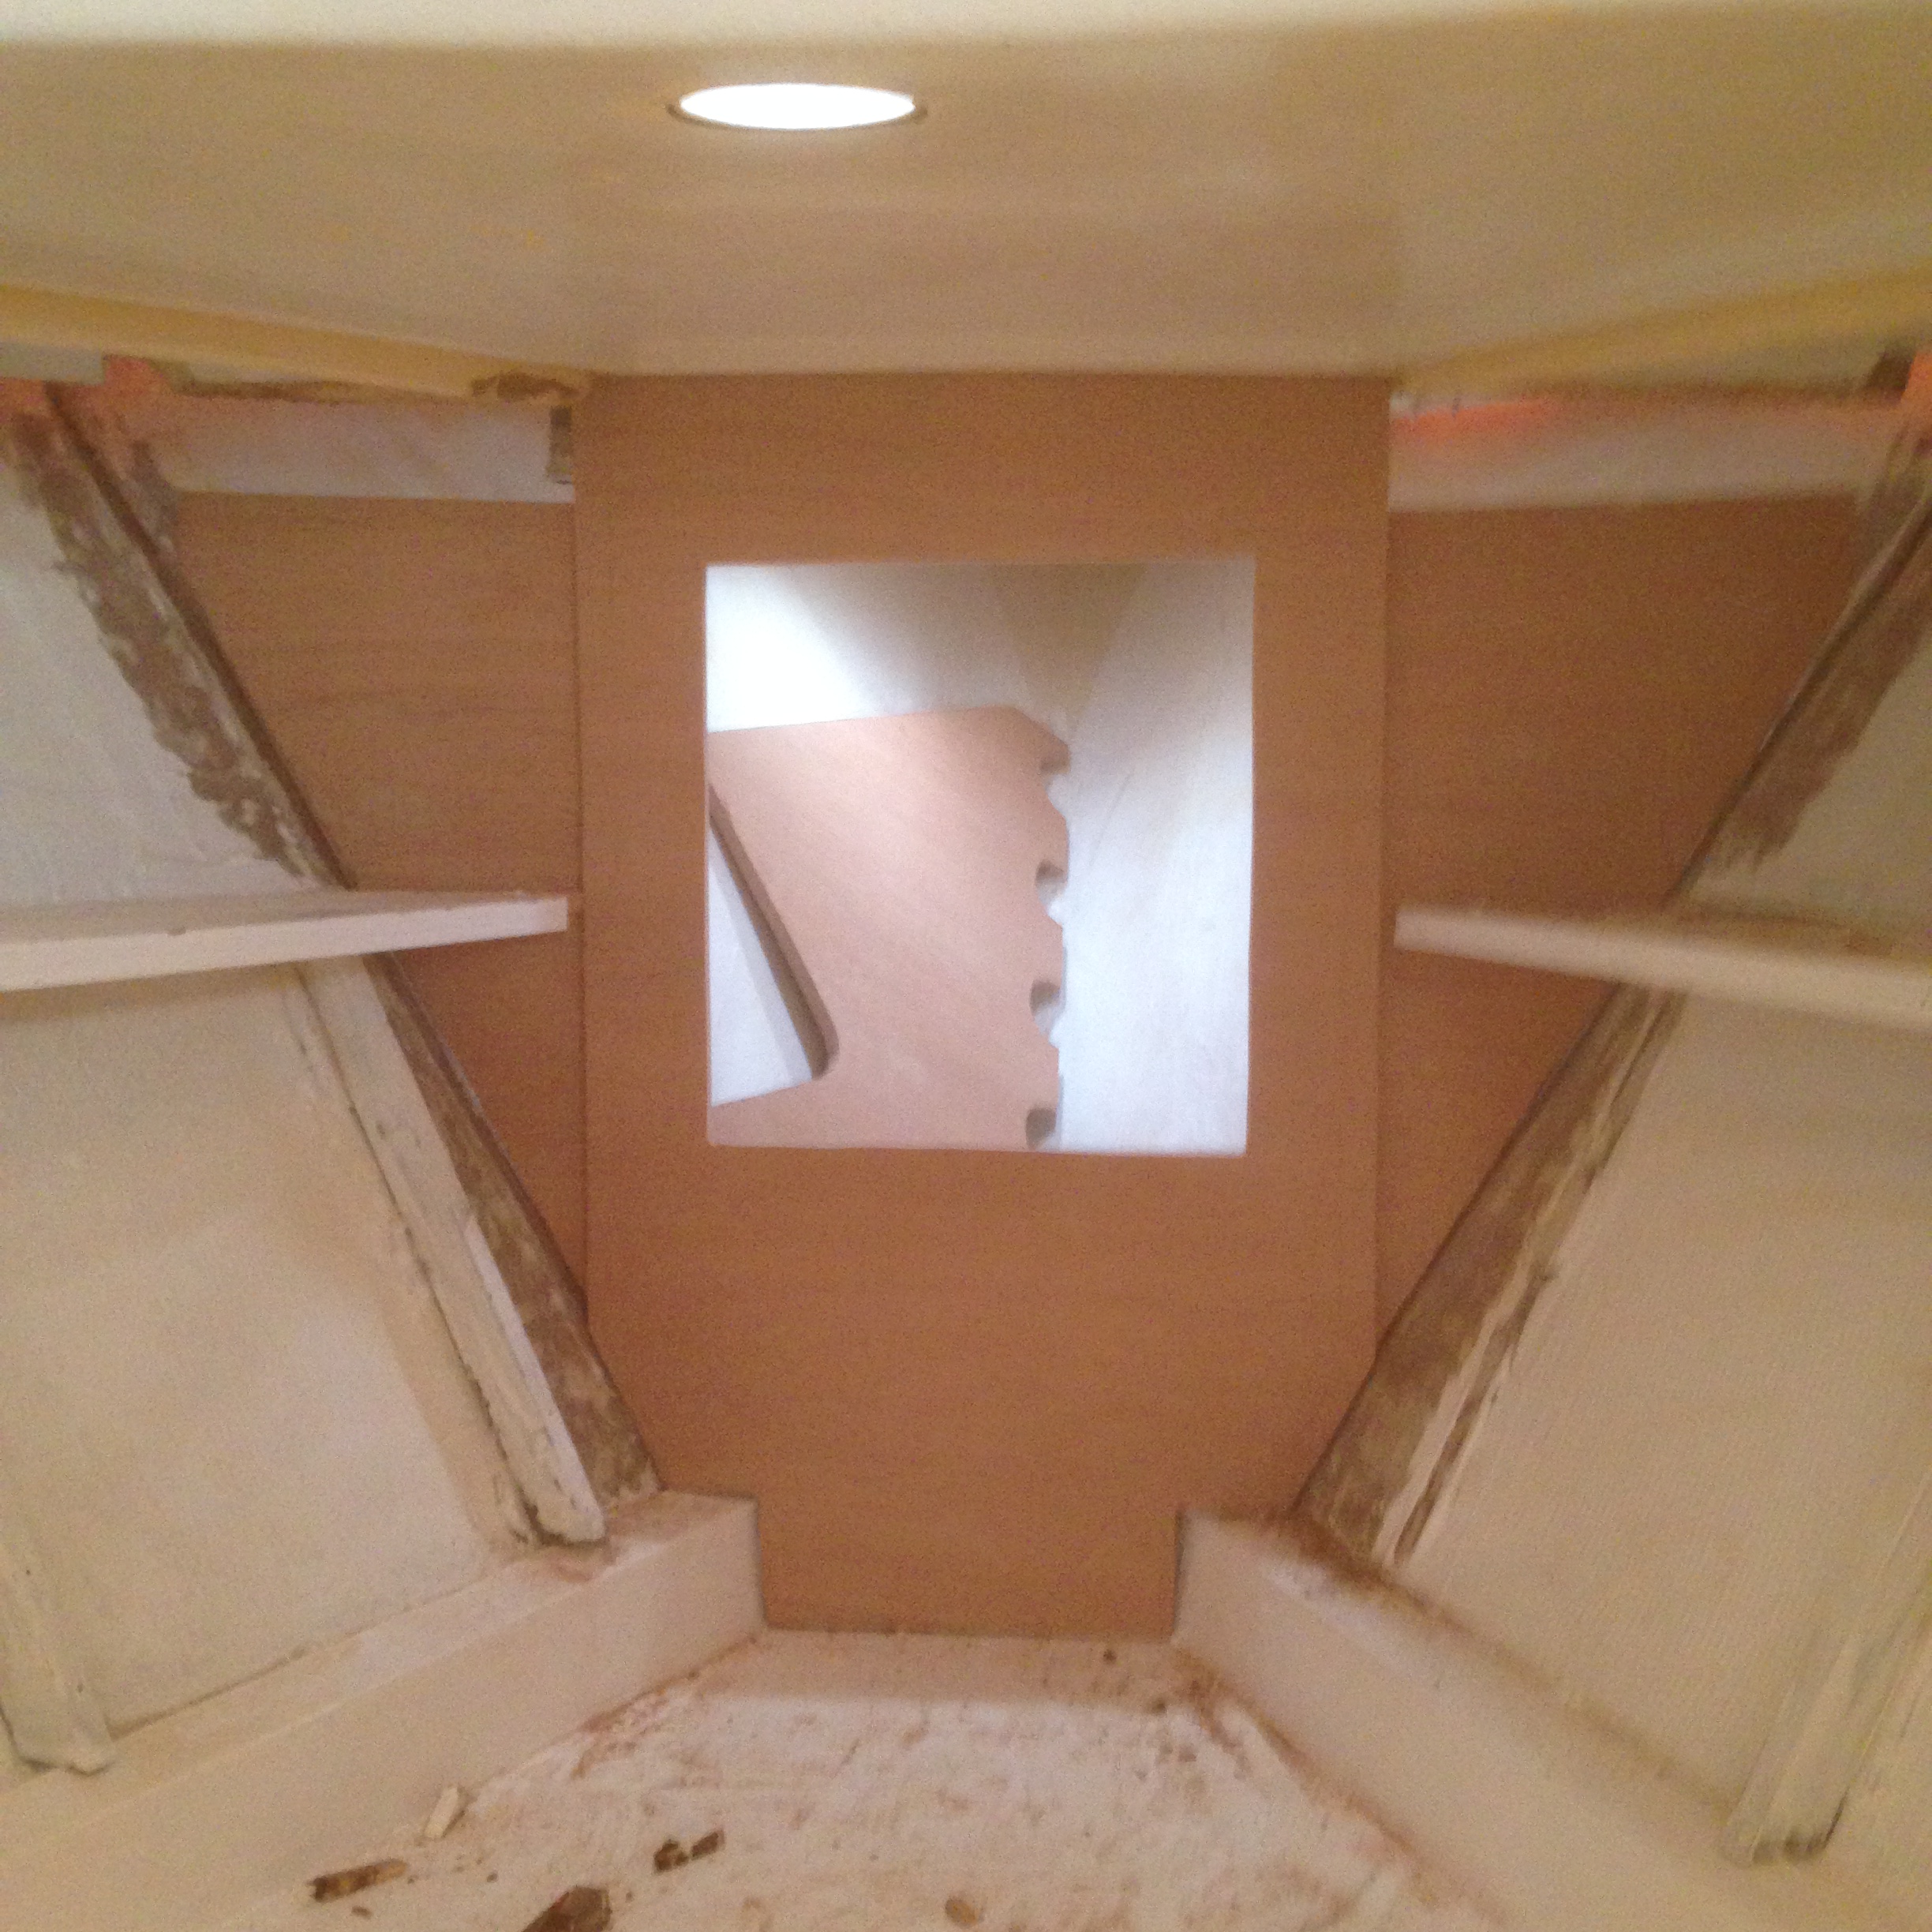
The two triangular pieces have slid down in this picture as they still need to be fine tuned to fit precisely. Once I have them fit properly, there will not be a gap at the top of course.
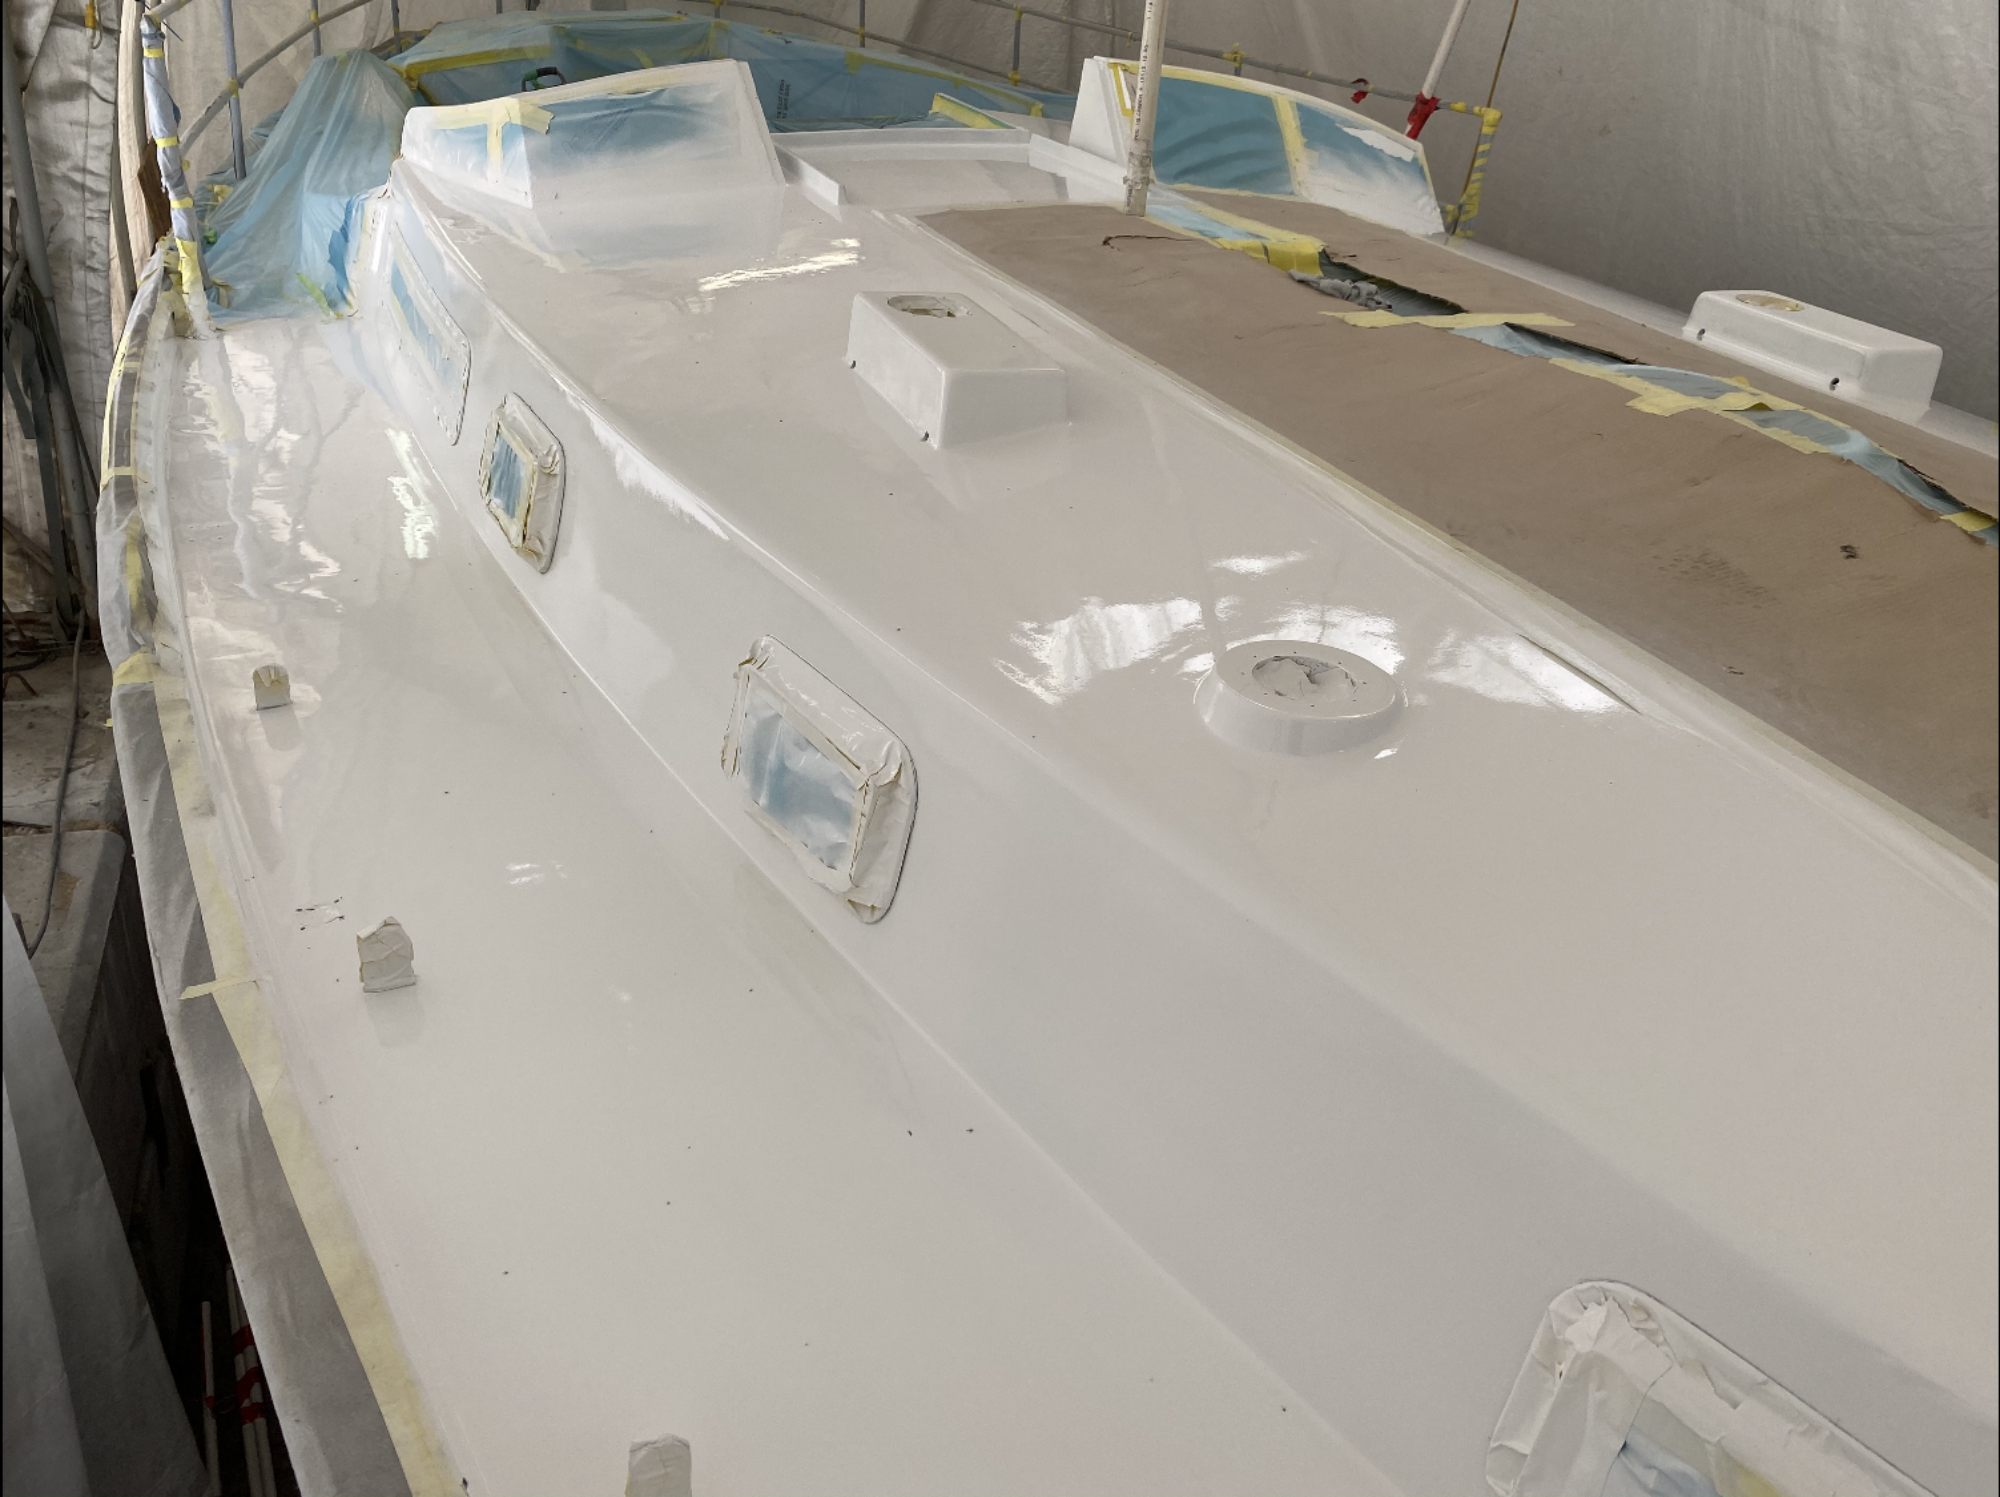
We also took a little bit of time to cut two plugs in anticipation of filling the instrument holes in the cockpit. The kids worked on this for about an hour and never actually got them to fit. I didn’t have the heart to take over as they were trying pretty hard but after everyone left, I cut them down to fit and put them in place. Prior to filling with glass and fairing I will need to grind the edges of course but for now at least they are in.
All in all it was a busy day and we made good progress.