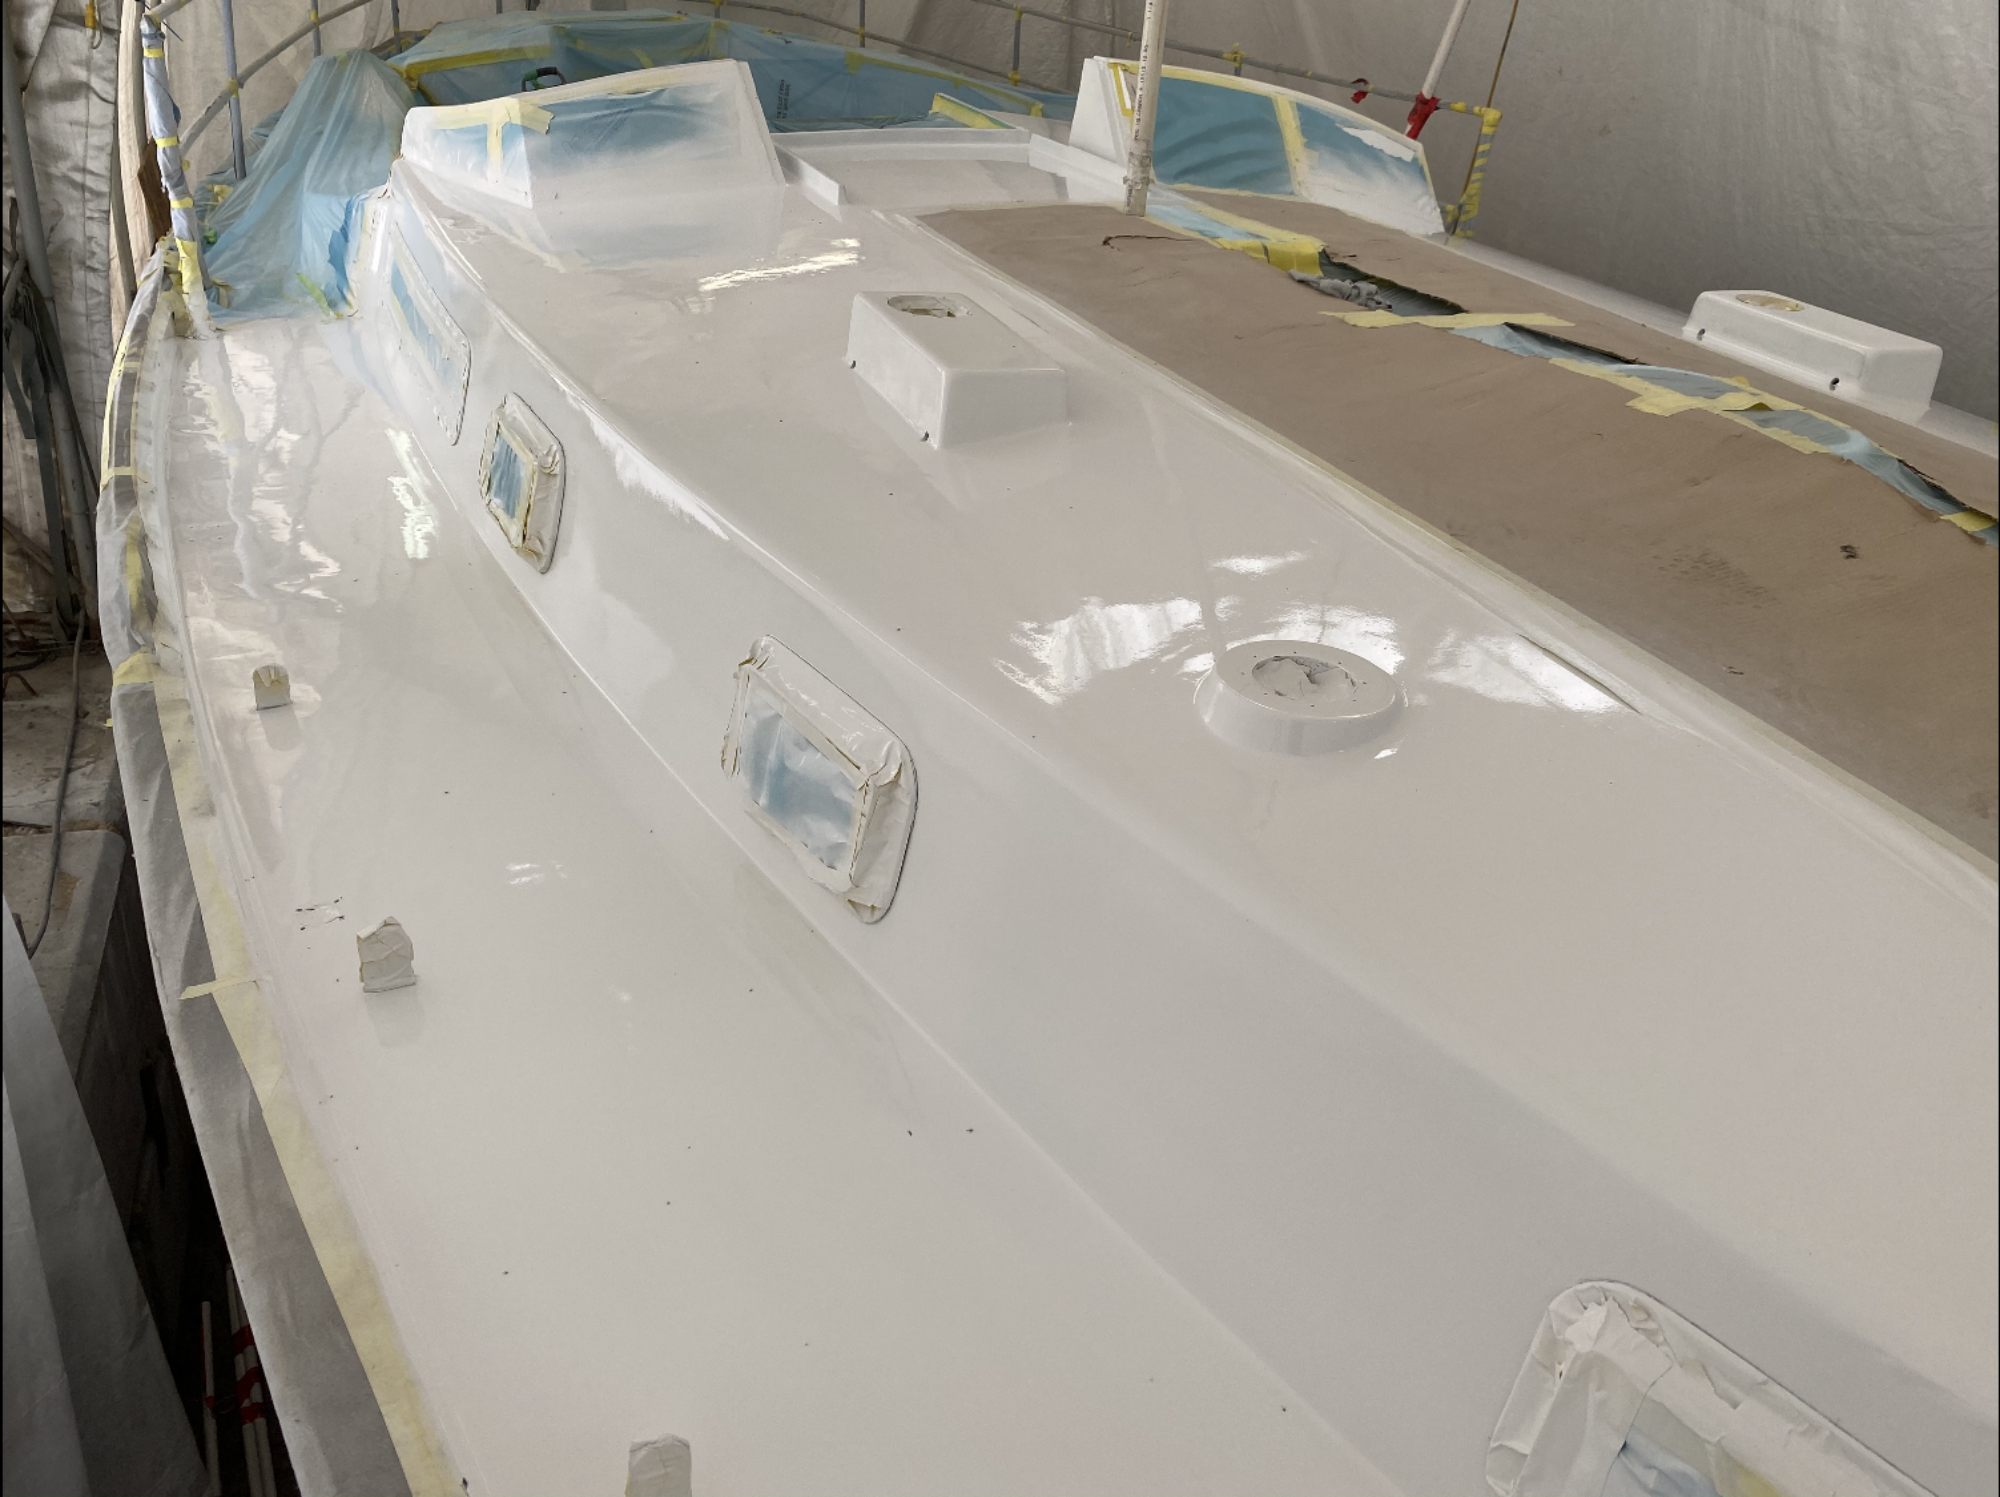
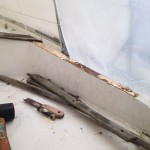
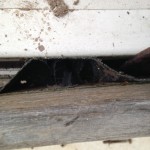
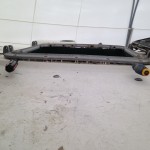
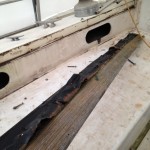
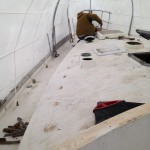
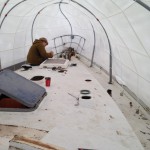
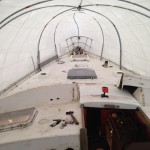
Well the last 2 weekends have been absorbed by slowly removing bits and pieces from Akupara’s decks.
We are bound and determined to remove every nut, bolt, screw and every kind of adhesive and sealant known to man. So far we have managed to strip half of the cockpit and everything on the main cabin top.
Including all of the wood trim, which will not be going back on.
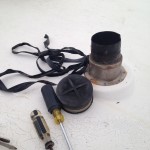
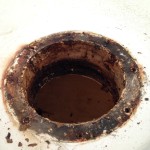
What should be an easy job, can sometimes turn out to be incredibly frustrating. For example the nice little brass rings that the dorade vents screw into.
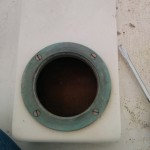
They are held with 4 little machine screws with nuts on the back. No combination of tool that I currently possess will do the job. The only way we finally managed to get the last screw out in each vent was by holding a socket with a pair of pliers and one hand inside the dorade box as the other person turned the screw. We messed with these for over an hour, but we finally got them all out without breaking anything.
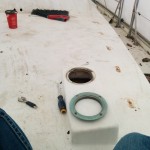
Speaking of screws, the only type of screw we have yet to find is a Robertson. You know, the only type of screw that actually makes sense in 2015. We have big slots and little slots, and medium Philips and tiny Philips but not one Robertson. Every screw that we have removed thus far has been destined for the trash bin and every screw that we put back in place will be a stainless Robertson screw!
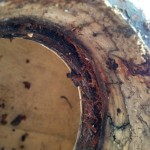
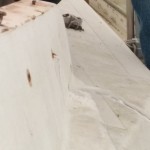
In our dismantling of everything we knew that we would discover more issues than what we originally planned for and yesterday we discovered some bad core around the chimney.
Thankfully based on sounding the deck, it does not seem to be very far spread, but the truth will only be discovered completely when we start the repair. We are not sure at this point if we will even put the molded chimney piece back.
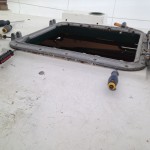
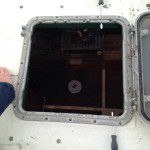
All of the opening hatches on the cabin top have been removed and are currently only held on by 2 screws each. Our plans are to replace all of them with new ones as the aluminum frames are very badly corroded. Each and every screw hole in the hatch frames had been filled with caulking on top of the screws, go figure.
To this point we have identified several distinct types of goop. Some of it is clear silicone, some of it looks like bathroom silicone, then we have of course the 3m 4200/5200’s, and finally butyl tape.
The interesting part is that the butyl tape appears to be from the original build, and although it is 40 some years old, it is still as flexible and goopy as new stuff.
It is also one of the most tenacious not counting 4200 and 5200 of course. A note to the wise. Any time you grab a tube of goop, and the first word is “Adhesive.” Stop and think if you, or any other person on the planet, will ever have to remove that part again. If the odds are greater than 1%, please, please, do not use 3m 5200.
We had our first contractor on Akupara to look at media blasting the decks, thanks to a very smart guy (Martin). We have received one guestimate already of $1300 to soda blast all of the paint and non skid, however this was based on pictures that I sent him. Let’s see, 500 sheets of sandpaper, 3 months of sanding morning to night, sore back, sore arms, burnt out sanders, lung contamination from breathing in all of the particles versus paying someone to do it in a day. I will let you decide which is the better course of action. I haven’t completely ruled out sanding yet, but that’s only because I am cheap and always think I can do it for less…;-)
As I was writing this we received the 2nd quote, $9300. Uhmm, something isn’t right here, $1300-$9300. So as I was saying 500 sheets of sandpaper isn’t really all that expensive…
Another surprise yesterday was as I was removing the last of the screwed in snaps from the dodger, a nice stream of water started spurting out.
I immediately grabbed my drill and made a bigger hole and added one on the other side as well. It seems that water has been getting in from badly bedded wood trim and over time filled up the moulded section. I am probably going to leave these holes, just to ensure this never happens again. Thankfully this area has no open coring to be concerned with.
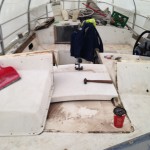 All in all it has been a good couple of days, it seems slow and it seems like things are getting worse at times as we slowly disassemble Akupara, but soon enough we will be on to the restoration part.
What’s that saying? It is always darkest before the dawn?
I almost forgot. I also brought the old dodger to the dumpster and committed it to the great beyond. (Great beyond as in farther down the boatyard towards the back when someone pulls it out) This was a hard thing to do for me. It was a approximately a $3000 decision as that is a ballpark guess as to what a new one will cost us. Had I not pitched it, I would have been tempted to try to fix it and put off the cost etc etc. It would look like hell on Akupara once she is all fixed up. Decision made. Move on. 😉
